The Elder Scrolls Online: Summerset Guide Quests Story Quests
A Pearl of Great Price
- Location: Artaeum, Ceporah Tower

- Quest-giver: Ritemaster Iachesis or Valsirenn


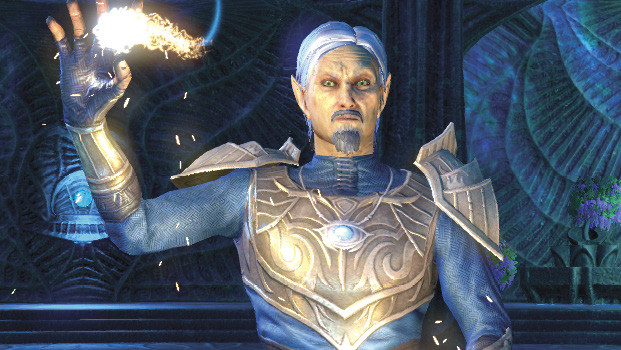
Description: Ritemaster Iachesis wants to get to the bottom of these pearls and the Aldarch’s daedric ties; he needs an Amplification Elixir for a ritual that will help him to that end. Speak with Oriandra in Ceporah Tower to find what the Ritemaster is looking for. Hopefully we can get a better understanding of our adversaries. Valsirenn will appear in Shimmerene, Alinor, Lillandril, and Artaeum to offer you the quest if you don’t take it from Ritemaster Iachesis.
Ceporah Tower
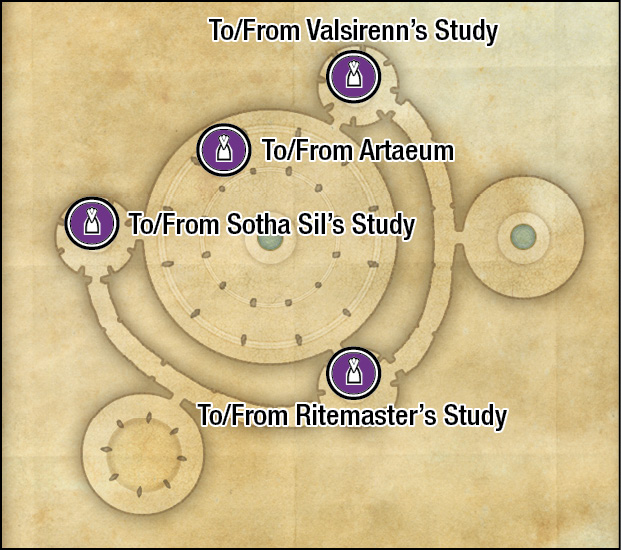
Head to Sotha Sil’s Study
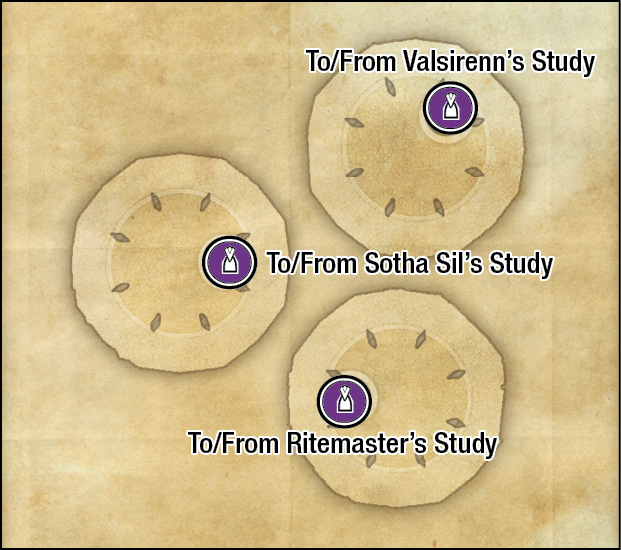
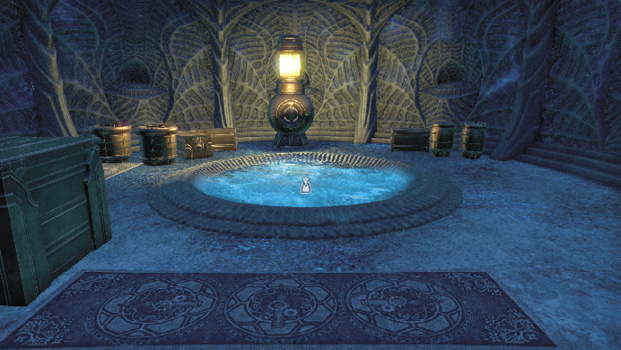
After receiving this quest from Ritemaster Iachesis, use the portal at the center of the area below the tower to enter Ceporah Tower proper. Follow the objective marker to reach the portal into Sotha Sil’s Study. You’ll find Oriandra there. She’ll point you to the southwest corner of the room to find the Amplification Elixir. Grab it and return to the Ritemaster in Ceporah Tower’s main gallery. You’ll need to help with the ritual, but it will be well worth the effort.
Talk to Canonreeve Farmeldo
Your next step is to speak with Canonreeve Farmeldo in Rellenthil on the west side of Summerset. You can use the wayshrine in front of Ceporah Tower to teleport to Shimmerene. Speak with Razum-dar in front of the bridge leading into town to pinpoint Farmeldo’s location. Farmeldo will point you in the direction of the Rellenthil Sinkhole just outside of town. Head there with Valsirenn in tow.
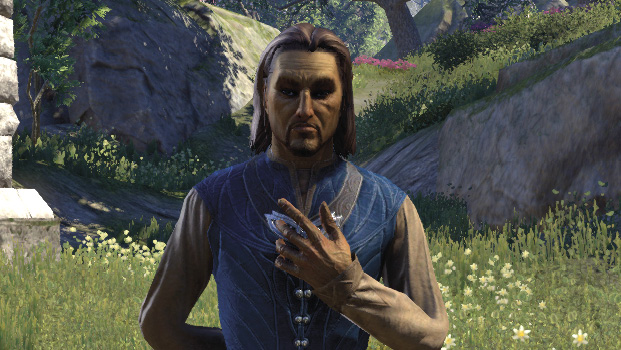
On your way to the sinkhole, you’ll spot that Golden Knight that spontaneously appeared in Shimmerene. He’ll perform his disappearing act once again before you can get a word in with him.
Once inside the sinkhole, speak with Valsirenn to get her thoughts on how to best tackle this underground labyrinth. This place is packed with daedra and Yaghra, which is nothing you can’t handle, but do be careful not to get swarmed by more enemies than you can handle.
Yaghra
You’ve already encountered many of the Yaghra, but this will be the largest concentration of them you’ll have fought up to this point. While no one basic Yaghra is ever going to fell you, a large group of them can make for some complicated fights. Here are each of the Yaghra you’ll find here and how to best deal with them.
- Yaghra Spewers: These are more focused on ranged combat than their cousins. You’re better off closing the gap on these dark insectoids than trying to approach with caution.
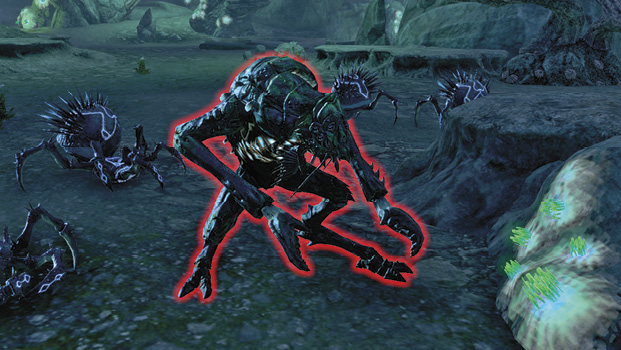
- Yaghra Larva: These have plenty of ranged attacks, but they tend to prefer a close-quarters approach. Consider making the larva your priority in fights; they have a nasty jumping attack that lands them firmly on your torso and does a decent chunk of damage.
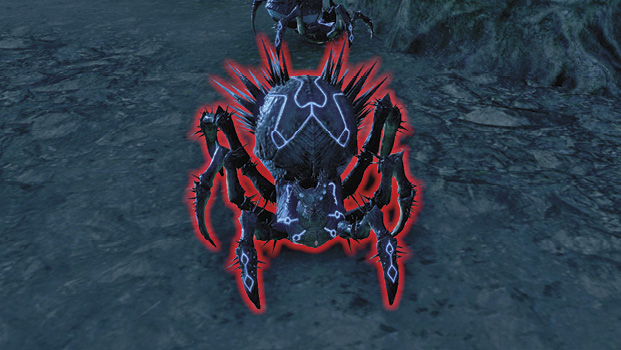
- Yaghra Striders: These are the tankiest of the basic Yaghra. They are completely melee focused and can take a fair bit more damage than their relatives. That being said, if you keep moving, they have a pretty hard time landing attacks. Generally speaking, in a standard group of enemies, you can save these ones for last while you clear the others out.
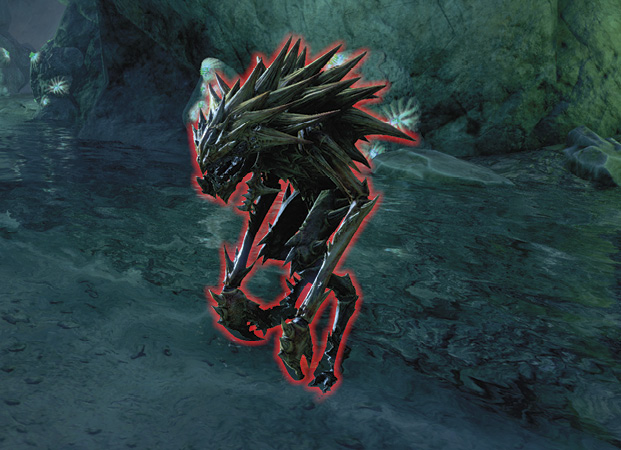
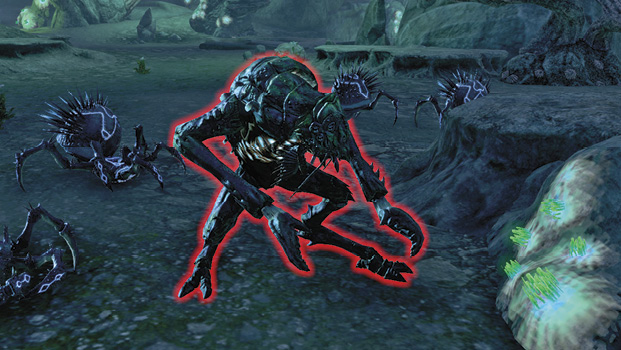
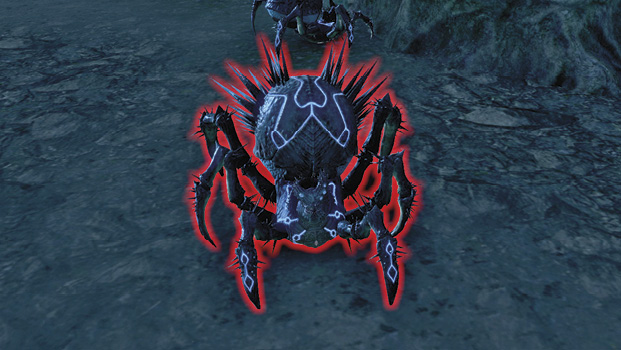
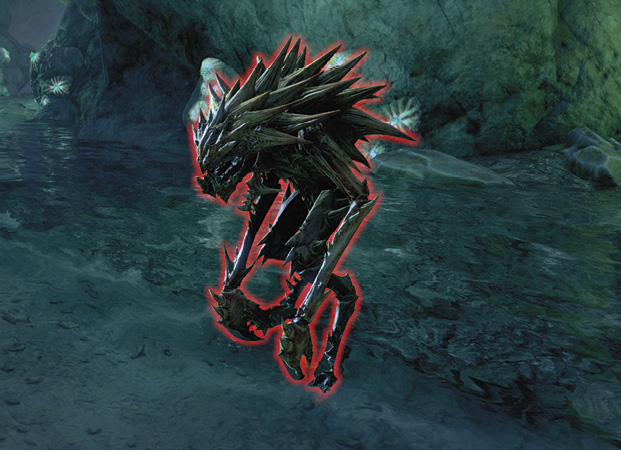
When you reach the objective circle, Valsirenn will run ahead and spy through an opening in the tunnel to your left. After she’s done speaking, head through the right passage to find Eldhon. Speak with him, then go to the next objective marker to find Valsirenn again.
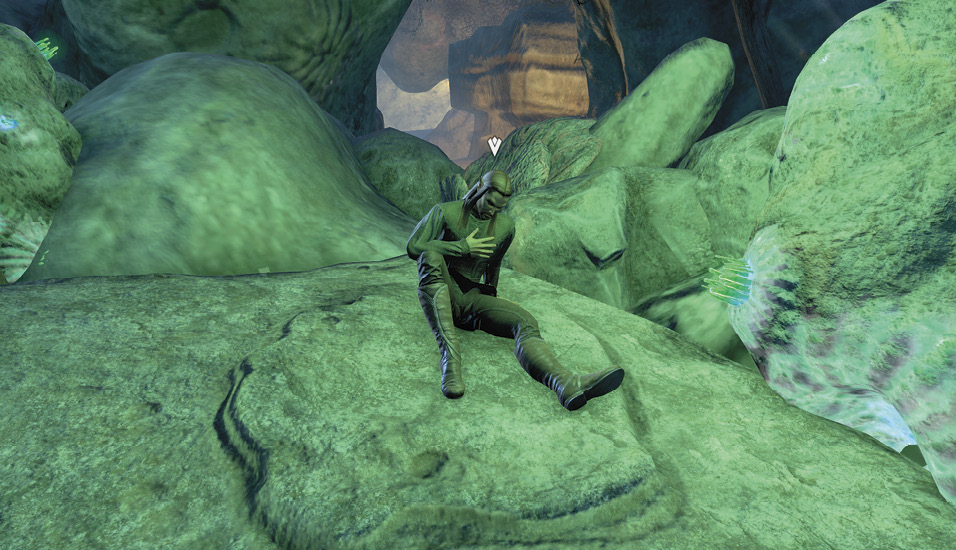
Destroy Abyssal Pearls
Valsirenn will task you with destroying Abyssal Pearls in the lower levels of the sinkhole. Each one is surrounded by Yaghra that you’ll need to clear out before you can destroy the pearls properly. You need only activate them to destroy them, so if you just finished combat and you’re not sure what to do, wait a moment next to the pearl and a button prompt will appear.
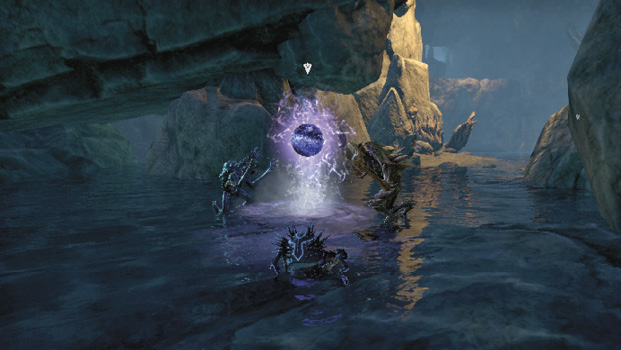
After you destroy the Abyssal Pearls, move ahead or take a moment to pick Valsirenn’s brain about recent events.
Destroy the Yaghra Monstrosity
Up ahead is a Yaghra Monstrosity: an elite Yaghra who should not be taken lightly. If you have ranged attacks, use them and keep the Yaghra Monstrosity at a distance. If you have to stay close, move away from it every time it makes any dramatic movements besides shuffling around to face you. Basically, all of its attacks immediately follow any movement that isn’t walking. While it does have ranged attacks, those are telegraphed and quite easy to dodge if you’re paying attention to the AoE rings it produces. Its close-range attacks can be a bit more unpredictable and hard to detect. Note that most of its close-range attacks can hit you no matter where you are around its body, so be sure to fully disengage when it looks like an attack is coming.
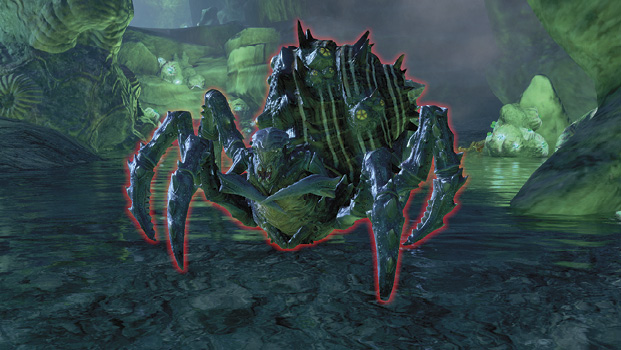
Destroy any Yaghra Larva it produces. The Larva can be killed easily, but if they are allowed to fire their projectiles or jump on you they’ll do a significant amount of damage.
Talk to Canonreeve Farmeldo
Once you defeat the Yaghra Monstrosity, head out of the sinkhole. You’ll bump into Razum-dar outside. Speak with him, then head back to Rellenthil’s Canonreeve and let him know your findings. Speak with Razum-dar, then use a wayshrine to teleport back to Artaeum.