
The Elder Scrolls Online: Summerset Guide The Atlas of Summerset Isle
Summerset Isle: Region 1 (Northwest)
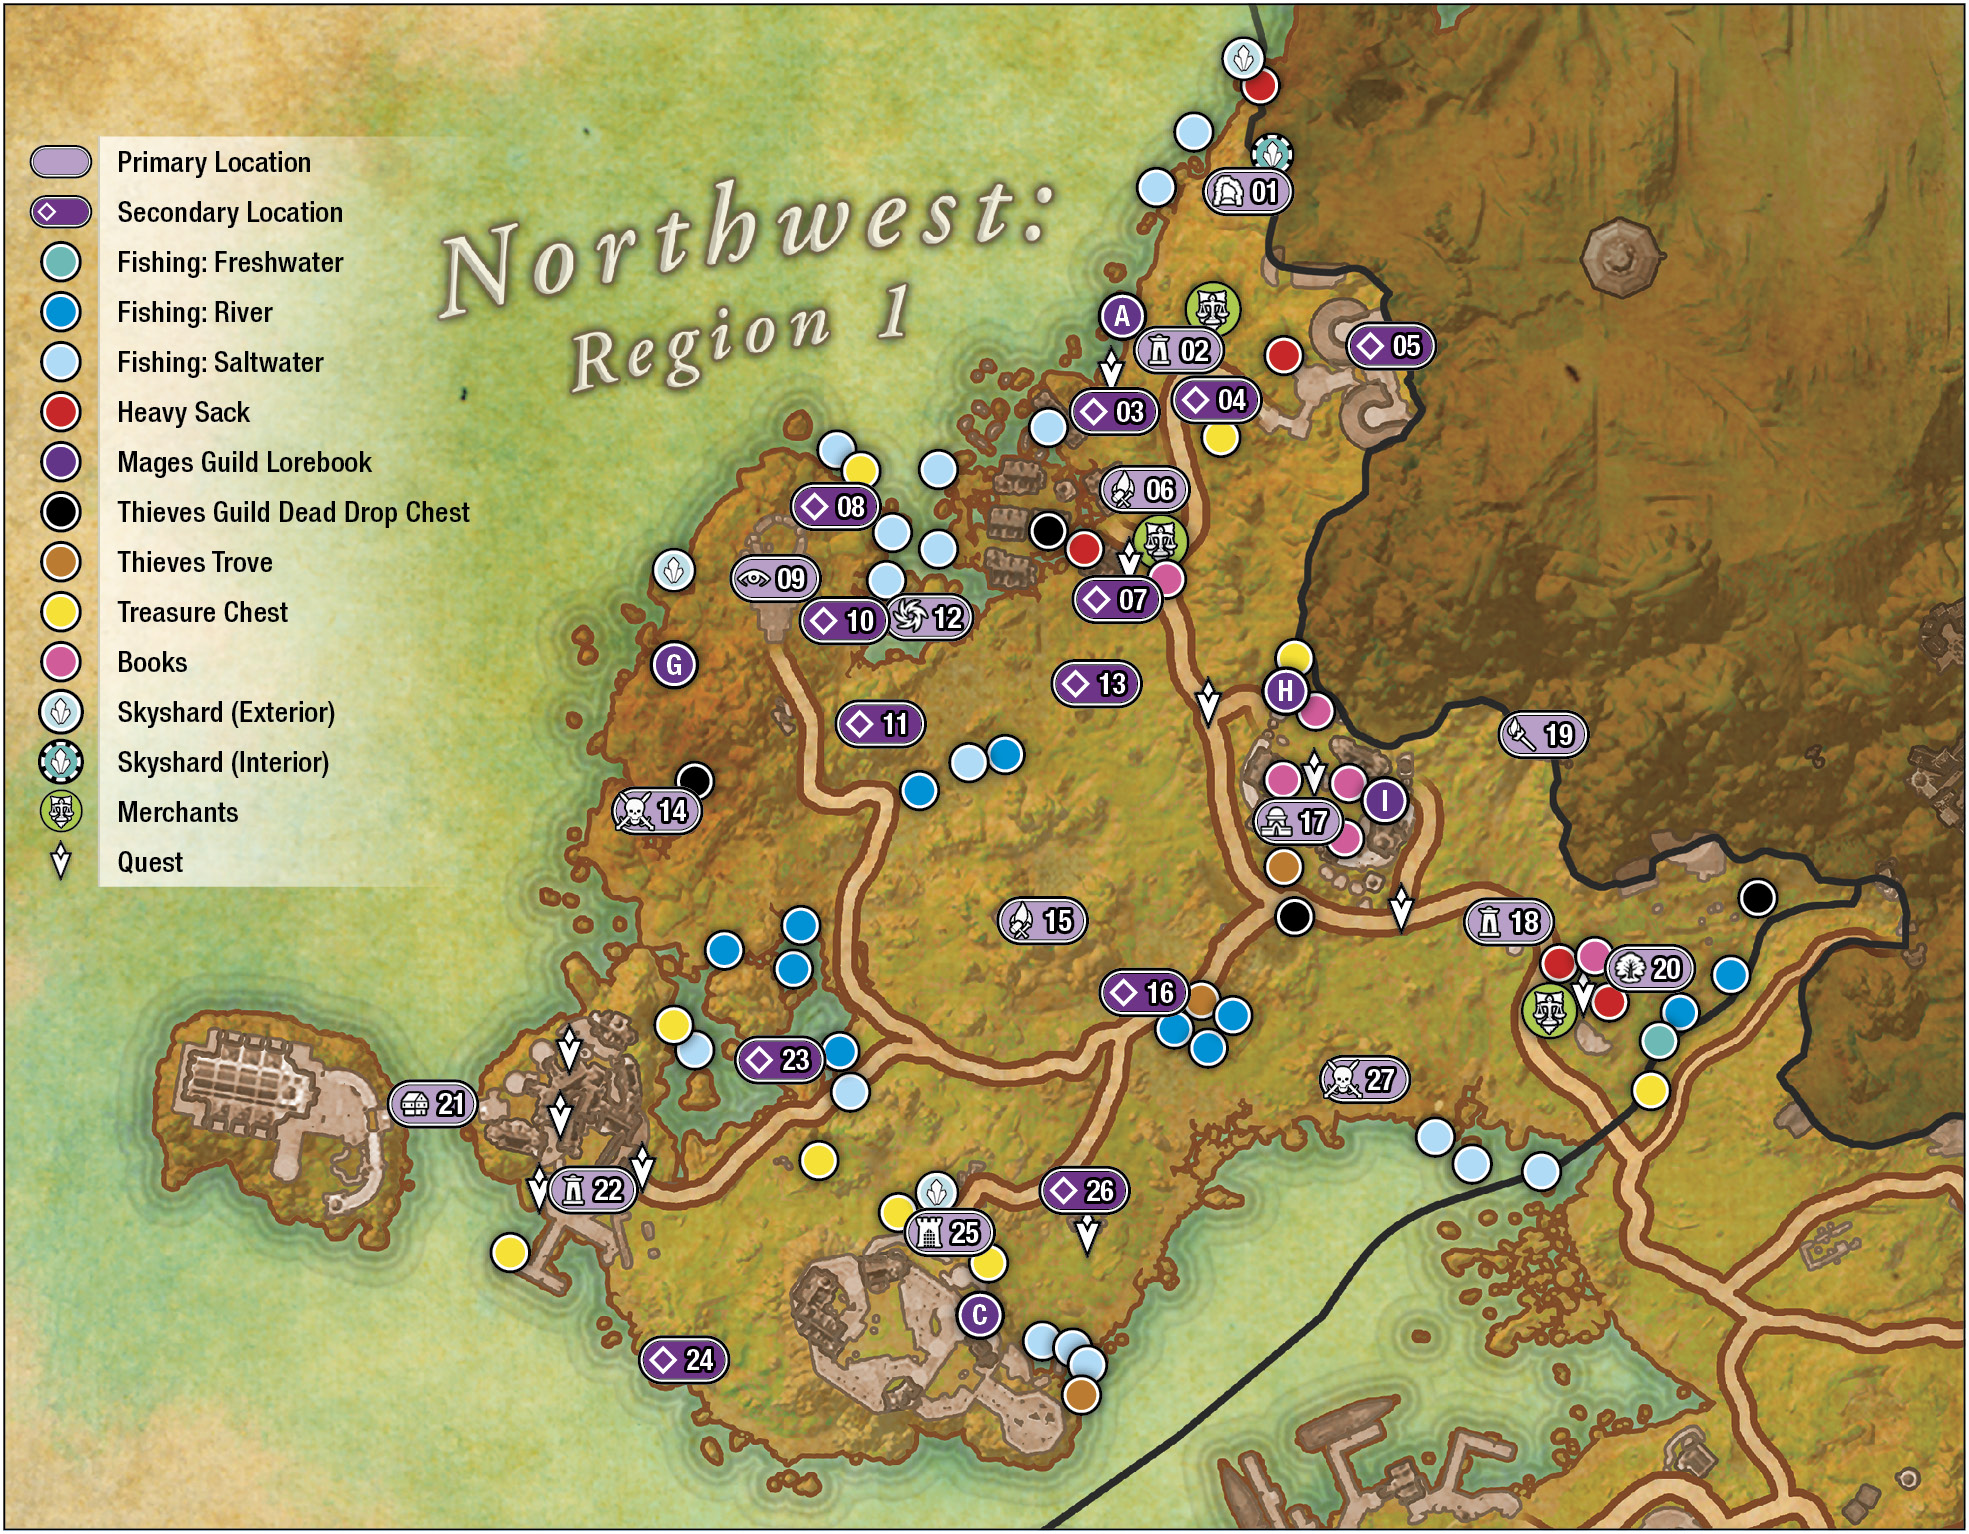
Crystal Tower, Lillandril, Illumination Academy
Rugged, coastal, and featuring a large marshland around the largest settlement of Lillandril, the northwest region of Summerset has attracted inquisitive folk from the scholarly class as well as the ne’er-do-well outlaw. This area is comprised of tidal pools; strange, half-sunken cursed hamlets (like the Corgrad Wastes); and hidden delves deep within the mountains along the northeastern edge. But it is the seats of learning; the College of Illumination and the College of Sapiarchs that many flock to see. Just be aware that dark magic is being conjured. How else can one explain the influx of daedra and the dark maelstrom enveloping the Sea Keep?
Locations
 Primary
  Secondary
| # | Name |
|---|---|
| # | Name |
|
|
Karnwasten (West Entrance) |
|
|
The Crystal Tower Wayshrine |
|
|
Amsha’s Camp |
|
|
Watchtower |
|
|
The Crystal Tower (Entrance) |
|
|
Corgrad Wastes |
|
|
Ruliel’s Camp |
|
|
Coastal Shrine and Fishing Hole |
|
|
Cathedral of Webs |
|
|
Cathedral of Webs (Exit) |
|
|
Skeleton Alcove |
|
|
Corgrad Abyssal Geyser |
|
|
Rocky Camp and Small Shrine |
|
|
The Queen’s Hatchery |
|
|
Augury Basin |
|
|
Augury Basin Bridge |
|
|
Illumination Academy |
|
|
Ebon Stadmont Wayshrine |
|
|
King’s Haven Pass (West Entrance) |
|
|
Ebon Stadmont |
|
|
Lillandril and the College of Sapiarchs |
|
|
Lillandril Wayshrine |
|
|
Fishing Camp |
|
|
Saltbreeze Cave |
|
|
Sea Keep |
|
|
Sea Keep Camp |
|
|
Keelsplitter’s Nest |


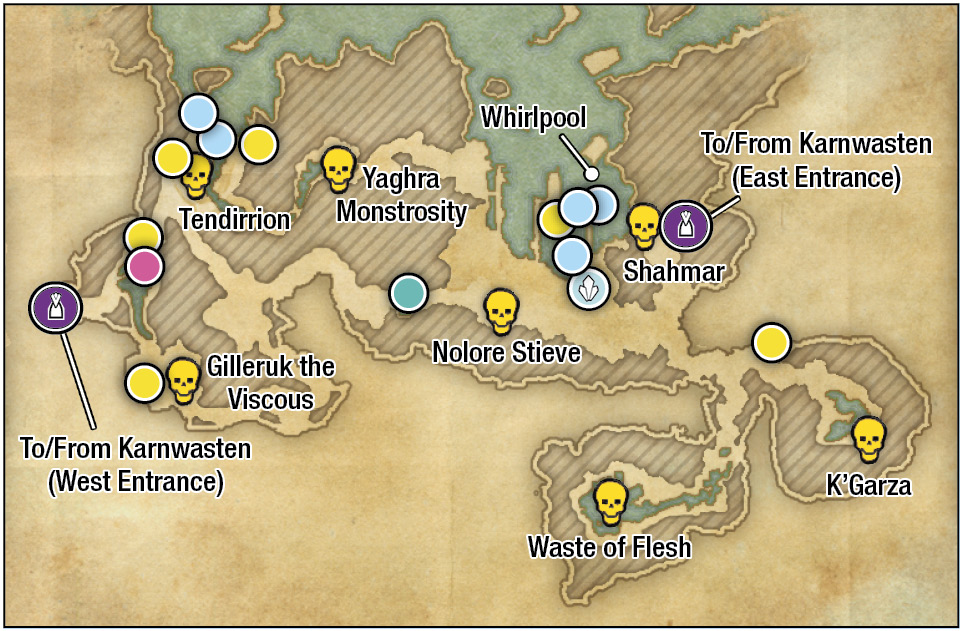
Public Dungeon: Karnwasten (West Entrance)

Building or Threshold |
 |
Fishing: Freshwater |
 |
Fishing: Saltwater |
 |
Treasure Chest |
 |
Books |
 |
Skyshard (Interior) |
 |
Enemy (Difficult) |
- Information: Interior, Primary Location, Public Dungeon; Skyshard (Exterior), Skyshard (Interior)
- Entities of Note: Renzier
- Enemies: Coral Crab, Flesh Atronach, Night Runner, Reef Viper, Risen, Salamander
- Boss (Public Dungeon Group Event): K’Garza (Holdala Reni, Maelrisse, Sakjhera, Yargonk)
- Boss (Public Dungeon Quest): Madja
- Bosses (Champions): Tendirrion (Champion), Gilleruk the Viscous (Champion), Waste of Flesh (Champion), Shahmar (Champion), Nolore Stieve (Champion)
- Nearby Quests: An Unexpected Betrayal
“The most rigid and hidebound societies conceal the most illicit activity just below the surface. If you have tariffs and duties, you also will have smugglers who evade them. If one squeezes hard on a bladder wine-sack, the wine must spurt out somewhere, yes?” —Razum-dar

The “spurt” is mainly confined to this huge ocean cove that crosses the entire northern shores of Summerset Isle. This public dungeon has two entrances—the western one near the Crystal Tower Wayshrine and the eastern one in Region 3—and a fellow named Renzier sitting outside, hoping you’ll attempt his quest. Before heading inside, check the beach to the northwest of the entrance for a Skyshard.
The sheer scale of this covered cove and intersecting tunnels is impressive. The western side of the dungeon is home to Night Runner enemies, though these smugglers have succumbed to the mind-bending powers of K’Garza, and have become Risen the further east you trek. Check the map for boss locations, and don’t forget that some of the tunnels may be above or below you.


Wayshrine: The Crystal Tower
- Information: Mages Guild Lorebook; Merchant; Primary Location; Wayshrine
- Entities of Note: Hanursae (Merchant)
Although this wayshrine is perched on a cliff at the foot of the stone entrance to the Crystal Tower, you will usually utilize it to quickly reach Karnwasten to the north. Check the beach to the west for a Mages Guild Lorebook, and barter with the lone merchant Hanursae a little farther up the road.


Amsha’s Camp
- Information: Secondary Location
- Entities of Note: Amsha
- Nearby Quests: Wasting Away
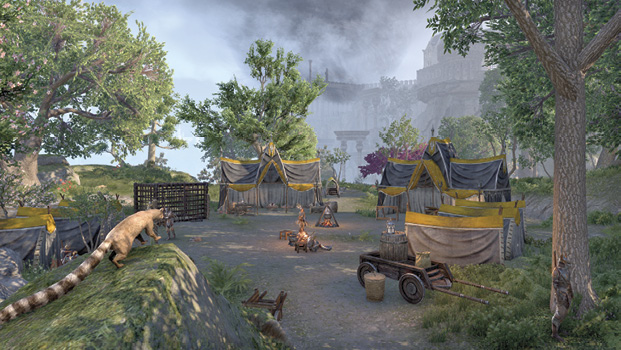
On the northeastern outskirts of Corgard is a beach camp, populated by a lone Khajiit named Amsha. Speak to him to begin the quest, if you haven’t already met Ruliel at his camp to the south.
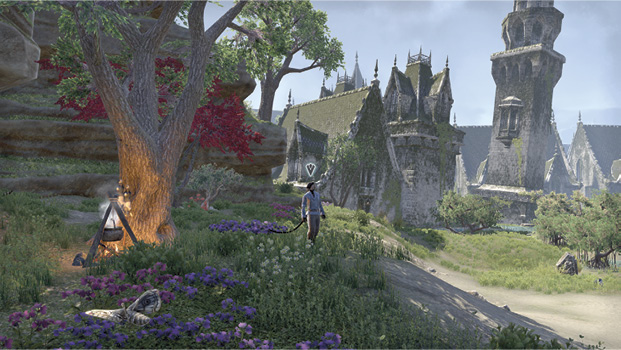

Watchtower
- Information: Interior, Secondary Location; Treasure Chest
- Enemies: Skavenger
After ascending the first of the grand stone steps, enter this tower situated on the cliff promontory. The a small, vertical interior leads to a chamber to ransack and a ladder to the turret roof, where you’ll have an impressive view of the Crystal Tower (entrance). Check the exterior tower base for a chest.
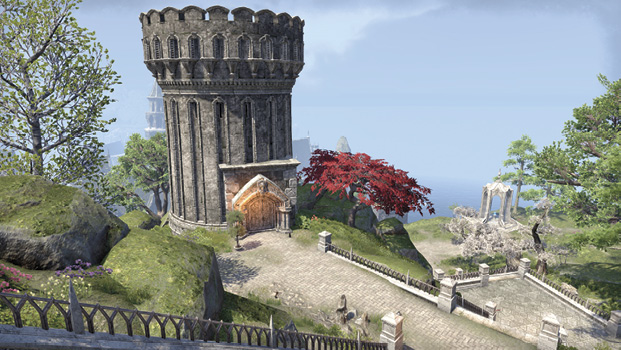

The Crystal Tower (Entrance)
- Information: Secondary Location
- Nearby Quests: The Crystal Tower
Though this entrance to the Crystal Tower has been sealed and is inaccessible, there is another way in. Consult location 5.01 Ceporah Tower, in Region 5 (Artaeum) to learn how to explore the vertical interior of this place.


Camp: Corgrad Wastes
- Information: Camp; Fishing Hole; Heavy Sack; Interior, Merchant; Plants: Jute, Nirnroot, Stinkhorn, Water Hyacinth; Primary Location; Thieves Guild Dead Drop Chest
- Entities of Note: Amsha; Cavern Dweller, Faidur; Kinlady Taanwae, Kinlord Nemfarion, Maliren (Merchant), Murderil, Ruliel, Rultarion
- Enemies: Coral Crab, Mud Hopper, Reef Viper, Salamander, Sea Adder, Spider
- Boss: Arillas
- Nearby Quests: Wasting Away
The reach of Thras has been felt far beyond its own land. The Thrassian Plague, which decimated Tamriel’s population in the year 2260 of the First Era, was their most egregious attack against the mainland, but other, subtler predations have also been recorded.
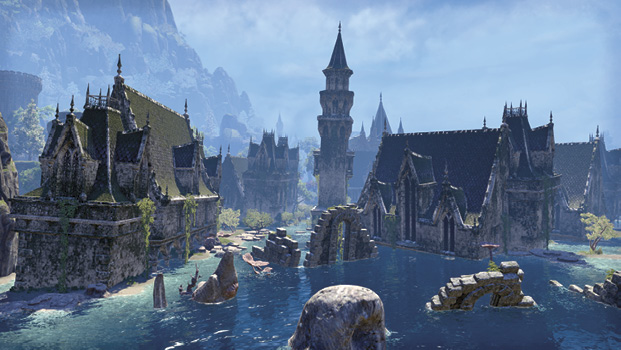
Currently being swallowed by the sea, this cursed town is now brimming with hostile life, while strange sounds emanate from the manor house slowly sinking into the water. Currently, squatters are venturing close to the place, but they don’t enter the ruins. Start the quest by visiting either Amsha (to the north) or Ruliel (to the east, near Maliren the merchant).
|
|
Enemy (Difficult) |
 |
Building or Threshold |
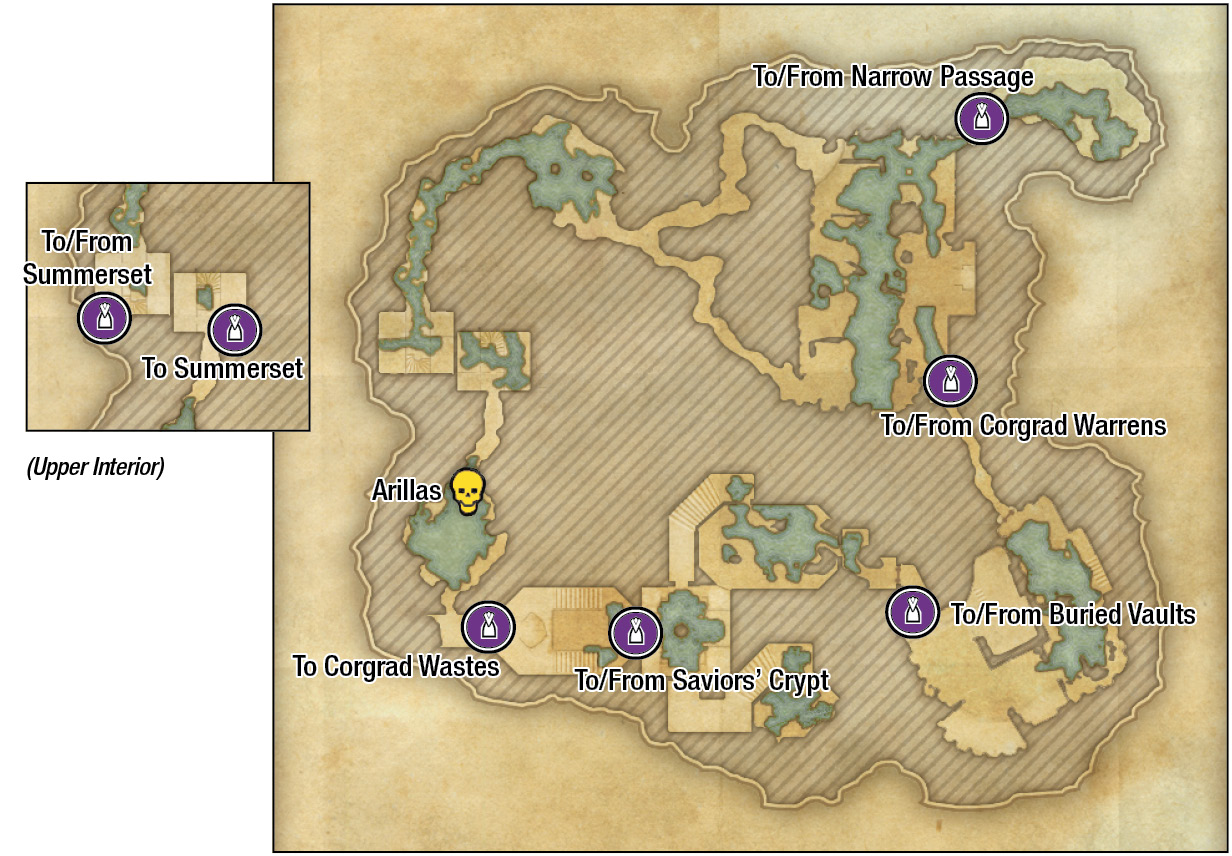
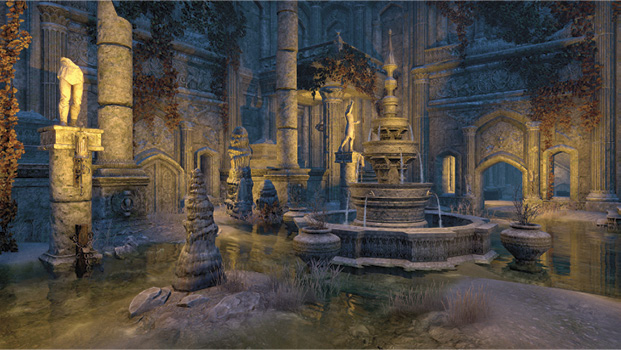
Once you begin the quest and enter the manor house via the broken window, you can explore the connecting tunnels of this large, underground area. It appears to be a subterranean temple, with a small narrow passage in the first main entrance room (once you navigate the tunnels and speak to Arillas), as well as access into the warrens. This leads into the buried vaults and the Saviors’ Crypt, where the true plague-ridden horrors of these catacombs are revealed! All the while, you must best the blood-letting Cavern Dwellers in combat, as well as a selection of more natural monsters. The final caverns require you to face Arillas in combat.

Ruliel’s Camp
- Information: Secondary Location
- Entities of Note: Ruliel, Faidur
- Nearby Quests: Wasting Away
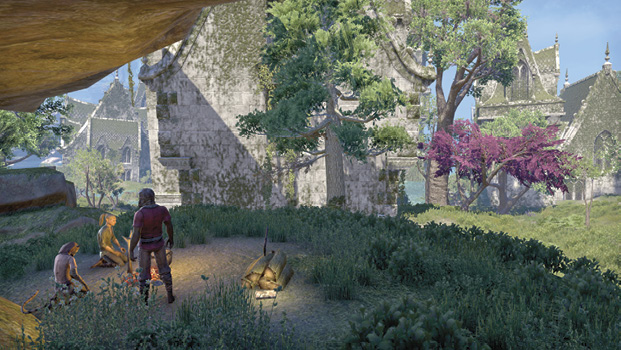
Begin the quest to uncover the secrets of the mysterious swamp town of Corgard by visiting Ruliel at his camp. Speak to him to begin the quest, if you haven’t already met Amsha at his camp to the north.

Coastal Shrine and Fishing Hole
- Information: Fishing Hole; Secondary Location; Treasure Chest
- Enemies: Reef Viper
Along the northeastern shores below the Cathedral of Webs is a bluff and small shrine, with a treasure chest nestled nearby. Scout the shoreline for fishing opportunities.


Interesting Locale: Cathedral of Webs
|
|
Enemy (Difficult) |

 |
Building or Threshold |
- Information: Interesting Locale; Mages Guild Lorebook; Primary Location; Skyshard (Exterior); Treasure Chest
- Entities of Note: Cultists (Deceased); Leythen, Mephala
- Enemies: Beetles; Centipedes; Gloam Larva Poppers; Gloam Monstrosity; Gloam Spewers; Gloam Striders; Spiders;
- Boss: Krezzinior
- Nearby Quests: A Necessary Alliance
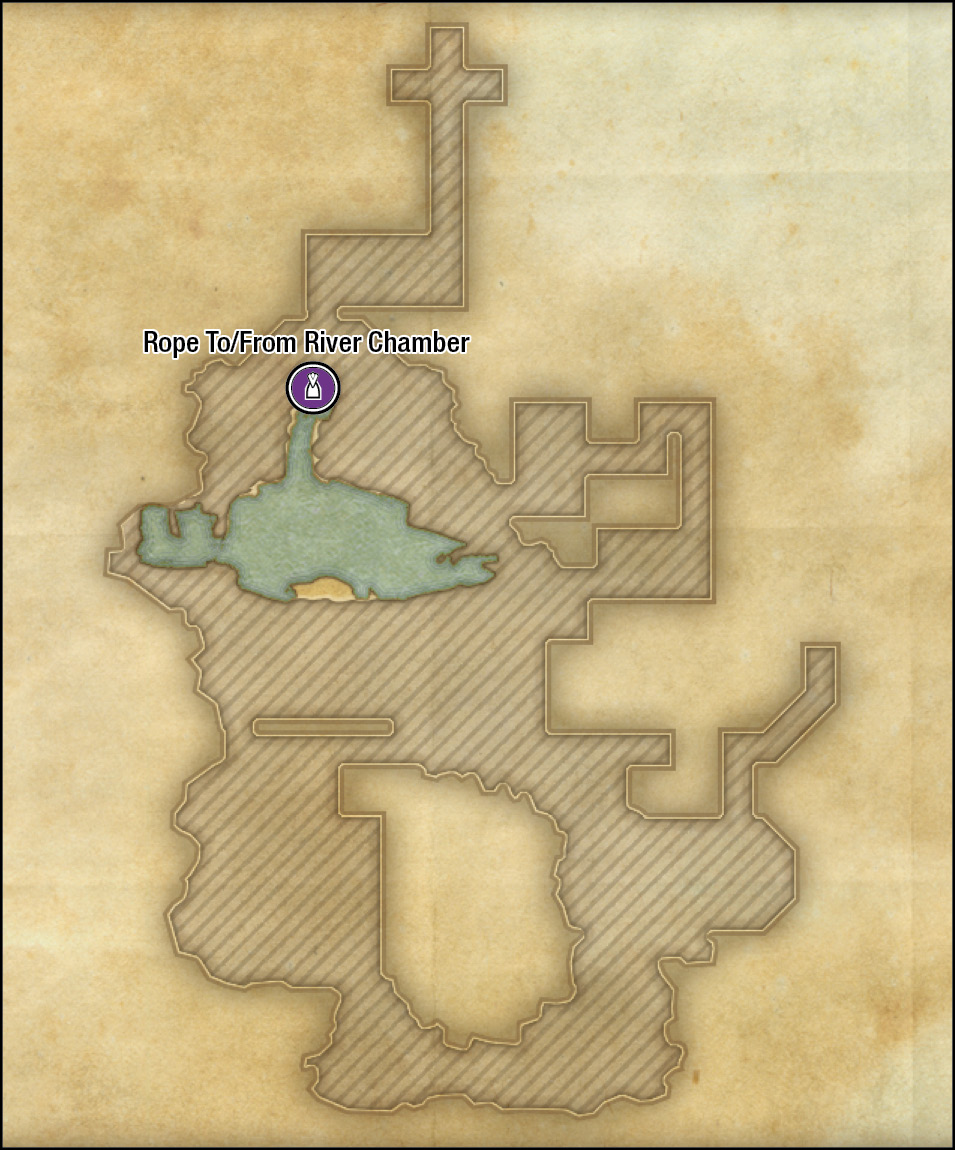
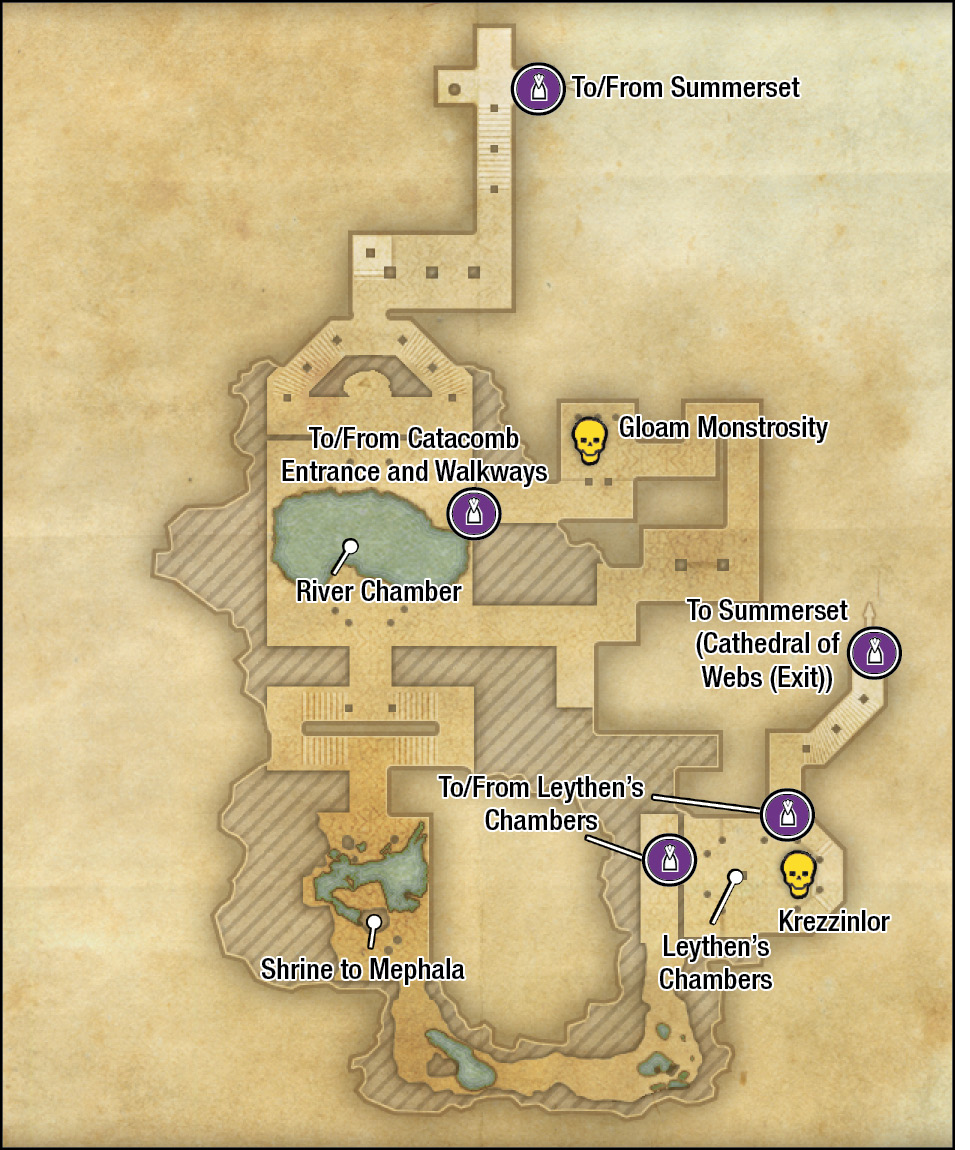
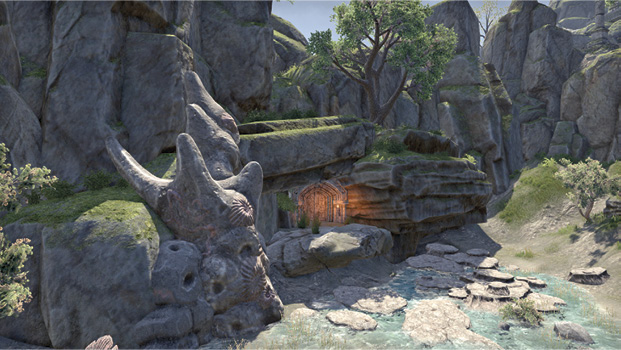
Accessed via the path to the south, the majority of this promontory is filled with old ruins, craggy paths, and blossoming trees. Follow the path and explore the exterior fully to discover a Mages Guild Lorebook along the western promontory, as well as a Skyshard on the grassy coastal rocks below. Once the indicated quest is active, bring your spider-killing equipment and access the sprawling interior with Leythen.

Long ago, these halls echoed with the tread of scholars, college functionaries tending to the oghmas and archives of the ancient civilization of the long-lived High Elves. But those days are over. Now these catacombs are filled with revolting daedric Gloam entities, a revolting boss named Krezzinior, and an impressive shrine to the Daedric prince Mephala. Consult the quest for true revelations!


Cathedral of Webs (Exit)
- Information: Plant: Blue Entoloma; Secondary Location
- Enemies: Mud Hoppers
- Nearby Quests: A Necessary Alliance
A raised rock ledge in the southeastern corner of the promontory allows you to enter and exit the Cathedral of Webs from a different path, assuming the quest is active.

Skeleton Alcove
- Information: Secondary Location
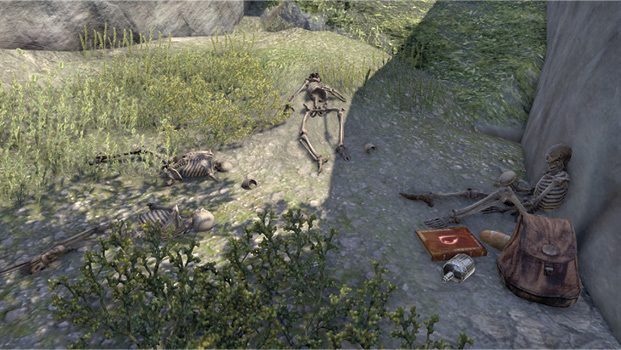
Tucked away in the rocky crags southeast of the Cathedral of Webs promontory are the remains of four skeletons.

Abyssal Geyser: Corgrad
- Information: Fishing Hole; Abyssal Geyser; Primary Location
- Entities of Note: Acolyte of Bedlam
- Enemies: Varies
Boss (Varies): Ruella Many-Claws; Churug of the Abyss; Sheefar of the Depths; Girawell the Erratic; Muustikar Wave-Eater; Reefhammer; Darkstorm the Alluring; Eejoba the Radiant; Tidewrack; Vsskalvor; Yaghra Monstrosity

Step up to the Acolyte of Bedlam at the center of this coastal cove, and expect waves of incoming foes. Bring your cohorts to fend off this teleporting adversary. Once the final wave is over, expect to face one of the previously listed bosses, after which a clamshell treasure chest becomes accessible, containing some high-level loot. Return here to repeat this (randomized) challenge.

Rocky Camp and Small Shrine
- Information: Secondary Location
- Enemies: Night Runner
At the foot of a tower rock formation is a small roasting fire where Night Runners sometimes appear. Use this as a marked spot when exploring the area. Once you explore the nearby Cargrad Abyssal Geyser and Wastes, it’s relatively safe to return here.


Group Boss: The Queen’s Hatchery
- Information: Group Boss; Ore Deposits: Iron Ore; Primary Location; Thieves Guild Dead Drop Chest
- Enemies: Coral Crab
- Boss: Queen of the Reef (Coral Crab)
The western grotto along this rocky coast is home to a truly fearsome and gigantic Coral Crab known colloquially as Queen of the Reef. Bring your friends if you wish to defeat her. Also survey the topography; there’s higher ground to the east (along with a Dead Drop Chest, accessed via a pond to the south) that may help ranged attackers defeat her.
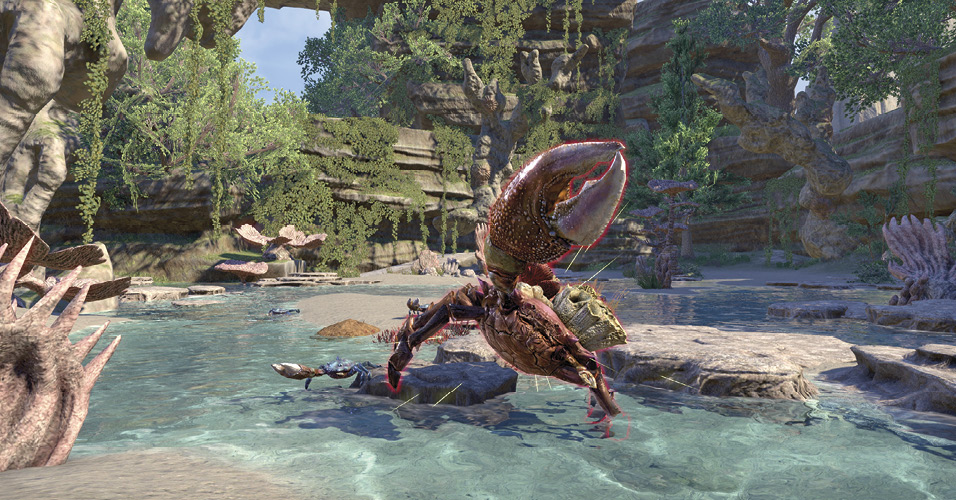

Crafting: Augury Basin
- Information: Cooking Fire; Crafting; Primary Location; Stations: Blacksmithing, Clothing, Jewelry, Woodworking
- Enemies: Mud Hopper, Reef Viper, Sea Adder
Head to this serene pool and the relative safety of this crafting hub, should you wish to hammer, tinker, or otherwise improve your crafting abilities.
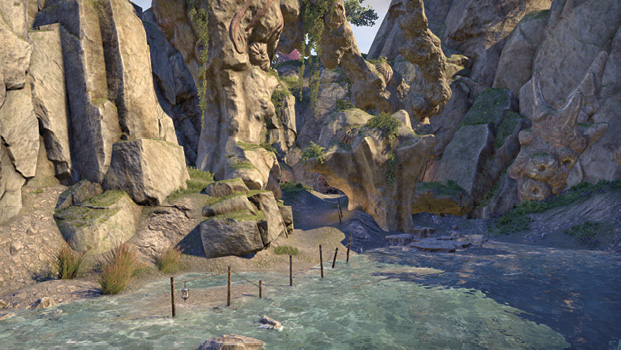

Augury Basin Bridge
- Information: Plants: Water Hyacinth; Secondary Location
- Enemies: Mud Hoppers, Torch Bugs
Cross this bridge to access the direct path across the swamps to and from Lillandril and the Sea Keep (to the west) and the Illumination Academy (to the northeast). Use it as a marker so you don’t get lost in the marshes.
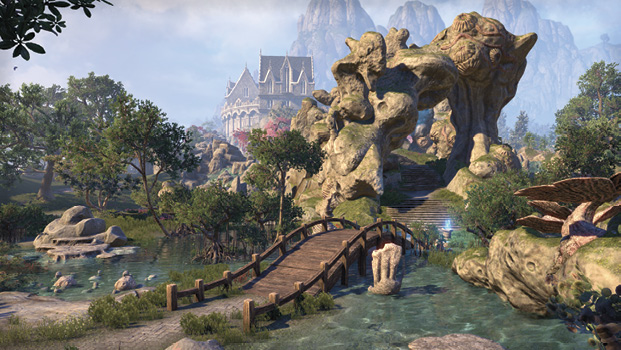

Seat of Learning: Illumination Academy
- Information: Cooking Fire, Mages Guild Lorebook (2); Primary Location; Seat of Learning; Thieves Guild Dead Drop Chest; Thieves Trove, Treasure Chest
- Entities of Note: Erudil, Glardir, Helva (Dog), Meredil the Archivist, Merenfire, Pavo Maria, Selynia, Tanelwen
- Enemies: Dire Wolf, Illuminated, Kagouti, Spider, Spriggan
- Boss: Minotaur
- Boss: Illuminated One
- Nearby Quests: Illusions of Grandeur
“In each of you resides the Divine Spark, and thus the record of thy actions stands as a sacred duty. Keep, therefore, each and every one of you, an Odhma, an everscriven scroll which shall memorialize thy brief lives. Thus in at least this way shalt thy Spark be Immortal.” —Xarxes Himself
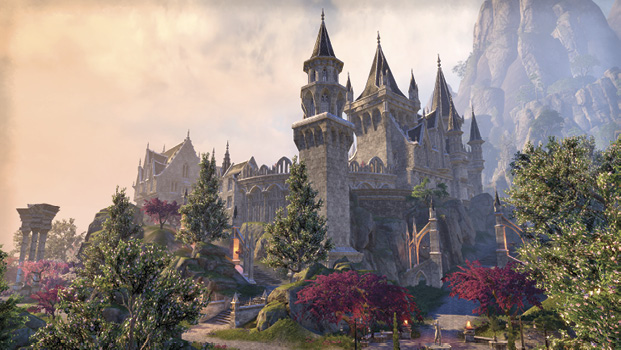
A vast and impressive seat of learning, this temple to the tomes of knowledge has a quest to solve (involving the addling of the librarians’ minds that work here due to Daedric mischief) and books to enjoy. The impressive settlement has three main interior structures around a central courtyard. All are accessible without needing to pick any locks.
To the west is the Academy guest wing (two entrances): Visitors may rest here in either of the separate, three-story visitors quarters, though it is unnecessary to visit during the quest. As expected, the decor is ornate and formal but comfortable.
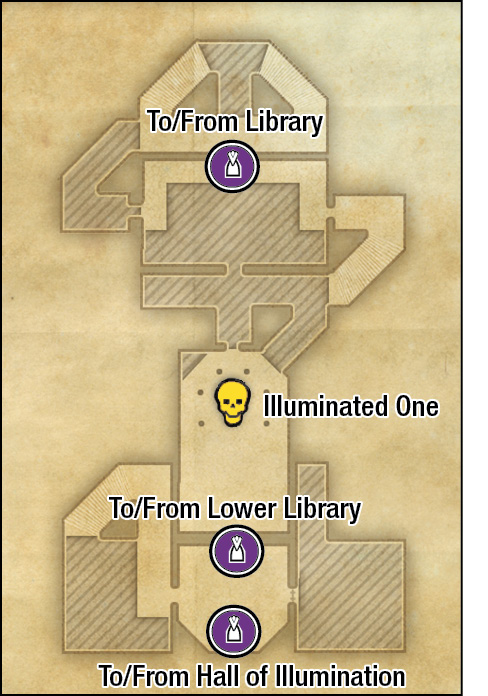
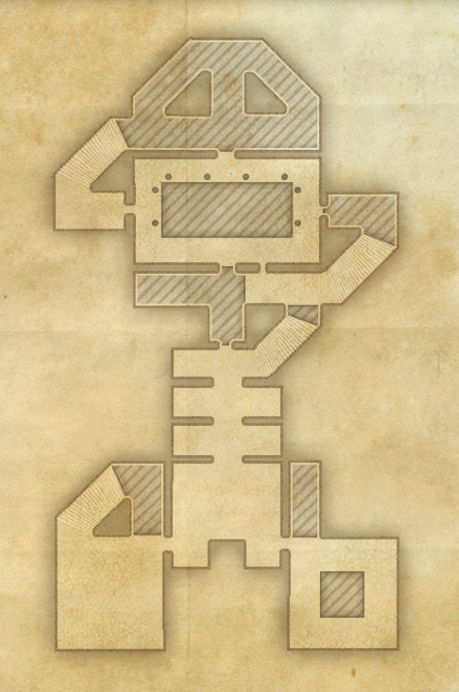
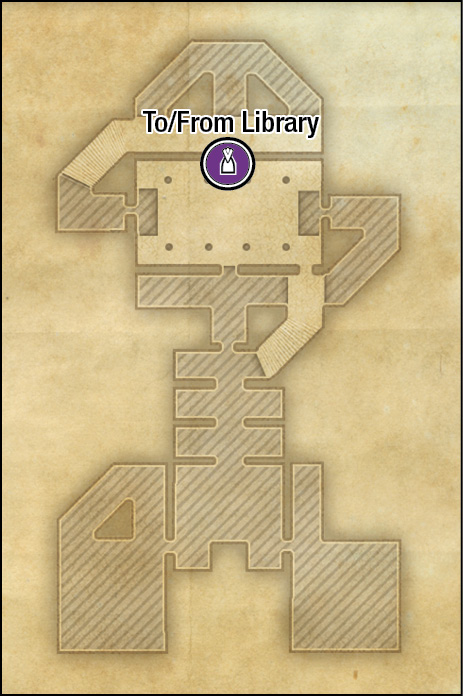
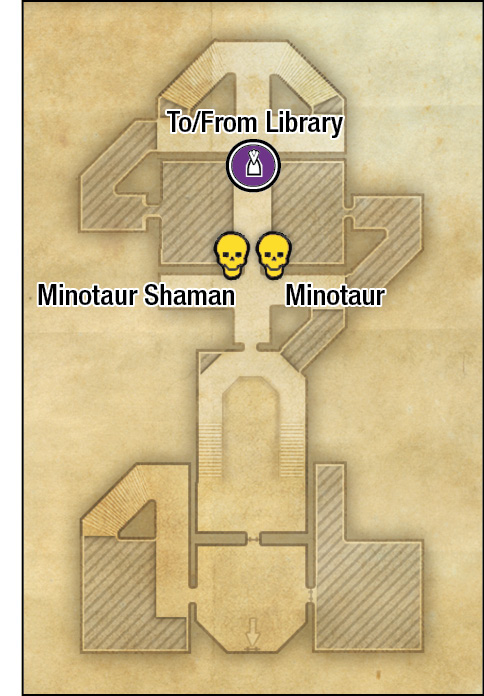
To the north is the Hall of Illumination (two entrances): The side entrance takes you to the Academy stacks and the main underground interior. The main entrance allows access to various chambers of beds and books and an upstairs study hall.
To the southeast, on the upper battlements, is the faculty hall (one entrance). Use the wall access on the upper level to speak to Selynia during the quest in here; it leads to the exterior battlements.
|
|
Enemy (Difficult) |
 |
Building or Threshold |
Reach the basement stacks of the Academy during the quest, after accessing the side entrance to the Hall of Illumination. Here you encounter a variety of illusions, with wayward books to grab and push back into their correct cases. Only then can you face a fearsome pair of minotaurs and the Illuminated One.
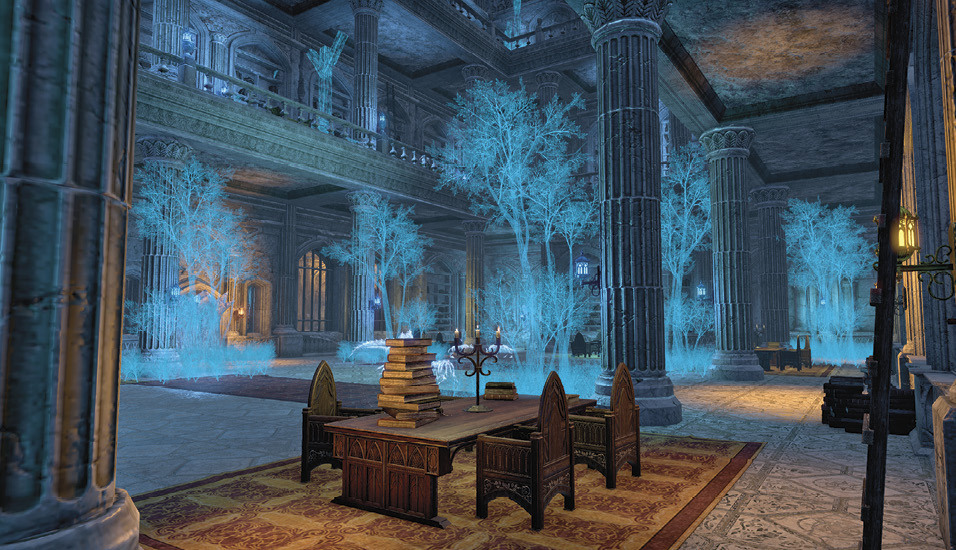

Wayshrine: Ebon Stadmont
- Information: Plants: Imp Stool; Primary Location; Wayshrine
Equidistant between the Illumination Academy (to the northwest) and Ebon Stadmont (to the southeast), this wayshrine is close to the main path and offers easy access to King’s Haven Pass (north).
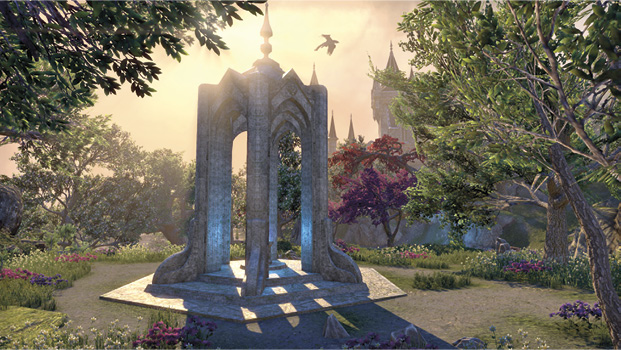

Delve: King’s Haven Pass (West Entrance)
- Information: Delve; Interior; Primary Location
- Entities of Note: Mehdze, Naliara
- Enemies: Coral-Splitter (Goblin); Reef Viper, Skein Spider, Welwa
- Boss: Avuuma the Whirlwind (Gryphon)
- Boss: Keetas the Weaver (Skein Spider)
- Nearby Quests: Savage Truths
This is one of two accessible entrances into this delve. The other is located across the mountains, in Region 3. As that location has an associated wayshrine of the same name, all the interior information is listed there. Consult Location 3.05 for more information.


Sacred Grove: Ebon Stadmont
|
|
Enemy (Difficult) |
 |
Building or Threshold |
- Information: Heavy Sack; Interior; Mages Guild Book; Merchant; Primary Location; Sacred Grove
- Entities of Note: Andewen, Fletch, Hanelaon (Merchant), Maestro Forte
- Enemies: Banekin, Gloam Wolf, Hunger, Indrik, Welwa, Winged Twilight, Wisp Mother
- Bosses: Ogrim, Seducer Predator, Fletch, Wraith-of-Crows
- Nearby Quests: The Ebon Sanctum
High Elves are used to magic, so the misdirection spells wreathing the woods of Ebon Stadmont are regarded by the locals as a sort of amusing curiosity. There’s talk of an “Ebon Sanctum” hidden somewhere within, but no one really believes in it.

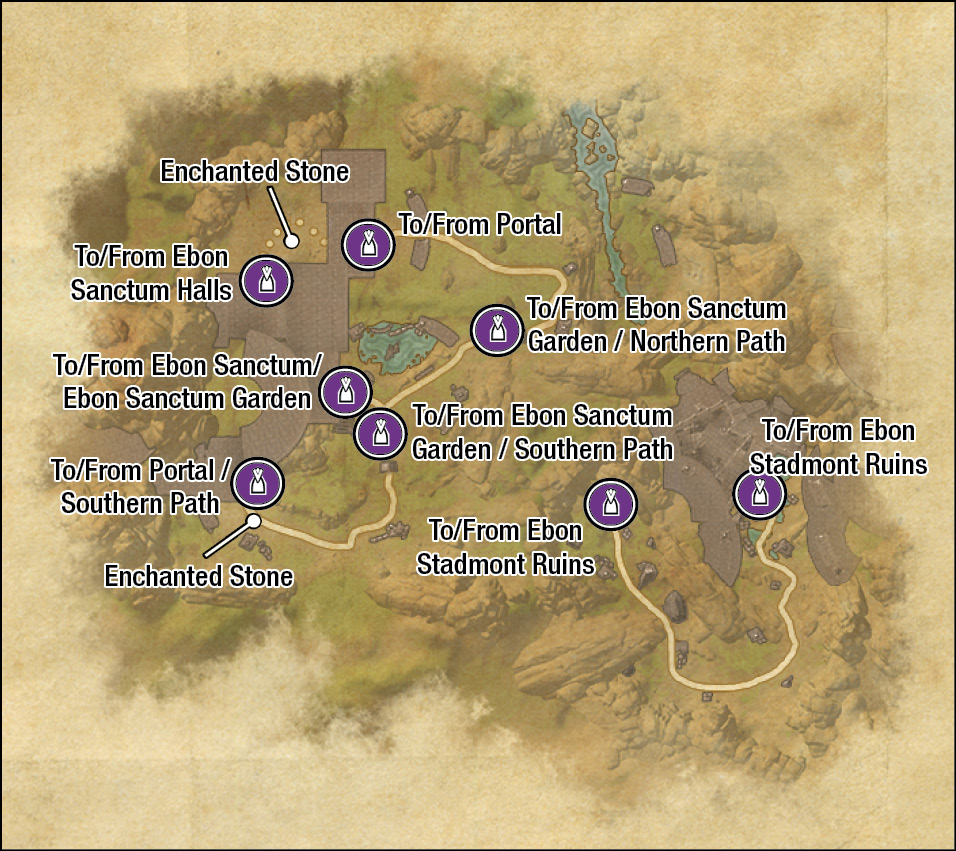
Draped with thick brambles, this heavily wooded area provides narrow pathways to the east and west (the river), with a small camp of adventurers on the eastern edge, led by Andewen. Consult her for the quest, allowing you access to an otherwise-inaccessible part of the Ebon Stadmont, hiding an ancient temple and inscriptions of a mysterious language. Within the brambles are two inscription stones. Expect to be attacked by daedra (including an Ogrim and Seducer Predators) at each one.
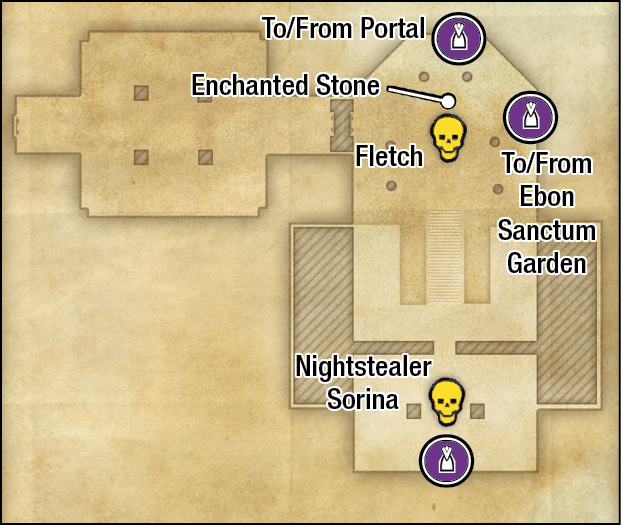
The third enchanted “seeing” stone is found within the Sanctum interior, along with Fletch.
The gardens of this ancient structure are brimming with magic and daedra, and you must travel between time periods to fully reveal the garden’s secrets.

Town: Lillandril

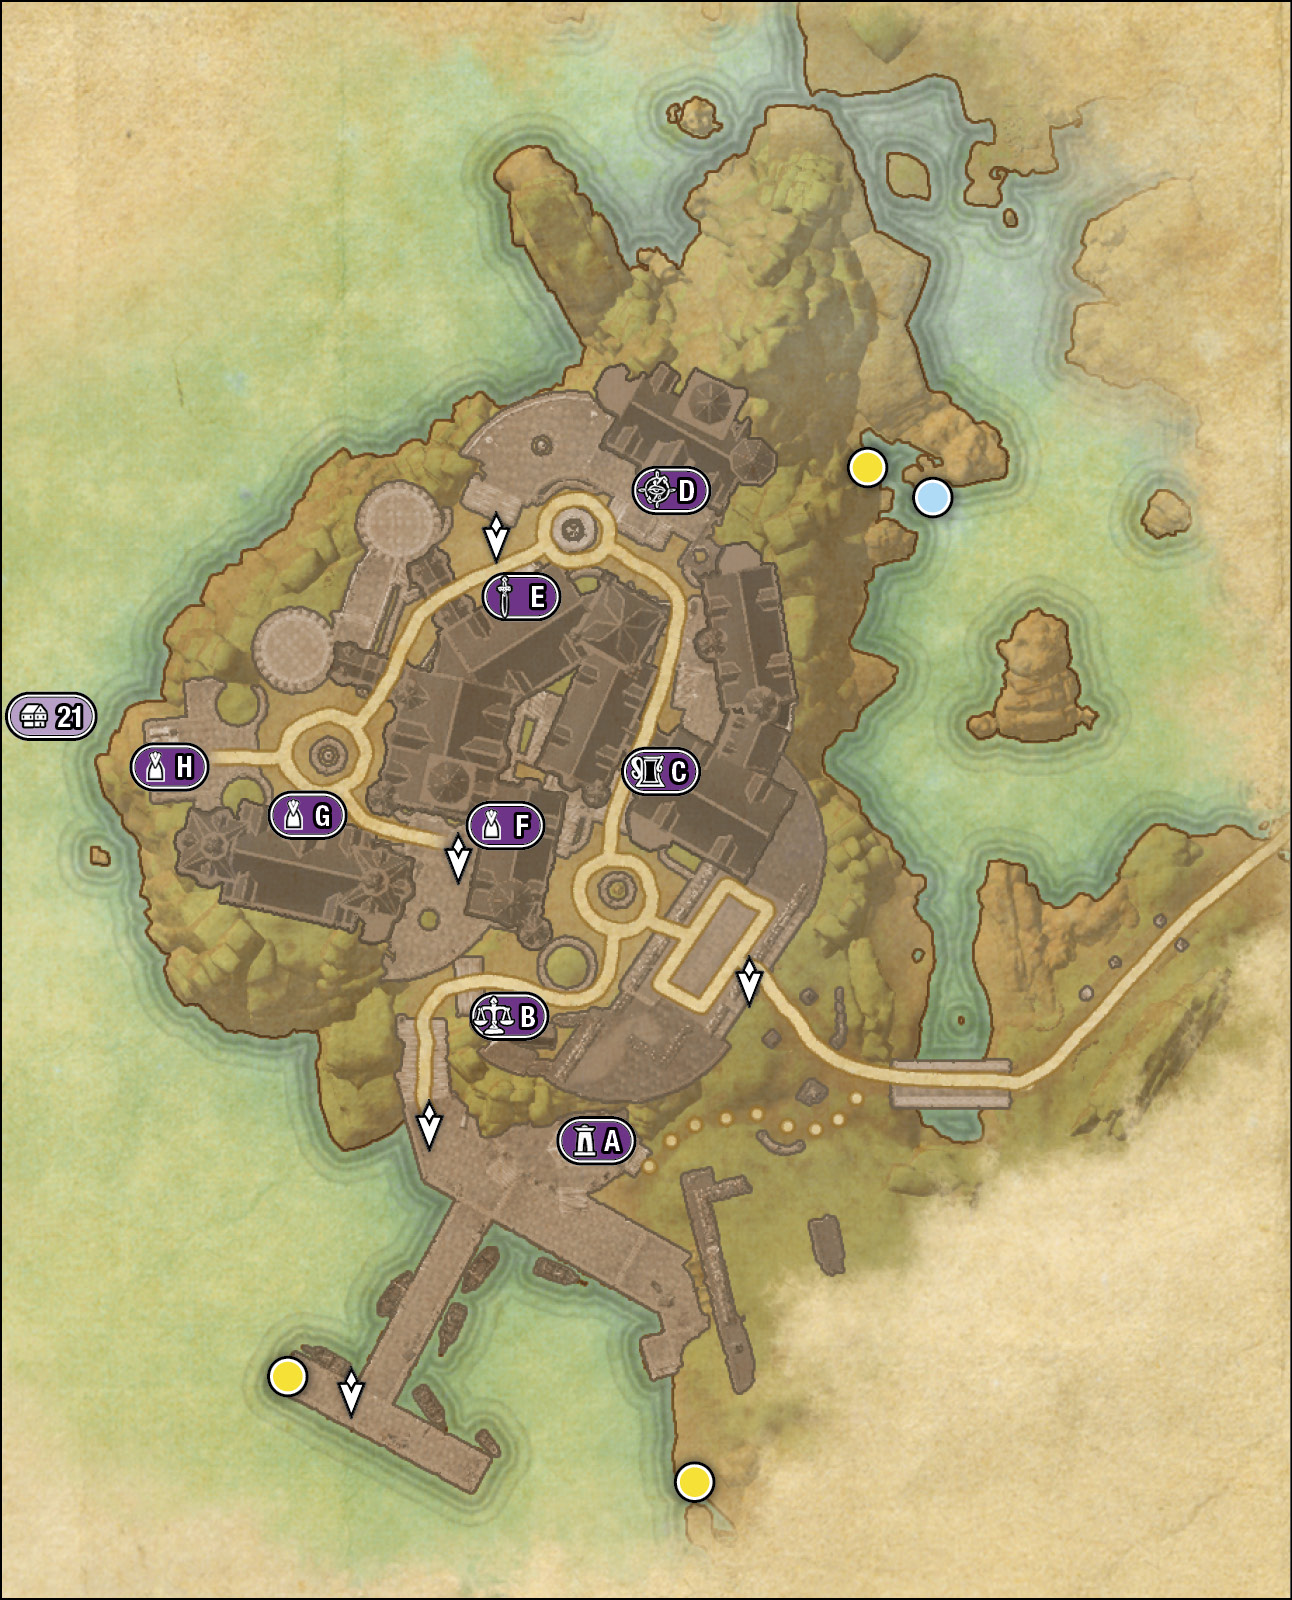
- Information: Fishing Hole; Primary Location; Town; Treasure Chest
- Entities of Note: Faralan; Tindoria
- Enemies: Mud Hopper, Sea Adder
- Nearby Quests: Murder in Lillandril, The Perils of Art
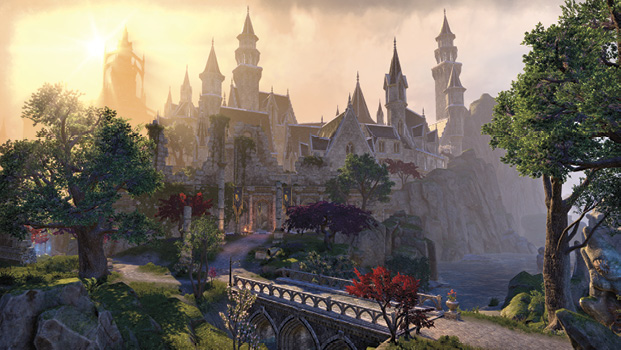
Dominating the northwestern coast of Summerset Isle is the port town of Lillandril. A known stronghold with a busy dock and numerous merchants, the town is better known as the seat of power for the College of Sapiarchs, who have their own island citadel perched on a separate island west of the main settlement. Consult the world map for the College of Sapiarchs island and entrances once you utilize the portal to reach it.
 |
Treasure Chest |
 |
Fishing: Saltwater |
 |
Lillandril and the College of Sapiarchs |
 |
Lillandril Wayshrine |
 |
Guild Traders Market |
 |
The Shrewd Brew |
 |
The Mages Guild |
|
|
The Fighters Guild |
 |
Alcildilwe’s House |
 |
Kinlady’s Mansion |
 |
Portal to the College of Sapiarchs |


Wayshrine: Lillandril
- Information: Primary Location; Wayshrine
- Entities of Note: Faralan, Tindoria
- Nearby Quests: Murder in Lillandril, The Perils of Art
Fast-travel to this dockside wayshrine for easy access into Lillandril and the merchant market. Note this is also a primary location, detailed later.
Guild Traders Market

- Information: Merchants; Secondary Location
- Entities of Note: Ambalor (Guild Trader), Nowagan (Guild Trader), Rinedel (Guild Trader)
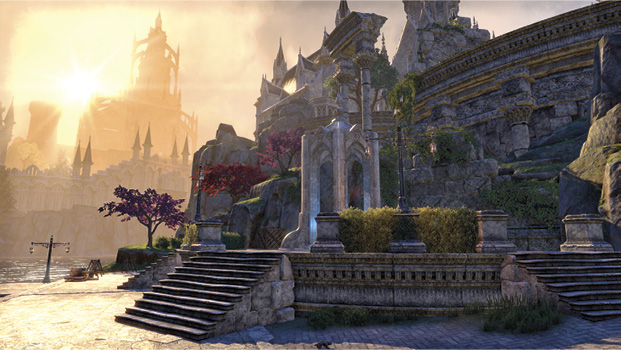
A few steps up from the docks are a trio of guild traders selling and trading a variety of trinkets and items you may wish to barter for, or you may wish to acquire the rights to sell from the Trader for your guild.
The Shrewd Brew

- Information: Cooking Fire; Inn; Interior; Merchant; Secondary Location
- Entities of Note: Holithel (Brewer), Tenigwe (Innkeeper)
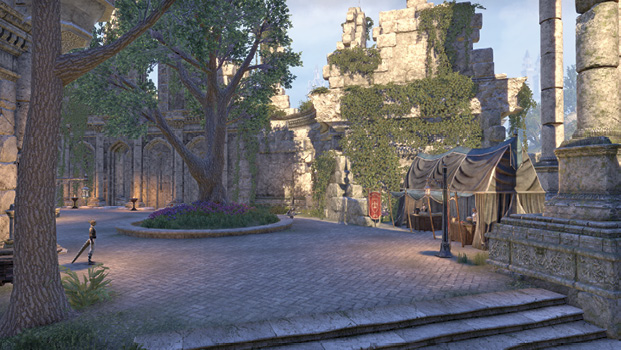
Offering fine beverages within its cold (but ornate) stone walls, this is the place for drunken revelry in Lillandril. Interestingly, the brewer Holithel is stationed on the inn’s third floor, close to a spiral staircase with a very low railing. Head up here to read some of Galidor’s notes.
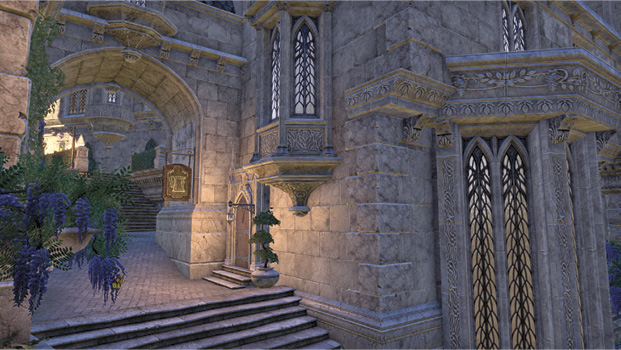

The Mages Guild
- Information: Mages Guild, Merchant, Secondary Location
- Entities of Note: Athyn Menas (Mystic), Ilas-Betu (Magus), Nalinril (Magister)
This imposing stone mansion lies at the north end of town. Feel free to read “Sages of the Crystal Tower” on a side table here, near the magister and mystic. Join the mages here if you haven’t already done so.
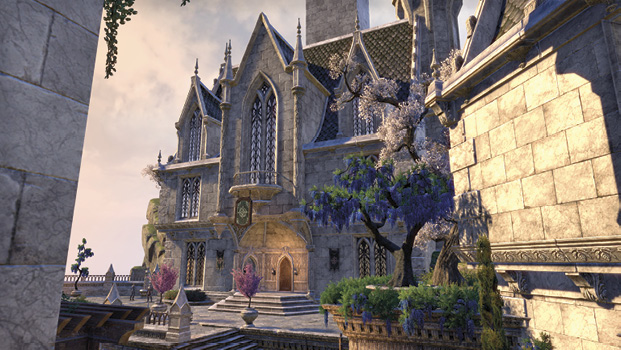

The Fighters Guild
- Information: Cooking Fire, Fighters Guild, Merchant, Secondary Location
- Entities of Note: Calawende, Emile Oncent, Loraaldel (Armsman), Nebhavar (Hall Steward), Vivienne Muric
- Nearby Quest: Murder in Lillandril
Fighting folk have a home away from home in this building, though the outside ruckus may be cause for concern. Head inside if you wish to speak to Nebhavar and join.
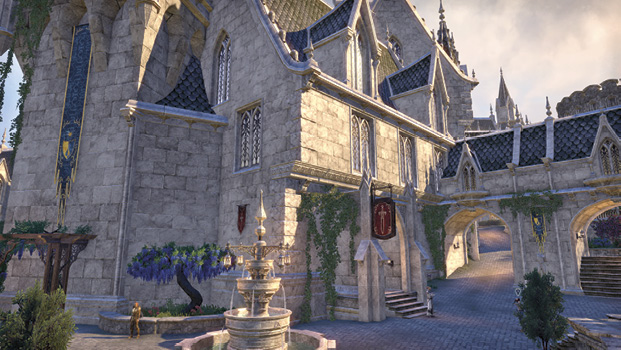

Alcildilwe’s House
- Information: Cooking Fire; Secondary Location; Warning: Restricted Area (Trespass)
- Entities of Note: Alcildilwe, Faralan
- Nearby Quest: Murder in Lillandril
A spot of breaking and entering is usually needed to unlock this house’s door (Advanced). Inside is the usual array of small chests to steal from, as well as an impressive selection of bread. Alcildilwe is upstairs and doesn’t like being disturbed.
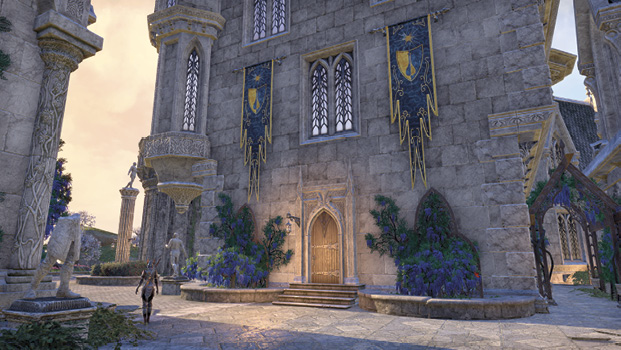

Kinlady’s Mansion
- Information: Secondary Location; Warning: Restricted Area (Trespass)
The kinlady’s house servants aren’t too keen on you breaking through her front door (Advanced), so steal what you need from this two-floor manor house, and then scarper.
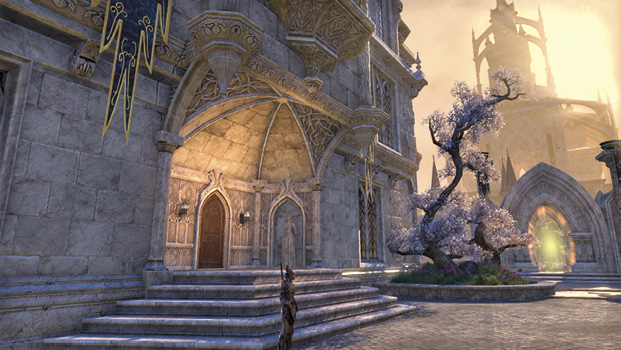

Portal to the College of Sapiarchs
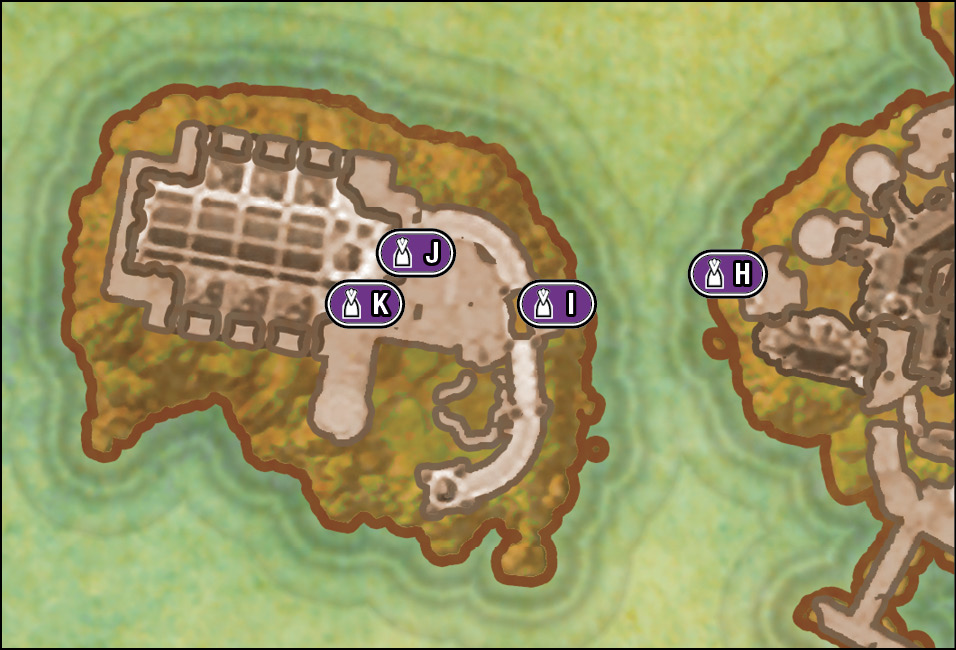
 |
Building or Threshold |
- Entities of Note: Portal Master Astirhil
- Nearby Quest: The Tower Sentinels
They don’t just let anybody teleport across to the Sapiarch isle, off the coast of Lillandril. Be sure the referenced quest is active first (occurring as part of the main story quests once you reach Artaeum), before you flit between portals.
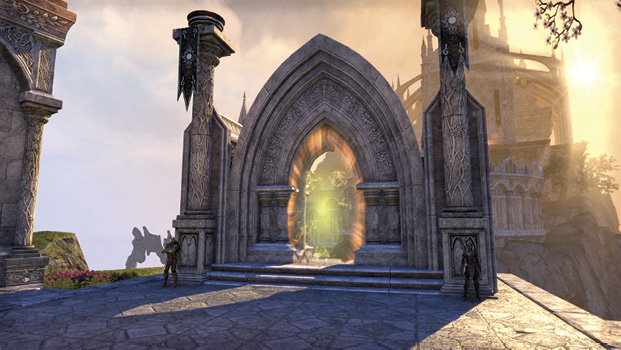

College of Sapiarchs (Courtyard) and Portal to Lillandril
- Entities of Note: Sapiarch Ellimil
- Nearby Quest: The Tower Sentinels
Once you’ve discovered the College of Sapiarchs (via the quest), you’ll see the aftermath of a daedric attack. When you’re ready, head back to the mainland via this portal. Ideally without overstepping and plummeting to the rocks below.
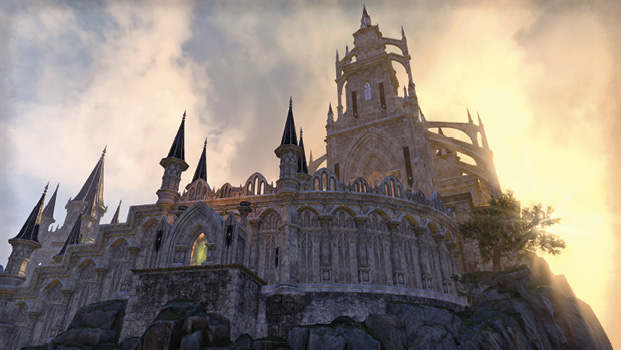

College of Sapiarchs
|
|
Enemy (Difficult) |
 |
Building or Threshold |
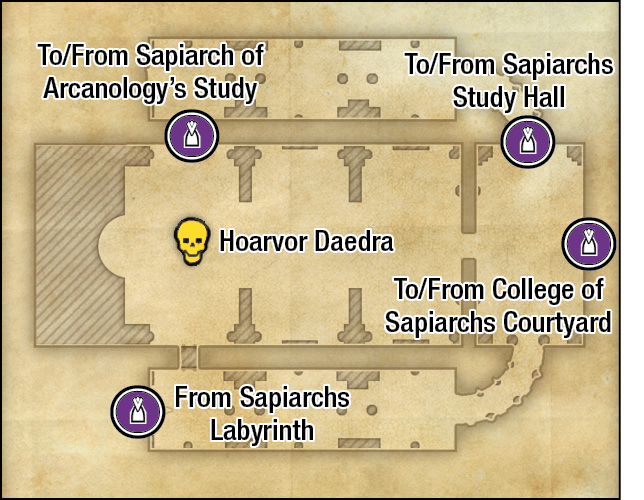
- Information: Interior, Secondary Location
- Entities of Note: Earl Leythen, Sapiarch Larnatille, Valsirenn
- Enemies: Flesh Atronach, Ogrim, Spiderkith
- Boss: Hoarvor Daedra
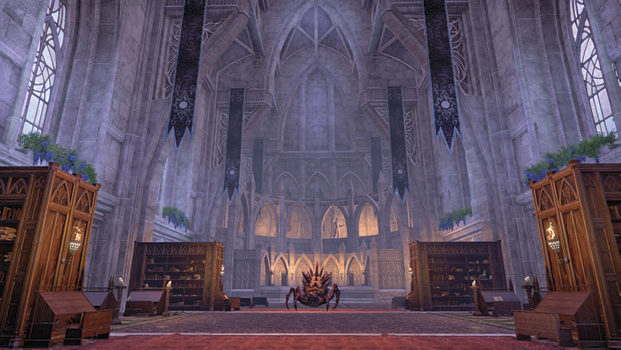
The College of Sapiarchs is built atop a maze of halls and corridors, a repository of ancient knowledge and royal ceremonies, as delineated in the many Scrolls of Praxis that all Altmeri monarchs must study before ascending the Throne of Alinor.
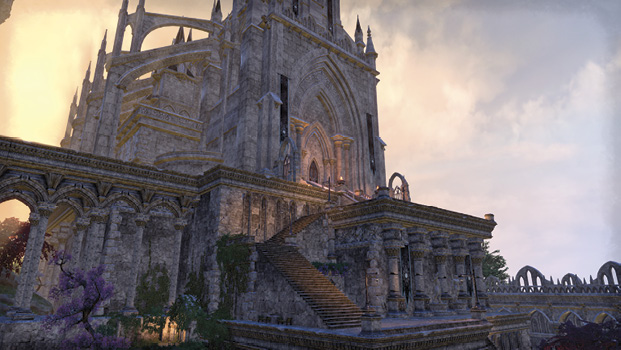
You first access this interior via the labyrinth, during a final battle to free Sapiarch Larnatille from the clutches of a daedric incursion.

College of Sapiarchs Labyrinth
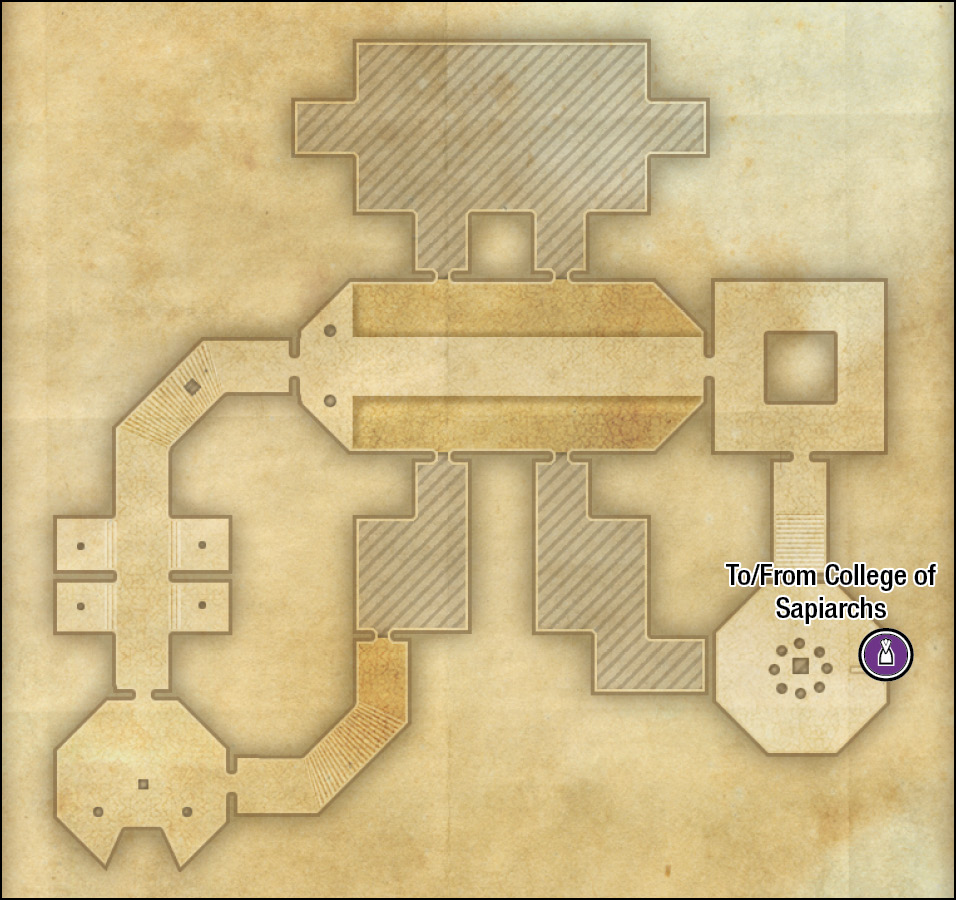
 |
Building or Threshold |
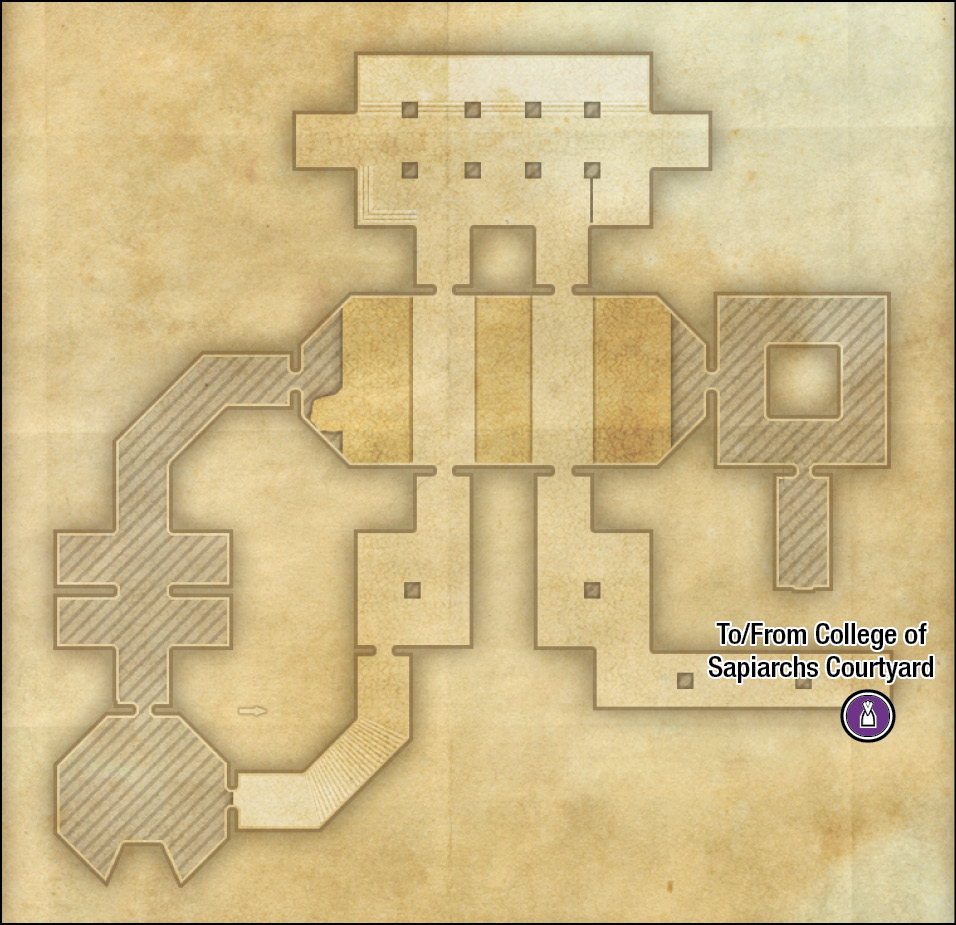
- Information: Interior, Secondary Location
- Entities of Note: Valsirenn
- Enemies: Fiendroth, Flesh Atronach, Ogrim, Scorpion, Skein, Spiderkith, Wasp

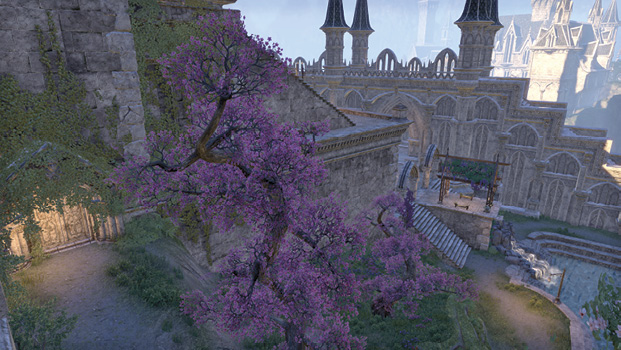
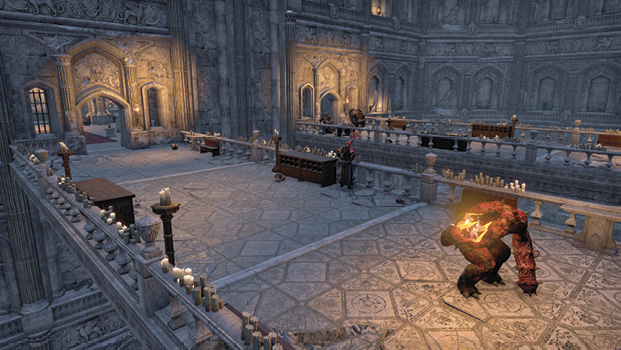
Though there’s evidence this labyrinth extends much deeper into the earth, you must battle sizable daedric forces on an ascent up and across some walkways in order to reach the interior of the College of Sapiarchs.

Wayshrine: Lillandril
- Information: Primary Location, Wayshrine
- Entities of Note: Faralan, Tindoria
- Nearby Quests: Murder in Lillandril, The Perils of Art
This wayshrine offers excellent access to the port town of Lillandril, as well as quests and treasure chests scattered around the docks. You can also access this wayshrine when attempting to explore the College of Sapiarchs (Lillandril), the Sea Keep (west), and the swamp ground of the Augury Basin (northeast).
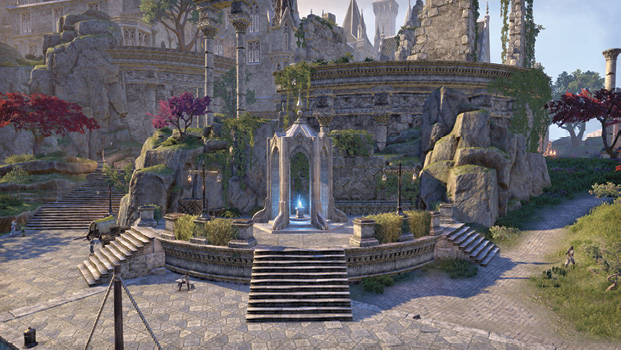

Fishing Camp
- Information: Fishing Hole, Secondary Location, Treasure Chest
The smooth rock pool under the huge rock archway along the main path from Lillandril offers a brief and idyllic respite. Come here for the view, nearby fishing holes, and some minor items to steal.
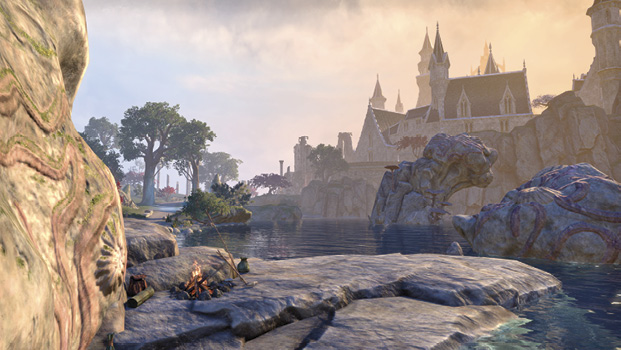

Saltbreeze Cave
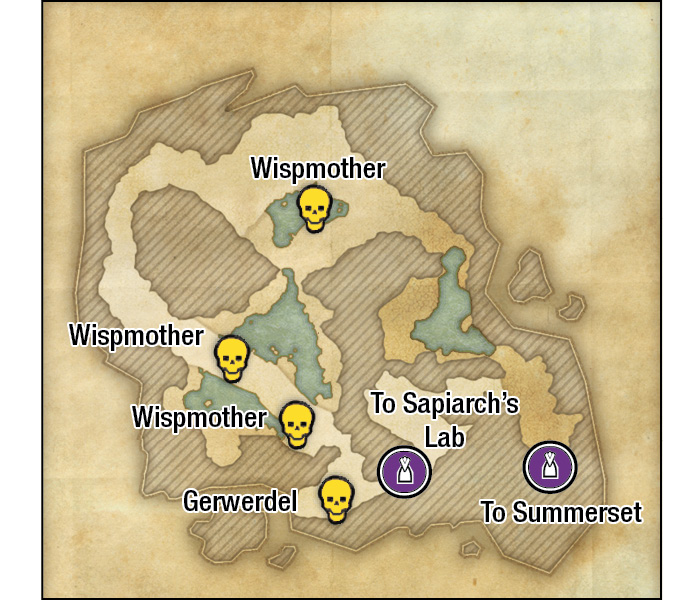
- Information: Interior, Secondary Location
- Entities of Note: Norasea
- Enemies: Coral Crab, Mud Hopper, Salamander, Torchbug, Wisp
- Boss: Gerwerdel
- Nearby Quest: Murder in Lillandril
The ancient coral foundations of Summerset Isle are never more apparent than in the half-sunken grottoes so common among the seashore cliffs. They often serve as lairs for creatures, both nautical and mystical. Head southeast along the coastline from the Lillandril Wayshrine to spot this often-overlooked cave entrance in the beach rock bluff. Pass by the campfire and enter this small coral cave.
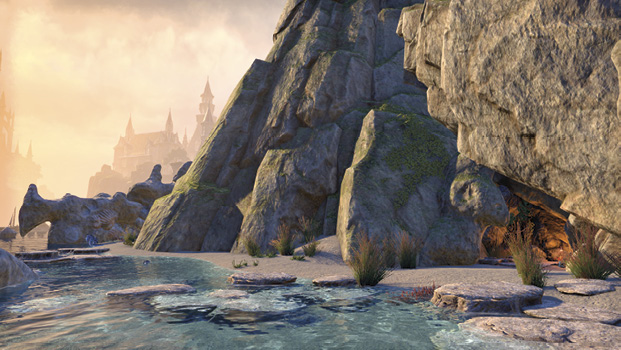
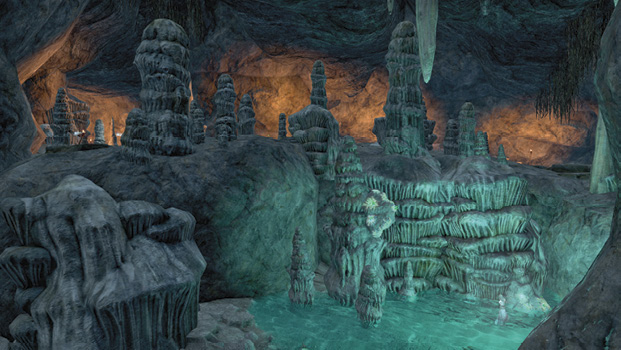
Inside are a host of creatures, including some Wispmothers roaming the grotto pools. Head up to the roof of the cave for an entrance into Sapiarch’s Lab (inaccessible from this direction); this is part of Quest: Murder in Lillandril. You are advised to start this quest before entering here. Inside the laboratory is a vampiric prisoner named Norasea.

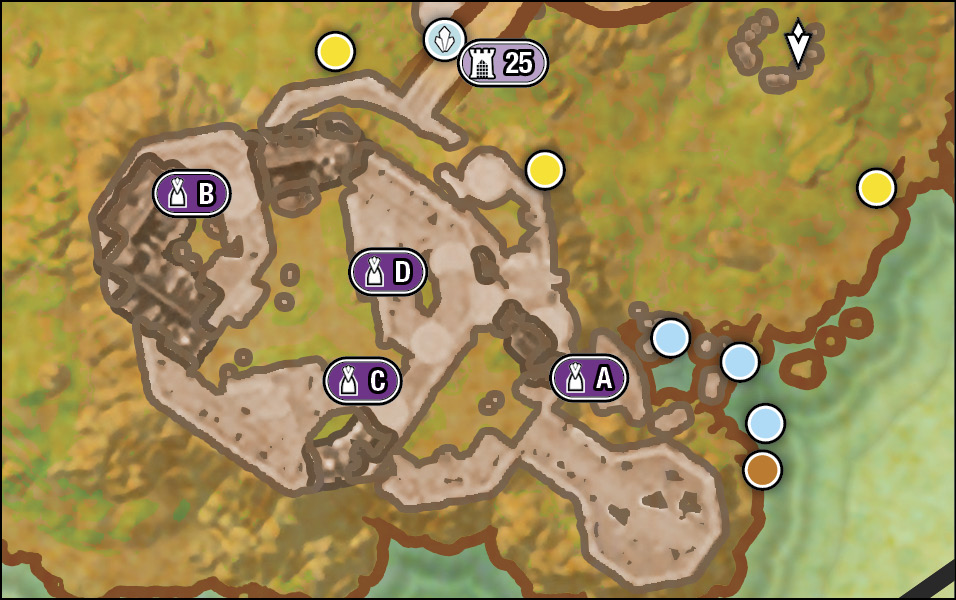
Artifact Gate/Temple: Sea Keep
|
Fishing: Saltwater |
 |
Treasure Chest |
 |
Skyshard (Exterior) |
 |
Quest |
- Information: Artifact Gate/Temple; Fishing Hole; Mages Guild Lorebook; Plant: Nirnroot; Primary Location; Thieves Trove; Treasure Chests
- Entities of Note: Lieutenant Furlarros; Pandermalion
- Enemies: Sea Viper
- Boss: Urlsar
- Nearby Quests: Storming the Walls
“That big coastal fort southeast of town? In my grandmother’s day they named it Aldveyond Beldaburk, but nowadays we just call it Sea Keep. Easier, I suppose, but I prefer the grand old moniker.” —Tenigwe, at the Shrewd Brew
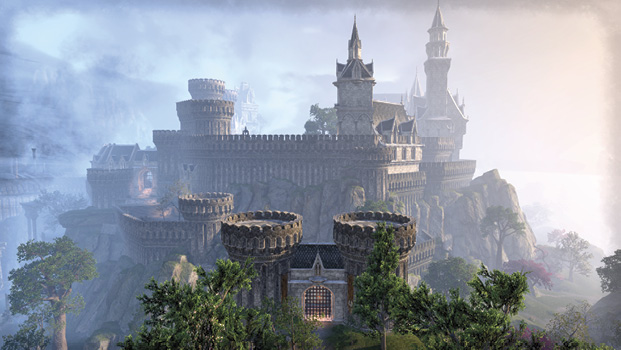
Currently, a vast and magical maelstrom has enveloped the outer battlements of this keep. Join a plucky knight to remove the magical threat; it’s the only way to reach the interior of this fortification.

Ruined Passage to Sea Keep Caverns and Barracks
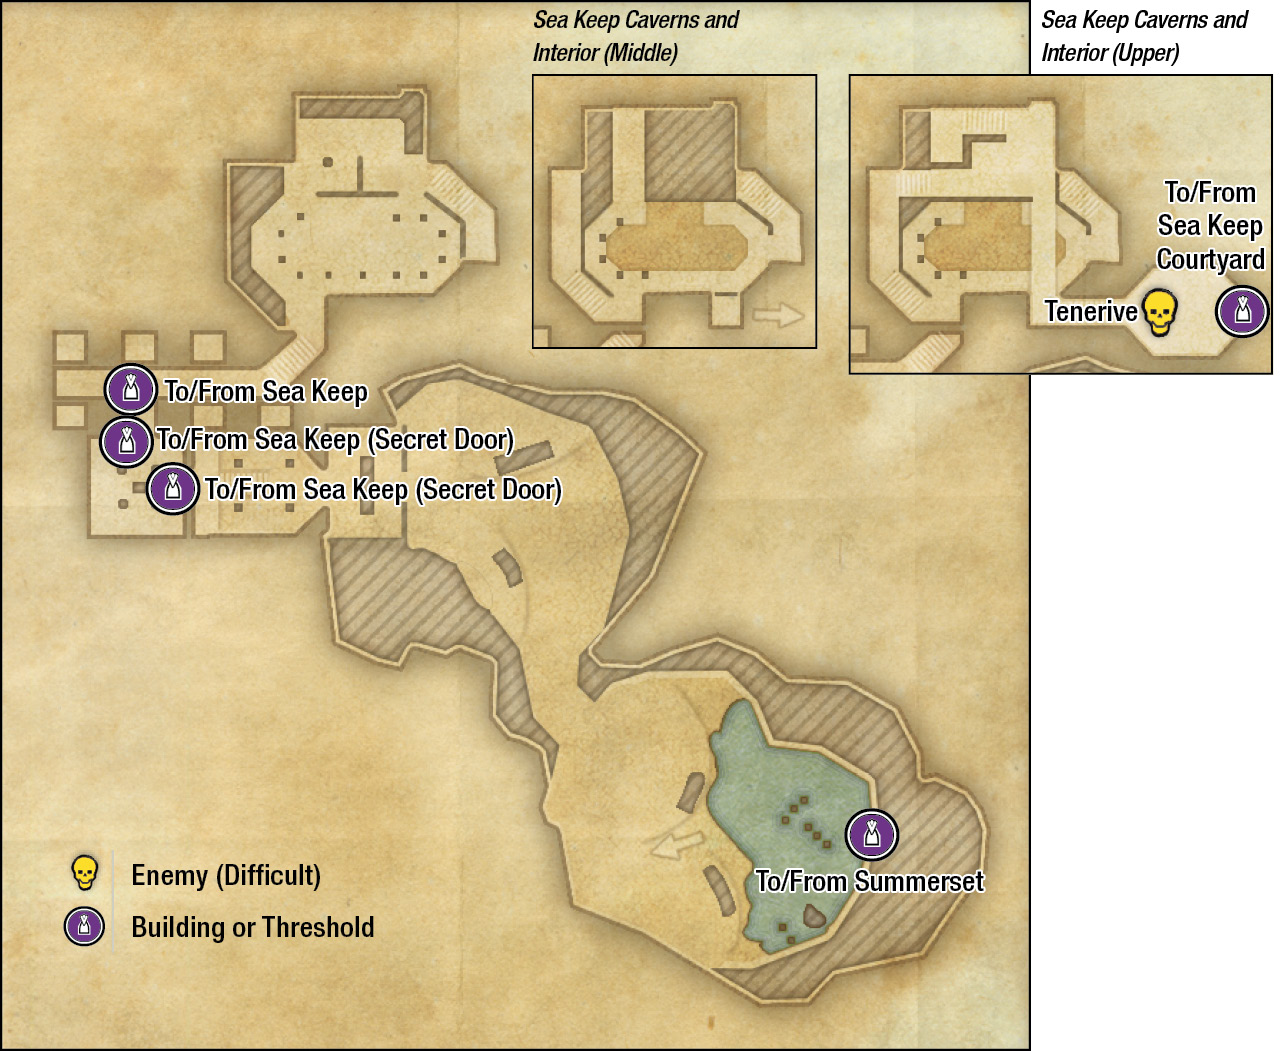
- Information: Interior; Secondary Location
- Entities of Note: Castire, Lieutenant Furlarros; Pandermalion
- Enemies: Mud Hopper, Reef Viper, Storm Shark, Skavenger
- Boss: Tenerive
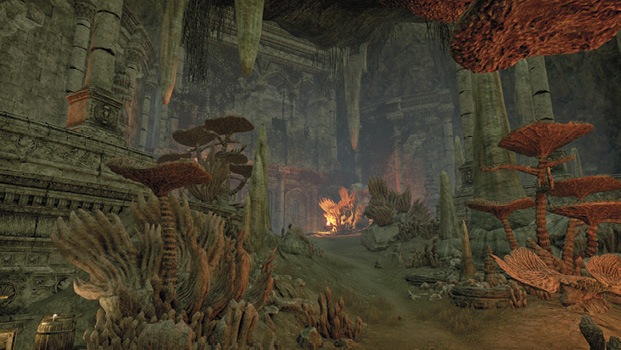
Use the whirlpool to enter this cavern system under the keep during the quest. Explore the caverns and a Storm Shark enclave, before opening a secret door into the jail cells of the keep. Then ascend three floors, battling Storm Sharks, to reach a boss battle with Tenerive, the interior barracks that open up into Sea Keep Courtyard, and the exterior of this location (but within the otherwise-impenetrable walls).
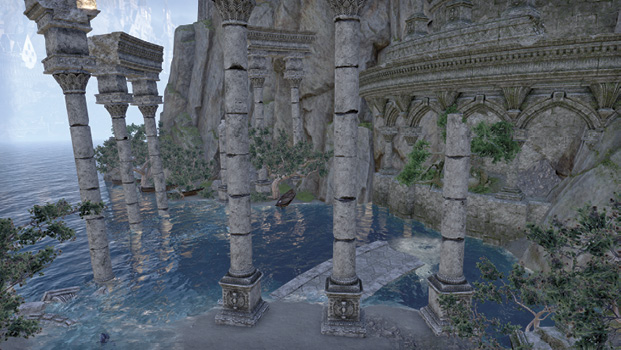
Sea Keep Barracks

- Information: Interior, Secondary Location
The northwestern corner of the Sea Keep courtyard leads to the barracks, down to a dungeon and jail, and to the caverns detailed previously. You head out of here from the ruined passage when first entering the Sea Keep during the quest.

Sea Keep Inner Gate Tower

Sea Keep Outer Gate Tower
- Information: Interior; Secondary Location
- Entities of Note: Sea Viper
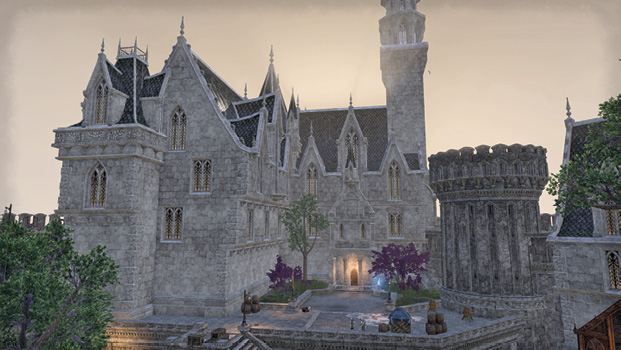
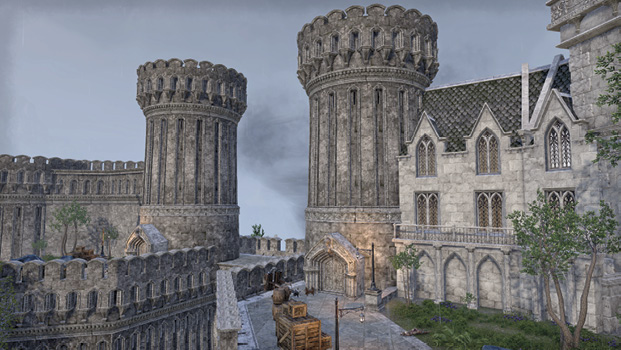
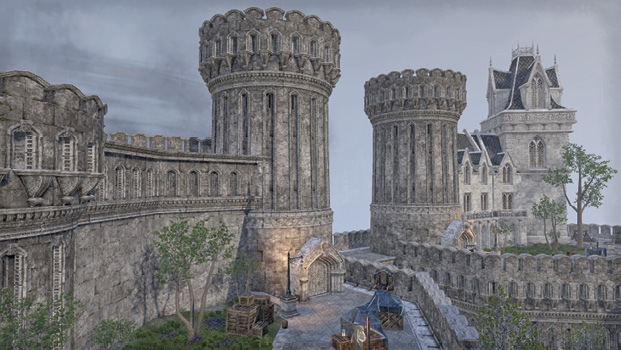
Battle numerous Sea Viper foes to reach one of two tower structures within the main courtyard of the sea keep. Inside is a small winch room, allowing you to raise the barrier preventing you from accessing the battlements where the storm rages.

Sea Keep Camp
- Information: Secondary Location
- Entities of Note: Lieutenant Furlarros, Pandermalion
- Nearby Quests: Storming the Walls
Troops are keeping an eye on the magical storm enveloping the Sea Keep. Begin the quest by visiting this military camp.

Group Boss: Keelsplitter’s Nest
- Information: Group Boss; Primary Location
- Enemies: Reef Viper, Sea Adder
- Boss: Keelsplitter
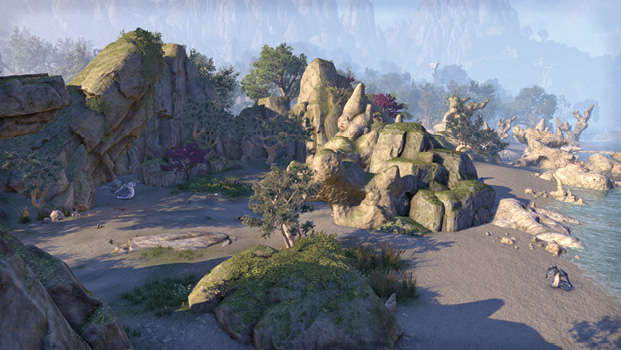
The northern shore of the great Alinor harbor is home to a huge Sea Adder; slay her along with your brethren. Note the natural rock arch entrance and exit to the north, as well as access via the beach.
|
|
Enemy (Difficult) |
 |
Building or Threshold |