The Elder Scrolls Online: Summerset Guide The Atlas of Summerset Isle
Summerset Isle: Region 2 (Southwest)
Rellenthil, Cey-Tarn, Alinor
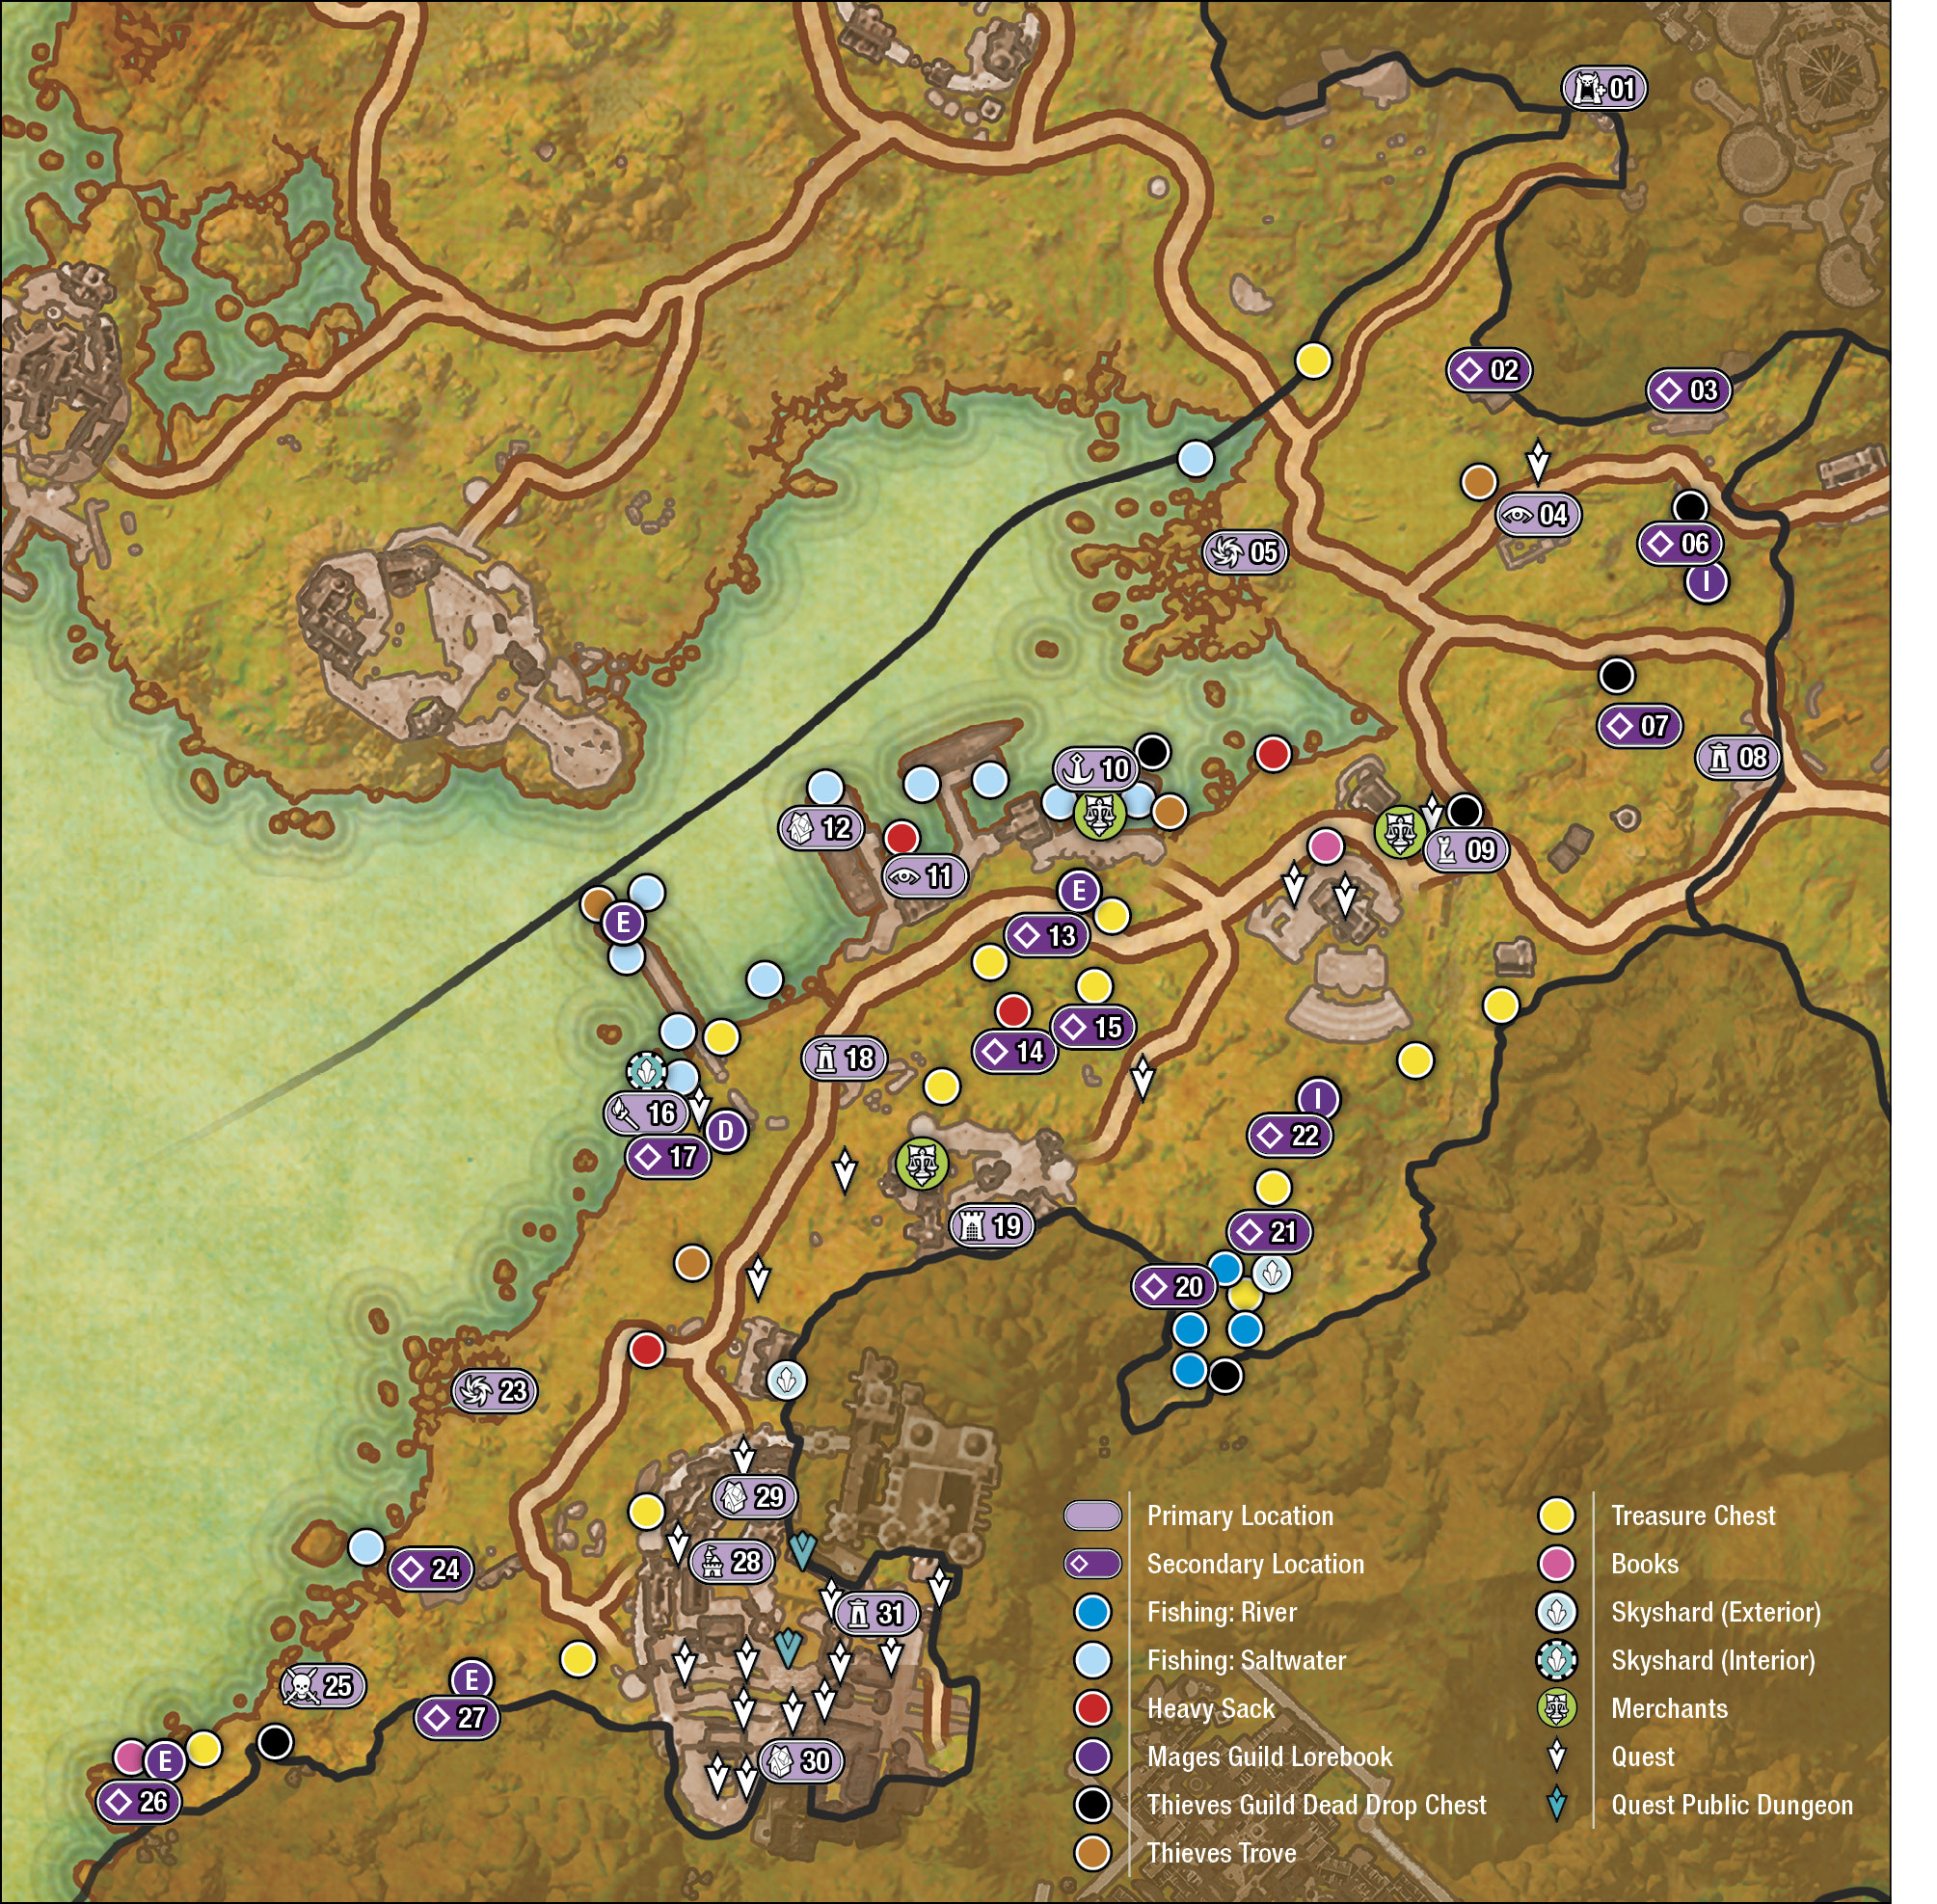
This part of Summerset is dominated by the capital city of Alinor. An explorer may spot just how extensive the settlement reaches when visiting the docks north of the capital. When not gazing in wonder at the shimmering towers of Alinor, you may seek to explore the lesser settlements: a sturdy keep named Cey-Tarn with strange secrets, other hidden cavern systems away from the beaten path, the theatrical hub of Rellenthil, and the worrying sinkhole that’s appeared just northeast of the town of masques, closer to the arable land in the center of Summerset Isle.
Locations
 Primary
  Secondary
| # | Name |
|---|---|
|
|
Cloudrest |
|
|
Unordirwe’s House |
|
|
Red Temple Catacombs |
|
|
Ald Mora Ruins |
|
|
Rellenthil Abyssal Geyser |
|
|
Rellenthil Sinkhole (North) |
|
|
Rellenthil Sinkhole (South) |
|
|
Russafeld Heights Wayshrine |
|
|
Rellenthil |
|
|
Alinor Service Dock |
|
|
Alinor Docks |
|
|
Colossal Aldmeri Grotto |
|
|
Roadside Shrine |
|
|
Night Runner Woodland Camp |
|
|
Stone Ruin Camp |
|
|
|
|
|
Night Runner Beach Camp |
|
|
Cey-Tarn Keep Wayshrine |
|
|
Cey-Tarn Keep |
|
|
The Vaults of Heinarwe |
|
|
Gryphon Dell |
|
|
Shrine Path |
|
|
Welenkin Abyssal Geyser |
|
|
Coastal Lookout Ruins |
|
|
Welenkin Cove |
|
|
Flotsam and Jetsam |
|
|
Hidden Shrine |
|
|
Alinor |
|
|
Golden Gryphon Garret |
|
|
Alinor Crest Town House |
|
|
Alinor Wayshrine |





TRIAL: Cloudrest
 |
|
|
|
Quest Trial |
|
|
Enemy (Difficult) |
 |
Plaza |
 |
Building or Threshold |

- Information: Cooking Fire; Crafting: Alchemy Station, Blacksmithing Station, Clothing Station, Enchanting Station, Outfit Station; Merchant; Primary Location; Trial
- Entities of Note: Prosecutor Elundur, Lembien (Merchant), Olorime
- Enemies: Malicious Sphere, Nocturnal Creeper, Shade, Yaghra
- Boss: Z’Maja
- Nearby Quests: Woe of the Welkynars (Trial)
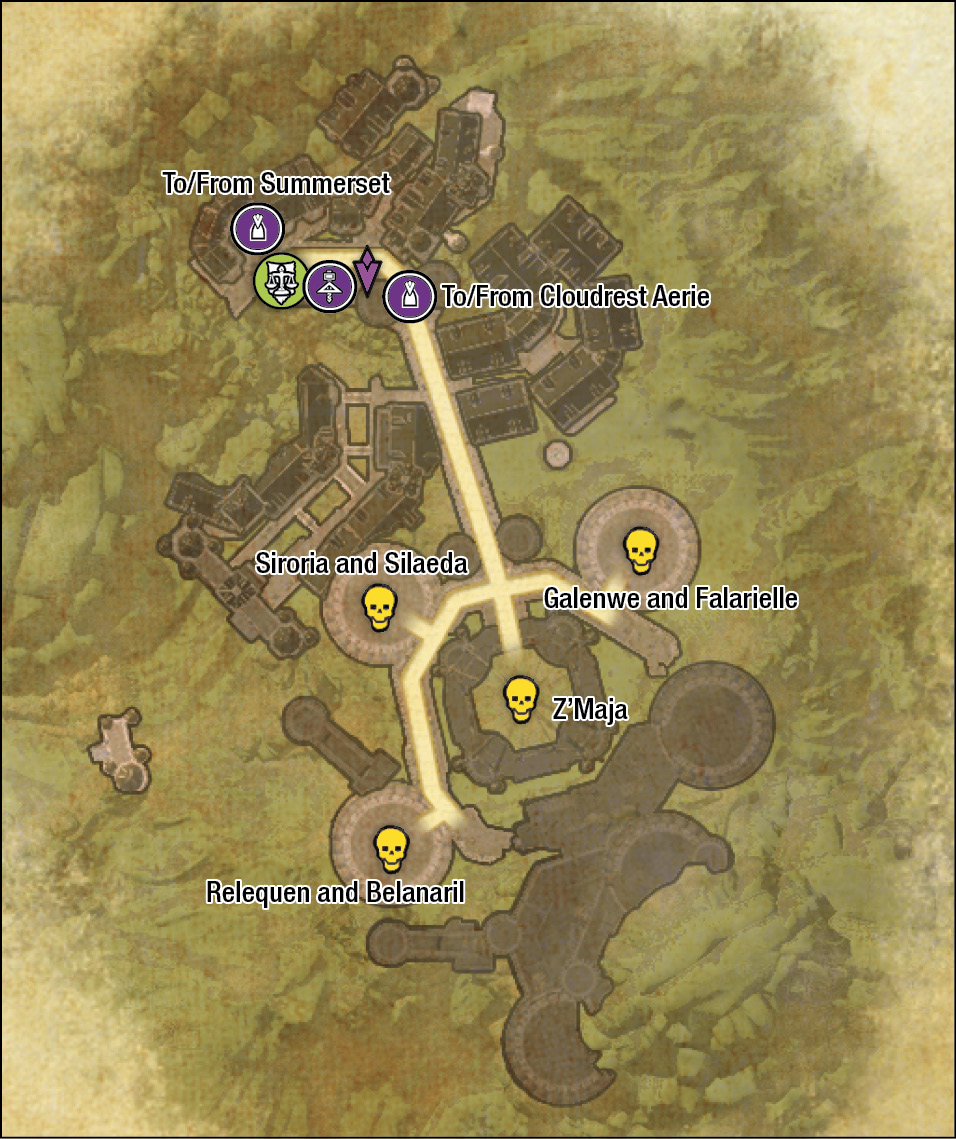
The Aerie of the Altmer, the city of Cloudrest clings to the highest slopes of the peak of Eton Nir, tallest mountain on Summerset Isle. Somehow, its thin air is as heady and bracing as chilled nirnroot wine.
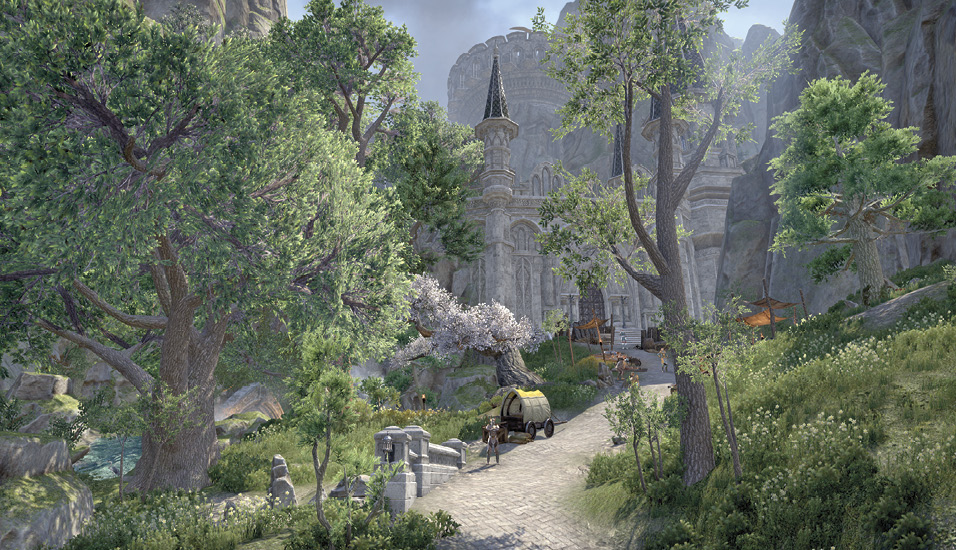
East of Ebon Stadmont, along the main road up into the mountains, is the city of Cloudrest, hewn into the top of the mountain. After speaking to Prosecutor Elundur and finding a clue to an alternative entrance (by the river just north of your position), you can enter this mountain settlement and find out why the main gates are barred.
Talk to the townsfolk to discover dark shadows have descended on this place. After crafting what you need, speak to Olorime to begin the trial. Enter the gates, and face down Z’Maja and her minions, gradually freeing gryphons from their bonds.

Unordirwe’s House
- Information: Interior; Secondary Location; Warning: Restricted Area (Trespass)
- Entities of Note: Unordirwe
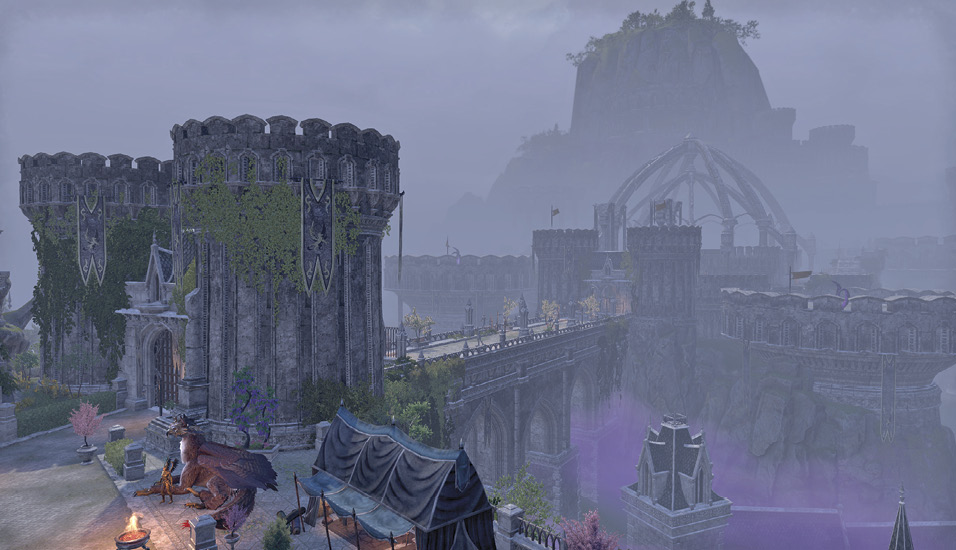
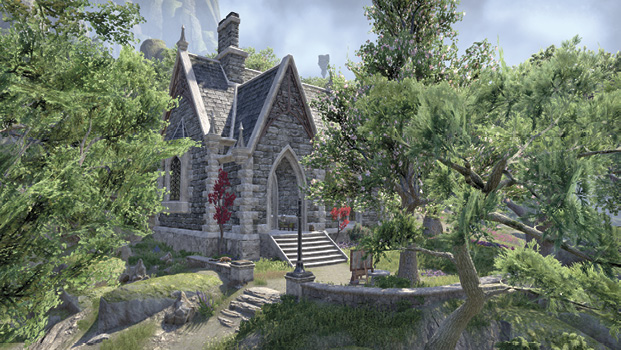
The exterior balcony of this sturdy stone house offers wonderful views to the harbor below and to the southwest. The house itself is locked (Simple). Inside is a high-ceilinged, two-room area with a safebox and the high elf herself.

Wasten Coraldale
 |
Enemy (Difficult) |
 |
Building or Threshold |
 |
Skyshard (Interior) |
- Information: Delve; Interior; Primary Location; Skyshard
- Entities of Note: Hiranesse
- Enemies: Butterfly, Coral Crab, Mud Hopper, Reef Viper, Salamander, Sea Viper
- Boss (Quest): Commander Morteth
- Boss (Delve): Maorbet
- Boss (Delve): Stormsinger Farya
- Nearby Quests: Lost at Sea

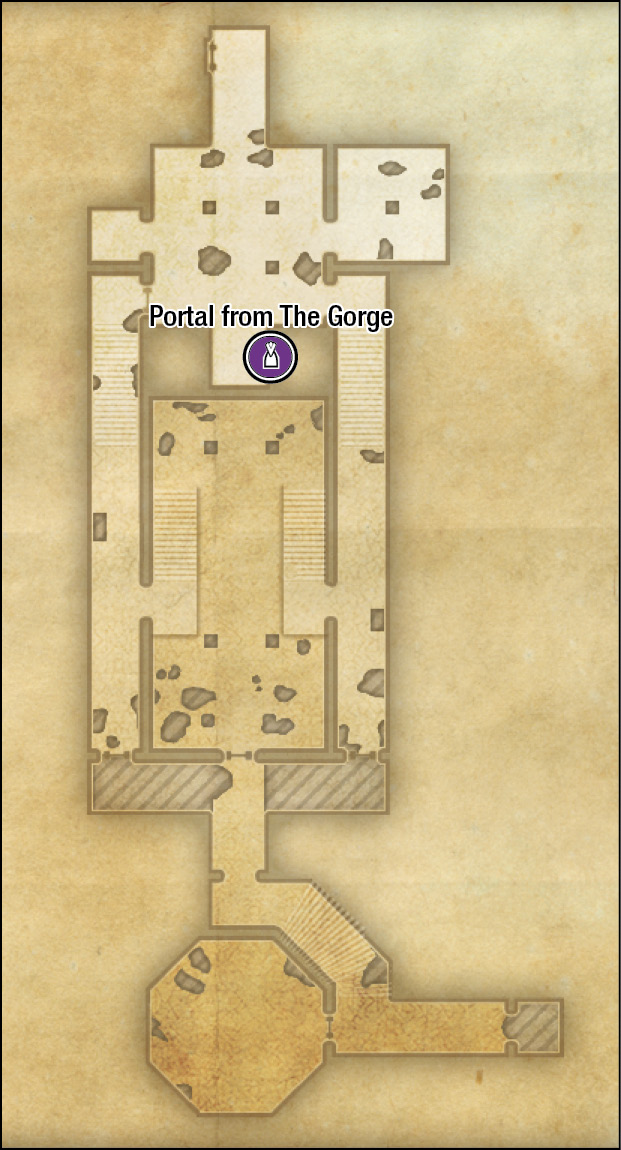
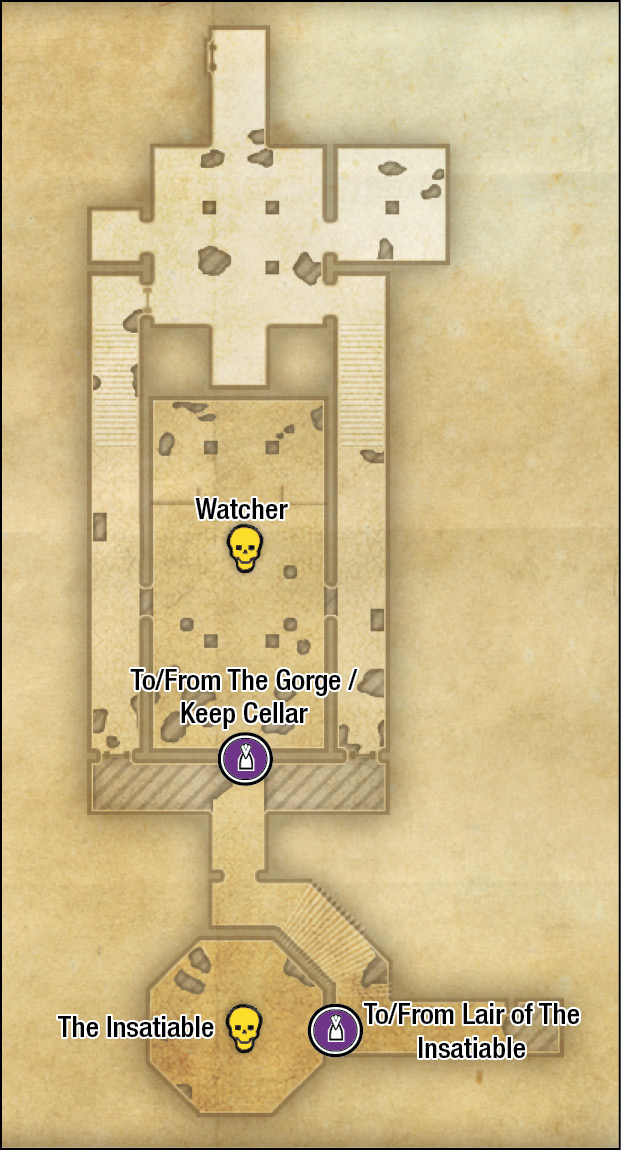
Artifact Gate/Temple: Cey-Tarn Keep
|
Enemy (Difficult) |
 |
Building or Threshold |
- Information: Artifact Gate/Temple; Interior; Merchant; Primary Location
- Entities of Note: Battlereeve Erriisse, Justiciar Hyircil, Quartermaster Mormalion (Merchant), Revelator Lindafwe, Silurie
- Enemies: Bone Flayer, Daedrat, Fiendroth, Ogrim, Scamp, Torchbug, Watcher
- Boss: The Insatiable
- Nearby Quests: The Taste of Fear

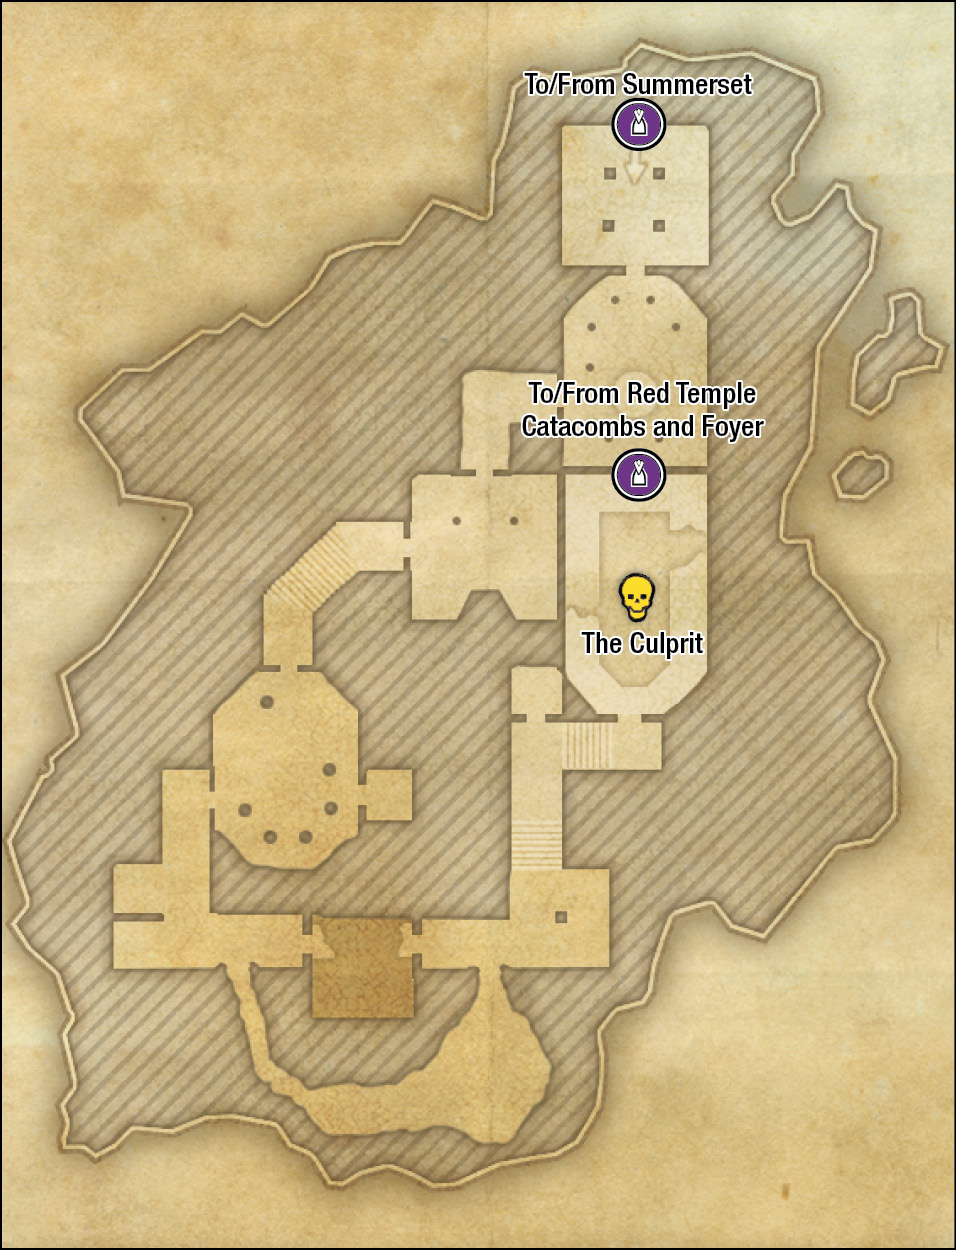
Red Temple Catacombs
|
|
Enemy (Difficult) |
 |
Building or Threshold |
- Information: Interior; Secondary Location
- Enemies: Skavenger, Spider, Graven
- Boss: Soravil
- Nearby Quests: Old Wounds
Russafeld means “scarlet shrine” in some dialects of Aldmeris, which may explain where the Red Temple gets its curious name. But the most commonly held opinion states that it’s a shortening or corruption of “Dread Temple.” Sure enough, due east of the Winery Farm known as Russafeld is a mountain opening with a carved stone temple door. Enter to find yourself in the catacombs of the Red Temple. This can be done independently of any active quests. There is also a separate part of the Red Temple, in Region 3, which is also accessible.
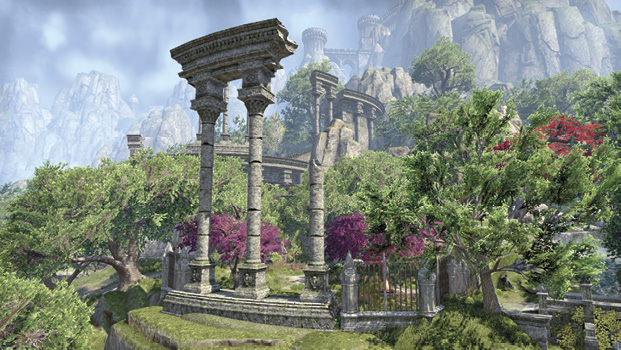
The interior catacombs are a series of stone chambers guarded by graven guardian foes. Expect arachnids as you head deeper into the crypt, before returning to the northern foyer area to exit. With the quest active, more of the catacombs are accessible, as well as a battle against the fearsome Soravil.
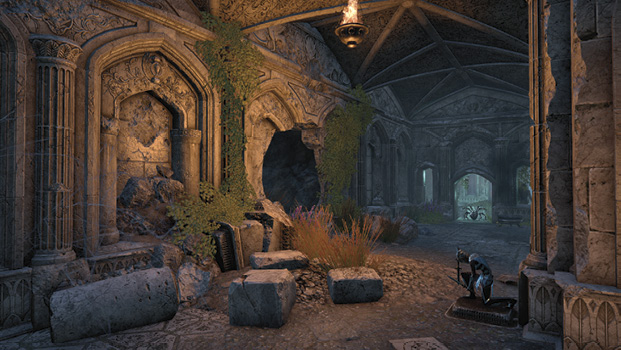

Interesting Locale: Ald Mora Ruins
- Information: Cooking Fire; Interesting Locale; Plant: Imp Stool; Primary Location
- Enemies: Nixad
- Nearby Quests: Old Wounds
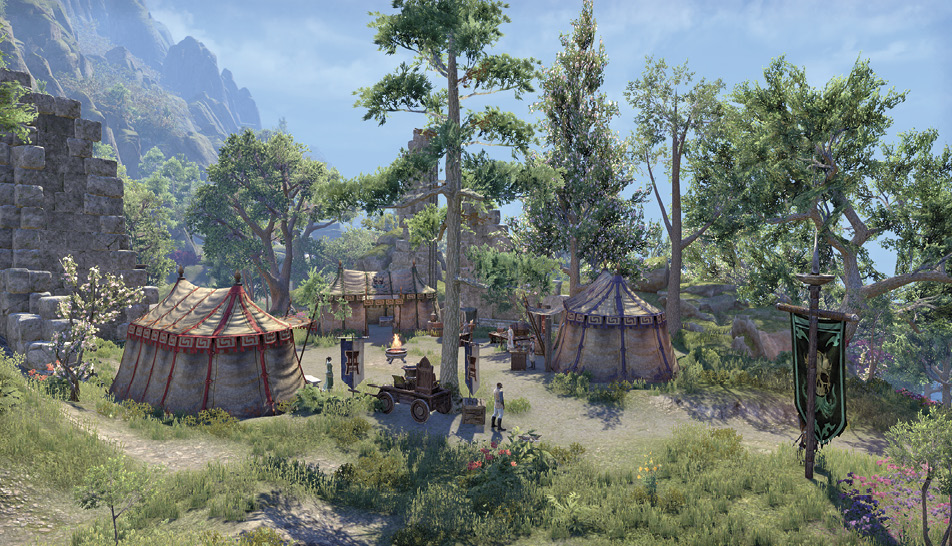
This ancient temple ruin is relatively small and is used as a makeshift camping spot for a variety of travelers and brigands. Note a possible quest giver (Linwenvar) on the road to the north.


Abyssal Geyser: Rellenthil
- Information: Abyssal Geyser; Primary Location
- Entities of Note: Bedlam Prophet
- Enemies: Varies
- Boss (Varies): Ruella Many-Claws; Churug of the Abyss; Sheefar of the Depths; Girawell the Erratic; Muustikar Wave-Eater; Reefhammer; Darkstorm the Alluring; Eejoba the Radiant; Tidewrack; Vsskalvor; Yaghra Monstrosity
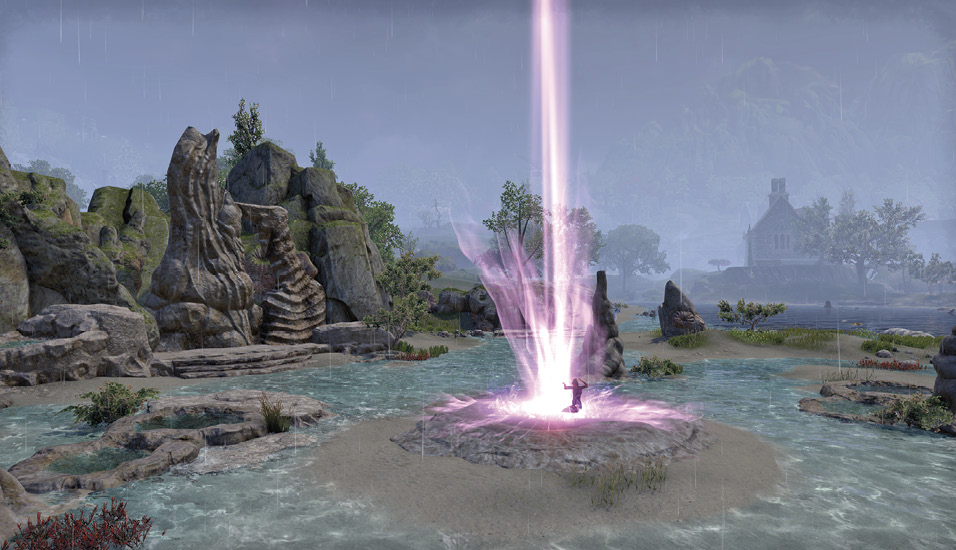
Approach the Bedlam prophet at the center of this coastal cove, and expect waves of incoming foes. Bring your cohorts to fend off these incoming hostiles. Once the final wave is over, expect to face one of the previously listed bosses, after which a clamshell treasure chest becomes accessible, containing some splendid loot. Return here to repeat this (randomized) challenge.

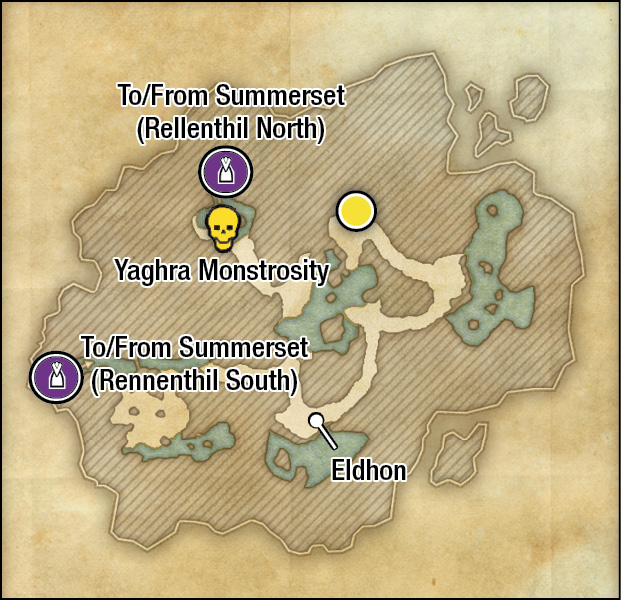
Rellenthil Sinkhole (North)
|
|
Treasure Chest |
|
|
Enemy (Difficult) |
 |
Building or Threshold |

- Information: Interior; Mages Guild Lorebook; Ore: Pewter Seam; Plant: Blue Entoloma; Secondary Location; Thieves Guild Dead Drop Chest
- Entities of Note: Eldhon
- Enemies: Coral Crab; Bright Moons Lunar Moth; Salamander; Yaghra
- Boss: Yaghra Monstrosity
The foundations of Summerset Isle have been firm and unchanging for millennia, and phenomena like sinkholes have been rare and infrequent—until quite recently. The roaring rapids of the river spill into this large sinkhole. Check the rim of the hole for a mage’s book, and behind the waterfall in the hole for a Dead Drop Chest. Then venture into the sinkhole interior . . . if you dare!

A series of interconnecting and waterlogged natural caverns with strange, glowing coral rocks and an influx of Yaghra activity awaits you. A wounded High Elf named Eldhon may require your help. This interior links to the southern sinkhole just east of the town of Rellenthil. Expect to access either sinkhole entrance during Main Story Quest: A Pearl of Great Price.

Rellenthil Sinkhole (South)

- Information: Interior; Ore: Pewter Seam; Secondary Location; Thieves Guild Dead Drop Chest
- Enemies: Mudhopper
An almost identically sized sinkhole has appeared in the rocky grassland just east of Rellenthil and northwest of the Wayshrine. Check the rim of the hole for a Dead Drop Chest. The hole has an entrance into the interior caverns detailed previously. Expect to access either sinkhole entrance during Main Story Quest: A Pearl of Great Price.
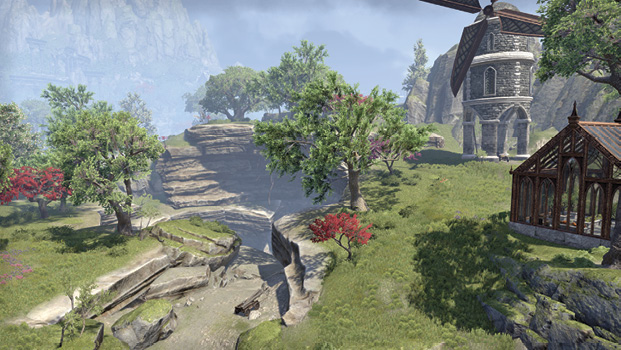

Wayshrine: Russafeld Heights
- Information: Primary Location; Wayshrine
- Entities of Note: Linwenvar
- Enemies: Bright Moons Lunar Moth; Springbok; Welwa
- Nearby Quests: Old Wounds
Along the main thoroughfare bisecting the edge of this region is the wayshrine offering easy access to Rellenthil (to the west). It’s just across from Halmorion’s Villa and the vineyards of Russafeld. If you haven’t met him yet, Linwenvar is at the road junction here.

Ruin: Rellenthil
|
|
Heavy Sack |
|
|
Thieves Guild Dead Drop Chest |
|
|
Treasure Chest |
|
|
Books |
 |
|
|
|
Quest |
|
|
Primary Location |


- Information: Heavy Sack; Ore: Iron Ore; Primary Location; Ruin; Thieves Guild Dead Drop Chest
- Entities of Note: Rinyde, Tableau
- Enemies: Butterfly, Coral Crab, Bright Moons Lunar Moth, Nixad, Sea Adder, Springbok, Welwa
- Nearby Quests: House of Masques
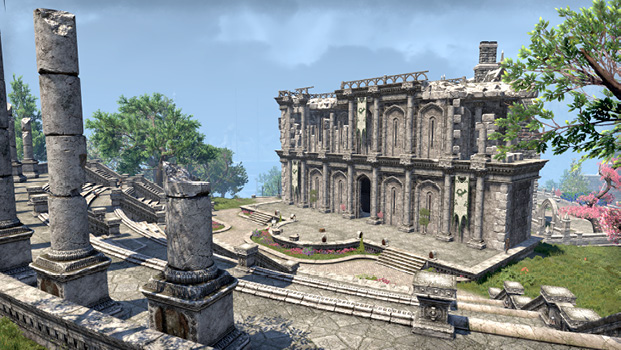
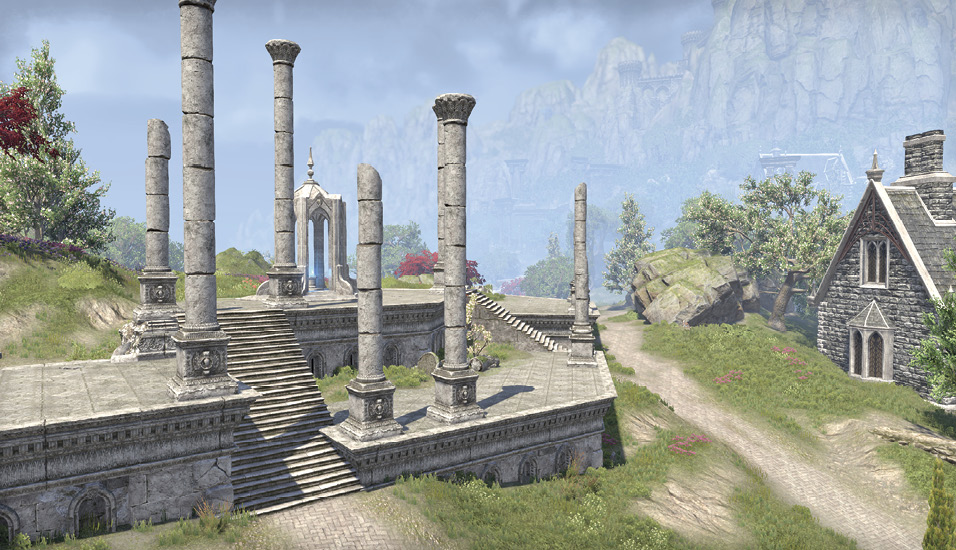
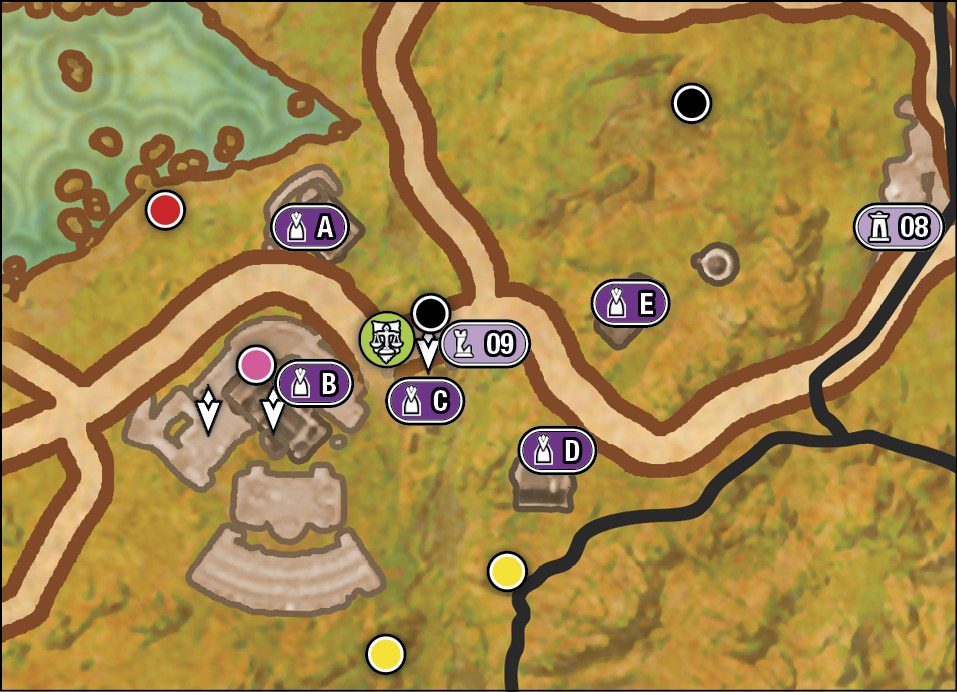
This settlement, built around the ruins of an ancient amphitheater, features a gigantic sinkhole (previously listed) to the northeast and a wayshrine east of that. This place is a hotspot for thespian types (from the House of Reveries), utilizing the outdoor theater to great effect.

Rellenthil Bathhouse
- Information: Interior; Secondary Location
One of the manor houses has been turned into a sumptuous bathhouse, where massages are given and a safebox (Advanced) can be cracked open.
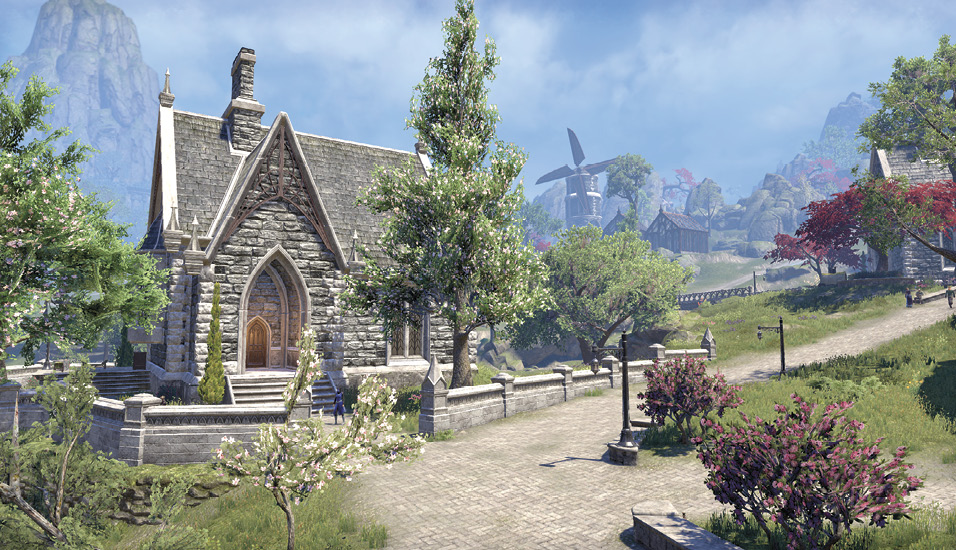

Manor of Masques
- Information: Interior; Secondary Location
- Entities of Note: Candlelight
The main structure is the Manor of Masques, the seat of the House of Revelries, with the house banner hanging from its walls. Inside is a bedroom for the actors to sleep in, a dining area, and an upstairs stage. Run through lines with Candlelight. There’s a dance studio to enter on the upper floor too.
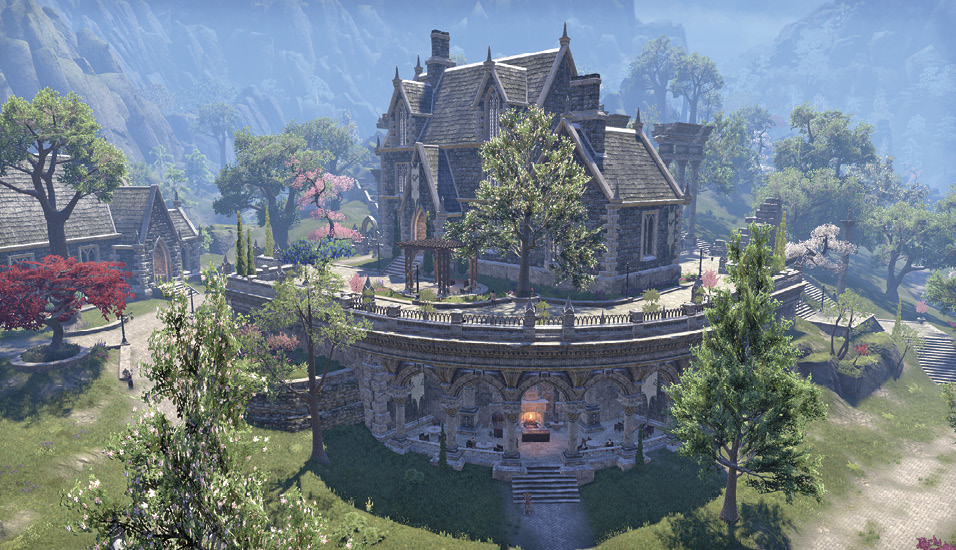
Canonreeve’s House

- Information: Interior; Merchant; Secondary Location
- Entities of Note: Narirasi
Canonreeve’s House is usually open to visitors (even without the quest active) and has safeboxes to steal from. Just outside on the main road is Narirasi the Merchant.
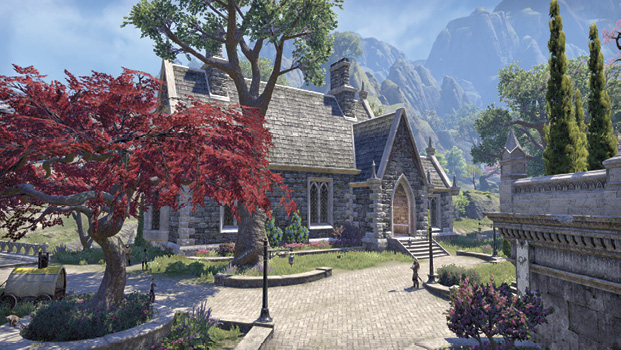

Cuinanthon’s House
- Information: Interior; Secondary Location; Warning: Restricted Area (Trespass)
- Entities of Note: Cuinanthon
Farther east, across the bridge and up the hill, is this imposing home, currently locked (Advanced). There’s stuff to steal, though Cuinanthon isn’t best pleased with you barging in on him.
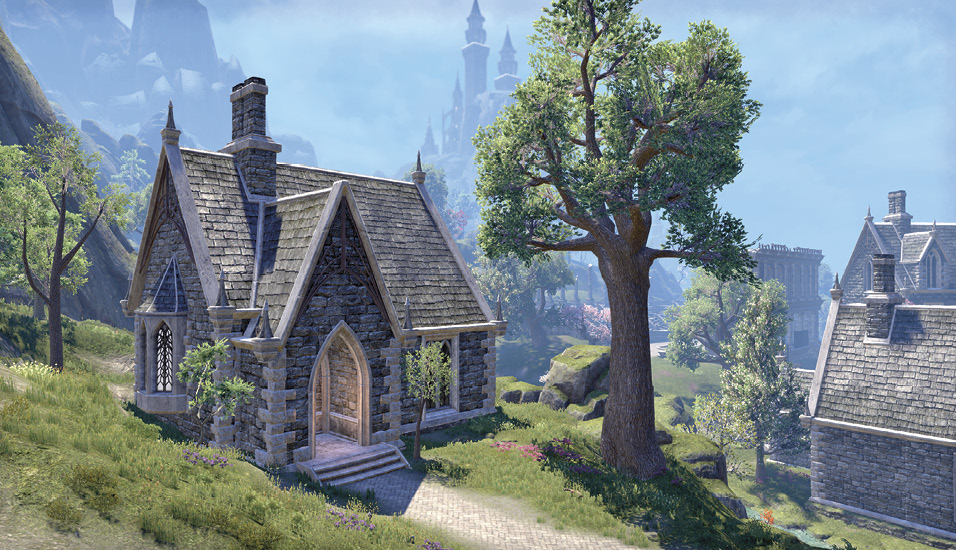

Rellenthil Greenhouses
- Information: Secondary Location
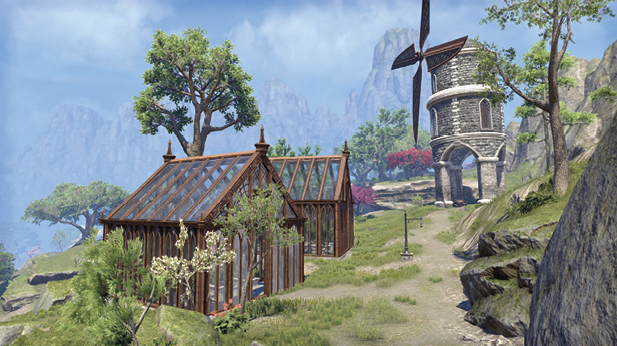
Roses, fruit, and vegetables are grown in two greenhouses near the windmill on the northeastern edge of town.

Service Dock: Alinor
- Information: Fishing Hole; Primary Location; Service Dock
- Entities of Note: Ciryelda (Navigator)
- Enemies: Coral Crab
The northeastern end of the large docks the service the city of Alinor begin at this location, which is actually closer to the settlement of Rellenthin than Alinor. Head here for some fishing and to visit the navigator Ciryelda, if you wish to leave Summerset Isles.

Interesting Locale: Alinor Docks
- Information: Fishing Hole; Interesting Locale; Mages Guild Lorebook; Primary Location; Thieves Trove
- Enemies: Coral Crab
- Nearby Quests: The Hulkynd’s Heart
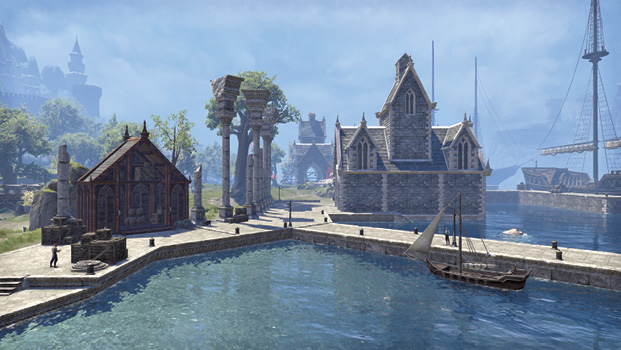
Salty sea types, ship’s crewmembers, and justiciars all mingle in the main part of the docks servicing the city of Alinor. Check the stone piers for some possible fishing spots. Also make time to find Tableau at her easel near one of the dock warehouses. Note the sea wall to the west, with a small lighthouse at the end of it, jutting out into the harbor. Head there for a book and a trove.


Player House: Colossal Aldmeri Grotto
- Information: Interior; Player House; Primary Location
Once a watering stop for the High Elf navy, this great cavernous grotto on the Summerset coast west of Dusk features shipboard compartments, magnificent Aldmeri ruins, weathered wood from several shipwrecks, and a sparkling subterranean waterfall. This galleon-sized grotto can be purchased after game launch from the crownstore and is accessed by sailing on the galleon moored at Alinor Docks. The grotto is in Region 4.


Roadside Shrine
- Information: Mages Guild Lorebook; Plant: Stinkhorn; Secondary Location; Treasure Chest
- Enemies: Butterfly; Springbok; Welwa
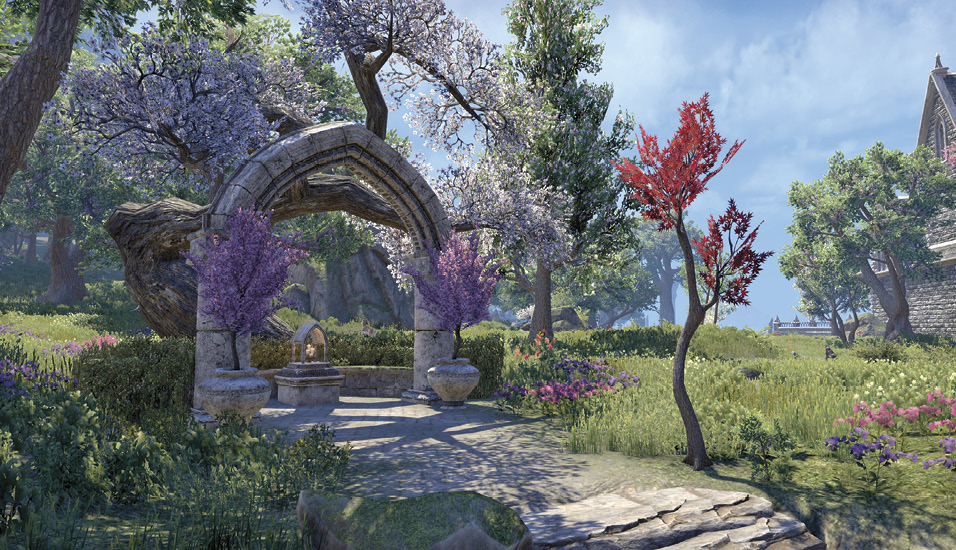
Beneath the canopy of blossom is a small candlelit shrine on the road to the Cey-Tarn Wayshrine. Check under the bridge just northeast of here for a chest and book.

Night Runner Woodland Camp
- Information: Heavy Sack; Secondary Location
- Enemies: Night Runner, Springbok
A small band of Night Runners are using the woods to the south of Alinor Docks as a base camp. Thwart their plans if you wish.


Stone Ruin Camp
- Information: Secondary Location; Treasure Chest
- Entities of Note: Silurie
- Enemies: Night Runner, Welwa
- Nearby Quests: The Taste of Fear
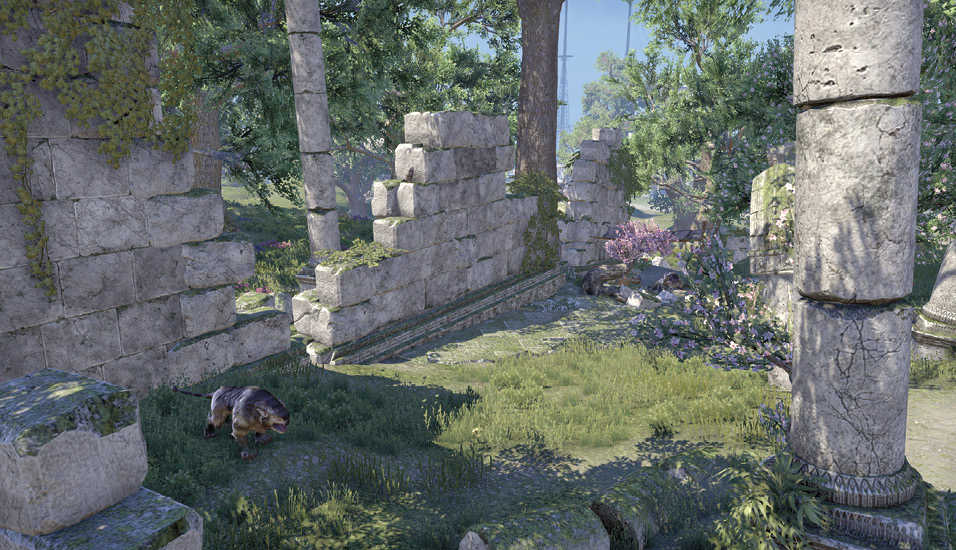
A small stone structure, close to both the main road to Cey-Tarn Keep as well as the woodland Night Runner camp, sits in ruin.
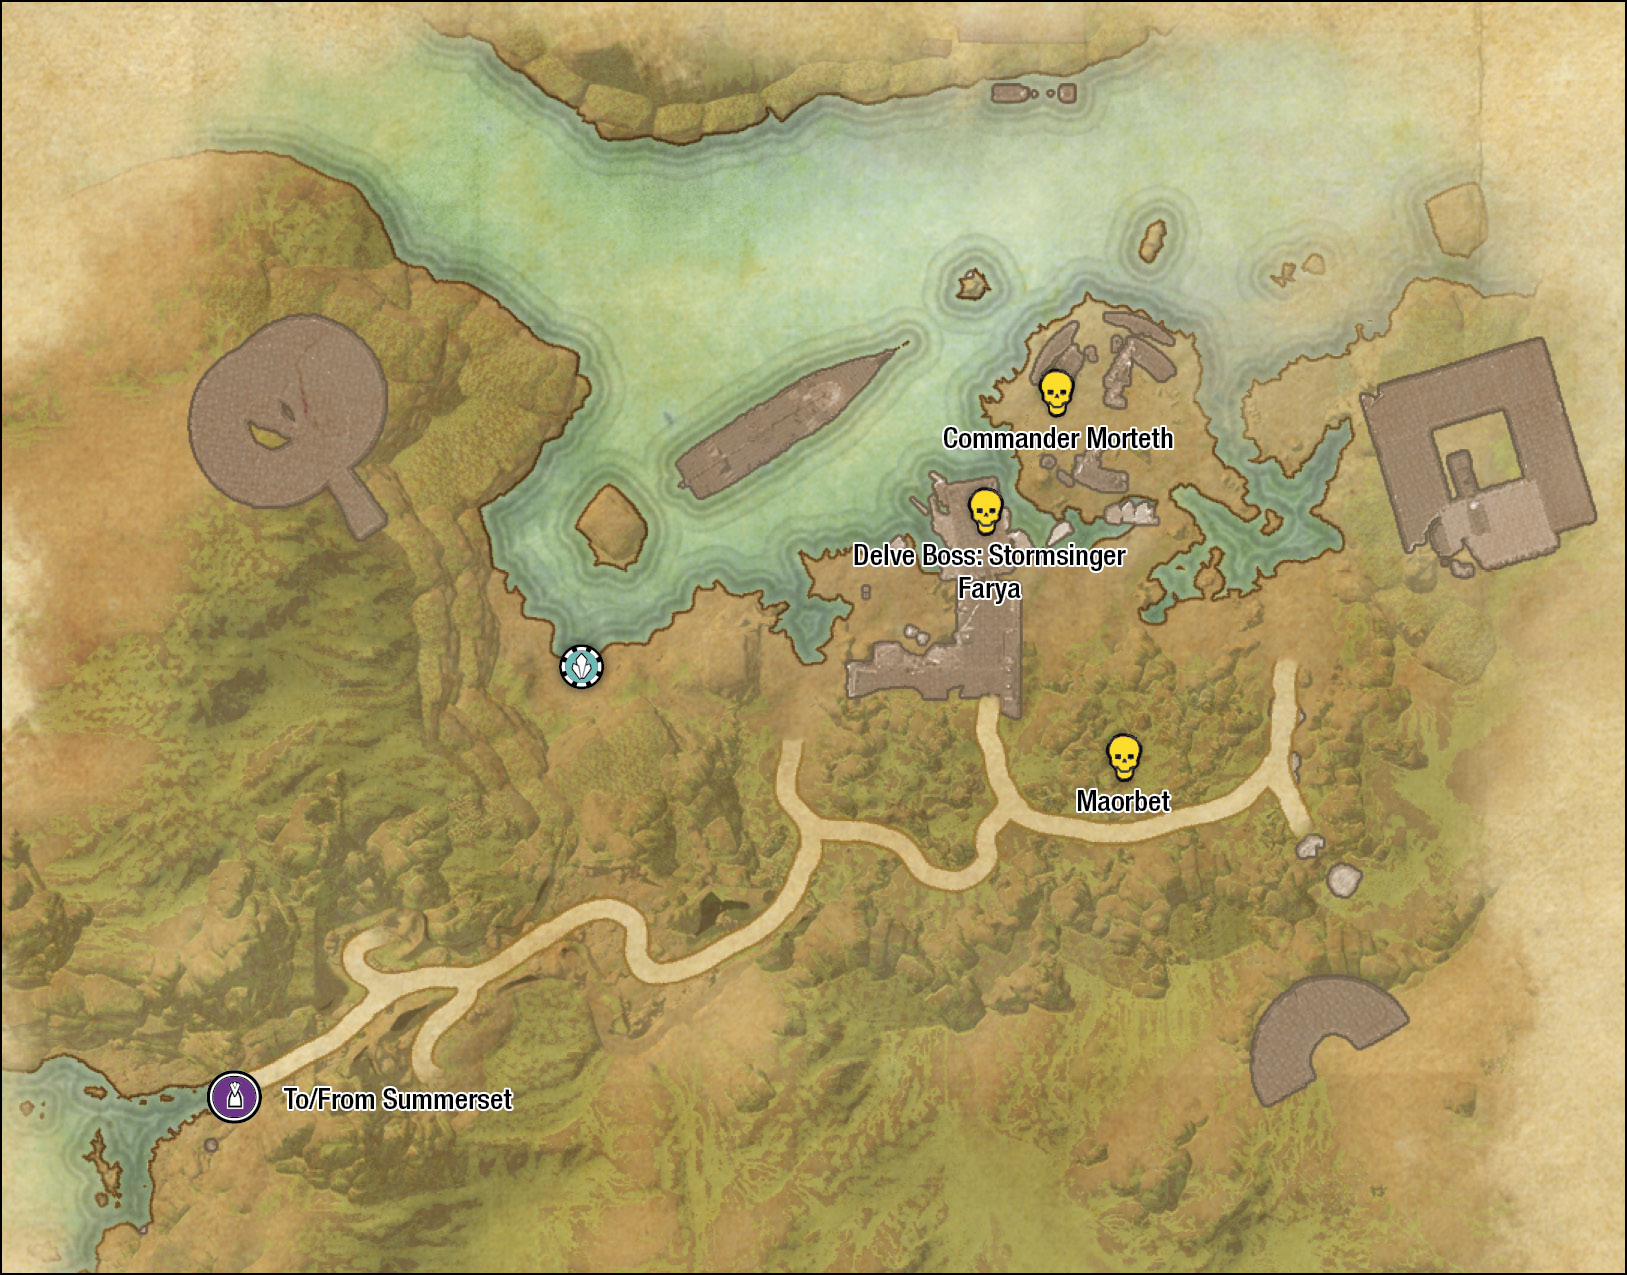
The offshore island of Wasten Coraldale—or Coraldale, as the fisher folk call it—contains a wild honeycomb of tunnels and fertile grottos where sea creatures of all sorts spawn and thrive. It’s heavily fished for that reason, despite its many dangers.

A fretful lady named Hiranesse seeks your help in finding her father on the beach southwest of Alinor Docks. Take her fishing boat to the remote island of Wasten Coraldale and complete the quest here. Note the island can be seen on your world map, but a more detailed version is shown below.
After mooring your boat, you must explore a cave grotto of low-ceilinged tunnels inhabited by many aquatic beasts. This opens up into a beach cove where Sea Vipers have set up an impressive base of operations. Note the locations of the three bosses, depending on whether you’re exploring this as a delve or as part of the quest (or both).


Night Runner Beach Camp
- Information: Cooking Fire; Mages Guild Lorebook; Secondary Location; Treasure Chest
- Entities of Note: Hiranesse
- Enemies: Night Runner
- Nearby Quests: Lost at Sea
Just south, along the jutting beach rocks is a beachside camp where a couple of unruly Night Runners are cooking up vittles. Introduce them to the sharp end of your blade.
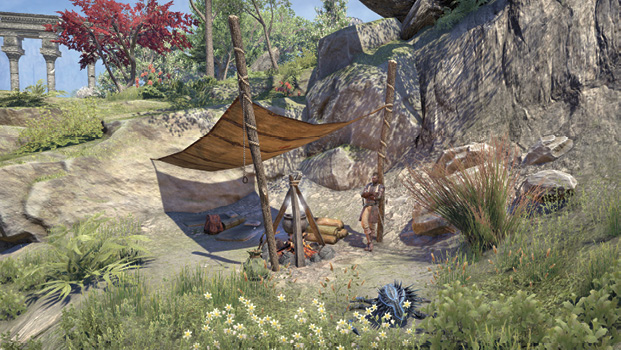

Wayshrine: Cey-Tarn Keep
- Information: Plant: Blue Entoloma, Violet Coprinus; Primary Location; Wayshrine
- Enemies: Butterfly, Springbok
Offering excellent fast-travel access to the keep of the same name, as well as the northern part of this region.
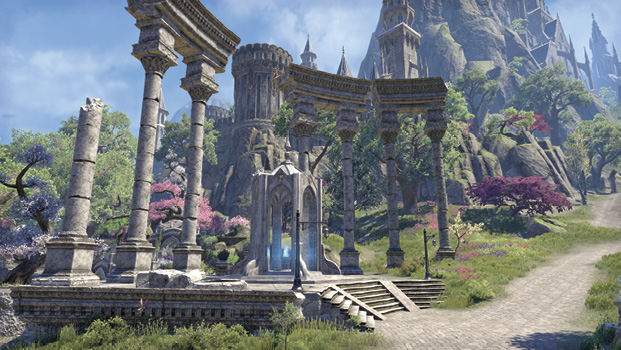
A key fortification on Summerset’s oft-invaded coast, Cey-Tarn Keep frowns out across the Sea of Pearls toward the distant Thrassian Archipelago and its vile race of Sload, eternal enemies of the High Elves of the isles.

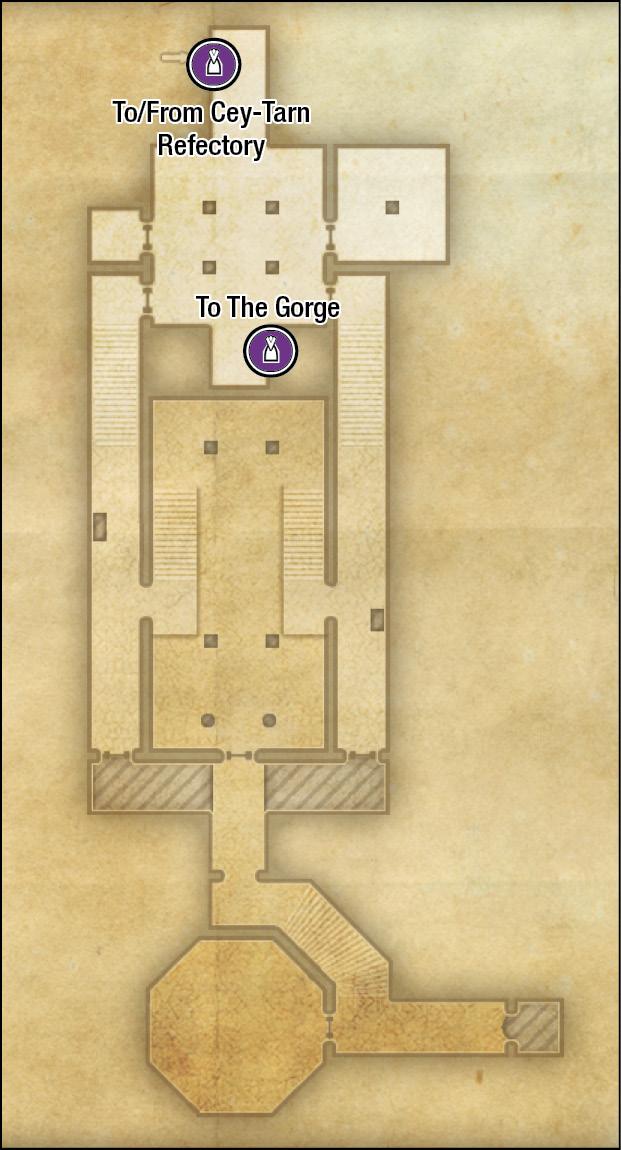
Situated atop a gigantic stone outcrop is the impressive and ominous Cey-Tarn Keep, which is accessible once the quest is active. Beyond the portcullis, there are numerous battlements to explore and a quartermaster to barter with. On the upper and inner (south) side of the keep are entrances to the Cey-Tarn Keep barracks and the refectory.
Inside the barracks, there are beds on the ground floor and steps up to a dining area (and various chests and safeboxes, including a locked one [Intermediate] to steal from). Note the vase by the smaller dining alcove leads to a hidden area with clues and a book called The Insatiable. The top floor features a small armory.
Inside the refectory is a grand dining room, kitchen, and stairs up to a barracks and down to the refectory cellar.
Investigating the cellar leads to a portal, through which you can explore a cursed shadow realm version of this place, known as the Gorge. Progress deeper into this cursed cellar to battle daedric incursions, culminating in a fight with the Insatiable!
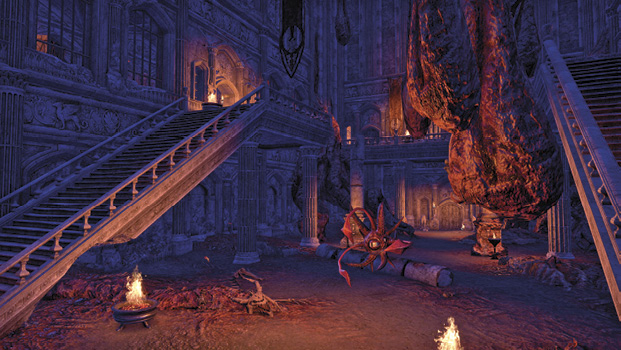

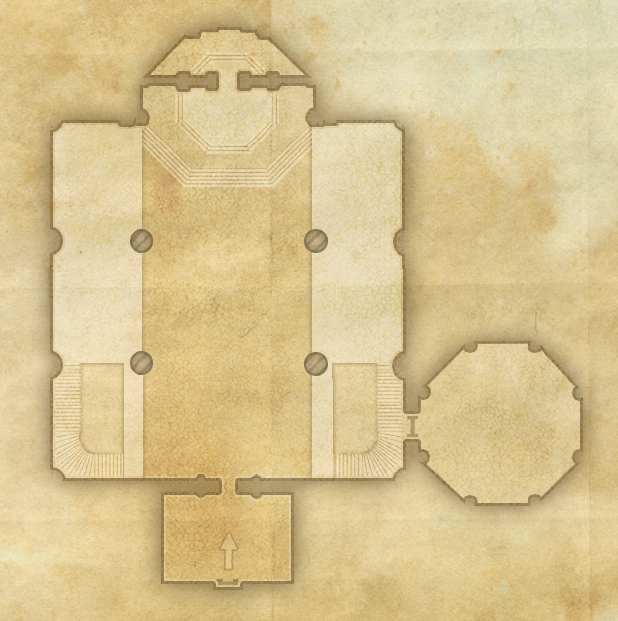
Alinor Royal Palace
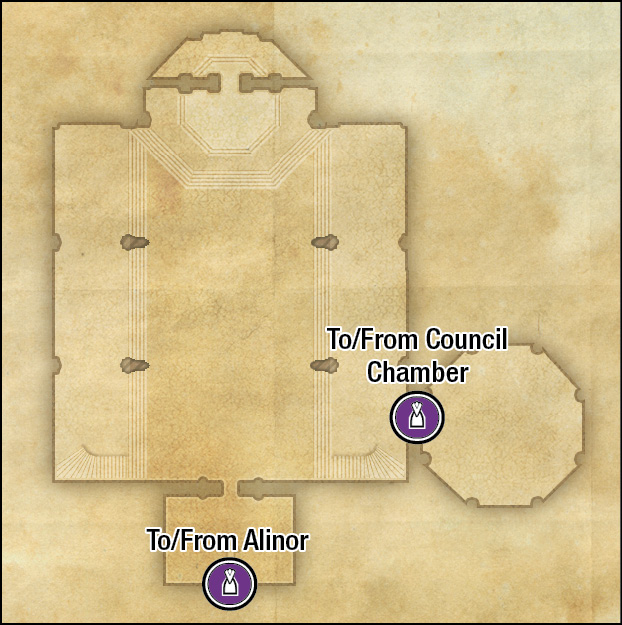
 |
Building or Threshold |
- Information: Interior; Secondary Location
- Entities of Note: Courtier Vindilween, Proxy Queen Alwinarwe, Rigurt the Brash
- Nearby Quests: Culture Clash

City: Alinor
 |
Primary Location |
 |
Secondary Location |
 |
Treasure Chest |
 |
Skyshard (Exterior) |
 |
Quest |
 |
Quest Public Dungeon |
- Information: City; Interior; Merchants; Plant: Dragonthorn, Emetic Russula, Imp Stool, Jute, Violet Coprinus; Primary Location; Thieves Trove
- Enemies: Butterfly Bright Moons Lunar Moth, Mud Hopper, Nixad, Skavenger, Springbok, Torchbug
- Nearby Quests: Bantering with Bandits
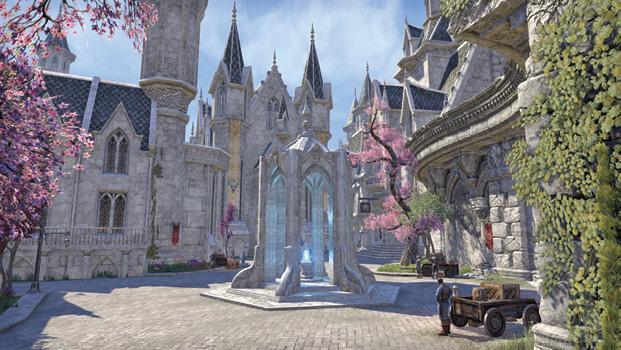
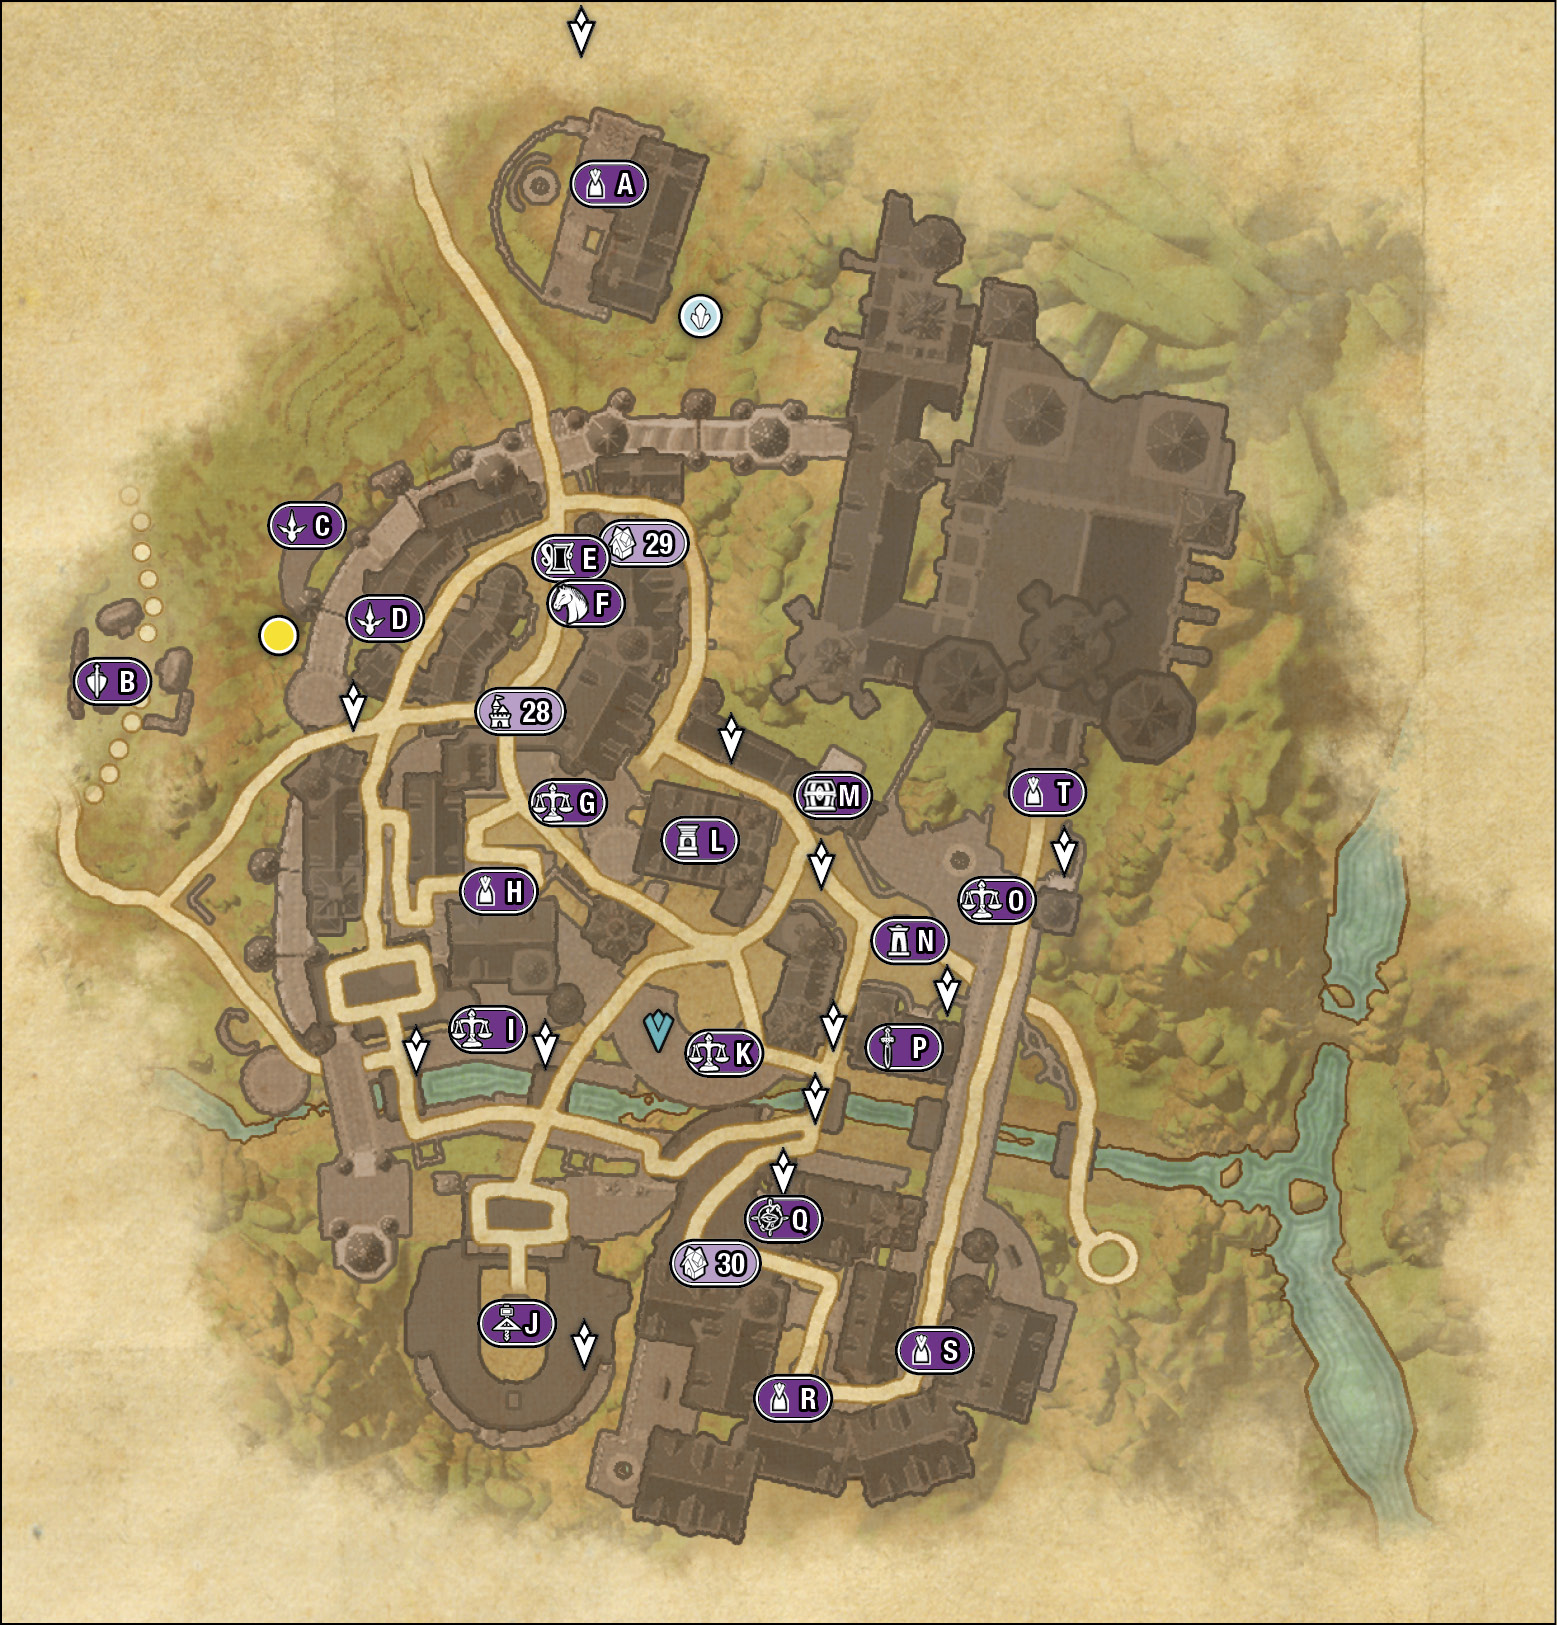
As one might expect when approaching the multitude of gleaming towers and exceptional architecture, Alinor is the capital of the Summerset Isles. The builders of this wondrous city worked and carved the stone until it shimmered. Its construction is sturdy but gaunt, with looming towers, spiraling ramparts, and stones embedded into the structures so the light can catch it and shower the viewer in color. Seen as a rival settlement to Lillandril to some, it is nevertheless the seat of power over all the isle.

Oleander Coast Winery
- Information: Interior; Secondary Location
- Entities of Note: Manacar
- Nearby Quests: Bantering with Bandits
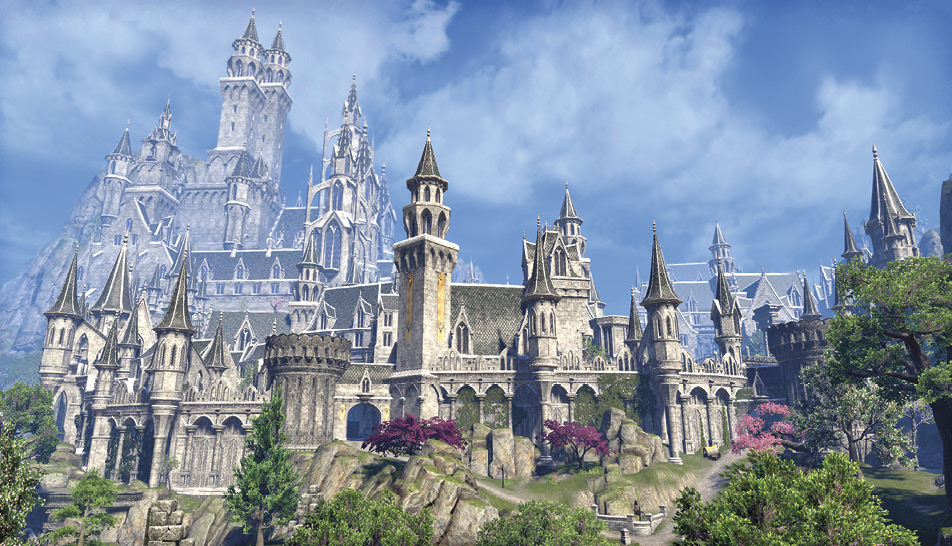
Well-to-do families visit the winery on the banks of Alinor’s rocky outcrop to sample the grapes and listen to the lute. Enter the winery manor house to uncover an Anthology of Available Abodes (Player Houses), and meet the locals as well as visitors from farther afield.

Gladiator’s Quarters
- Information: Merchants (Elite Gear, Battlegrounds Furnisher [2], Battlegrounds Supplies); Secondary Location
- Entities of Note: Agathe Monstrose, Battlemaster Rivyn, Grazhwu, Ravlan Fandas, Tinyeririe
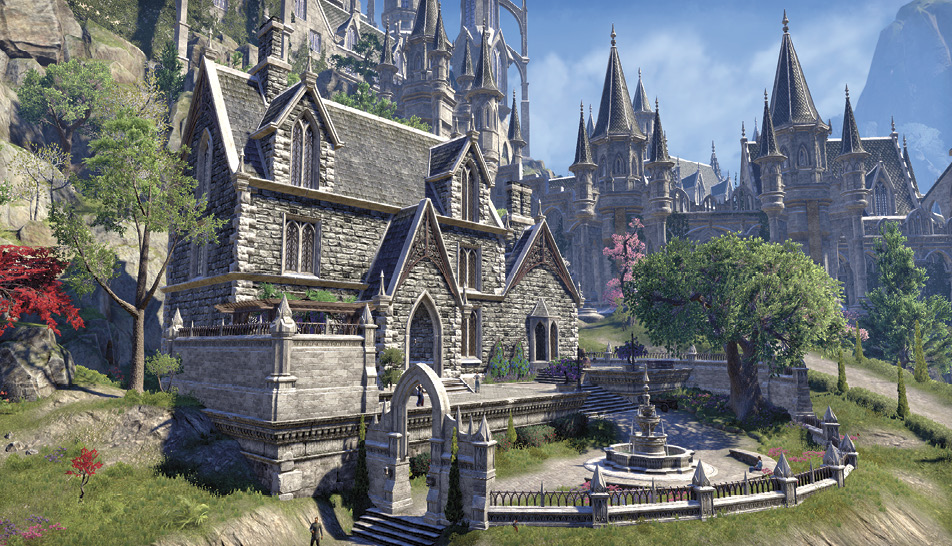
Stand among the Circle of Champions, a guild formed to test the greatest fighters of the realm, and then learn (and participate in) battleground games. Outfit yourself here too.

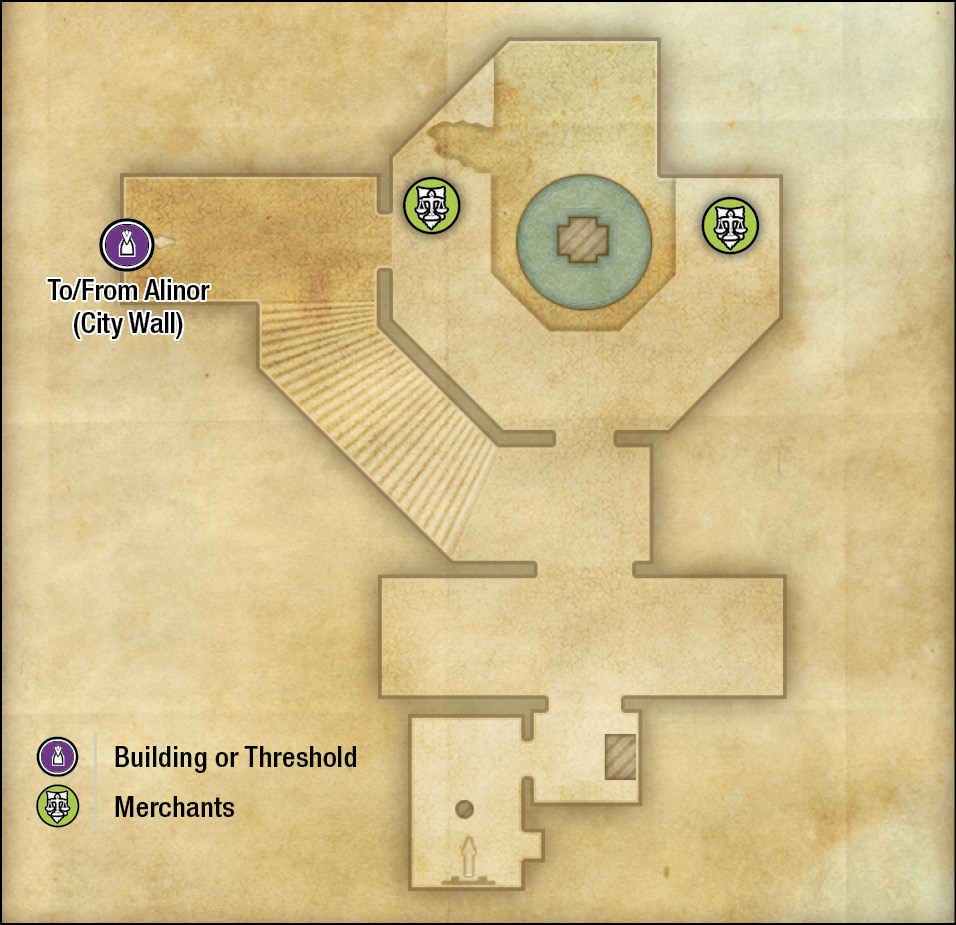
Alinor Outlaws Refuge (City Wall)

Alinor Outlaws Refuge (Mansion Cellar)
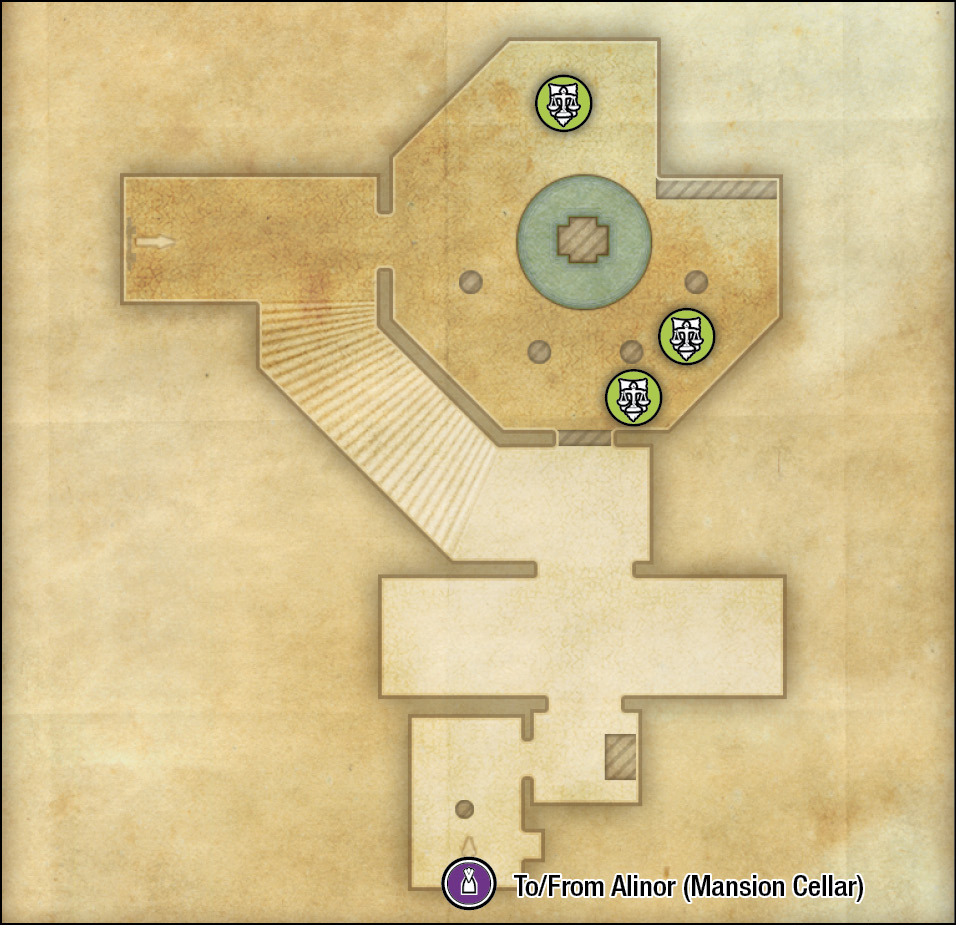
- Information: Cooking Fire; Interior; Merchants; Secondary Location
- Entities of Note: Esolarne (Moneylender), Fenanaral (Fence), Itnette (Fence), Oiomiralewen, Utzaei (Guild Trader), Zerh (Merchant)
- Nearby Quests: A Duelist’s Dilemma

The Vaults of Heinarwe
|
Enemy (Difficult) |
 |
Building or Threshold |
- Information: Interior, Secondary Location
- Enemies: Gryphon, Nixad, Skaafin, Spider, Wisp, Wispmother
- Boss: Teraniel
- Nearby Quests: The Taste of Fear
“Then so ashamed was Kinlady Heinarwe by her transgression with King Orgnum that she forsook name, title, and clan, banished all family and servants from the halls of her palace, snuffed every candle and chandelier, and withdrew, alone, into her vaults.” —Infamy of Heinarwe

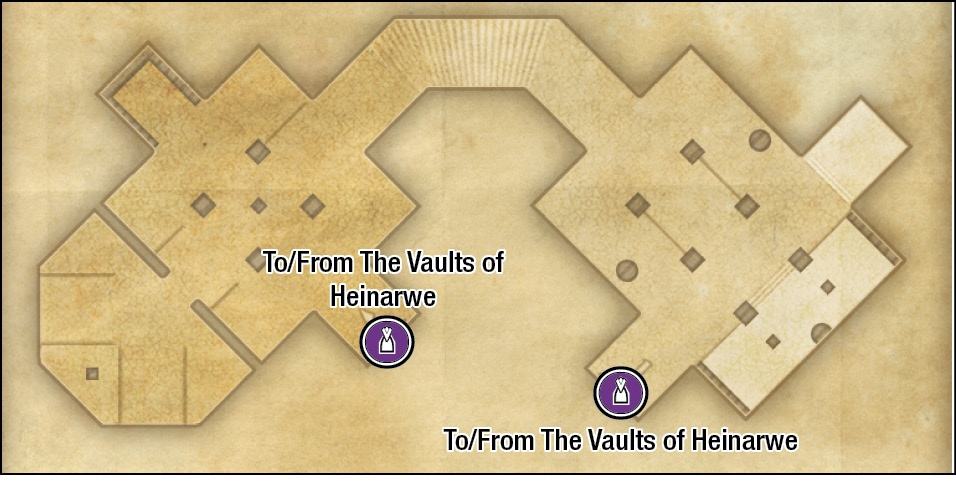
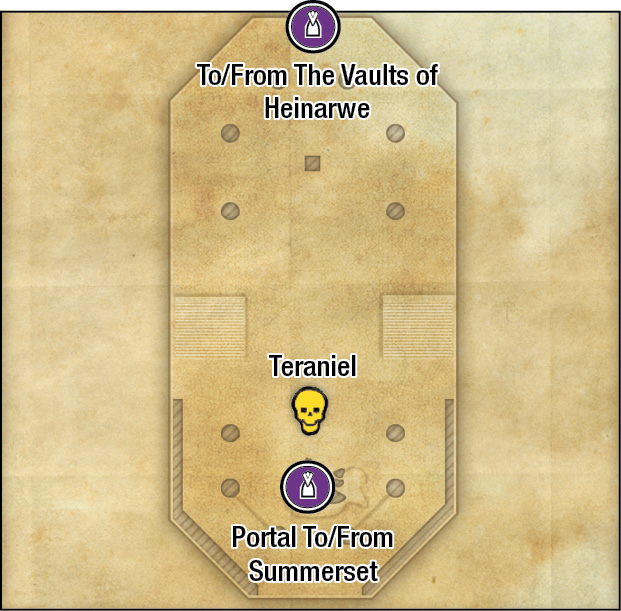
Hidden by vines and an overhang just east of the fortress (Cey-Tarn Keep) is a cave leading to an impressive series of interior passageways and bridges, once the domain of a banished kinlady. To face the true threat within this location, be sure you have Quest: The Taste of Fear active.
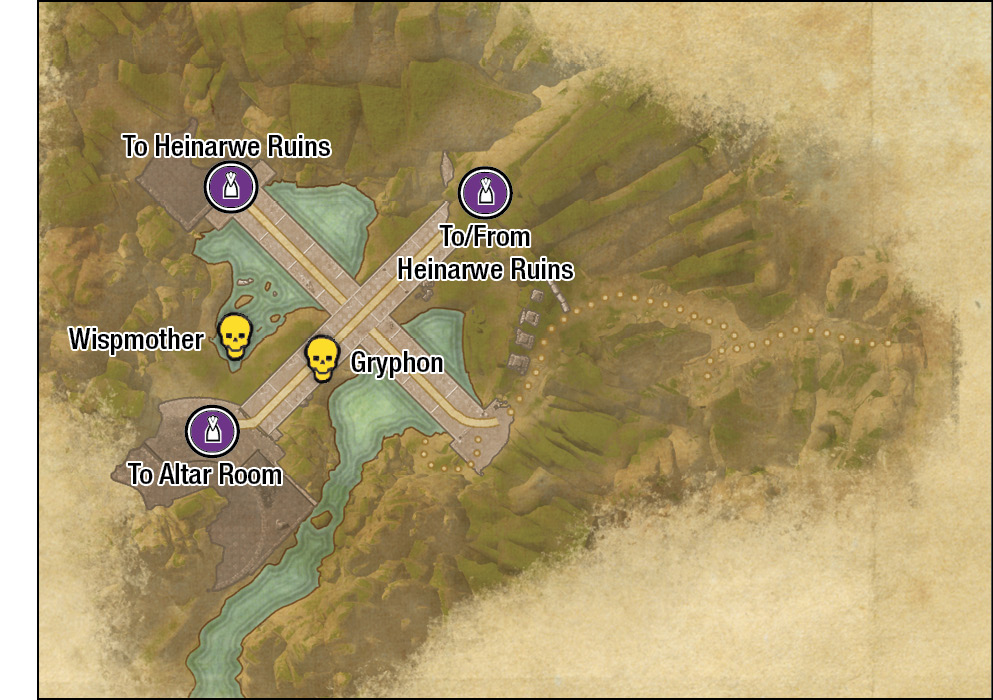
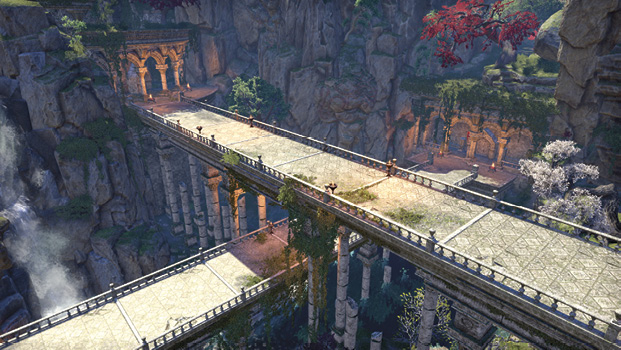
After the skeletal remains in the initial tunnel, this area opens into a large exterior rock cove, with two bridges to access. The upper bridge is only passable once you cross the lower one and venture farther into the vaults. Cross the lower bridge (heading northwest) to reach the Heinarwe Ruins. After exploring there, you can emerge onto the upper bridge, face a gryphon, and reach the high door (heading southwest) to the altar chamber.
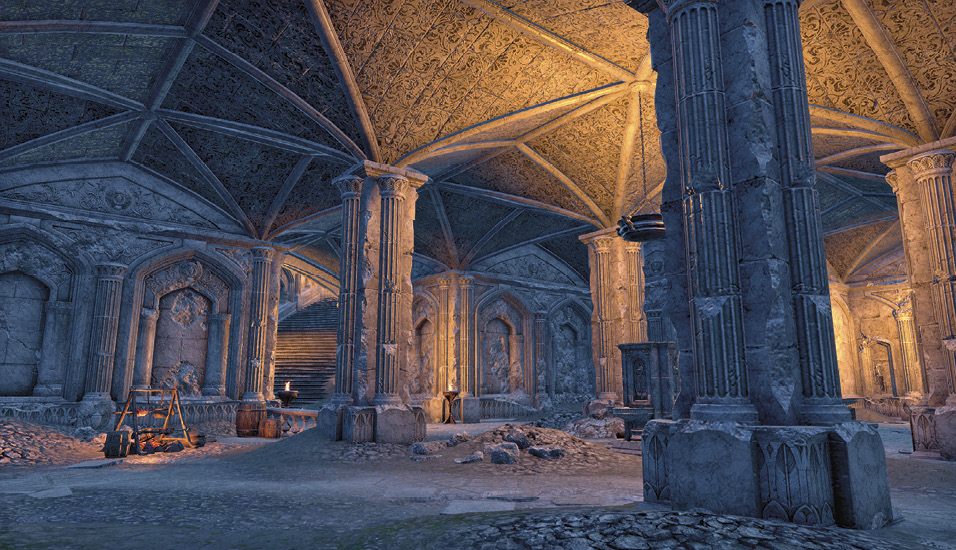
The main interior vaults are in ruins, being picked through by Skaafin raiders. Expect a larger number of them in the upper chambers to the east. Find the door here to return to the bridge crossings.
This grand altar room holds a great threat (Teraniel), assuming the quest is active and the portal between times (at the huge stone altar) is active.

Gryphon Dell
- Information: Fishing Hole; Ore: Iron Ore; Plant: Water Hyacinth; Secondary Location; Skyshard, Thieves Guild Dead Drop Chest; Treasure Chest
- Enemies: Bright Moons Lunar Moth, Frog, Gryphon, Mud Hopper, Springbok
The rugged, grass-topped rock terrain due south of Rellenthil, close to the cave leading into the Vaults of Heinarwe, has a gryphon nest to disturb. Look for a Skyshard just south of the nest, by the river.
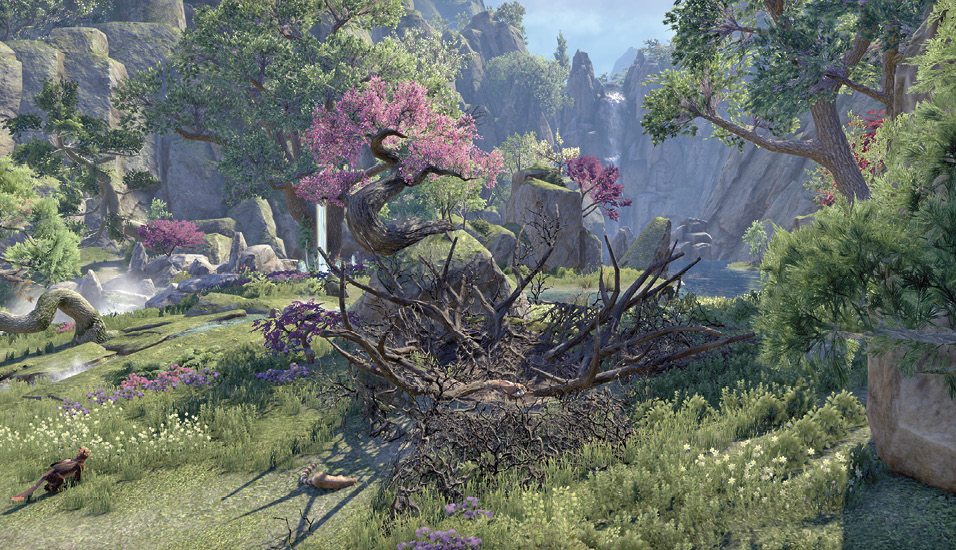

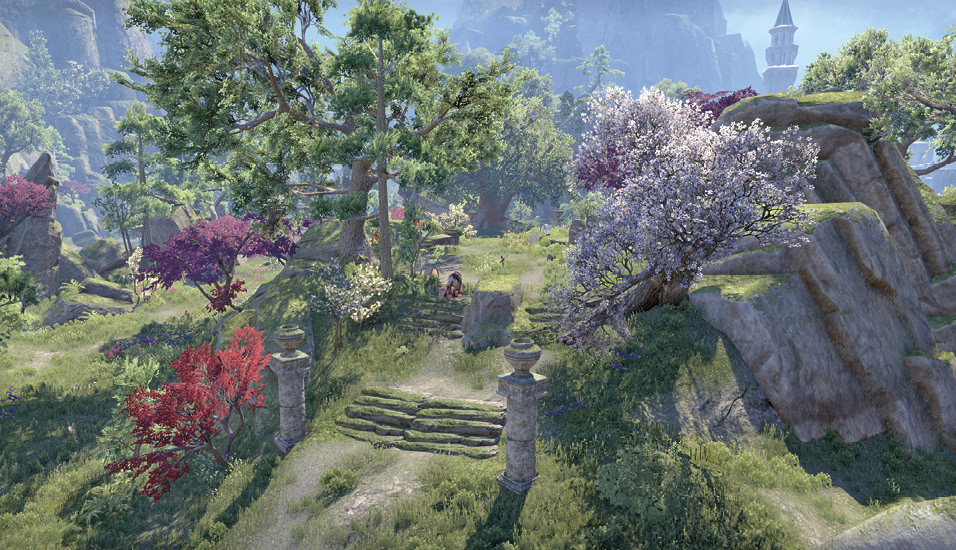
Shrine Path
- Information: Plant: Jute; Mages Guild Handbook; Secondary Location; Thieves Trove; Treasure Chest
- Enemies: Bright Moons Lunar Moth, Welwa, Wolf
The high ground among the grassy rocks to the south of Rellenthil has a moss-covered shrine (look for two columns with pots atop them at either end of the shrine route), with possible trove purloining and a mage’s book to pilfer.

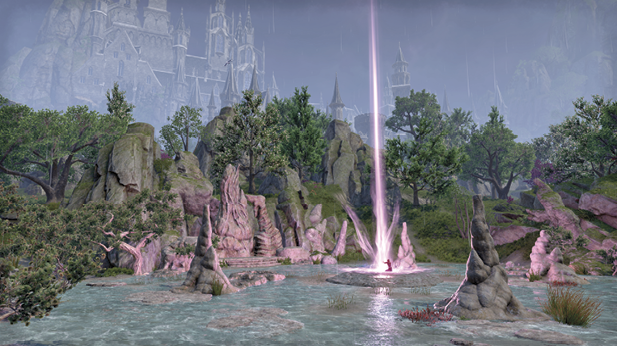
Abyssal Geyser Welenkin
- Information: Abyssal Geyser; Primary Location
- Entities of Note: Bedlam Prophet
- Enemies: Varies
- Boss (Varies): Ruella Many-Claws; Churug of the Abyss; Sheefar of the Depths; Girawell the Erratic; Muustikar Wave-Eater; Reefhammer; Darkstorm the Alluring; Eejoba the Radiant; Tidewrack; Vsskalvor; Yaghra Monstrosity
Locate the Bedlam prophet at the center of this coastal cove just northwest of Alinor, and expect waves of incoming foes. Bring your cohorts to fend off the incursion of monsters. Once the final wave is over, expect to face one of the previously listed bosses, after which a clamshell treasure chest becomes accessible, containing some rather fine loot. Return here to repeat this (randomized) challenge.

Coastal Lookout Ruins
- Information: Fishing Hole; Ore: Pewter Seam; Plant: Bugloss; Secondary Location
- Enemies: Bright Moons Lunar Moth, Wolf
Technically one of the grand edifices of Alinor, this curved stone lookout marks the westerly point of the city. It is adjacent to the northern edge of Welenkin Cove.
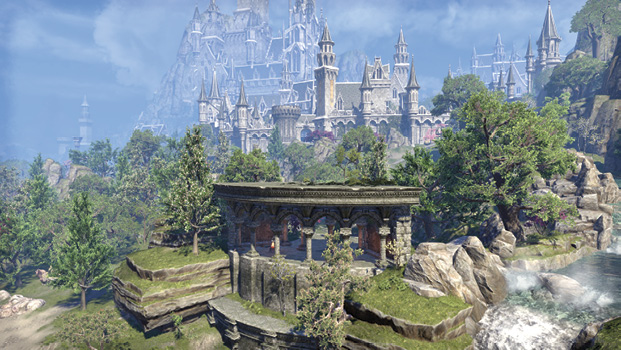

Group Boss: Welenkin Cove
- Information: Group Boss; Ore: Iron Ore; Plant: Blue Entoloma; Primary Location
- Enemies: Coral Crab,Yaghra
- Boss: B’Korgen
Face the rotund and revolting B’Korgen in this waterlogged grotto, watching out for his impressive, summoned alchemical globules.


Flotsam and Jetsam
- Information: Mages Guild Handbook; Ore: Iron Ore; Plant: White Cap; Secondary Location; Thieves Guild Dead Drop Chest; Treasure Chest
- Enemies: Coral Crab
Pick through the scattered wreckage of a sunken ship (which is visible but inaccessible to the east of this location).
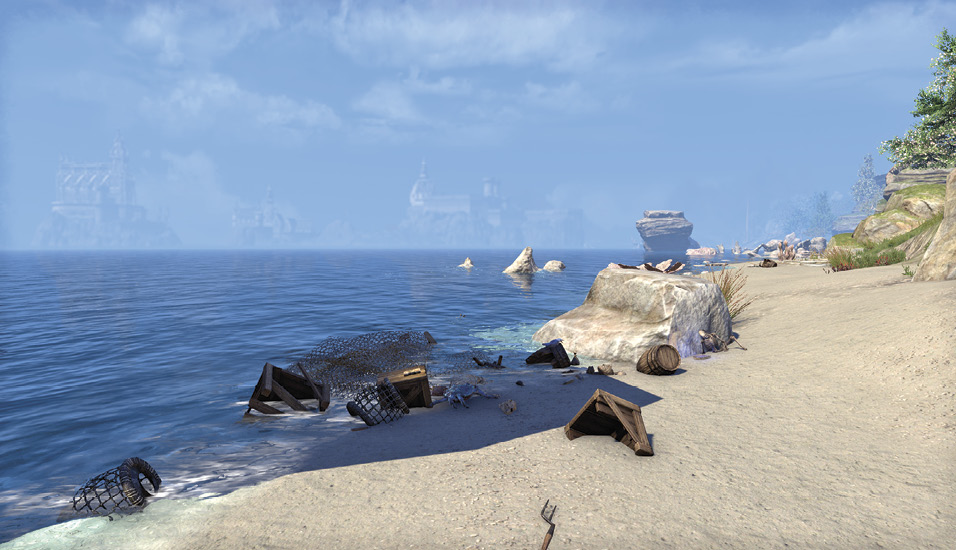

Hidden Shrine
- Information: Mages Guild Handbook; Plant: Columbine; Secondary Location; Treasure Chest
In a high and narrow alcove, between the long, vertical mountainside rocks and near the rushing waters, is a tiny shrine with some interesting items to scavenge.
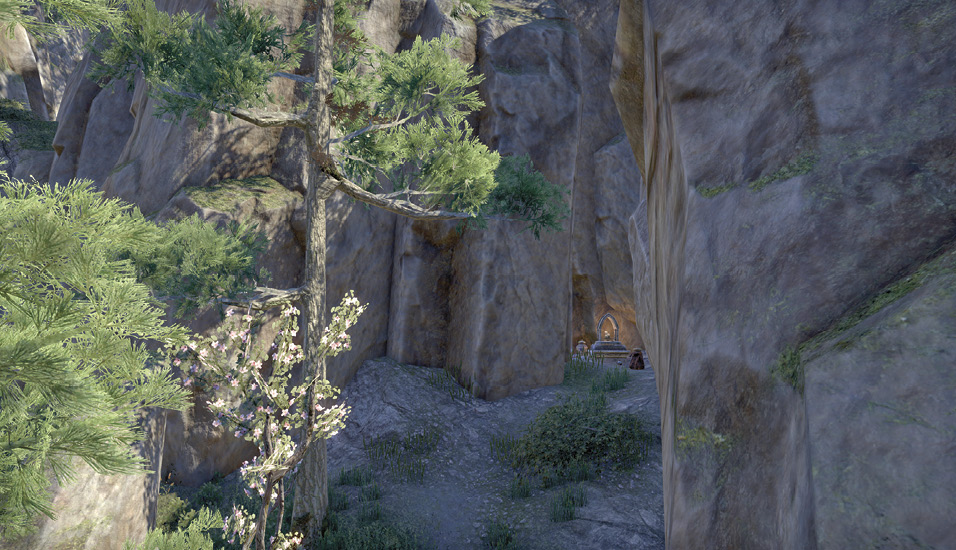
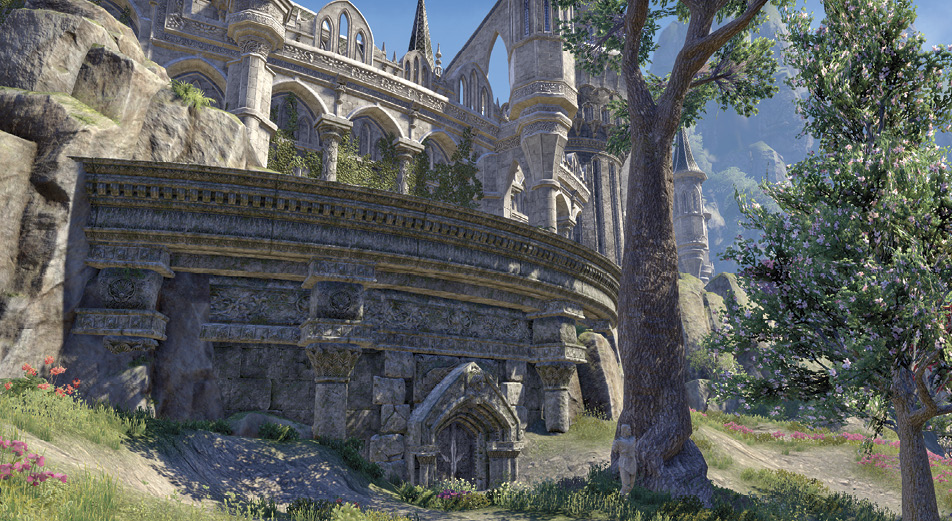
The last doddering elves of venerable House Numralion of Alinor don’t even remember that their city mansion features an old wine cellar, let alone realize that it’s been taken over and repurposed by the city’s criminal element. Enter this place of thievery via a stone door at the base of the exterior wall or through a wooden mansion door in a back alley, on the western side of the city.
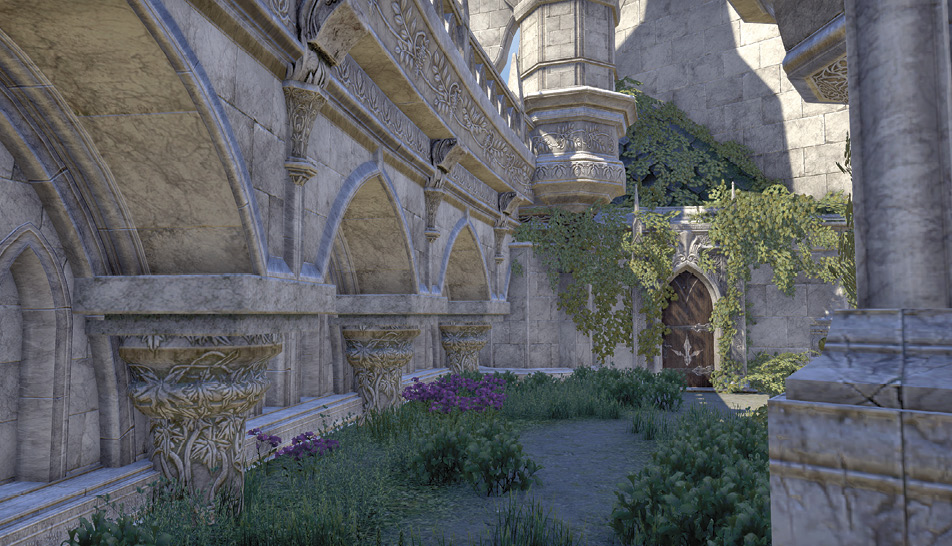
Inside is a wine cellar and cistern area where the thieves ply their wares. Visit them for goods and befriend them if you’re part of their kind.
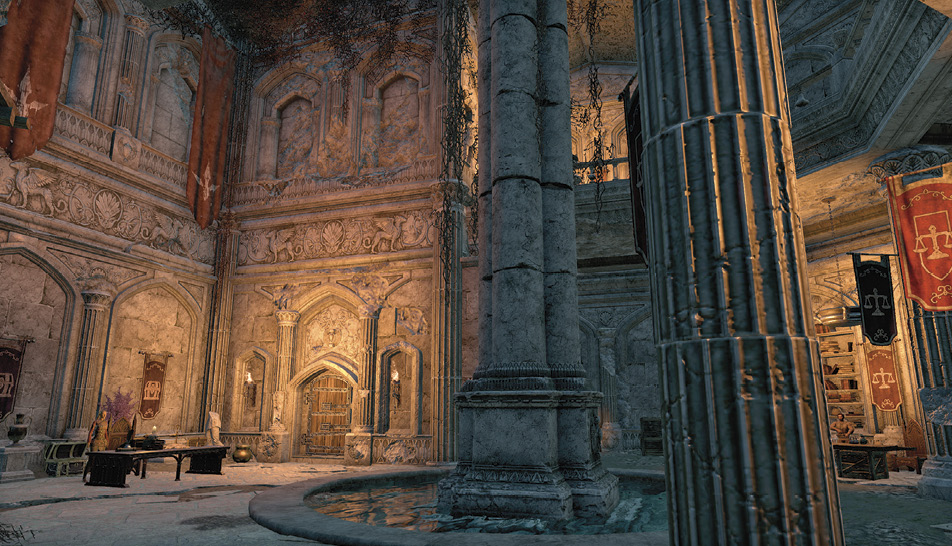

Inn: The Golden Gryphon
- Information: Cooking Fire; Inn; Interior; Merchants; Player House; Secondary Location
- Entities of Note: Felande Demarie, Gryf Blakeny (Brewer), Vintenwen (Innkeeper)
- Nearby Quests: Room to Spare
Visit this tavern in the northern quarter of the city. Aside from the drinks and other purchases to make, you can buy your first abode in Alinor. The quest is suspiciously simple to complete! Primary Location: Player House—Golden Gryphon Garret (Primary Location 2.26), which is inside the inn, is now available.
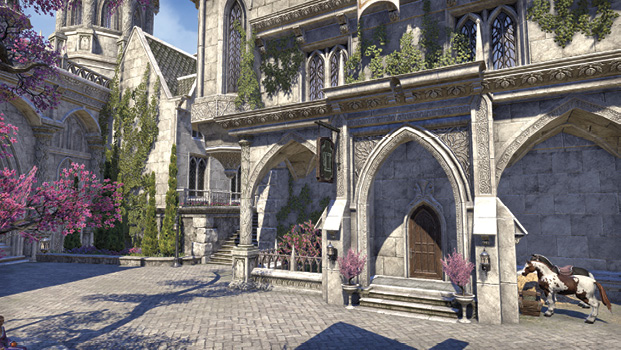

Alinor Stable
- Information: Merchant; Secondary Location
- Entities of Note: Sarohanar (Stablemaster)
Rest your mount here, or purchase a steed from Sarohanar. The stables are conveniently located next to the inn, despite some complaints of the smell.
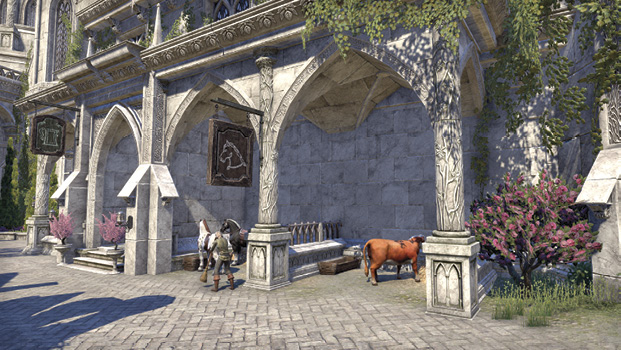

Anginil’s Place
- Information: Merchant, Secondary Location
- Entities of Note: Anginil (Chef), Justiciar Farowel
- Nearby Quests: Run Aground
Whether you’re here for a sweetroll or some casual belittling from Chef Anginil, rest a while at this place of fine dining.
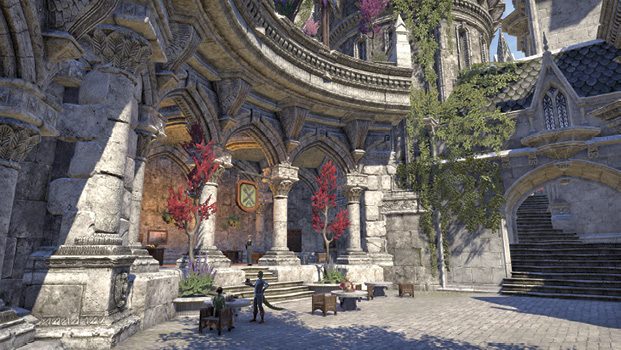

Irene Epinard’s House
- Information: Interior; Secondary Location; Warning: Restricted Area (Trespass)
- Entities of Note: Irene Epinard, Thorley Epinard
Should you wish to outstay your welcome and pick the lock (Advanced) of Irene’s door, there’s two upstairs safeboxes (Intermediate on the middle floor and Advanced on the upper floor) to open, as well as townsfolk to avoid. There are other, less impressive chests and sacks to purloin.
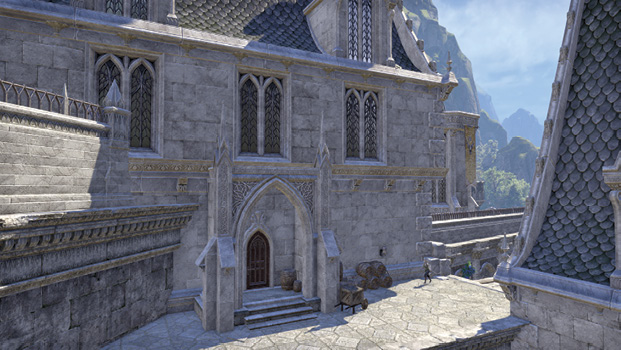

Home Furnishings and Pack Merchants
- Information: Merchants; Secondary Location
- Entities of Note: Danel Telleno, Marakar (Pack Merchant), Millineth, Nolenowen (Global Achievement Furnisher), Tarmimn (Achievement Furnisher), Tildannire (Holiday Achievement Furnisher), Unwoltil (Home Goods Furnisher)
- Nearby Quests: Equipment Crafting Certifications, Consumable Crafting Certifications
Visit these specialists when you want to furnish your Player Houses in Alinor (especially after unlocking suitable achievements), or anywhere you own a home.
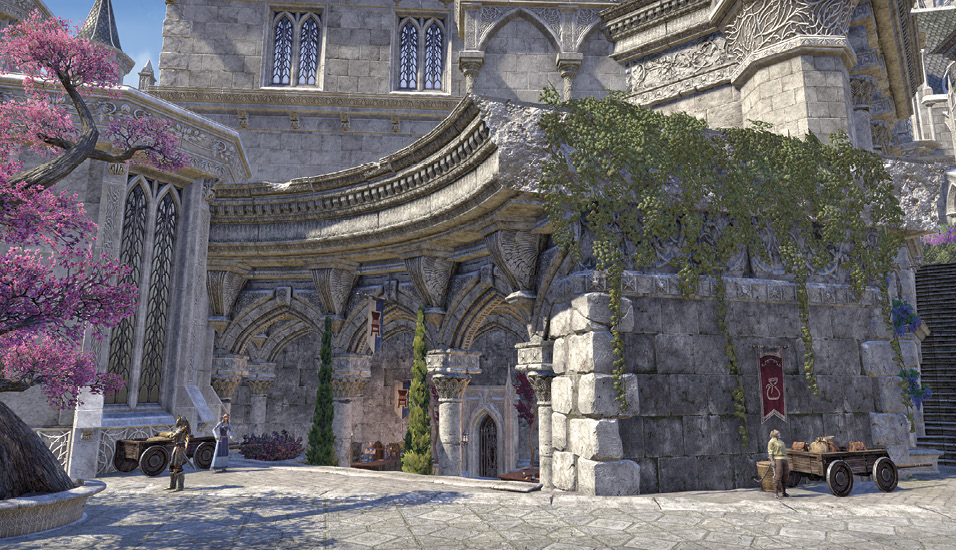

Plaza of the Hand
- Information: Cooking Fire; Crafting: Alchemy Station, Blacksmithing Station, Clothing Station (2), Enchanting Table (2), Jewelry Crafting Station (2), Outfit Station, Woodworking Station (2); Merchants; Secondary Location
- Entities of Note: Bergi (Clothier), Clivia Juncus (Merchant), Emdular (Alchemist), Felarian, Finnegil (Grocer), Nunorbel (Enchanter), Satha Ralaal (Carpenter), Snabazkur (Blacksmith)
- Nearby Quests: Jewelry Crafting Certification
Seek out this southern plaza for additional and impressive crafters, as well as the necessary stations to perfect your own crafting of items and equipment. Seek out Emdular’s Solutions, the Seabreeze Saw Company, and even the Green Grocer for some well-cooked vittles. Consult Felarian if you wish to perfect your jewelry crafting.
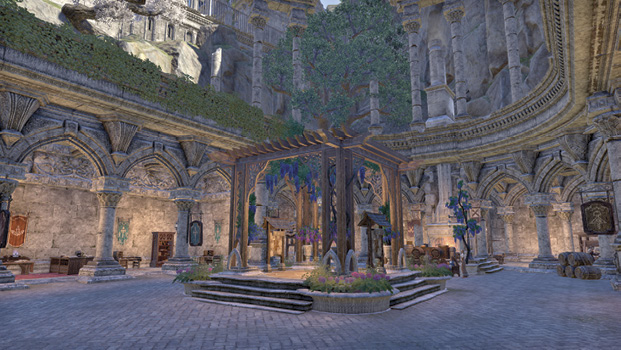

Crafting Merchants Square
- Information: Merchants; Secondary Location
- Entities of Note: Drakaws (Woodworker), Grashegg (Leatherworker), Justiciar Tanorian, Nuzon (Tailor), Rulenlionfdil (Weaponsmith), Tuminderion (Armorer)
- Nearby Quests: Pilgrimage’s End (Daily Quest)
Visit this town square if you aren’t willing (or able) to craft your favorite items and want an expert to sell you the items instead. Or, if you’re after some specific equipment, check these specialists.
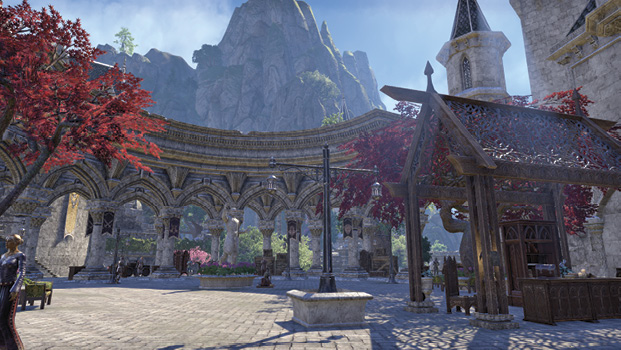

Alinor Temple
- Information: Interior; Secondary Location
Those seeking spiritual guidance or fulfillment come to this ornate but not overly elaborate temple.
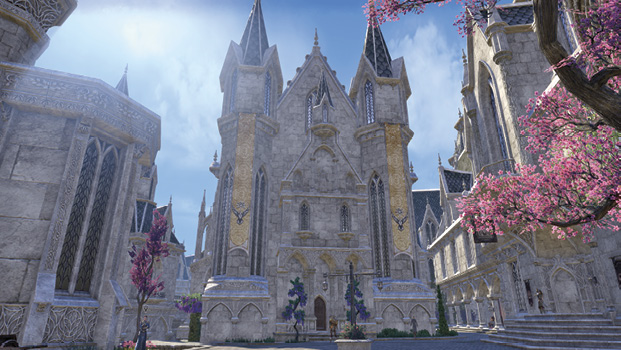

Alinor Bank
- Information: Interior; Merchants; Secondary Location
- Entities of Note: Mornurdur (Banker), Tilanfire (Banker)
Those with coin to spare can store it safely at this bank, which also offers a variety of consumables. Just speak to Mornurdur or his colleague Tilanfire.
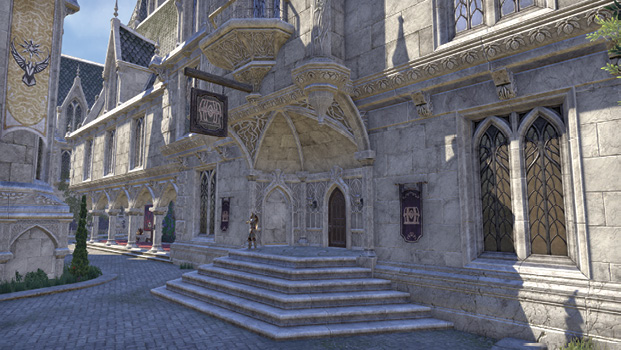

Alinor Wayshrine
- Information: Merchant, Primary Location; Wayshrine
- Entities of Note: Aicessar (Hall Steward), Huzzin (Guild Trader), Rathornith (Hall Steward)
- Nearby Quests: Aicessar’s Invitation, Housing Brochure: Room to Spare
Located in the eastern courtyard of the city, this wayshrine allows relatively quick access to the guild traders, the Mages and Fighters Guilds, and the Royal Palace. Note the guild traders (Huzzin) on the western side of the courtyard.
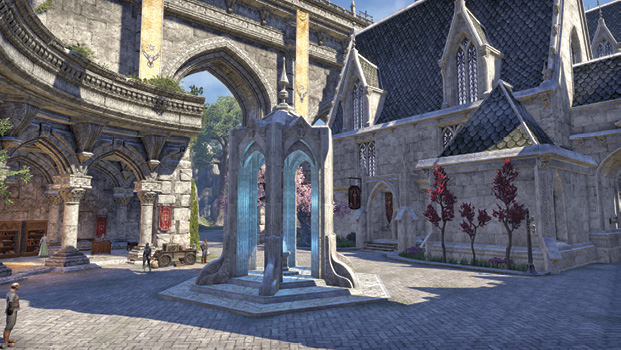

Guild Traders (Alinor Courtyard)
- Information: Merchants, Secondary Location
- Entities of Note: Irna Dren (Guild Trader), Rialilrin (Guild Trader), Rubyn Denile (Guild Trader), Talwullaure (Guild Trader), Yggurz Strongbow (Guild Trader)
- Nearby Quests: Aicessar’s Invitation, Housing Brochure: Room to Spare
Close to the wayshrine is an alcove where guild traders ply their wares, expecting good sales from those that utilize the wayshrine.
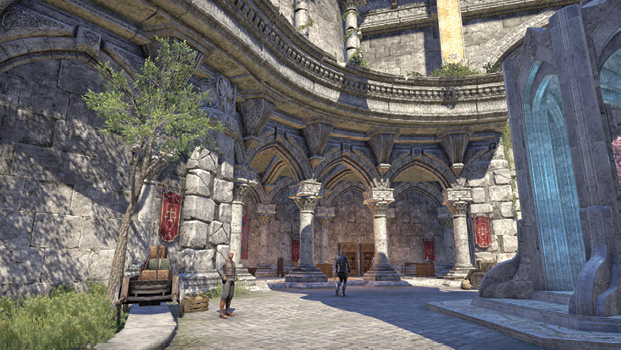

Fighters Guild
- Information: Interior, Secondary Location
- Entities of Note: Aicessar (Hall Steward), Emerel (Armsman), Rathornith (Hall Steward)
- Nearby Quests: Aicessar’s Invitation
The Fighters Guild of Alinor is close to the palace for obvious reasons, and features Aicessar, who allows you to join this guild, as well as Emerel, who has wares to sell.
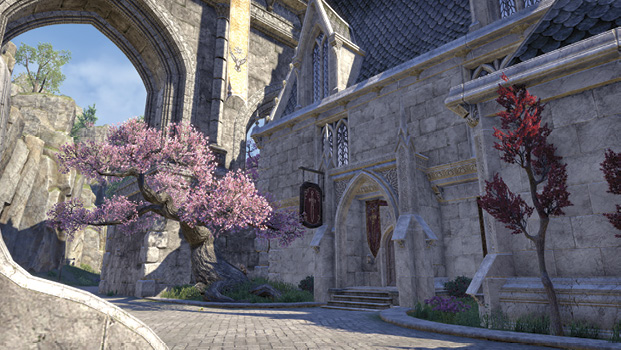

Mages Guild
- Information: Cooking Fire; Interior; Merchant; Secondary Location
- Entities of Note: Curinure (Magister), Desh-Taa (Mystic)
- Nearby Quests: Curinure’s Invitation
The expansive Mages Guild building is on the upper, eastern side of the city, by the palace bridge. Meet Curinure (Magister) if you wish to join the guild. Trade with Desh-Taa (Mystic) or Kourazir (Mystic) if you wish to trade.
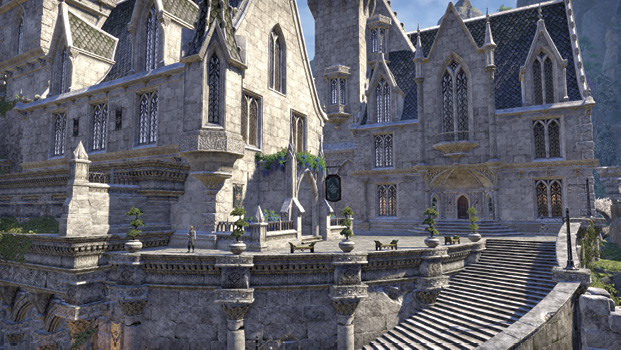

Kinlady Valullinwe’s House
- Information: Interior; Secondary Location; Warning: Restricted Area (Trespass)
- Entities of Note: Lady Vinwinarin
Picking the lock (Advanced) of this noblewoman’s house can get you into trouble, but trespassing does allow some pilfering of the usual items throughout this town house, like the two upstairs safeboxes (Advanced).
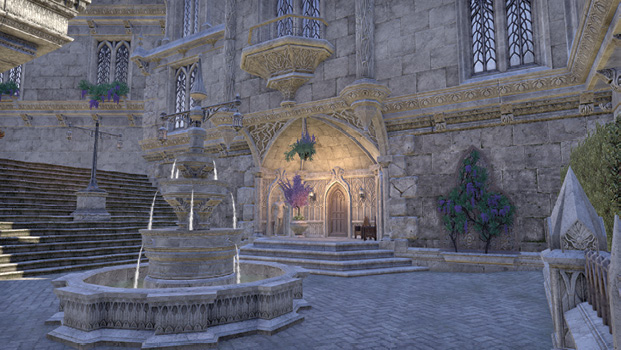

Judicator Linulyia’s House
- Information: Interior; Secondary Location; Warning: Restricted Area (Trespass)
- Entities of Note: Judicator Linulyia
Once you pick the lock (Advanced) of the judicator’s house, watch for her servants as you attempt to grab anything not bolted down. There’s a couple of safeboxes (Intermediate and Advanced) to pry open.
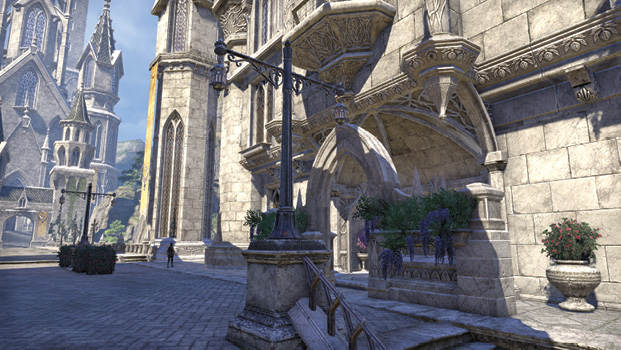
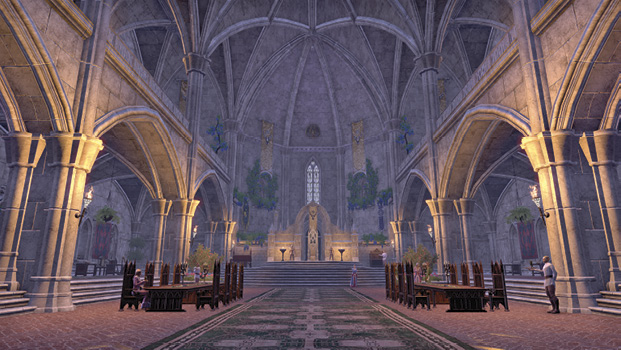
The palace is the site of the fabled Throne of Alinor, which has been occupied almost continuously by a single line of royal succession dating back to the Merethic Era. Ayrenn, the current monarch, is represented by her cousin, Proxy Queen Alwinarwe.
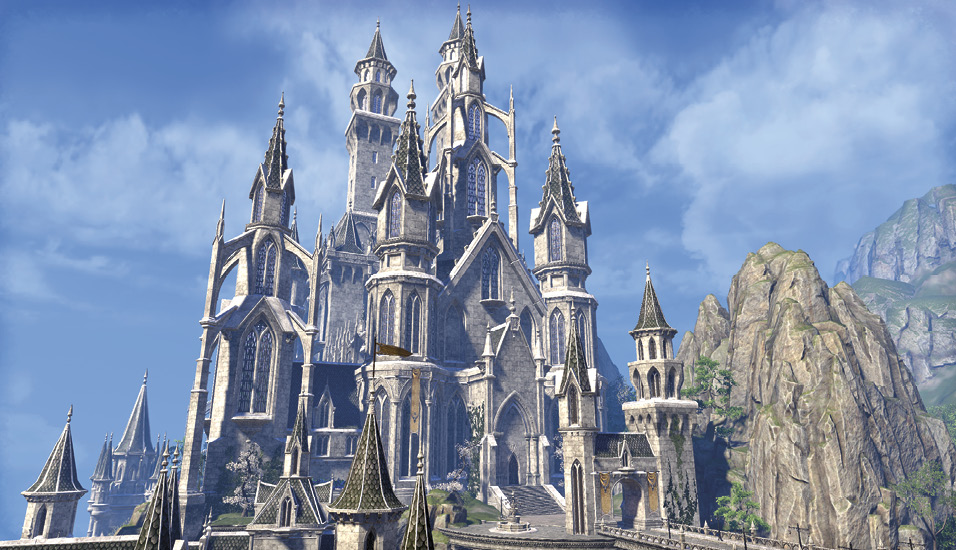
Inside, you can speak to the haughty Courtier Vindilween and explore the impressive interior, which becomes more interesting once the quest is active.

Player House: Golden Gryphon Garret
- Information: Interior; Player House; Primary Location
- Entities of Note: Felande Demarie
- Nearby Quests: Room to Spare
Though this is only a single room, the advantage of this inn apartment is its unrivaled location, just steps from the gates of Alinor. That, and the rare prestige of an Alinor address! It’s available free for completing the Room to Spare quest in Summerset, or you can purchase it for 3,000 gold if you have already completed that quest elsewhere.


Player House: Alinor Crest Town House
- Information: Interior; Player House; Primary Location
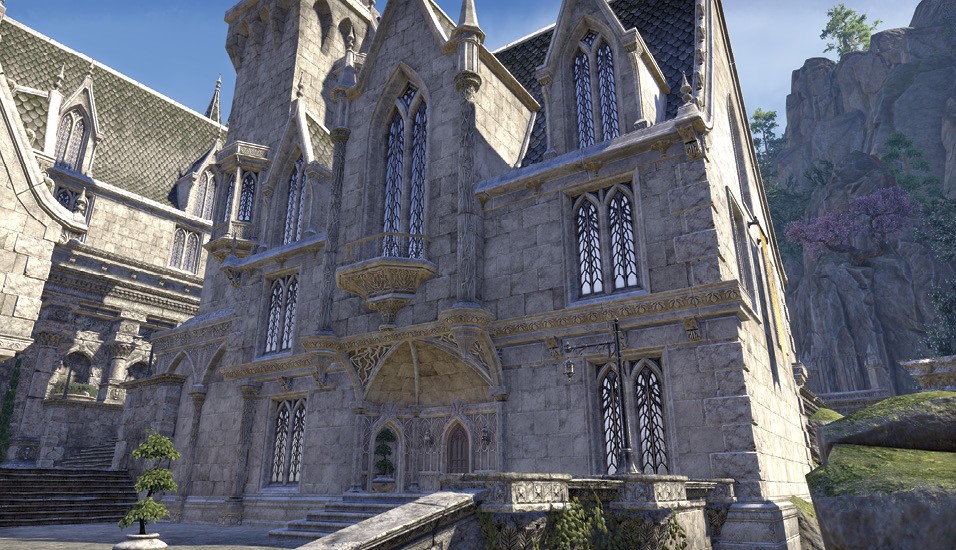
On the heights of Alinor, with easy access to the Royal Palace, this splendid mansion was built as a consulate for the Bosmeri Ambassador of the Camoran Dynasty. With the ambassador now in Elden Root, the town house is available for you! It can be purchased once you earn the Summerset Grand Adventurer achievement.

Wayshrine: Alinor
- Information: Primary Location; Wayshrine
- Entities of Note: Aicessar (Hall Steward); Huzzin (Guild Trader); Irna Dren (Guild Trader); Rialilrin (Guild Trader); Rubyn Denile (Guild Trader); Talwullaure (Guild Trader); Yggurz Strongbow (Guild Trader)
- Nearby Quests: Aicessor’s Invitation; Culture Clash; Curinure’s Invitation; A Duelist’s Dilemma; Jewelry Crafting Certification; Pilgrimage’s End; Room to Spare; Run Aground
Close to the guild market of the Aedra, in one of Alinor’s town squares, this wayshrine (which is also listed in the “Alinor” section of the Atlas) offers quick and proficient access to everything the largest city on Summerset Isle has to offer.