The Elder Scrolls Online: Summerset Guide Quests Story Quests
The Crystal Tower
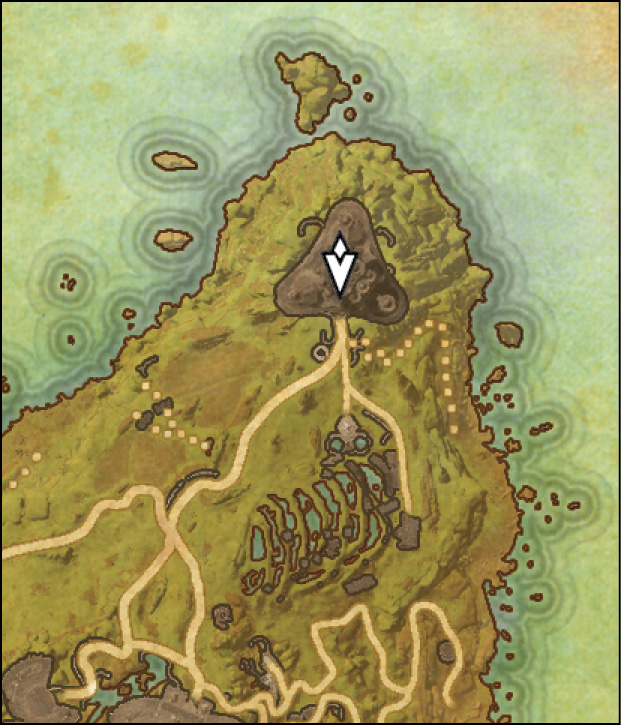
- Location: Artaeum, Ceporah Tower
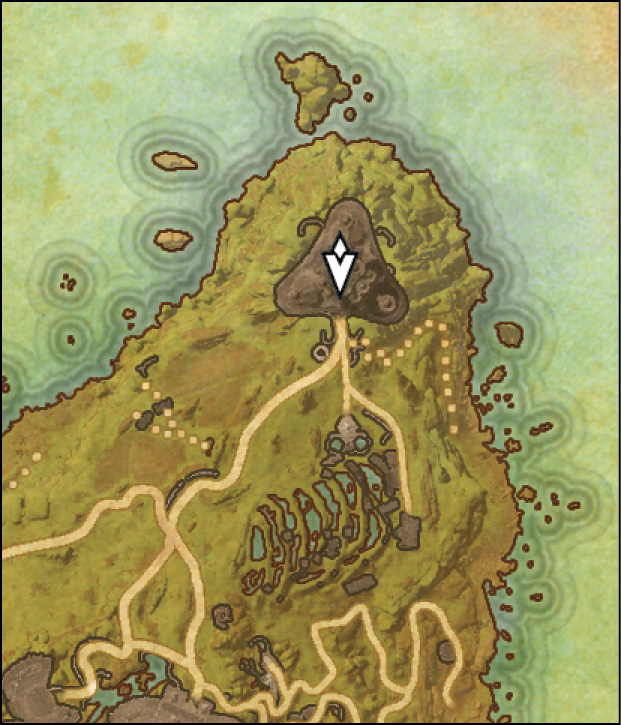
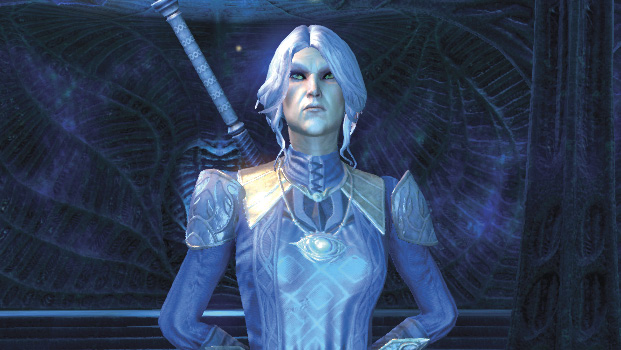
- Quest-giver: Valsirenn

Description: The betrayed princes have agreed to help you enter the Crystal Tower. There’s little left to do but enter it and attempt to stop this calamity before it is allowed to start.
Talk to Sotha Sil
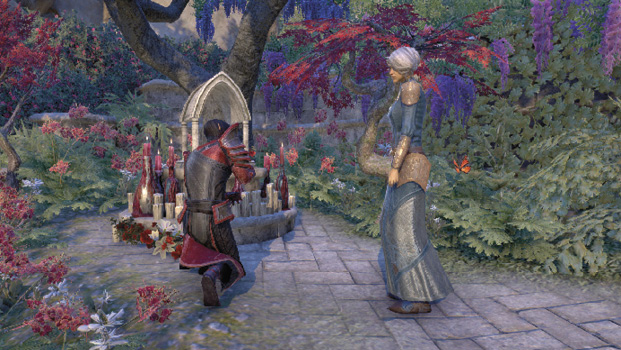
Head to Sotha Sil’s quarters and speak with him. He’ll task you with finding and speaking with each of your companions. The Golden Knight can be found on the south side Ceporah Tower; Razum-dar is waiting near the Artaeum Wayshrine; and Leythen and Valsirenn are off near the Artaeum Craftworks. Once you’ve spoken to all four, head back and enter the Dreaming Cave. Speak with Sotha Sil, then wait for a moment. A Daedric Prince will appear in the Dreaming Cave. Speak with him, then enter the portal in the center of the room.
The Crystal Tower
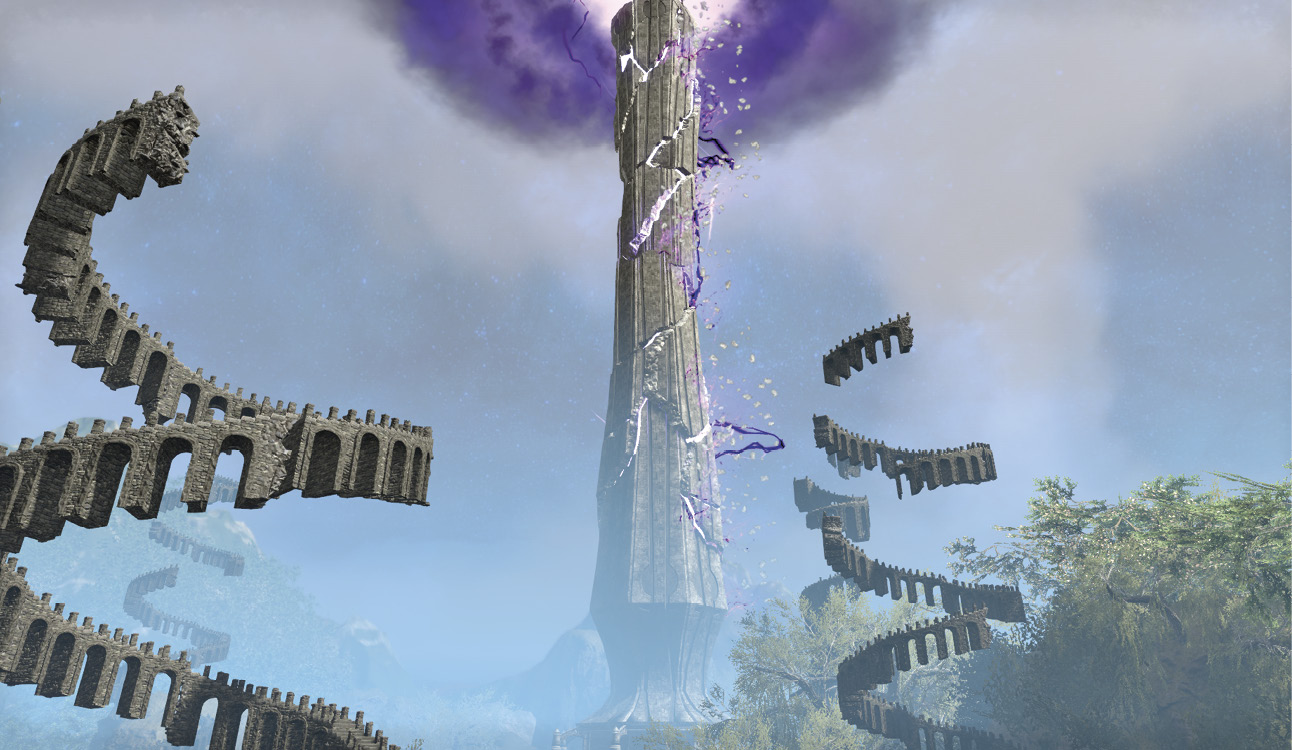
The pin that holds the fabric of all realities together, the Crystal Tower is believed to exist in all realms and universes. It has been tied to many world-shaking events throughout Tamriel’s history.
Enter the Crystal Tower
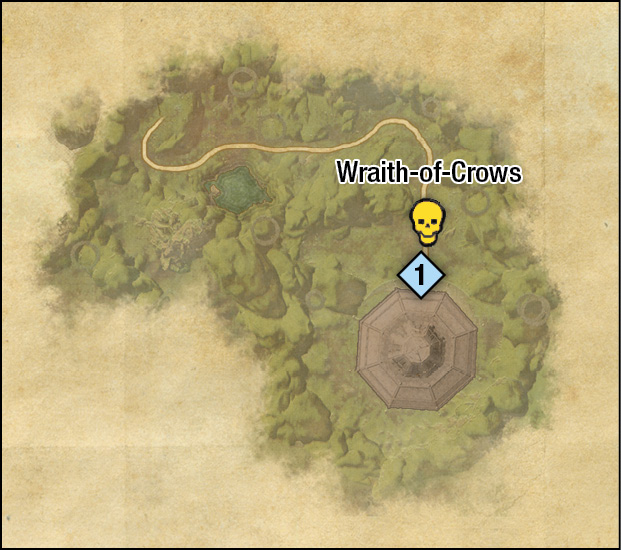
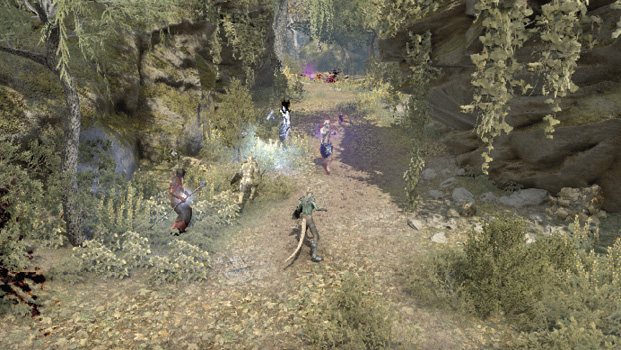
Fight your way up to the entrance of the Crystal Tower. It’s a short trek there, but the path is completely overrun with enemies. Thankfully you have Leythen and the Golden Knight to assist your assault. Before you can enter the tower, you’ll have to fight a Wraith-of-Crows and a pair of Gloam Wolves. You shouldn’t have too much trouble with Leythen and the Golden Knight helping out. Once you defeat the enemies, head up to the tower entrance, speak with Barbas, and enter the tower.
Crystal Tower Interior
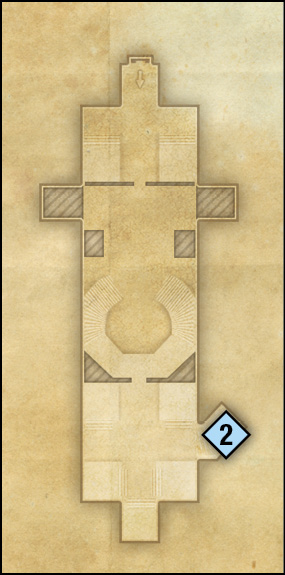
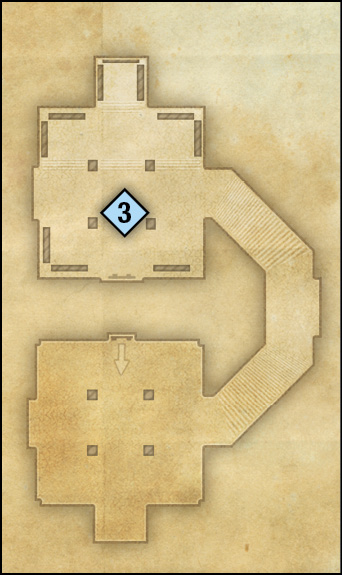
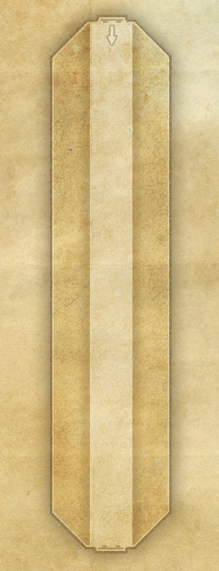
There are plenty of containers to rummage through on this floor of the Crystal Tower; if you want some items for your craft bag, this is the place to get them. Head to the top of this floor and pass through the door to the next room.
Escape the Vault
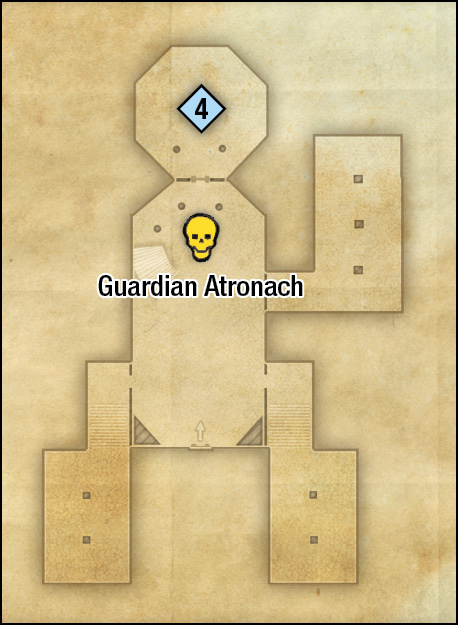
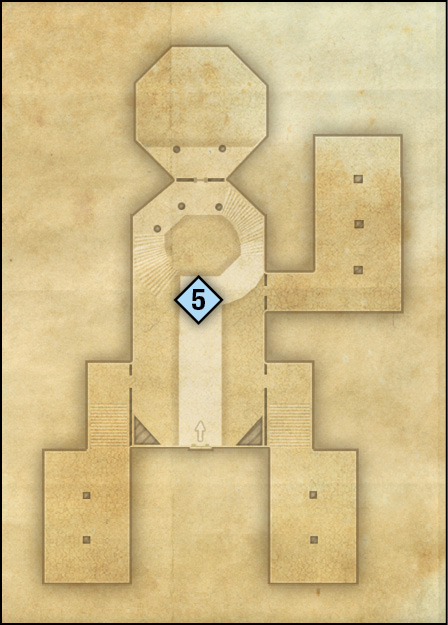
As soon as you enter this room, head straight for the objective marker. There are other rooms to explore, but they currently have nothing of value in them.
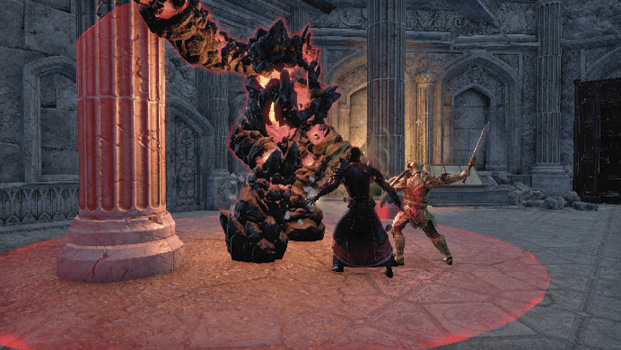
If you see it thrust its shoulders back, move behind it. It will begin blanketing the area in front of it with random balls of fire.
When it lifts its foot, roll away from it immediately and stay away from the front of it. It’s about to perform a melee attack that will deal damage in a wide area surrounding its entire body; it will then smash the ground with its arms, which has an extended reach and splash damage.
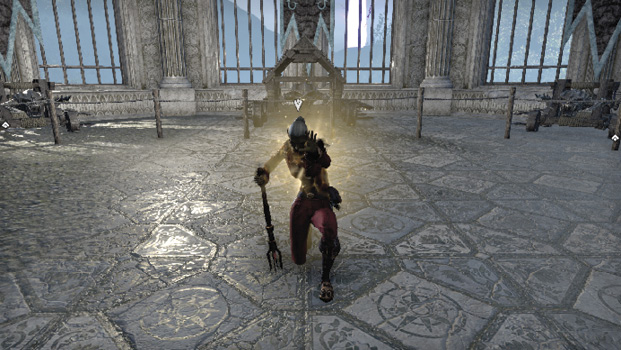
Once you defeat the Guardian Atronach, head through the door it was guarding and speak with the Sapiarch on the other side.
Fix the Broken Ballista
In order to escape this area, you must repair a ballista on the top floor. The pieces you need are located in the rooms surrounding the main hall, but you need to first inspect the ballista before you can begin hunting for them, so let’s head up there first. Take note that enemies now litter the area, so take care on your way to the top floor.
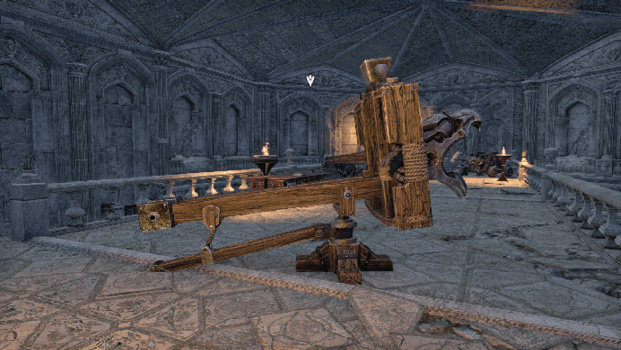
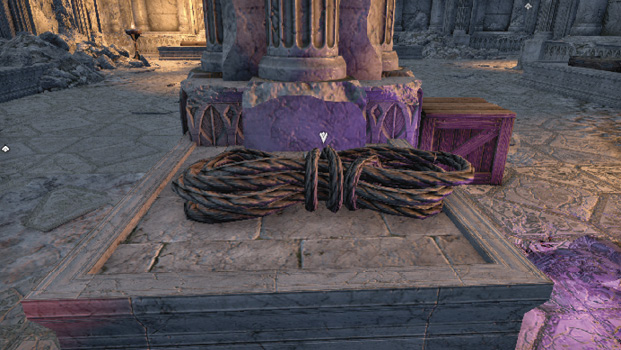
The pieces are easy enough to find. Just head to the objective markers and interact with the piece they point to. After you gather all three, head back to the top floor and give the pieces to the Golden Knight.
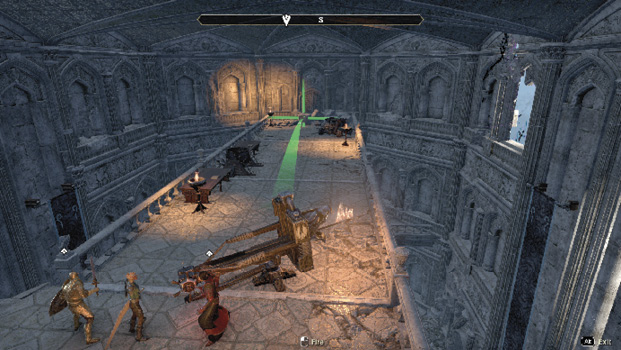
Once the ballista has been repaired, you’ll need to take control of it and fire it at the rocks blocking the door on the room’s south side. Once you destroy them, hop off the ballista and head through the door they were blocking.
Find a Way through the Library
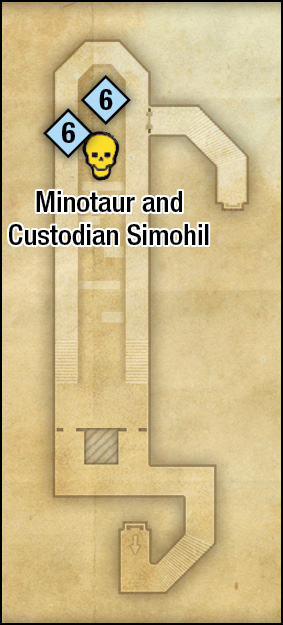
You’ll need to traverse a deadly, labyrinthine, enemy-filled library to find the library gate key and the lock it goes to in this area. The key is located on the north side of the library’s lower floor, while the key pedestal it goes to is on the left side of the upper floor. Starting with the key, you can make your way upstairs, then jump down on top of it if you want to avoid the hassle of navigating the labyrinth, though you’ll end up having to navigate through it on the way out, so this method only half helps.
Open the Library Gate
Once you defeat the pair, make your way out of the library labyrinth and head to the second floor. Insert the library gate key into the key pedestal on the floor’s west side, then speak with Earl Leythen. The pedestal will short-circuit, but Leythen has a plan to get through in spite of its malfunction. Go to the library gate and speak with Leythen once more. You’ll receive a dialogue choice, but neither option will change the outcome of your quest, so choose the option that best reflects your feelings on the matter.
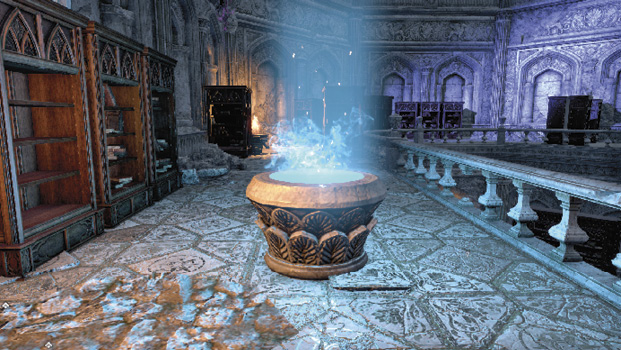
After the fight, speak with the Golden Knight. It would appear his sword has been tainted by Earl Tundilwen’s dark energy. He’ll pass it on to you and help you cleanse the dark energy. The power of his sword is yours now. Use it in the conflict to come. Go through the door when you’re ready to leave the room.
The Pinnacle of Transparent Law
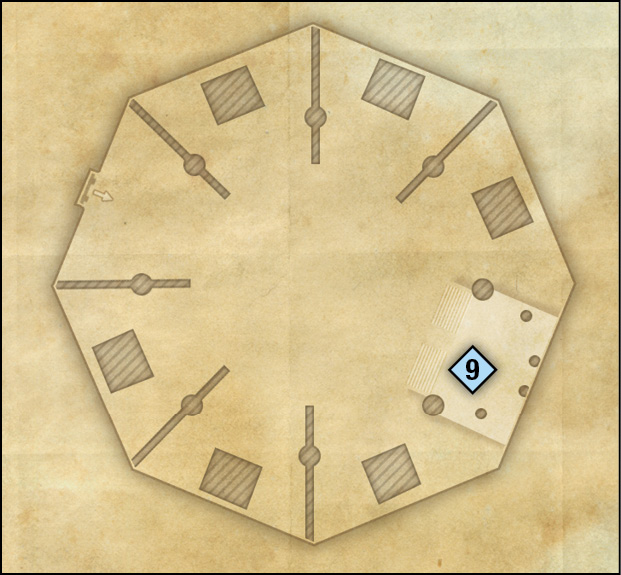
Use the portal on the room’s opposite side to reach the level above, where you’ll find Nocturnal and Shadow Tundilwen.
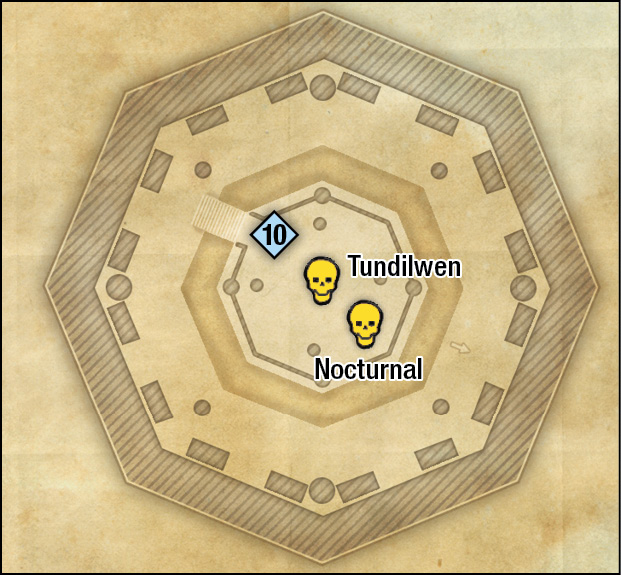
The true test comes after Nocturnal has taken a few hits from the Golden Sword. Shadow Tundilwen will become more aggressive and her moves will be harder to avoid. One in particular has her shooting a rather large AoE around you that will drag you into its center. Escape this as quickly as possible. The dark energy orb in the center of the AoE will explode after a short time, dealing a good deal of damage to all caught near it.
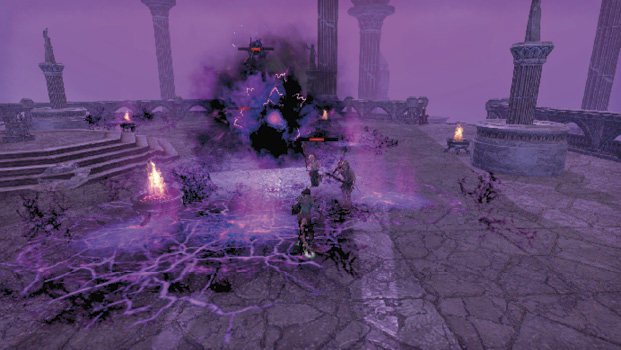
Tundilwen will also fire projectiles toward you that will create a temporary AoE and summon a Gloam Wolf to her side. Try to knock out the wolf as quickly as possible. There’s a limit to how many Shrikes will be in the arena at once, but adding additional enemies on top of that will only make this fight tougher.
You’ll win the fight by either running Nocturnal’s health down with repeated Golden Sword attacks or by killing Shadow Tundilwen.
Once you defeat Nocturnal, approach the platform she was standing on and reforge the Heart of Transparent Law. Valsirenn will appear behind you. Speak with her, then leave the Crystal Tower through the portal she creates. Speak with Sotha Sil to wrap up this quest. You’ll be given the Staff of the Crystal Tower, a Mystic Eye Psijic Cuirass Outfit Style, and a Skill Point for a job well done.