
Saints Row: The Third Guide Walkthrough Campaign
Zimo's Arc (Activities 15-17, Mission 18)
Cash Earned: $2,000
Respect Earned: 200
Unlocks: Additional Snatch Activities
Rewards: 2% Morningstar District Control—$71 per hour
Activity Objectives: Pick up four hos in 5:20
Save the Hos from Abusive Pimps

Zimos’s crib is at a car wash. It’s not the first place you’d expect a pimp to set up shop, but after the DeWynter sisters took over his racket he is probably happy to be anywhere that he is not bound and gagged. Meet Zimos at his place to find him making up for lost time; just make sure not to wake his hos. Zimos needs you to retrieve some hos for him from their other set of oppressors and he provides you with a very slick ride to help facilitate this. Keep in mind, in every instance of this activity, you will have multiple points you must travel to for each pickup, and you do not have to do them in the exact order the game suggests.
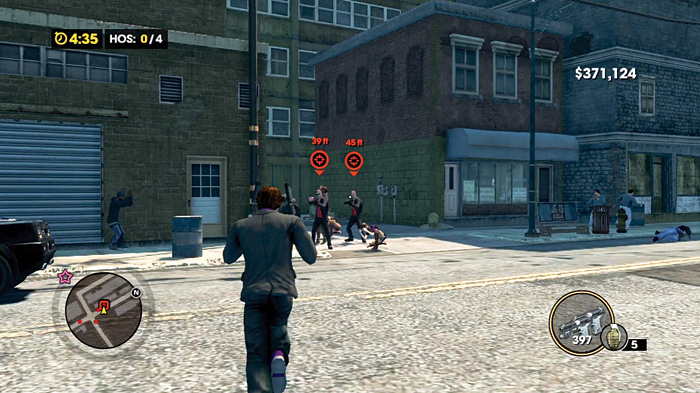
This activity is your introduction to the activity type, so resistance from the Morningstar is not going to be severe. Still, be careful at your first pickup. The gangsters are not afraid to use your hos as human shields, so bust out that pistol and make smart shots to free the ladies. If you’re lucky, you can pick up three hos in one go!
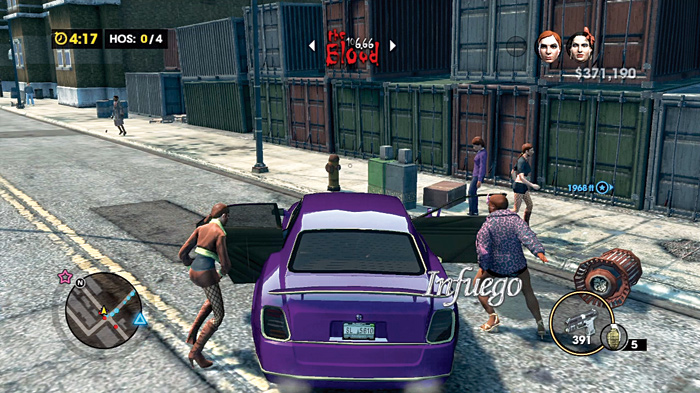
Now, get them back to the drop point.
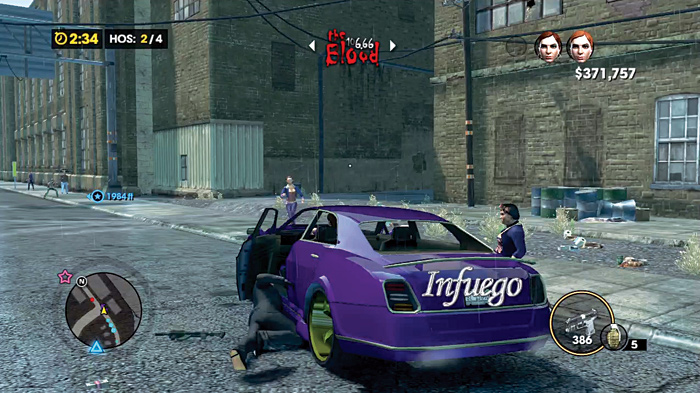
Head to the second pick-up point. If you’re sly and lucky, you can pull up rather harmlessly, whistle for the ladies, and drive off before the Morningstar provide any serious resistance. If you’re lucky.
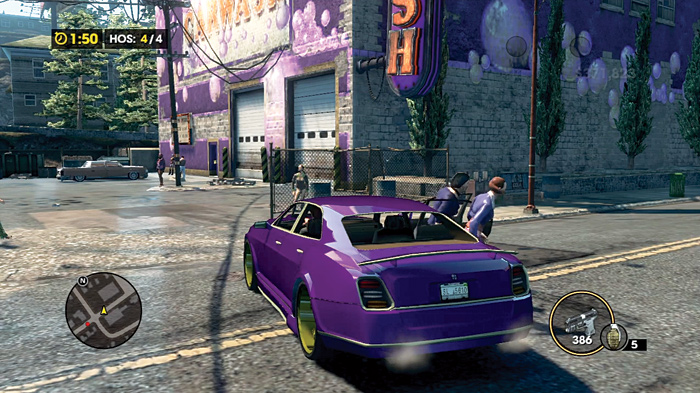
After two pickups, you should have the required hos to complete the activity, thus unlocking more Snatch activities around the whole city! You may also notice that Kinzie has her own Snatch activity on the phone, so give her a call to see who she needs to have picked up.
Ho Traffic (Zimos’s Arc)
Cash Earned: $2,000
Respect Earned: 200
Unlocks: Additional Trafficking Activities
Rewards: 6% Morningstar District Control—$25 per hour
Activity Objectives: Number of deals: 3
Protect Your Homie While They Deal
After you have freed Zimos from captivity, he’ll have a number of activities for you on the phone; one of these is a another Trafficking job.
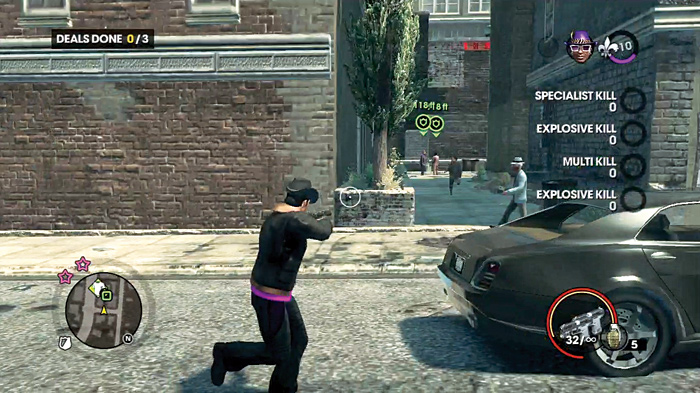
The same rules from Pierce’s Trafficking apply: You’re the gunner, your homie is the driver. Keep the punks off him and off your ride. You start this activity with level 2 Notoriety with the Morningstar.
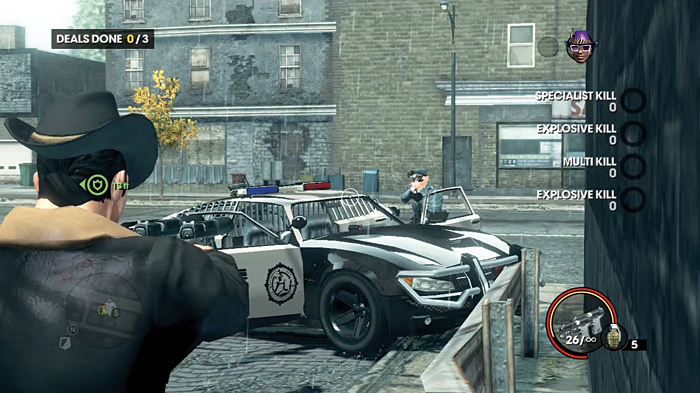
One stop takes place near an apartment complex alley, next to a road that lies directly between two major intersections. The alley makes for some potential trouble if you manage to get cut off from Zimos while the deal goes on.
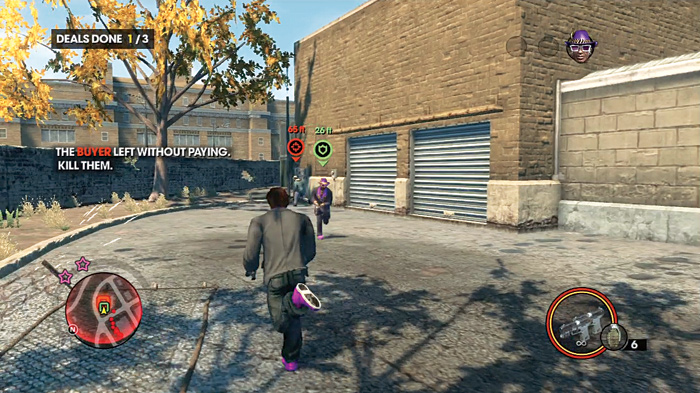
If it’s a sting (or runner), get in the alley and put down the target immediately, then clear out any cops and gangsters that show up. Zimos will run back to the car once it is relatively safe.
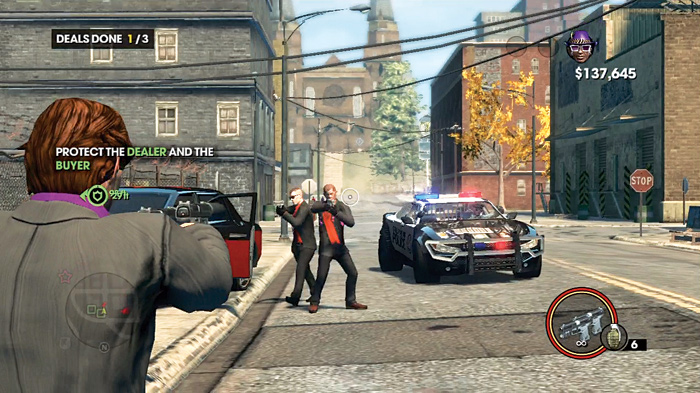
Another deal takes place near some garages that are partially walled off next to a four-way intersection. Keep the Morningstar and cops away from the deal. Run up to the cars before they exit them and kill as many as you can with pistol headshots or point-blank shotgun blasts. Once Zimos is ready to move, get in the car.
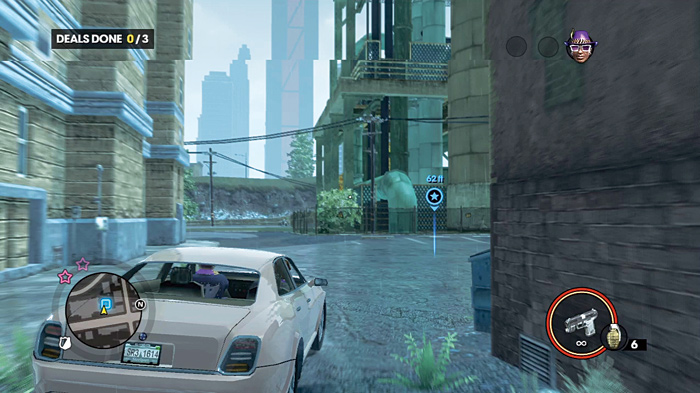
One deal takes place in an open lot between several buildings, and the Morningstar tend to block off your entrance with their cars.
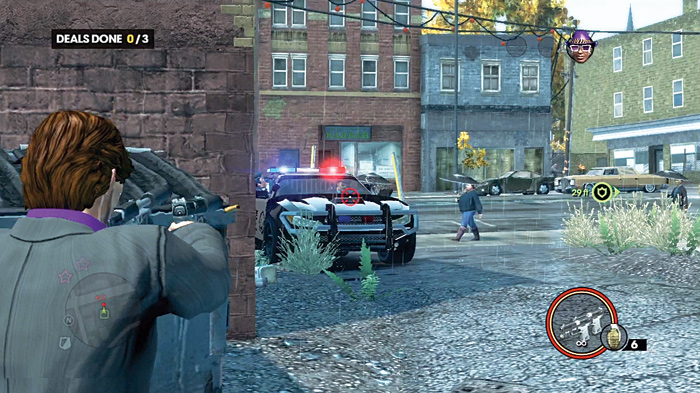
A grenade or concentrated fire on one of their cars can deal with the cluster that gathers behind you.
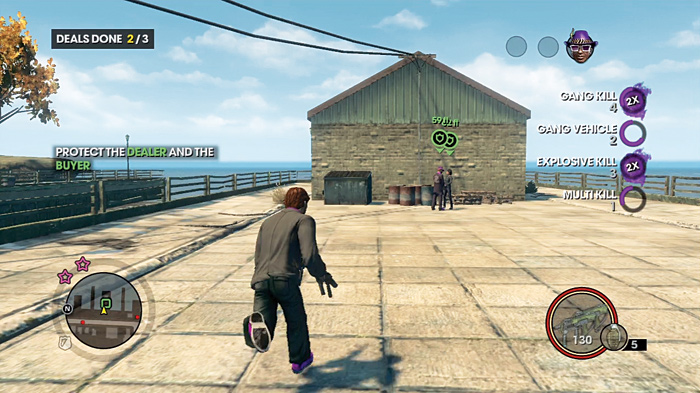
With three deals in the bag, escort Zimos back home. It’s an easy ride back, but keep taking out as many thug or civilian cars with grenades as you can to rack up some extra respect before the job’s done.
Escort (Zimos’s Arc)
Cash Earned: $2,000
Respect Earned: 200
Unlocks: Additional Escort Activities; New Homie—Zimos
Rewards: 2% Morningstar District Control—$45 per hour
Activity Objectives: Fill pleasure meter and avoid footage
Drive While the Client Has Fun

All of the Escort activities have two basic rules. First, do what the client wants, when they want it. If they want to see you drift like a madman, drift like one. If they call for someone’s execution, that person was dead yesterday. All of their requests are part of filling up that pleasure meter at the top left side of the screen, and the sooner it’s done, the better.

Particularly in the Hard difficulty Escort activity, where the news vans are seemingly out to kill you as much as they are out to film you. Speaking of those guys . . .

Second, avoid the news vans at all costs, short of killing you and your client. On the minimap, you will notice that their blips are surrounded by a small circle. If you’re in that circle, your pleasure meter stops filling, and the footage meter below it starts to fill. If that becomes completely full, you fail the activity! As such, aggressive and fast driving is not only allowed, but is encouraged by your client.

Your first Escort activity for Zimos starts you off a short way from the client; one of his hos is ready to serve in the back seat. You don’t have to whistle. As soon as you get close to the client, they will know who you are and what you are there for.

Once you have the client, get moving and don’t stop. In all Escort activities, you will be given a variety of additional tasks to boost the pleasure meter. This can include drifting, taking the client to a hotel, killing a targeted individual, damaging other vehicles, or even catching air for a certain amount of time. Apart from fulfilling the client’s request you must also stay away from those news vans, so keep your speed up and go off-roading if you have to shake them.
Painting a Picture (Zimos’s Arc)
Zimos Is on Your Side

The last mission in this series is a piece of cake. Stop by for a quick chat with Zimos at his car wash. Drive to his joint to check out what he calls art.

Zimos toasts your success, but there is no time to kick back and party until Steelport belongs to the Saints.