
Saints Row: The Third Guide Walkthrough Campaign
Activity 9: Tank Mayhem (Pierce)
Cash Earned: $2,000
Respect Earned: 200
Rewards: 2% Morningstar District Control—$38 per hour
Activity Objectives: Cause $125,000 of damage in 2:30
Tank Basic Training
Drive to the next activity and get ready for some tank action! The objective is simple but very rewarding. Do $125,000 worth of damage in 2:30. At your disposal is a machine gun as well as the tank’s main turret. Use the machine gun fire in short bursts to prevent the gun from overheating, as shown by the curved gauge above the tank. The main turret is best for racking up serious damage but the machine gun can be instrumental in stringing together combos while the main gun is reloaded. If the tank receives too much damage, run over the wrench icon for some needed repairs.
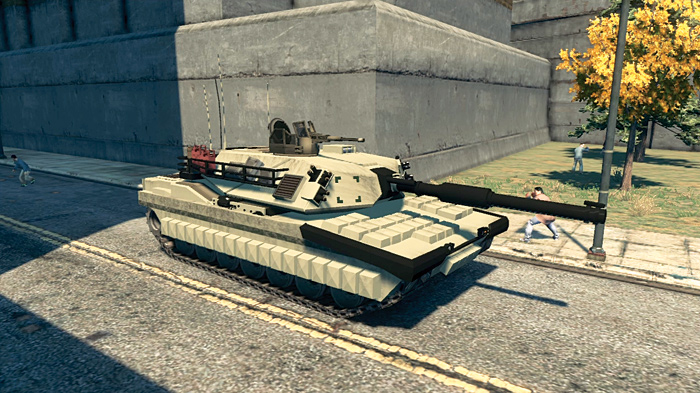
The first of six Tank Mayhem activities sets the tone for you. Use the main gun, the machine gun, or the tank treads to make short work of anything else that isn’t another tank.
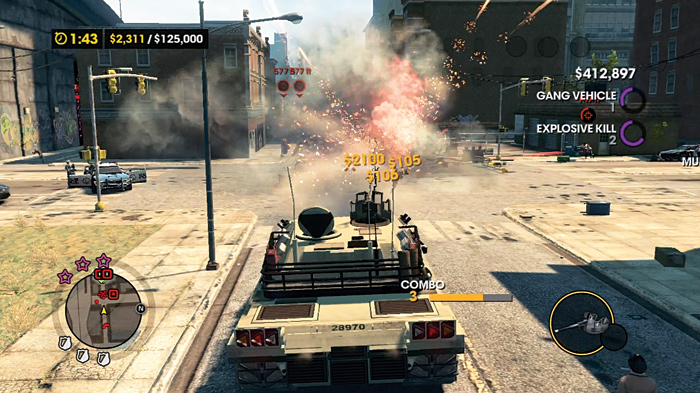
Even helicopters are not safe from your wrath.
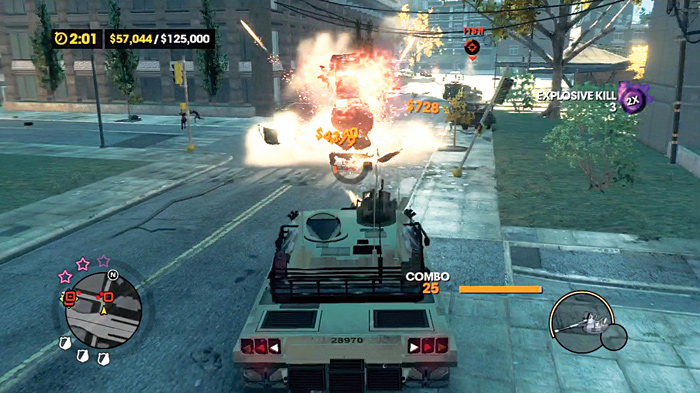
You’re not invincible; attack helicopters, rockets, other tanks can all chew you up if you’re careless. Fortunately, there are repair pick-ups (wrench icon) strewn through each activity. Use them only when needed!
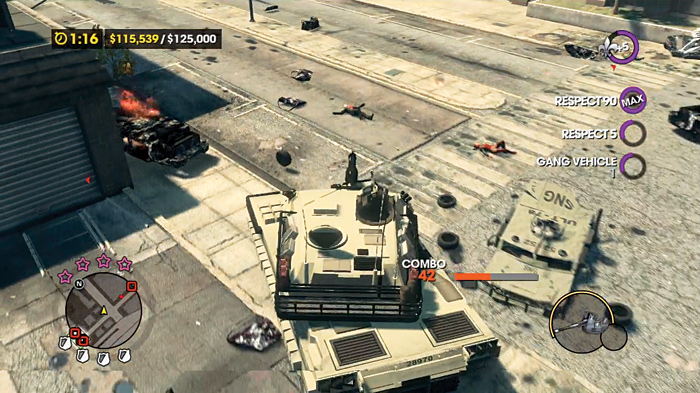
You can accelerate how much money you make by focusing on the specially marked targets, which grant you greater cash amounts and boost your combo meter even higher! Prioritize them above other targets, then go back to blasting the rest.
Take long shots with your main gun to hit distant clusters of vehicles to keep the combo meter from draining out.
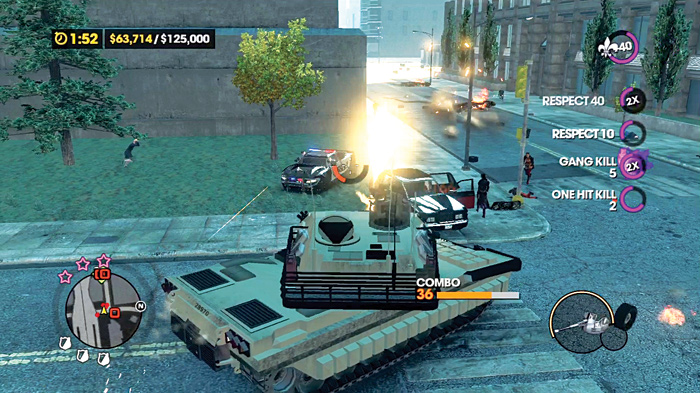
Use the machine gun to take out closer targets, since the main gun takes more time between shots. Keep an eye on the curved meter underneath the reticle when you are using the machine gun, as it can overheat. It’s accurate enough over distances to help hit distant targets but it does lack the area of effect of the main gun.
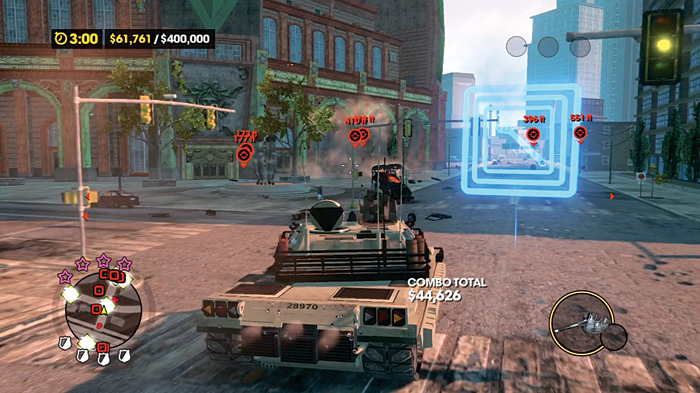
It is not as vital in this early activity, but the required property damage in the later activities means you will have to be mobile to reach all of the highest value targets, and that means managing your kills to keep the combo meter filled.
Blow Sh*t Up With a Tank
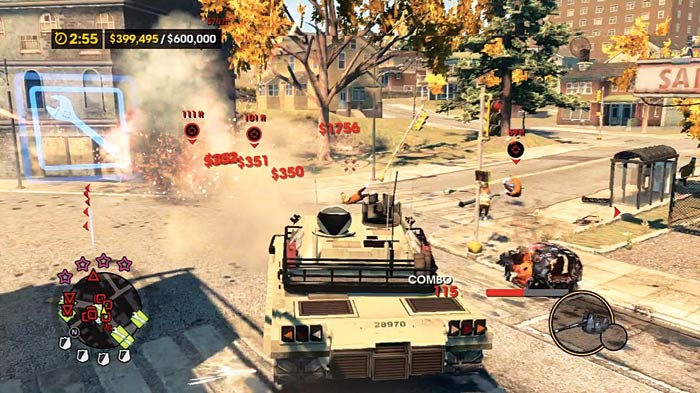
This initial Tank Mayhem activity starts you off on a street that stretches into the distance, immediately besieged by Morningstar and local cops. Try to hit the cops harder, as they will eventually call in SWAT and military vehicles after you punish them enough, which are of higher value, naturally, than the gangsters. If for whatever reason the targets stop presenting themselves to you, drive down the main street you begin on; it may encourage more victims to come out of the woodwork.
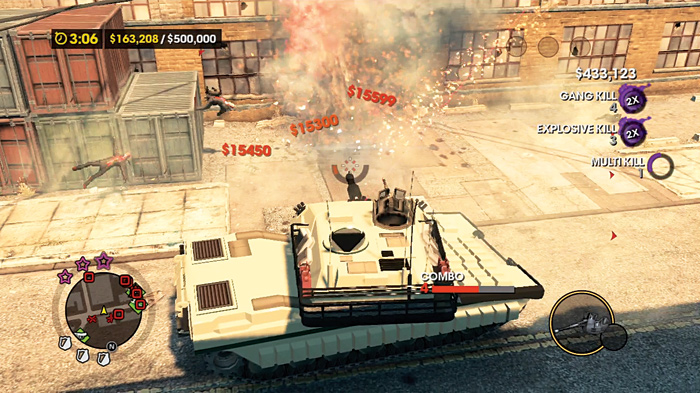
Multiple helicopters will also be present and they are worthwhile targets to swat out of the sky. However, they may dance just out of your tank’s arc of fire. Don’t spend too much time chasing them down, especially when you have many more targets on the ground that provide easy kills.