
Saints Row: The Third Guide Walkthrough Activities
Helicopter Assault
The Helicopter Assault activities allow you to take to the skies to demonstrate to the Saints’ enemies that there is nowhere they can hide from the wrath of a street gang turned multimedia empire.
You’re introduced to the first set of three Helicopter Assaults in the Downtown area of Steelport, where Pierce intends to use information uncovered in a Morningstar vault to draw the rival gang out so that you can slaughter them. Another set is introduced after you recover former FBI agent Kinzie and get her settled into her own place, with the primary target being the Deckers. They will drive from stop to stop, attracting attention.
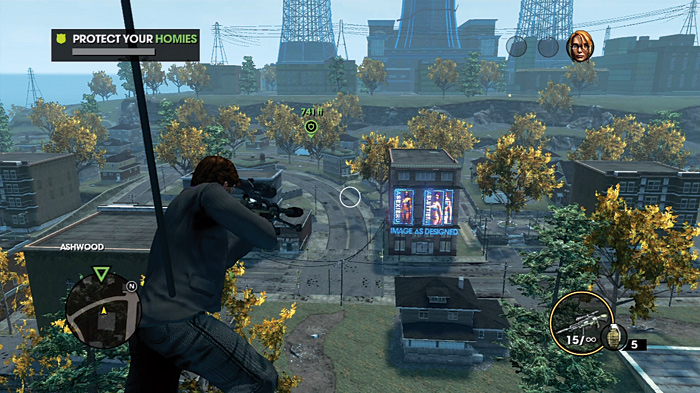
All Heli Assault activities involve flying close air support for your homie on the ground, whether it is Pierce or Kinzie, and as you can expect, things get more tense the higher the difficulty is rated. If they are killed during your escort, you will fail. Early on, the gangs only send ground vehicles, and your biggest threat will be buildings close to the roads on which your homie drives.
Eventually, the gangs step up their efforts to kill you and your comrades with air support of their own. They also send more persistent cars to chase down their targets, and they’ll be armed with rockets that tend to hit your homies on long straight roads. It then becomes imperative to take out the ground threats much earlier, before they are able to line up deadly shots.
Typically, you want to remain relatively close to your friends on these missions. Keep an eye on your radar so you can down threats as they appear. The nice thing about the attack choppers is that you don’t have to face the whole craft to engage targets with the guns or the missiles, so you can literally post yourself in one place in the air at every stop, and swivel the camera around by itself to target the enemy with guns or rockets! As long as you position yourself in such a way that you are able to hit the enemy early enough, your homies should be able to survive all of their stops.
Helicopter Assault 1 (#9)
Location: Henry Steel Mills
Difficulty: Easy
Stops Required: 3
Vehicle: Tornado
Cash Earned: $2,000
Respect Earned: 200
Rewards: 3% Morningstar Gang District Control—$107 per hour
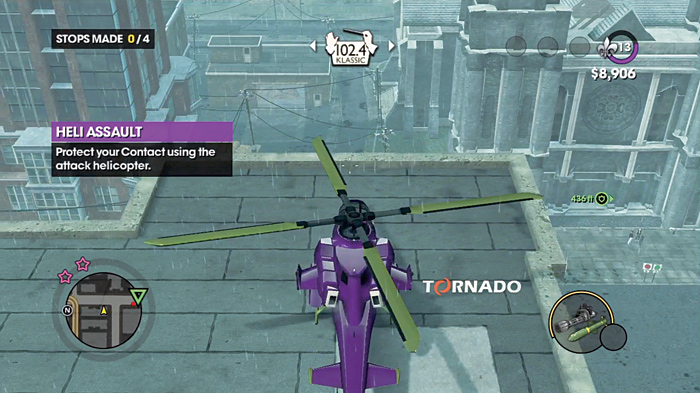
You find this first Helicopter Assault activity in the Henry Steel Mills on the central island, near the northern tip of it on the map.
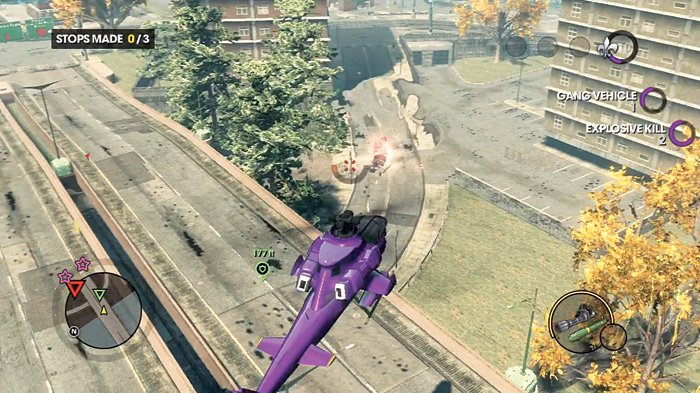
Pierce’s plan is to drive around in hopes of getting the attention of the Morningstar in this district, while you pilot a bright purple Saints custom military attack helicopter and slaughter them. This is a good plan.
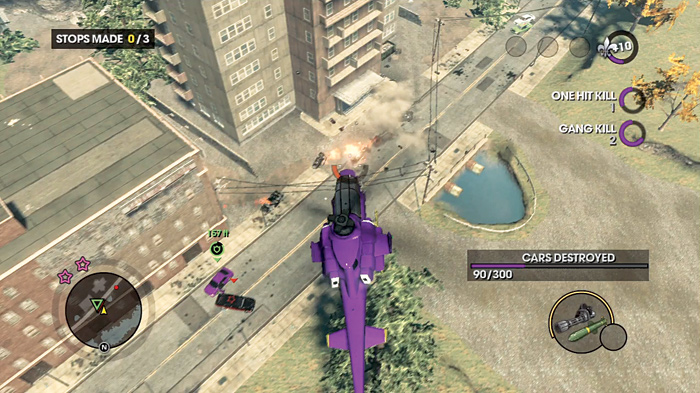
Pierce has three stops to make on this mission of his. You start off already in the air, in the vicinity of some tall buildings. You may feel tempted to fly as close as possible to Pierce; just remember that the buildings can end your flight prematurely.
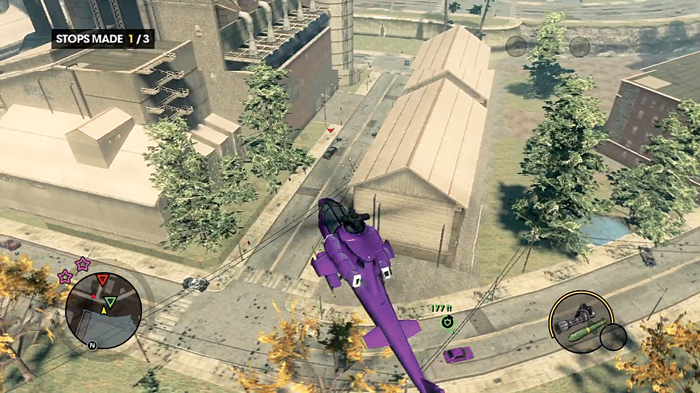
That, and your lock-on missiles can trivialize the first attacks on your homie, as long as you nail the enemy early.
Your first stop is the docks. Unfortunately few, if any, Morningstar take the bait. Pierce has to move on.
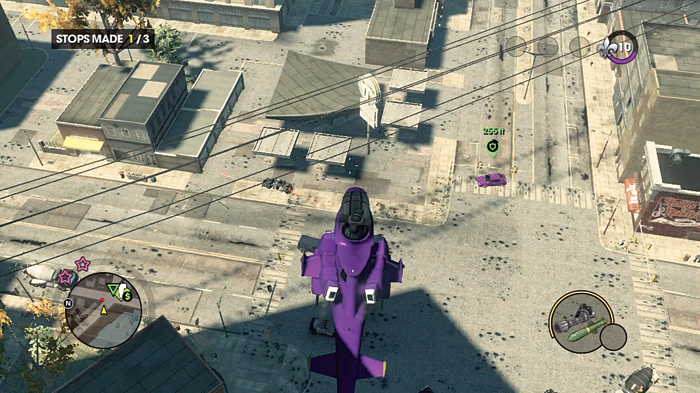
As soon as he gets moving, more gang cars start rolling in, typically from his sides or his rear. Watch yourself as you follow him. His path continues to take you close to buildings.
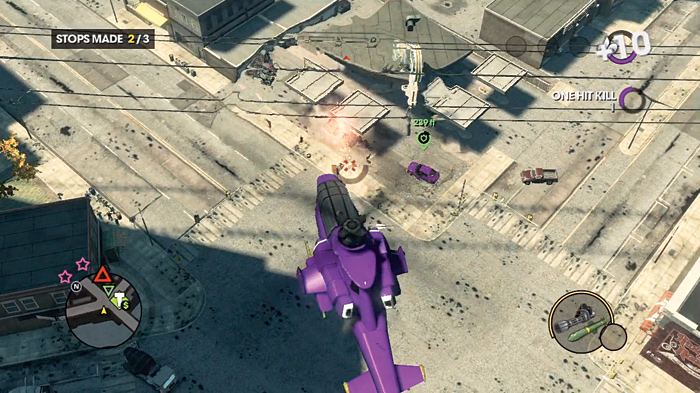
The second stop is a gas station. You question the choice of location; Pierce’s priority is admittedly his stomach.
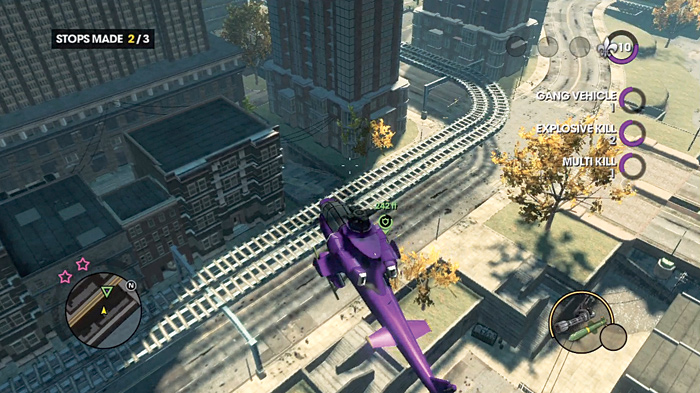
The gas station can be a dangerous location for Pierce. One stray shot from you and the pumps will blow up like the Fourth of July. The stay there is short, and your homie leaves just in time for a hostile attack chopper to swoop in and try to take him out. Do not play around here. This guy is as well armed as you are, and he can make mincemeat out of Pierce in a hurry. A spray of gunfire or a single lock-on rocket will do the job nicely.
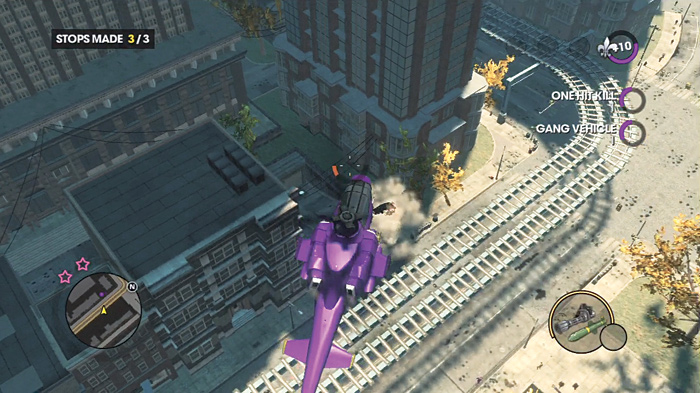
Keep following Pierce until he points out a skyscraper he wants to case. Things get a little tricky here. Part of the road leading to it and near it is covered by an elevated train track, and this can block your missiles and guns from hitting the Morningstar that continue to attack. Carefully maneuver the chopper into a position that allows you to reach your enemies without getting too close to any buildings.
Once you deal with the final attackers, the mission is complete and you unlock other Heli Assault activities across the map!
Helicopter Assault 2 (#10)
Location: Sunset Park
Difficulty: Medium
Stops Required: 4
Vehicle: Tornado
Cash Earned: $4,000
Respect Earned: 400
Rewards: 2% Morningstar Gang District Control—$59 per hour
You start this mission taking off from a rooftop a short distance from your comrades. Usually, a pair of Morningstar vehicles are already inbound.
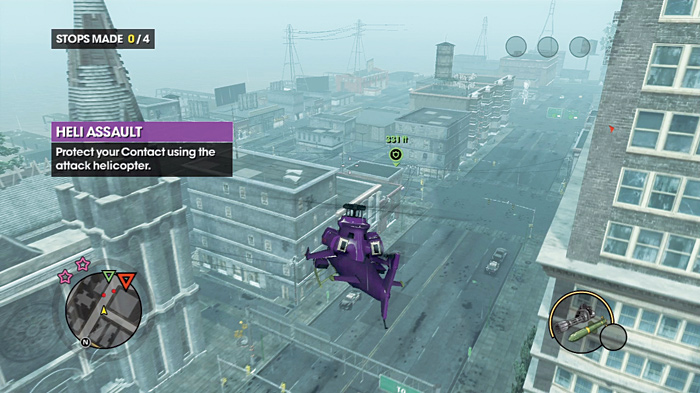
Get into position and deal with them if necessary, then follow Pierce.
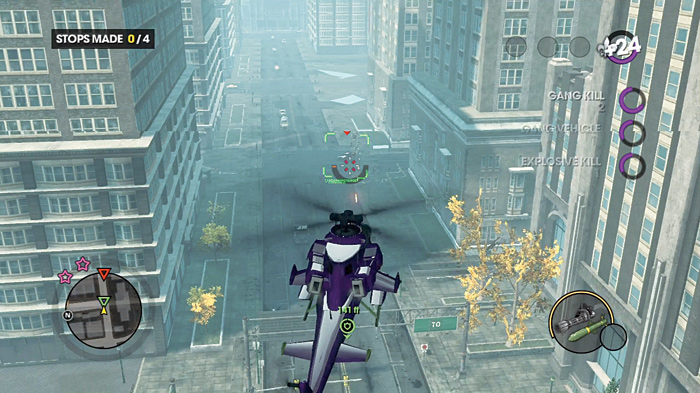
The first major street he follows may be slightly problematic, as tall buildings flank it. Just refrain from violent maneuvering and you can avoid them.
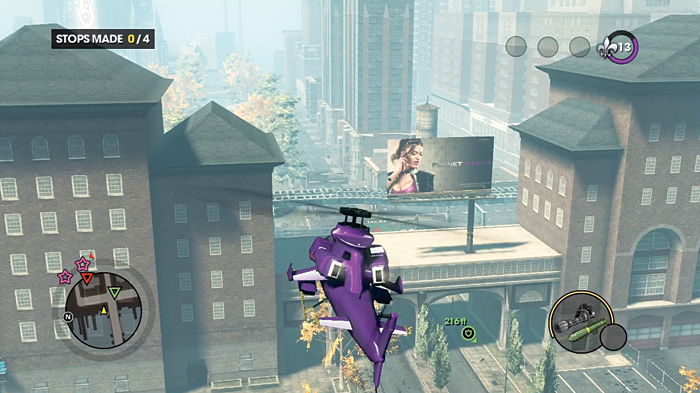
The first stop is a pair of buildings near some docks. There is an interesting obstacle in that the buildings have archways bridging between them, which give Morningstar on the ground some cover from you as they rush Pierce.
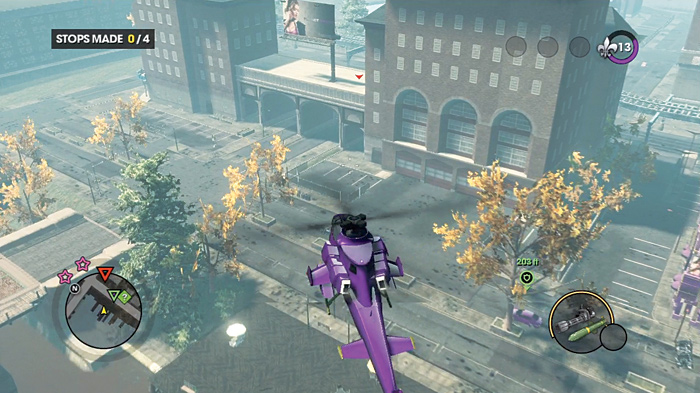
If you post yourself over the docks themselves and lower your altitude slightly, you can put them down before they threaten Pierce.
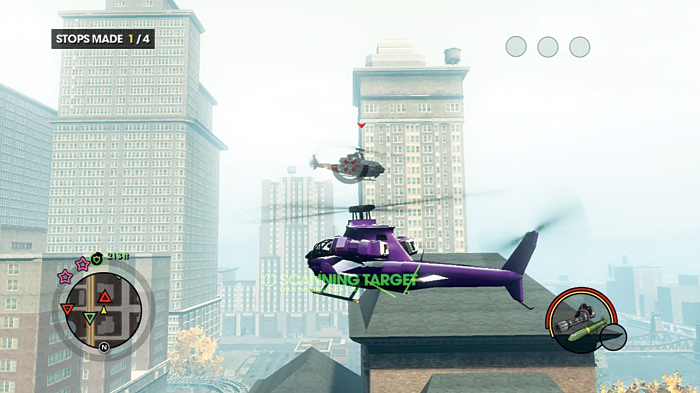
As you leave the first stop, an attack chopper may join the mix. A sustained burst of gunfire or a pair of lock on missiles should do the trick.
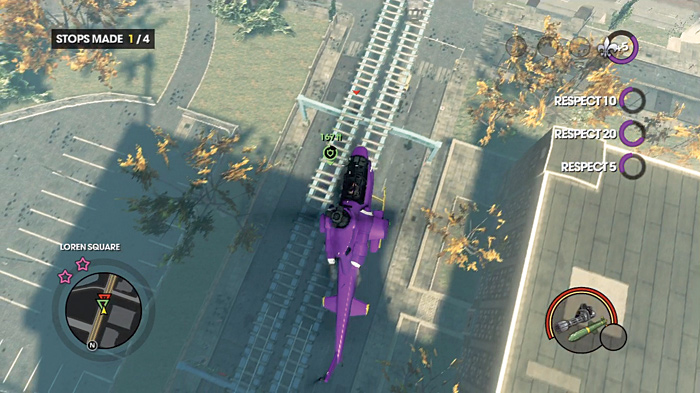
Pierce drives under an elevated train track during the trip to stop number two. If Morningstar approach, you can try to get lower to the ground to hit them up close, but you risk hitting trees or lower structures.
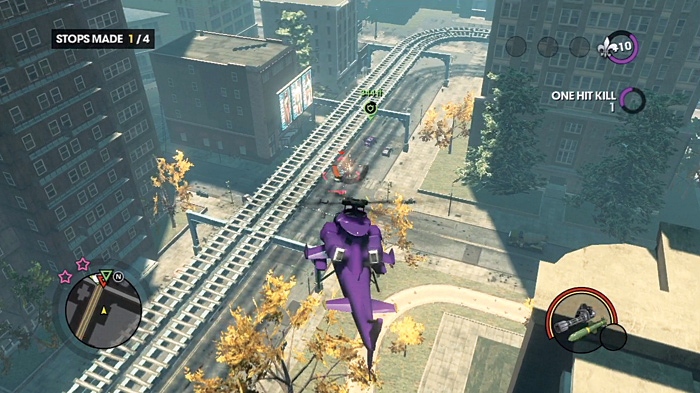
Try to give yourself a decent firing angle from a safer altitude. It’s easier to do so to the right of Pierce as he drives under the tracks.
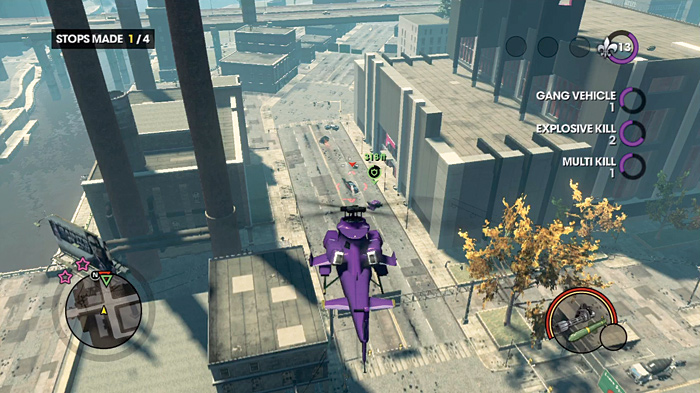
The second stop is one left turn away from the el-train tracks, a warehouse across the street from a factory.
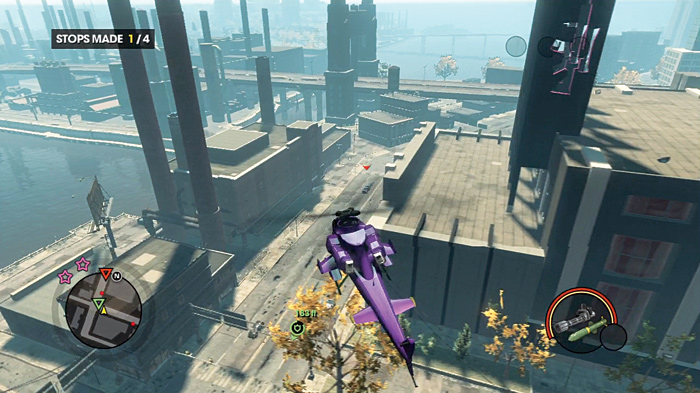
There are no significant complications here, so find a good posting in the air and drop some aerial street justice on the enemy.
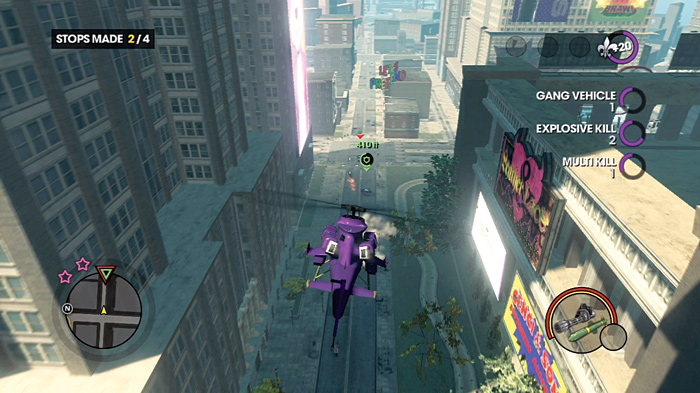
The third stop is pretty close to the second; watch the buildings as you head toward it. Pierce is driving back into the heart of the city to a building with a very prominent Let’s Pretend billboard near it.
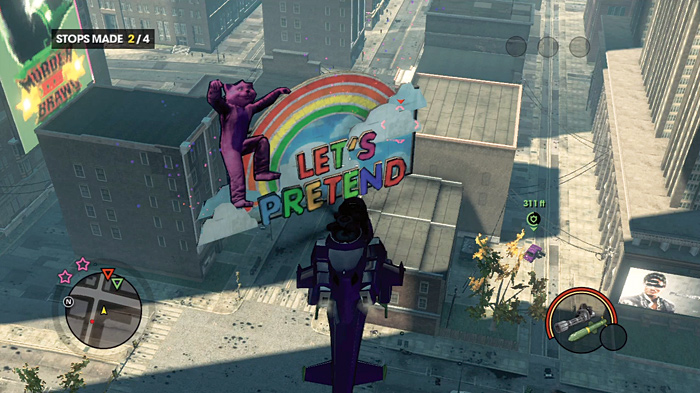
As always, watch your surroundings.
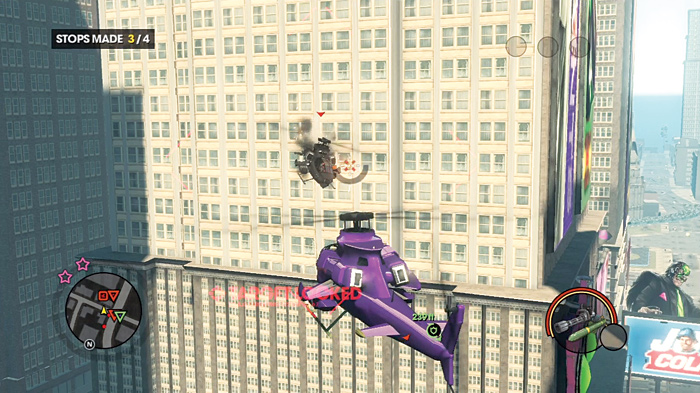
Another attack chopper ambushes you, so while dancing around to avoid its fire, look out so that you don’t crash. Take it out quickly so you can return to destroying the Morningstar on the ground.
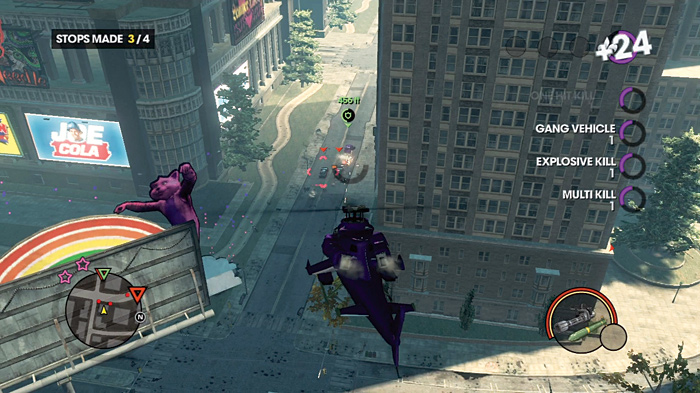
The trip to the last stop can take different roads, but the destination is always going to be a massive apartment building, flanked by taller buildings all around it.
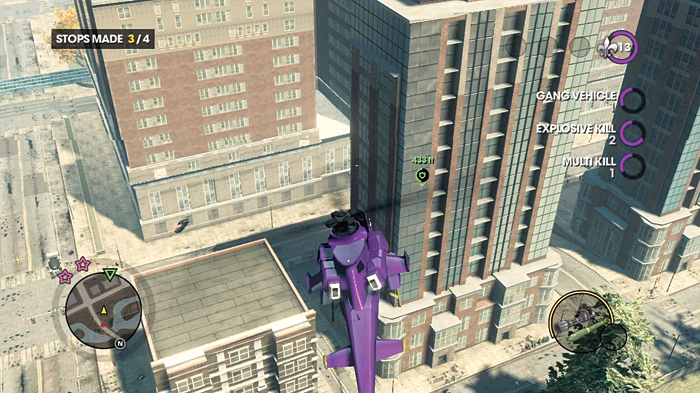
Space is tight, but fortunately, no more threats arrive from the air. Kill the last designated Morningstar cars, and wait for Pierce to call it a day.
Helicopter Assault 3 (#11)
Location: Loren Square
Difficulty: Hard
Stops Required: 5
Vehicle: Tornado
Cash Earned: $6,000
Respect Earned: 600
Rewards: 1% Morningstar Gang District Control—$26 per hour
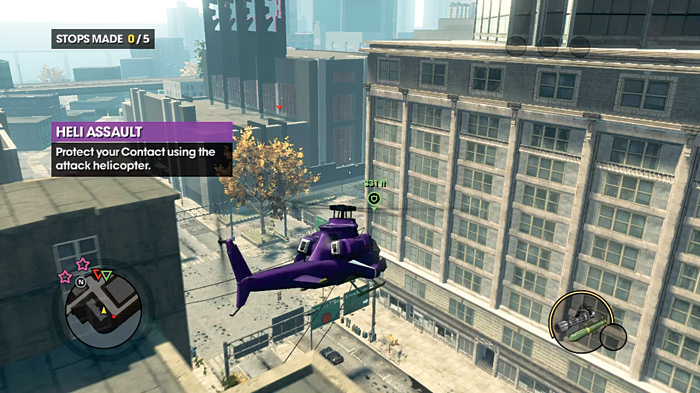
Get off the roof you start on and immediately get into position by Pierce. The Morningstar are out for blood, more so than usual, and their rocket strikes on your homie are seemingly more accurate.
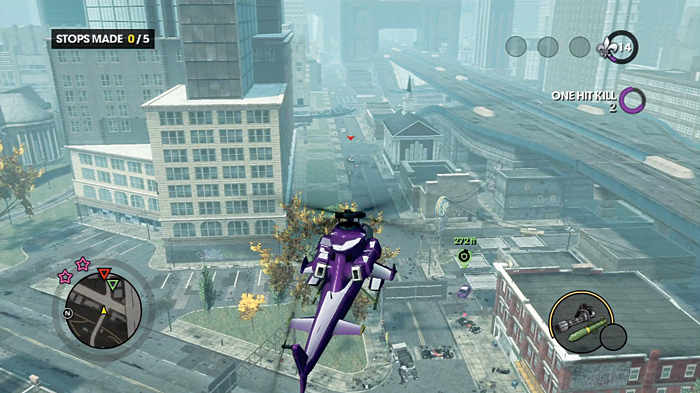
The first stop in your war against the Morningstar is . . . a gas station. Ignore the temptation to send a few rounds Pierce’s way and take in your surroundings.
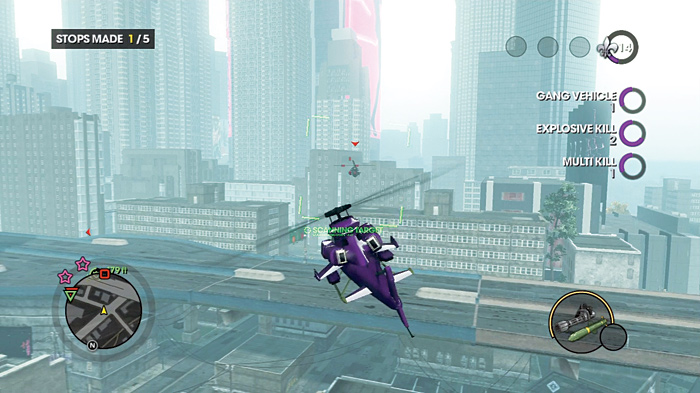
You’re near a highway, which provide some cover for gang cars as they approach. Sometimes, the Morningstar actually are on the highway itself.
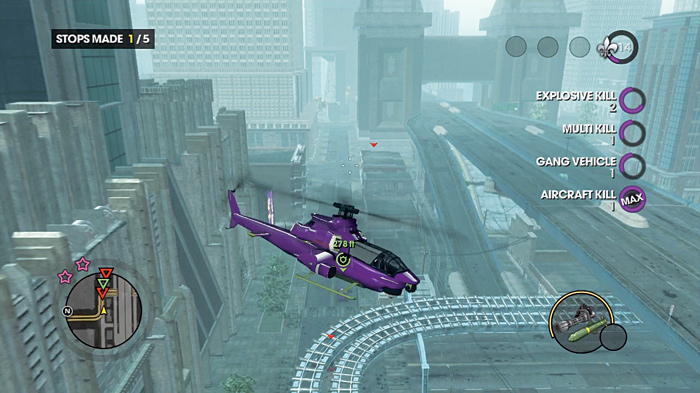
And sometimes they can’t shoot at Pierce from there—which is nice because after Pierce gets his snacks, a rival attack chopper moves in on you.
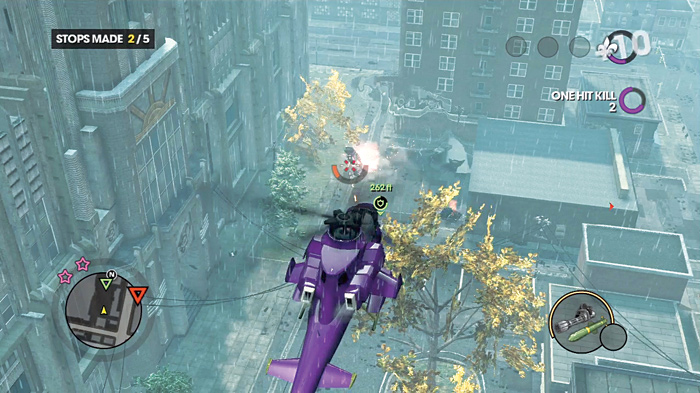
After following the highway for a couple blocks, Pierce makes a left to arrive at the second stop, a skyscraper near a group of smaller buildings. There are numerous alleys from which the Morningstar can approach, in addition to the main roads. You may need to shift your position so you can catch them in the alleys, as they tend to get stuck in them. Pierce will leave this stop through one of the alleys, so it will help to keep them clear.
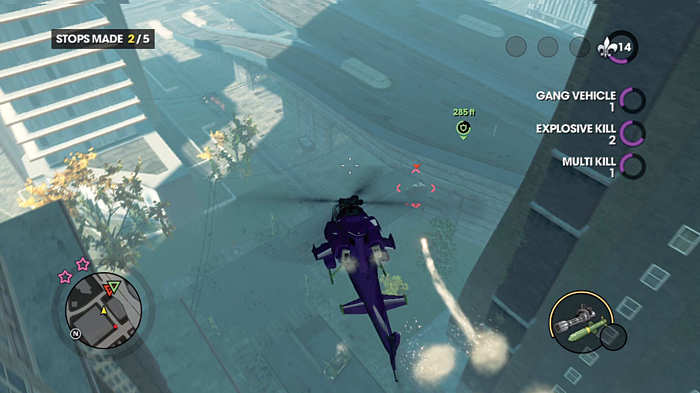
On his way out, Pierce might pass under the highway. Watch for ambushers!
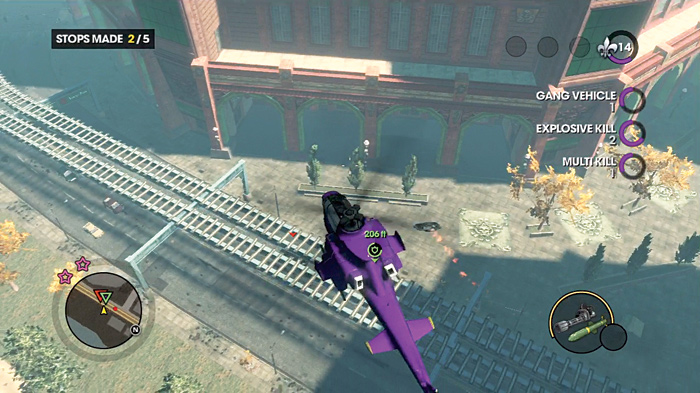
The third stop is a bit trickier. Tall buildings all around, with an el-train track passing near it—all of these are obstacles for your covering fire, as well as obstacles for you to crash into. Watch your positioning and be prepared to take out another attack chopper once Pierce wraps up his business here!
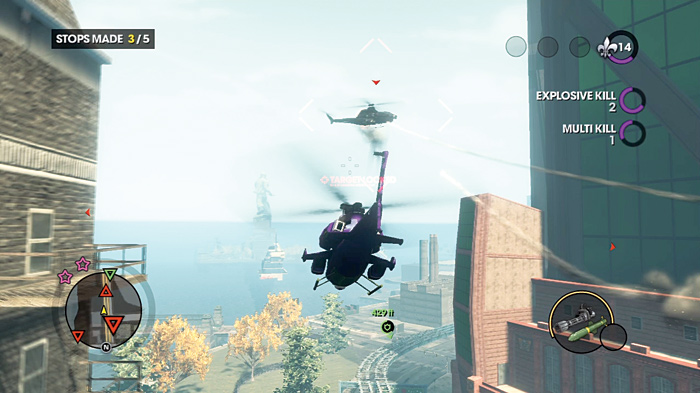
Pierce follows the tracks for a short while, passing underneath the train station itself. Try to make sure he’s clear before he passes under it, otherwise the Morningstar may get in some uncontested shots on him.
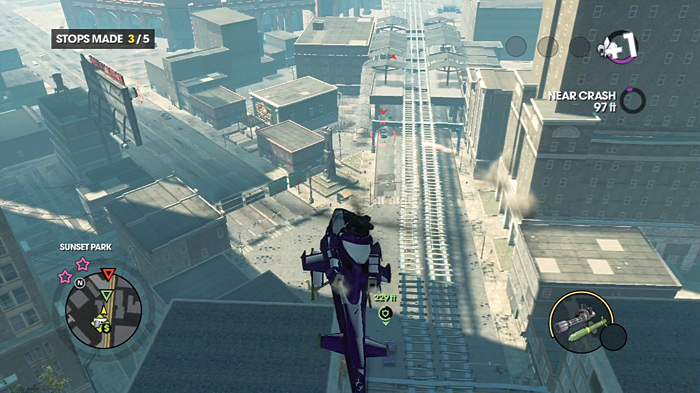
The fourth stop is the Gothedral, and once again, Pierce may have placed himself under the el-train tracks. You have a little more space to work with here, but don’t get too fancy. Give yourself an angle to shoot under the tracks and stay high enough to avoid running into obstacles. Another chopper tries to ambush you as Pierce leaves the shop, so take care of it quickly. You need to clear out as much of the Morningstar as possible before the last stop . . .
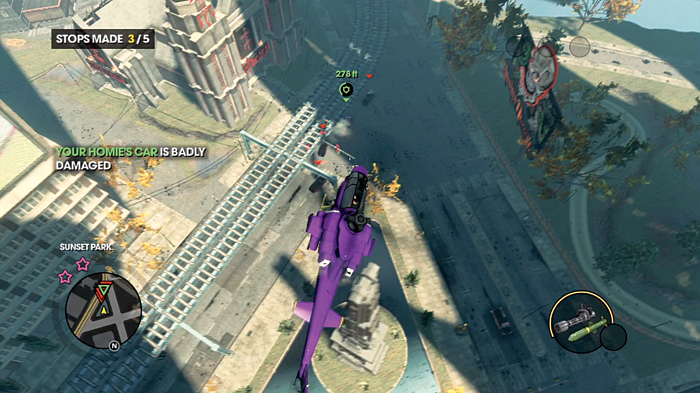
. . . because it is a doozy. It takes place between two very tall buildings, with numerous arches bridging them, providing cover for the Morningstar. They tend to appear close to Pierce, so taking them out far away isn’t an option, and when they pull up to his vehicle it’s close enough that your own missiles may cause harm.
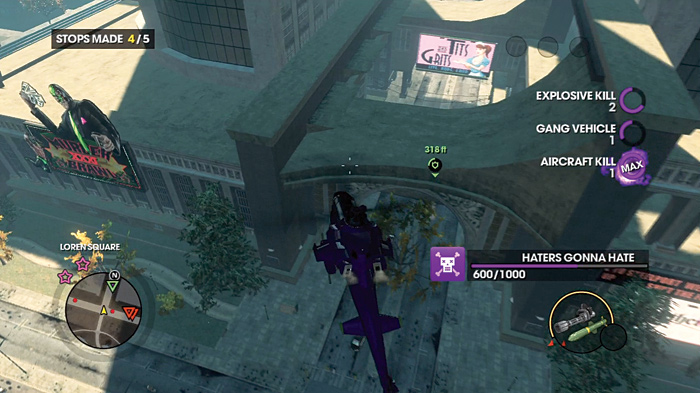
There are two ways to handle this. You can stay posted more or less above Pierce and swivel from target to target as they get close, but he may not survive them getting that close.
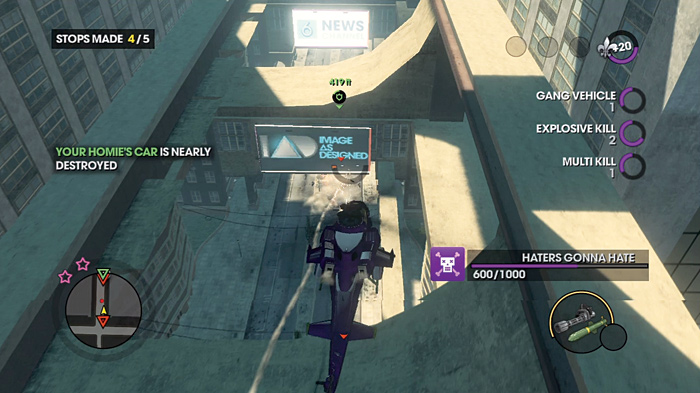
Another method is to get low enough to pass under the arches so you can gun them down quicker from at least one direction, but the enemy will also lob rockets at you occasionally, and these close quarters make dodging almost as perilous as the rockets themselves. Either way, hold off the gang for just a bit more, and Pierce eventually calls in success.
Helicopter Assault 4 (#12)
Location: Brickston
Difficulty: Easy
Stops Required: 3
Vehicle: Vulture
Cash Earned: $2,000
Respect Earned: 200
Rewards: 2% Morningstar Gang District Control—$66 per hour
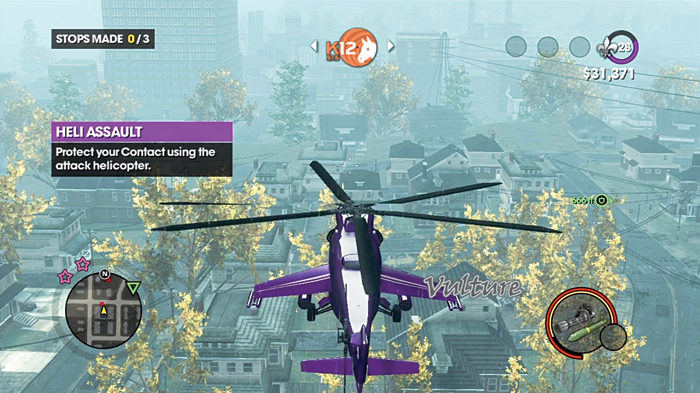
It’s time to bring bright purple death from above, this time at the behest of Kinzie. She plans to drive around Deckers territory, using her unique skills to ruin the public and private lives of some ranking Deckers members. This will naturally get their attention, and they will come out in force to stop her.
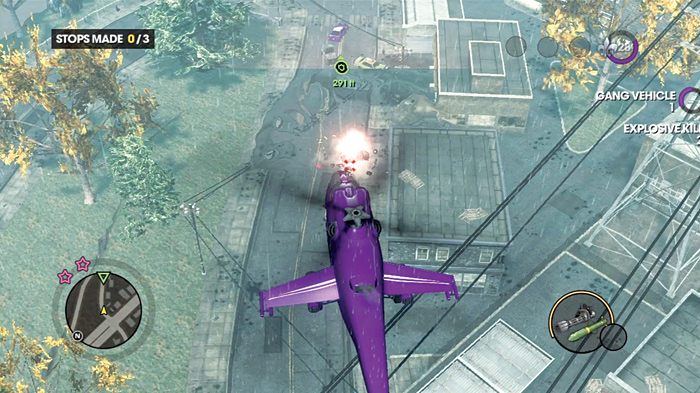
Let them try.
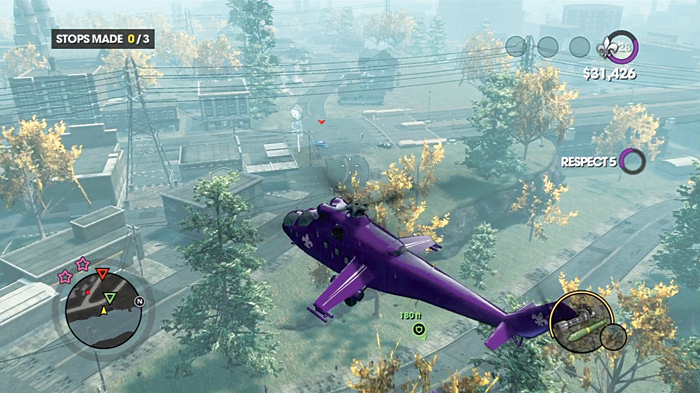
You may have noticed that you have a different chopper during Kinzie’s missions. The Vulture is slower to maneuver and larger than the Tornado, has a slower-firing chain gun, and the rockets it fires cannot be locked on to specific targets.
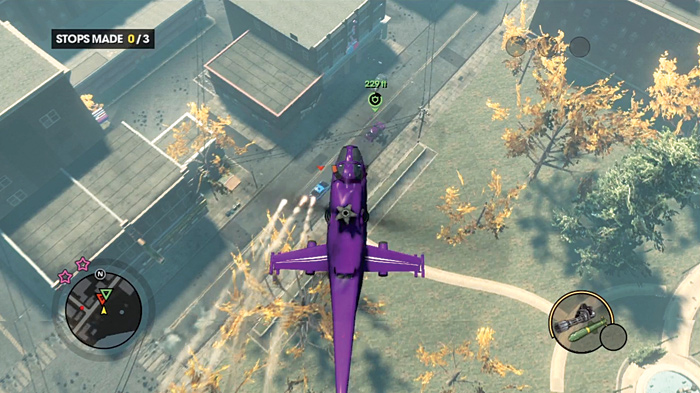
However, the gun is more powerful per shot and the rockets can be fired in massive barrages. It’s a powerful craft by itself, but requires a bit more finesse to control. It’s easy to accidentally throw a mess of rockets right into Kinzie, and because the chopper is slower to respond to commands, excessive maneuvering can put you into a building.
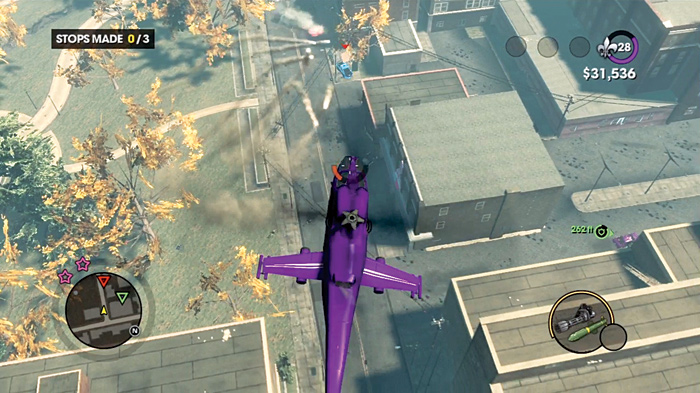
Take a few moments to get a handle on the controls for this new gunship and shift over to start covering Kinzie. Deckers vehicles are a bit tougher than the Morningstar rides, so it may take longer for them to blow once they start burning. Be thorough with each target; you can’t afford not to be.
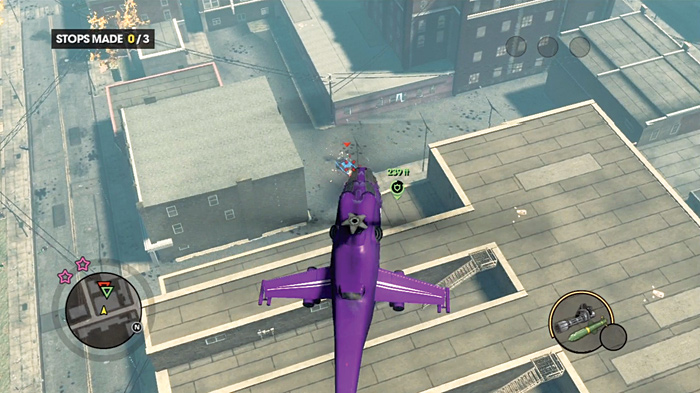
As with the Pierce Helicopter Assault, try to remain close enough to Kinzie that you’re able to kill incoming Deckers before they get too close to her.
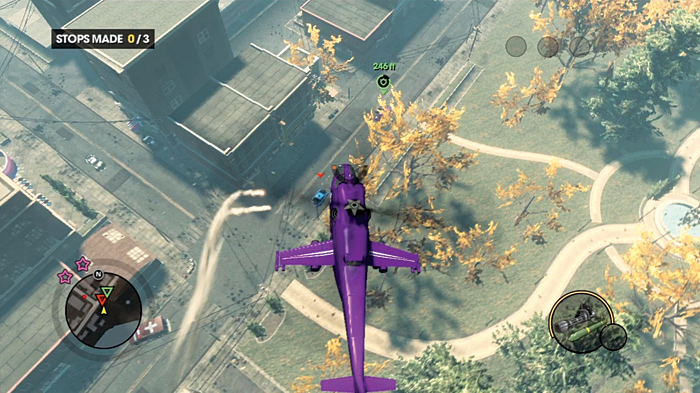
The ride to her first destination is fairly simple. The Deckers send in cars by ones and twos, which makes them great target practice for the gun. Rockets kill much faster, but their unguided nature, and their large area of effect can hurt Kinzie if you fire a barrage too close to her.
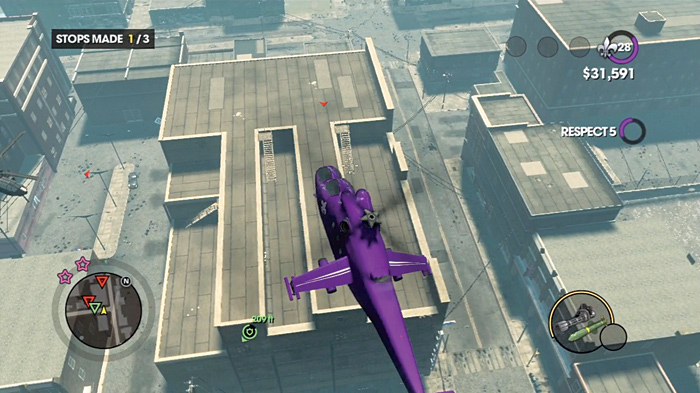
Kinzie’s first stop is inside a small lot between buildings, with alley access from the main streets all around her. Post yourself somewhere that you have clear shots of the Deckers while they are in the streets, but should any get past, you are also able to shift fire on them in the clearing where Kinzie is parked.
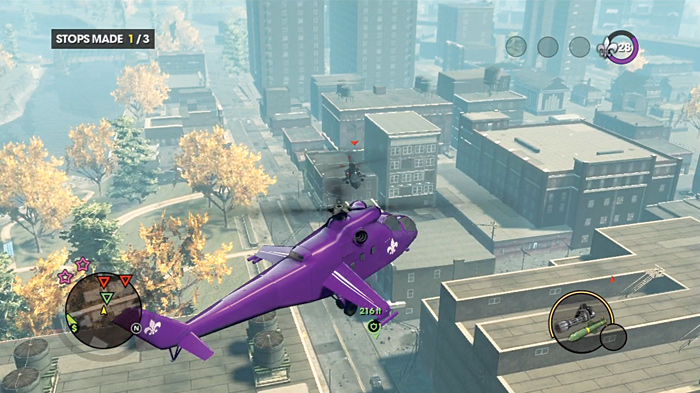
A Deckers attack chopper may try to slip in close to Kinzie as she drives off from the first objective. Make it pay.
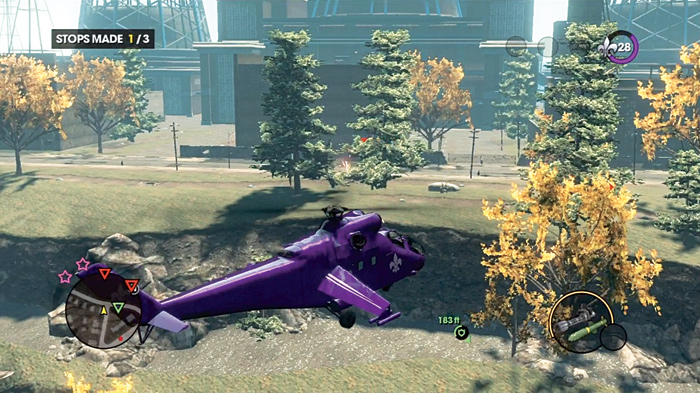
The second stop is in an interesting location.
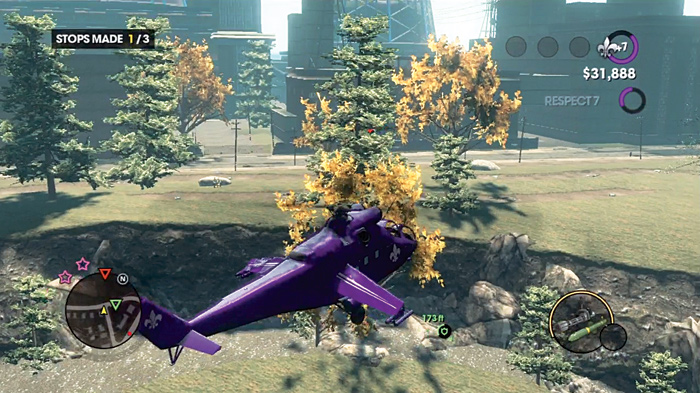
The building is near a road that is next to a cliff with an elevated part of the city and another road the Deckers will use to try and get to her. If your altitude is low enough, you will be in a perfect position to strafe the incoming Deckers with your gun well before they even get to her.
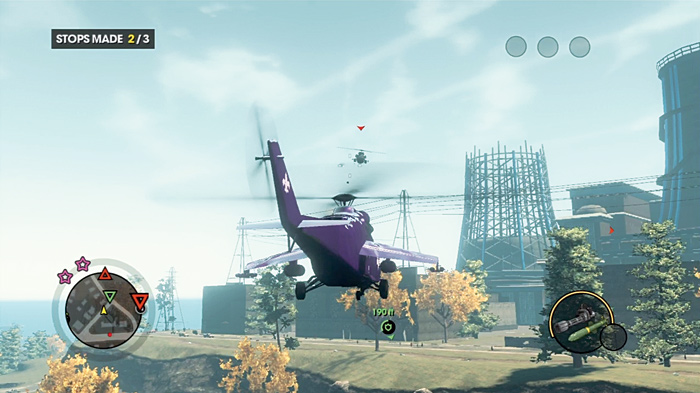
Keep an eye out for a second attack chopper to make a run for you or Kinzie as she leaves the second checkpoint, but while you’re taking care of the chopper, don’t neglect the Deckers coming up the roads directly behind her.
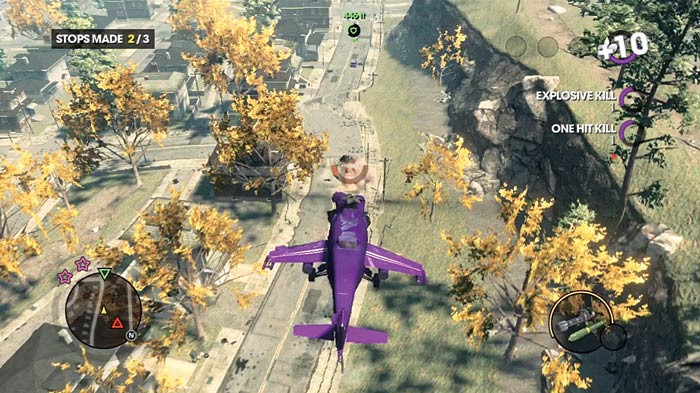
The last stop takes place near a series of power lines, with factory smokestacks close enough that you’ll want to keep an eye on your surroundings.
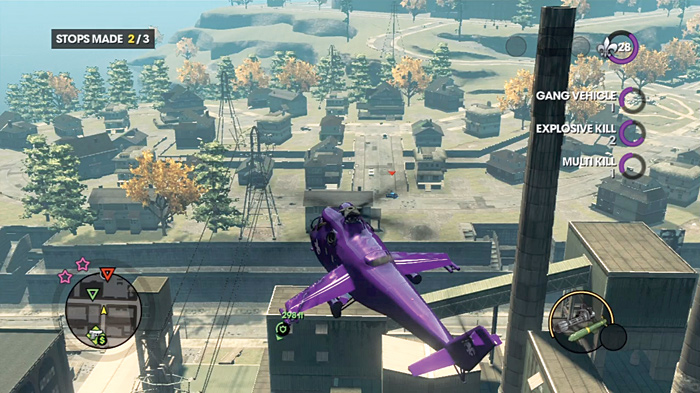
Fortunately, if you’ve done a good job at taking out the Deckers, Kinzie will not need much time to wrap up her third hack, and the mission will be complete! You also unlock another pair of Helicopter Assaults around the city.
Helicopter Assault 5 (#13)
Location: Ashwood
Difficulty: Medium
Stops Required: 4
Vehicle: Vulture
Cash Earned: $4,000
Respect Earned: 400
Rewards: 2% Deckers Gang District Control—$71 per hour
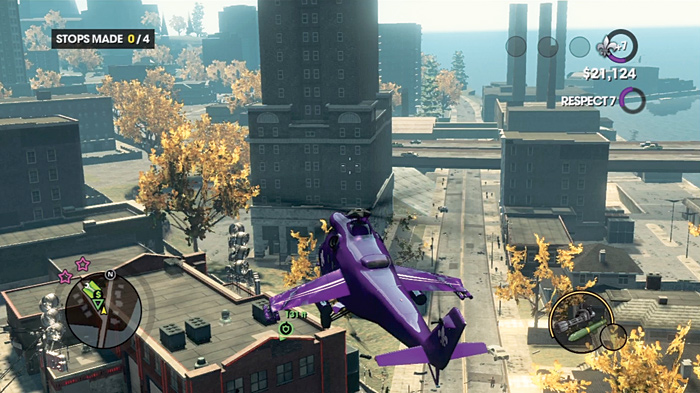
Your first stop is a Rim Jobs shop.
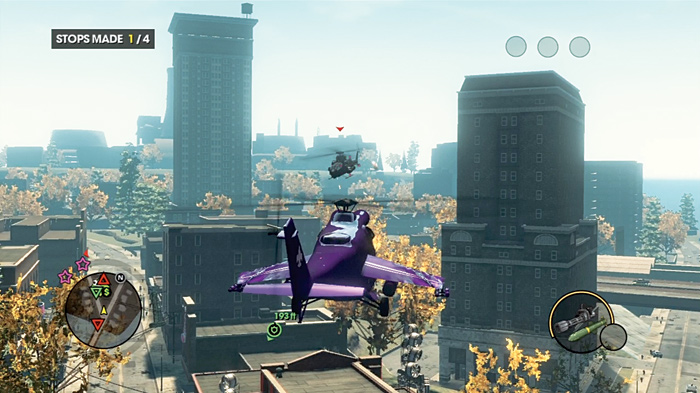
You have plenty of good lines of sight in every direction, but the long streets leading to Kinzie mean that the Deckers can try to hit her with ranged rocket shots. Try to prevent that. As soon as Kinzie finishes hacking the Rim Jobs, keep an eye out for a hostile chopper.
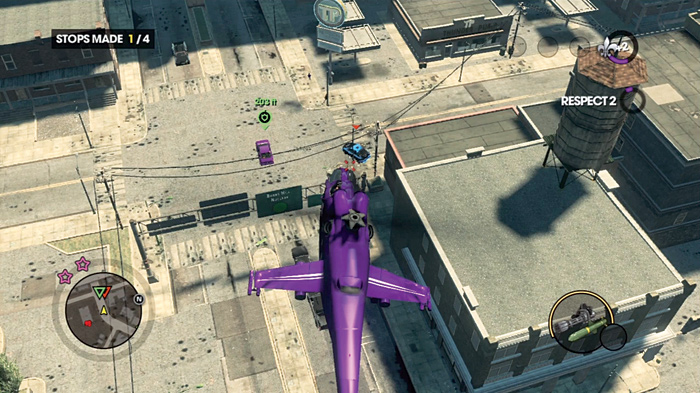
On the way to the second stop, Kinzie might pass a Gang Operation. If she’s safe and not being harassed by enemies, you can take a short detour and put some missiles into their little gathering. It won’t be easier to take care of this than right now, but keep in mind it will also attract more attention to your current job.
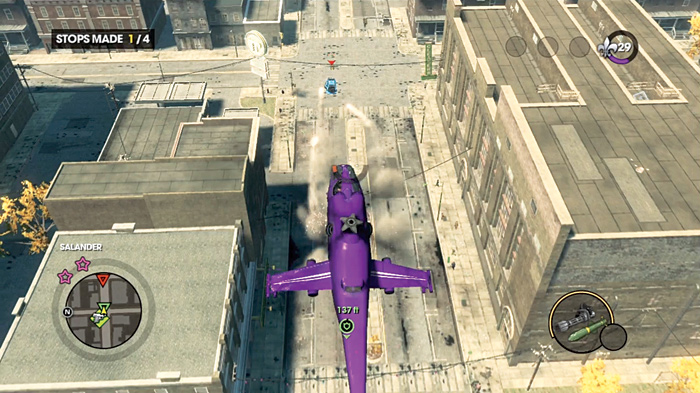
One thing to take advantage of are long stretches of road. In the Vulture, you can barrage the streets ahead of oncoming Deckers to clear them out.
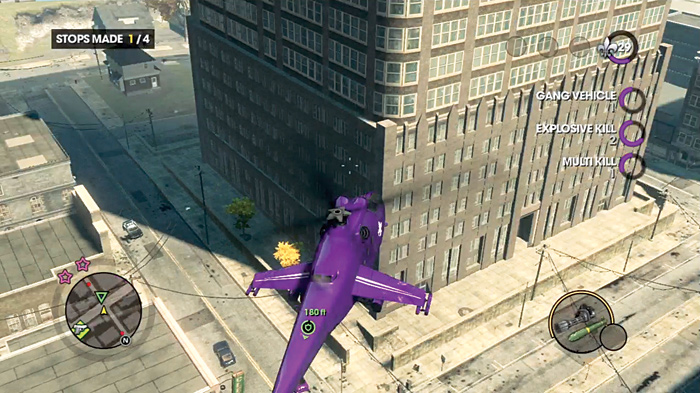
The second stop is a fair distance away from the first and she will pass under the highway to get there. It’s one of the taller buildings in the area, so watch your flying.
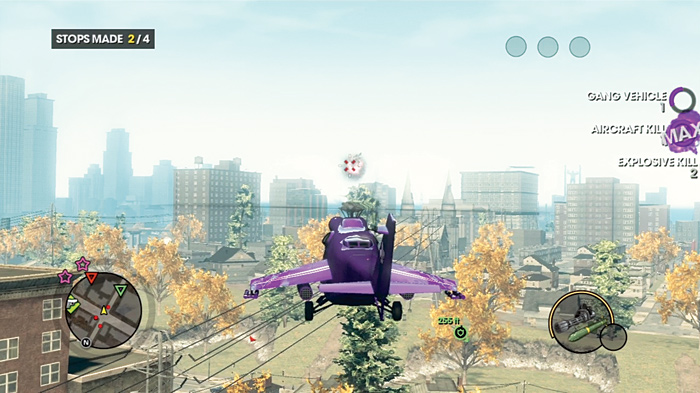
As soon as Kinzie wraps up the hack, an attack chopper appears for you to shoot down.
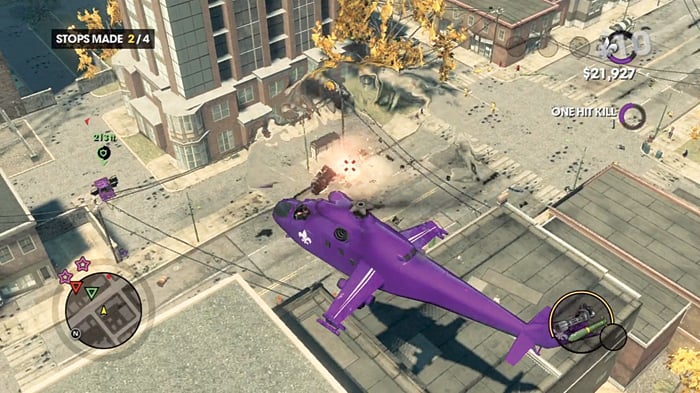
The next stop is an office building next to a series of tall power lines.
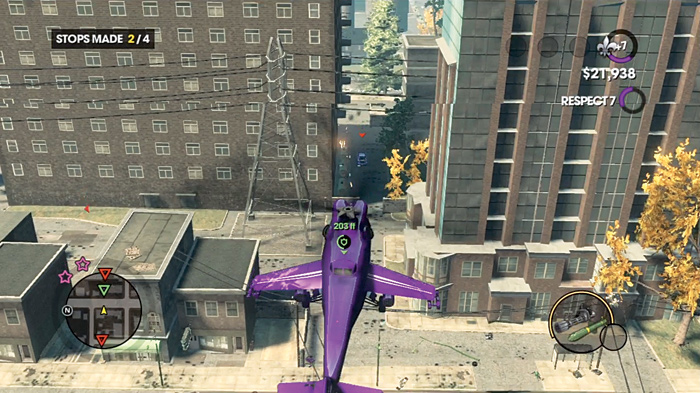
The terrain gets a bit dicier here with taller structures to run into, but the stop itself is quite defensible, with all avenues of approach easily covered from on high.
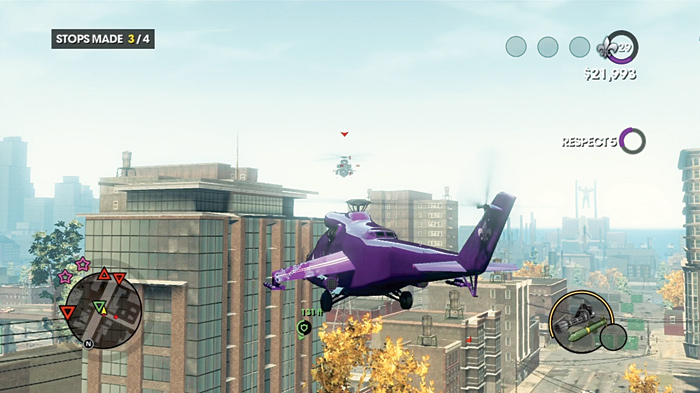
Take out the chopper that appears after Kinzie moves on.
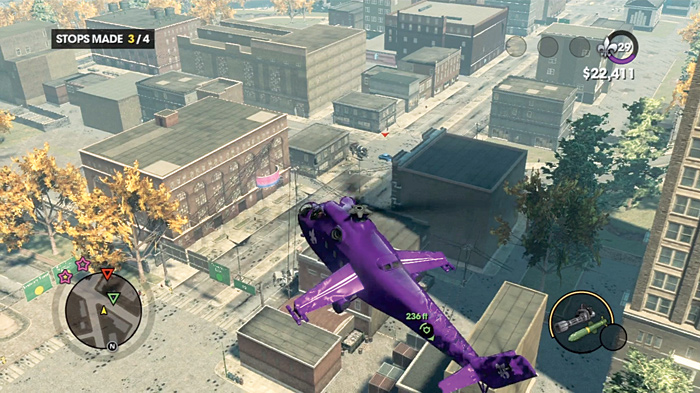
The last office stop places Kinzie in a confined area. Don’t fret much about it, as the Deckers still have to get to the building via the main roads before they can use the alleys to reach her. Flood the tight spaces with rocket fire if they threaten to get through to her, but beyond that, this point should be rather simple.
Helicopter Assault 6 (#14)
Location: Salander
Difficulty: Hard
Stops Required: 6
Vehicle: Vulture
Cash Earned: $6,000
Respect Earned: 600
Rewards: 2% Deckers Gang District Control—$75 per hour
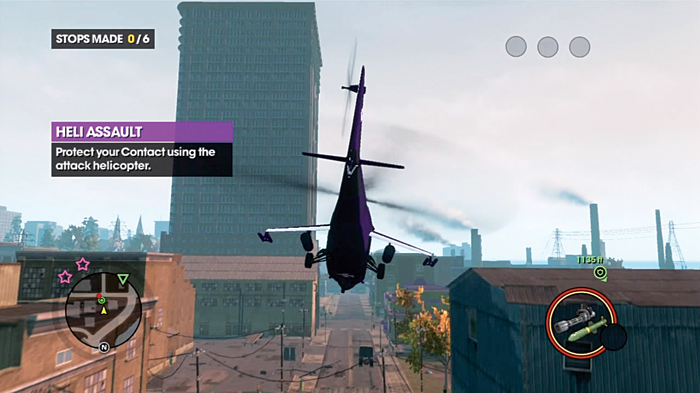
You start a fair distance away from Kinzie, so get your Vulture over to her.
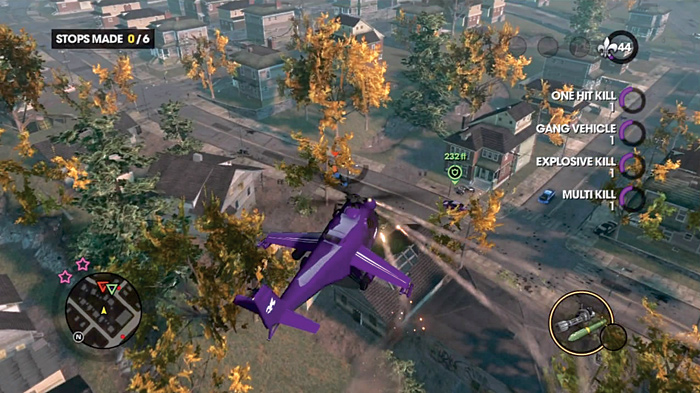
You don’t want the Deckers to reach her first. With six stops to make on this activity, this is a bit of an endurance contest and you want to be killing Deckers as early as possible.
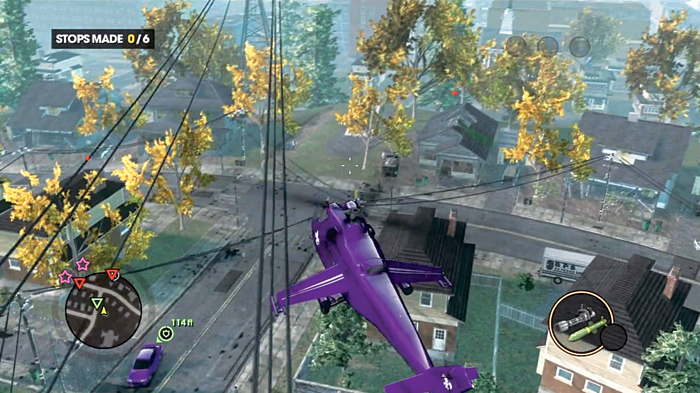
Your first stop is in the middle of a suburb.
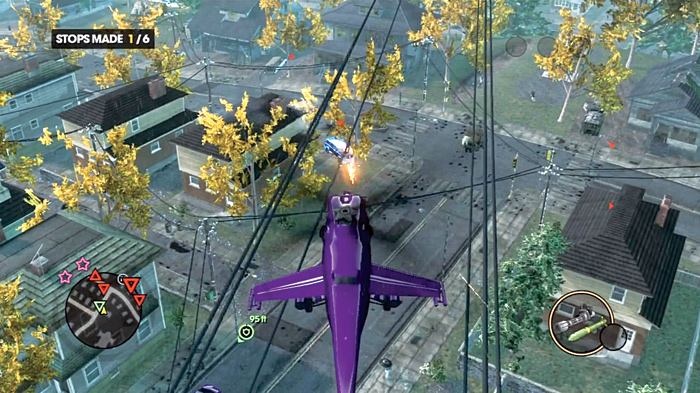
There aren’t many tall structures to be worried about here, but there are many trees that can block your fire in the alleys the Deckers try to use to get to Kinzie.
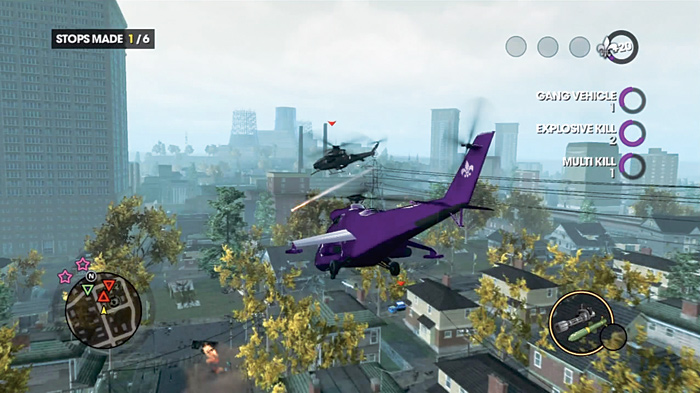
When Kinzie wraps up the first hack, watch for an attack chopper to come in on cue.
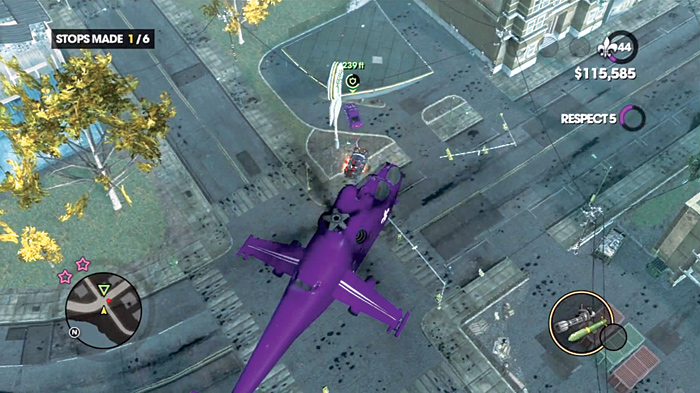
The next stop is a gas station, where Kinzie pulls off her best impression of Pierce. It needs to be reiterated: Be mindful where you shoot.
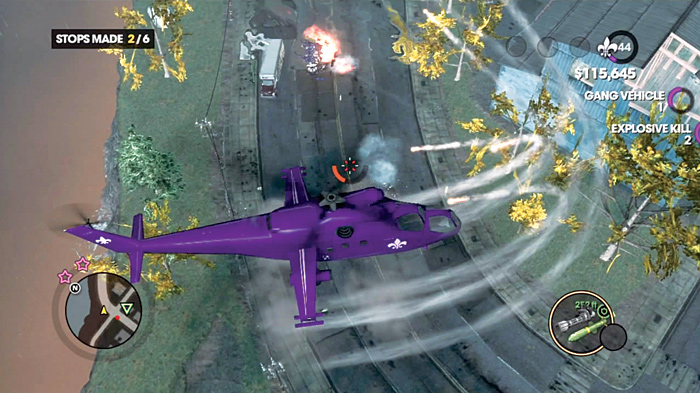
If she’s parked close to the pumps and you hit the gas pumps while protecting Kinzie here, you can seriously damage or kill her!
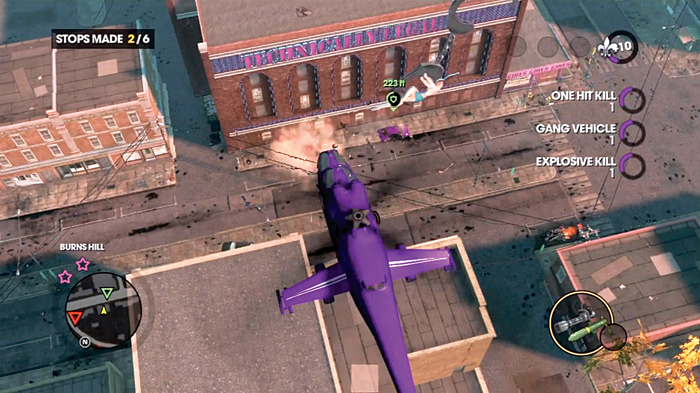
Stop three is the Technically Legal strip club.
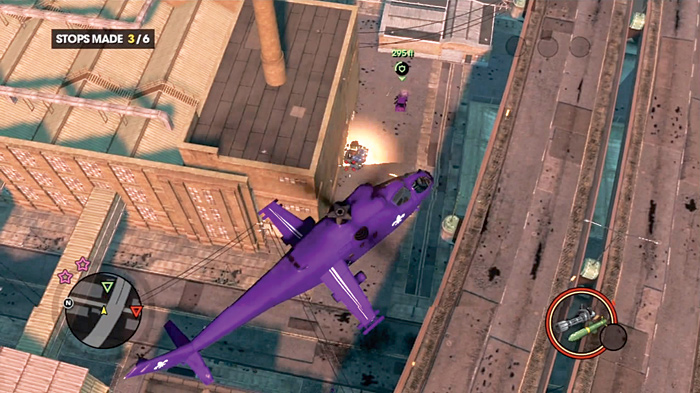
Yeah. Just keep her covered. A chopper will try to sneak in just as Kinzie races away from the club.
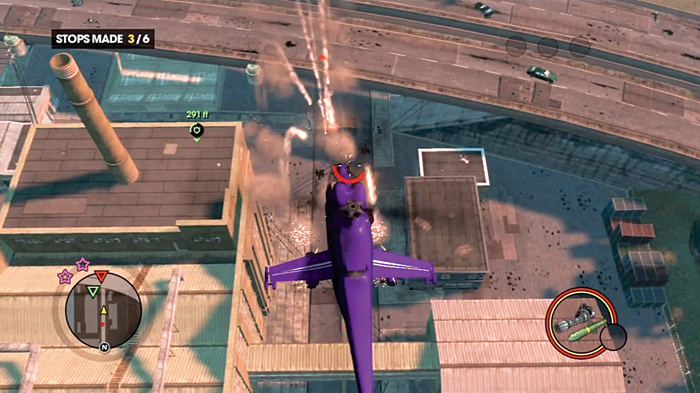
Number four is a computer parts factory. Kinzie parks in a small alley near the factory, close to a highway bridge that spans the river.
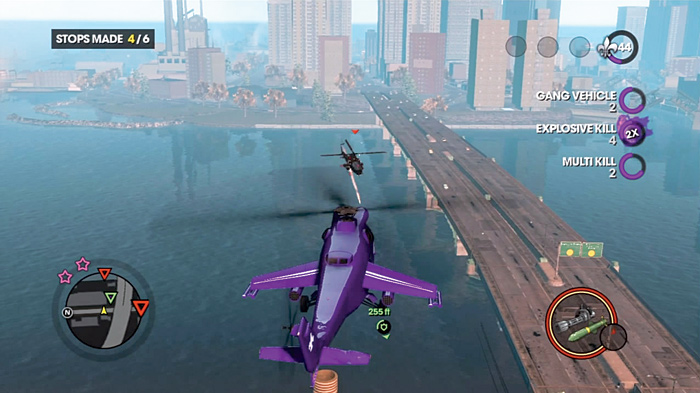
Watch for enterprising Deckers that try to snipe from there, and take out the next attack chopper once Kinzie is moves on.
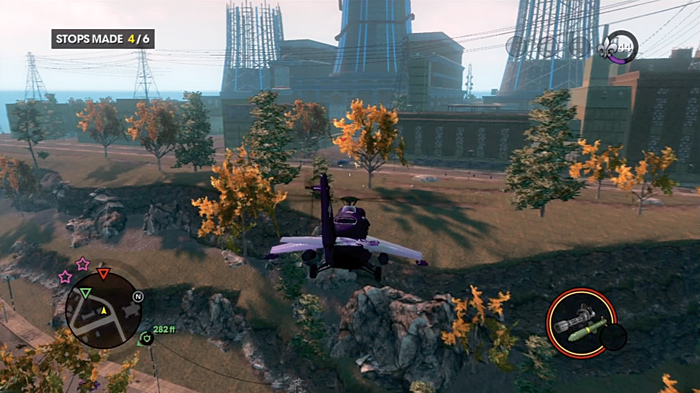
The next hack takes place outside of Matt Miller’s girlfriend’s house. While Kinzie ruins their relationship, take note of the nearby nuclear power plant.
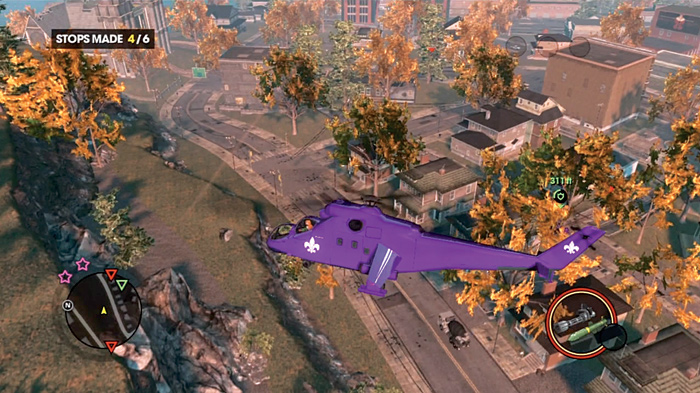
Deckers will arrive using the elevated terrain there as well as streets closer to Kinzie. Another chopper joins the mix once the hack is completed.
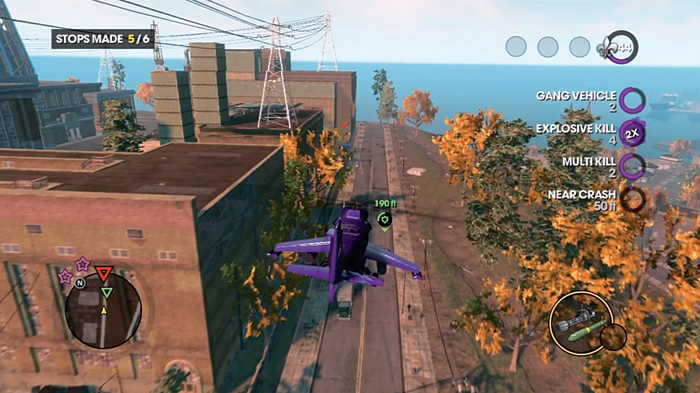
The last stop is the nuclear plant itself. Kinzie takes a drive around a portion of the facility, which means that you must contend with a stream of Deckers on the ground before she actually enters the plant.
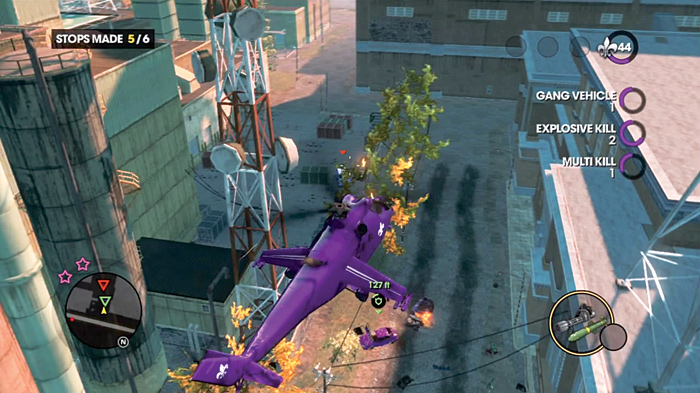
Watch your altitude while flying around the plant, as trees grow along the sides of the plateau, and a wayward snag could end your mission. Kinzie parks at a building between the larger cooling towers, so you have a tight space to work with if you fly in close to cover her. Fortunately, this last stop doesn’t take long if you’re sharp about killing the Deckers before they get close.