
Saints Row: The Third Guide Walkthrough Campaign
Mission 39: My Name is Cyrus Temple
Cash Earned: $16,000
Respect Earned: 4,000
Rewards: Pick two—New Vehicle—Prototype tank; New Weapon—Satchel Charges; New Vehicle—VTOL Jet Bike
Becoming Cyrus
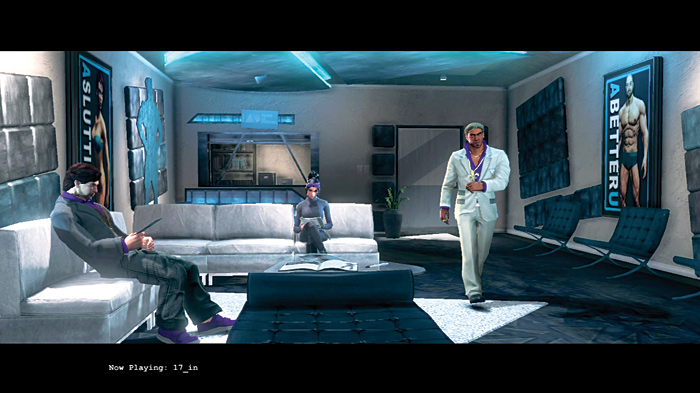
Hanging out with Josh reminds Shaundi of Stilwater. She misses their home town and their fallen friend. Her conversation is rudely interrupted as a struggle ensues and another lady picks up the phone. It’s time for some desperate measures to get Shaundi back. Drive to Image as Designed to meet your homies. The place is a plastic surgery shop and it’s time to do a little cosmetic alteration to look like the leader of STAG, Cyrus Temple.
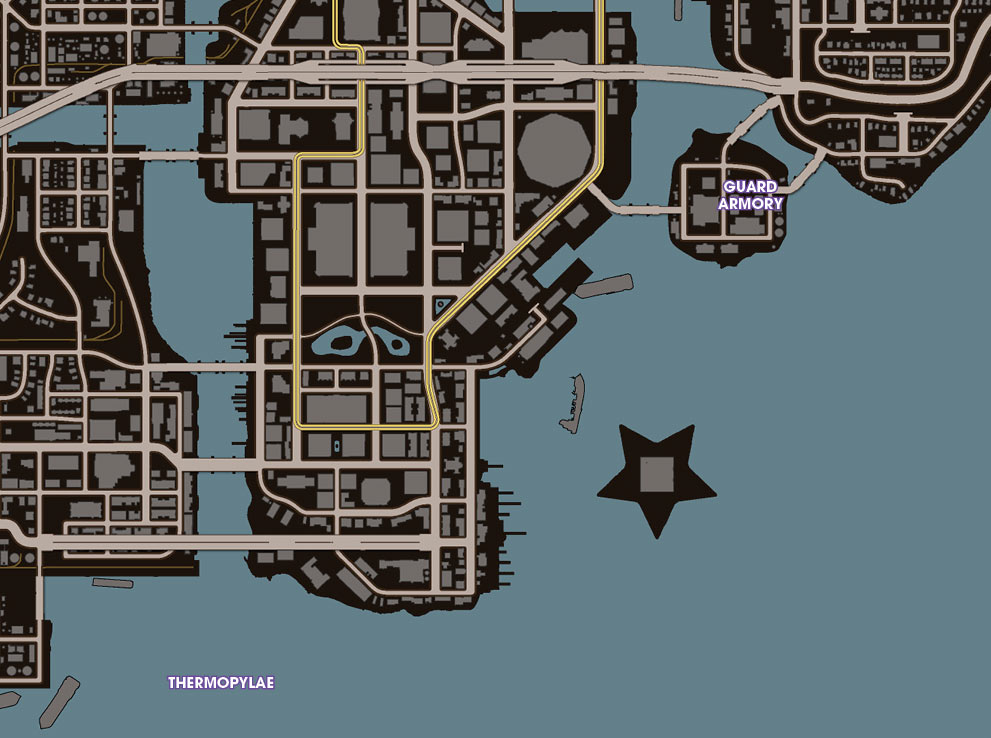
To view our interactive map for Saints Row: The Third, click here (Best viewed in Firefox or Google Chrome).
The doctors did a great job, you now look identical to Cyrus. Drive to the STAG base to get a VTOL to make it to the carrier Thermopylae where Shaundi is being held.
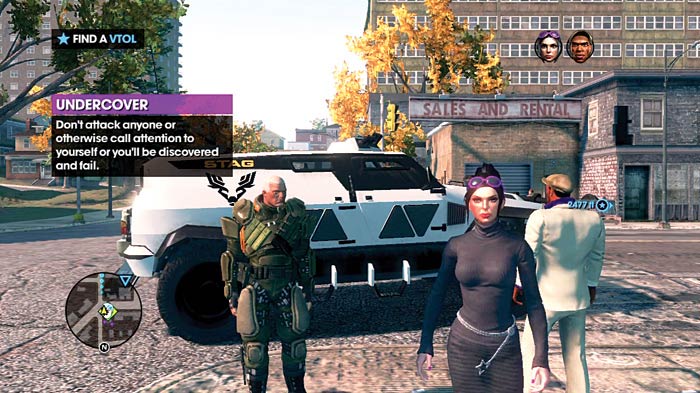
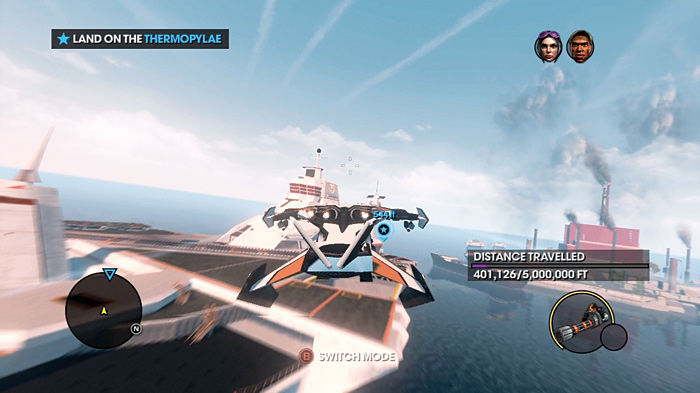
Get into the STAG base unnoticed and hop in the Condor VTOL. This aircraft has a hover and flight mode similar to the F-69 VTOL.
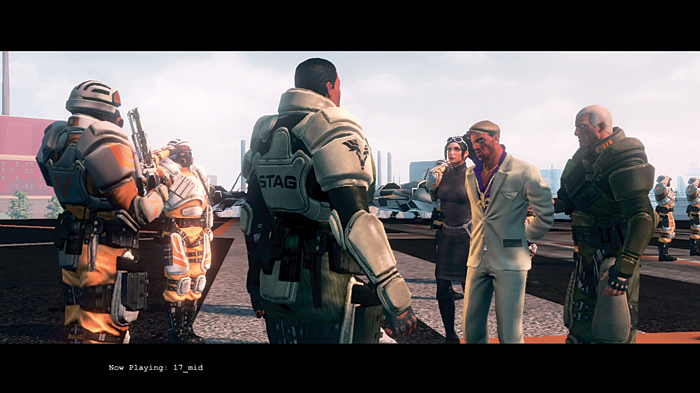
Switch to flight mode and follow the HUD to the carrier. Cyrus will casually present his two prisoners at a larger STAG gathering. His second in command is Kia, the lady who took Shaundi. She has some projects she want to show her commander.
Get to the Brig
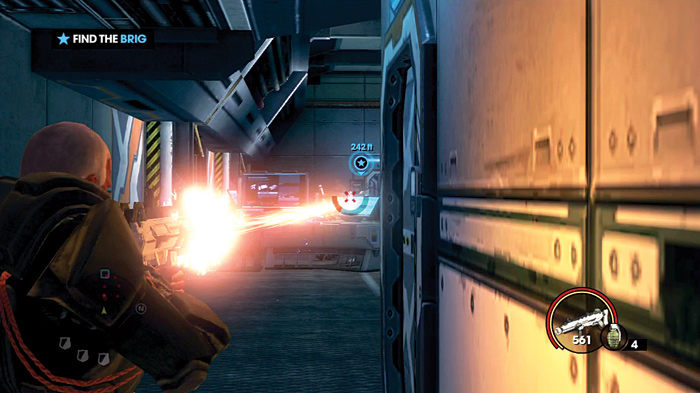
The real Cyrus Temple calls Kia and completely blows your cover. It’s time to hustle from R&D to the brig to find your friends. The start of this section leaves you with little cover and a lot of STAG soldiers to deal with, including those armed with riot shields. Pick off as many as you can in the distance with a rifle, then charge ahead to the relative safety of the doorway.
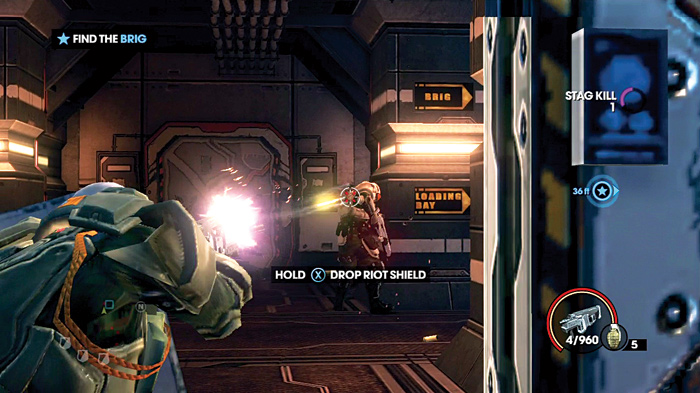
The carrier can be tough place because it is filled with lots of STAG resistance and close combat. The shotgun is a great choice for close encounters but if you are taking too much damage, grab a fallen guard’s riot shield. The shield allows you to use the SMG and even melee any enemies that are close enough. It may slow down the action a bit but it is the safest method to survive the ship.
Cash Earned: $16,000
Respect Earned: 4,000
Rewards: Pick two—New Vehicle—Prototype tank; New Weapon—Satchel Charges; New Vehicle—VTOL Jet Bike
Becoming Cyrus
Hanging out with Josh reminds Shaundi of Stilwater. She misses their home town and their fallen friend. Her conversation is rudely interrupted as a struggle ensues and another lady picks up the phone. It’s time for some desperate measures to get Shaundi back. Drive to Image as Designed to meet your homies. The place is a plastic surgery shop and it’s time to do a little cosmetic alteration to look like the leader of STAG, Cyrus Temple.
The doctors did a great job, you now look identical to Cyrus. Drive to the STAG base to get a VTOL to make it to the carrier Thermopylae where Shaundi is being held.
Get into the STAG base unnoticed and hop in the Condor VTOL. This aircraft has a hover and flight mode similar to the F-69 VTOL.
Switch to flight mode and follow the HUD to the carrier. Cyrus will casually present his two prisoners at a larger STAG gathering. His second in command is Kia, the lady who took Shaundi. She has some projects she want to show her commander.
Get to the Brig
The real Cyrus Temple calls Kia and completely blows your cover. It’s time to hustle from R&D to the brig to find your friends. The start of this section leaves you with little cover and a lot of STAG soldiers to deal with, including those armed with riot shields. Pick off as many as you can in the distance with a rifle, then charge ahead to the relative safety of the doorway.
The carrier can be tough place because it is filled with lots of STAG resistance and close combat. The shotgun is a great choice for close encounters but if you are taking too much damage, grab a fallen guard’s riot shield. The shield allows you to use the SMG and even melee any enemies that are close enough. It may slow down the action a bit but it is the safest method to survive the ship.
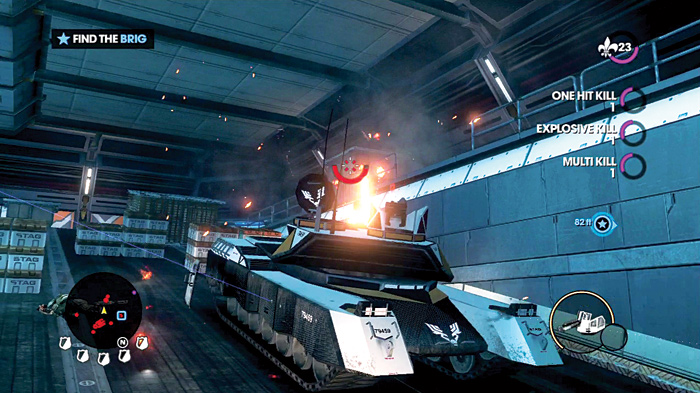
Follow the blue indicator on the HUD to an open garage area and run to a ramp leading down with several tanks. The method for clearing out this sections should be pretty obvious. Sprint to the tank and blow everything and everyone up!
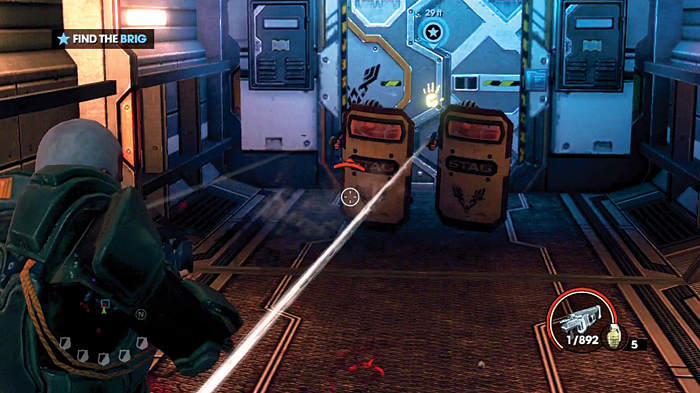
After enough tank mayhem, hop out and resume the search for the brig. Go down to the bottom of the ramp and turn left into the corridor. Two guards with shields are hiding in this spot. A well-placed explosive can wipe them both out and provide you with another shield of your own.
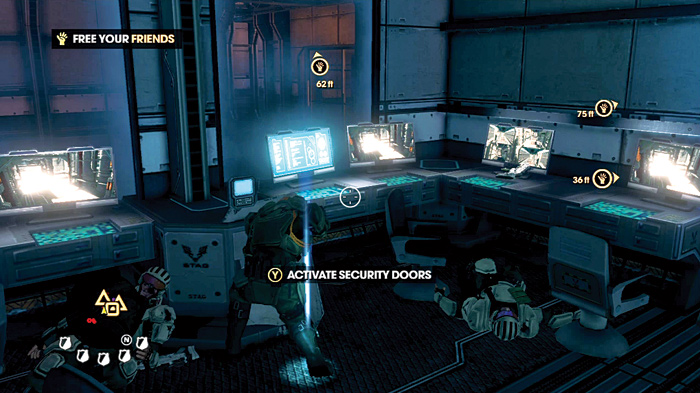
Battle your way to the control room of the cell block and deactivate the security on the cell doors. Three yellow indicators appear on the HUD; they correspond to the location of your homies.
Spring Your Homies
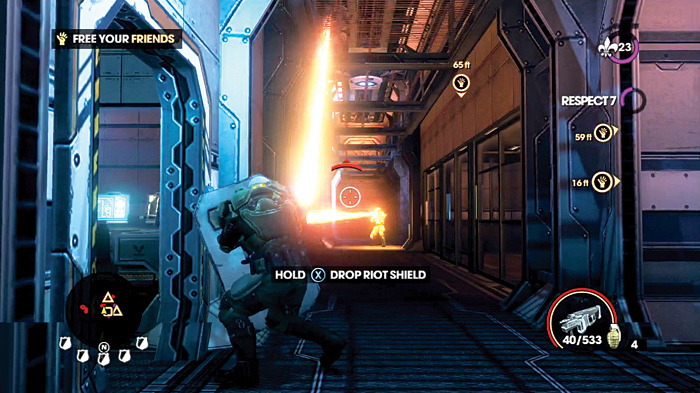
Eliminate the four guards on the lower and upper levels before fully roaming the cell block. It’s easy to forget about the guards above until they start firing on you.
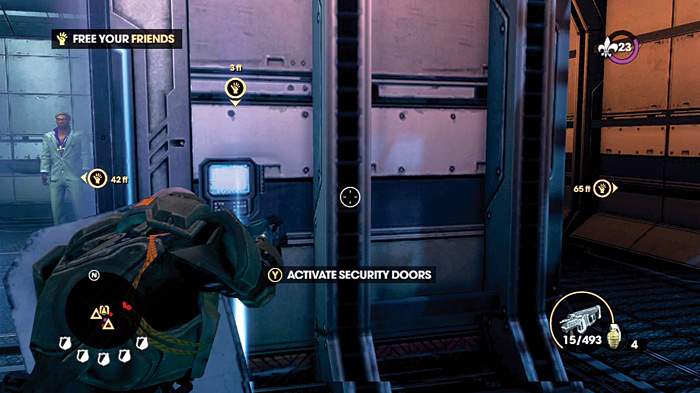
The closest prisoner is just ahead of the brig’s entry. Activate the security door to free Pierce. He follows as you free the other two hostages and provides some additional fire power.
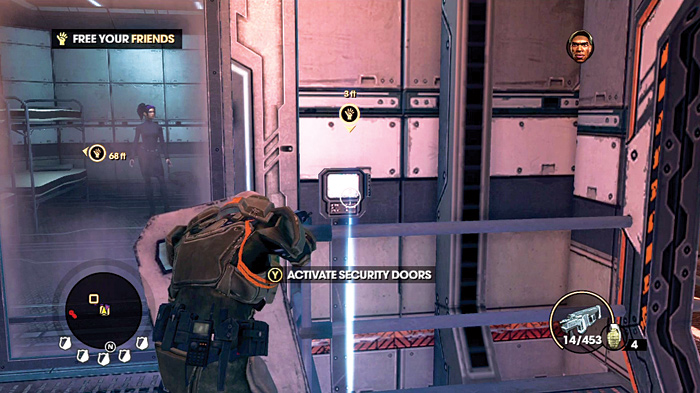
Continue going straight ahead and climb the stairs to the second level. Just outside the doorway on the upper walkway is Viola. Let her out and search for Shaundi.
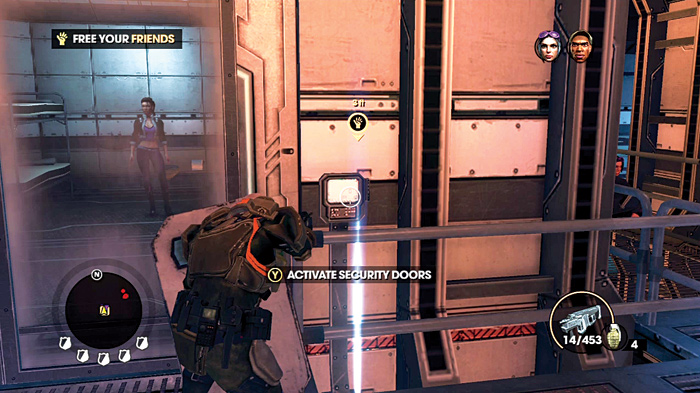
Run to the end of this passage and turn right. Take the next right turn to find Shaundi and finally reunite with your crew. When she is freed, more STAG soldiers spawn all over the ship. Just escaping is not enough for the Saints. Shaundi heard from the guards how dangerous the reactor control room is. That’s a great place to give the carrier an explosive send off.
Find the Reactor
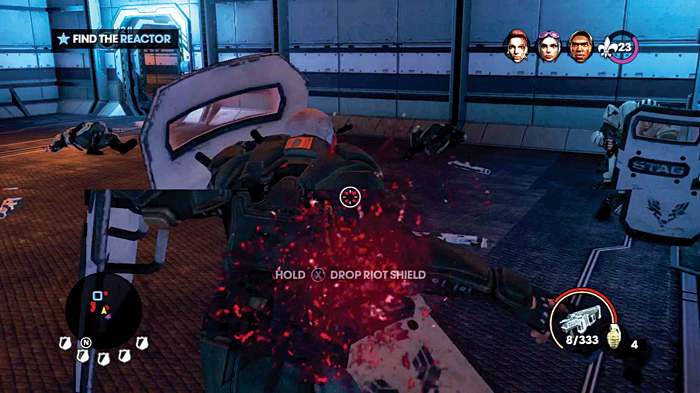
Retrace your steps back downstairs past the brig’s control room. Wipe out the group of new recruits that appears outside the room using the melee attack of the riot shield to deal with the specialists. Follow the HUD down several flights of stairs and pick off the few guards in your way.
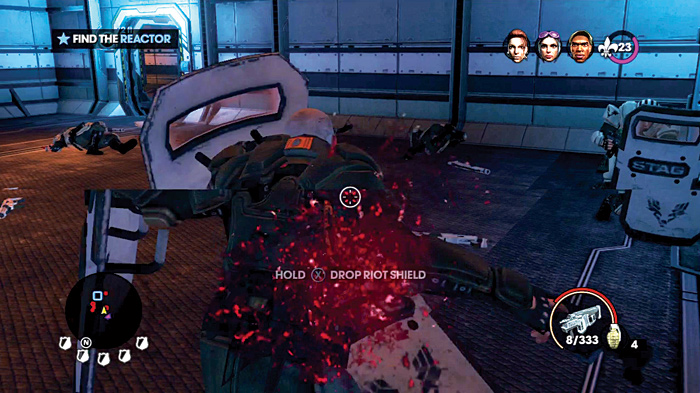
Eventually the guards will get smart and start taking cover behind large crates, rather than standing in the open like they have thus far. Blow them away when they pop their heads out, or advance with the protection of the riot shield and smash them up close.
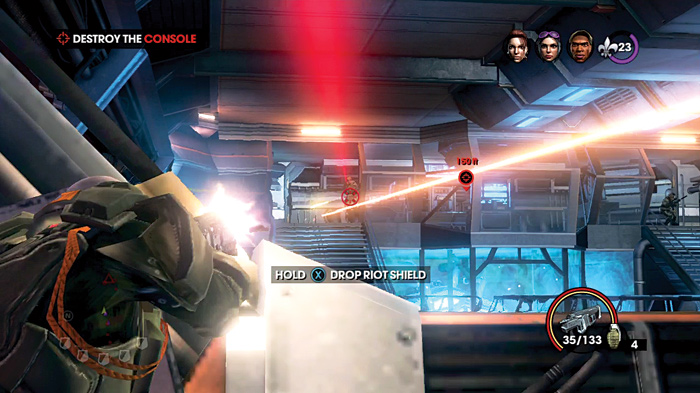
The control room for the reactor is filled with STAG, including several snipers. It’s tough to take on the whole room full of enemies even with the riot shield. Run into the room and take cover by the large support structures on the side. Kill any guards across from or behind you, then focus on getting rid of the snipers on the upper platform in the back.
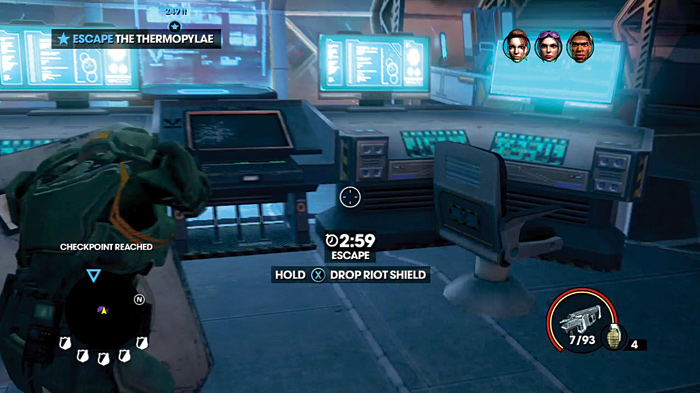
Mop up any soldiers your homies may have missed and run up to the reactor’s control console. Shoot the console to start the three-minute countdown before the reactor blows.
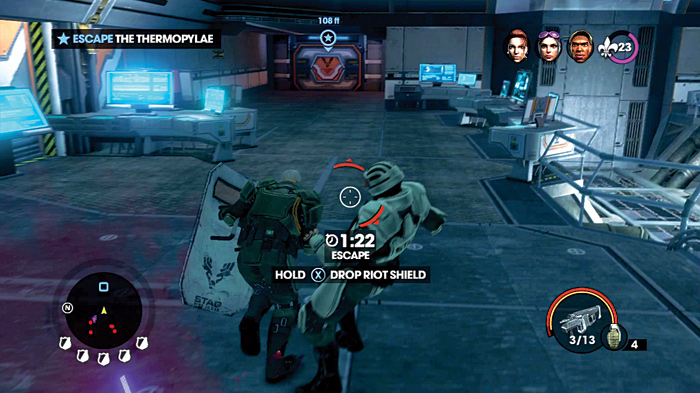
Run like crazy to the hanger! Don’t take too much time fighting STAG at this point; only shoot or smash soldiers directly in your way, otherwise just sprint past them.
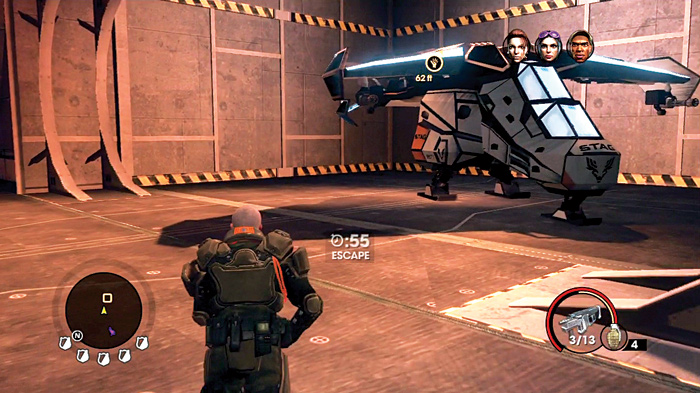
The first VTOL you encounter will get blown up. Run over to the right side of the hanger and hop in the aircraft with a minute to spare.
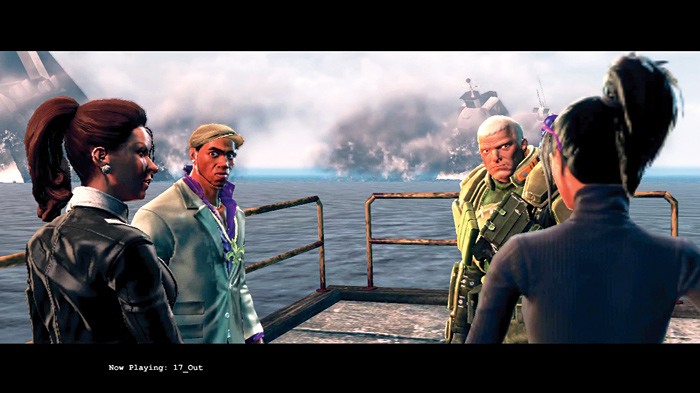
Sinking the carrier might have been a bit over the top.
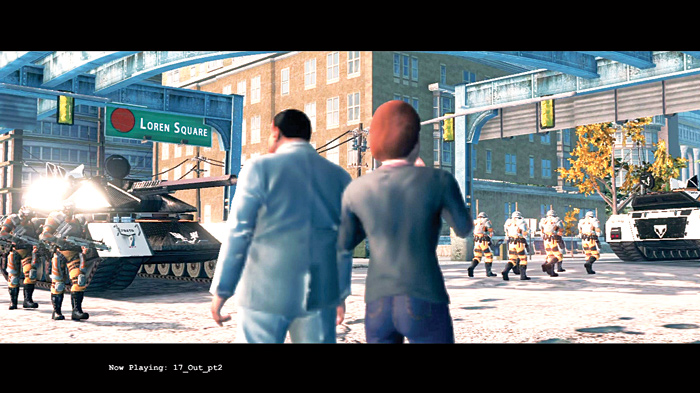
Twelve hours later STAG is given approval to declare martial law and they raise the bridges from each district leaving them isolated.
Follow the blue indicator on the HUD to an open garage area and run to a ramp leading down with several tanks. The method for clearing out this sections should be pretty obvious. Sprint to the tank and blow everything and everyone up!
After enough tank mayhem, hop out and resume the search for the brig. Go down to the bottom of the ramp and turn left into the corridor. Two guards with shields are hiding in this spot. A well-placed explosive can wipe them both out and provide you with another shield of your own.
Battle your way to the control room of the cell block and deactivate the security on the cell doors. Three yellow indicators appear on the HUD; they correspond to the location of your homies.
Spring Your Homies
Eliminate the four guards on the lower and upper levels before fully roaming the cell block. It’s easy to forget about the guards above until they start firing on you.
The closest prisoner is just ahead of the brig’s entry. Activate the security door to free Pierce. He follows as you free the other two hostages and provides some additional fire power.
Continue going straight ahead and climb the stairs to the second level. Just outside the doorway on the upper walkway is Viola. Let her out and search for Shaundi.
Run to the end of this passage and turn right. Take the next right turn to find Shaundi and finally reunite with your crew. When she is freed, more STAG soldiers spawn all over the ship. Just escaping is not enough for the Saints. Shaundi heard from the guards how dangerous the reactor control room is. That’s a great place to give the carrier an explosive send off.
Find the Reactor
Retrace your steps back downstairs past the brig’s control room. Wipe out the group of new recruits that appears outside the room using the melee attack of the riot shield to deal with the specialists. Follow the HUD down several flights of stairs and pick off the few guards in your way.
Eventually the guards will get smart and start taking cover behind large crates, rather than standing in the open like they have thus far. Blow them away when they pop their heads out, or advance with the protection of the riot shield and smash them up close.
The control room for the reactor is filled with STAG, including several snipers. It’s tough to take on the whole room full of enemies even with the riot shield. Run into the room and take cover by the large support structures on the side. Kill any guards across from or behind you, then focus on getting rid of the snipers on the upper platform in the back.
Mop up any soldiers your homies may have missed and run up to the reactor’s control console. Shoot the console to start the three-minute countdown before the reactor blows.
Run like crazy to the hanger! Don’t take too much time fighting STAG at this point; only shoot or smash soldiers directly in your way, otherwise just sprint past them.
The first VTOL you encounter will get blown up. Run over to the right side of the hanger and hop in the aircraft with a minute to spare.
Sinking the carrier might have been a bit over the top.
Twelve hours later STAG is given approval to declare martial law and they raise the bridges from each district leaving them isolated.