Saints Row: The Third Guide Walkthrough Activities
Trafficking
Trafficking
Trafficking activities all play out in similar fashion. You don’t get to drive, and are expected to hold off whatever the gangs or law enforcement send out to greet you. Whatever your inventory was going into the activity, you don’t get to take with you, and the game assigns you weapons. Fortunately, you can still grant yourself an advantage by upgrading your weapons at a gun shop, as you do get to keep those enhancements.
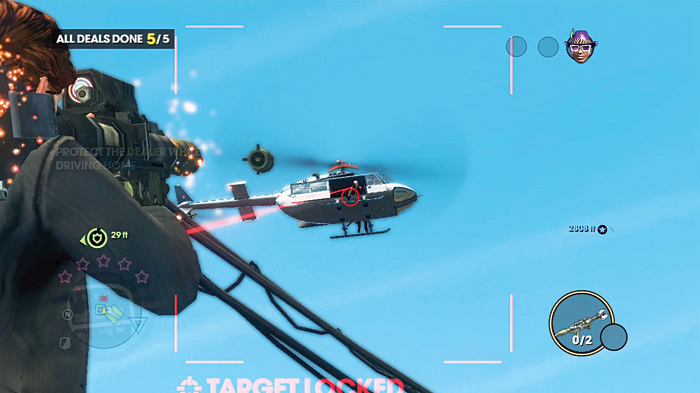
As the difficulty increases for these missions, you will need to match it by upgrading your character’s resilience to damage, or upgrading the weapons you mean to use most. For the Hard difficulty, high-level pistols, SMGs, and upgraded frag grenades increase your chances of success, as you’ll be contending with not only regular gang members and cops, but Brutes and helicopters carrying snipers. With either type of pistol fully upgraded, you can deal with Brutes, cars, or helicopters while remaining relatively accurate and mobile. SMGs can murder Brutes if you focus on their heads, and upgraded grenades have a ridiculous blast radius that can be used to deal with large clusters of vehicles.
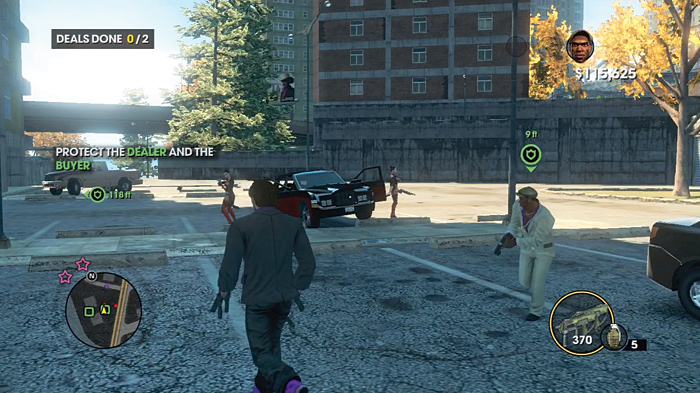
Each mission takes you to randomized locations, and you can’t always expect the same ambushes on the rides between each stop.
There are three things to keep in mind when taking on Trafficking activities.
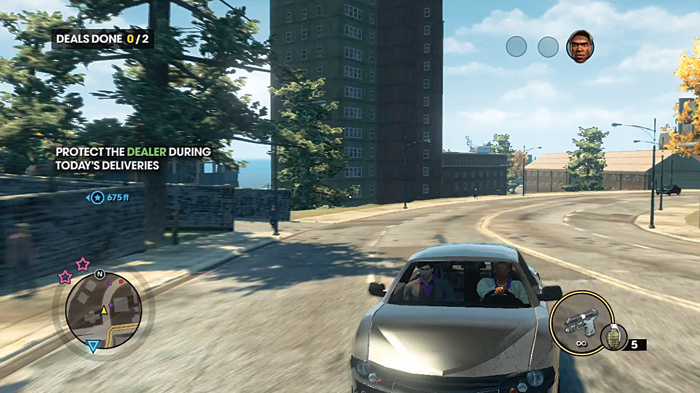
You don’t get to drive, you’re only acting as a guard to the seller. This can lead to some problems, such as the skill (or lack thereof) for driving your seller may possess, which can lead to some very tough situations or outright cost you the mission. If you do lose the car, it’s not always a wash, though. You can jack another vehicle if necessary, and your homie will take up the wheel for you.
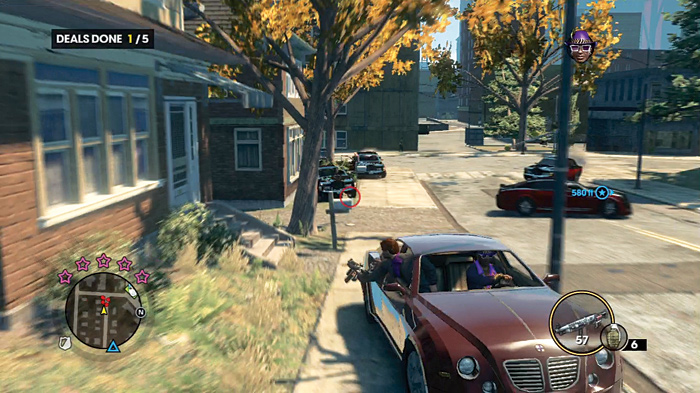
Wherever your deals take you, you can be sure the local rival gang will be dogging you every step of the way. Things can get somewhat frantic in later missions. You can make things much harder on yourself by blasting away at cops while fighting off gangs, so try to keep the bullets away from the faces of the Steelport PD.
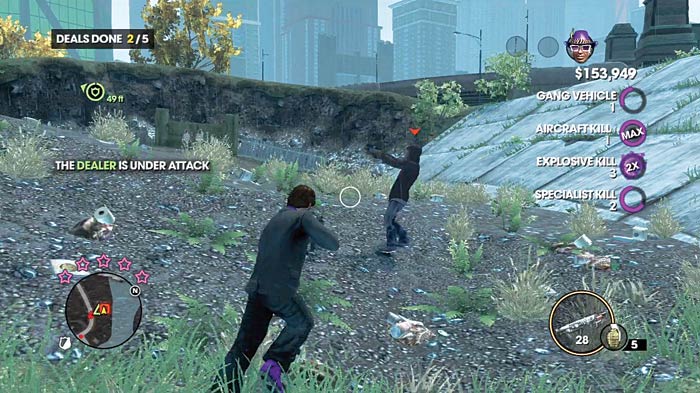
The actual outcome of the deals is not always guaranteed to be a simple sale. FBI informants can sic the cops on you. Buyers can refuse to pay, forcing you to chase them down and dispense 3rd Street justice.
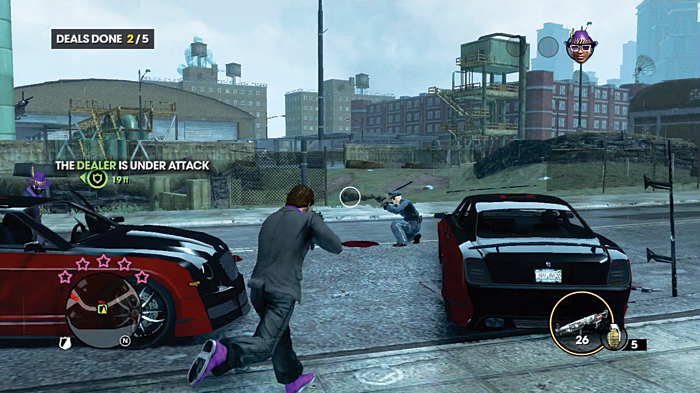
The local gang of the territory maybe waiting in ambush for you, drawing you into a firefight where you have to eliminate the designated targets before your homie gets to the car and gets you both out of Dodge. Whatever the situation, you have to deal with it before your homie can move on to the next deal.
Trafficking Merch 1 (#45)
Location: Henry Steel Mills
Difficulty: Easy
Time to Complete: 3:00
Deals Needed: 2
Cash Earned: $2,000
Respect Earned: 200
Rewards: 5% Morningstar Gang District Control—$92 per hour
The first of six Trafficking missions has you rolling with your homie Pierce, trying to score some dough off customers deep within Morningstar territory.
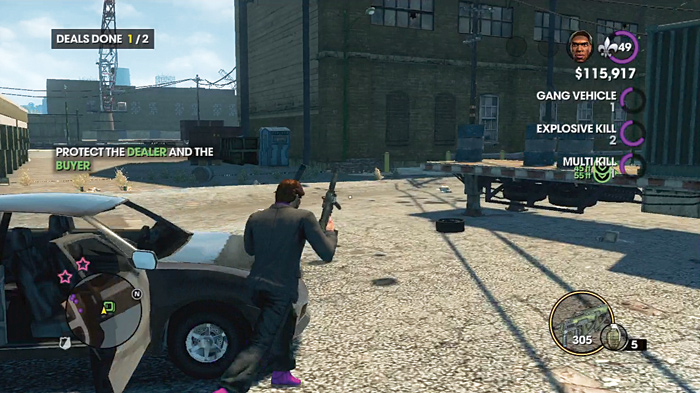
You start this mission with level two notoriety with the Morningstar, so expect to come under fire right away. Fortunately, this is still an introductory level mission, so the resistance is probably nothing greater than what you’ve seen up to this point, so as Pierce drives, keep the camera spinning around so you can spot incoming Morningstar vehicles. The chases here are relatively low-speed, so take advantage of that and try to line up headshots on the drivers of incoming gang cars.
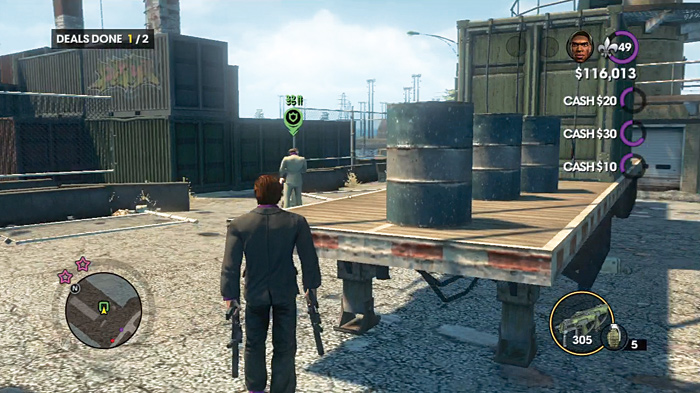
One stop is at a small warehouse behind a truck trailer. Pierce will stop the car on the side of the trailer closest to the street and run around to make the deal. This leaves you wide open for gang attackers who will definitely try to interrupt the deal or join any ambush. Get out of the vehicle and make your stand away from it, and use their cars for cover if you need to. If the buyer ends up being a runner, kill him as quick as you can, as the longer you take, the more Morningstar show up to make life difficult.
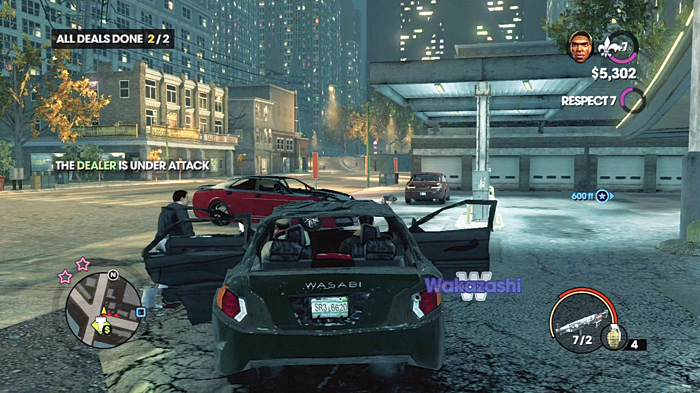
With the first deal finished, Pierce climbs back in the car. Continue providing him cover while he drives to the next location.
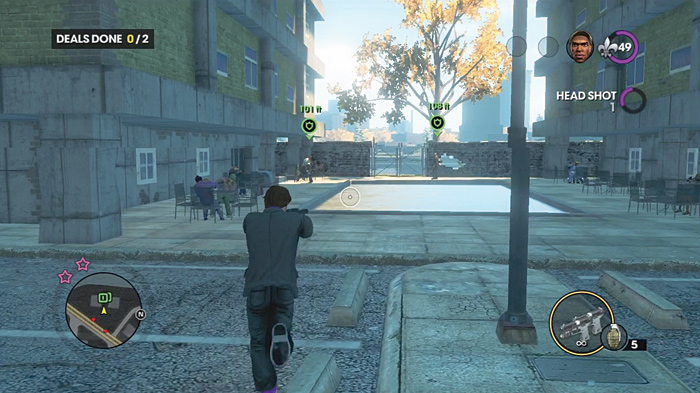
It could be a gas station or the parking lot of an apartment complex, next to an outdoor pool. You may have attracted a number of gang vehicles at this point, so deal with those as you see fit.
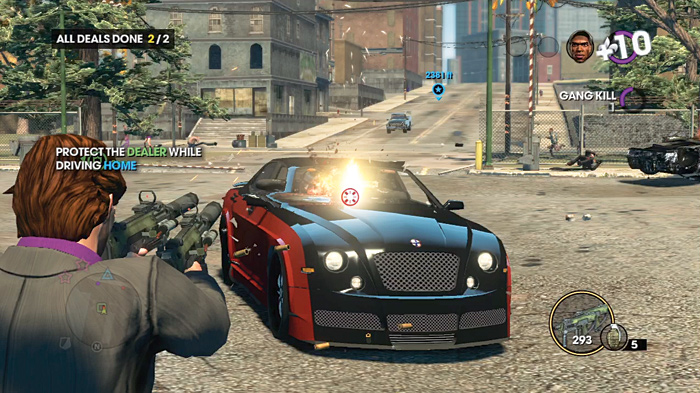
Once you get the message that the deal is completed, you now have to protect Pierce as he heads back home. The Morningstar, and potentially the cops, persist in their attempts to kill you, so keep the lead flying at them. The moment Pierce drives you to the goal the mission ends. Merch: sold.
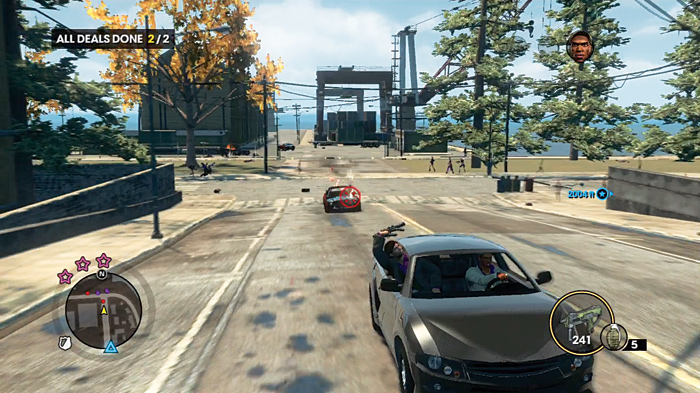
Money: in the pocket. Morningstar: Mostly dead on the road behind you.
Trafficking Merch 2 (#46)
Location: Loren Square
Difficulty: Medium
Deals Needed: 3
Cash Earned: $4,000
Respect Earned: 400
Rewards: 2% Morningstar Gang District Control—$29 per hour
Pierce’s planned expansion of Saints merch starts you off almost immediately with level three notoriety with the Morningstar. You can expect heavier and more persistent resistance while he drives you from point to point.
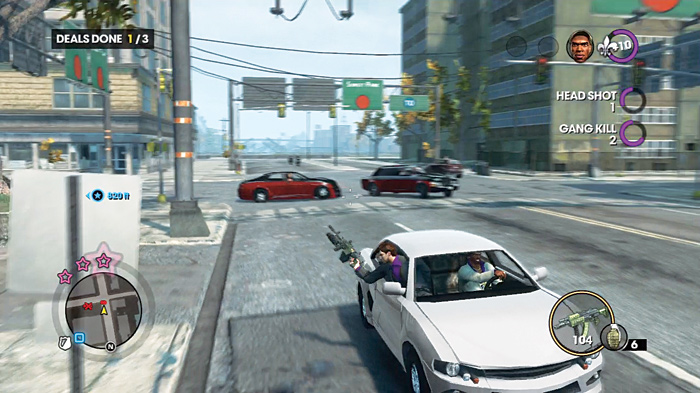
At every stop you should be prepared to make a stand away from the deal (and the car you arrived in) to thin out resistance.
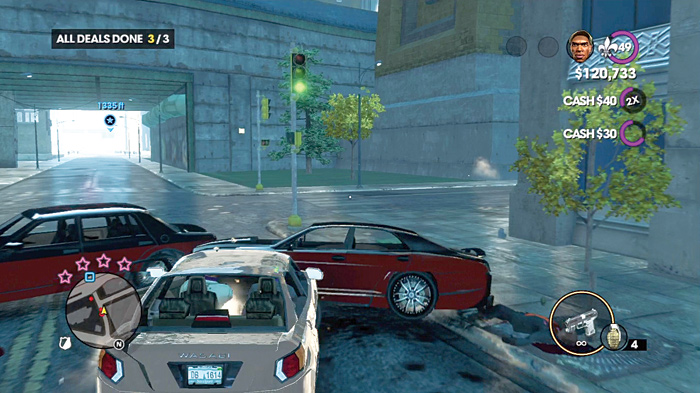
The Morningstar are more aggressive in this mission, pulling in front of your car to try to block it. Pierce plows through one or two cars, but try to snipe the drivers of these cars as they approach you head-on. Successive crashes can eventually wreck your car, and while you can try to scrounge up another ride, you may not survive long enough to get that new ride if you’re surrounded by the enemy.
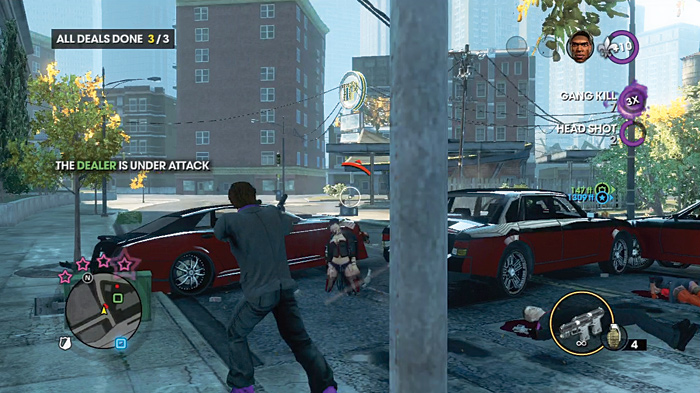
One of the deal locations is near a tall apartment structure with a fence between it and a gas station.
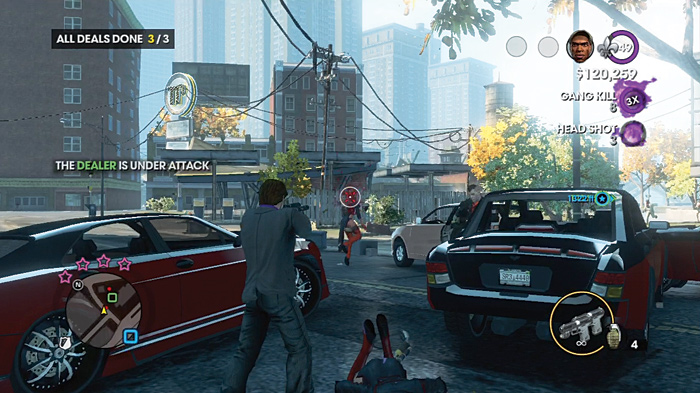
Try to position yourself between Pierce’s deal and your vehicle, so when the MS pull up to you, you have clean shots at their heads before they even exit their vehicles.
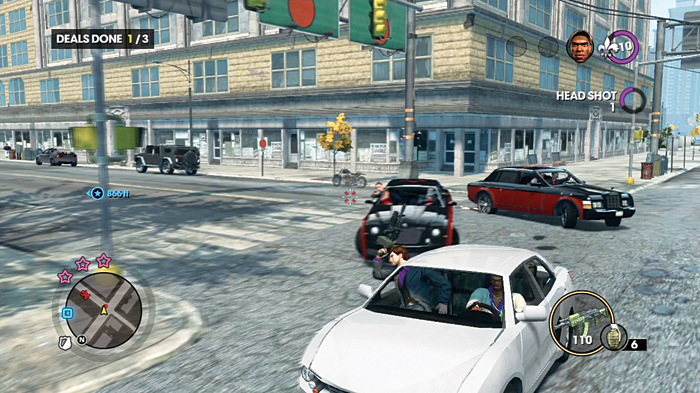
If, during the first deal, a cop decides to suicide-by-Saint or even simply witnesses the deal, they’ll be in on the action, too, and you can eliminate them. But keep in mind that this will attract more police to you.
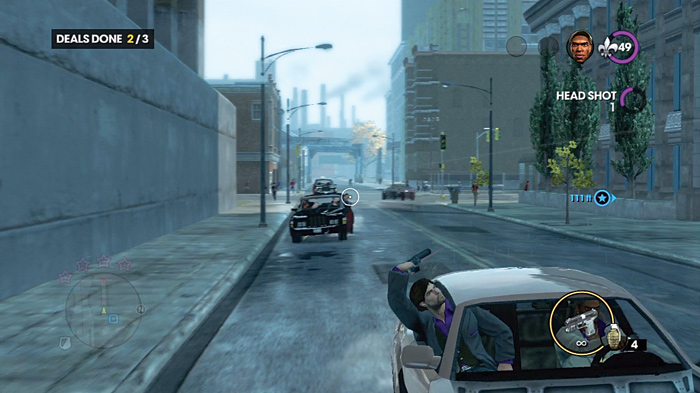
Concentrate on popping Morningstar drivers on your trail.
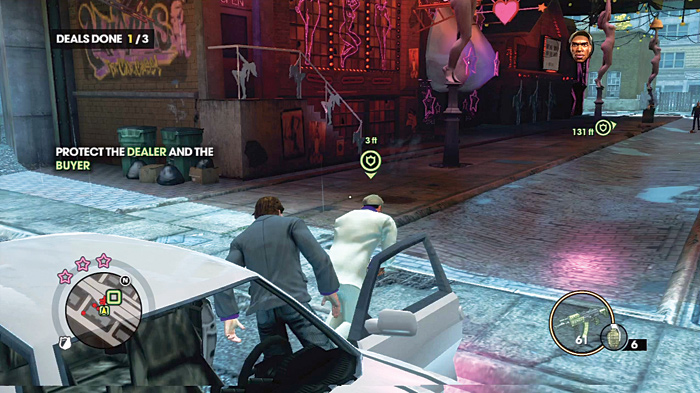
Another deal location can take place near the sex shops underneath a highway bridge. Once again, try to put yourself between the car and the deal.
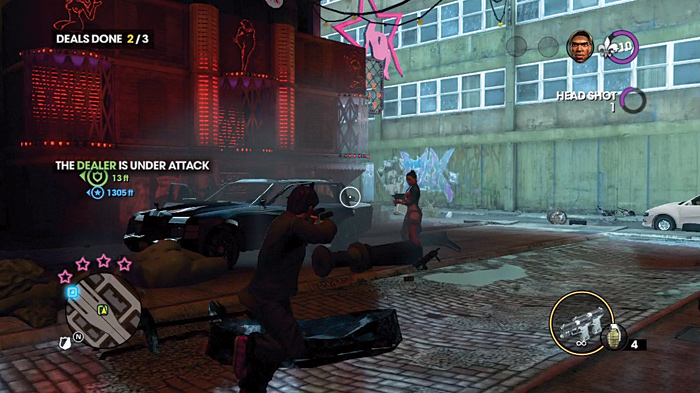
The Morningstar attacks will definitely have ramped up by this point, so expect up to a half dozen of their cars, all full of gangsters. Cops can also be in the mix, and might provide you a distraction by shooting it out with the other gangsters.
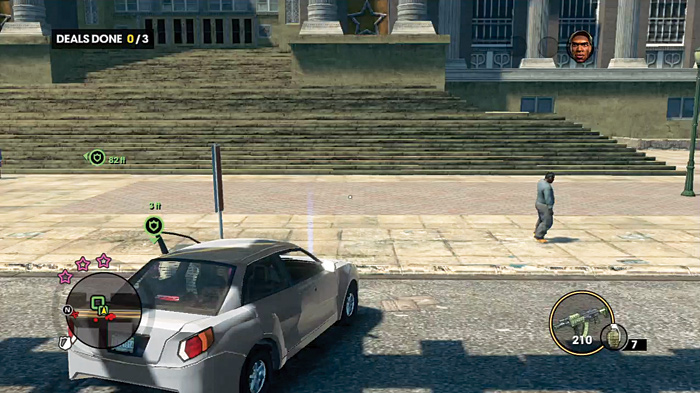
Another deal location is before a series of steps leading to a large government building. Once again, position yourself between the deal and your car, and try to cap troublemakers before they get too close.
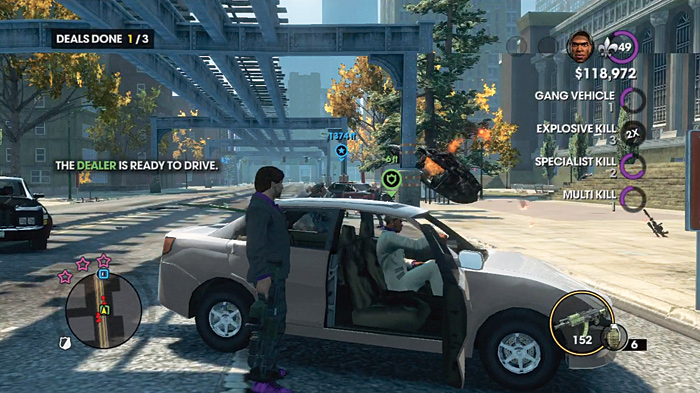
If your protection is adequate, these deals should go down very fast. From there it’s a simple matter of providing more cover to Pierce as he drives home. You’re home free the moment he drives to the final marker.
Trafficking Merch 3 (#47)
Location: Sunset Park
Difficulty: Hard
Deals Needed: 4
Cash Earned: $6,000
Respect Earned: 600
Reward: 2% Morningstar Gang District Control—$68 per hour
Hard missions demand a lot of your combat and survival skills. If you want to make things a bit easier for yourself, upgrade your character (and your homies) to have increased health. You also want to take health regen upgrades, and as many general resistance to damage upgrades as you can afford, as they will go a long way to guaranteeing your success. Also, upgrade your weapons, particularly your pistols. You get unlimited ammo for these guns on this job, and fully upgraded, the pistols can solve many of your problems.
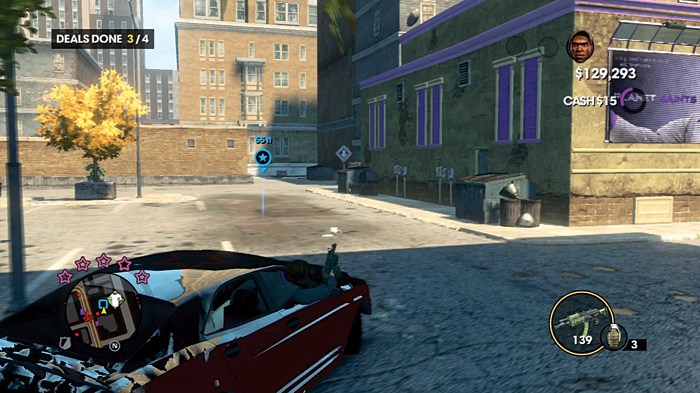
Right away, you and Pierce have level five notoriety with the Morningstar. Keep an eye on your minimap: Helicopters are now in the mix and they use rockets and their machine guns, or they may be carrying snipers who can put you down quickly. You start this mission with nine rockets, so be sure to save some of them for helicopters when you get to a deal area.
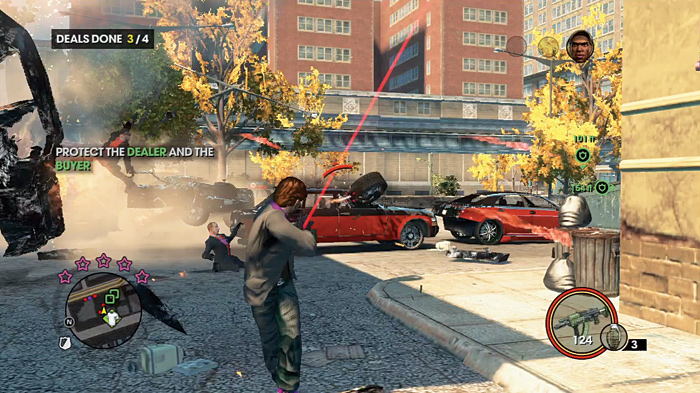
One deal takes place in a parking lot behind a Planet Saints. This is not a good position for you, as the Morningstar tend to ram into the car once it is parked, blocking off your escape route. Be quick about your kills.
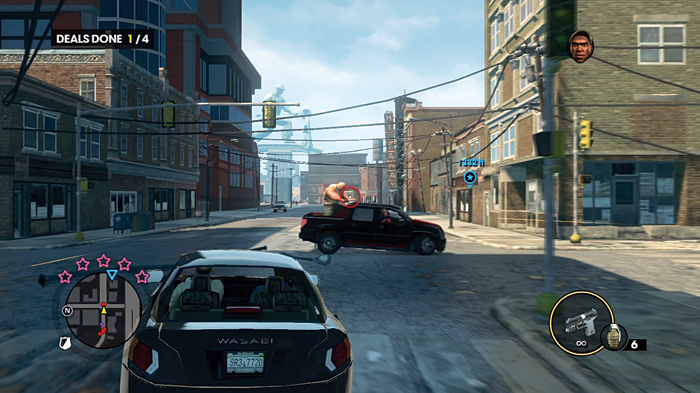
An assault rifle or pistol are your best friends in this regard. Keep moving to avoid getting caught up in the crossfire, and also pick up ammo from the fallen. You’re gonna need it.
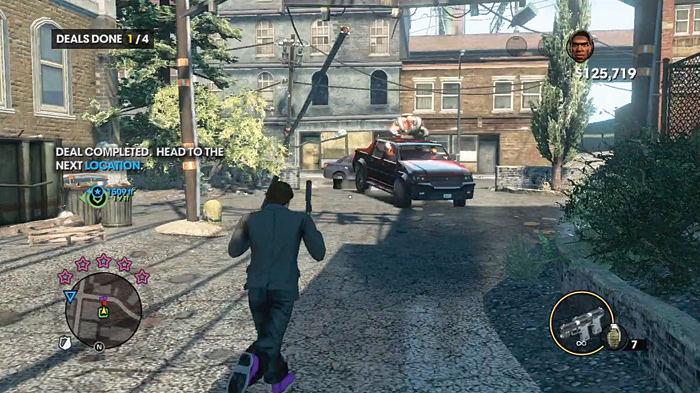
As soon as the first deal is concluded, do your best to clean up any remaining Morningstar so that Pierce can jump in and drive you out of there toward the second deal.
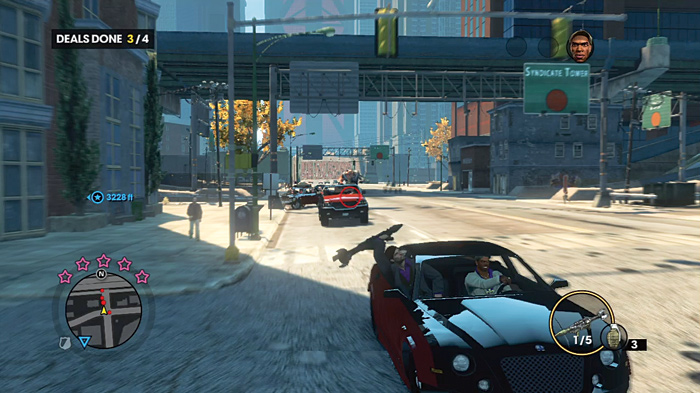
And get moving because Morningstar trucks start to arrive, bringing Brutes with flame throwers, miniguns, or just their fists. In all three cases, these guys are day-ruiners.
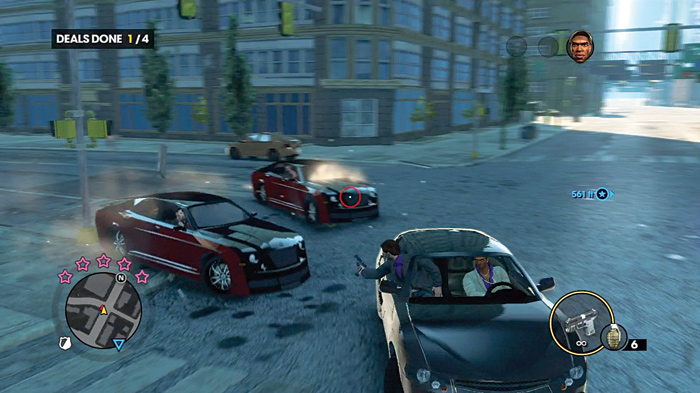
The trucks may try to follow you between deals. Stopping these is absolutely top priority, especially if they are bringing Brutes!
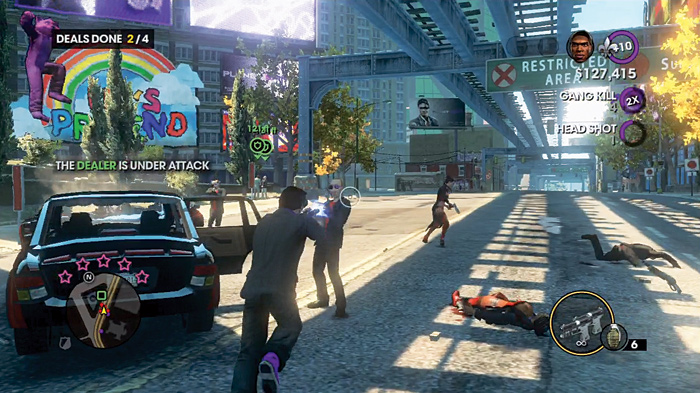
Another deal is near a monument park next to a Let’s Pretend, and it presents its own problem. Your stop is a short jog away from the buyer, and the Morningstar often try to park en masse between you and them.
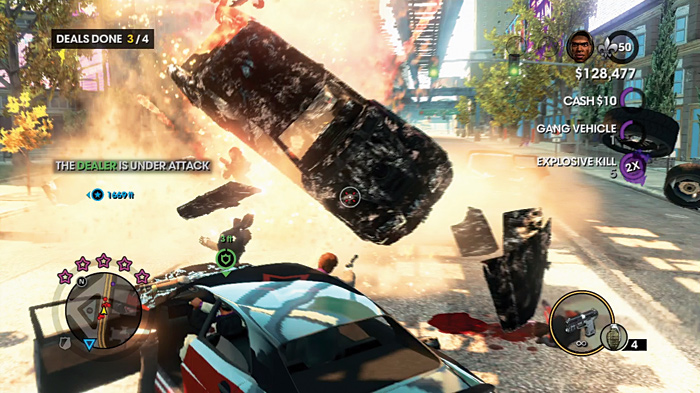
This is what grenades are for! Make sure you don’t catch Pierce in the ensuing fireworks!
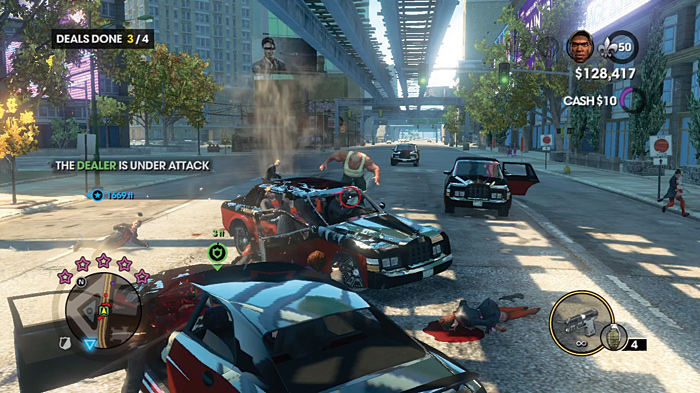
As the deals go down, know that lingering in any area is suicidal. Pierce may call out that there’s a chopper overhead. There’s likely to be more gangsters, along with Brutes, closing in on you on the ground, and taking time to line up a rocket shot on a chopper may prove fatal. Clear out the ground forces as much as you can and then get out of there!
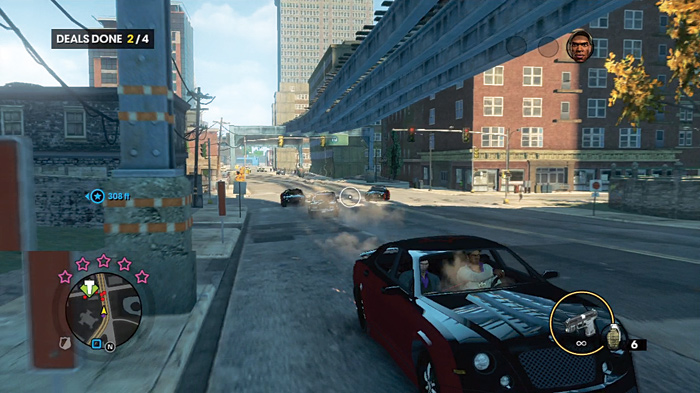
The Morningstar have probably decided that Pierce’s merch pushing is worth stopping just short of calling in the United States military.
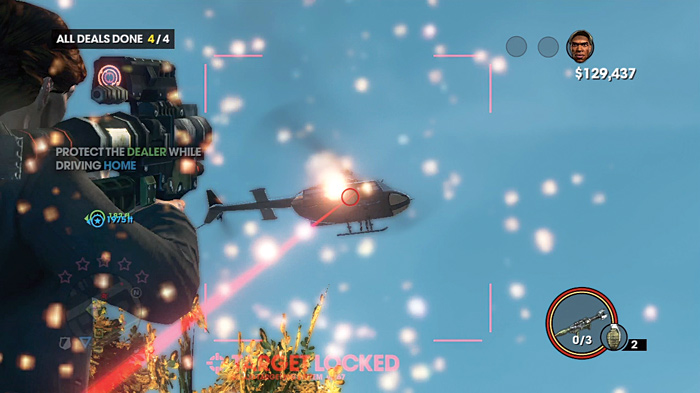
You may be tempted to use rockets on the choppers as they pursue, but you’ll likely miss. Wait until the next stop to engage them. Taking out the ground pursuers remains the top priority.
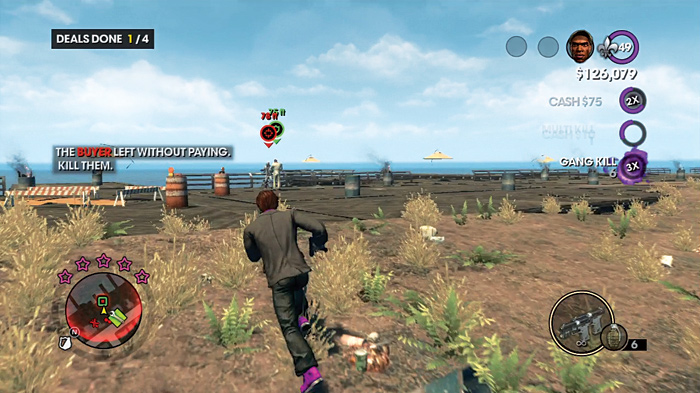
One deal takes place near some docks. The Morningstar will pile in (literally) behind and into your car as it sits in the lot. Before this happens, try to get grenades or a rocket or two inside the ensuing mess to clear it out.
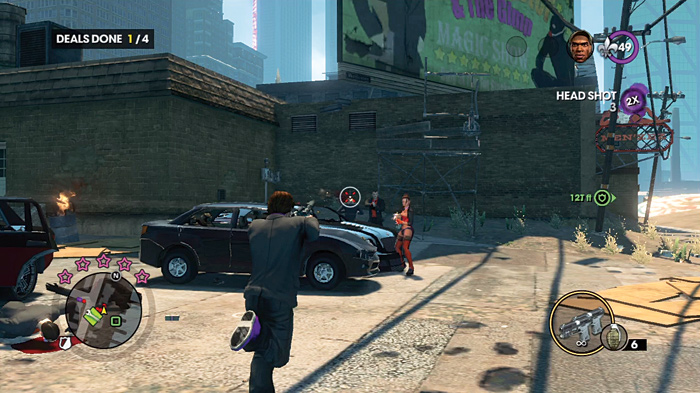
You might also see a truck carrying a Brute among them. This is your primary threat. Blowing up a car carrying a Brute kills him instantly, so try to do that before they leap free and start grinding your face into the pavement.
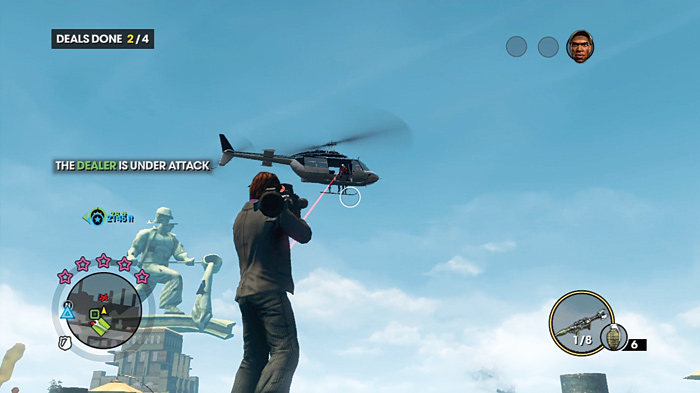
Take this time to knock a chopper (or two, if that’s the case) out of the sky, too.
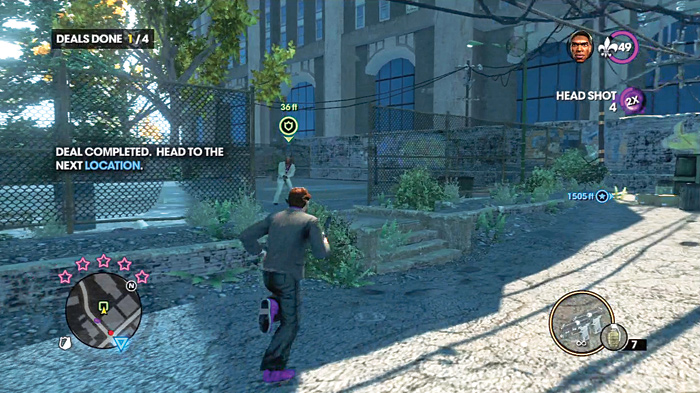
Another deal, at a basketball court near some apartments and power lines, can go very smoothly if you’ve been good at picking off your pursuers. Pierce can run in, make the sale, and get out very quickly. Otherwise, this can get really bad.
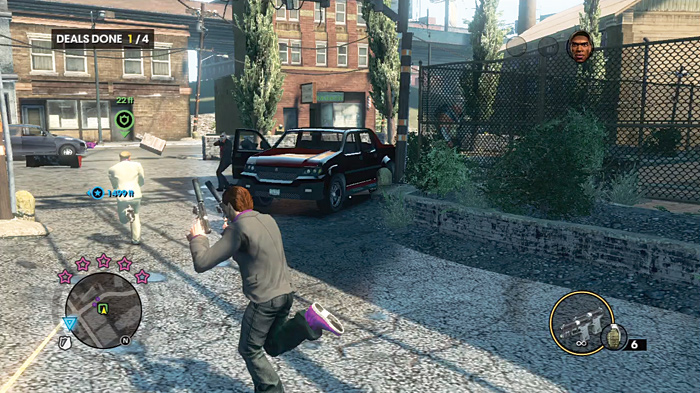
A good number of Morningstar show up to replace those that didn’t survive the chase here, but this more manageable than dealing with a whole mass of them barreling into your rear all at once. Thin them with headshots from your pistol.
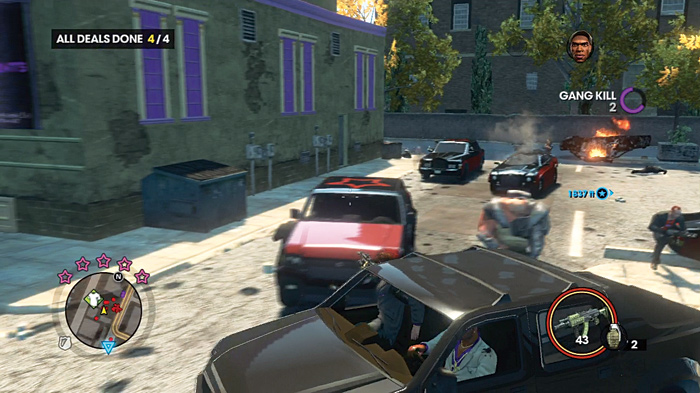
With four deals complete, you just have to survive the drive back home. Feel free to use up any rockets you may have left to rack up extra respect. Don’t get reckless and take yourself out; the final checkpoint is practically around the corner!
Trafficking Hos 1 (#48)
Location: Rosen Oaks
Difficulty: Easy
Deals Needed: 3
Cash Earned: $2,000
Respect Earned: 200
Rewards: 1% Morningstar Gang District Control—$47 per hour
After you have freed Zimos from captivity, he’ll have a number of missions for you on the phone, and one of these is a another Trafficking job.
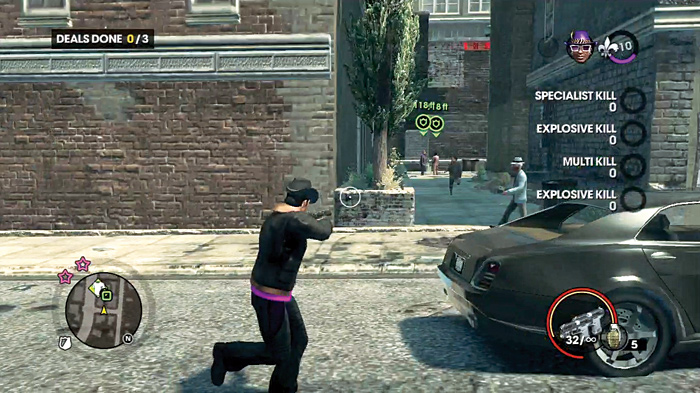
The same rules from Pierce’s Trafficking apply: You’re the gunner; your homie is the driver. Keep the punks off him and off your ride. You start this activity with level two notoriety with the Morningstar.
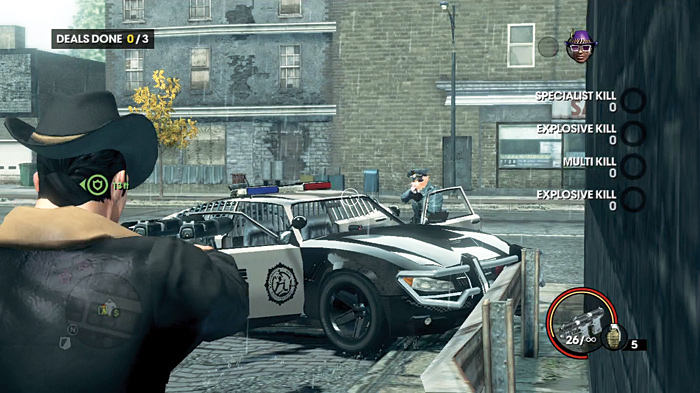
One stop takes place near an apartment complex alley next to a road that lies directly between two major intersections. The alley makes for some potential trouble if you manage to get cut off from Zimos while the deal goes on. If it’s a sting (or runner), get in the alley and put down the target immediately, and clear out any cops and gangsters that show up. Zimos runs back to the car once it is relatively safe.
Another deal takes place near some garages that are partially walled off, next to a four way intersection. Keep the Morningstar and cops away from the deal.
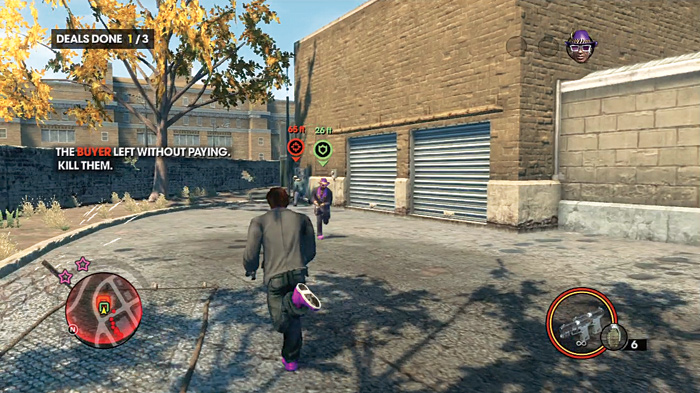
Run up to the cars before they exit them, and kill as many as you can with pistol headshots or point-blank shotgun blasts. Once Zimos is ready to move, get in the car.
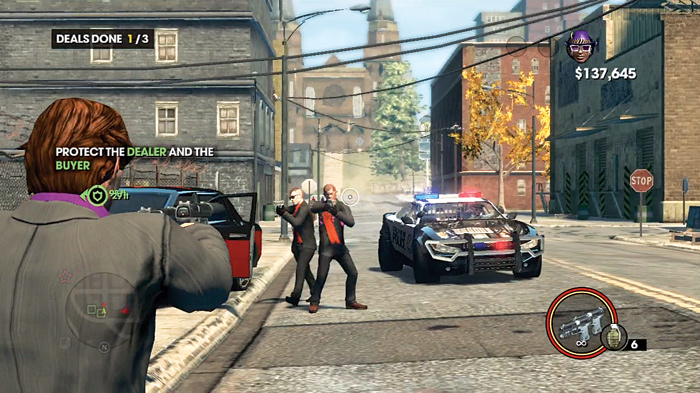
One deal location takes place in an open lot between several buildings, and the Morningstar or Steelport PD tend to block off your entrance with their cars.
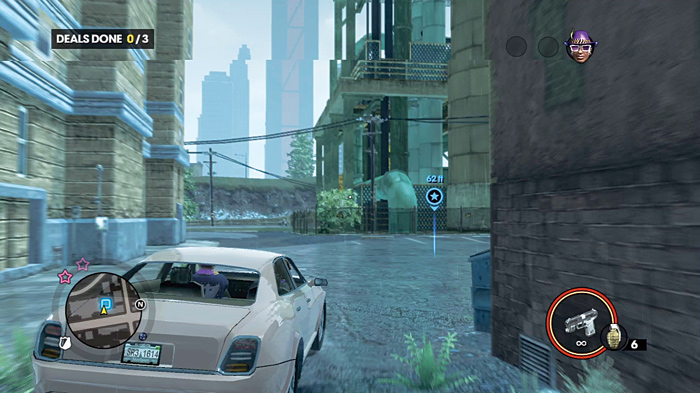
If you’re lucky, you may not get many pursuers trying to crash the deal, so shooting them as they exit their vehicles is a good option.
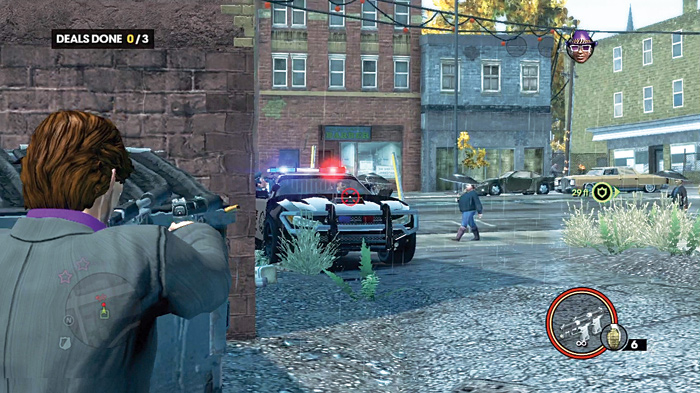
Another potential location lies next to some docks. It’s a very wide-open area with access from nearly all sides, save from the water.
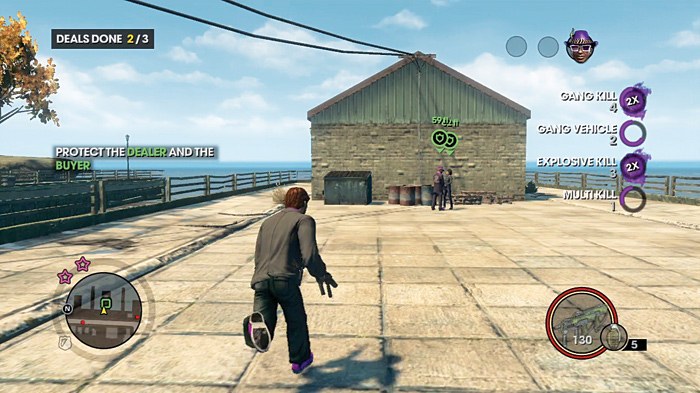
With three deals in the bag, you can escort Zimos back home. It’s an easy ride back, but keep taking out as many thug or civilian cars with grenades if you can to rack up some extra respect before the job’s done.
Trafficking Hos 2 (#49)
Location: Espina
Difficulty: Medium
Deals Needed: 4
Cash Earned: $4,000
Respect Earned: 400
Reward: 3% Morningstar Gang District Control—$90 per hour
With a level four notoriety with the Morningstar from the start, expect a serious increase in difficulty from the previous Zimos Trafficking activity. Brutes are a major concern, so if you see their trucks closing in, make blowing them up a top priority. Expect significantly higher resistance than in the previous mission!
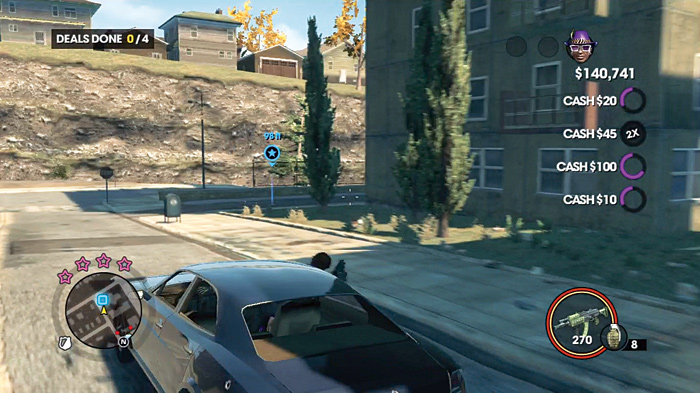
Fortunately, you have better firepower this time around, including a rocket launcher with five shots. You can use that to persuade chase cars to leave you alone, but you may want to save those rockets for later in the mission.
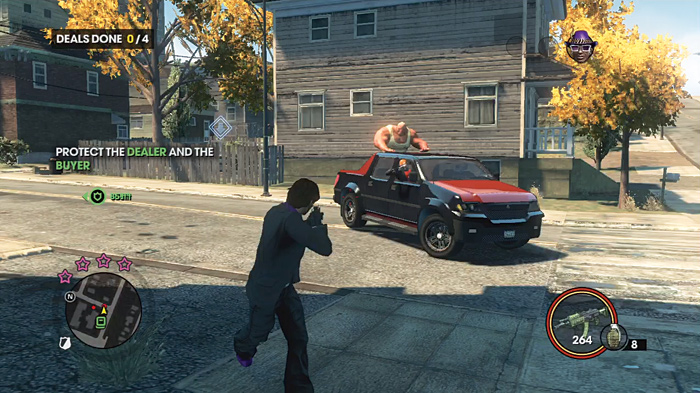
One of the deal locations is near an apartment complex that is slightly raised from the surrounding streets, with an overpass nearby. Zimos parks a short jog away from the actual buyer, meaning that if you let the gang vehicles get too close to your car, you might have trouble getting out of there once he wraps up the sale.
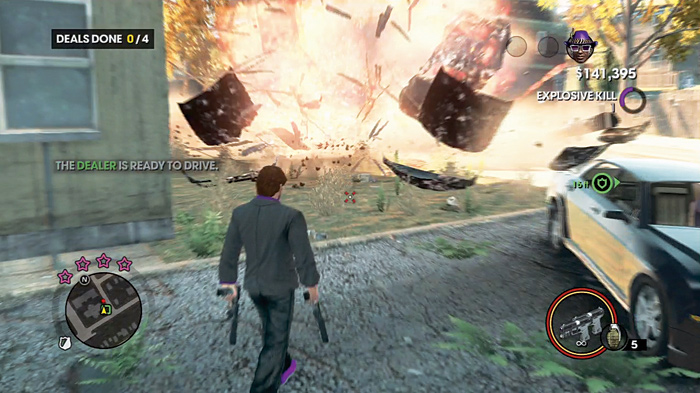
Before leaving, clear out any groups of vehicles with a well-placed grenade or two.
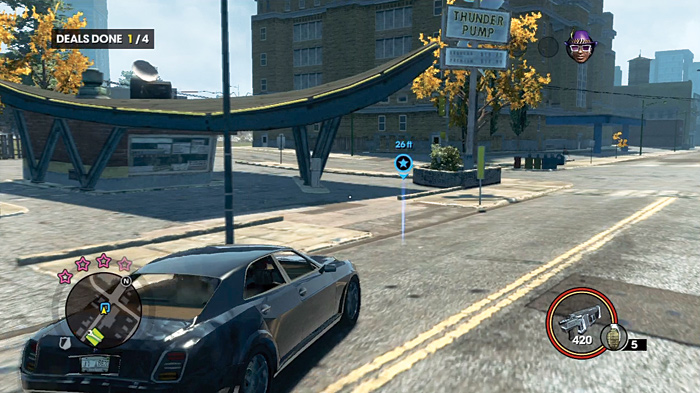
One stop takes place behind a gas station. Zimos once again parks well away from the client, leaving the car closer to the gas pumps themselves.
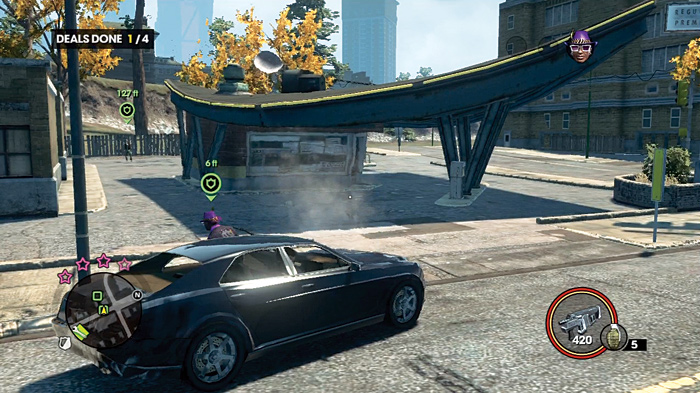
It’s a very open location, and the Morningstar can actually attack Zimos and the buyer by crashing through fences behind the gas station itself, so be vigilant!
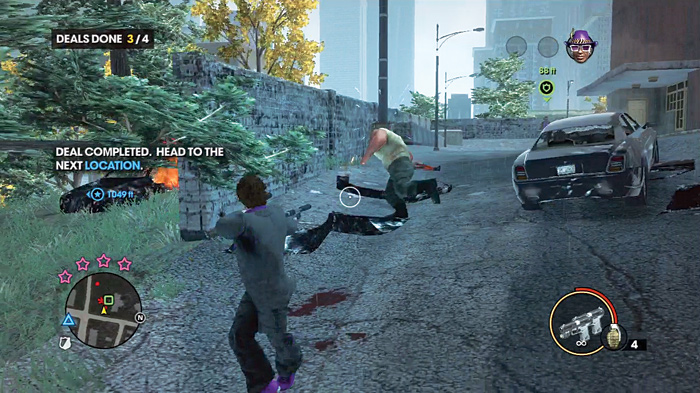
One of the tougher deals takes place near some apartments.
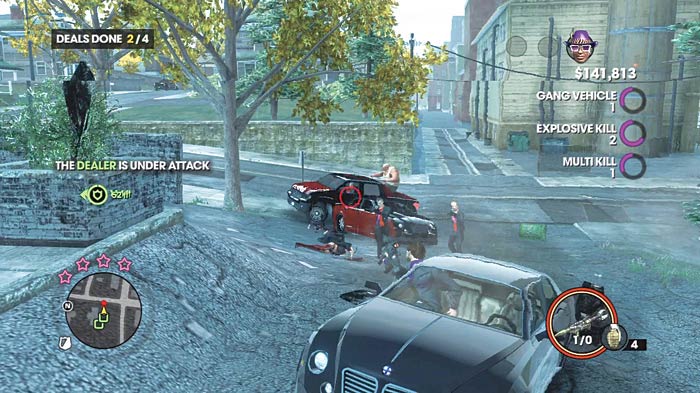
Zimos parks on a ramped driveway leading to the deal, which effectively fences you in, with housing on one side and a brick wall on the other. Zimos will of course have a bit of a walk to get to the customer, so it’s up to you to keep the driveway clear while he makes the deal.
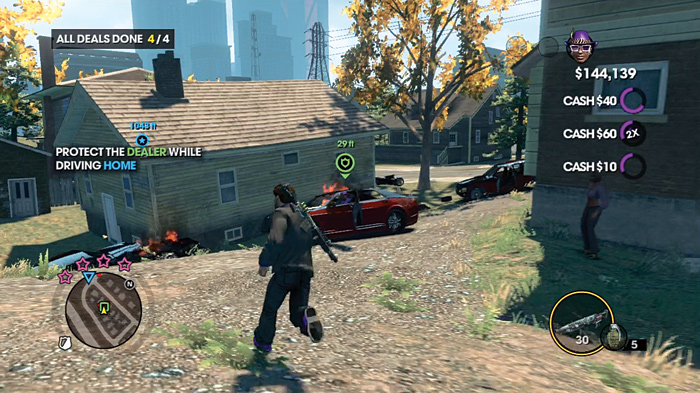
Just behind that last location in terms of difficulty is this lot between small houses. Morningstar can come at you from all sides, which means Zimos is exposed just as much as you are. Fortunately, you’re not quite as penned in as you were by the apartment complex; you have plenty of room to maneuver.
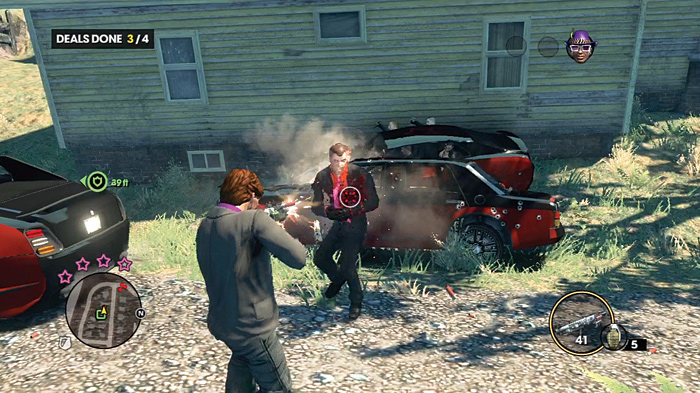
Of course, the open nature of this stop means that you don’t have much in the way of hard cover against incoming fire, which makes helicopter snipers a very serious threat if they’ve followed you this far.
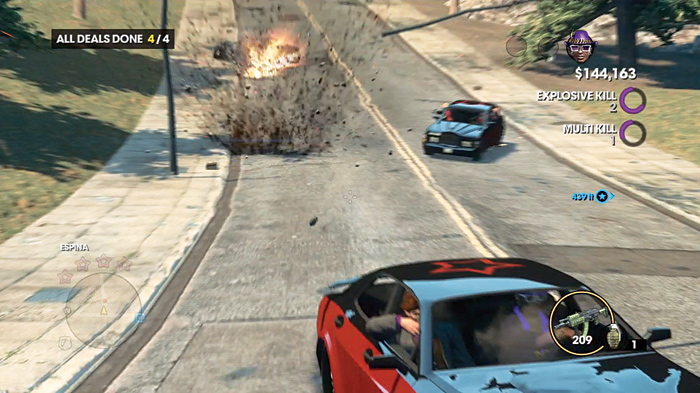
Once you have your four deals out of the way, feel free to cut loose on the way back to the safehouse. If you’ve really been savaging the Morningstar throughout this whole activity, you could easily have level five notoriety with them, which means they will stop at nothing to kill you. Do whatever it takes to prevent them from doing just that.
Trafficking Hos 3 (#50)
Location: Espina
Difficulty: Hard
Deals Needed: 5
Cash Earned: $6,000
Respect Earned: 600
Rewards: 2% Morningstar Gang District Control—$60 per hour
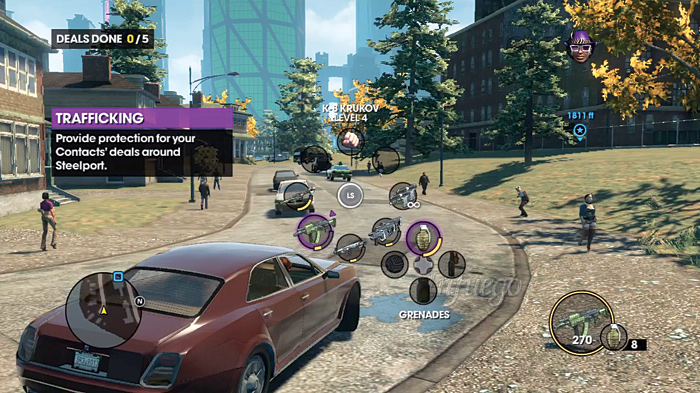
Going into this mission should call back memories of the hardest Trafficking jobs you did for Pierce. Expect substantial Morningstar resistance; they will be pulling out all the stops, and you should, too. Upgrade your character and your guns as much as you can afford to do so. Bigger grenade blasts are a big help, especially when they pile a ridiculous number of cars behind you at every stop. As always, snipe the drivers of as many vehicles chasing you as possible.
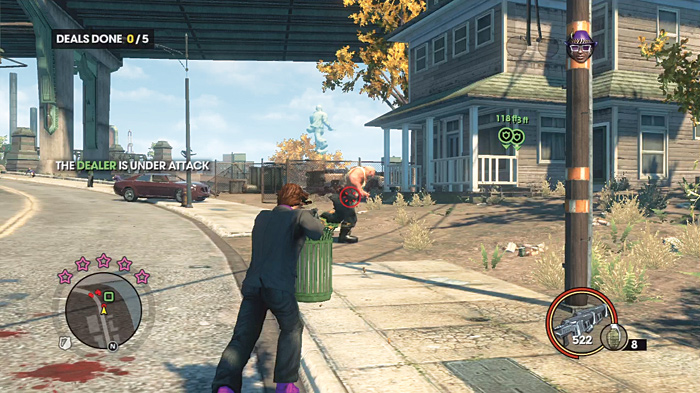
You’re exceptionally well-equipped for this run, and for very good reason. You have plenty of rockets right out the gate, but try to hold off on using them early on. Save the sure shots on helicopters, Brutes, or large groups of enemies.
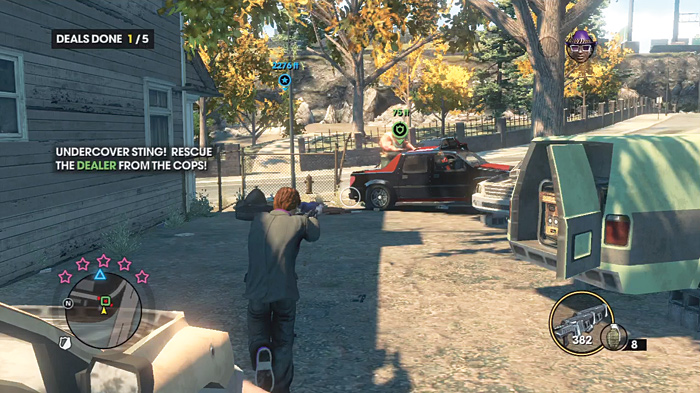
A house’s yard near a large overpass is one stop.
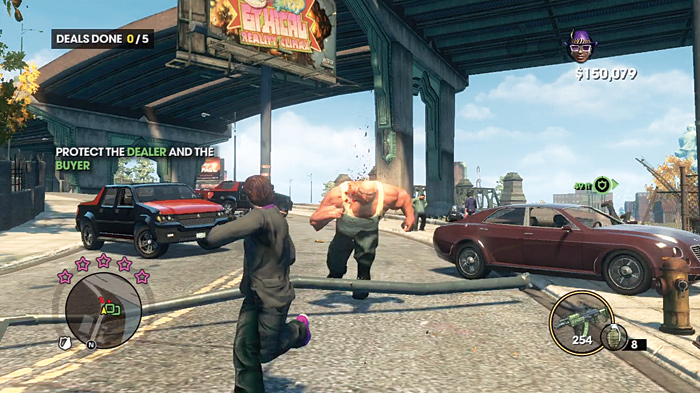
The Morningstar have only two major ground approaches they can take via the streets, but that doesn’t mean it will be easy. Remember that Brutes are a top priority, especially in this location. You could be sent flying off the hill and into the river, which means Zimos would be temporarily without your protection while you race back to him.
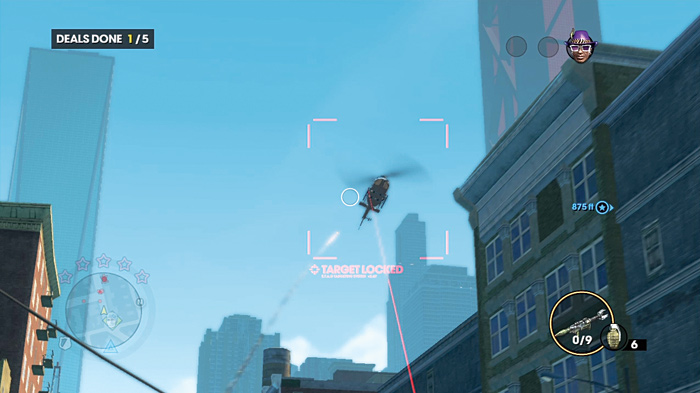
As you drive throughout this activity, helicopters with snipers are a constant threat. If by this point you have the ability to lock your rockets onto targets, you can take them out on the move, and it’s a good idea to do so.
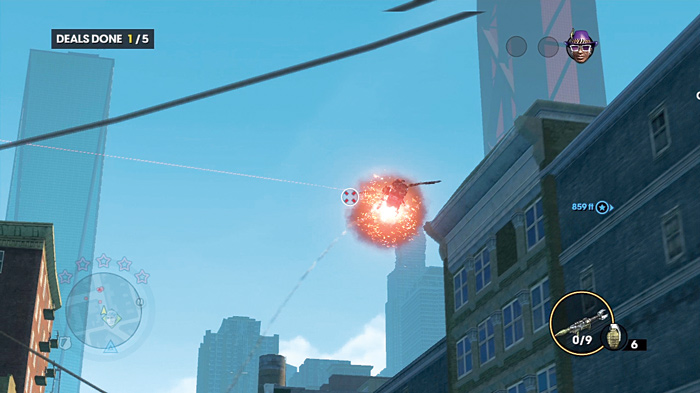
The snipers may not be the perfect sniping machines their Togo 13 rifles would suggest, but your cars incur heavy damage throughout the whole mission, and snipers can heavily damage you or your vehicles.
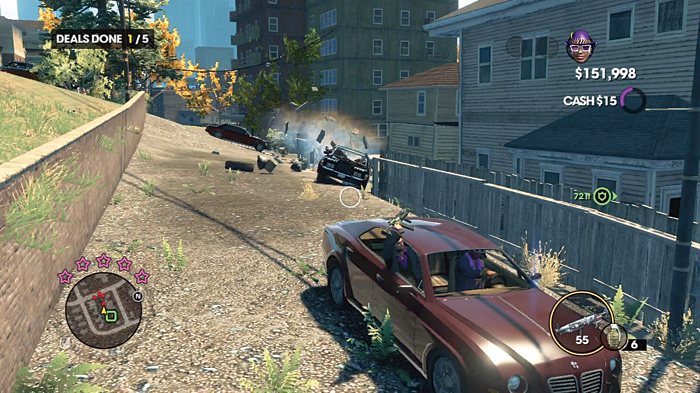
A back lot to a series of houses hides another buyer. Morningstar absolutely pack the place with cars to try and get to you.
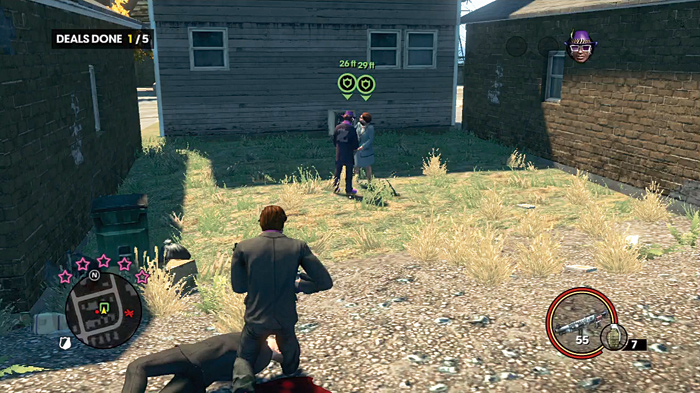
Feel free to use extreme measures to clear them out, even if it costs you your current ride. You can always jack a new ride. Your primary concern is just to stay standing.
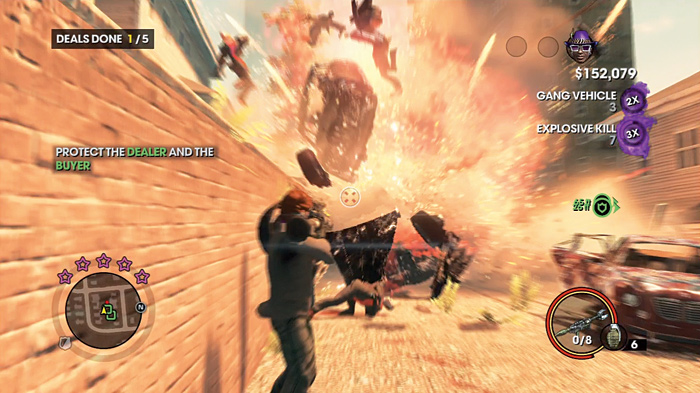
One major concern is that a Gang Operation might still be close by, and they can be drawn into the fight. Those extra guns could put a damper on things.
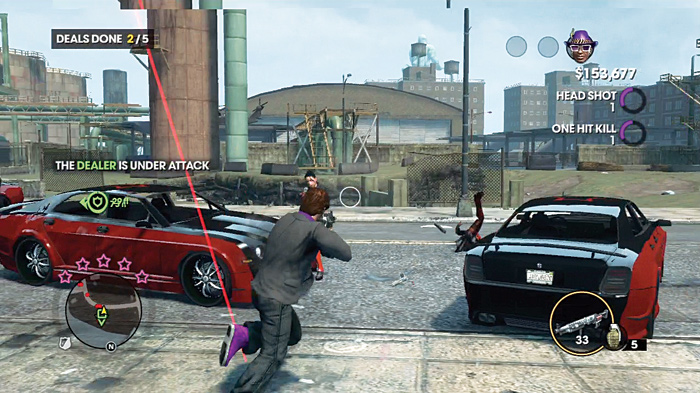
Probably one of these most dangerous Trafficking locations across all the activities is in this mission.
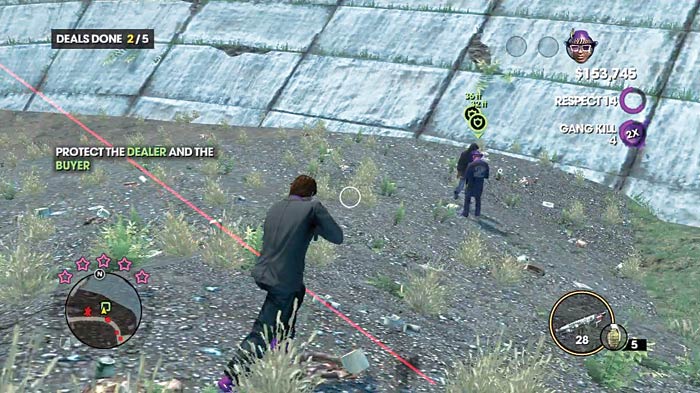
Zimos takes you into the Restricted Zone. He parks on top of a hill, then runs down to the bottom of it to make his sale.
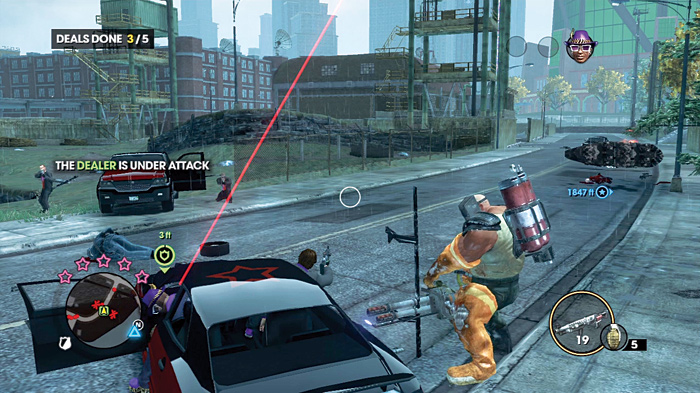
By doing this, he gives the Morningstar superior position over him. Try to keep the fight at the top of the hill.
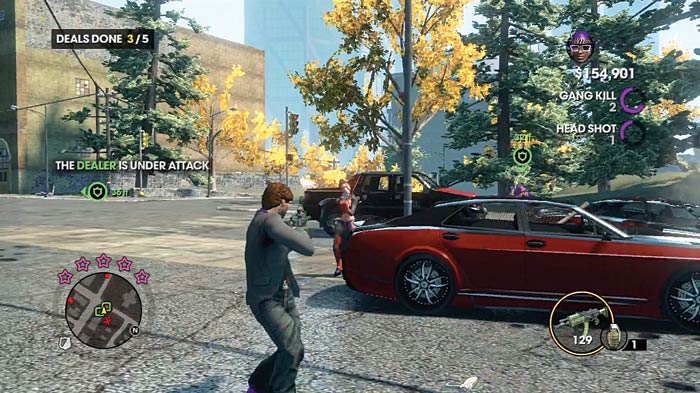
Another deal takes place near a small factory, in the middle of a fenced-off lot. The fence doesn’t provide any protection against cars crashing through it, so bear that in mind while covering Zimos.
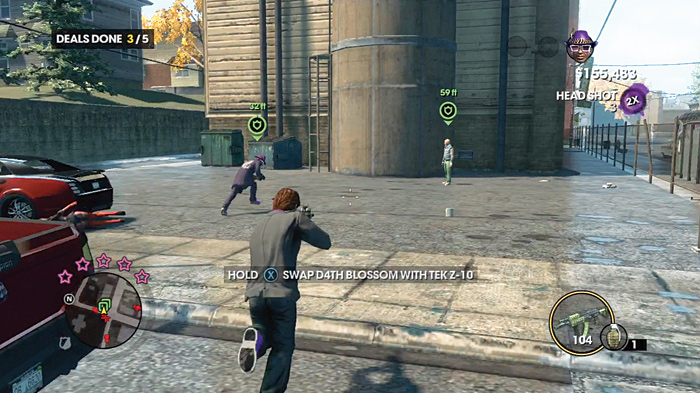
The lot behind a Rim Jobs is the site of another deal.
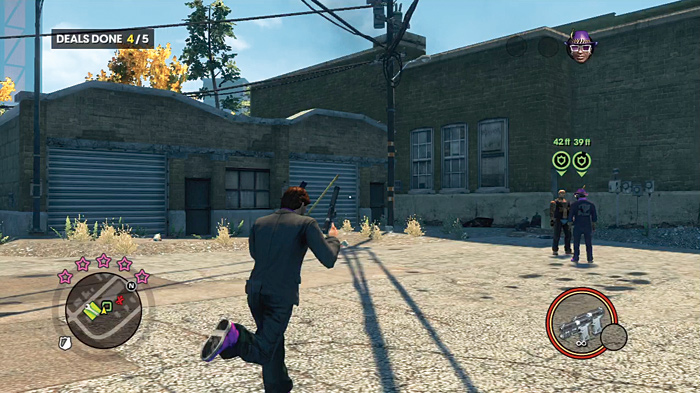
Take special care if this is the last location you hit. The lot is exposed entirely to a seaside road, and there’s little cover from helicopter snipers.
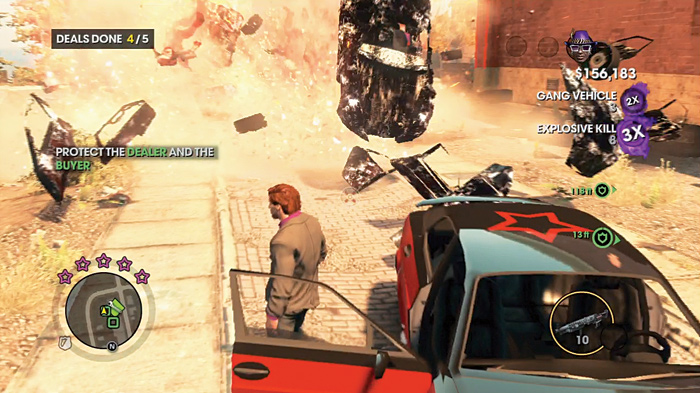
Once Zimos gets his five deals done and he pulls back in to the hideout, this activity is thankfully complete!