
Saints Row: The Third Guide Walkthrough Campaign
Mission 30: Ho Boat
Cash Earned: $8,000
Respect Earned: 2,000
Rewards: Hourly bonus income of $1,000 or $25,000 lump sum
Get Aboard the Love Boat
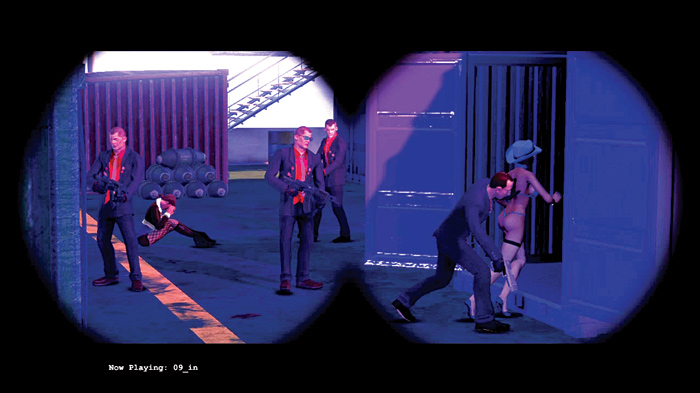
You have a quick chat with Zimos and he is on board to hit the Morningstar. He is working on a plan when an important call comes in from the new head of the Morningstar, Viola DeWynter. The surviving sister provides an excellent tip-off about a boat full of hos that is being brought in to replace the ones from the failed assassination attempt at the Saints HQ. Make your way to the docks to locate and intercept the human trafficking cargo.
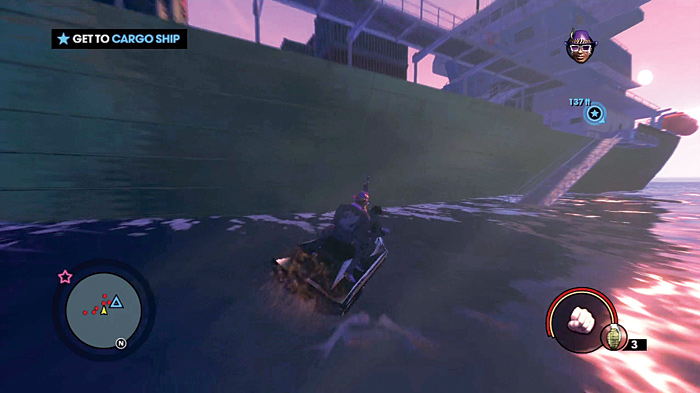
Ride the jet ski to the large freighter and go up the walkway to start the boat inspection. The hos are being held in large containers and it will take a lot of searching to find out what is inside all these massive crates. Fortunately, the HUD will guide you to a limited number of crates. There is some strange stuff aboard this boat but by now that comes as no surprise.
Find the First Crate
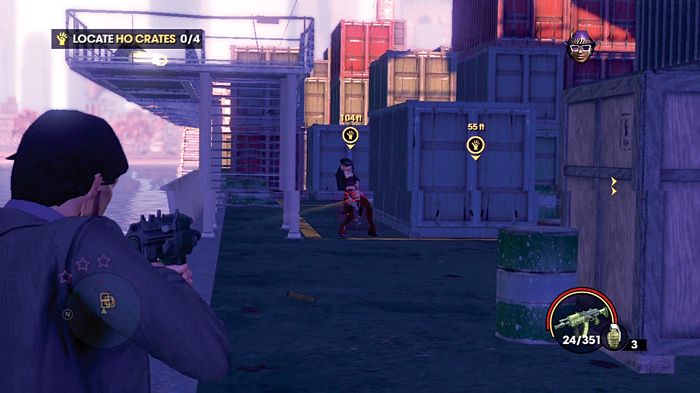
Morningstar guards are out in relatively small numbers. Keep en eye on the minimap and wipe them out whenever they get within striking distance. Look out for guards that are roaming around on tops of the containers. Their higher position makes them a problem and they should be the first to die.
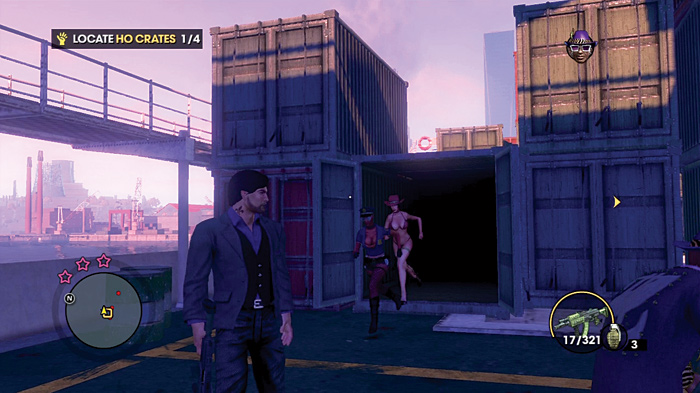
There are not that many crates to open and it is worth popping them just to make sure you don’t lose track. As more crates are opened, additional suspicious ones will show up on the minimap. The first two crates are just distractions with guns and what not. Run around to the back of those first containers on the boat’s north side, initially your left, to find the first group of hos next to a red crate and some green barrels.
Find the Second Crate
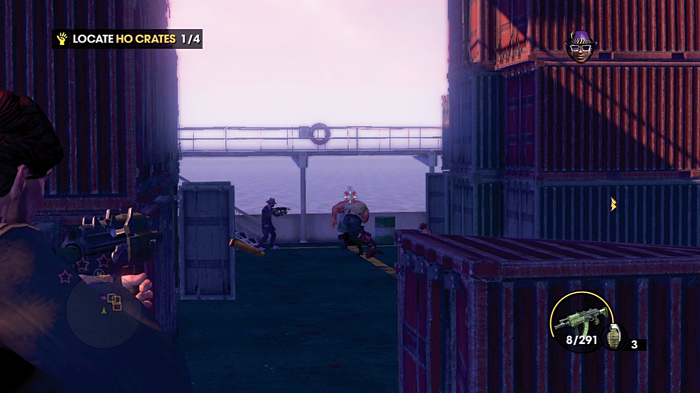
Before searching for the next group of hos, take out the guards that are lurking around. It’s important to clear the area as quickly as possible before you advance. You hear a familiar sound of a deep growl coming from one of the containers in the distance. A Brute busts out of containment and is not very happy to see you. There are a few ways to take on the big guy, but staying close to him is not one of them. It’s possible to lose him on the stairs or lead him to Zimos and let them play together. Get as far away as possible and shoot the Brute at long range. When the Brute goes down, finish him off and resume the search.
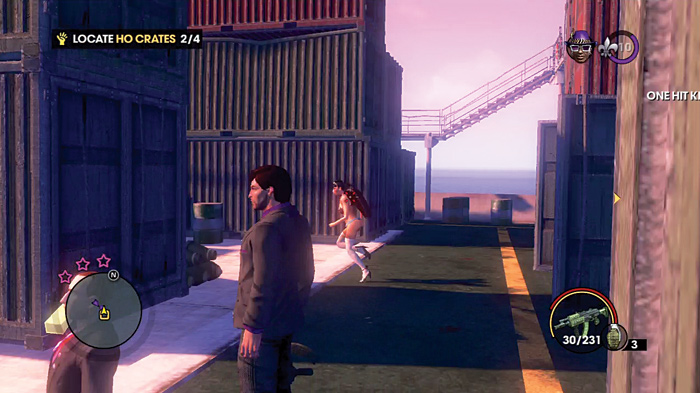
The next place to check is the crate directly behind the one the Brute was hiding in. Free the girls and wipe out any guards in the vicinity. The lower level should be clear and it’s time to go up to the next tier to continue the search. Another surprise lurks in one of the boxes and conveniently waits for you to get to top level before emerging.
Find the Third Crate
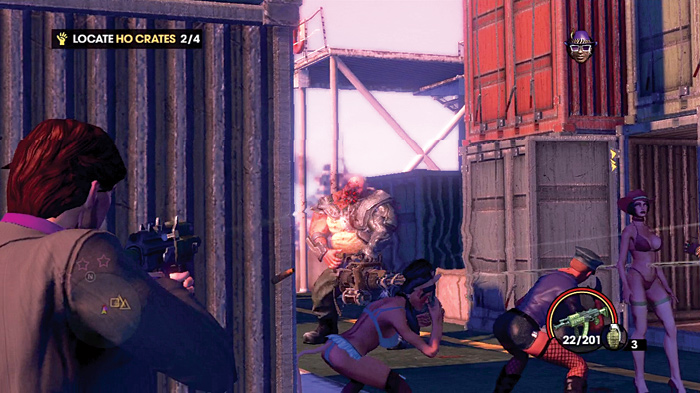
Say hello to the Minigun Brute as he leaps out of the box. Remember that he can’t haul that huge gun around while moving. Race around the lumbering foe and shoot him while partially protected by the crates. Use range and speed to outmaneuver the big guy or try a more interesting approach using a minigun. The gun is a lot more useful later in the mission but, after wasting this Brute, you can just take his anyway. It’s pretty cool to stand toe-to-toe with the behemoth and mow him down with his favorite weapon.
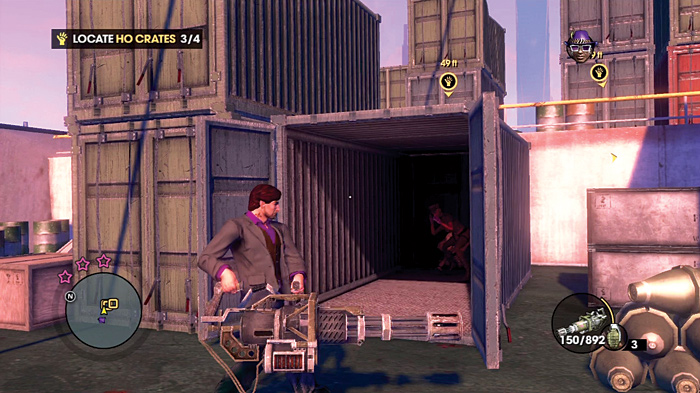
The minigun is heavy even for the Brute and carrying it around is a chore. It is tempting to grab the big gun off the fallen foe but it really impedes your movement and there will be a prime time to grab it in a bit. Go back to where the Minigun Brute popped out to find the third group of gals just to the left. Free the women and ascend to the top tier of the boat to investigate the last few containers.
Find the Last Crate
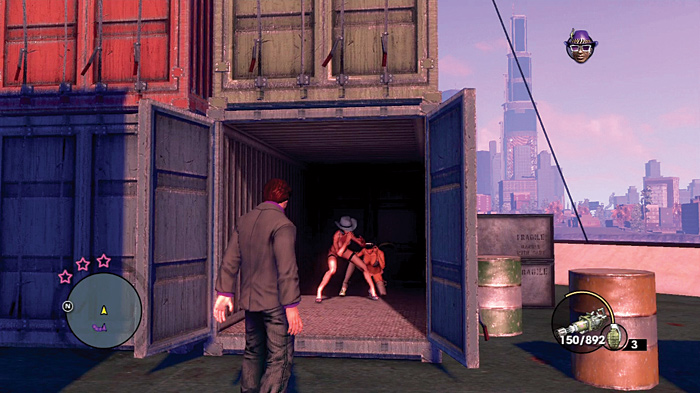
The final crate you need is in the top right corner. Spring the women. Now you only to have to deal with a multipronged attack by land, sea and the air. Pierce has a helicopter hauling a crate to pick up the hos but he won’t stop by until the threat is neutralized.
Kill the Land, Sea, and Air Attackers
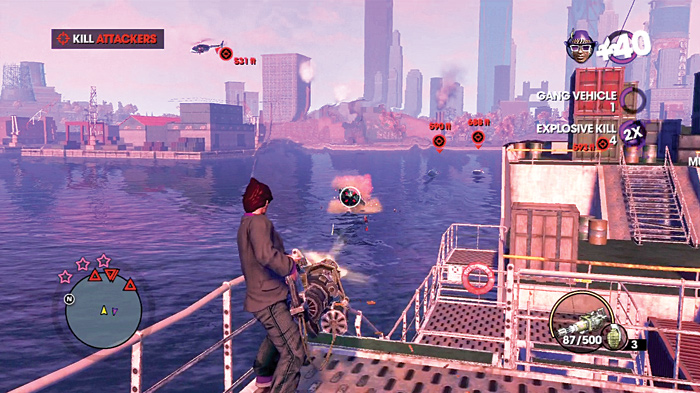
Run to the north platform and grab the minigun on top. If you used it earlier, pick it up where you left it or use the one from the Brute.
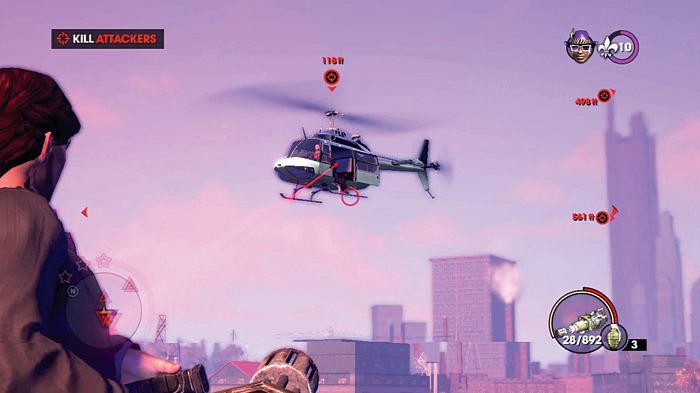
The objective at this point is nice and simple, kill all the attackers! The minigun has a lot of ammo but try not to hold the trigger down for too long or it will run out. Use short bursts to spray the boats and helicopters in the initial phase of the assault. One of the more lethal assailants is the helicopter with a specialist onboard. If you notice a laser sight on you, follow it back to its source and quickly blow the chopper out of the sky.
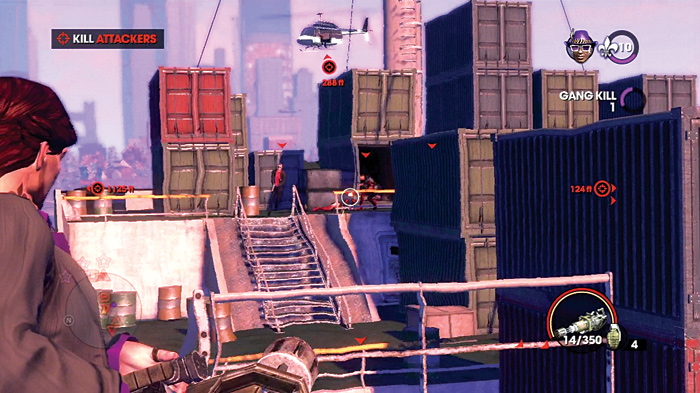
The minimap can be useful to keep and eye on all the enemies but the targets are a lot more obvious when you see the red indicators on the HUD. Any time you take damage, pivot in that direction and deal with the threat. The vehicles and aircraft take a few hits to bring down but make sure they are gone before moving on to the next target.
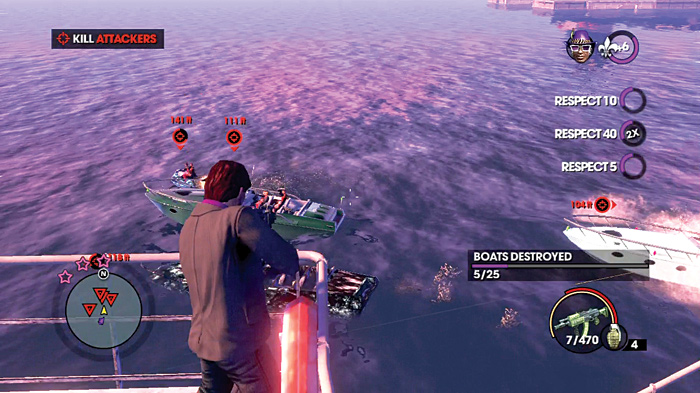
Pierce mentions he is almost at the ship and right around that time additional speed boats and jet ski attackers arrive. Blast them with the minigun to empty the ocean fast.
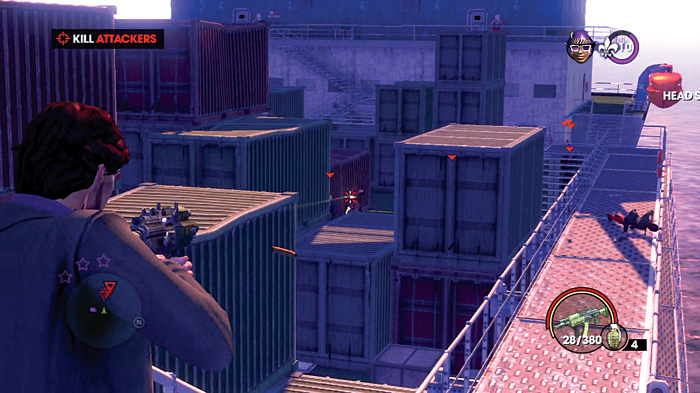
This should end the vehicle assault and allow you time to clear any roaming red gang members from the ship . Use the minimap to hunt them down and waste them all to allow Pierce to get close enough to pick up the hos. Run to the chopper when it lands to finally get off this love boat.
Defend the Ho Crate Chopper
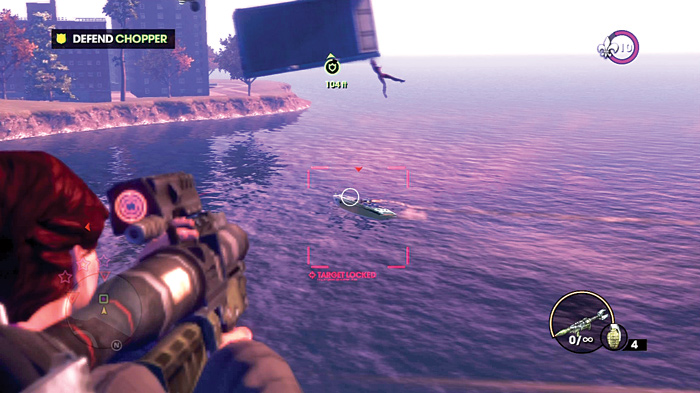
There is no rest for the wicked and the ride back to shore ends up as a protection mission. The good news is that you are armed with an infinite-ammo upgraded RPG. This version allows you to zoom in on targets and even control the rockets like guided missiles. Monitor the green life bar on chopper and waste the rocket-launching boats that are chasing it. Take out the boats closest to the helicopter and any ship that is within the sizable rocket’s range.
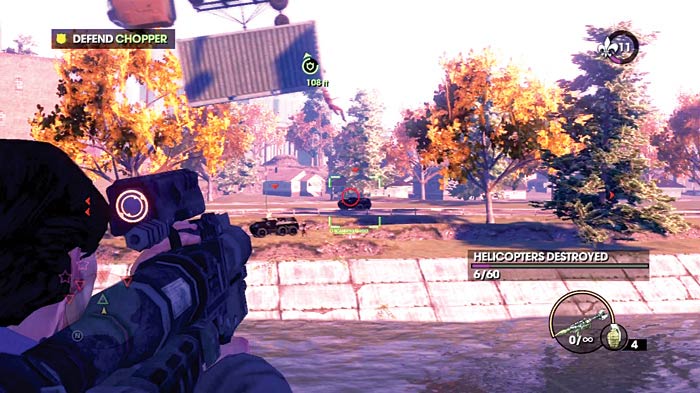
The aquatic assault subdues when the helicopter turns inland. However, there are APCs roaming the roads to pick up where the boats left off. Zoom in on the armored vehicles and blast them before they can do too much damage to the chopper.
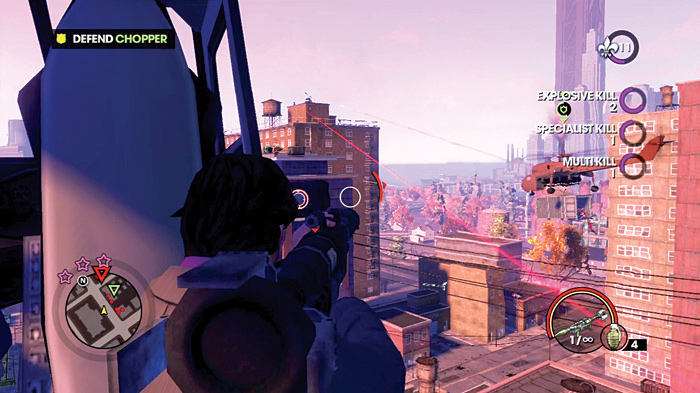
It ain’t over yet. The rooftops of the nearby buildings are filled with Morningstar. How fast these guys were able to mobilize would make the military jealous. There are too many targets to take out at this point and the best bet is to focus on the specialists and RPG-launching pests.
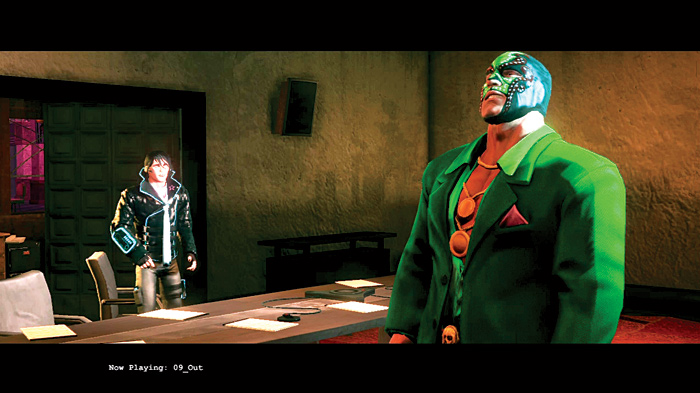
Killbane is not happy that Matty, the leader of the Deckers, even attempted to buy back the hos. He rules with an iron fist and nobody makes decisions except for him. He wants to strike back at the Saints with a little something he calls the Montreal Screw Drop. Meanwhile, Senator Hughes has received authorization to roll out the STAG task force and that is really bad news for the Saints.