
Saints Row: The Third Guide Walkthrough Activities
Professor Genki's Super Ethical Climax
Including the one event Pierce introduces you to, there are six episodes of “P.G.S.E.R.C.” that the Boss of the Saints can take part in this season. The rules for each episode never change, but the complexity of each stage, as well as the number of enemies, definitely increases with the difficulty.
To get out of each arena alive, you must kill enough mascots and shoot the Ethical or Money Shot signs to reach the cash amount that will open the exit. The Genki missions can be quite profitable, especially if you are proficient at headshots.
Here are some hints that should help carry you through each Genki activity:
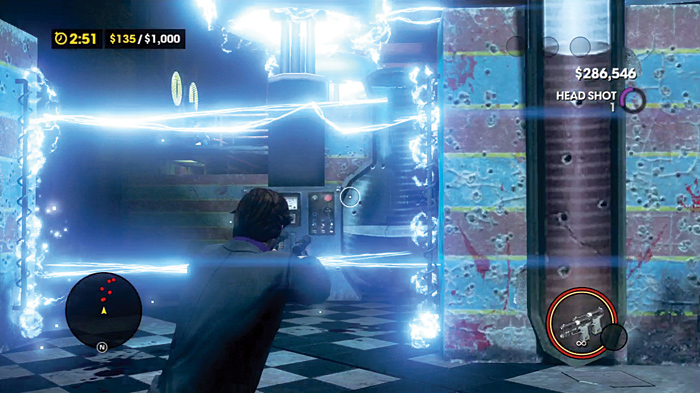
Avoid Traps. This seems obvious, but as the difficulty increases, you may feel pressed for time, especially with the more resilient foes that enter the arena. Don’t get so reckless that you start running into traps; they do lots of damage and take time to recover from.
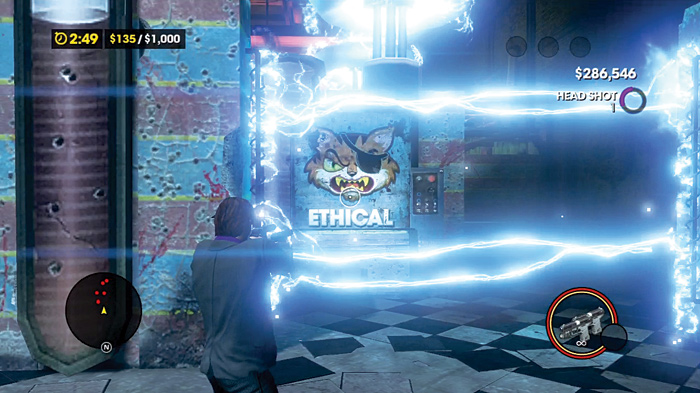
Check which signs you’re shooting! It’s easy to get in the habit of shooting anything that pops up in a Genki arena. The later maps are complex and difficult, so shooting the Unethical Panda signs becomes a more crippling error to make.
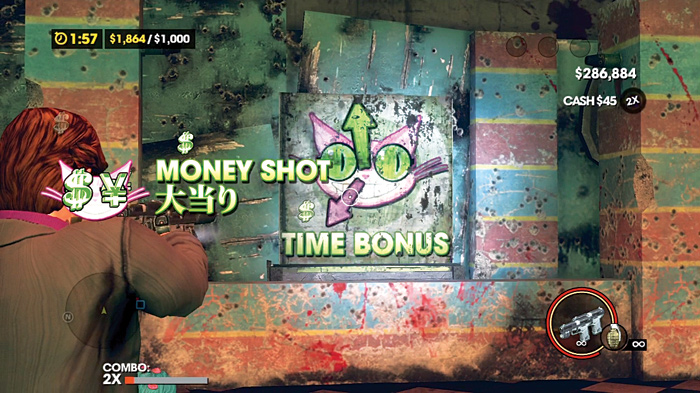
Upgrade your pistols! Every Genki arena takes away all of your weapons, save for pistols. You can get more weapons in the arena in the form of presents by killing quickly and building up the combo meter, but generally the pistols are your best friend. Upgraded, these weapons can kill mascots in one or two body shots, or a single headshot, which will allow you to build up a full combo meter very quickly if you’re swift about tearing through the arenas.
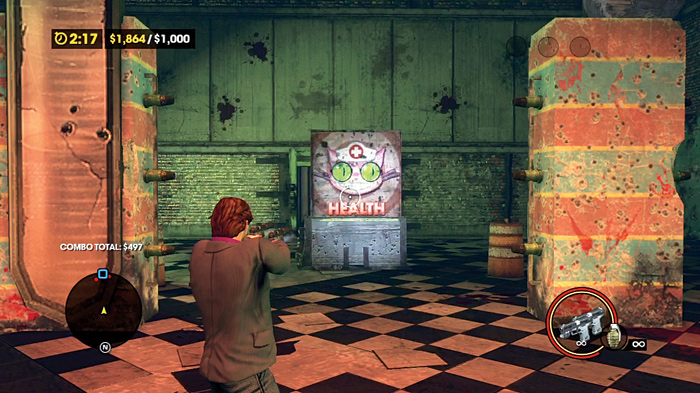
Upgrade your boss! You get to take your levels of health and damage resilience into each arena. Every advantage helps, so try to buy those upgrades. While your early attempts will be a little hairier, there are some upgrades you can eventually buy that turn later Genki activities into money printing factories. Once you gain immunity to bullet and fire damage and the very high levels of respect, you can sit with a minigun and hose down minigun-weilding Brutes with near impunity!
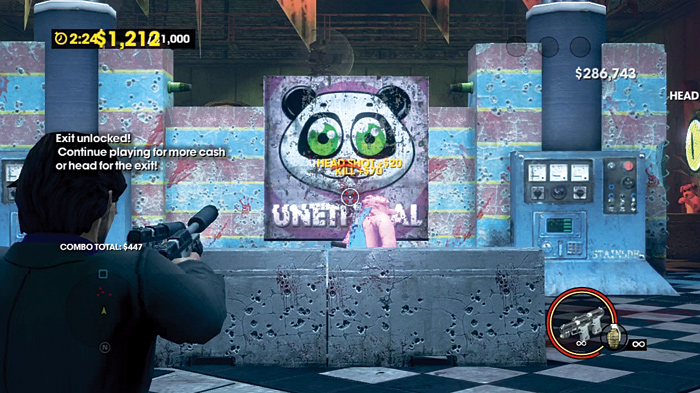
Watch the clock! Because the Genki missions reward you for how much carnage you cause and how many Money Shot signs you shoot, you can get caught up in the heat of the moment and find yourself with no time to get to the exit. You don’t win anything if you don’t make it out of the arenas in time!
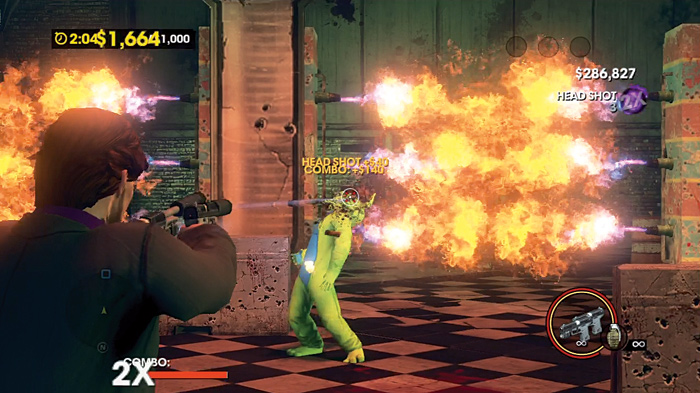
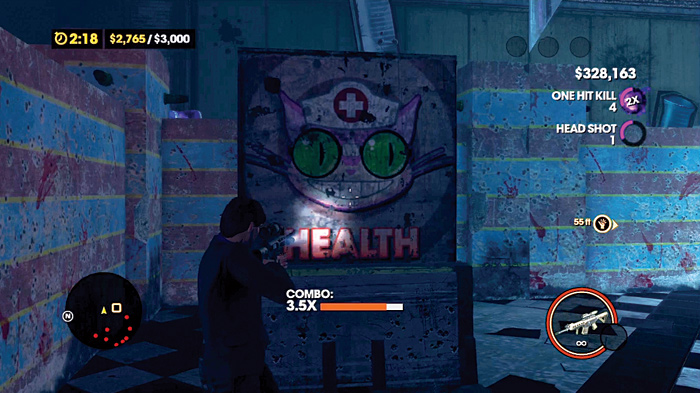
Watch your health! You don’t get any natural health regeneration during these missions, which makes Brutes, when they start to appear in the later missions, your worst nightmare. Shoot the Health signs to regain some life, but these are a limited resource. Use cover when fighting, and if a Minigun Brute (or two) starts firing at you, find cover immediately and wait for them to start reloading before running past them.
Professor Genki 1 (#27)
Location: Loren Square
Difficulty: Easy
Time to Complete: 3:00
Cash Goal: $1,000
Cash Earned: $1,000 and up
Respect Earned: Based on rewards achieved
Rewards: 3% Morningstar Gang District Control—$55 per hour
Welcome to your first episode of “Professor Genki’s Super Ethical Reality Climax”! A happy snuff film set where unwitting victims are set before the leader of the Saints, armed with guns, melee weapons of dubious nature, ridiculous mascot costumes, and an ever-shrinking will to live.
You have to navigate the pseudo-maze arenas, evade flamethrower and electric barrier traps, and eliminate the mascots to make enough money to open the exit to each Genki arena.
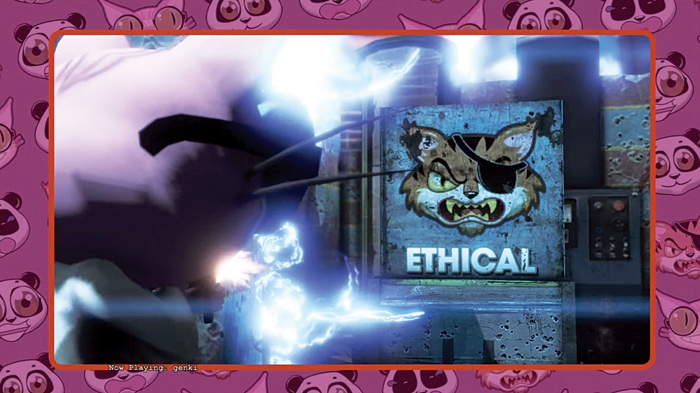
Signs will pop up throughout the Genki sets that can be shot for extra time, cash, or health (this last bit being especially important, as health regen is disabled in these missions!), as well as Unethical Panda signs that can cost you seconds on the clock, so check your fire.
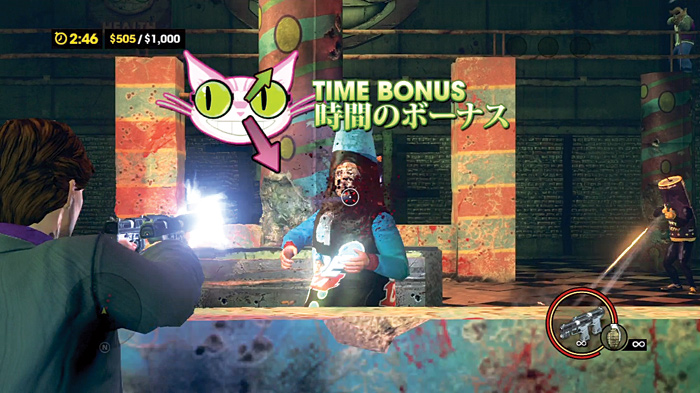
Headshots are a premium for these stages, as kills build up your combo meter, which increases your cash income. This can be difficult at first, as some of the Mascot costumes hide the exact location of the head.
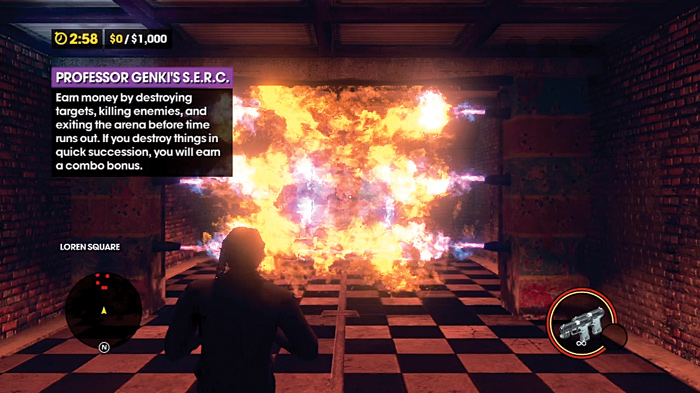
The first of the six Genki missions is a warm up for things to come, but early on, when you have limited health and weaker weapons, this can be a challenge. You start off facing a fire trap, which has a long cooldown between bursts.
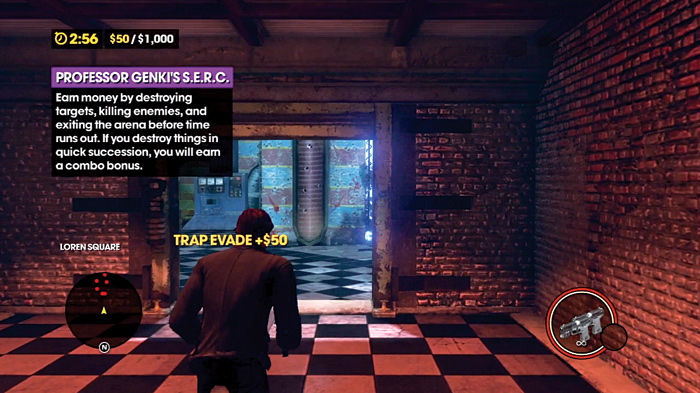
Clearing this and any other trap that is shut down gives you a $50 evade bonus. If you hit a trap, you lose your ability to get that bonus, and you are also slowed down significantly while you recover from being shocked or fried.
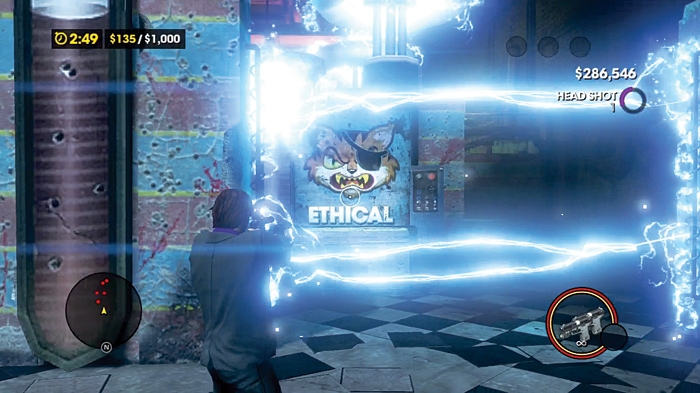
Past the first trap, you have your first fork in the road. To the right, an Ethical Tiger sign, and to the left you have a small group of mascots waiting for you; both paths are blocked off by an electric barrier.
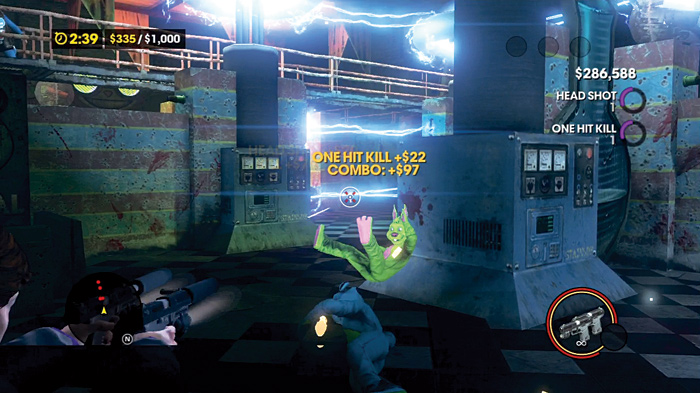
Cap the tiger (ethical!) and wait for the barrier to subside, and evade it for the bonus. Then head back to the left path, dealing with the mascots on the ground floor while taking care to eliminate the Johnny Gat mask wearer on the catwalk overlooking them, and evade that trap.
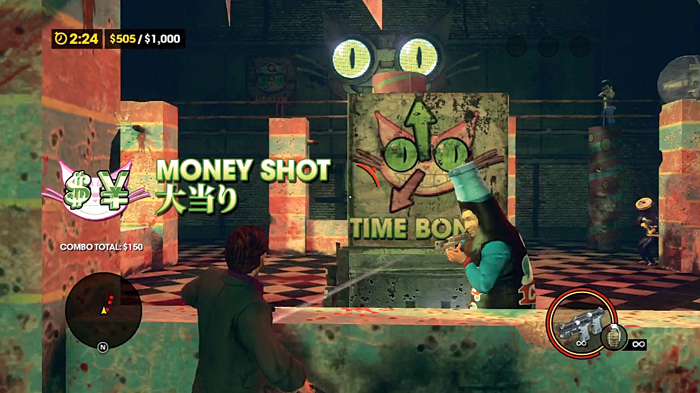
Both paths lead to another electric barrier and another group of mascots. One will likely take cover behind a small waist-high barrier at the center of the room, while the others use the pillars nearby. Be sure to also check the catwalk surrounding the room, as another mascot is shooting at you from there, typically starting on the opposite side of the room from you. At the center of this room, a Time Bonus sign pops up, so be sure to nail that.
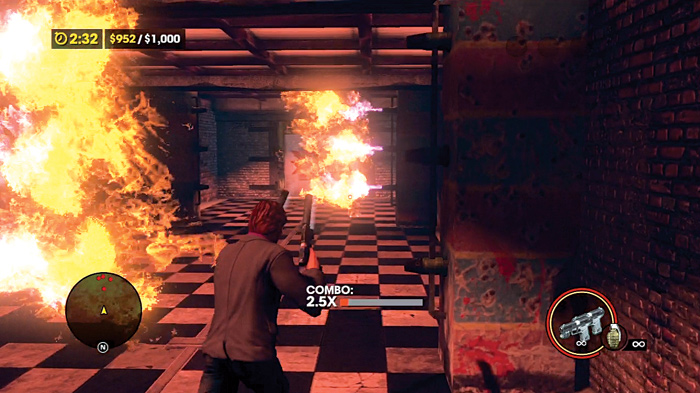
With the room clear, move on to the hallway beyond, where you can see the flame traps blasting away. This one is a bit trickier: two sets of two flamers, with one side turning on when the other turns off.
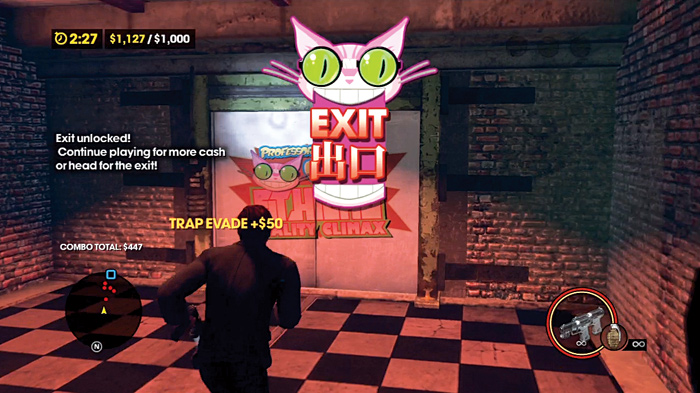
Pick a side to move through and hug the deactivated trap, as straying too close to the flames will cost you a decent chunk of health at the early stages of the game.
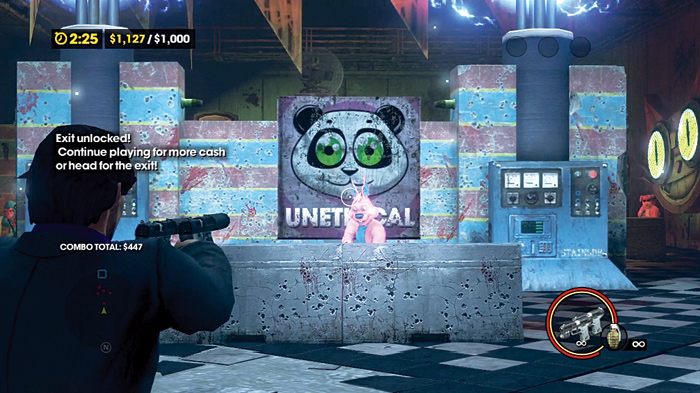
After you navigate the flamethrowers, move through the double doors. You’ll be immediately confronted by a mascot behind another waist-high wall. Watch your shooting, as just behind him an Unethical Panda sign pops up and stray shots will definitely hit it, costing you time.
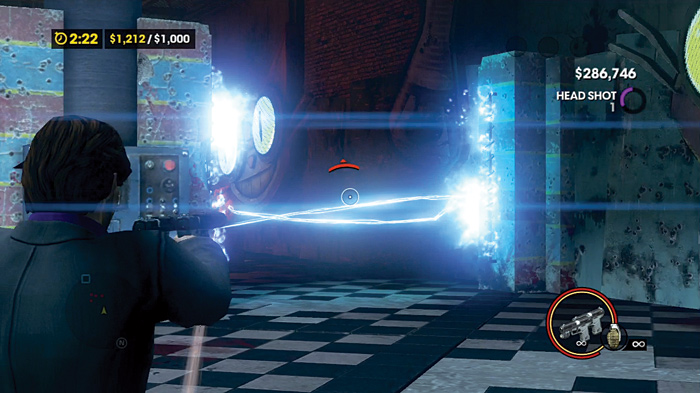
You’re be given the choice of a left or right entry to the next small area, with both paths guarded by electric barriers. Beyond them await more mascots behind more short walls.
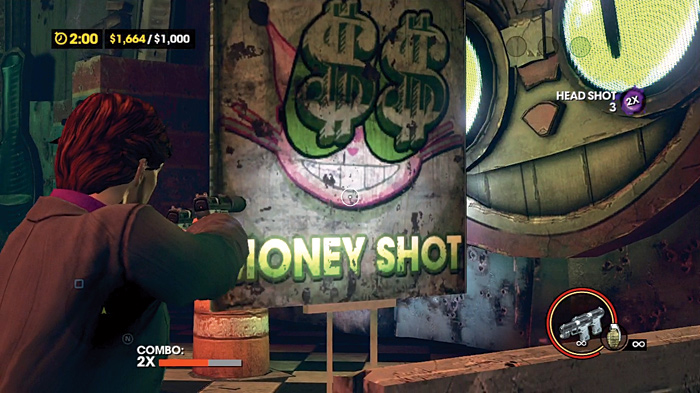
Take the right side, as a Money Shot sign pops up behind one of the barriers near the electric trap.
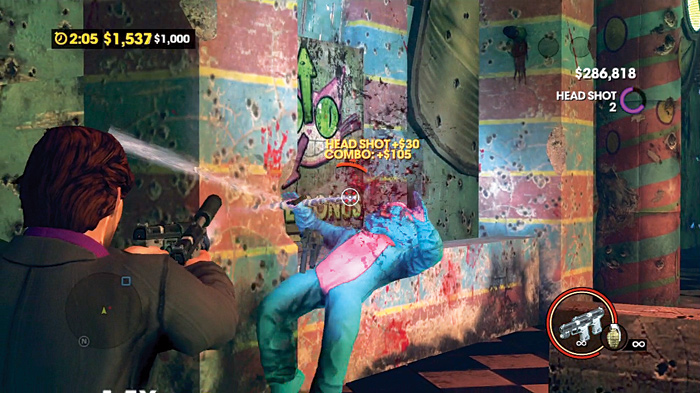
Kill the remaining mascots and check the left side of the room for a Time Bonus sign to shoot if you need to. By now, you should easily have the $1,000 you need to leave the stage.
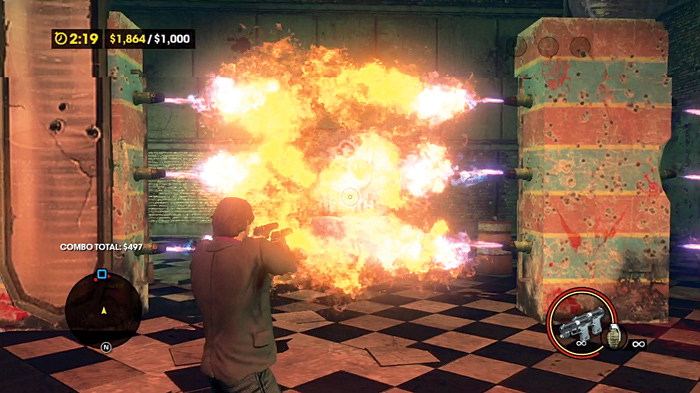
The way out of this room is guarded by a barrier of flamethrowers that spans the width of the room. If you have time to spare, you can evade through each one of the barriers for an additional cash bonus. Behind the center set of flamethrowers is a Health Bonus sign if you need it.
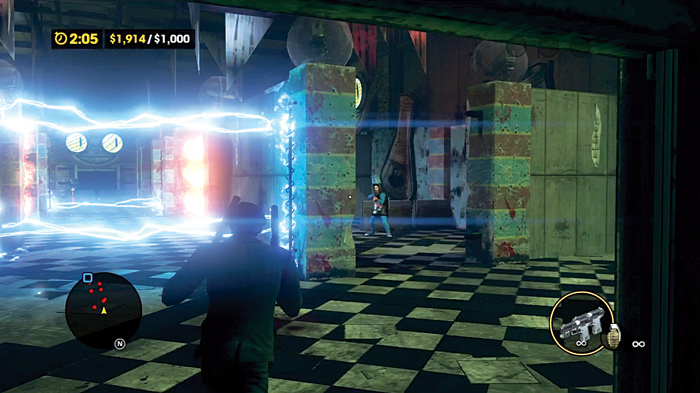
After the flame barriers are bypassed, another hallway leads to the final arena. The path ahead is guarded by electricity, and to the right mascots are shooting at you from cover. Once they’ve been dealt with, you can either evade the electric barrier, or go down the path the mascots guarded.
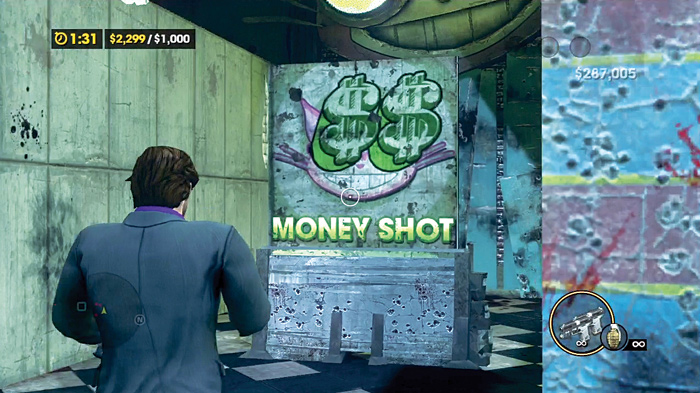
Watch out for another flame trap, as you pass the mascot corpses. Straight ahead, another side path guarded by flames hides another mascot. To your immediate right, electricity guards the final set of mascots and the way out. To the right of that barrier is a Time Bonus that you can shoot if you’re really pressed for time.
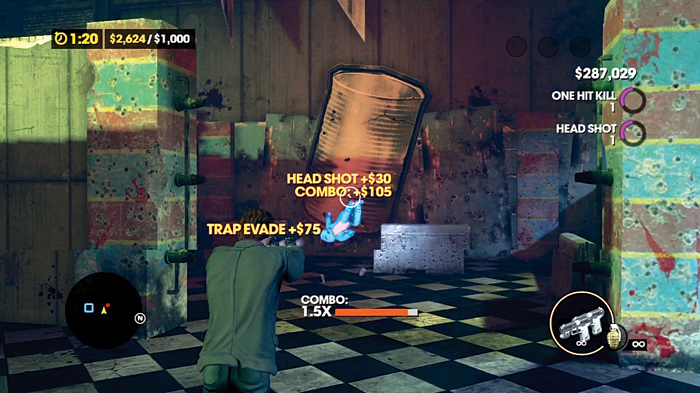
Once the electricity is evaded, you’re practically home free. The exit is straight ahead, but if you have time left, make another sweep through the area to ensure that everyone who needs to be dead is dead. It’s easy to pass up the small side areas leading to the exit, both of which are hiding mascots that can take shots at your back if you run quickly past them. Once you’ve ensured that you’re the only one in the arena still breathing, get to the exit and claim your cash prize.
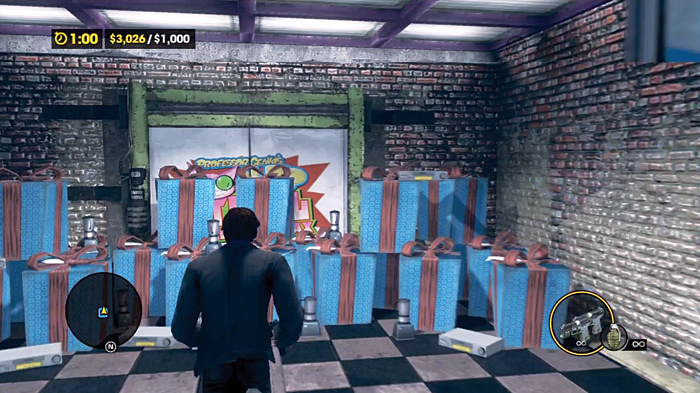
Three minutes to start is very generous, so check your flanks as you push forward. You may be tempted to rush to the end once you have made your $1,000, but stick around and make a clean sweep of the arena. If you get to the exit on time, you get all of the money you made in the arena, making early Genki missions like this lucrative ventures to build up your cash in the first act of the game.
Professor Genki 2 (#28)
Location: Loren Square
Difficulty: Medium
Time to Complete: 2:59
Cash Goal: $2,000
Cash Earned: $2,000 and up
Respect Earned: Based on rewards achieved
Reward: 3% Morningstar Gang District Control—$46 per hour
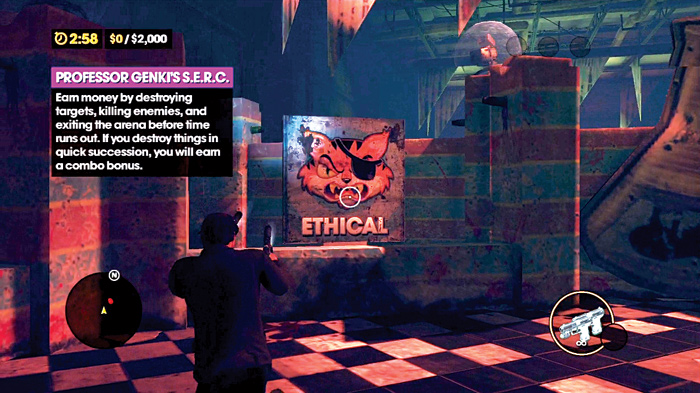
The second of the initial three Professor Genki activities ramps things up with more mascots, a higher cash goal, and a more complex arena design.
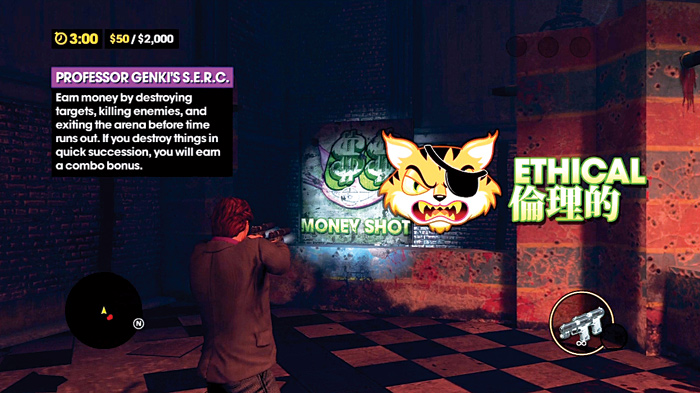
As soon as you open the first door, you see that to your left is an Ethical Tiger sign, with a Money Shot sign to left of that, hugging the wall. To the right, a flame trap protects the way to a small arena with three mascots waiting for you. Shoot the sign, then get past the trap and put down these poor saps. They don’t even have guns!
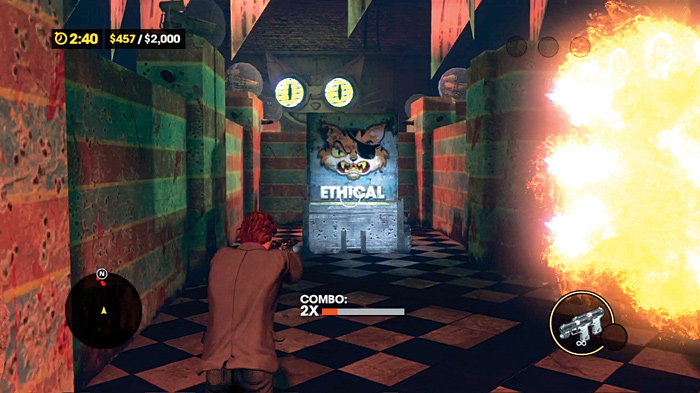
Once they’re down, notice the corridor full of flame traps to the right of a less dangerous path. The safe side is a dead end, but there is an Ethical Tiger sign to shoot.
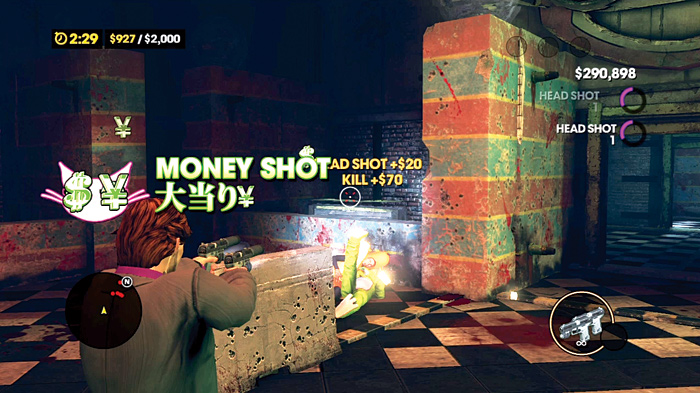
Past the gauntlet of fire, another pair of mascots awaits you, guarding the hall to the next section. To the left are two more signs, an Unethical Panda, and a Money Shot.
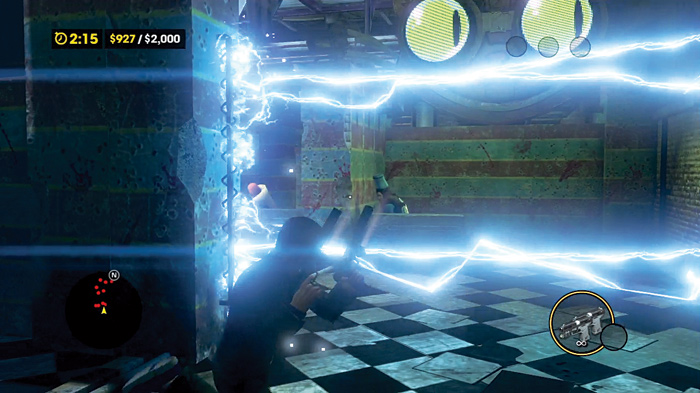
Run down the hall into the next room. To the right is an electric trap with a mascot waiting behind cover. Take it down, then proceed to the next section.
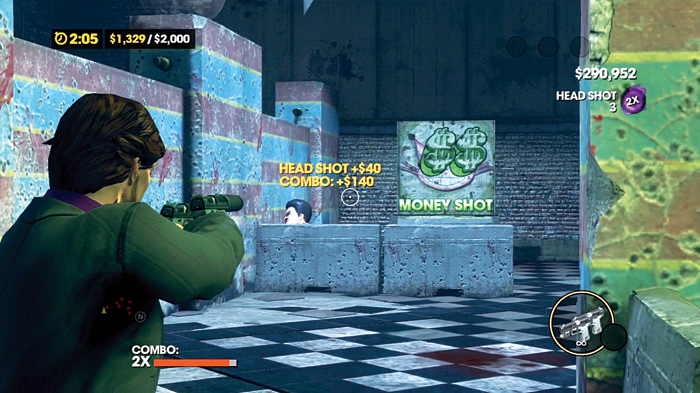
From where this first mascot was, look for a Money Shot sign behind another mascot. Shoot these, then take out another pair of mascots, as well as an Ethical Tiger sign to the right and.
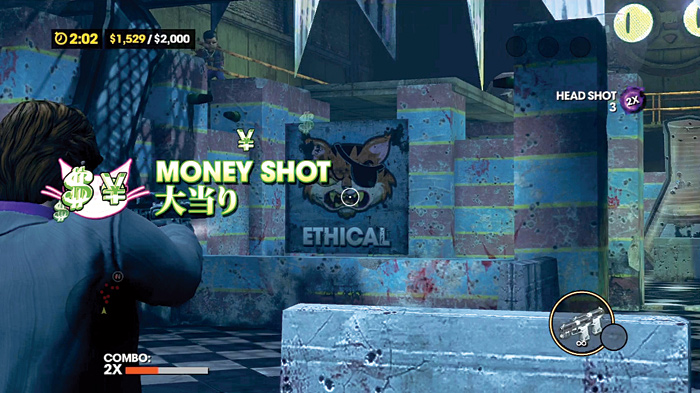
You’ll notice a number of enemies on the catwalks ringing this section; neglecting any of them isn’t profitable, and is dangerous, since they can shoot you past any waist-high cover in the arena.
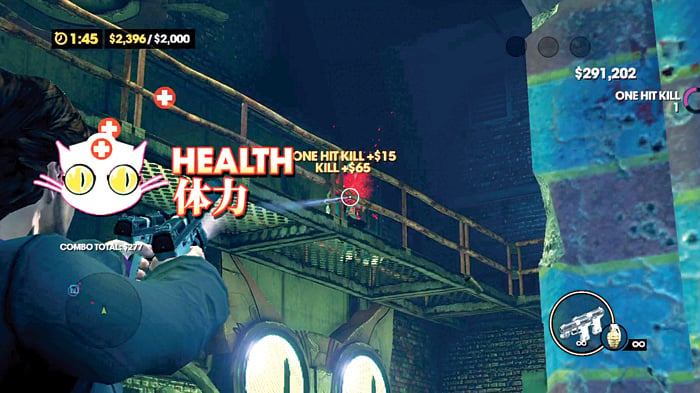
If you’ve been scoring headshots and taking out the right signs, you might already have the $2,000 you need, but you’re not finished here yet!
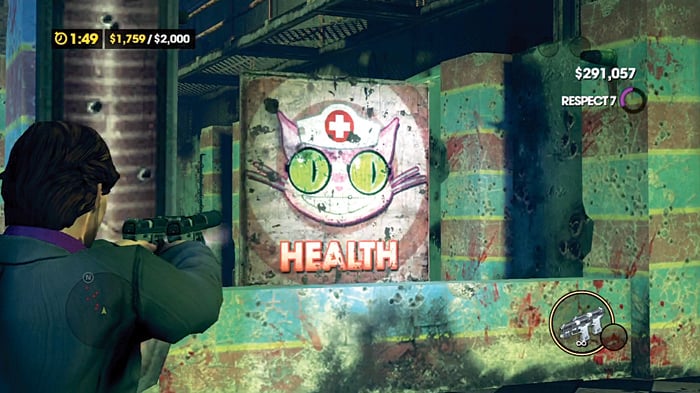
Watch your fire here. As you move forward there’s an Unethical Panda at the center of this room. Go down the path to the right.
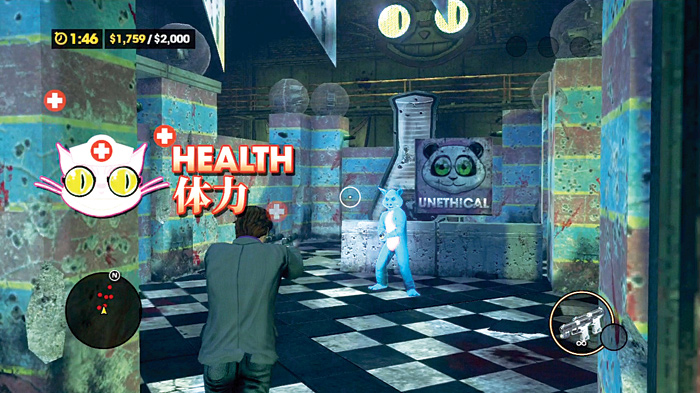
Three electric traps block your way. A Health Bonus sign pops up directly in front of them.
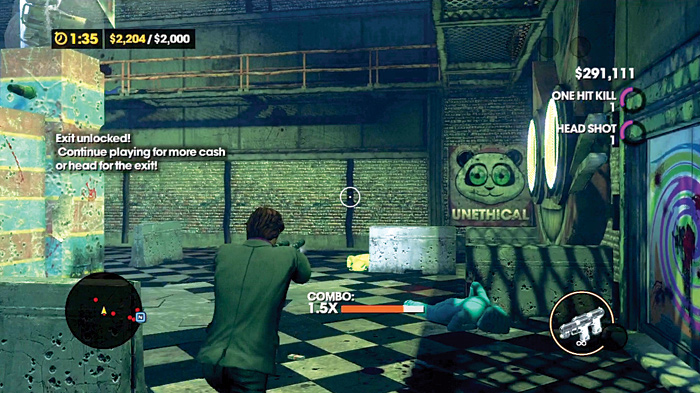
Past the three electric traps, more mascots fire at you from the ground and from the catwalks. Hose them down, but watch out for another Unethical Panda!
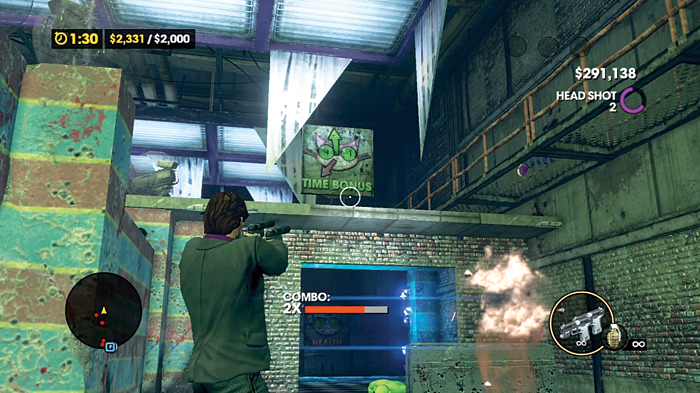
You can move to the next section from here, but explore a little for a Time Bonus sign and another Health Bonus sign behind an electric trap.
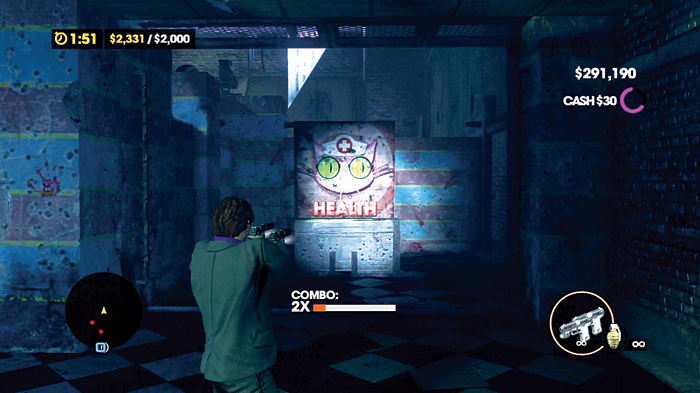
As you follow the corridor to the next room, take out any mascots waiting for you, and note the wall with two smaller entrances into the next Arena. Some mascots lay in wait here. Be sure to clear them out because . . .
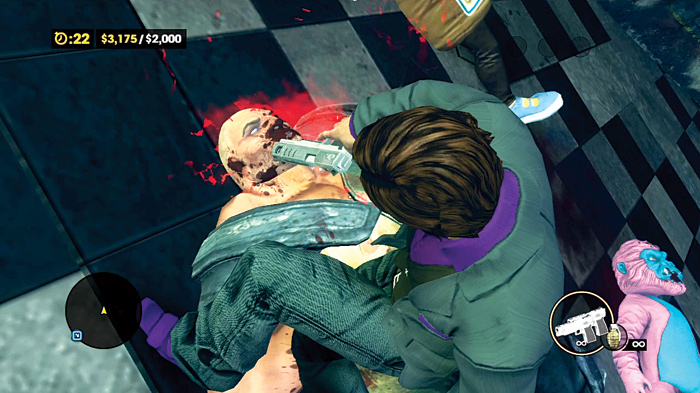
. . . the fun really begins here. A Minigun Brute drops into the arena, and you may already be feeling the crunch for time. If you do have time to spare and have the firepower to bring it down quickly, it’s worth $500. Watch your shooting here, though, an Unethical Panda sign is in this space, mixed in with a Health Bonus, Ethical Tiger, and Money Shot signs.
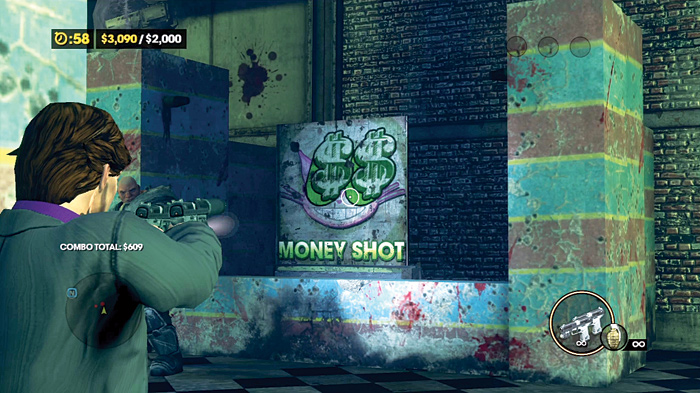
Of course, there’s no shame (well, maybe a little) in running if you’re low on time or health, considering that two more Minigun Brutes will appear in the next section if you kill this first one.
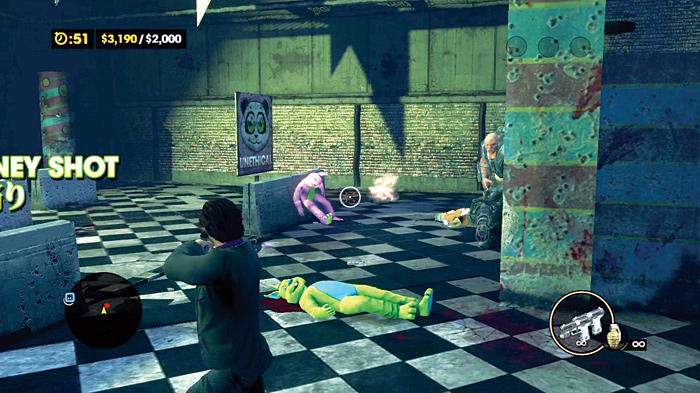
You’ll also find another set of flame traps guarding the exit. You can use the first Brute’s minigun to hose down the new ones that show up, but they will keep coming. Grenades also work wonders, but you could be straining your health and time playing with these guys.
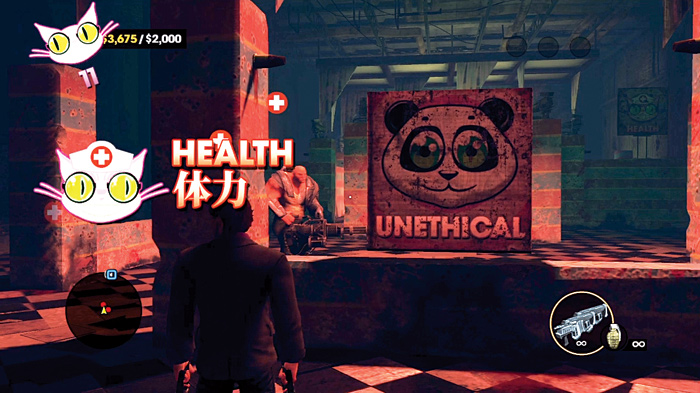
Regardless of what you choose to do, make sure you have enough time to evade the last set of flame traps and break for the exit.
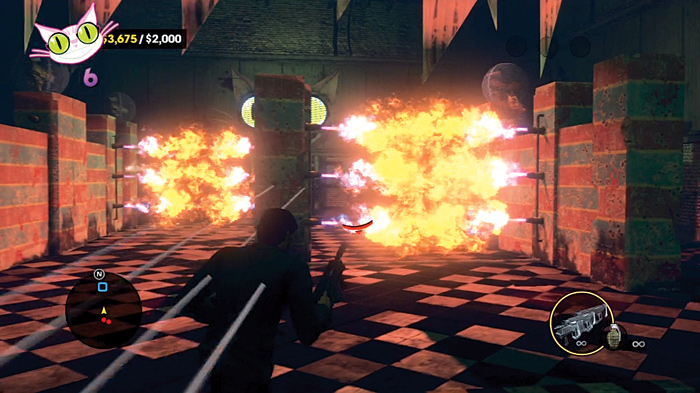
If you’ve triggered the Brute flood, you’ll be under fire the entire time. Sprint past them as best you can, move to the right side of the room to try to avoid getting shot while navigating the last set of flame traps, and cross the finish line.
Professor Genki 3 (#29)
Location: Henry Steel Mills
Difficulty: Hard
Time to Complete: 3:59
Cash Goal: $3,500
Cash Earned: $3,500 and up
Respect Earned: Based on rewards achieved
Rewards: 3% Morningstar Gang District Control—$94 per hour
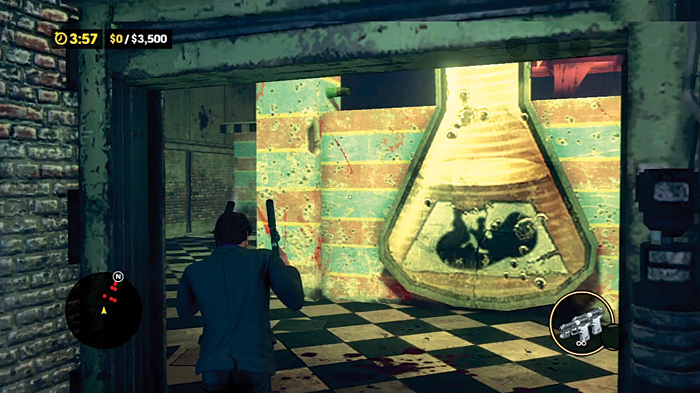
If you believed the last episode got hectic toward the end, (especially if you took on the Brutes), get ready to be tested a little more thoroughly.
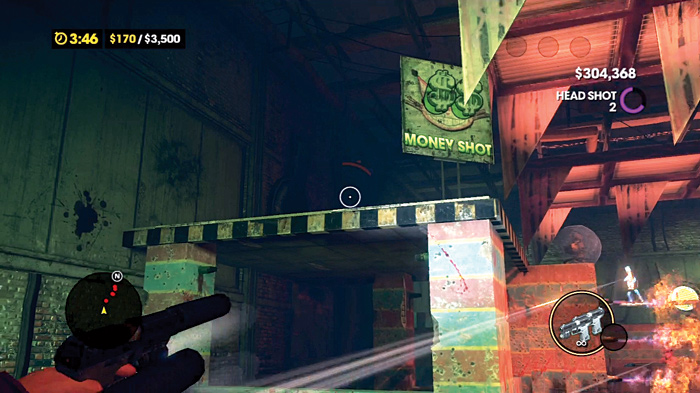
A wall greets you upon entering the first arena. On the other side of it lie a number of mascots. Use this wall for cover while engaging them.
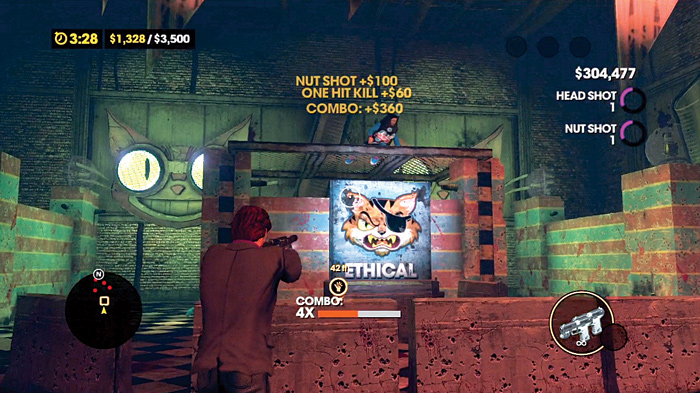
Check the top of the arch on the room’s left side for a Money Shot sign. At the center of the room, behind a flame curtain, is an Ethical Tiger sign, along with more mascots.
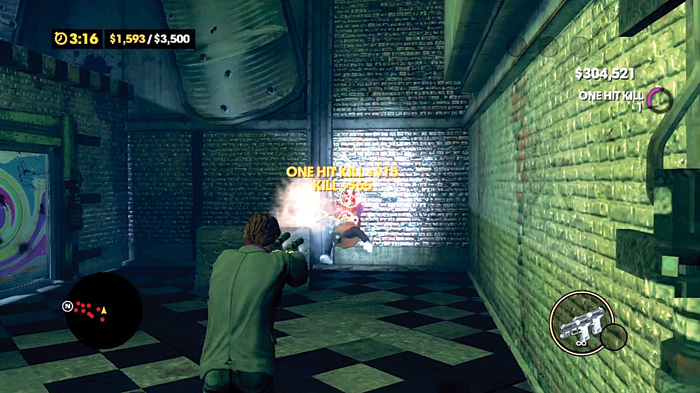
Past this first room, the next opens up with two mascots flanking you, protecting two routes you can take.
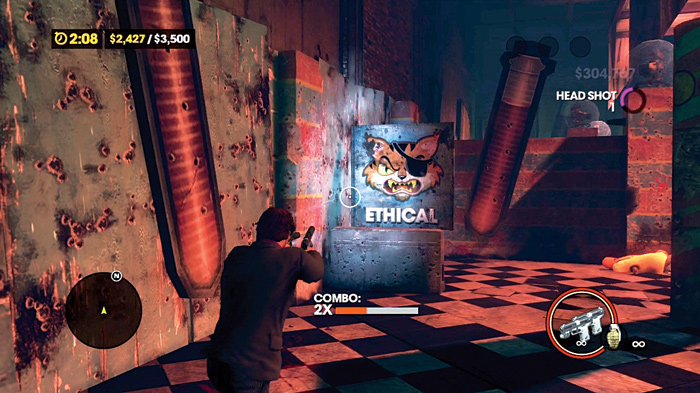
If you go left, an Ethical Tiger sign and a number of mascots wait for you. Mow down this first set.
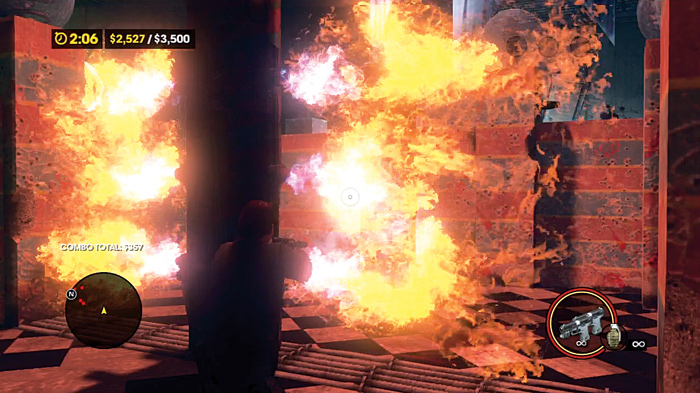
Follow the path to this flame pillar. Watch the trap closely before making a move; it’s easy to lose a lot of health and time here!
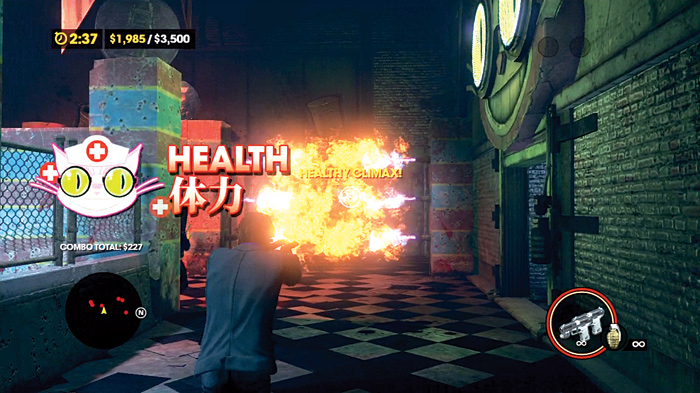
Just past the flame pillar and to the left, a flame barrier guards a Health Bonus sign.
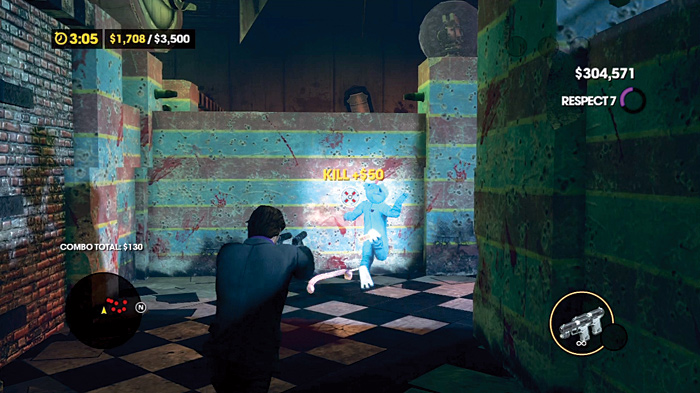
If you went right a mascot armed for melee combat waits in ambush, protecting an Ethical Tiger sign.
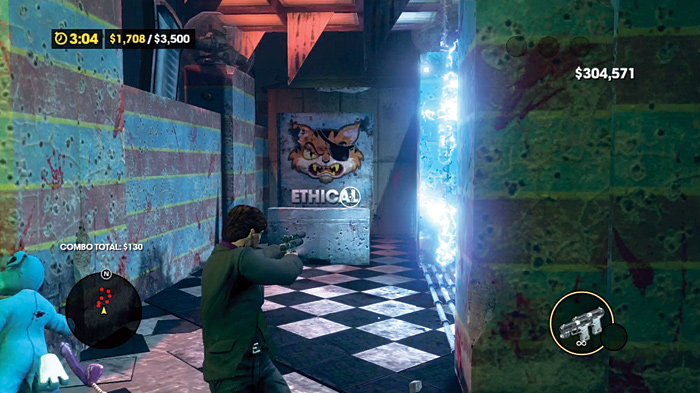
To the right, an electric barrier separates you from another group of mascots. Cut them down, bypass another electric trap, and take the exit.
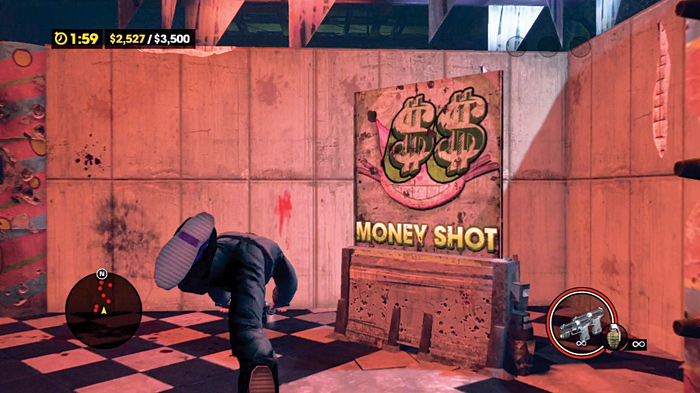
If you’re feeling gutsy, you can always backtrack through the path you didn’t take to mow down more mascots to build up your cash.
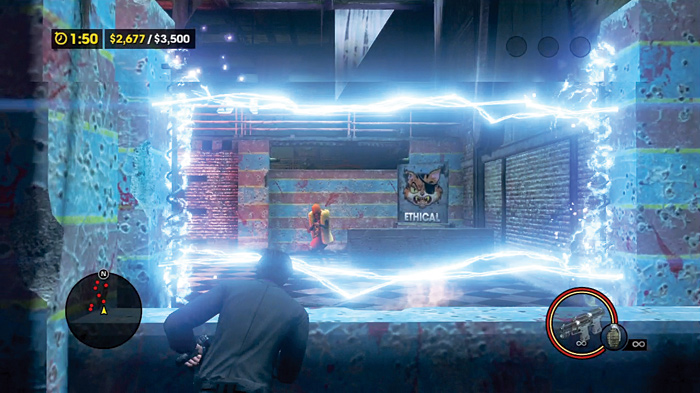
After clearing the forked room, the next room opens up with a flame trap guarding a Money Shot sign directly ahead of you. To the right, an electric barrier guards another way to the next room. Either route is fine; just be sure to clear out any mascots and take out the Ethical Tiger sign. A door leads to the next area, and if you’ve been keeping up your combo with kills and scoring headshots, and went back to clear both paths in the forked room, you’ll probably be close to, if not already at the cash goal for the stage.
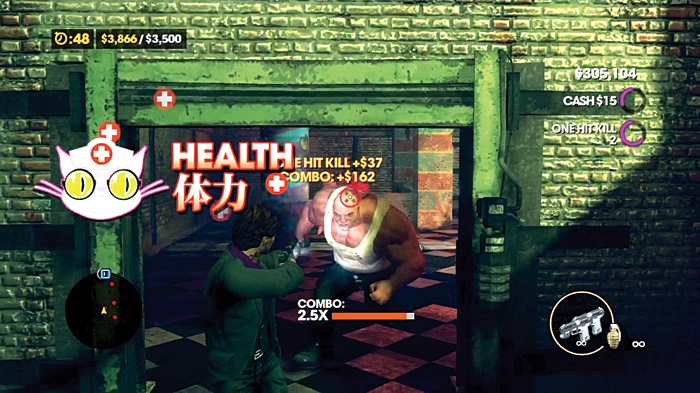
But look out! Making the cash goal calls out a melee Brute! If you can take it out, do so, but keep in mind that it means more will show up.
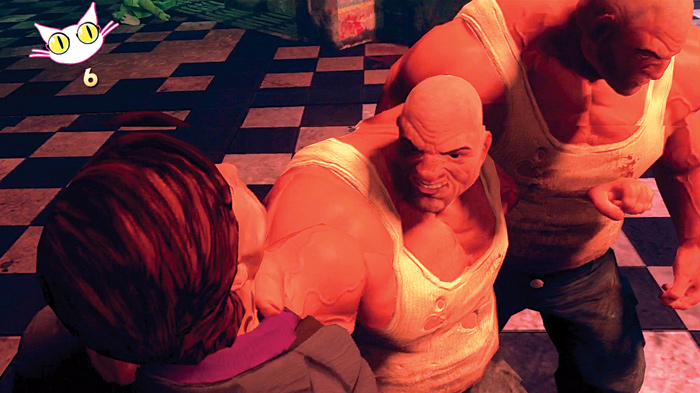
Many more.
In the room past the first Brute, you have two doors to the left and right, with a flame trap in the room’s center.
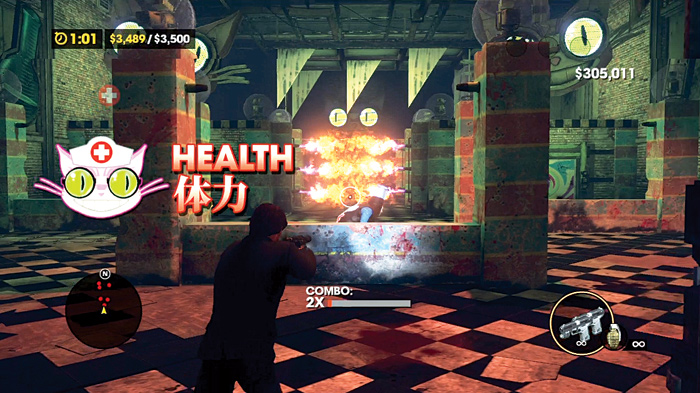
The left door has a Health Bonus sign; the right conceals an electric trap. If you’ve brought down the Brute thunder, it might be best to navigate through the central flame trap and make a beeline for the exit.
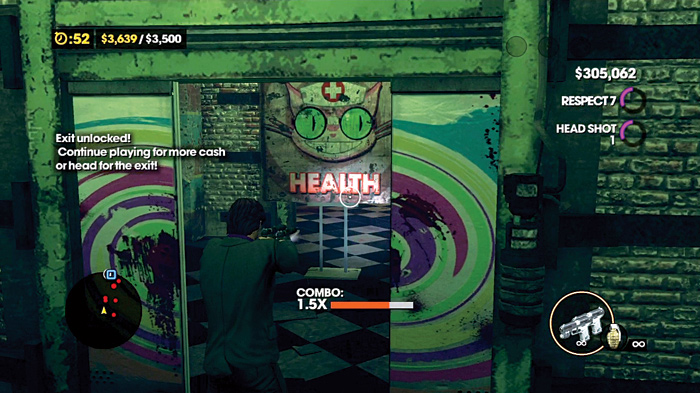
If the group of Brutes catch you, you may as well restart because they will just pass you around among themselves, forcing you into quick-time event after quick-time event.
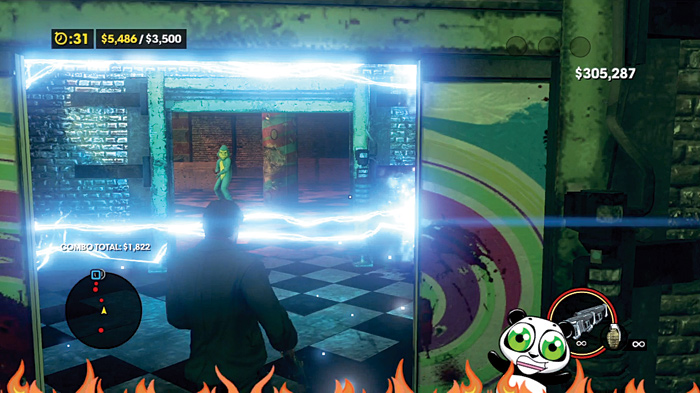
If you’re taking on this activity early in the game, however, you probably won’t have the weapons that can put these things down in a hurry, so take the first Brute as your cue to run for the exit.
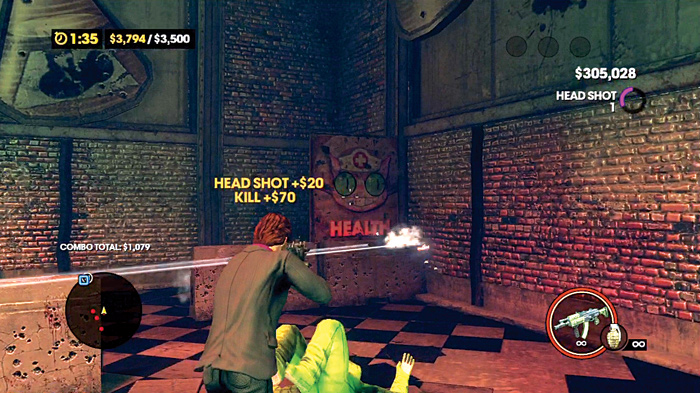
Numerous signs are scattered about the arena on the way out and they can help facilitate a last stand against the big guys.
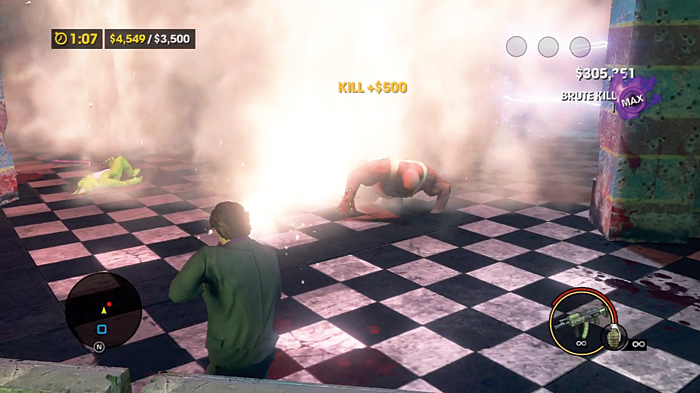
So if you really want to exploit the Brutes for cash, wait until you are close to the exit and hope that you have some really solid firepower from presents dropped in the arena. Of particular use would be unlimited grenades. Just put your back to the exit hallway and keep chucking them at the Brutes as they show up. You can rack up absurd amounts of cash before having to beat a retreat.
Professor Genki 4 (#30)
Location: Yearwood
Difficulty: Easy
Time to Complete: 2:59
Cash Goal: $2,000
Cash Earned: $2,000 and up
Respect Earned: Based on rewards achieved
Rewards: 2% Luchadores Gang District Control—$46 per hour
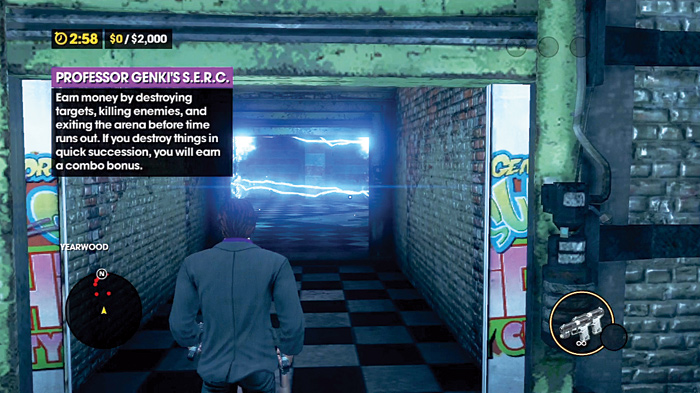
The next set of three Genki activities start with this relatively relaxed refresher course on how to get things done.
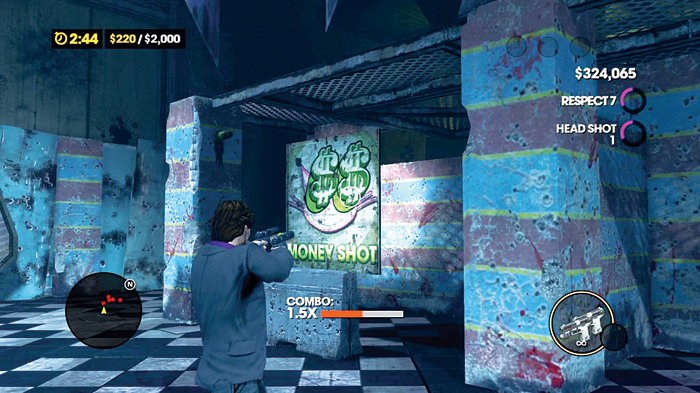
An electric trap is your first obstacle. Mascots can immediately shoot at you from the distant catwalks and from positions on the ground.
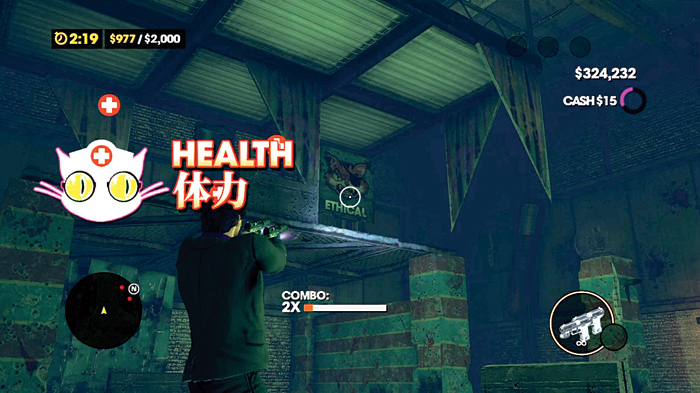
A Money Shot sign pops up just behind the electric trap. You can choose to go left or right into the next section. If you go right, and Ethical Tiger sign is there for you to shoot. In this area, check the catwalks and the areas beneath them for Health Bonus signs, Money Shot signs, and another Ethical Tiger sign.
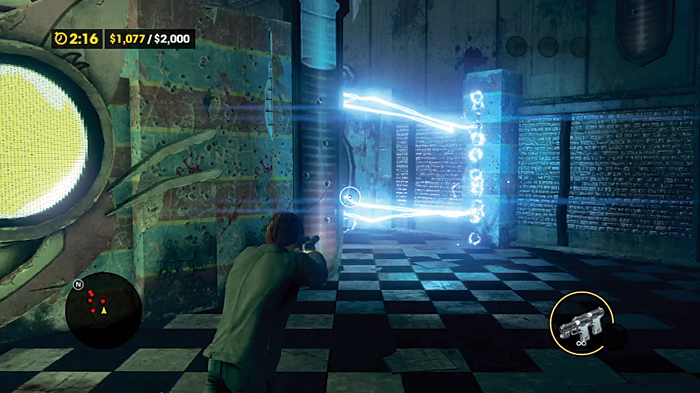
The next area features another split to the left or right, with both directions guarded by electric barriers.
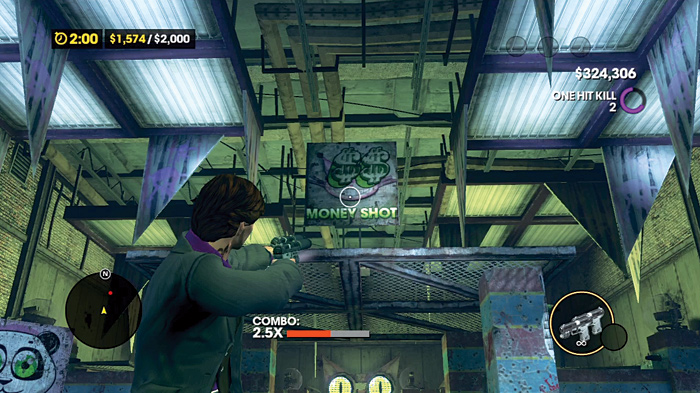
Take either path and clear out the mascots on the ground, and watch for the ones in the distance once more.
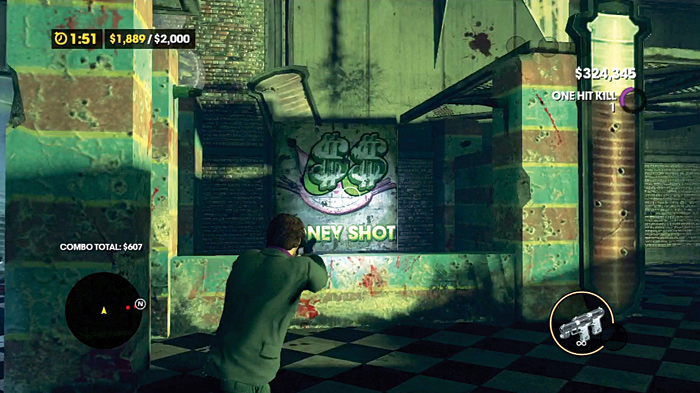
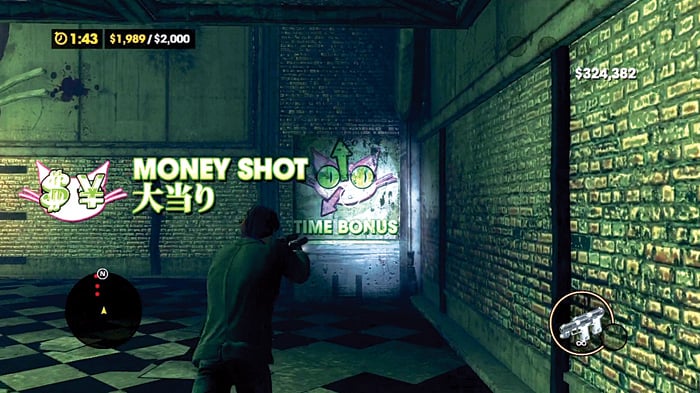
Atop the central arch is another Money Shot sign, with an Unethical Panda sign on the ground to the left of the passage. In the next section of the room, another Unethical sign pops up, and left of it is a Money Shot sign that pops up in a side alcove. Beyond the central sign, you can also see a Time Bonus sign that appear at the right far-corner of this room.
The last room has dozens of electricity traps and a few more mascots.
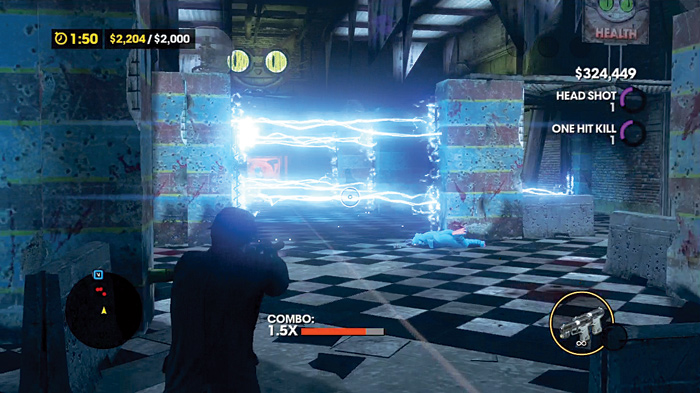
There are signs to help boost your score and health, but the real danger comes from the traps. It can take time to navigate everything safely, and if you’ve run the previous section too slow, you might be short on time now.
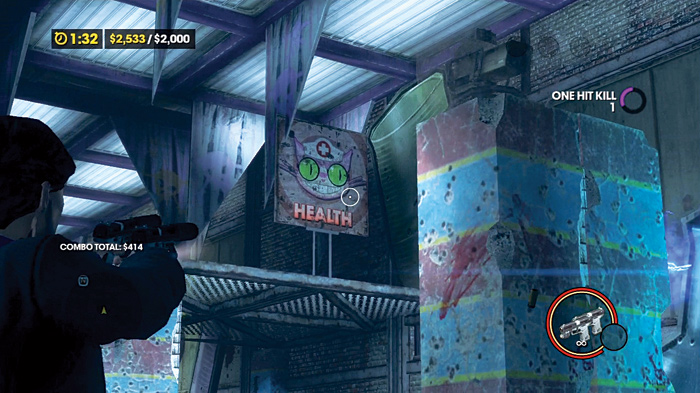
If you do have time, you can try to get some extra cash by dodging through the inactive traps, but there’s the obvious risk associated with that.
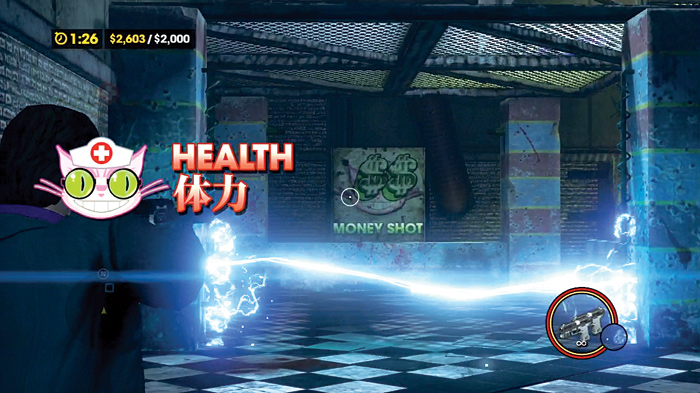
This one is a good warm up for the Genki activities on this side of the city! Now for the real challenges.
Professor Genki 5 (#31)
Location: Bridgeport
Difficulty: Medium
Time to Complete: 2:59
Cash Goal: $3,000
Cash Earned: $3,000 and up
Respect Earned: Based on rewards achieved
Rewards: 3% Luchadores Gang District Control—$126 per hour
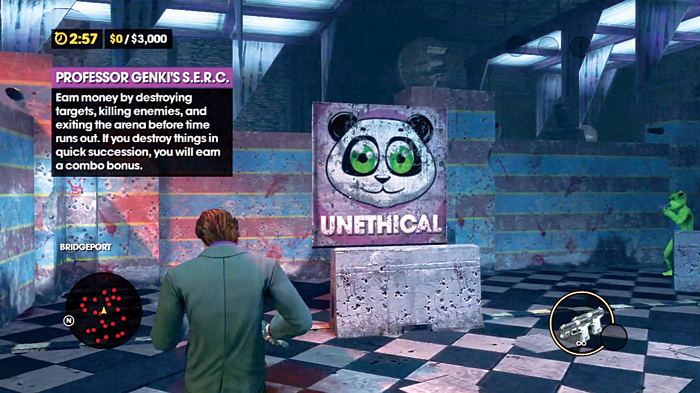
This Genki activity starts off with a twist. If you look at the minimap, you’ll notice that you are totally surrounded by mascots on all sides! The four doors in the room are mostly for show; only one will open.
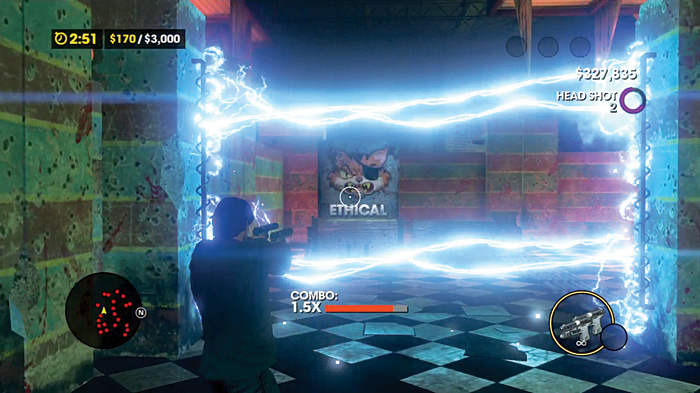
This arena seems like a maze, but it is more of a spiral. Avoid hitting the first Unethical sign, and eliminate mascots as you follow the path.
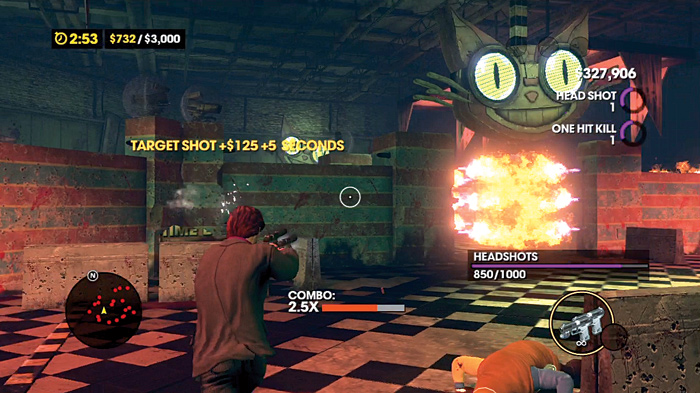
An electric trap will try to surprise you and there is an Ethical sign just behind it. Another Ethical Tiger sign with more mascots is found to the right.
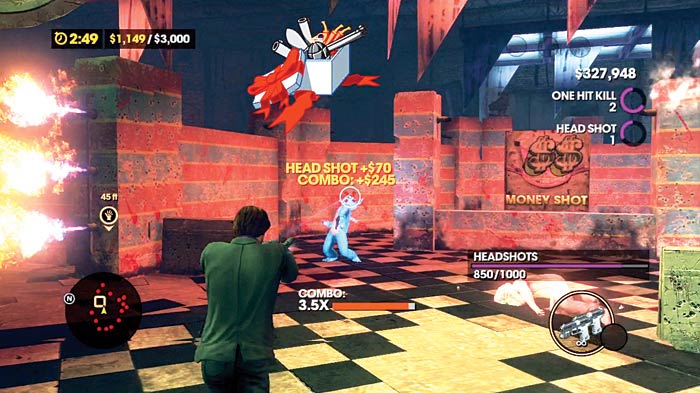
More mascots are to the right of the second Ethical sign, with a Money Shot sign among them. Two flame traps guard the way to the next section.
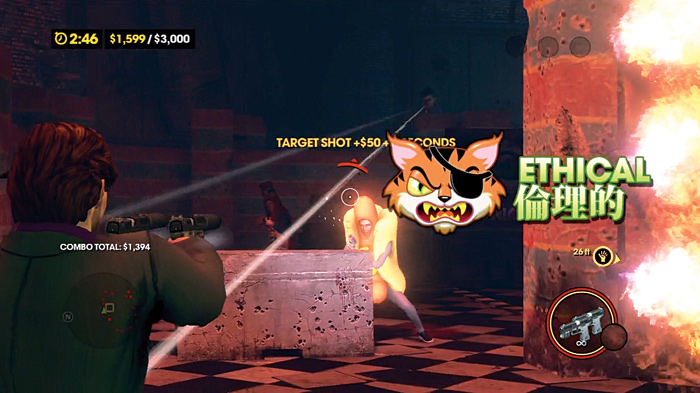
Another small group of mascots is waiting here, as well as a trio of signs.
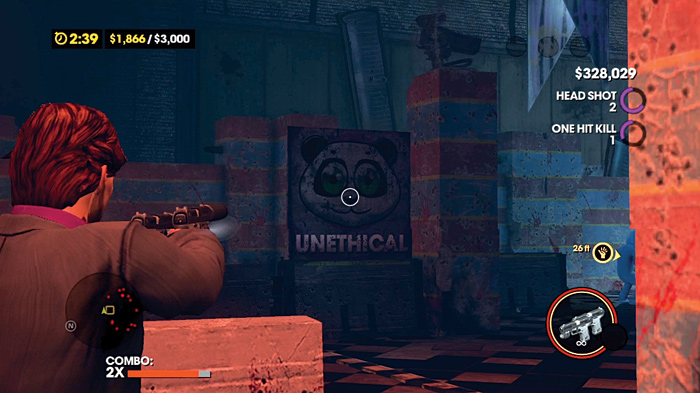
The left-most sign in the dark is Ethical, the middle one is Unethical, and the right one is a Health Bonus, which appear as you close in on the electric trap to the right.
One thing to note, if you are doing well and get the right weapons from the presents you’re awarded, you might have unlimited grenades.
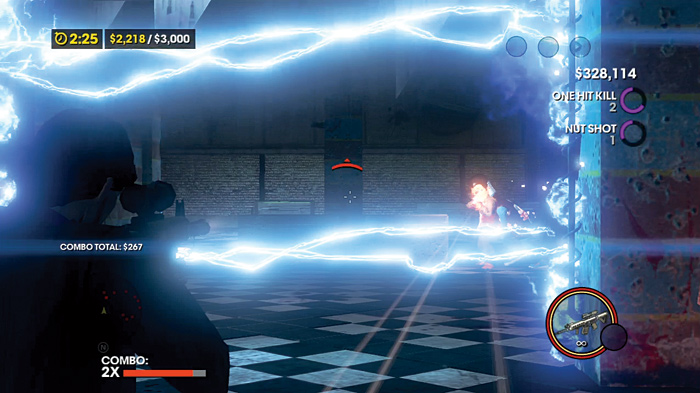
If they’ve been upgraded, this can be a significant advantage and part of a great money-making scheme.
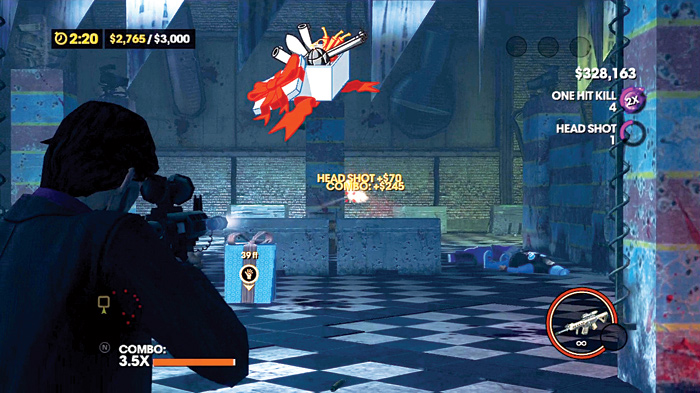
As you cross the trap, take out all the mascots in this room, and scan the area for more Money Shot, Ethical Tiger, and Health signs.
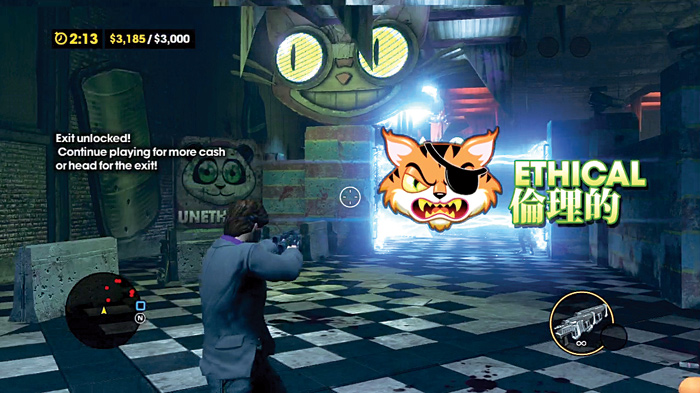
It is possible to break $3,000 by the time you reach this room, especially with upgraded pistols and consistent headshots, which means that Brutes are on the way and they’re carrying miniguns this time around.
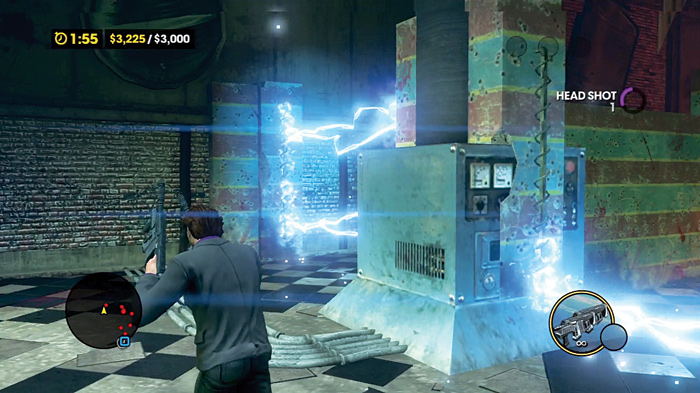
If the Brutes are incoming, stay calm and navigate the gauntlet of electric traps.
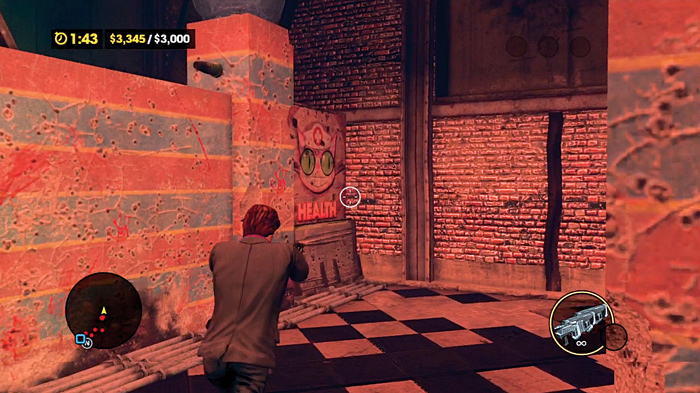
If you take the left side of this trap set, watch for a Health sign at the end of this small corridor. Whichever path you take, you come across a flame pillar trap.
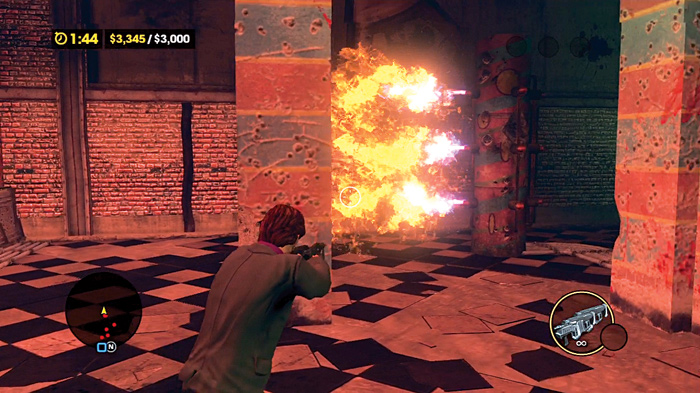
Pass that and enter the final stretch.
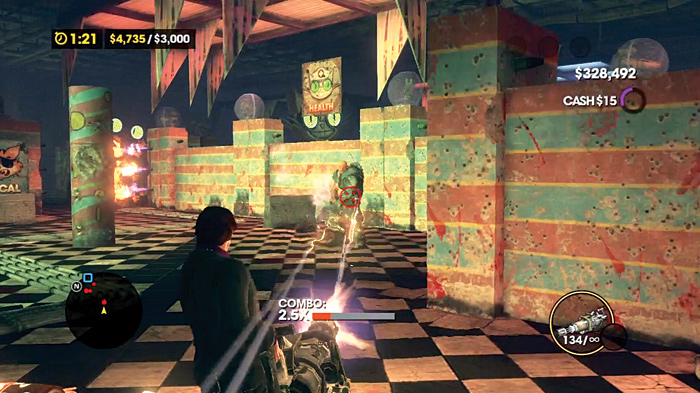
There are many Health and Time Bonus signs strewn throughout this section, for good reason. While there is a smattering of mascots all around, with some Money Shots also, this is the room where the Brutes come from, and this can get ugly really fast. Taking down the first Brute activates the reinforcements, and up to four Brutes can be in the arena, gunning for you. With that much minigun fire coming your way, even fully upgraded weapons and damage resistances aren’t enough to keep you standing.
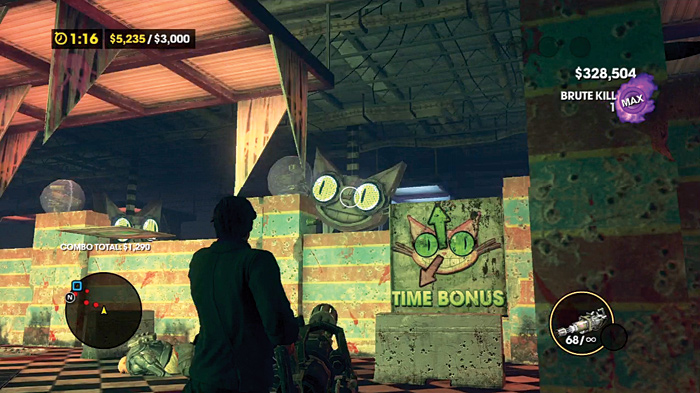
However, if you have at least level 2 frag grenades and were given them as a present during this arena, this can suddenly become an extremely lucrative opportunity. Rush toward the exit, gunning down any mascots on the way, dodging traps, and shooting the Health Bonus signs that are in your immediate path. The Brutes are very accurate with those miniguns, and you’re likely to take damage until you flee toward some hard cover.
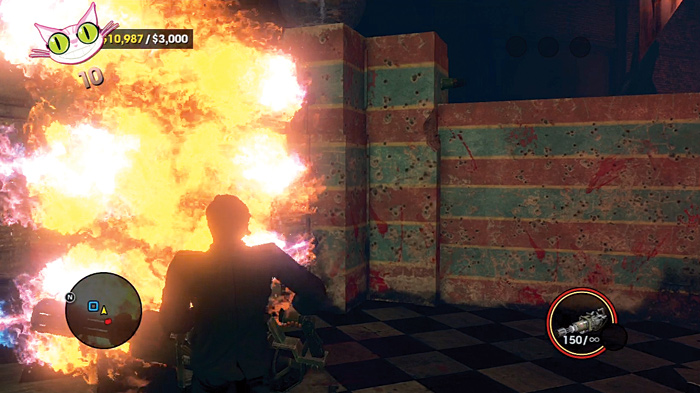
When you get to the final set of twin flame traps, you’re almost home free, but if you have grenades, you can use the trap as a barrier, and throw them at the feet of the Brutes as they try to round the corner. Each Brute is worth $500, but since they tend to bunch up at that corner, a powerful and unlimited barrage of grenades can rack up a mini-combo between waves of Brutes and a ridiculous amount of cash before the timer runs out. Just be sure to give yourself at least ten seconds and enough health to make the mad dash to the exit, through those last fire traps if you must!
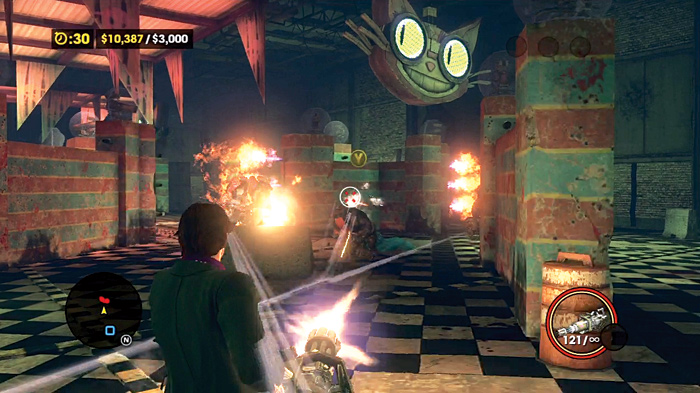
This arena also lends itself to a money-making scheme for higher level characters. If you’ve managed to get enough respect and cash to purchase immunity to bullet damage, you can kill the first Brute, pick up his minigun, and then sit in one place, methodically hosing down Brutes as they appear in the arena. Because they wield miniguns, they will not try to attack you physically unless you stray too close. Your bullet damage immunity lets you drag out the slaughter until your time starts to run out and you need to run for the exit!
Professor Genki 6 (#32)
Location: The Grove
Difficulty: Hard
Time to Complete: 3:29
Cash Goal: $4,000
Cash Earned: $4,000 and up
Respect Earned: Based on rewards achieved
Rewards: 2% Luchadores Gang District Control—$78 per hour
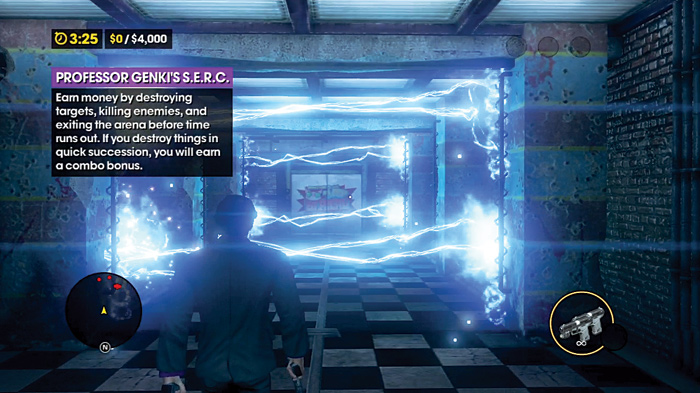
This is it. The last episode of “Professor Genki’s Super Ethical Reality Climax.” In another twist, the moment you hit or exceed $3,500 ($500 before the goal) in winnings, Brutes will begin storming the arena. As always, killing the first Brute will call down an endless supply of them, and unlike the previous arena, there is no convenient spot to nail them all with a grenade barrage (if you’re lucky enough to be awarded them).
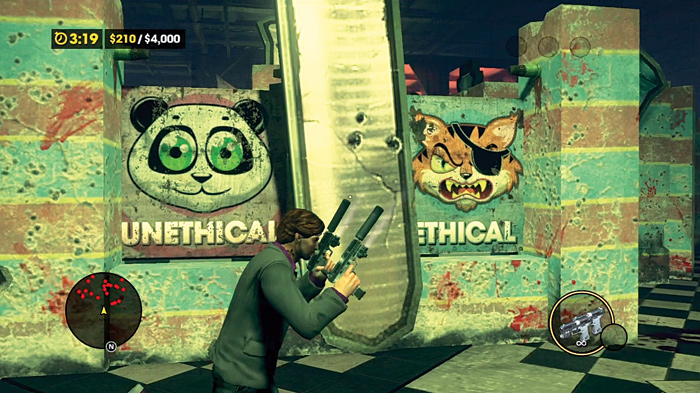
Your first obstacle is a trio of electric traps, all staggered in such a way that they do not activate all at once. This can throw you off and even bounce you back and forth between an active pair! Beyond that, a pair of signs pop up: Unethical Panda and Ethical Tiger.
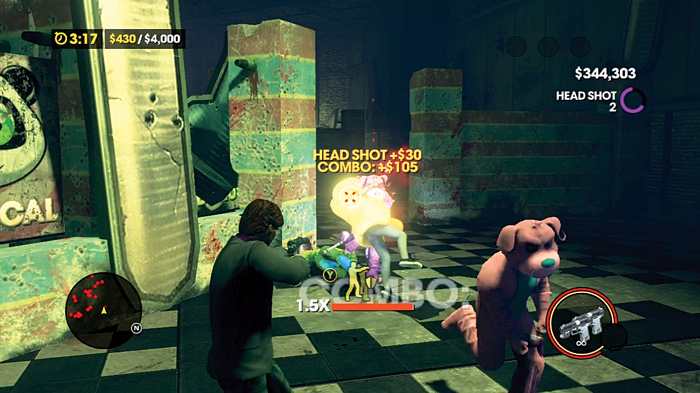
To your right, a group of mascots rushes you, intent on getting into melee range. Headshots!
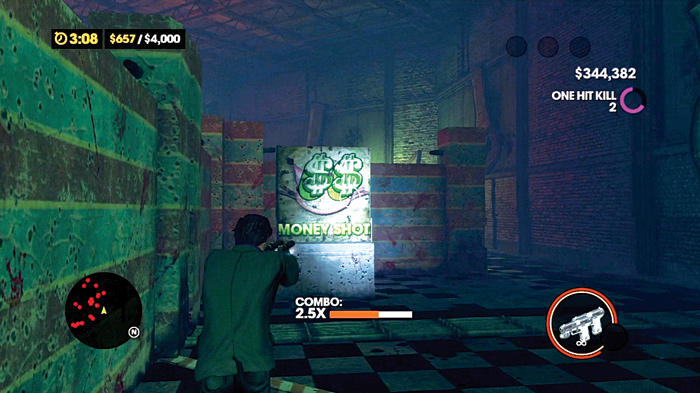
Headshots for everyone! Beyond this ambush, a Money Shot sign waits for execution.
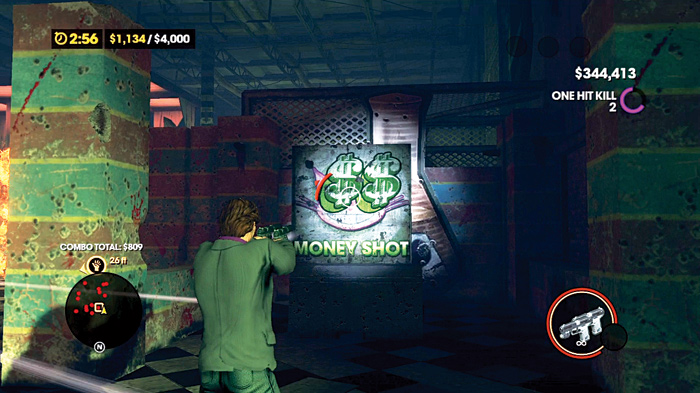
Continuing on, you’ll find more mascots, with Ethical and Unethical signs to your left, and a Money Shot sign to your right.
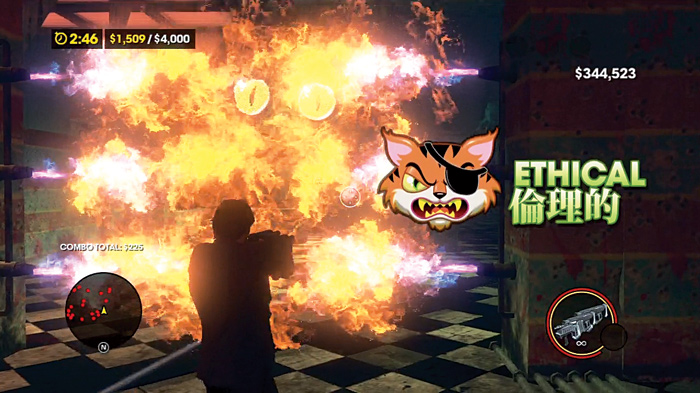
A flame trap guards the next location.
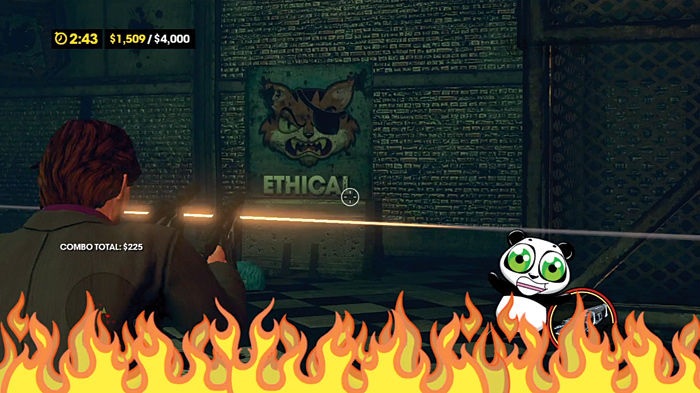
The next section throws more mascots at you.
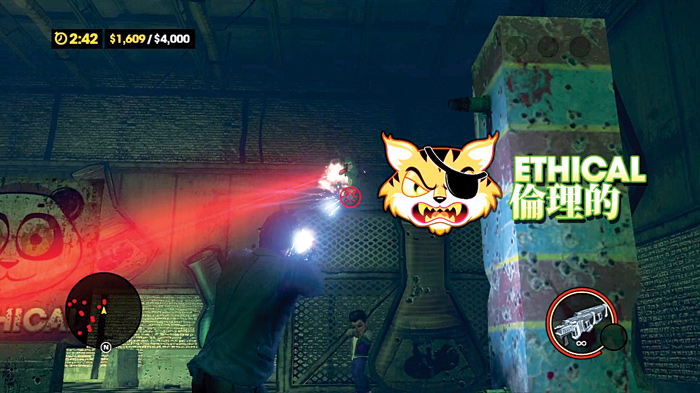
Be especially alert for snipers here; each shot not only hurts a lot, but also makes you stagger and slows you down.
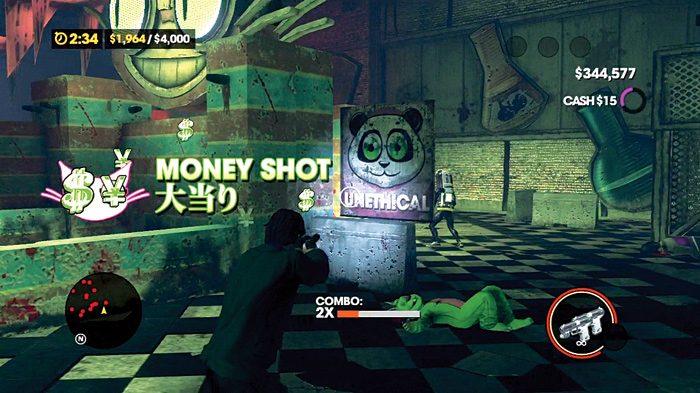
To the right upon entering, an Ethical Tiger sign can be shot. Next to the chain-link fence wall, where a sniper was posted, a Money Shot sign appears.
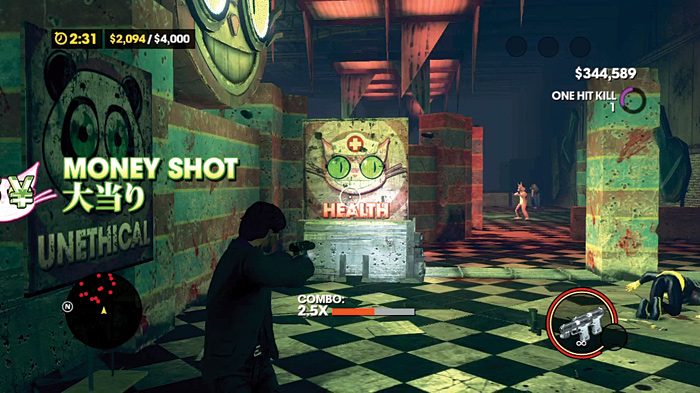
Left of the Money Shot is a Health Bonus sign. Continue moving down this corridor, mowing down more mascots as you go. To the right as you advance, a Money Shot pops up. Beyond that, the corridor gives you a series of paths you can take.
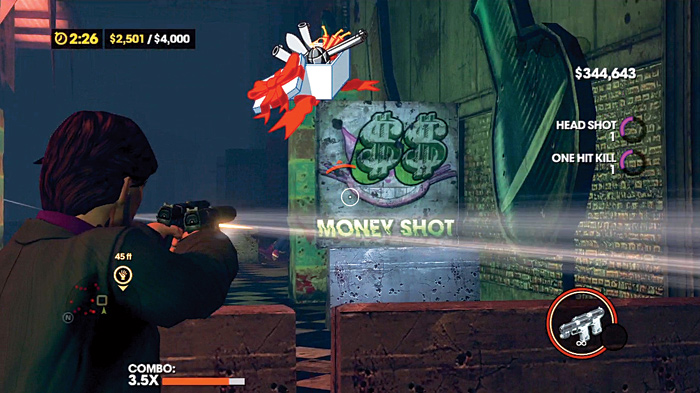
To the left, in the shadows, you might see two more signs pop up. Watch your shots, the far sign is Unethical; the closer one is Ethical.
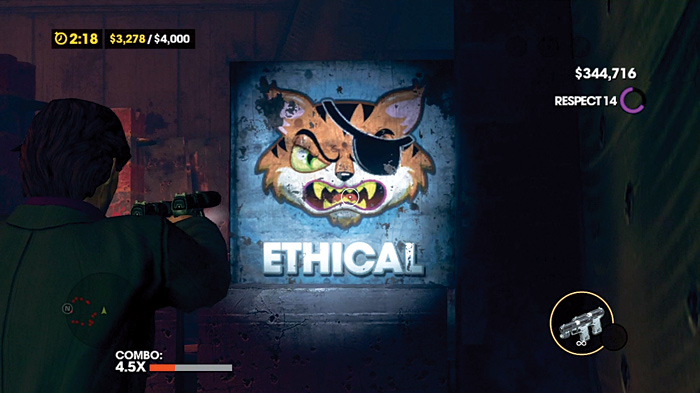
The shadows make it hard to see, but upgraded pistols come with tactical lights to help you see targets in the dark.
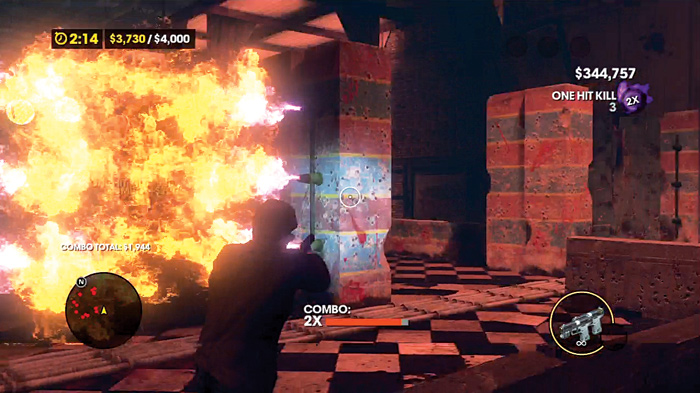
The paths to your left are protected by flame traps. A Money Shot sign is on the side up above and a Health sign pops up in the center.
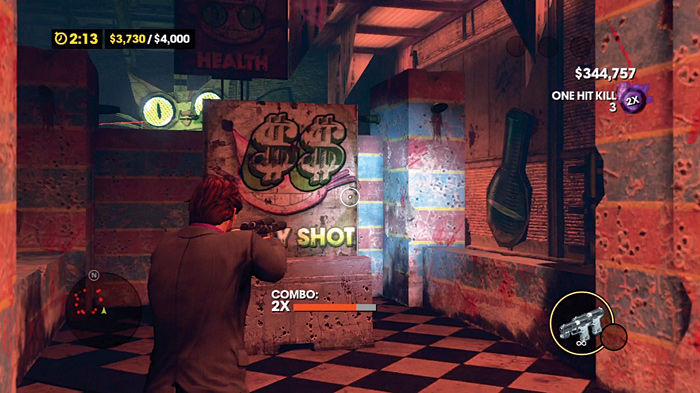
This is where the Brutes start to come from when you hit $3,500. Killing one opens the exit for you. You can try to stand and fight them here, but you may find yourself flanked by the minigunners and brought down quickly.
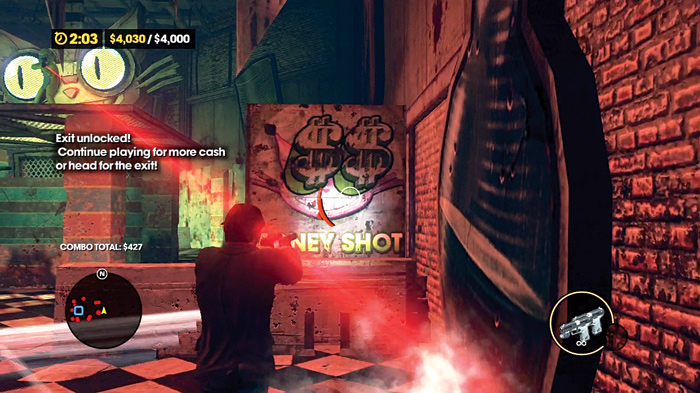
In the section beyond the flame traps, you’ll see an Unethical Panda sign appear behind cover on the left, and a Money Shot on the right.
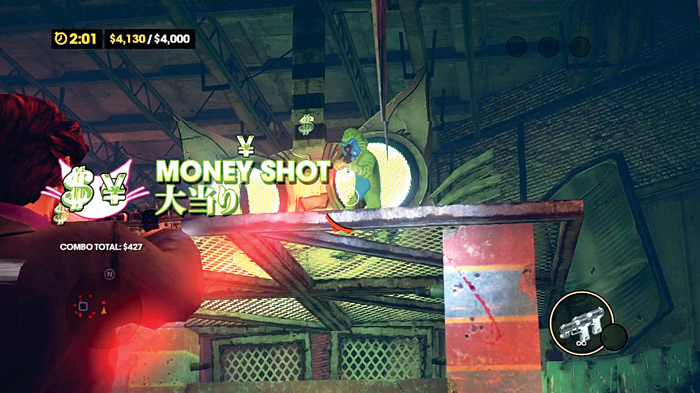
Watch the sniper atop one of the catwalks here! Past him are another pair of signs: Health Bonus on the right and Time Bonus on the left, which lead into another flame trap.
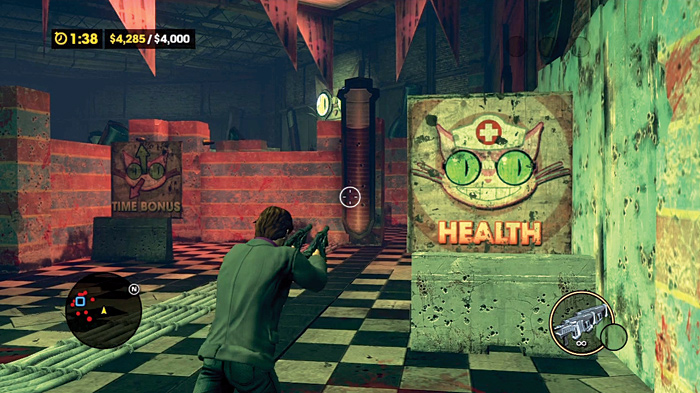
Beyond the flames, a pair of waist-high electric traps guard the right-hand route.
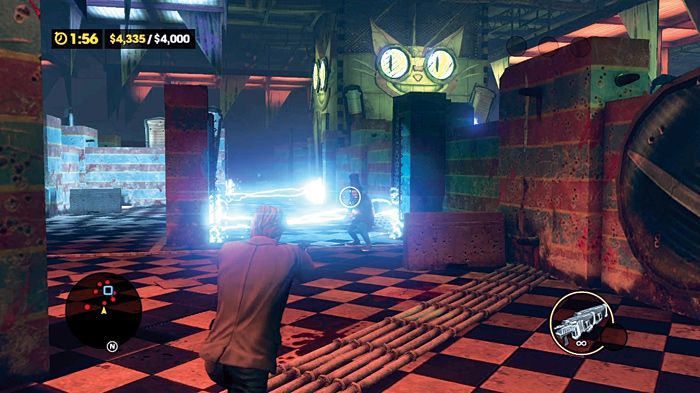
These can be leaped over, but it might prove difficult to judge the distance you need before starting the running leap, especially if you’re being hounded by Brutes. To the left of these traps, a Health Bonus sign pops up, and you might need it by this point.
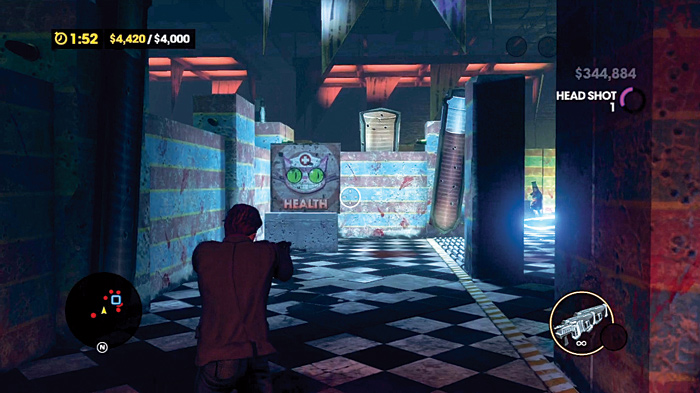
After the second electric trap, a Money Shot sign appears directly ahead.
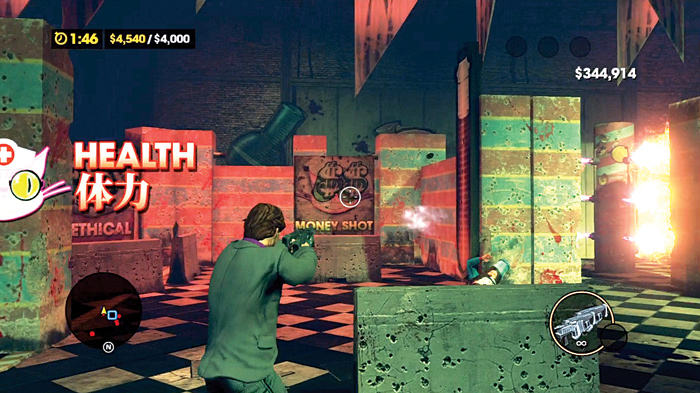
On its left is an Unethical Panda sign. Head to your right and watch out for the flame pillar there. Part of it does not shut down. If you’re in a hurry, you can try to rush through it. Either way, make another right.
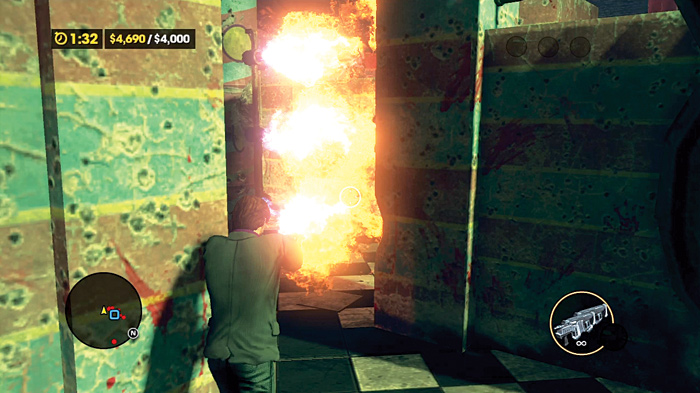
More mascots try to ambush you for melee combat, with more of them farther out covering them with guns, including a sniper.
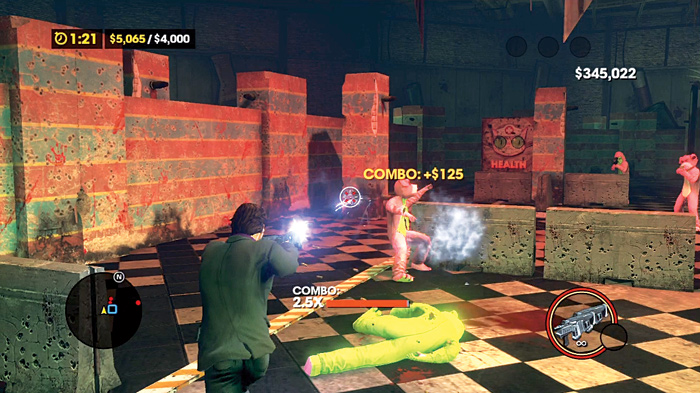
Among them, another Health pops up, so be sure to nail that if you need it.
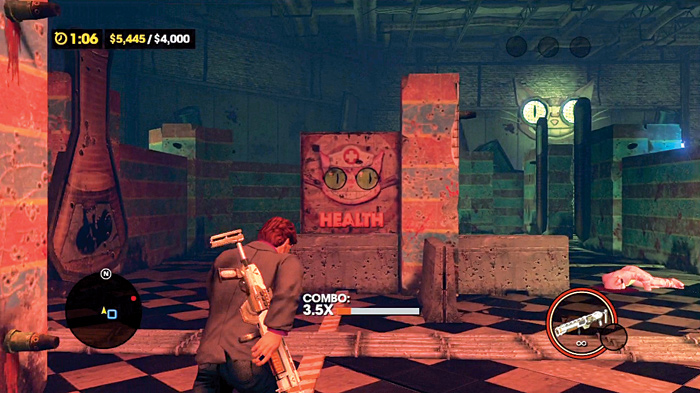
If you have been awarded grenades, you can use the flame pillar as a natural chokepoint, but the Brutes seem to have trouble following you this far, especially if you move quickly through the sections.
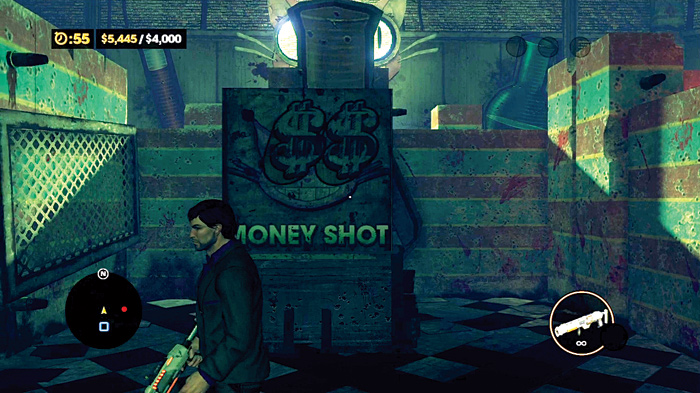
The last obstacles between you and “Professor Genki’s Super Ethical Reality Climax” history are a trio of electric traps. Before crossing them, look for a Money Shot facing the gauntlet.
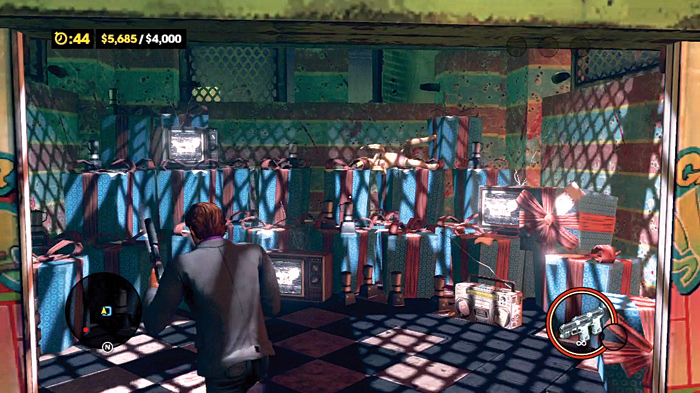
Pass through the final obstacles and strut proudly through the exit, like a (Super Ethical) boss.
Pick a side to move through and hug the deactivated trap, as straying too close to the flames will cost you a decent chunk of health at the early stages of the game.
After you navigate the flamethrowers, move through the double doors. You’ll be immediately confronted by a mascot behind another waist-high wall. Watch your shooting, as just behind him an Unethical Panda sign pops up and stray shots will definitely hit it, costing you time.
You’re be given the choice of a left or right entry to the next small area, with both paths guarded by electric barriers. Beyond them await more mascots behind more short walls.
Take the right side, as a Money Shot sign pops up behind one of the barriers near the electric trap.
Kill the remaining mascots and check the left side of the room for a Time Bonus sign to shoot if you need to. By now, you should easily have the $1,000 you need to leave the stage.
The way out of this room is guarded by a barrier of flamethrowers that spans the width of the room. If you have time to spare, you can evade through each one of the barriers for an additional cash bonus. Behind the center set of flamethrowers is a Health Bonus sign if you need it.
After the flame barriers are bypassed, another hallway leads to the final arena. The path ahead is guarded by electricity, and to the right mascots are shooting at you from cover. Once they’ve been dealt with, you can either evade the electric barrier, or go down the path the mascots guarded.
Watch out for another flame trap, as you pass the mascot corpses. Straight ahead, another side path guarded by flames hides another mascot. To your immediate right, electricity guards the final set of mascots and the way out. To the right of that barrier is a Time Bonus that you can shoot if you’re really pressed for time.
Once the electricity is evaded, you’re practically home free. The exit is straight ahead, but if you have time left, make another sweep through the area to ensure that everyone who needs to be dead is dead. It’s easy to pass up the small side areas leading to the exit, both of which are hiding mascots that can take shots at your back if you run quickly past them. Once you’ve ensured that you’re the only one in the arena still breathing, get to the exit and claim your cash prize.
Three minutes to start is very generous, so check your flanks as you push forward. You may be tempted to rush to the end once you have made your $1,000, but stick around and make a clean sweep of the arena. If you get to the exit on time, you get all of the money you made in the arena, making early Genki missions like this lucrative ventures to build up your cash in the first act of the game.
Professor Genki 2 (#28)
Location: Loren Square
Difficulty: Medium
Time to Complete: 2:59
Cash Goal: $2,000
Cash Earned: $2,000 and up
Respect Earned: Based on rewards achieved
Reward: 3% Morningstar Gang District Control—$46 per hour
The second of the initial three Professor Genki activities ramps things up with more mascots, a higher cash goal, and a more complex arena design.
As soon as you open the first door, you see that to your left is an Ethical Tiger sign, with a Money Shot sign to left of that, hugging the wall. To the right, a flame trap protects the way to a small arena with three mascots waiting for you. Shoot the sign, then get past the trap and put down these poor saps. They don’t even have guns!
Once they’re down, notice the corridor full of flame traps to the right of a less dangerous path. The safe side is a dead end, but there is an Ethical Tiger sign to shoot.
Past the gauntlet of fire, another pair of mascots awaits you, guarding the hall to the next section. To the left are two more signs, an Unethical Panda, and a Money Shot.
Run down the hall into the next room. To the right is an electric trap with a mascot waiting behind cover. Take it down, then proceed to the next section.
From where this first mascot was, look for a Money Shot sign behind another mascot. Shoot these, then take out another pair of mascots, as well as an Ethical Tiger sign to the right and.
You’ll notice a number of enemies on the catwalks ringing this section; neglecting any of them isn’t profitable, and is dangerous, since they can shoot you past any waist-high cover in the arena.
If you’ve been scoring headshots and taking out the right signs, you might already have the $2,000 you need, but you’re not finished here yet!
Watch your fire here. As you move forward there’s an Unethical Panda at the center of this room. Go down the path to the right.
Three electric traps block your way. A Health Bonus sign pops up directly in front of them.
Past the three electric traps, more mascots fire at you from the ground and from the catwalks. Hose them down, but watch out for another Unethical Panda!
You can move to the next section from here, but explore a little for a Time Bonus sign and another Health Bonus sign behind an electric trap.
As you follow the corridor to the next room, take out any mascots waiting for you, and note the wall with two smaller entrances into the next Arena. Some mascots lay in wait here. Be sure to clear them out because . . .
. . . the fun really begins here. A Minigun Brute drops into the arena, and you may already be feeling the crunch for time. If you do have time to spare and have the firepower to bring it down quickly, it’s worth $500. Watch your shooting here, though, an Unethical Panda sign is in this space, mixed in with a Health Bonus, Ethical Tiger, and Money Shot signs.
Of course, there’s no shame (well, maybe a little) in running if you’re low on time or health, considering that two more Minigun Brutes will appear in the next section if you kill this first one.
You’ll also find another set of flame traps guarding the exit. You can use the first Brute’s minigun to hose down the new ones that show up, but they will keep coming. Grenades also work wonders, but you could be straining your health and time playing with these guys.
Regardless of what you choose to do, make sure you have enough time to evade the last set of flame traps and break for the exit.
If you’ve triggered the Brute flood, you’ll be under fire the entire time. Sprint past them as best you can, move to the right side of the room to try to avoid getting shot while navigating the last set of flame traps, and cross the finish line.
Professor Genki 3 (#29)
Location: Henry Steel Mills
Difficulty: Hard
Time to Complete: 3:59
Cash Goal: $3,500
Cash Earned: $3,500 and up
Respect Earned: Based on rewards achieved
Rewards: 3% Morningstar Gang District Control—$94 per hour
If you believed the last episode got hectic toward the end, (especially if you took on the Brutes), get ready to be tested a little more thoroughly.
A wall greets you upon entering the first arena. On the other side of it lie a number of mascots. Use this wall for cover while engaging them.
Check the top of the arch on the room’s left side for a Money Shot sign. At the center of the room, behind a flame curtain, is an Ethical Tiger sign, along with more mascots.
Past this first room, the next opens up with two mascots flanking you, protecting two routes you can take.
If you go left, an Ethical Tiger sign and a number of mascots wait for you. Mow down this first set.
Follow the path to this flame pillar. Watch the trap closely before making a move; it’s easy to lose a lot of health and time here!
Just past the flame pillar and to the left, a flame barrier guards a Health Bonus sign.
If you went right a mascot armed for melee combat waits in ambush, protecting an Ethical Tiger sign.
To the right, an electric barrier separates you from another group of mascots. Cut them down, bypass another electric trap, and take the exit.
If you’re feeling gutsy, you can always backtrack through the path you didn’t take to mow down more mascots to build up your cash.
After clearing the forked room, the next room opens up with a flame trap guarding a Money Shot sign directly ahead of you. To the right, an electric barrier guards another way to the next room. Either route is fine; just be sure to clear out any mascots and take out the Ethical Tiger sign. A door leads to the next area, and if you’ve been keeping up your combo with kills and scoring headshots, and went back to clear both paths in the forked room, you’ll probably be close to, if not already at the cash goal for the stage.
But look out! Making the cash goal calls out a melee Brute! If you can take it out, do so, but keep in mind that it means more will show up.
Many more.
In the room past the first Brute, you have two doors to the left and right, with a flame trap in the room’s center.
The left door has a Health Bonus sign; the right conceals an electric trap. If you’ve brought down the Brute thunder, it might be best to navigate through the central flame trap and make a beeline for the exit.
If the group of Brutes catch you, you may as well restart because they will just pass you around among themselves, forcing you into quick-time event after quick-time event.
If you’re taking on this activity early in the game, however, you probably won’t have the weapons that can put these things down in a hurry, so take the first Brute as your cue to run for the exit.
Numerous signs are scattered about the arena on the way out and they can help facilitate a last stand against the big guys.
So if you really want to exploit the Brutes for cash, wait until you are close to the exit and hope that you have some really solid firepower from presents dropped in the arena. Of particular use would be unlimited grenades. Just put your back to the exit hallway and keep chucking them at the Brutes as they show up. You can rack up absurd amounts of cash before having to beat a retreat.
Professor Genki 4 (#30)
Location: Yearwood
Difficulty: Easy
Time to Complete: 2:59
Cash Goal: $2,000
Cash Earned: $2,000 and up
Respect Earned: Based on rewards achieved
Rewards: 2% Luchadores Gang District Control—$46 per hour
The next set of three Genki activities start with this relatively relaxed refresher course on how to get things done.
An electric trap is your first obstacle. Mascots can immediately shoot at you from the distant catwalks and from positions on the ground.
A Money Shot sign pops up just behind the electric trap. You can choose to go left or right into the next section. If you go right, and Ethical Tiger sign is there for you to shoot. In this area, check the catwalks and the areas beneath them for Health Bonus signs, Money Shot signs, and another Ethical Tiger sign.
The next area features another split to the left or right, with both directions guarded by electric barriers.
Take either path and clear out the mascots on the ground, and watch for the ones in the distance once more.
Atop the central arch is another Money Shot sign, with an Unethical Panda sign on the ground to the left of the passage. In the next section of the room, another Unethical sign pops up, and left of it is a Money Shot sign that pops up in a side alcove. Beyond the central sign, you can also see a Time Bonus sign that appear at the right far-corner of this room.
The last room has dozens of electricity traps and a few more mascots.
There are signs to help boost your score and health, but the real danger comes from the traps. It can take time to navigate everything safely, and if you’ve run the previous section too slow, you might be short on time now.
If you do have time, you can try to get some extra cash by dodging through the inactive traps, but there’s the obvious risk associated with that.
This one is a good warm up for the Genki activities on this side of the city! Now for the real challenges.
Professor Genki 5 (#31)
Location: Bridgeport
Difficulty: Medium
Time to Complete: 2:59
Cash Goal: $3,000
Cash Earned: $3,000 and up
Respect Earned: Based on rewards achieved
Rewards: 3% Luchadores Gang District Control—$126 per hour
This Genki activity starts off with a twist. If you look at the minimap, you’ll notice that you are totally surrounded by mascots on all sides! The four doors in the room are mostly for show; only one will open.
This arena seems like a maze, but it is more of a spiral. Avoid hitting the first Unethical sign, and eliminate mascots as you follow the path.
An electric trap will try to surprise you and there is an Ethical sign just behind it. Another Ethical Tiger sign with more mascots is found to the right.
More mascots are to the right of the second Ethical sign, with a Money Shot sign among them. Two flame traps guard the way to the next section.
Another small group of mascots is waiting here, as well as a trio of signs.
The left-most sign in the dark is Ethical, the middle one is Unethical, and the right one is a Health Bonus, which appear as you close in on the electric trap to the right.
One thing to note, if you are doing well and get the right weapons from the presents you’re awarded, you might have unlimited grenades.
If they’ve been upgraded, this can be a significant advantage and part of a great money-making scheme.
As you cross the trap, take out all the mascots in this room, and scan the area for more Money Shot, Ethical Tiger, and Health signs.
It is possible to break $3,000 by the time you reach this room, especially with upgraded pistols and consistent headshots, which means that Brutes are on the way and they’re carrying miniguns this time around.
If the Brutes are incoming, stay calm and navigate the gauntlet of electric traps.
If you take the left side of this trap set, watch for a Health sign at the end of this small corridor. Whichever path you take, you come across a flame pillar trap.
Pass that and enter the final stretch.
There are many Health and Time Bonus signs strewn throughout this section, for good reason. While there is a smattering of mascots all around, with some Money Shots also, this is the room where the Brutes come from, and this can get ugly really fast. Taking down the first Brute activates the reinforcements, and up to four Brutes can be in the arena, gunning for you. With that much minigun fire coming your way, even fully upgraded weapons and damage resistances aren’t enough to keep you standing.
However, if you have at least level 2 frag grenades and were given them as a present during this arena, this can suddenly become an extremely lucrative opportunity. Rush toward the exit, gunning down any mascots on the way, dodging traps, and shooting the Health Bonus signs that are in your immediate path. The Brutes are very accurate with those miniguns, and you’re likely to take damage until you flee toward some hard cover.
When you get to the final set of twin flame traps, you’re almost home free, but if you have grenades, you can use the trap as a barrier, and throw them at the feet of the Brutes as they try to round the corner. Each Brute is worth $500, but since they tend to bunch up at that corner, a powerful and unlimited barrage of grenades can rack up a mini-combo between waves of Brutes and a ridiculous amount of cash before the timer runs out. Just be sure to give yourself at least ten seconds and enough health to make the mad dash to the exit, through those last fire traps if you must!
This arena also lends itself to a money-making scheme for higher level characters. If you’ve managed to get enough respect and cash to purchase immunity to bullet damage, you can kill the first Brute, pick up his minigun, and then sit in one place, methodically hosing down Brutes as they appear in the arena. Because they wield miniguns, they will not try to attack you physically unless you stray too close. Your bullet damage immunity lets you drag out the slaughter until your time starts to run out and you need to run for the exit!
Professor Genki 6 (#32)
Location: The Grove
Difficulty: Hard
Time to Complete: 3:29
Cash Goal: $4,000
Cash Earned: $4,000 and up
Respect Earned: Based on rewards achieved
Rewards: 2% Luchadores Gang District Control—$78 per hour
This is it. The last episode of “Professor Genki’s Super Ethical Reality Climax.” In another twist, the moment you hit or exceed $3,500 ($500 before the goal) in winnings, Brutes will begin storming the arena. As always, killing the first Brute will call down an endless supply of them, and unlike the previous arena, there is no convenient spot to nail them all with a grenade barrage (if you’re lucky enough to be awarded them).
Your first obstacle is a trio of electric traps, all staggered in such a way that they do not activate all at once. This can throw you off and even bounce you back and forth between an active pair! Beyond that, a pair of signs pop up: Unethical Panda and Ethical Tiger.
To your right, a group of mascots rushes you, intent on getting into melee range. Headshots!
Headshots for everyone! Beyond this ambush, a Money Shot sign waits for execution.
Continuing on, you’ll find more mascots, with Ethical and Unethical signs to your left, and a Money Shot sign to your right.
A flame trap guards the next location.
The next section throws more mascots at you.
Be especially alert for snipers here; each shot not only hurts a lot, but also makes you stagger and slows you down.
To the right upon entering, an Ethical Tiger sign can be shot. Next to the chain-link fence wall, where a sniper was posted, a Money Shot sign appears.
Left of the Money Shot is a Health Bonus sign. Continue moving down this corridor, mowing down more mascots as you go. To the right as you advance, a Money Shot pops up. Beyond that, the corridor gives you a series of paths you can take.
To the left, in the shadows, you might see two more signs pop up. Watch your shots, the far sign is Unethical; the closer one is Ethical.
The shadows make it hard to see, but upgraded pistols come with tactical lights to help you see targets in the dark.
The paths to your left are protected by flame traps. A Money Shot sign is on the side up above and a Health sign pops up in the center.
This is where the Brutes start to come from when you hit $3,500. Killing one opens the exit for you. You can try to stand and fight them here, but you may find yourself flanked by the minigunners and brought down quickly.
In the section beyond the flame traps, you’ll see an Unethical Panda sign appear behind cover on the left, and a Money Shot on the right.
Watch the sniper atop one of the catwalks here! Past him are another pair of signs: Health Bonus on the right and Time Bonus on the left, which lead into another flame trap.
Beyond the flames, a pair of waist-high electric traps guard the right-hand route.
These can be leaped over, but it might prove difficult to judge the distance you need before starting the running leap, especially if you’re being hounded by Brutes. To the left of these traps, a Health Bonus sign pops up, and you might need it by this point.
After the second electric trap, a Money Shot sign appears directly ahead.
On its left is an Unethical Panda sign. Head to your right and watch out for the flame pillar there. Part of it does not shut down. If you’re in a hurry, you can try to rush through it. Either way, make another right.
More mascots try to ambush you for melee combat, with more of them farther out covering them with guns, including a sniper.
Among them, another Health pops up, so be sure to nail that if you need it.
If you have been awarded grenades, you can use the flame pillar as a natural chokepoint, but the Brutes seem to have trouble following you this far, especially if you move quickly through the sections.
The last obstacles between you and “Professor Genki’s Super Ethical Reality Climax” history are a trio of electric traps. Before crossing them, look for a Money Shot facing the gauntlet.
Pass through the final obstacles and strut proudly through the exit, like a (Super Ethical) boss.