
Saints Row: The Third Guide Walkthrough Campaign
Mission 5: Party Time
Cash Earned: $6,000
Respect Earned: 1,500
Unlocks: Crib — Penthouse, Gang Customization
Crash the Party
With two paying missions under your belt, your wallet should be fat enough to afford some new clothes, car mods, or, more importantly, weapons. Before any major mission, it’s a good practice to stop by a Friendly Fire and top off your ammo and explosives. For now, most of the upgrades in the Cell Phone Menu are out of reach, but that money you earned won’t be burning a hole in your pocket for long.
Pierce has a plan for some serious party crashing that will put a big hurt on the Morningstar, however the penthouse party is guarded too well to simply stroll in. The only way to join the fun is from the air and that means a trip to the airport.
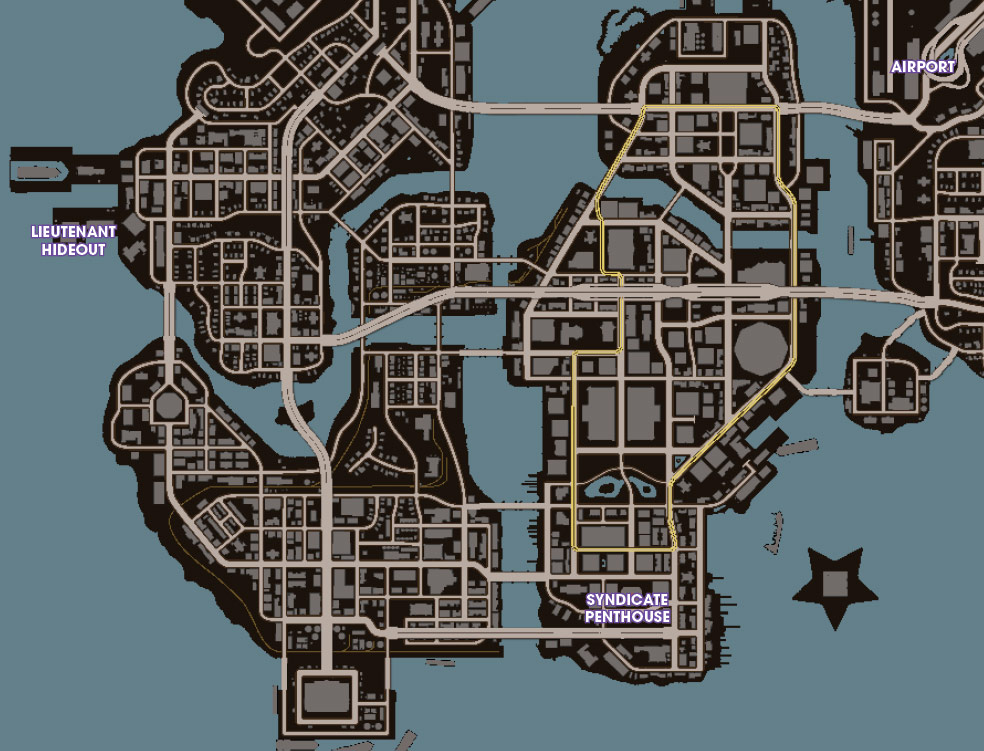
To view our interactive map for Saints Row: The Third, click here (Best viewed in Firefox or Google Chrome).
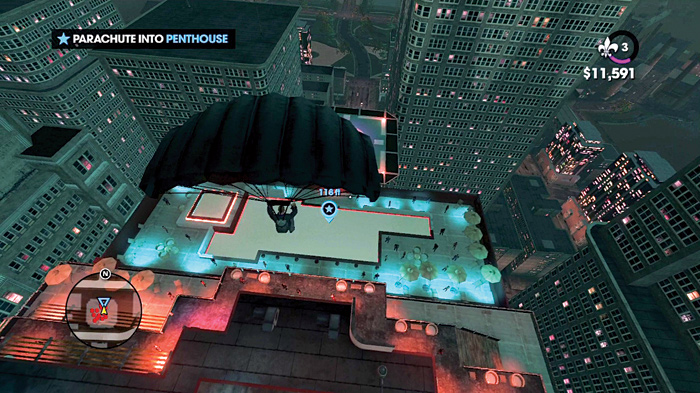
Drive to the airport to automatically hop in a helicopter that will hover just above the penthouse. Take the fast way down and jump out of the chopper, just make sure to activate the parachute before hitting anything.There is no specific spot where you have to land, just aim for any spot illuminated with blue light or the pool.
Take Over the Penthouse
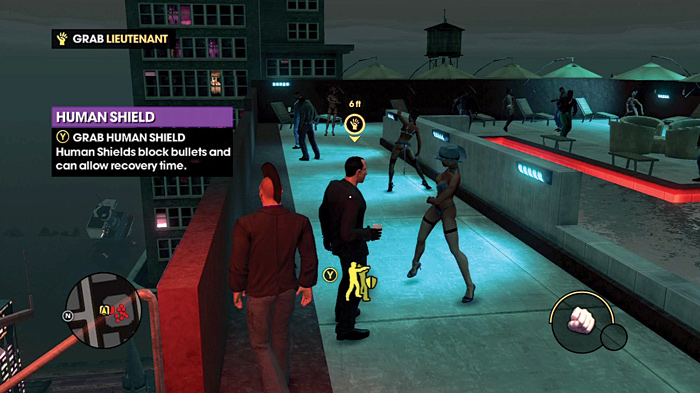
This must be a wild party because nobody even notices when you crash-land out of nowhere. To get this party started you need the assistance of your homies, who are downstairs. Find the lieutenant and interrogate him to get the code to the service elevator so your crew can join the fun. The lieutenant is on the longest edge of the pool near the heliport. Grab him and make him cough up the code. Once he does, the Morningstar members will know something is wrong and they open fire.
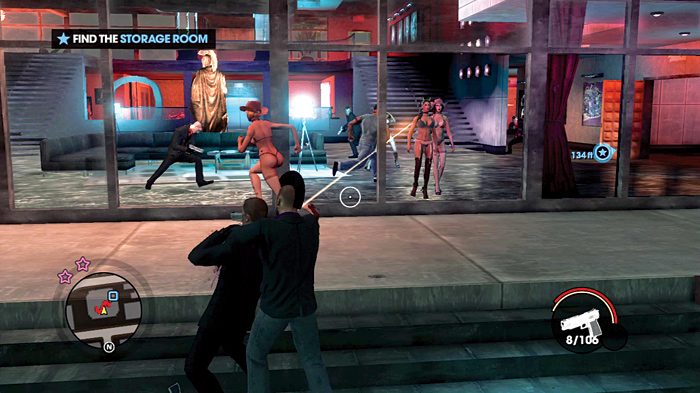
As tempting as it might be to get into a gunfight, right now it is not a smart move. Remember that your homies are downstairs and with a little backup this firefight becomes a lot more manageable. It might seem cowardly but the best move is to run inside the building on the right side and avoid any confrontations. Look for the first large red door on the right and enter that room. Exit the doorway in front of you and sprint through the next room while following the blue indicator. To the right of a large staircase leading up is a set of gray concrete stairs that leads down to the storage room where the service elevator is located.
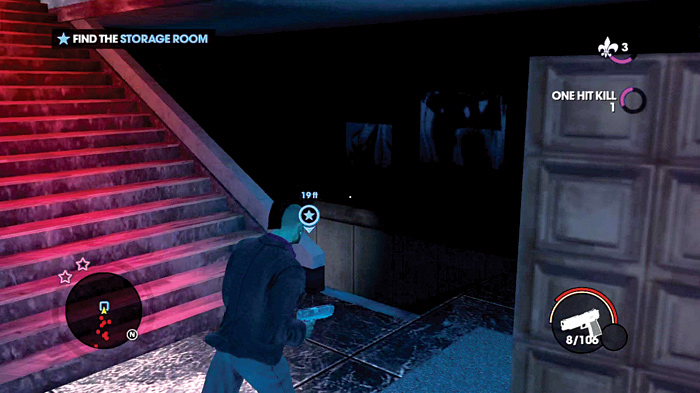
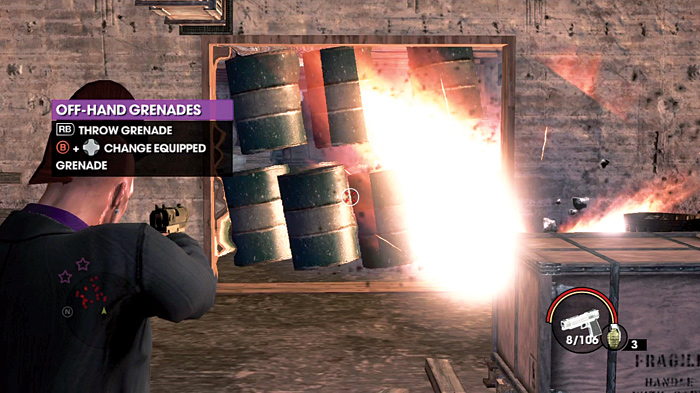
Grab a grenade off the floor if you don’t have any and toss it at the barrels blocking your way. To let the Saints into the party you must reach the elevator that is just ahead on the right side.
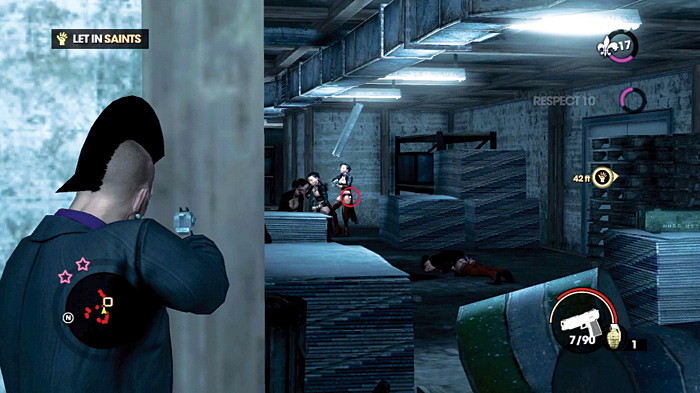
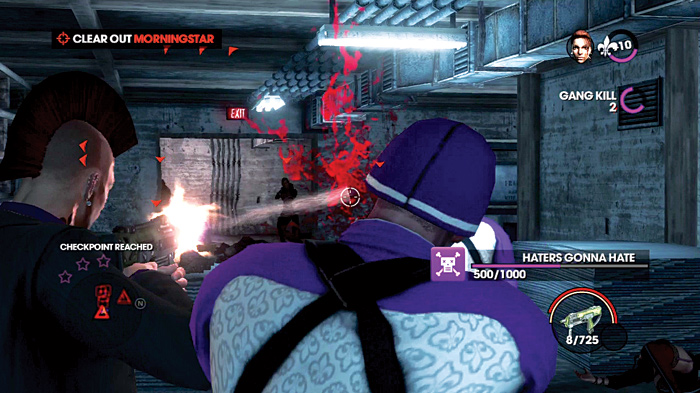
Press the elevator button and protect it until the Saints join the battle. As more enemies swarm your location, keep your back to the elevator and wipe out the Morningstar members as they make their way down the stairs. The wait isn’t very long and soon your backup goes to work killing the guards. Shaundi and several other Saints do a lot of the clean up work for you, but this is no time to sit back and relax.
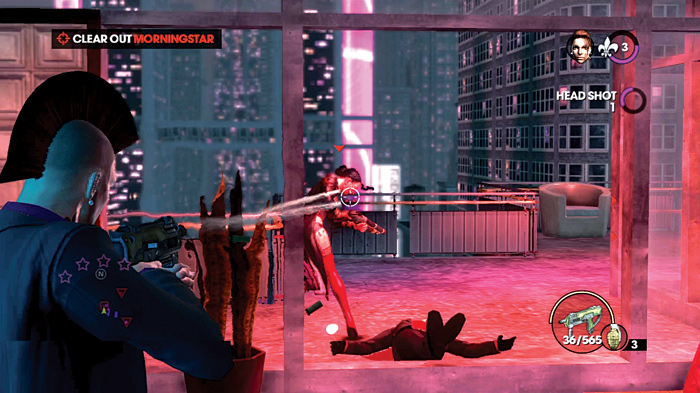
Go back upstairs to the main level and pay close attention to the minimap to find the red highlighted targets. If the fight gets overwhelming, stick close to your homies and let them provide additional cover fire and targets. After most of the Morningstar are cleared out of the main floor and around the pool area, there will probably still be a few stragglers that are hard to locate. Go upstairs and check the balcony overlooking the pool to find some of the last remaining guards.
Disable the Bomb
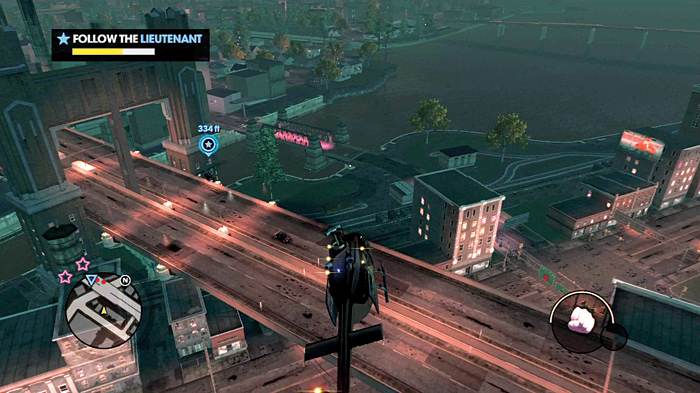
Out of desperation, the Morningstar sets the entire penthouse to blow. To make matters worse, the only person who knows how to disarm the bombs has hopped in a helicopter and taken off. Quickly exit the building and follow the yellow marker to the heliport. Jump in the chopper and tail the lieutenant before he gets too far away. Keep your eyes peeled for the blue marker to indicate where his helicopter is. This is a great chance to get familiar with the controls, but if you lag too far behind the lieutenant the mission is over. The yellow bar in the upper-left corner shows how closely you are following. There is no point getting right on his tail as long as you keep the yellow bar partially filled. If you become adept at flying there are a lot of aerial stunts to pull off such as the diversion called barnstorming. These maneuvers require a lot of skill and timing but now is not the time for tricks. Simply follow him at a safe distance to wait for the lieutenant to land.
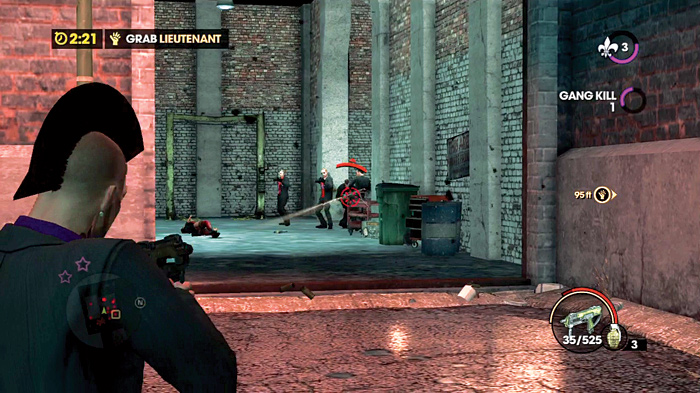
The aerial chase is not too challenging but when the chopper lands, the bomb’s timer will start counting down. You have only three minutes to land your helicopter and find the lieutenant. Put your chopper down right next to the one you were chasing and follow the yellow indicator on the HUD. Several guards flank the entrance to the building that your target has ducked into. If you have any grenades on hand, toss them into the group, where the Morningstar are clustered together. Wipe out the initial wave of guards and enter the building’s interior, using the right wall as cover.
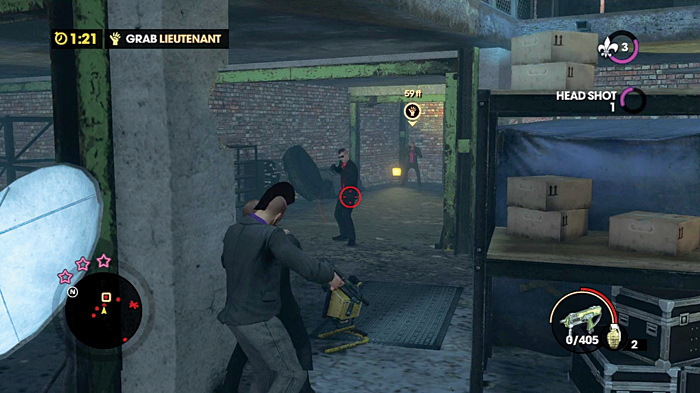
Inside this structure is a wide open space with two levels. It might be possible to make a mad dash for the lieutenant, who is shown by the yellow marker, but you should have plenty of time on the clock. Wipe out a couple of guards from the relative safety of the first wall and turn right to ascend a short flight of stairs. Grab the nearby guard as a shield and finish off any enemies between you and the target. Race into the small alcove and grab the elusive lieutenant. Perform the instant-kill neck snap mentioned on screen to end the mission.