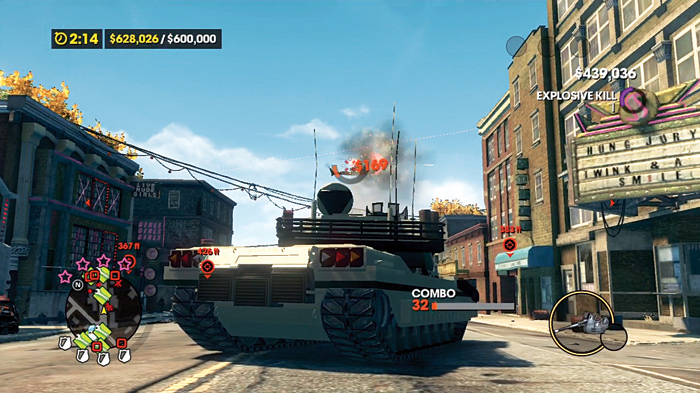
Saints Row: The Third Guide Walkthrough Activities
Tank Mayhem
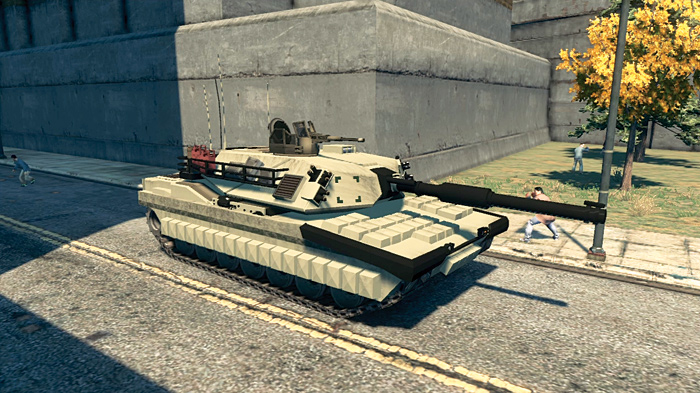
When you absolutely, positively need to have something destroyed today, get a tank. It’s good for you, and okay for everyone else in your path.
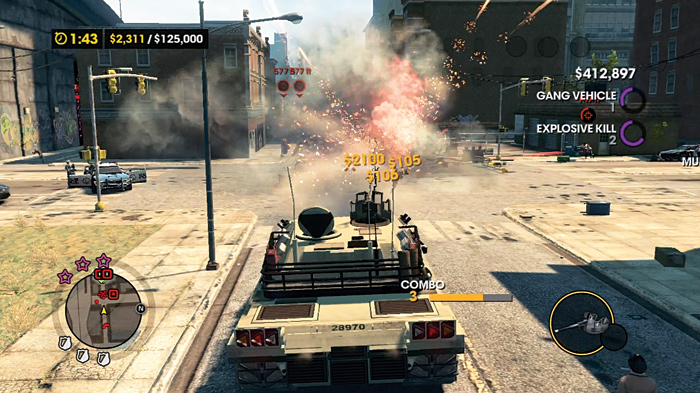
Use the main gun, the machine gun, or the tank treads to make short work of anything else that isn’t another tank.
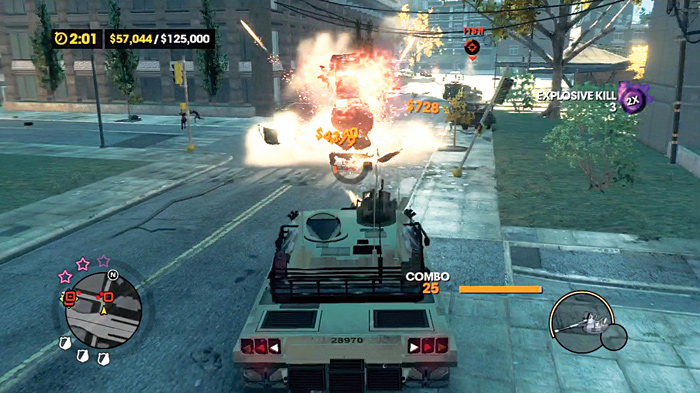
Even helicopters are not safe from your wrath!
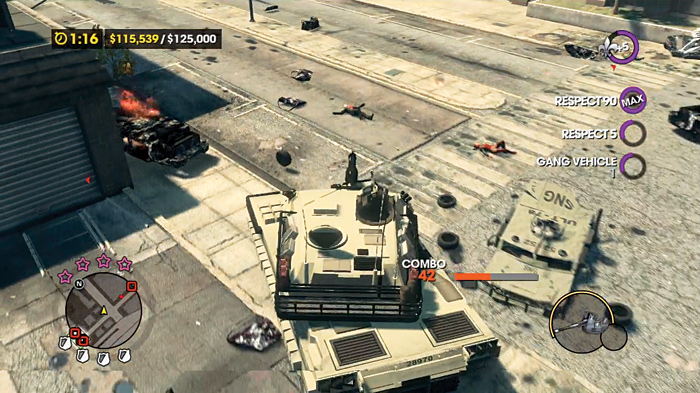
You can also build up the combo with destroyable objects, like trash cans, newspaper bins, bus stops, and people.
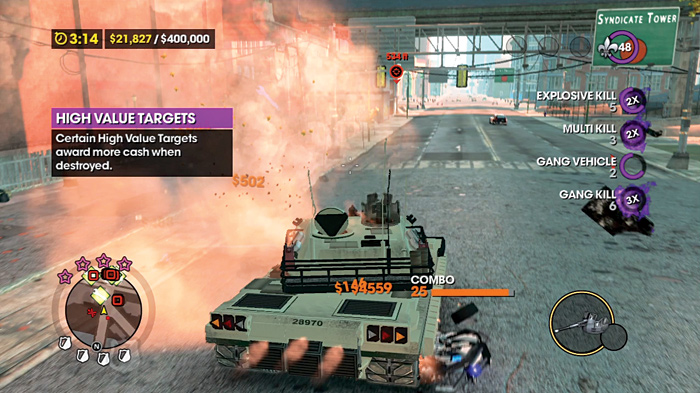
Especially people.
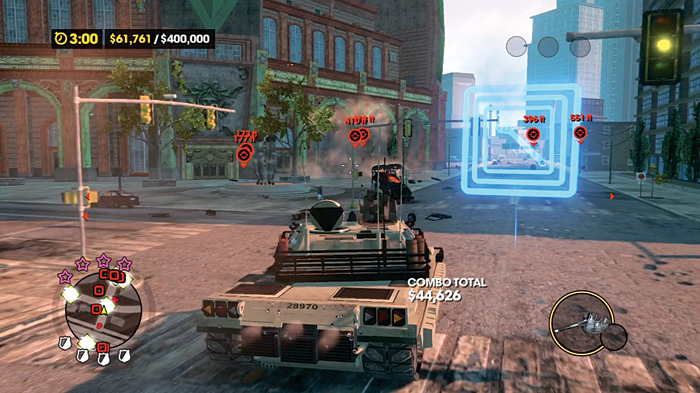
You’re not invincible. Attack helicopters, rockets, other tanks can all chew you up if you’re careless. Fortunately, there are repair pick-ups strewn through each activity. Use them wisely!
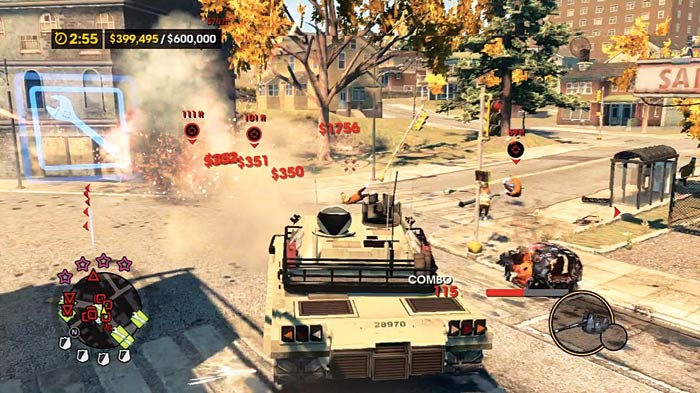
You can accelerate how much money you make by focusing on the specially marked targets, who will grant you greater cash amounts and boost your combo meter even higher! Prioritize them above other targets, then go back to blasting the rest.
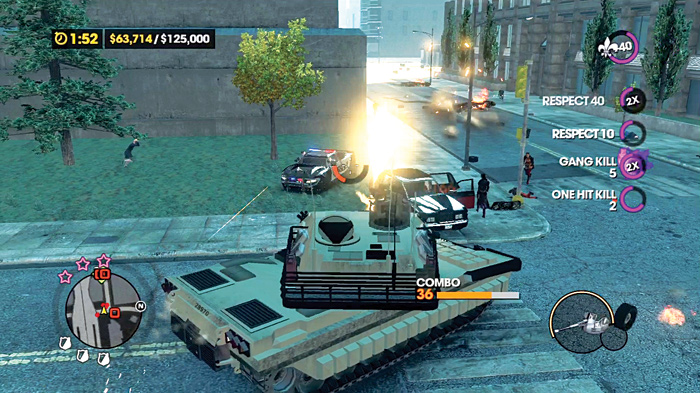
You can also use the machine gun to take out closer targets, since the main gun takes more time between shots. Keep an eye on the curved meter underneath the reticle when you are using the machine gun, as it can overheat. However, it does lack the area of effect the main gun provides. It’s accurate enough over distances to help hit distant targets.
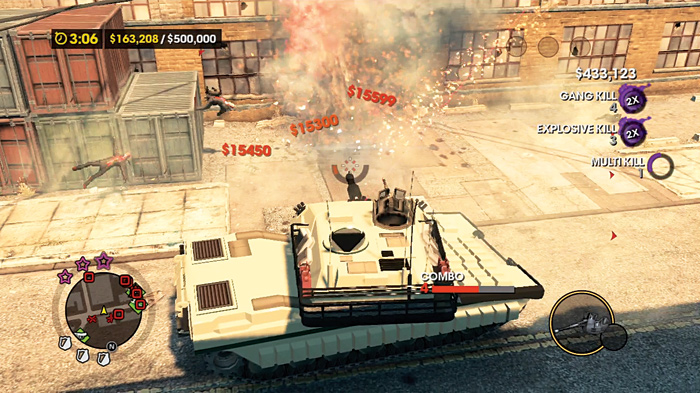
But it’s best to just fire the main gun as quickly as you can at anything close to you. The sidewalks are littered with objects and people that contribute money to the total damages required, and the gun’s area of effect hits so many targets at once your combo meter can stay filled for much longer.
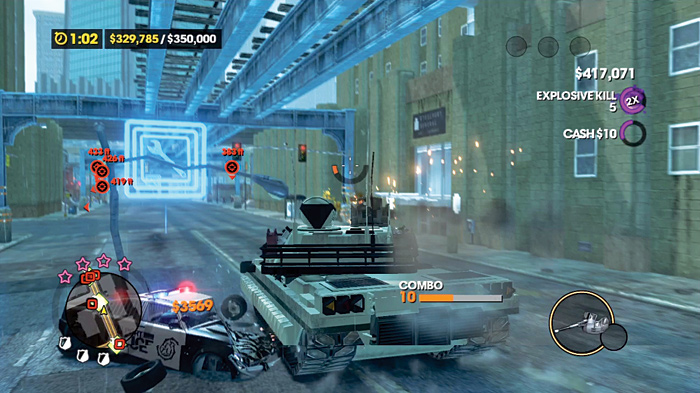
Keep the tank moving. If you somehow miss something with your guns, you can run over most cars and trucks. Only military APCs and other tanks will resist being flattened by your tank.
Tank Mayhem 1 (#39)
Location: Loren Square
Difficulty: Easy
Damages Required: $125,000
Time Limit: 2:28
Cash Earned: $2,000
Respect Earned: 200
Rewards: 2% Morningstar Gang District Control—$39 per hour
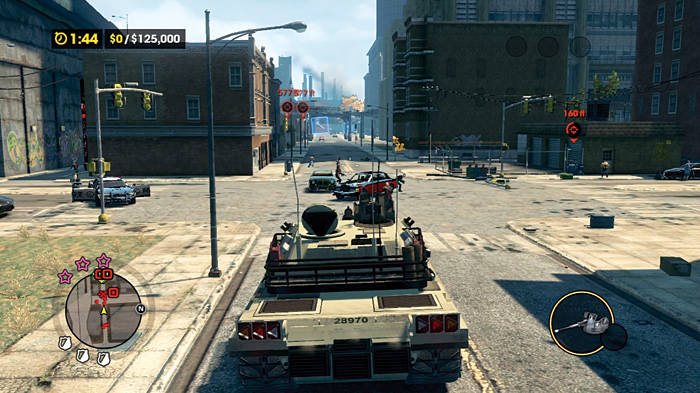
The first Tank Mayhem activity starts on a street that stretches into the distance, and you are immediately besieged by Morningstar and local cops. Try to hit the cops harder, as they will eventually call in SWAT and military vehicles after you punish them enough, and these naturally have a higher value than the gangsters.
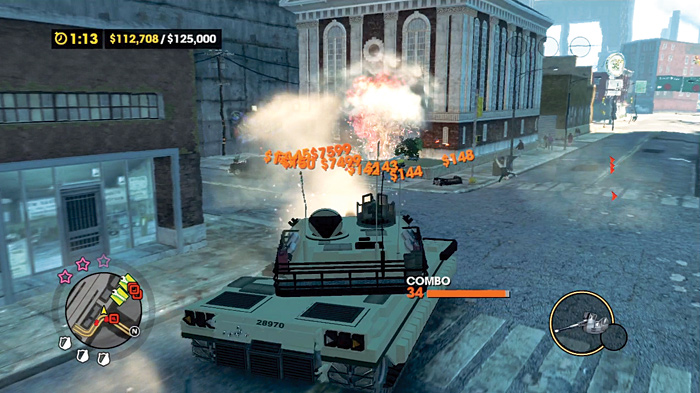
If, for whatever reason, the targets stop presenting themselves to you, you can drive down the main street you begin on, which may encourage more victims to come out of the woodwork.
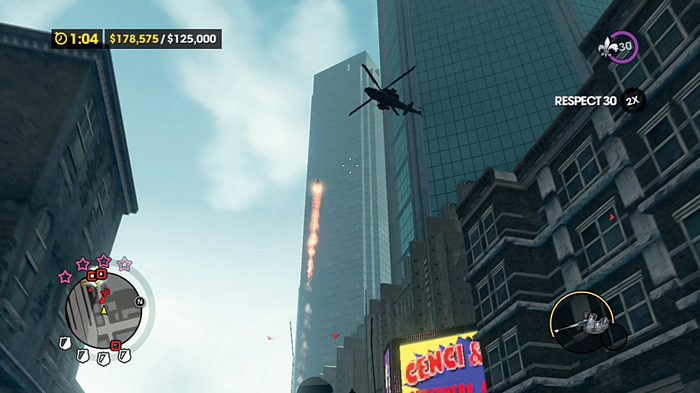
Multiple helicopters are present and they are worthwhile targets to swat out of the sky. However, they may dance just out of your tank’s arc of fire. Don’t spend too much time chasing them down, especially when you have many more targets on the ground.
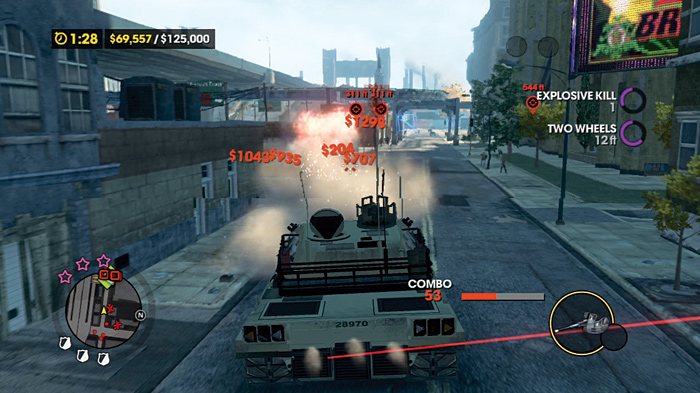
Following these tips, you can easily make the required amount of damages money on this activity with time to spare.
Tank Mayhem 2 (#40)
Location: Loren Square
Difficulty: Medium
Damages Required: $350,000
Time Limit: 1:58
Cash Earned: $4,000
Respect Earned: 400
Rewards: 4% Morningstar Gang District Control—$73 per hour
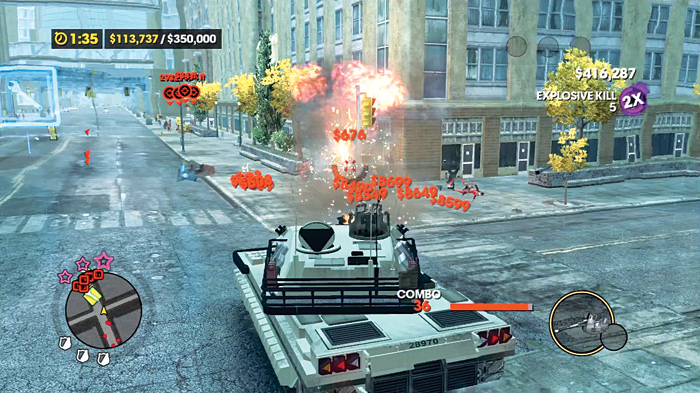
You have absolutely no time to waste on this mission. The amount of damages money you need to reach seems daunting, but with effective combo management, you can easily hit the goal in under two minutes.
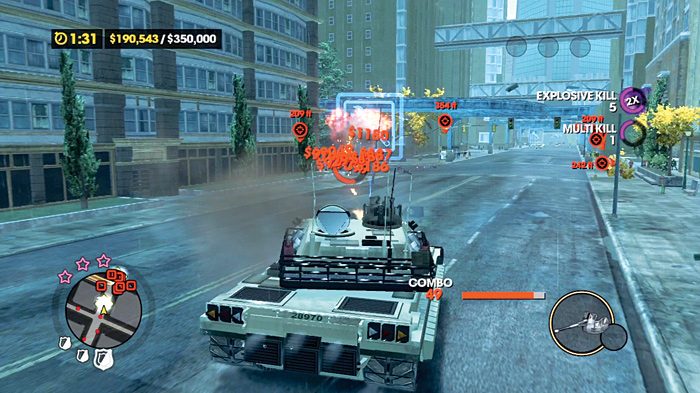
You want to keep moving forward on the street you start on, using the main gun to hit all of the designated targets in clusters as they appear on the side of the road.
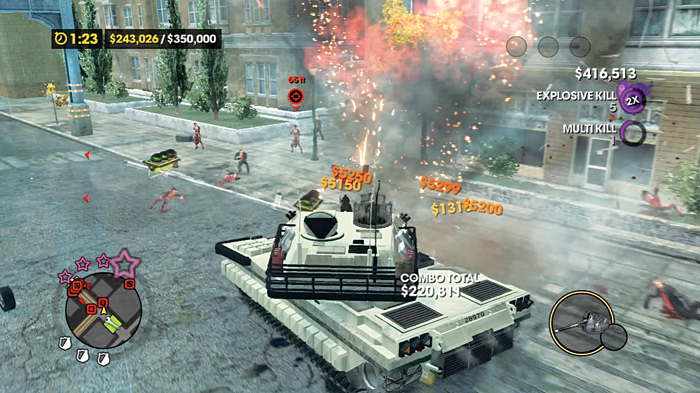
To get the most out of the clustered targets, build up the meter first with other vehicles or people who don’t have the targets over their heads, then land a main gun shot right in the middle of a target group, and then hit another target group.
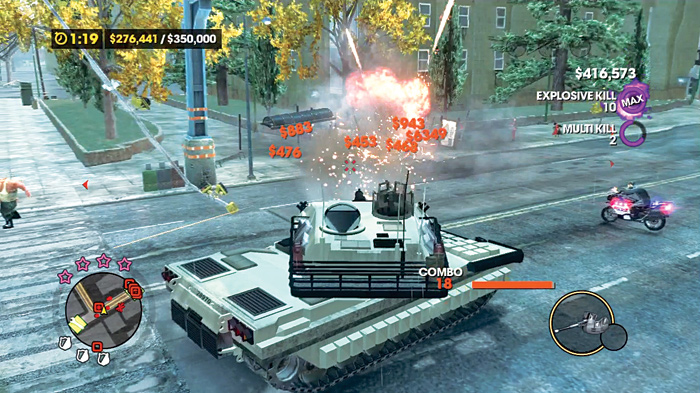
This way, you can boost the combo up much higher, and every kill you make while you roll toward the next group in the distance helps to maintain the meter.
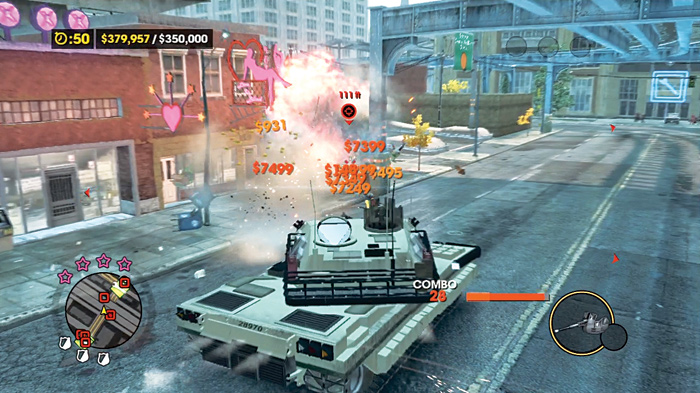
If you manage to get to the end of the street and are still short on cash, simply turn back the way you came. Most likely you have a small entourage of helpless gang members and police cars tailing you, and they could use some special attention.
Tank Mayhem 3 (#41)
Location: Loren Square
Difficulty: Hard
Damages Required: $400,000
Time Limit: 3:28
Cash Earned: $6,000
Respect Earned: 600
Rewards: 2% Morningstar Gang District Control—$42 per hour
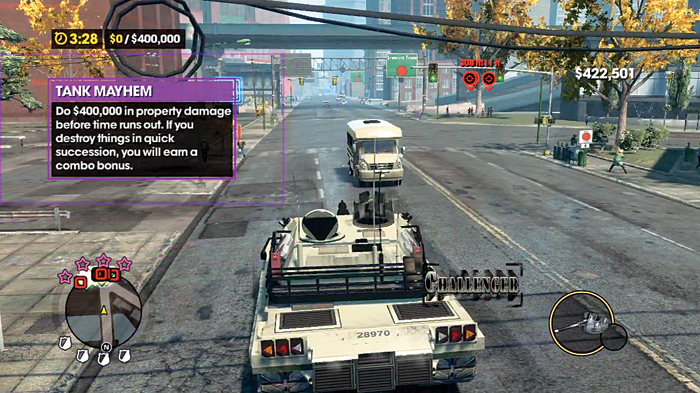
This activity is a bit trickier than the previous one. You don’t have many high-value targets conveniently close to you from the beginning.
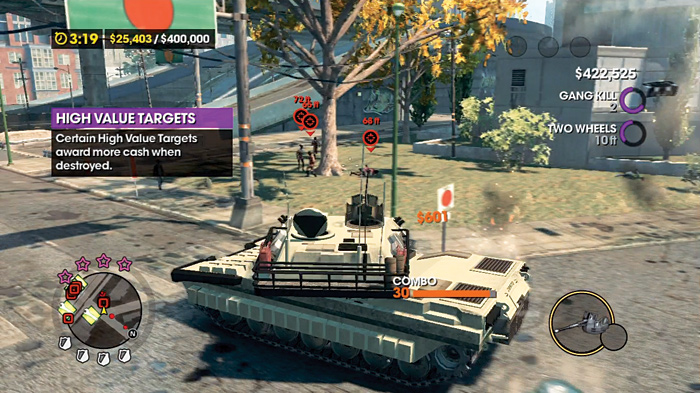
You have to roll the tank into range to see them marked on the HUD.
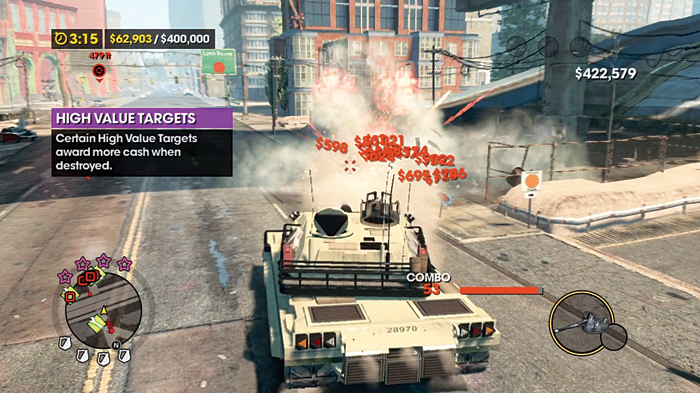
Fortunately, there’s plenty of stuff on the sidewalks to blast before you see the larger groups of high-value targets! Target clusters of destroyable objects like mail boxes or fences, and of course, and grouping of parked cars or people, regardless if they are high value or not.
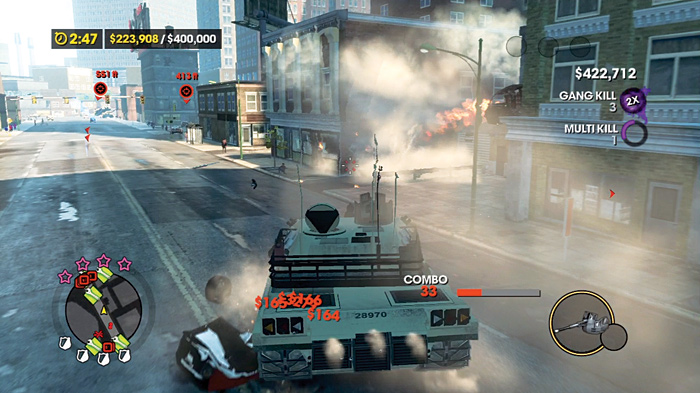
As long as you consistently hitting targets with the main gun or machine gun, you can have a hefty combo built up before you start seeing the high-value target groups!
Tank Mayhem 4 (#42)
Location: Camano Place
Difficulty: Easy
Damages Required: $250,000
Time Limit: 1:58
Cash Earned: $2,000
Respect Earned: 200
Rewards: 2% Morningstar Gang District Control—$79 per hour
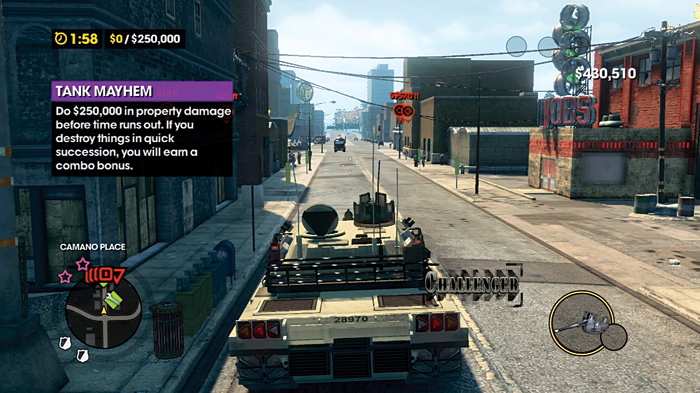
When some says “easy as sneezing,” they could be referring to this very mission. Trundle down the center of the road, running over and through the light posts and expensive statues that adorn the center divider.
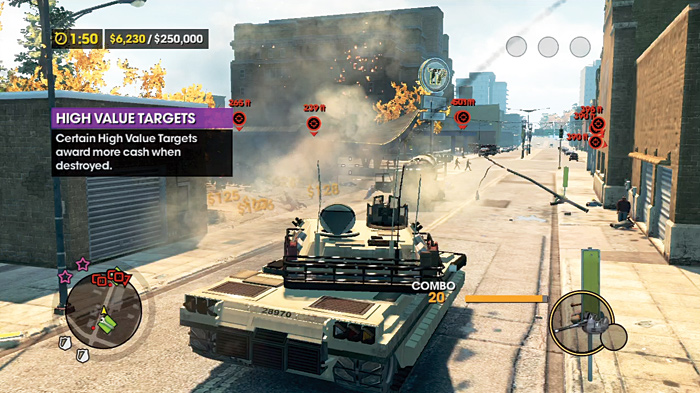
Take out the gas station to your left as you roll forward.
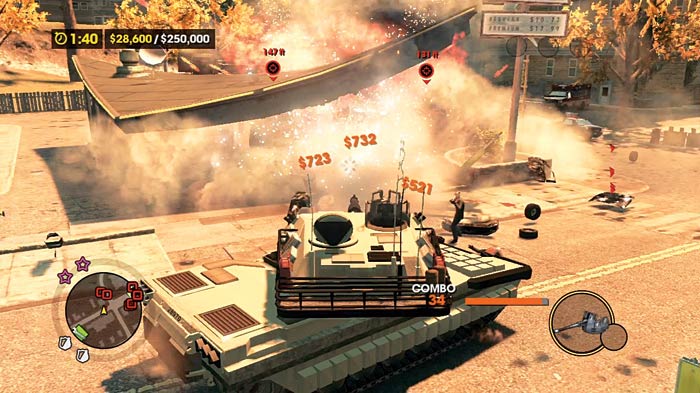
Keep blasting away at the sidewalks.
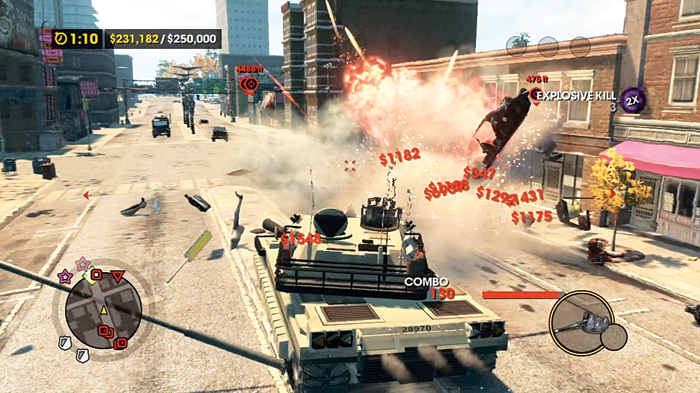
If you fire the main gun as fast as you can at the sidewalks while moving forward at top speed, it’s possible to hit the cash goal with over a minute to spare.
Tank Mayhem 5 (#43)
Location: Camano Place
Difficulty: Medium
Damages Required: $500,000
Time Limit: 4:58
Cash Earned: $4,000
Respect Earned: 400
Rewards: 2% Morningstar Gang District Control—$91 per hour
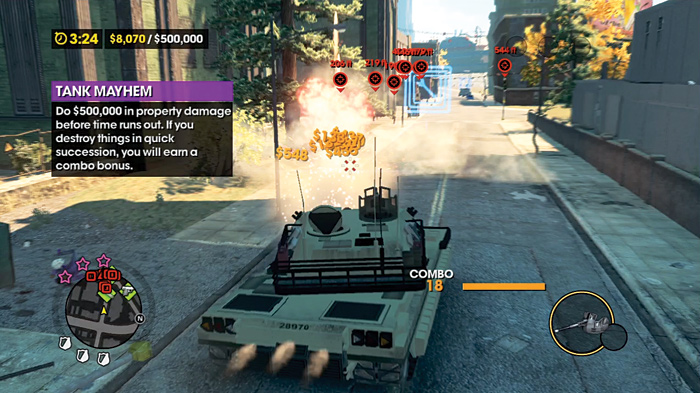
If you do the math, it really just comes down to making a hundred grand every minute, and it’s not too hard to accomplish this well under five minutes.
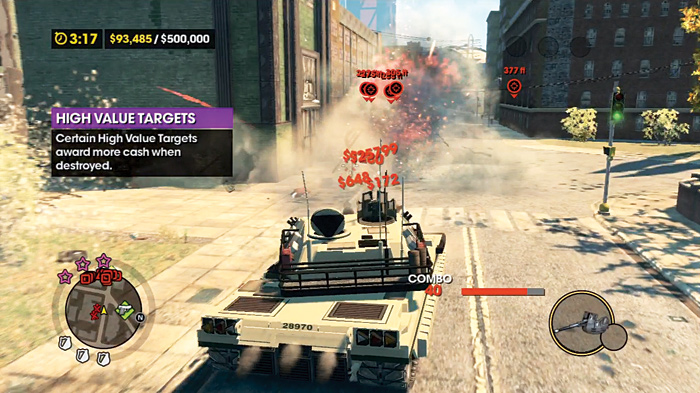
Travel down the road you start on, and scour it and the sidewalks clean of all people or vehicles with steady main cannon fire. Just keep looking for clusters of people gathered by the high value targets...
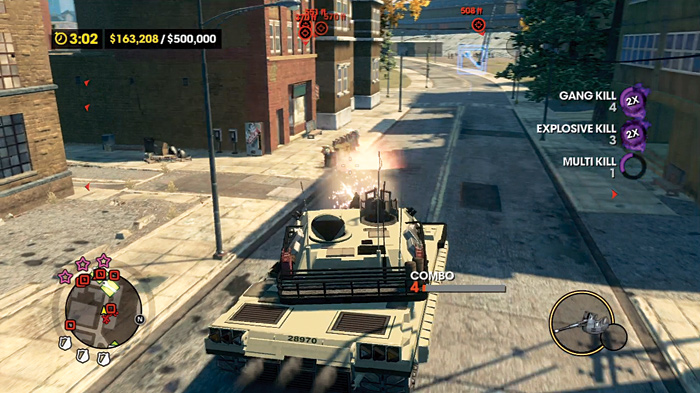
...one good tank shell can rake in huge amounts of cash.
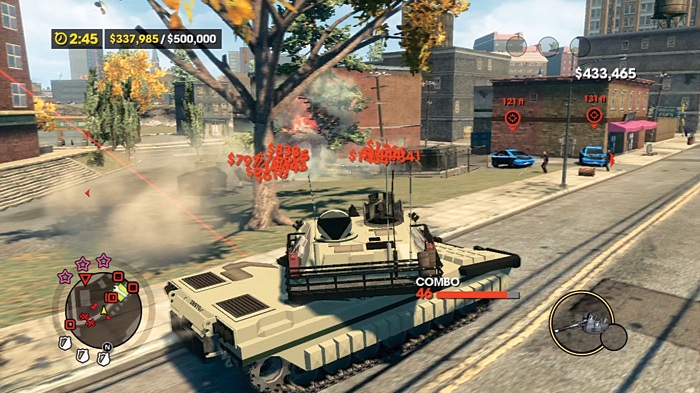
It’s possible to finish this activity in under two minutes!
Tank Mayhem 6 (#44)
Location: Rosen Oaks
Difficulty: Hard
Damages Required: $600,000
Time Limit: 3:29
Cash Earned: $6,000
Respect Earned: 600
Rewards: 3% Morningstar Gang District Control—$85 per hour
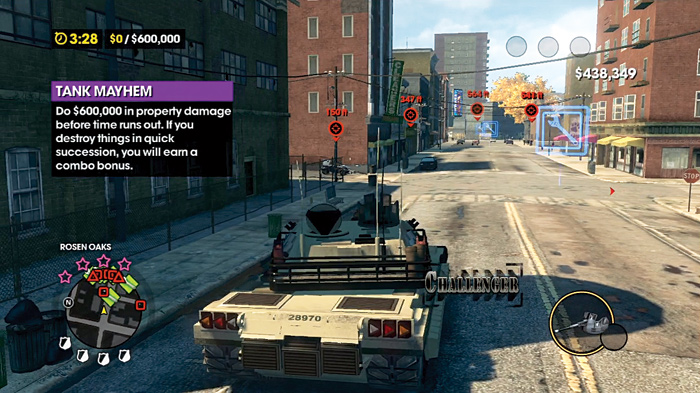
Clear out the area surrounding the tank when you begin. After that, follow the starting street until you have the choice to make a left or right.
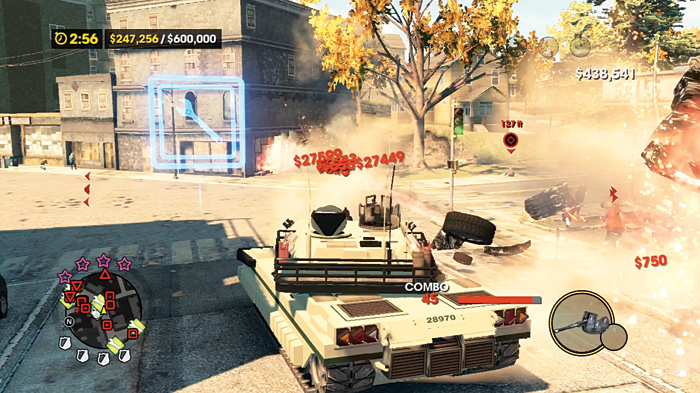
At that intersection, take out the high-value targets on the right, but take a left once that is done.
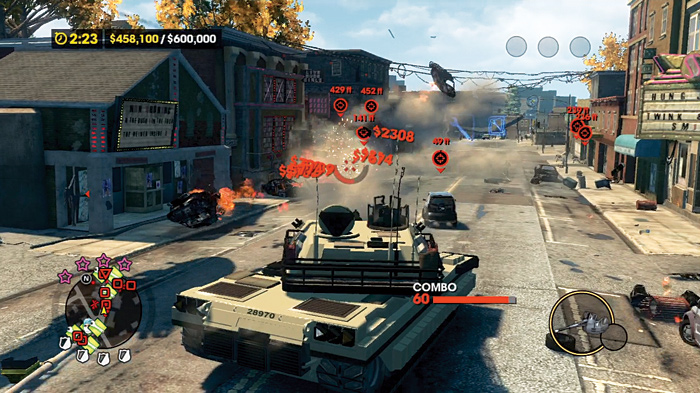
This is where you’ll make the bulk of your cash.
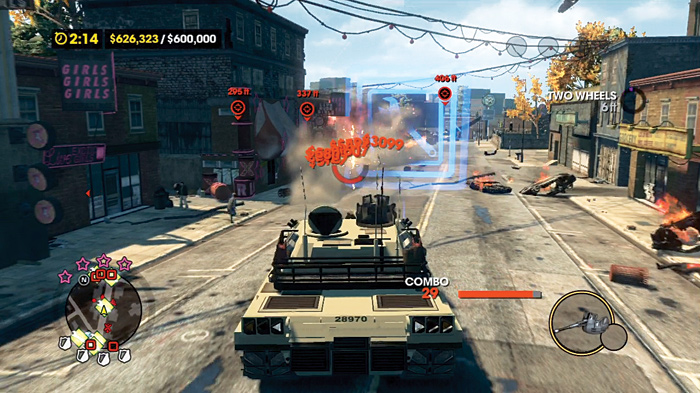
There are high-value targets all over the sidewalks and street, and sometimes small cars called Emus race past you. These are also marked as high value.