
Saints Row: The Third Guide Walkthrough Activities
Snatch
The Snatch activities number six. In them you lend a helping hand to both Zimos and Kinzie. In all of these missions, you need to drive to designated points on the map, and pick up either hos or contacts, and bring the requested number of them back to a safehouse. The numbers of hos or contacts increases with the difficulty of each activity.
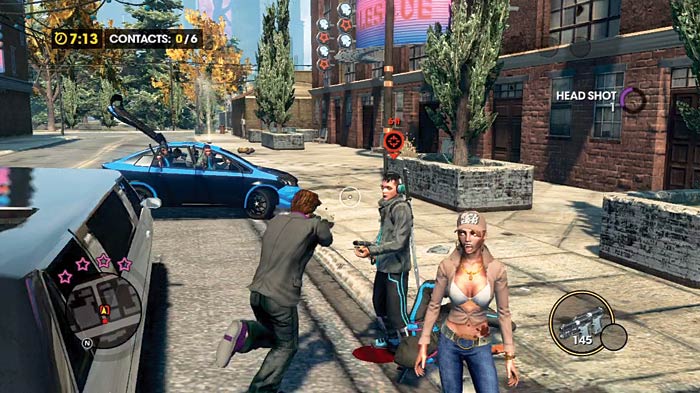
Which is also true for the difficulty. As always, your gangland rivals won’t make this easy for you, and will pursue you throughout each activity. But that isn’t all they do!
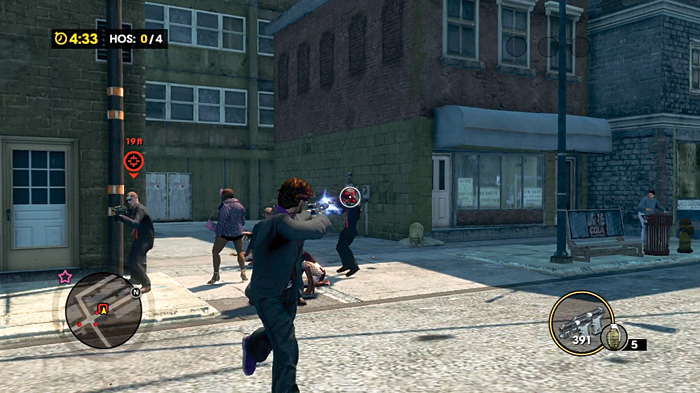
They may take the hos/contacts to a new location, and make them so frightened they will not leave until you deal with the designated targets in their vicinity. Sometimes, the gang members will use your objectives as human shields!
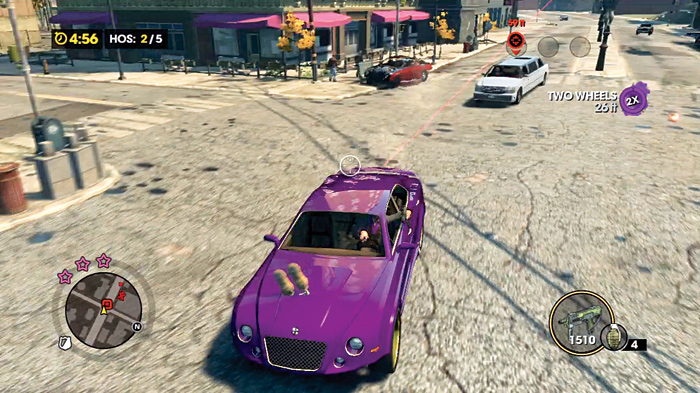
They may lock your hos/contacts in a vehicle and attempt to waste your time by driving away. You will need to free your allies by disabling the getaway car somehow, without killing the precious cargo.
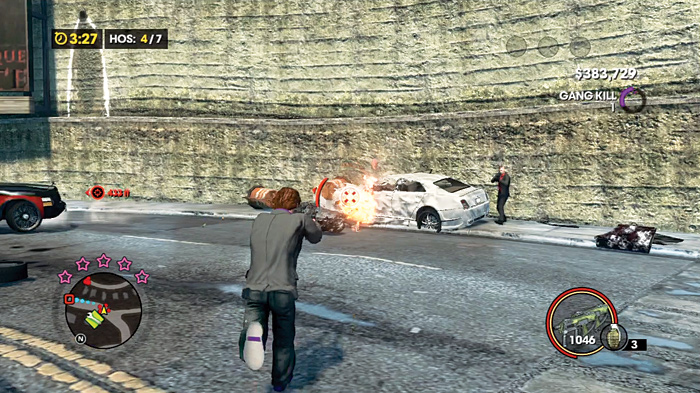
Or the gangs could just set up a good old-fashioned ambush, which not only wastes your time extensively, it may also get you killed if you’re reckless!
Time is always of the essence on these missions. On the higher difficulty Snatch activities, where a small army will be hunting you down the moment you make the first pickup, getting into protracted battles is asking to get killed. The later activities can get quite chaotic, and as such, there’s not really an optimal route between pickups. Rather, you’re focus is survival, between and during each pickup.
Here is some helpful advice:
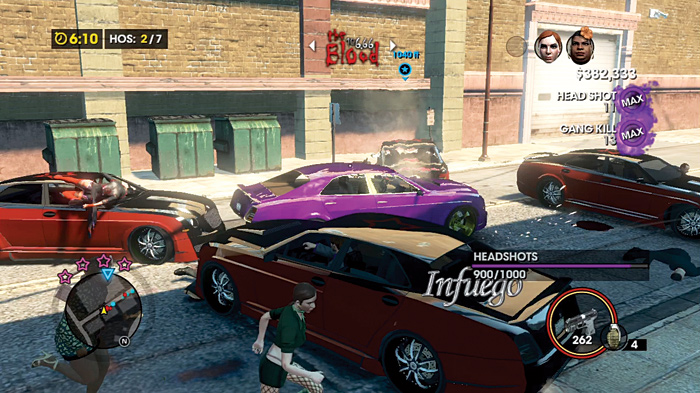
Keep the starting car in one piece, if you can, but don’t be surprised if you need to find another ride. The harder these activities get, the more you’ll find it prudent to jump to another vehicle if things get tough.
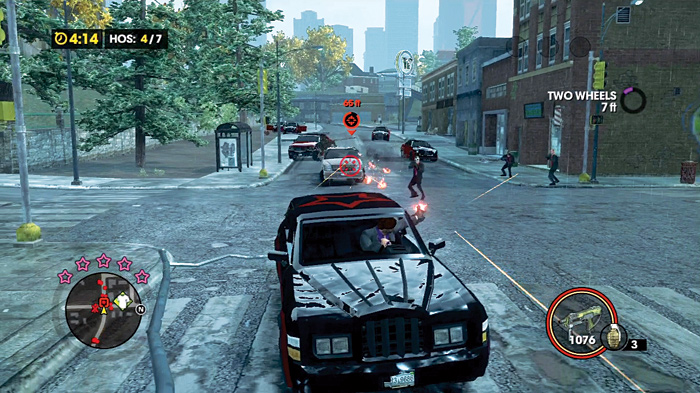
Get very good at shooting while driving. Practice it if you must. Easy-rated Snatch activities, like this first one, allow you to take time to shoot the required thugs and calmly call your hos/informants over. Medium and Hard Snatch missions are akin to calling down the wrath of Olympian gods on your little head (how much are these hos worth?). So quickly killing the designated targets while pulling up, picking up the cargo, and getting the heck out of there needs to be like clockwork, or expect to be swarmed and killed in short order. Some brave gang members might actually yank you out of your car, costing you precious seconds while you recover. So killing them before they get close is a priority.
Upgrade as much as you possibly can, especially for later Snatch activities. You want to be able to take less damage and deliver more damage to your enemies, so that if you absolutely must stand and fight, you’ll be able to pick off the weaker thugs with greater ease, and Brutes become slightly less frightening. More importantly, notoriety upgrades that cause the heat from the gangs to fade quicker are a huge help, especially on the harder missions, where the longer drives between stops give you time to lose some notoriety.
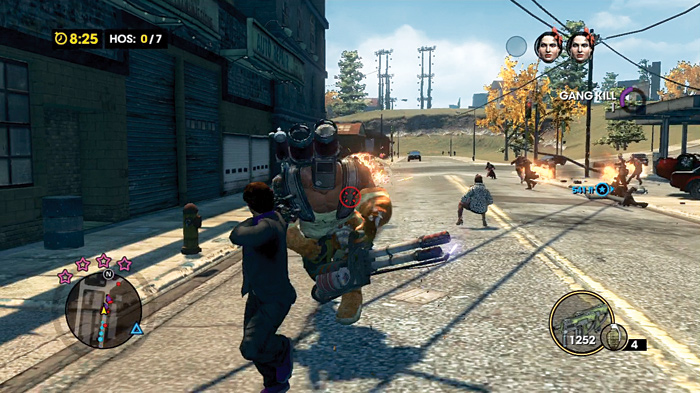
Stay away from Brutes while in a car. They can toss your car all over the place, and those seconds (or minutes) you spend trying to recover a new ride or break out of the precarious position you’ve been thrown to can cost you the mission.
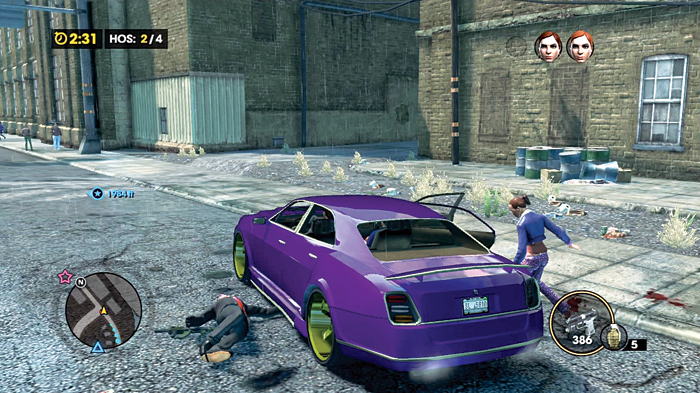
Judge the situation when pulling up to the hos/contacts. It’s totally possible for you to roll up inconspicuously and whistle for their attention before the shooting actually starts, as long as the game hasn’t placed an ambush at the pickup point, or your clients haven’t been forcibly moved to a new location. It doesn’t hurt to try a measure of subtlety.
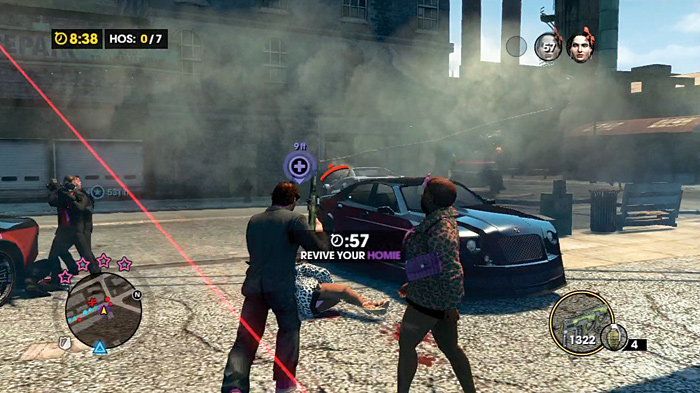
Whistle for your hos or contacts as soon as possible! This puts them in your party, so to speak. This is important because if these people run out of health outside of your group, that’s it for them. But if they are in your group, they count as a homie and you can revive them if they should fall in combat.
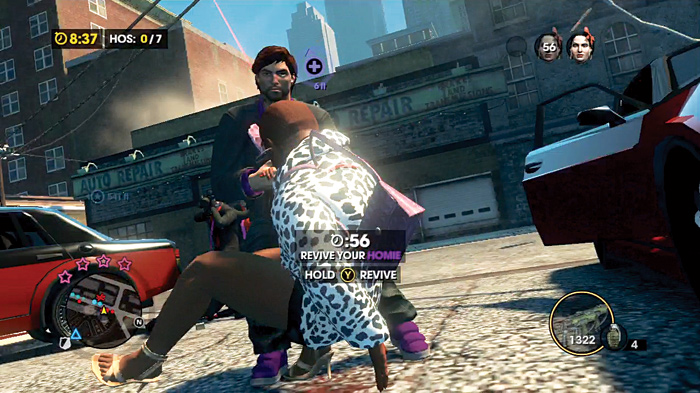
This is especially important for the higher difficulty Snatch missions because the great numbers of enemies can easily and quickly drop the unprotected contacts or hos.
Snatch 1—Hos (#33)
Location: Espina
Difficulty: Easy
Hos Needed: 4
Time Limit: 5:15
Cash Earned: $2,000
Respect Earned: 200
Rewards: 2% Morningstar Gang District Control—$71 per hour
Zimos needs you to retrieve some hos for him, saving them from their other oppressors. He provides you with a very slick ride to help facilitate this. Once you finish laughing at the irony of the situation, hop in and get going.
Keep in mind, in every instance of this activity, you will have multiple points you must travel to for each pickup, and you do not have to do them all in the exact order the game suggests.
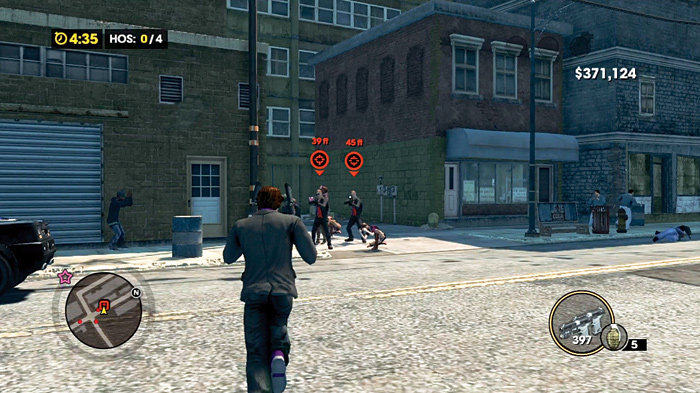
This mission is your introduction to the activity type, so resistance from the Morningstar is not going to be severe. Still, complications arise at the first pickup: The Morningstar have taken the hos to a different location, and while it is a short distance away, you need to put down the punks before you can rescue anyone. The gangsters are not afraid to use your hos as human shields, so bust out that pistol and make smart shots to free the ladies. If you’re lucky, you can pick up three hos in one go!
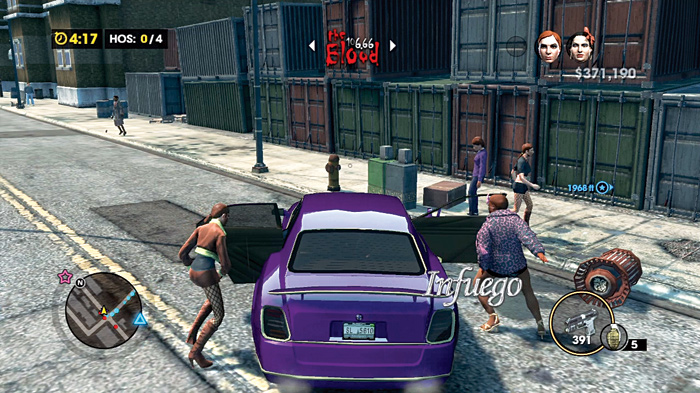
Now, get them back to the drop point.
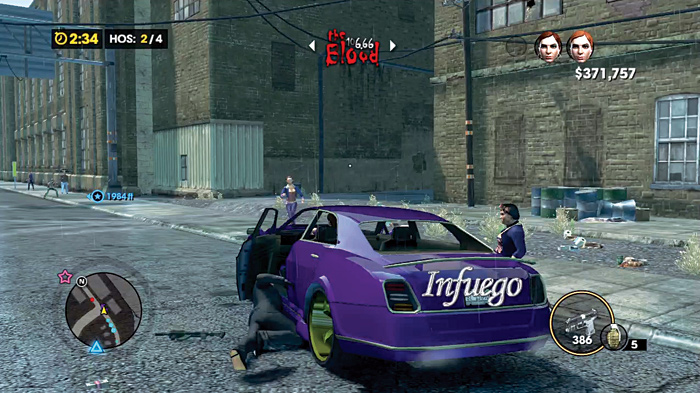
Head to the second pickup point. If you’re sly and lucky, you can pull up steathily, whistle for the ladies, and drive off before the Morningstar provide any serious resistance. If you’re lucky.
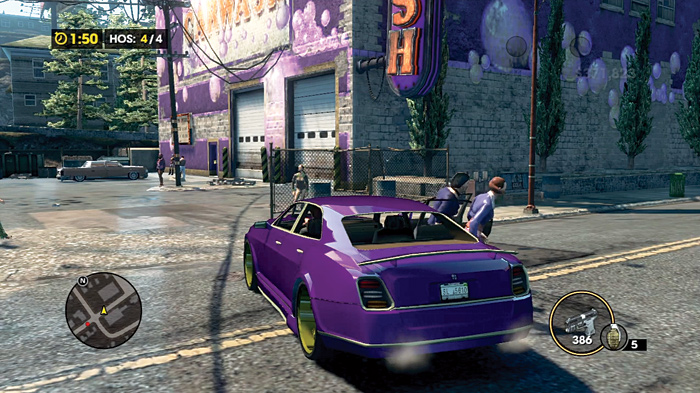
After two pickups, you should have the needed hos to complete the activity and unlock more Snatch missions around the whole city. You may also notice that Kinzie has her own Snatch mission on the phone, so give her a call to see who she needs to have picked up.
Snatch 2—Hos (#34)
Location: Camano Place
Difficulty: Medium
Hos Needed: 5
Time Limit: 6:39
Cash Earned: $4,000
Respect Earned: 400
Rewards: 3% Morningstar Gang District Control—$108 per hour
There are three pickup locations on this activity.
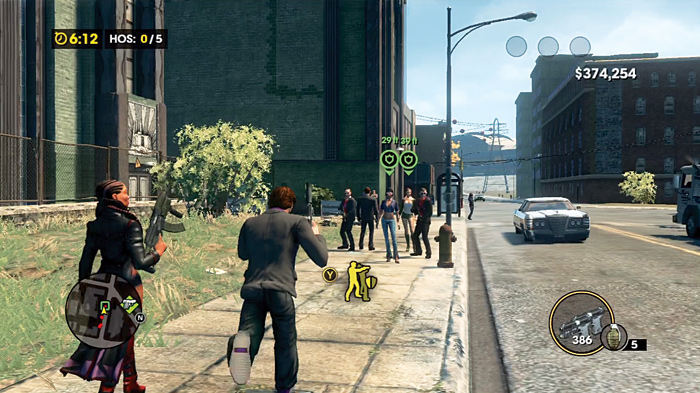
You start with zero notoriety, so take advantage of this and drive to your first location without raising any hell. Of course, once you make a move for the girls, you get immediate notoriety with the Morningstar and they become far more aggressive.
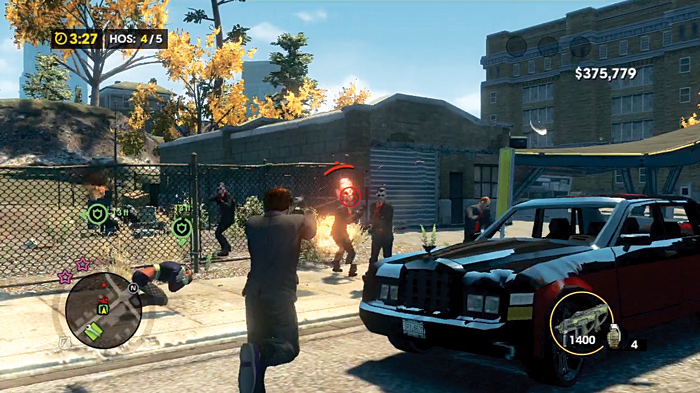
Two of the locations you can drive to are regular street pickups. You can roll up to the first of these that you choose, whistle, and then gun down the people guarding the hos while they run to your vehicle.
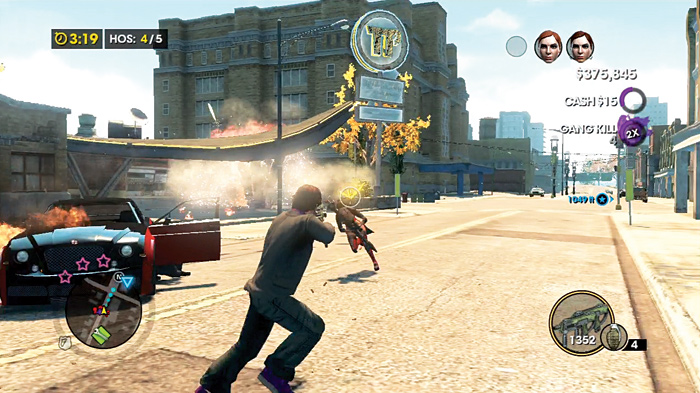
If, during these pickups, you hit a three star rating, they will start sending choppers with snipers in them!
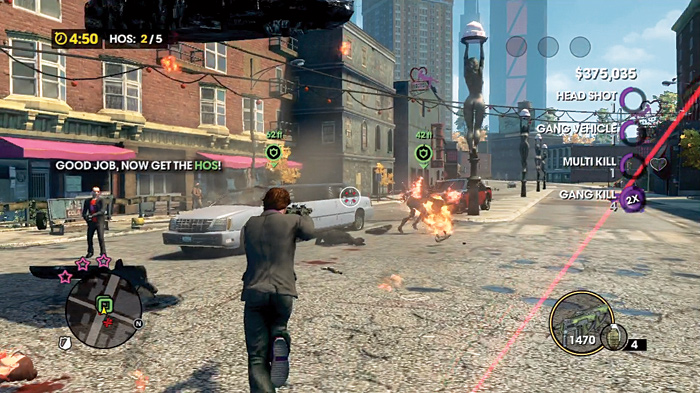
One of the points, as you may notice on the minimap, seems to be moving. It is. The hos have been take inside a limousine, and you need to kill the driver and guard before you whistle to them.
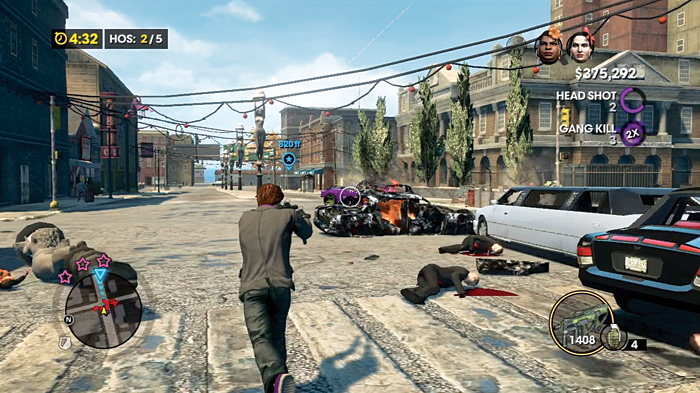
Things can get rather hectic!
There are six hos available in this mission, but you only need five of them. Because you can tackle the pickups in any order, there’s no optimal route to take to each objective. Your natural driving skills and combat skills are what is being tested here, especially as your notoriety increases.
Snatch 3—Hos (#35)
Location: Rosen Oaks
Difficulty: Hard
Hos Needed: 7
Time Limit: 9:19
Cash Earned: $6,000
Respect Earned: 600
Rewards: 2% Morningstar Gang District Control—$76 per hour
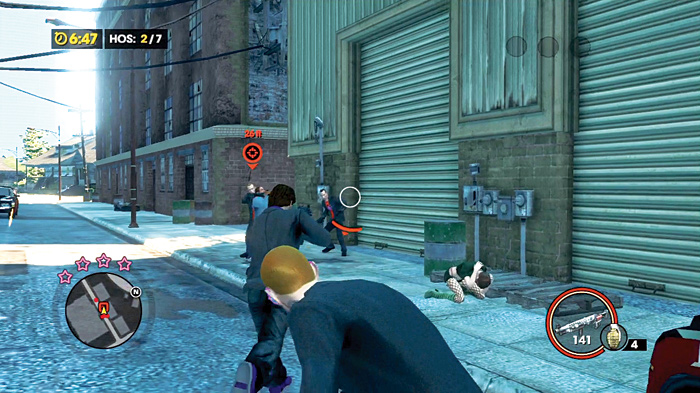
This is the hardest Snatch activity yet, so expect extreme resistance from the Morningstar once your first pickup starts. Keep in mind that you have four possible pickup points on this mission!
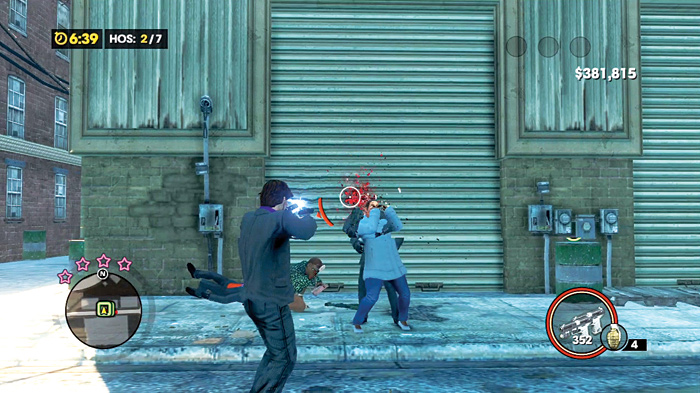
One of the closest pickups to the starting point requires to you find where the hos have been moved to, and to kill the Morningstar guarding them. This immediately gives you a level four Notoriety, so kill the guys quick, whistle for the ladies, and get in your ride.
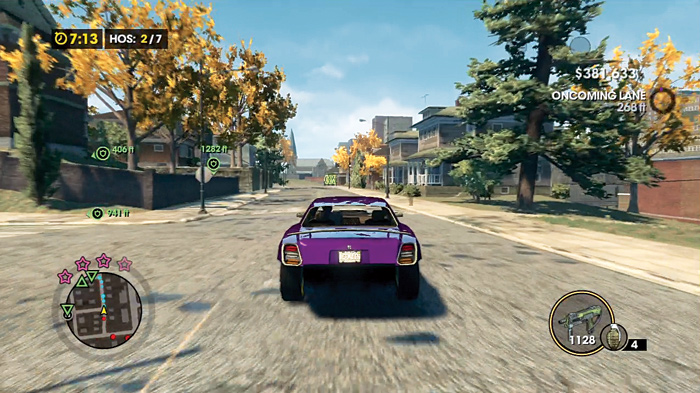
You do have some time on this mission to spare, so you can try to shrug off some of your notoriety by driving around and avoiding combat, but don’t expect it to vanish easily. This is where your upgrades come into play! If you have the Morningstar notoriety upgrades purchased, the heat on these missions will drop much faster—enough to help justify the cost of the higher ranks of these upgrades.
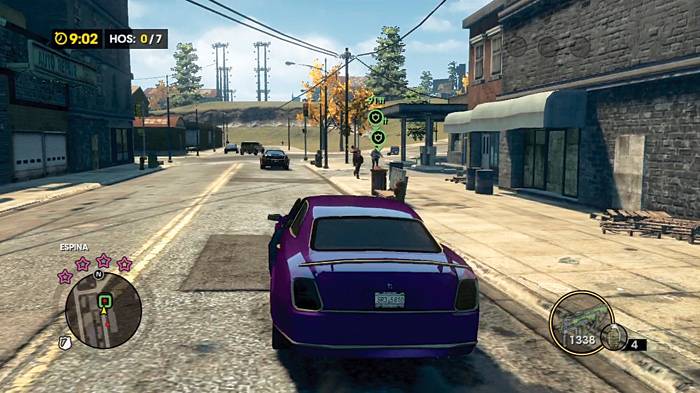
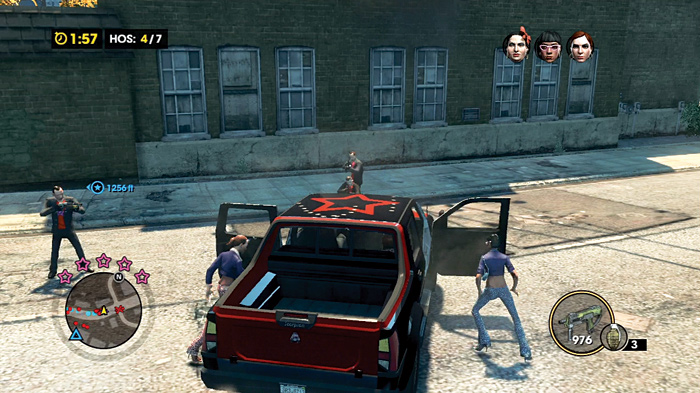
Another pickup close to where you start takes place next to a gas station. The hos come at the first whistle, which makes this a good pickup to save for a little later if possible. This way, you can use this pickup as a quick way to reach the needed number of hos if your Morningstar pursuers are threatening to get the best of you.
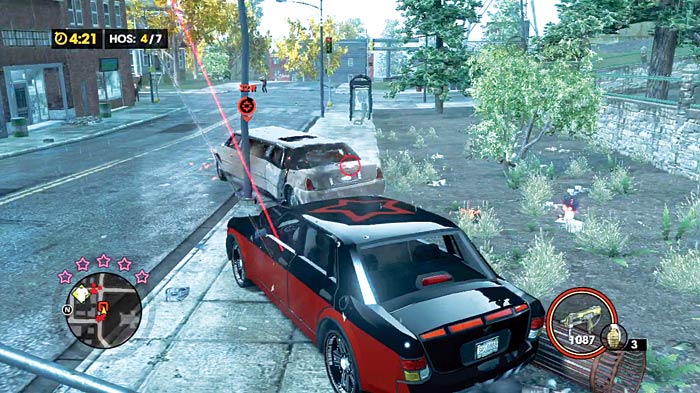
There’s also another limo traveling around with two hos you must take down. It’s the same idea here as before.
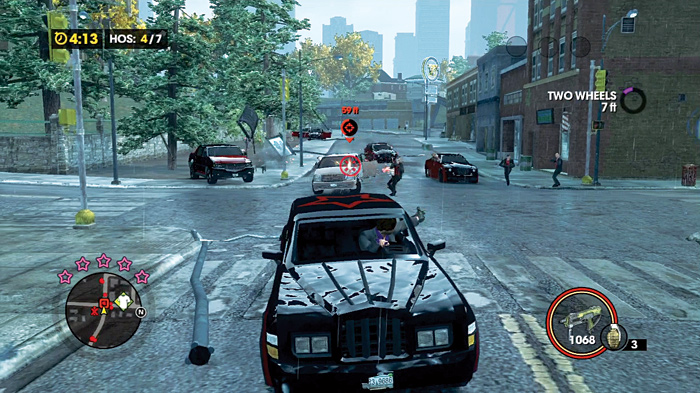
Take out the two guards at the front of the limo or force it to stop, then get the ladies out of there.
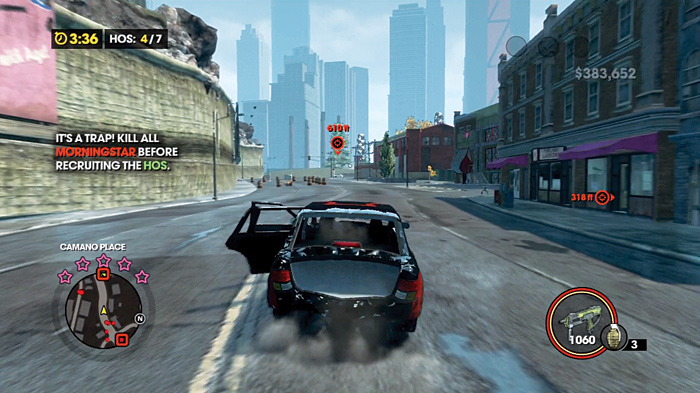
One of the pickup sites is along a curved road near some sex shops and a Rim Jobs. This is also a Morningstar ambush, and combined with level four notoriety, this is a nasty fight waiting to happen.
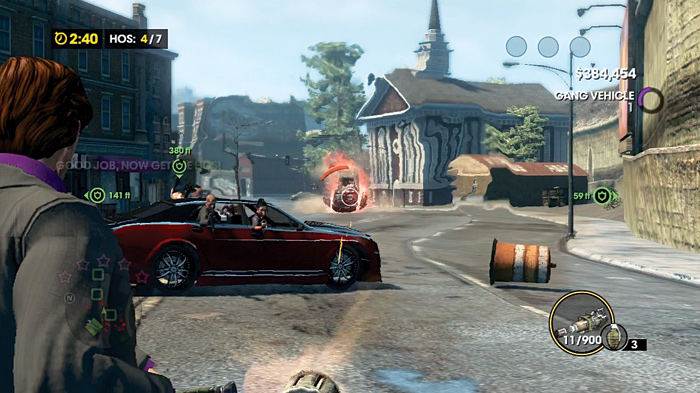
It isn’t a bad idea to save this or the limo pickup for last, since the battles and escapes can be time consuming. This ambush is also guarding three hos, so if you’ve lost two over the course of the mission, this is your chance to pull out the win.
Snatch 1 — Contacts (#36)
Location: Salander
Difficulty: Easy
Contacts Needed: 3
Time Limit: 4:30
Cash Earned: $2,000
Respect Earned: 200
Rewards: 2% Decker Gang District Control—$66 per hour
The difficulty goes back down for the start of Kinzie’s Snatch activities. You’re not hunting for hos this time around. Rather, you’re on the lookout for contacts who look suspiciously like people going to a night club. Apparently, the former-FBI agent wants to recruit these people to enhance her efforts against the Deckers, whom you’ll be dealing with during Kinzie’s missions.
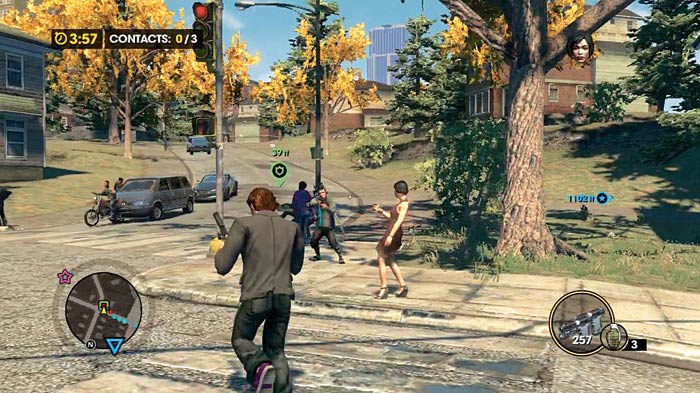
Of all the Snatch activities, this one is about as simple as they come. You have more than enough time to follow the GPS routes directly to each pickup point, clear out any Deckers, and return back home.
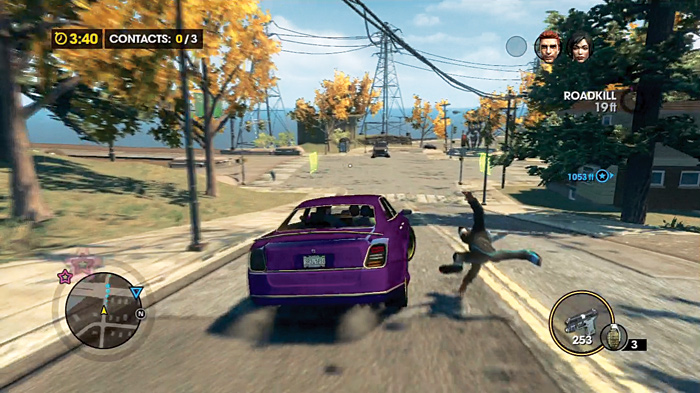
The closest stop has a pair of contacts under Decker guard. Execute the gangsters quickly, and get the contacts in your ride. There’s not much resistance.
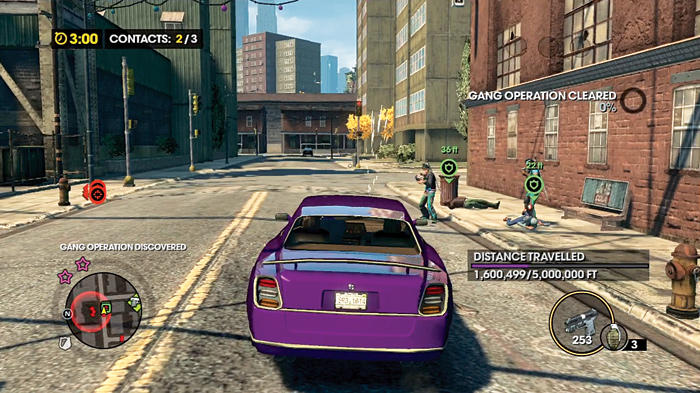
The second stop is pretty routine as well, and isn’t much farther from the drop-off than the first stop was. Two contacts, two Deckers, and if you’re good at headshots, two bullets.
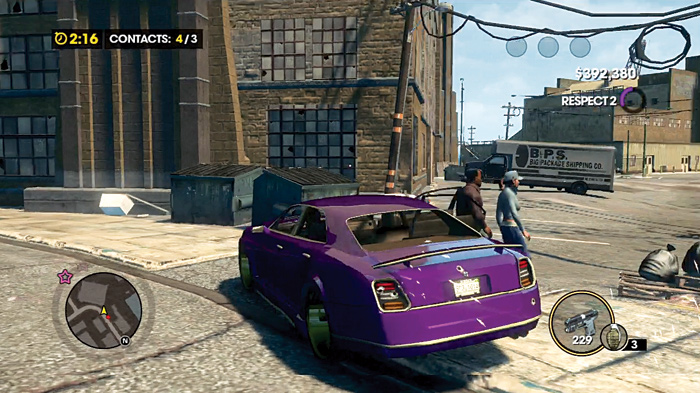
NOTE
In CO-OP mode, Snatch only allows each player to have one homie to recruit.
Snatch 2— Contacts (#37)
Location: Burns Hill
Difficulty: Medium
Contacts Needed: 5
Time Limit: 4:28
Cash Earned: $4,000
Respect Earned: 400
Rewards: 7% Decker Gang District Control—$136 per hour
With three pickup locations scattered around your starting location, without an increased time limit, this activity against the Deckers is a bit tougher.
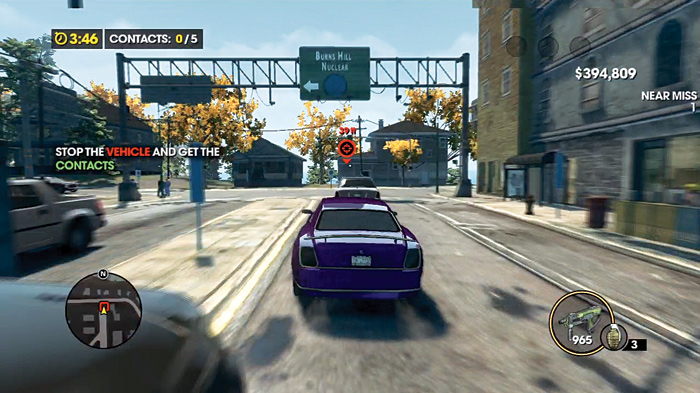
You can also expect increased resistance at every pickup, with the first one garnering you a level three notoriety rating once the shooting and crashing into Deckers with your car starts.
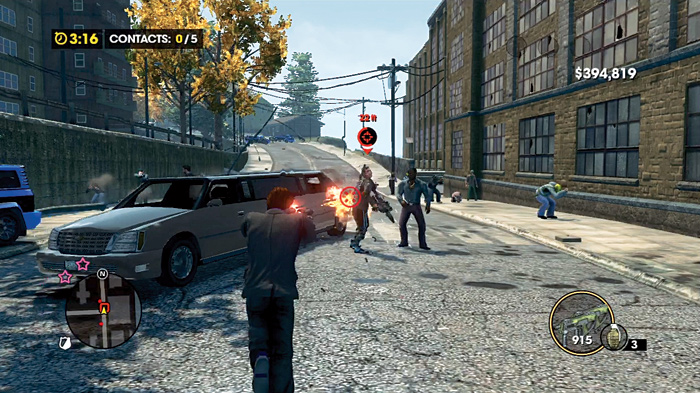
Complicating the mission is another limo with a pair of contacts on board. With only four and a half minutes for this whole job, we recommend that you take on the limo first, since it can be the potentially most time consuming. Look to your HUD for the pickup point that seems to be moving on its own.
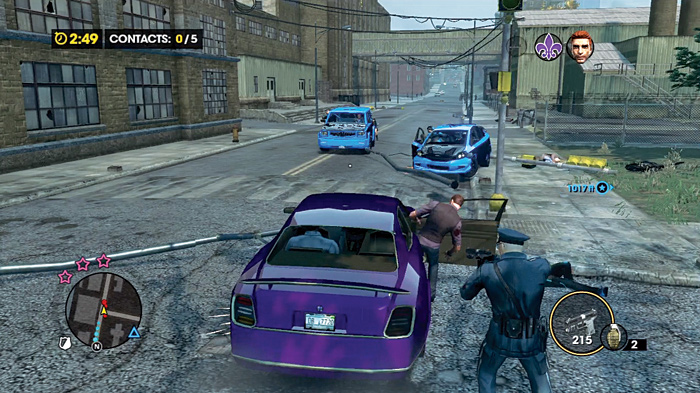
It usually is the closest to where you start. Make your way to it. Once you have managed to halt it, cap the designated Deckers, call out to the contacts, and get out of there. Level three notoriety brings out the hammer-wielding lady specialists for the Deckers, and they can easily destroy your car (and you) with some solid swings if your health isn’t up to snuff.
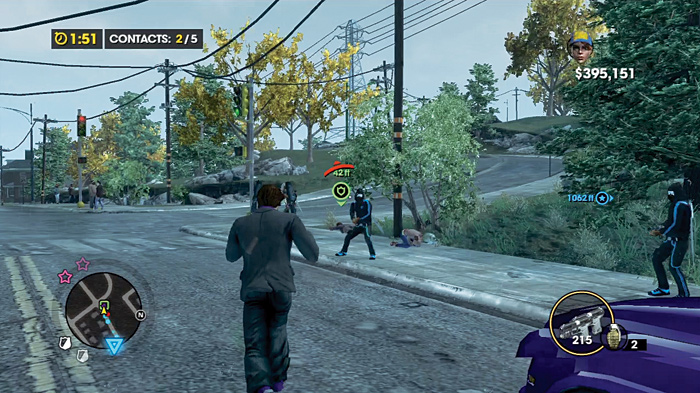
Now with the potentially most troublesome pickup out of the way, you can take on the next two with some time to spare, as long as you have at least three minutes on the clock after getting the contacts out of the Limo.
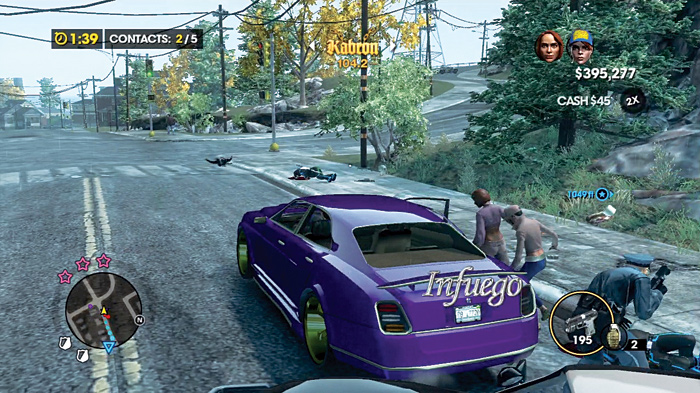
The closest of the last pair is as simple as driving up and calling out to your contacts. You might still have pursuing Deckers from the last pickup, so it does help to actually get out of the car to take them out, especially if they have a specialist with them.
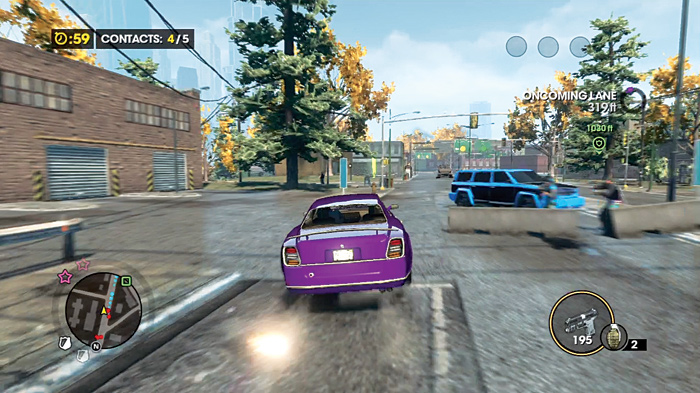
Watch for the Deckers to put up actual police-style barricades in front of their car blockades while you flee around the city. These can slow you down significantly, giving the Deckers a chance to pull you out of the car and really ruin things. Do what you can to avoid them!
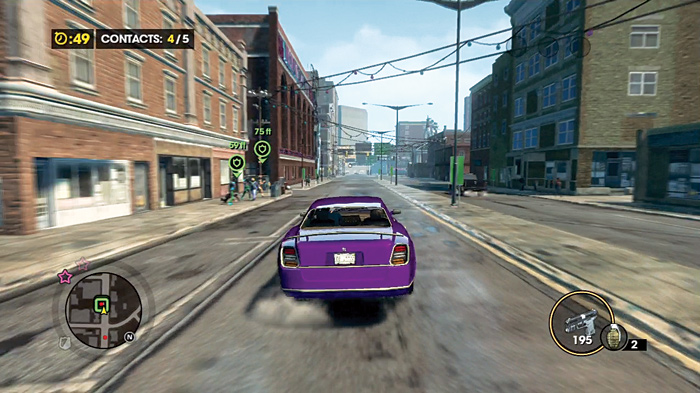
The last pickup is thankfully not complicated.
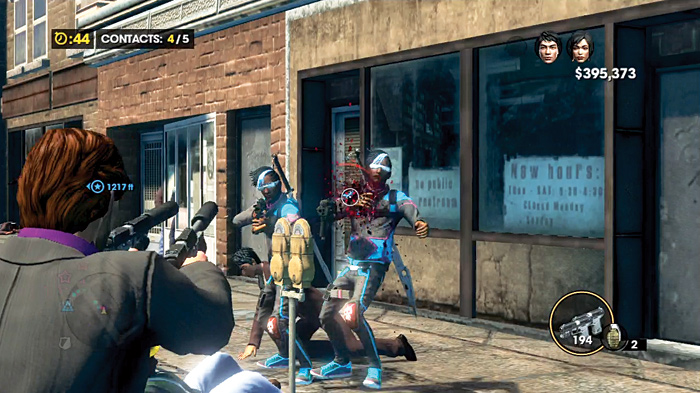
At this point you might be pressed for time. Drive up, whistle, and immediately clear out any Decker that threatens to get close to the driver-side door of your car. Remember, you need only five contacts to complete this activity, so if one is running a bit behind, and you are in a hurry, take the one you do have in the car and get back to the drop-off point!
Snatch 3—Contacts (#38)
Location: Ashwood
Difficulty: Hard
Contacts Needed: 6
Time Limit: 7:59
Cash Earned: $6,000
Respect Earned: 600
Rewards: 1% Deckers Gang District Control—$39 per hour
It is no joke when we say that this mission is where the Deckers stop playing nice. Four pickup points—all a fair distance apart from each other—and a gang that goes berserk the moment you whistle for your contacts is not a healthy combination for you. Expect level four notoriety to bring out the specialists, all three varieties of Brute, and attack choppers! Seriously, what are these contacts worth?
Technically, you can get the six contacts you need from three pickups, but things don’t always go as planned. As the Deckers will be pulling out all the stops to kill you, you need to do the same just to survive. Expect to change vehicles a number of times before the you declare victory over this activity, and don’t be shy about using up your explosives to cover your escape!
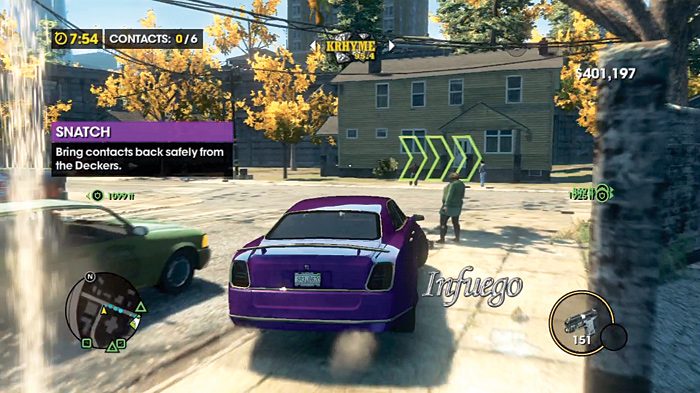
The four locations where you can pick up contacts are spread out more or less equally from each other. Eight minutes is seemingly plenty when you have so many places from which you can snag contacts, but the difficulty isn’t the driving distances; it’s the fact that the Deckers hunger for your blood on a whole different level this time around.
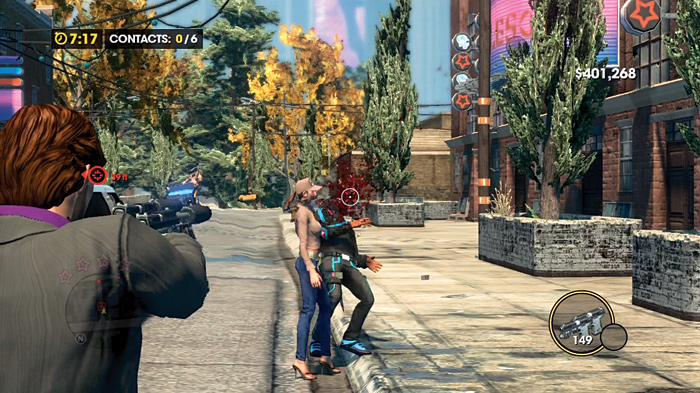
The limo presents the usual problem of needing to be stopped before you can take its cargo, but it is also one of the closest locations to hit from the get-go. What ensues the moment you attack it is something out of a war film, so prepare for heavy combat. Get your contacts and get out of there before the Decker’s reinforcements completely overwhelm you!
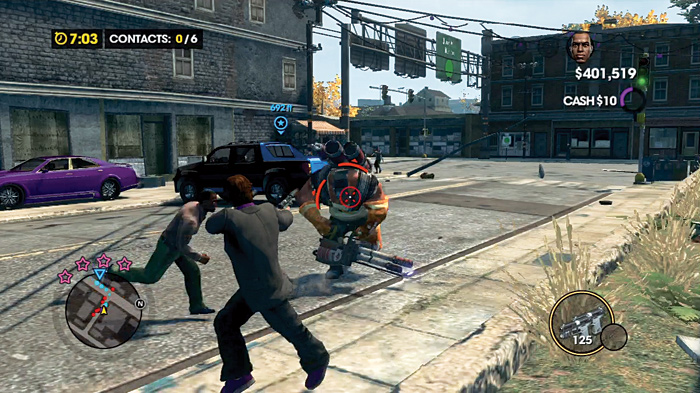
With the limo out of the picture, you can move on to things that are only slightly less troublesome, as far as this activity is concerned.
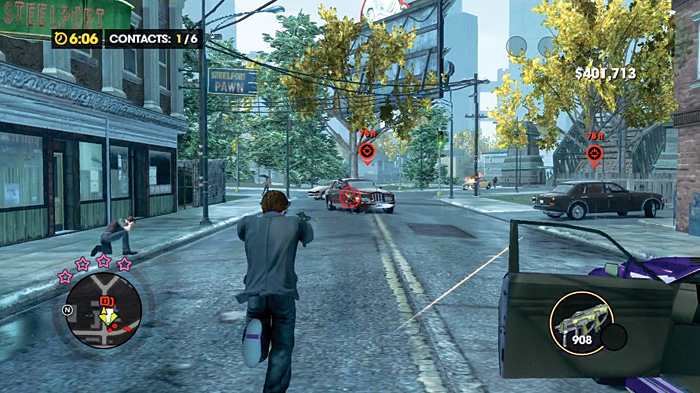
After you drop off the contacts from the limo, you’ll notice two of the three points are slightly closer to the drop-off.
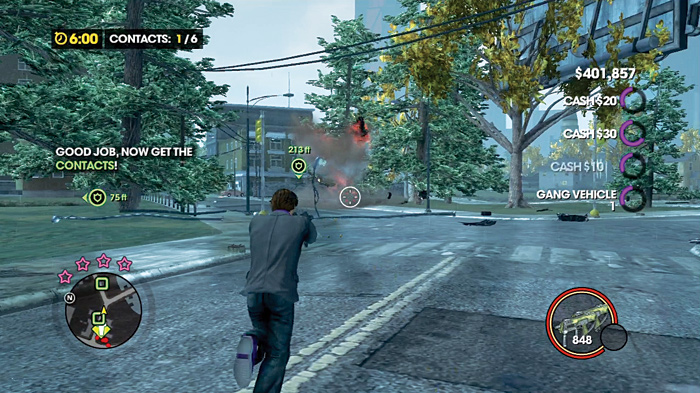
The closest of these is an ambush, requiring you to kill the designated targets before you can rescue the contacts.
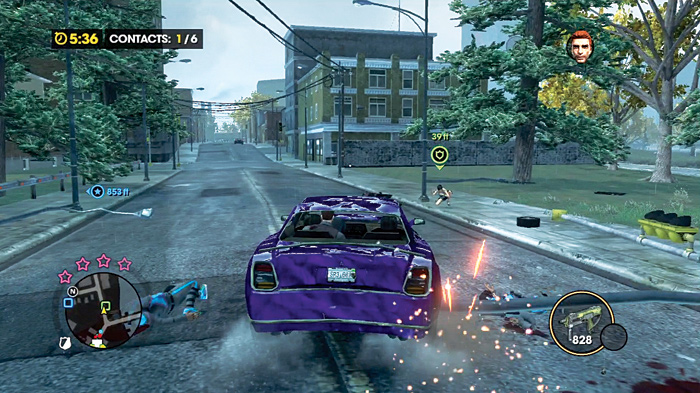
If you’re willing to expend rockets or have fully upgraded SMGs, you can kill the ambush vehicles rather quickly, then pick up the two contacts they guarded.
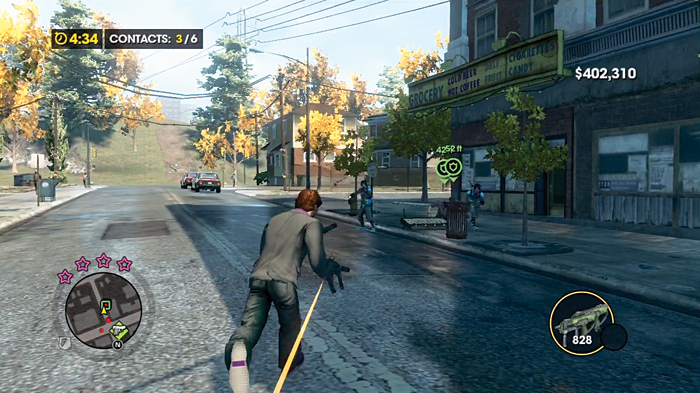
The second closest point thankfully has no special events to worry about—just the whole hoard of Deckers already chasing you down.
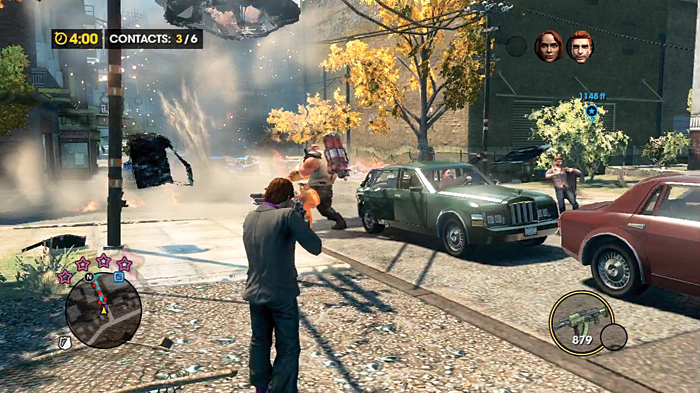
Roll up, kill the Decker guards, call the contacts over, and get out of there. This is a good chance to make up any lost time you suffered in dealing with the limo and the ambush!
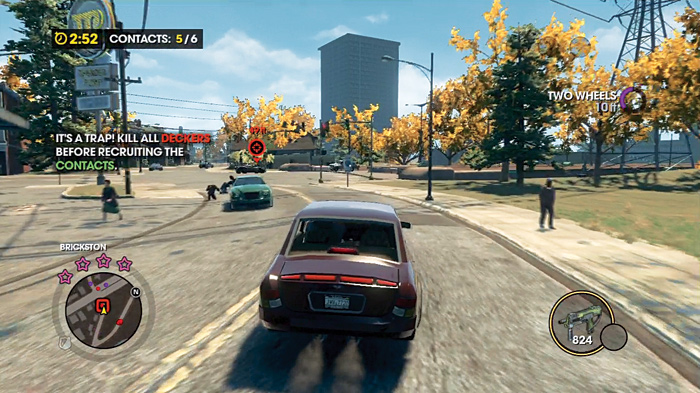
The furthest pickup point is yet another ambush, this one in front of a gas station. Kill the target vehicles, then get the contacts away from the fuel pumps, even if you have to run a short distance first before collecting a new vehicle to escape with.
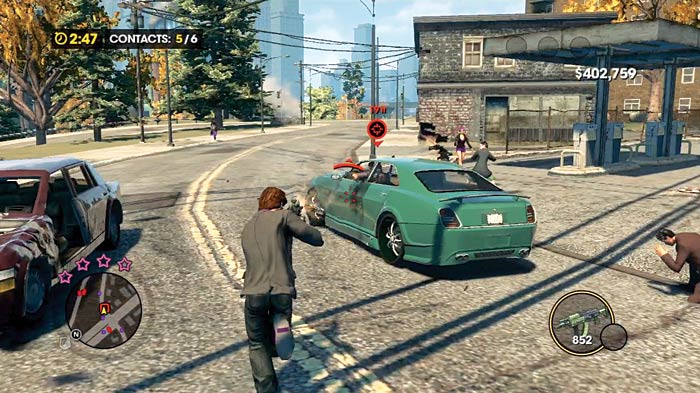
A protracted battle around here is potentially disastrous to your efforts.