
Saints Row: The Third Guide Essentials Saints Book
Assassinations
Assassinations are exactly what they sound like: the targeted killing of an individual who has raised the concern or ire of the party employing your services. It’s never quite as simple as just walking up to the target discreetly in public, killing them, and escaping without being seen. Almost every hit has some sort of task you must accomplish to draw the target out of hiding and into the open where you can get at them. However, once the target is out in the open, you can use just about any means at your disposal to eliminate them, which makes the Assassination missions very free-form in nature.
For example, say you need to draw out a target who is hiding in a helicopter in flight, by stealing an aircraft. You can go to the airport and take a plane from there and kamikaze the target, bailing out of your stolen plane at the last minute. Or you can invade the local Guard base, steal an attack chopper, chase the target down and blow him out of the sky, and then fly your new ride back to a crib for safekeeping. Either way gets the job done, just remember that once you’ve drawn out the target, there’s no specific rules that govern how you do them in. Just remember that you have many tools available at your disposal, all provided at Steelport’s expense!
Hits do not always go smoothly, regardless of your methods. A rival hitman from another organization could be on the job, or you could be walking into an ambush. Or there could be multiple decoys and you’ll have to suss out who is the legitimate target. This is why no matter how simple a hit sounds on paper, it never hurts to go into each mission loaded for bear and prepared for any eventualities on the way to the target.
There are 36 Assassinations available from Saintsbook over the course of the game. You’ll find that you can only access a portion of these early in your Steelport takeover. Once you have Kinzie, Zimos, and Angel on your side, another group of Assassinations becomes available. The final set appears after STAG has made their presence felt in the city. Other than these limitations, all Assassinations can be accomplished at any time during the story, but keep in mind that once STAG is involved, certain hits will be made a lot more difficult until you have dealt with them.
Target: Karl
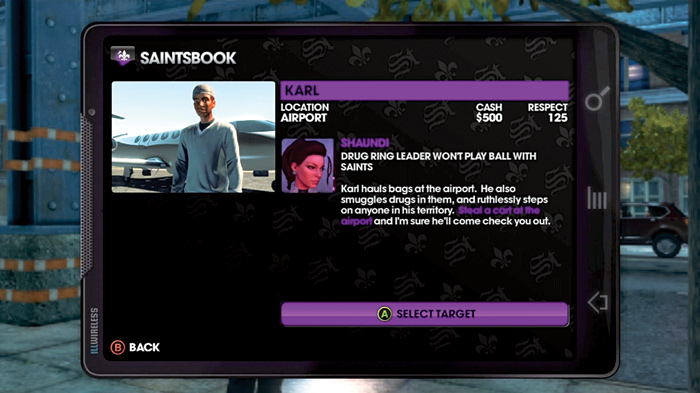
Hired by: Shaundi
Location: Airport
Cash Earned: $500
Respect Earned: 125
Overview: Drug ring leader won’t play ball with Saints
“Karl hauls bags at the airport. He also smuggles drugs in them, and ruthlessly steps on anyone in his territory. Steal a cart at the airport and I’m sure he’ll come check you out.”
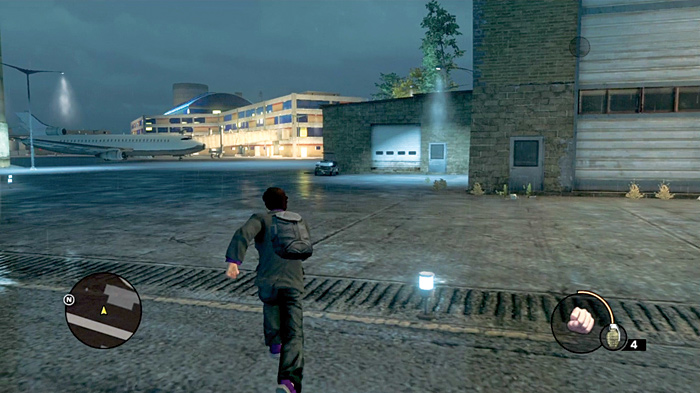
As one of your earliest available hits, Karl is pretty easy. This Assassination serves as a sort of training ground, emphasizing that you’ll often have to do something to get the target to come out. And the something in this case is pretty easy.
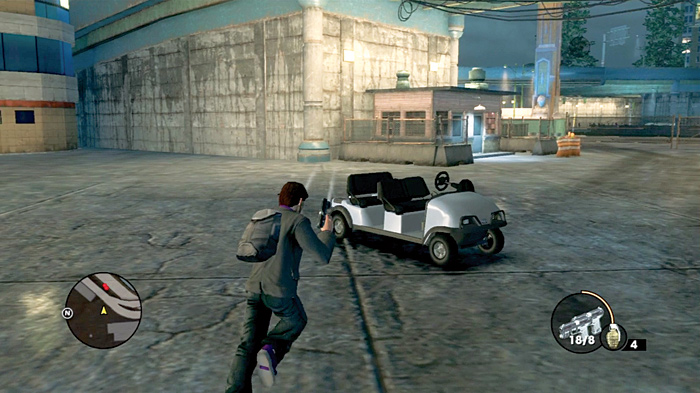
You need to get to the airport. Not just to the terminal, but to the side where all the planes are currently sitting, awaiting passengers. Apart from any antics you might get involved with between the moment when you accept the hit and when you arrive at the airport, you do not arouse any police or gang ire. You should try to keep it that way for all hits. Unless a job requires you to start a fight, your life is much easier the less trouble you cause before the actual kill.
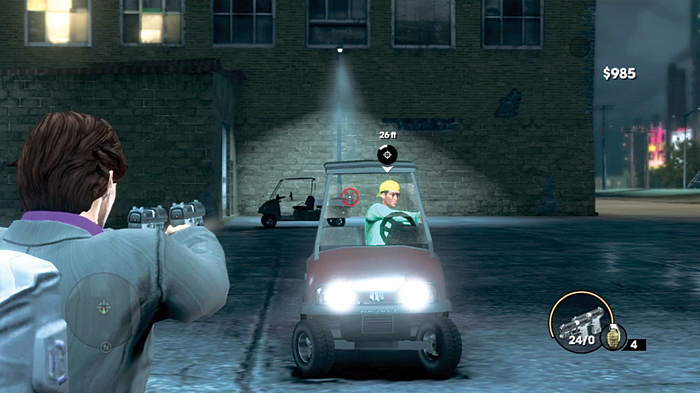
Once at the airport tarmac, look around for any small carts you can jack. Usually, they are parked near maintenance buildings, but you can also find some near the airliners, too.
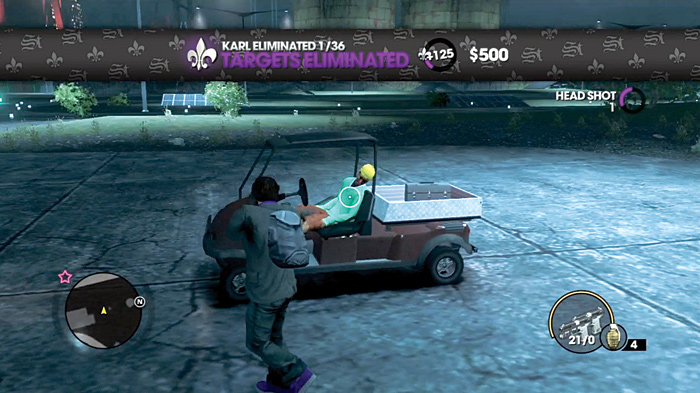
Within moments of taking a cart, Karl comes looking for you in his own cart. He tends to come straight for you, so if you have a sniper rifle and are a steady shot, you can plug him from far away. If he’s already too close, any weapon will do. The cart he shows up in provides practically no protection for him whatsoever, so he should be an easy kill.
Target: Almonzo
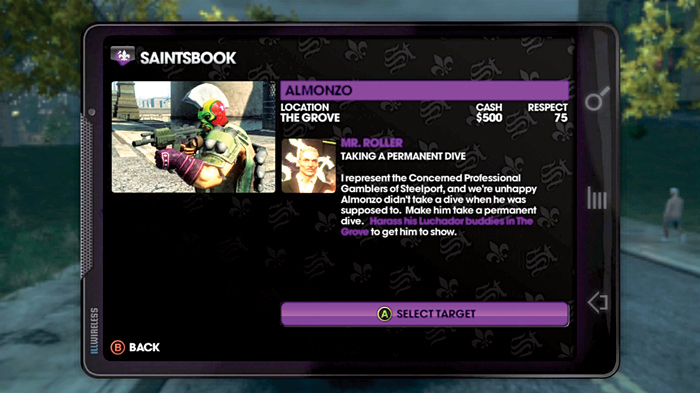
Hired by: Mr. Roller
Location: The Grove
Cash Earned: $500
Respect Earned: 75
Overview: Taking a permanent dive
“I represent the Concerned Professional Gamblers of Steelport, and we’re unhappy Almonzo didn’t take a dive when he was supposed to. Make him take a permanent dive. Harass his Luchadore buddies in the Grove to get him to show.”
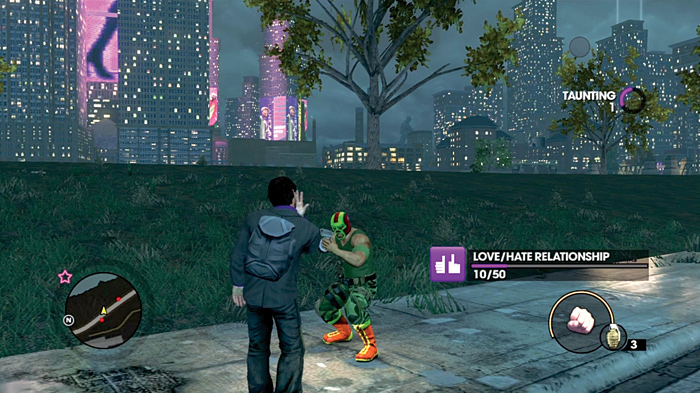
This hit can be surprisingly dangerous for an early job. The Luchadores do not skimp on firepower, with their specialists wielding rapid-fire grenade launchers. You’ll be deep in their territory actively trying to tick them off, so don’t be too discouraged if you take the job early on and find yourself ground underfoot by massive Luchadore trucks.
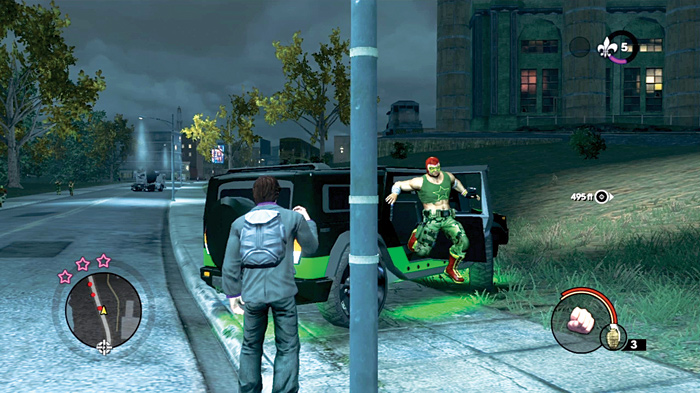
To get Almonzo to come out, you need to get the Luchadores riled up. Once you find a Luchadore, you can walk up to him and use your Boss’s taunt on the guy. This will invariably cause him to get a little upset, and he’ll likely draw his gun and start shooting at you. Killing him draws other Luchadores to you.
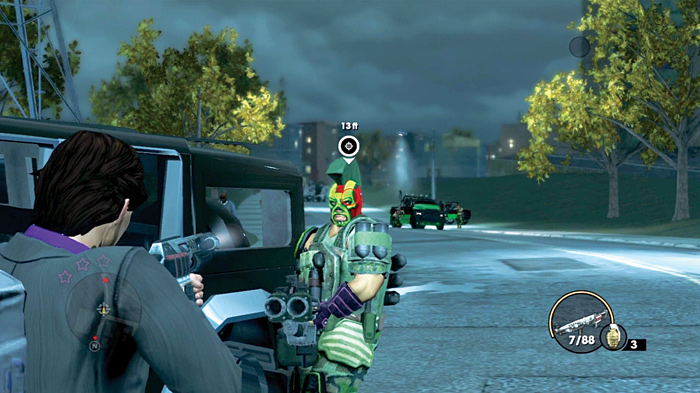
And if you taunt and kill enough of them, Almonzo himself will eventually appear.
He can be pretty dangerous, as he comes to the party equipped with one of the aforementioned grenade launchers. If you’re out in the streets and you’re in a vehicle, you can run him over with a car, but a grenade or point-blank shotgun blasts can also do the job nicely.
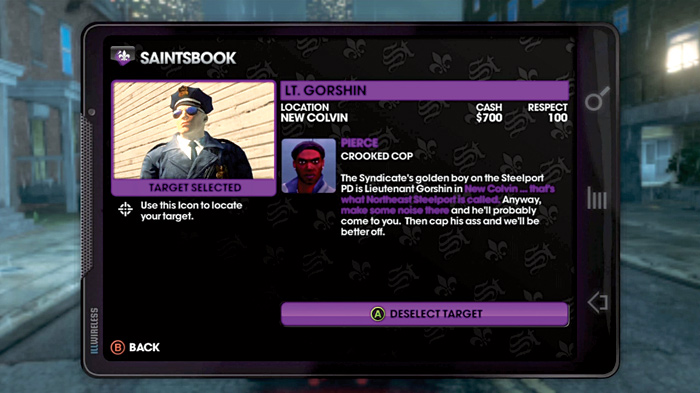
Target: Lt. Gorshin
Hired by: Pierce
Location: New Colvin
Cash Earned: $700
Respect Earned: 100
Overview: Crooked cop
“The Syndicate’s golden boy on the Steelport PD is Lieutenant Gorshin in New Colvin . . . that’s what Northeast Steelport is called. Anyway, make some noise there and he’ll probably come to you. Then cap his ass and we’ll be better off.”
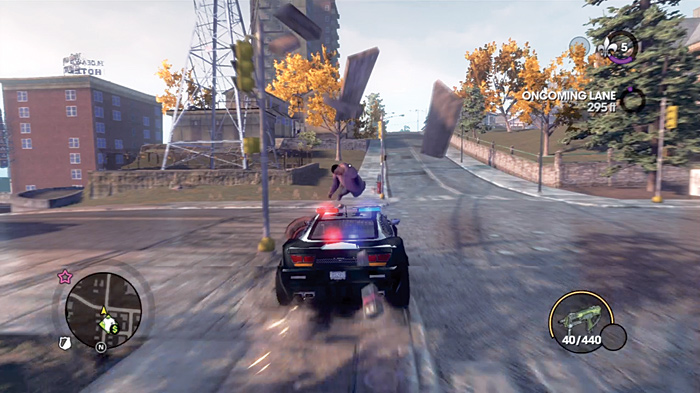
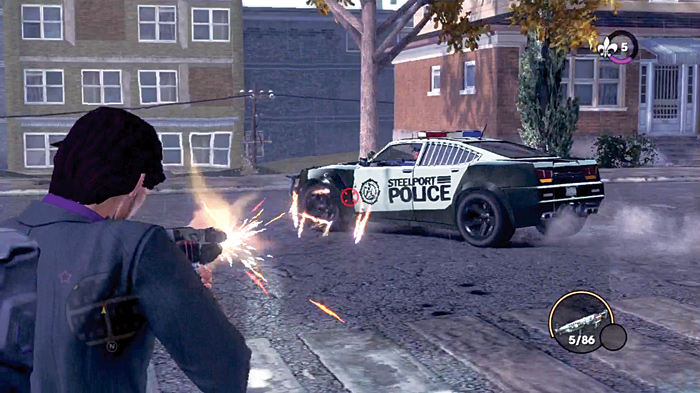
Pierce basically takes you off the leash on this one. Head on up to New Colvin and start trouble in the way you know best. Targeting the street cops in the area will draw him out the quickest, so if you don’t see any nearby, persuade them by putting bullets into civilians.
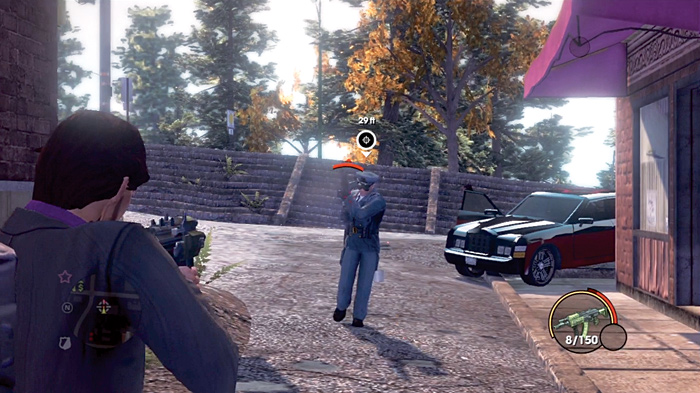
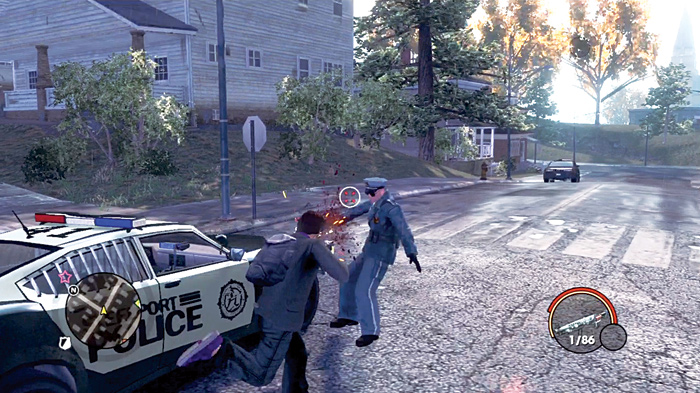
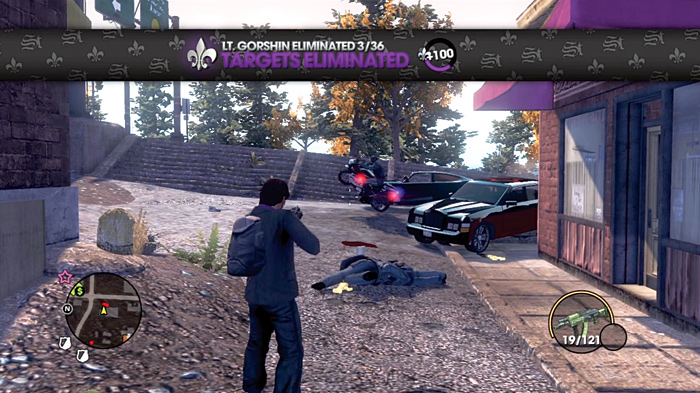
Once the Lieutenant appears, try to take him out at a fair distance. If you’re early in the game, you probably don’t have the health to handle too many of his shotgun blasts up close.
Target: DJ Enigmus
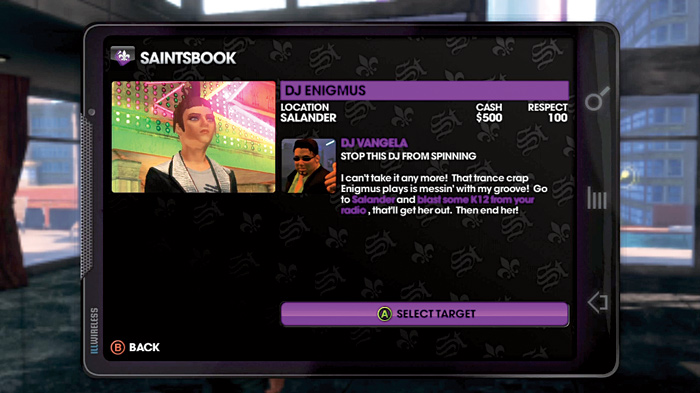
Hired by: DJ Vangela
Location: Salander
Cash Earned: $500
Respect Earned: 100
Overview: Stop this DJ from spinning
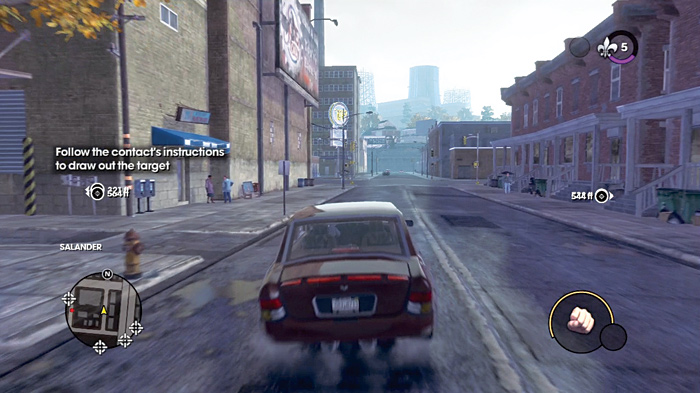
“I can’t take it anymore! That trance crap Enigmus plays is messin’ with my groove! Go to Salander and blast some K12 from your radio, that’ll get her out. Then end her!”
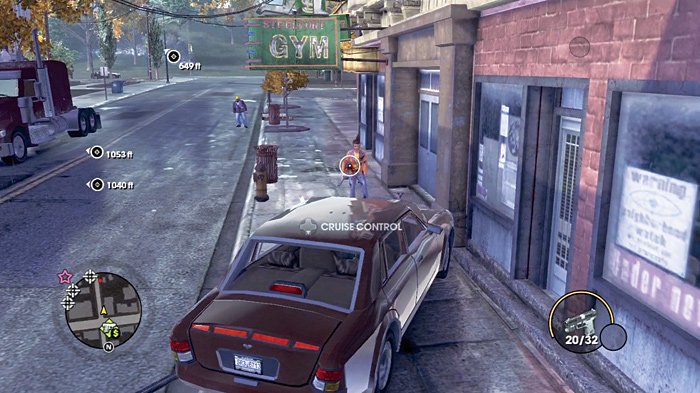
While seemingly basic on the surface, this hit provides a bit of a twist with the introduction of decoys. As you drive through Salander blasting some K12, you’ll notice that not one, but four target indicators appear on the minimap.
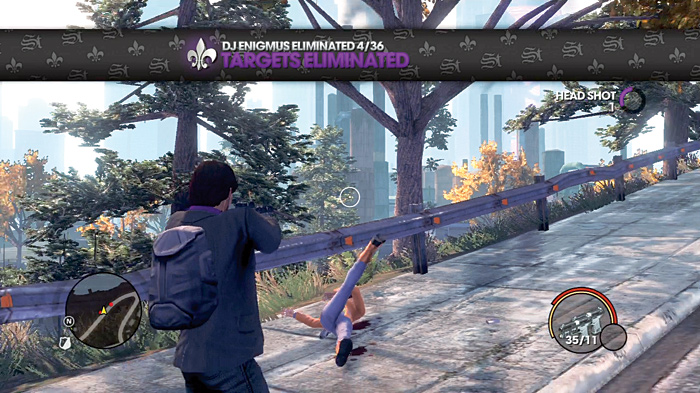
Decoys are not particularly dangerous on their own, however, they do waste your time, and can give you some notoriety with the police or the local gang, which intensifies the nature of the job. If the first target you hit is a decoy, just move on as quickly as you can to the next. You’re bound to find DJ Enigmus sooner or later.
Target: Mike
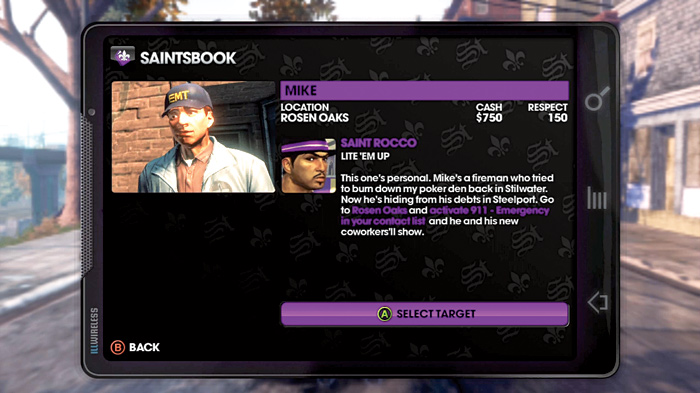
Hired by: Saint Rocco
Location: Rosen Oaks
Cash Earned: $750
Respect Earned: 150
Overview: Lite ’em up
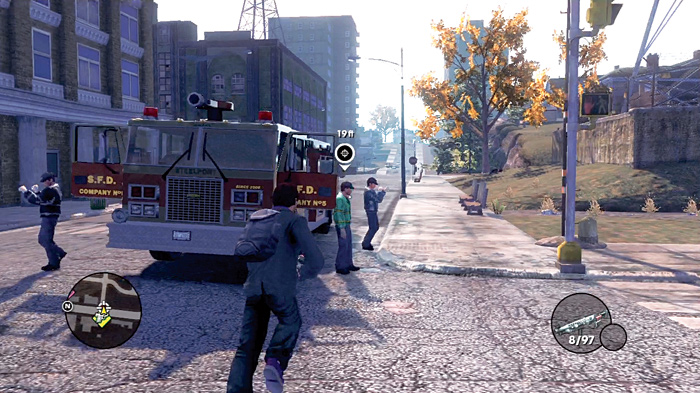
“This one’s personal. Mike’s a fireman who tried to burn down my poker den back in Stilwater. Now he’s hiding from his debts in Steelport. Go to Rosen Oaks and activate 911—Emergency in your contact list and he and his new coworkers will show.”
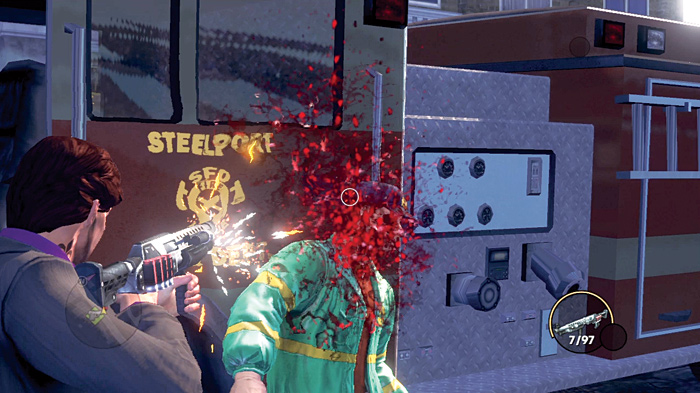
This job should appeal to anyone who likes setting up ambushes. Drive into the Rosen Oaks hood. Anyplace with convenient street access is best so the target arrives sooner. Within moments of calling 911—Emergency, Mike arrives in a fire truck with a number of fellow firefighters, and he tends to be the driver. If you’ve got a sniper rifle or rocket launcher, you can try to nail him as he pulls up, or do it after he’s disembarked. There’s nothing wrong with bringing a more personal, up-close touch to the proceedings!
Target: Chandler
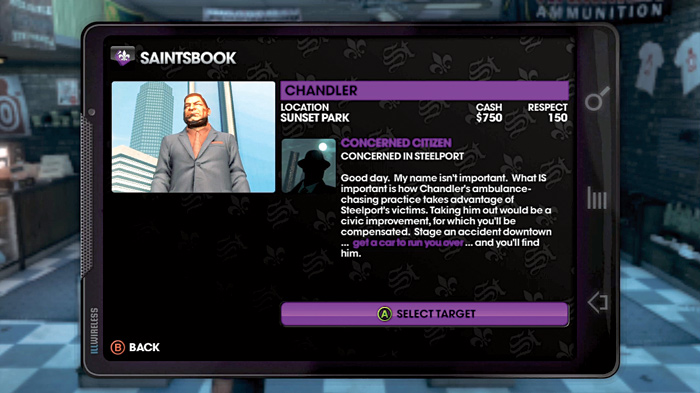
Hired by: Concerned Citizen
Location: Sunset Park
Cash Earned: $750
Respect Earned: 150
Overview: Concerned in Steelport
“Good day. My name isn’t important. What is important is how Chandler’s ambulance-chasing practice takes advantage of Steelport’s victims. Taking him out would be a civic improvement, for which you’ll be compensated. Stage an accident downtown . . . get a car to run you over . . . and you’ll find him.”
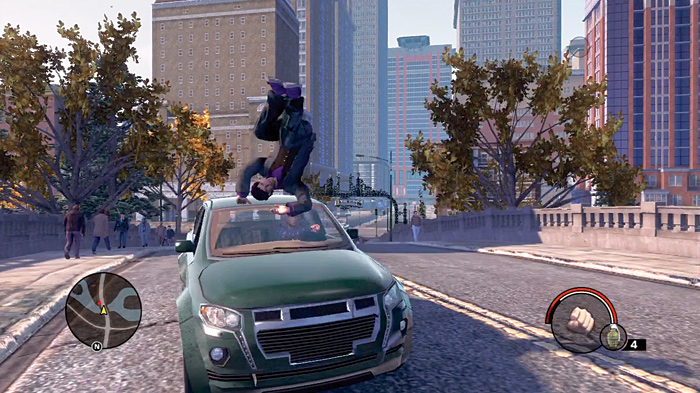
This can’t be so bad. If you’ve done some Insurance Fraud activities you’ve been run over dozens of times by now. So where the heck was this guy during all of that?
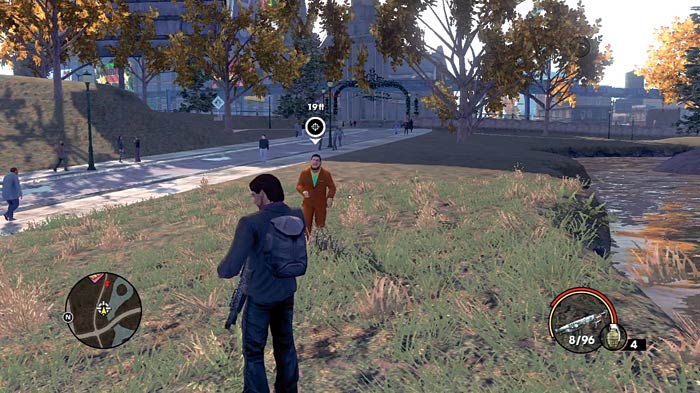
Just throw yourself into the act, Chandler will literally come running up to you.
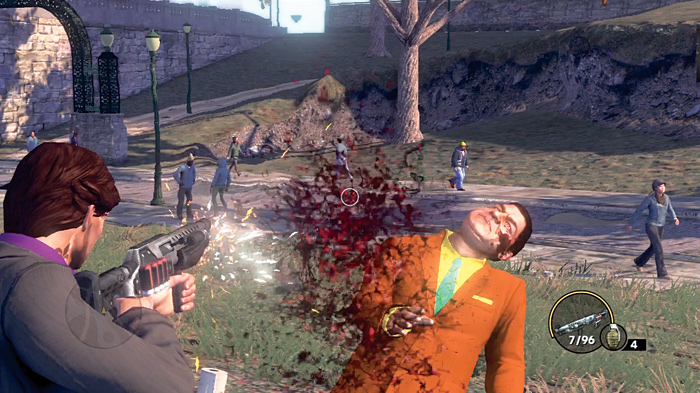
This does not go well for him.
Target: Officer Dealy
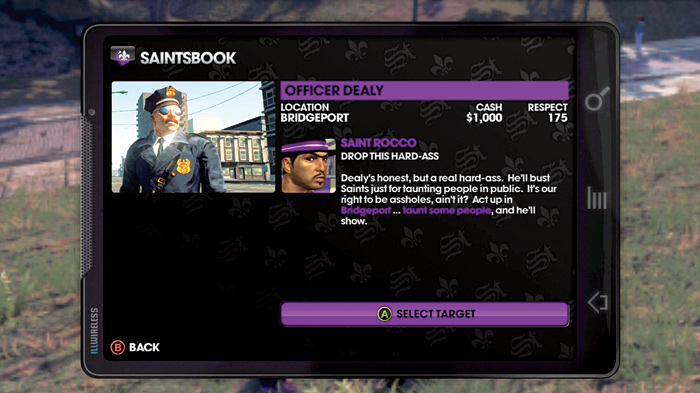
Hired by: Saint Rocco
Location: Bridgeport
Cash Earned: $1,000
Respect Earned: 175
Overview : Drop this hard-ass
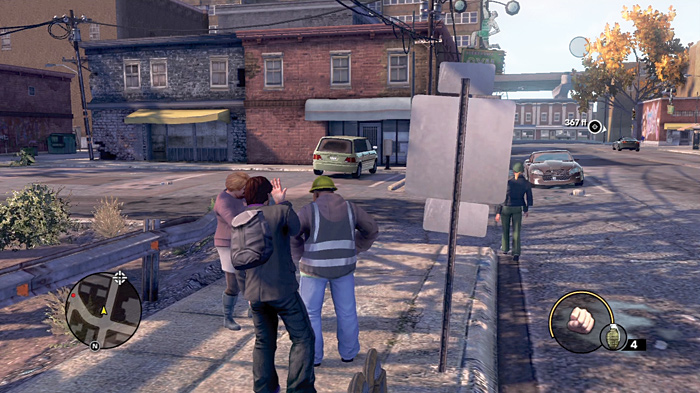
“Dealy’s honest, but a real hard-ass. He’ll bust Saints just for taunting people in public. It’s our right to be assholes, ain’t it? Act up in Bridgeport . . . taunt some people, and he’ll show.”
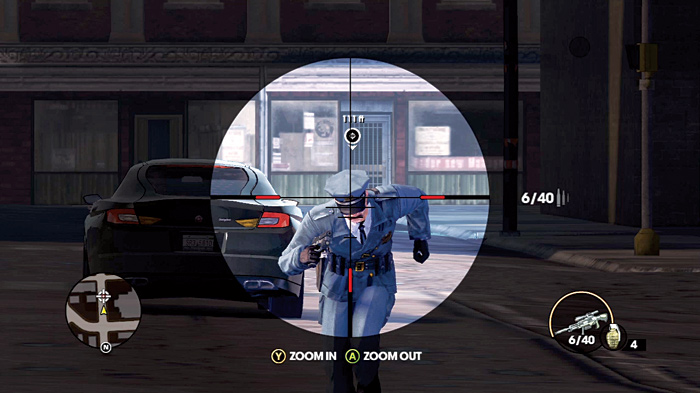
You’re making enemies in the wrong places, Mr. Dealy. Unlike the hit on Almonzo, when you had to taunt a Luchadore to make your hit show up, on this job you can go up to and taunt anyone to make the target show up. He’ll come running straight at you, which can be a rather unfortunate choice if you’re well equipped and he’s running down a long street with absolutely no cover between you and him. Seems like being honest doesn’t substitute for basic common sense.
Target: Tony
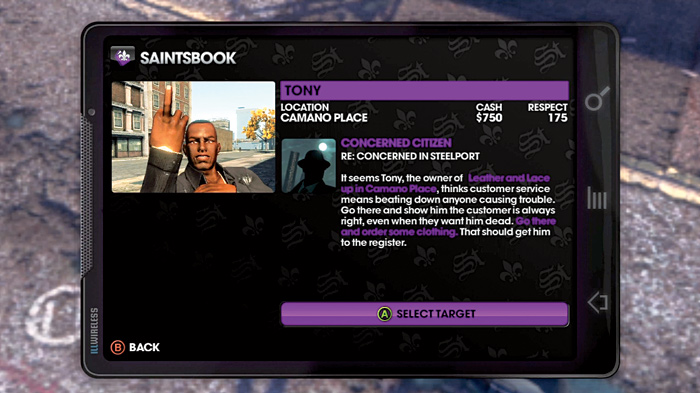
Hired by: Concerned Citizen
Location: Camano Place
Cash Earned: $750
Respect Earned: 175
Overview: RE: Concerned in Steelport
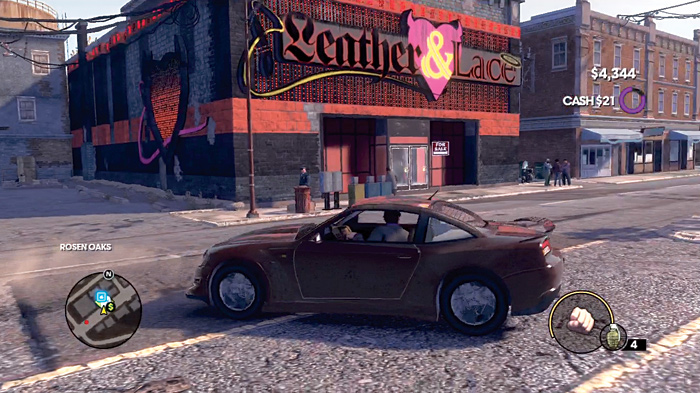
“It seems Tony, the owner of Leather and Lace up in Camano Place, thinks customer service means beating down anyone causing trouble. Go there and show him the customer is always right, even when they want him dead. Go there and order some clothing. That should get him to the register.”
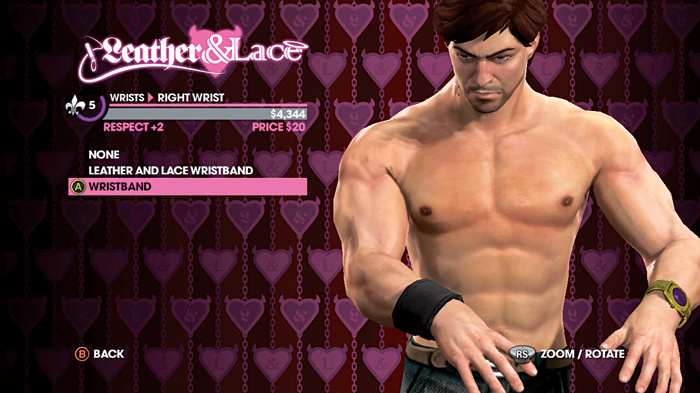
The Leather and Lace is just down the same street as Rim Jobs in the same hood. Unfortunately, you do have to buy something in order to get Tony’s attention. Fortunately, it doesn’t have to be very expensive.
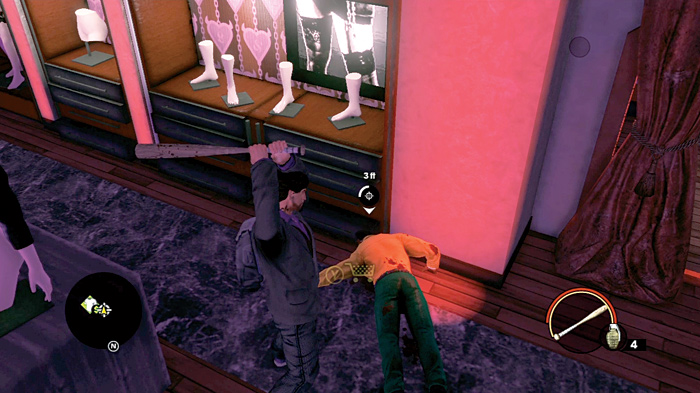
Tony comes after you through the store entrance, armed with a baseball bat and uncontrollable rage because you dared to purchase anything at his store. He can hit pretty hard, so try to neutralize him before he goes completely nuts on you.
Target: Jake
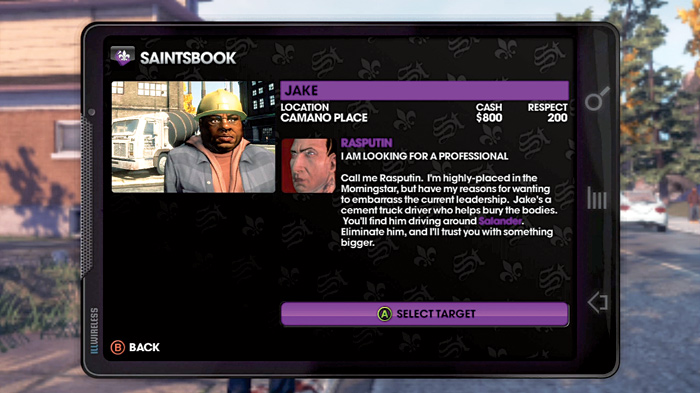
Hired by: Rasputin
Location: Camano Place
Cash Earned: $800
Respect Earned: 200
Overview: I am looking for a professional
“Call me Rasputin. I’m highly placed in the Morningstar, but have my reasons for wanting to embarrass the current leadership. Jake’s a cement truck driver who helps bury the bodies. You’ll find him driving around Salander. Eliminate him, and I’ll trust you with something bigger.”
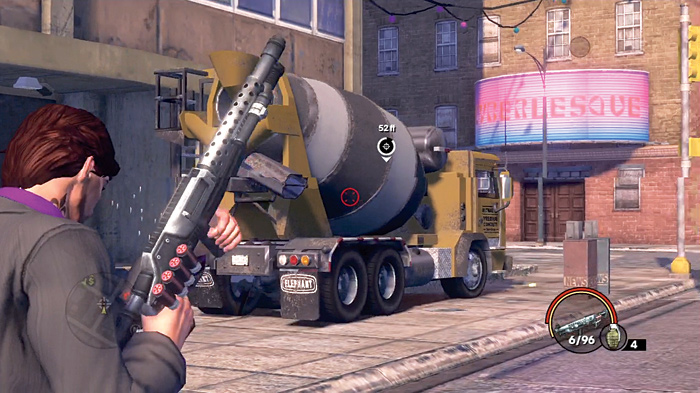
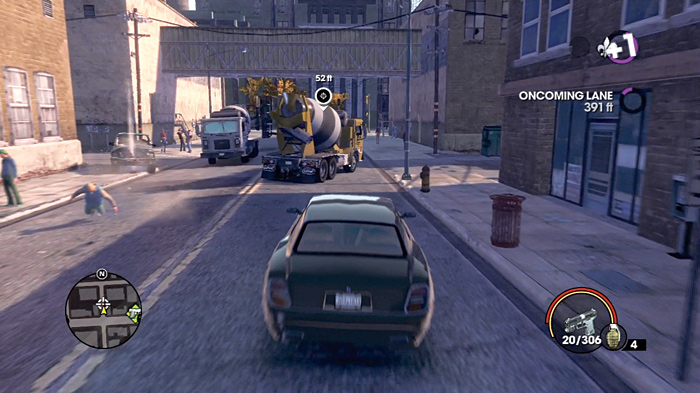
Shouldn’t you be somewhat concerned that some Morningstar suit is contracting you? Heck no, that’s $800 bucks, man! To find Jake, simply drive around Salander until the target appears on the minimap.
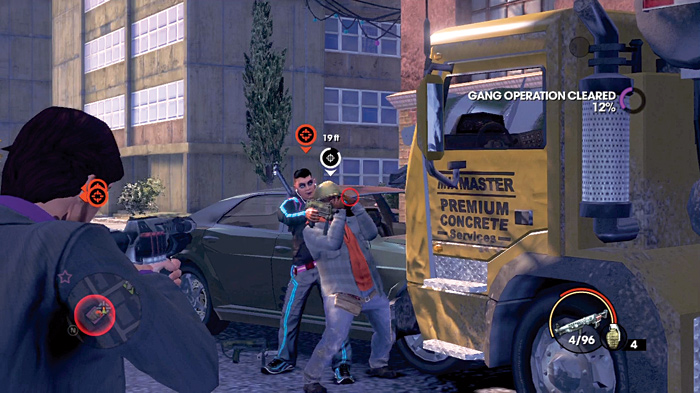
Once you see his cement mixer, you’ll notice that Jake isn’t stupid. As soon as he sees you coming after him, he’ll drive that truck hard in an attempt to lose you. This can result in a bit of a chase. You might notice you’re in Deckers territory, so watch you’re driving if you don’t want to raise your notoriety with them. When you eventually coerce Jake out of the vehicle (assuming you didn’t blow it up outright with a rocket), a Decker might see him as a perfect opportunity to use as a human shield. At least that saves you the trouble of running him down on foot!
Target: Agnes
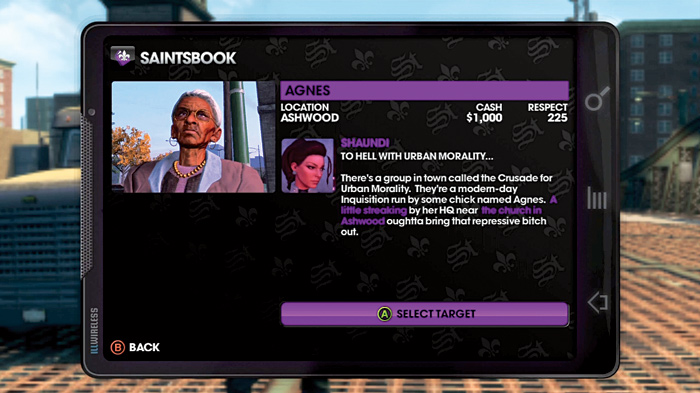
Hired by: Shaundi
Location: Ashwood
Cash Earned: $1,000
Respect Earned: 225
Overview: To hell with urban morality . . .
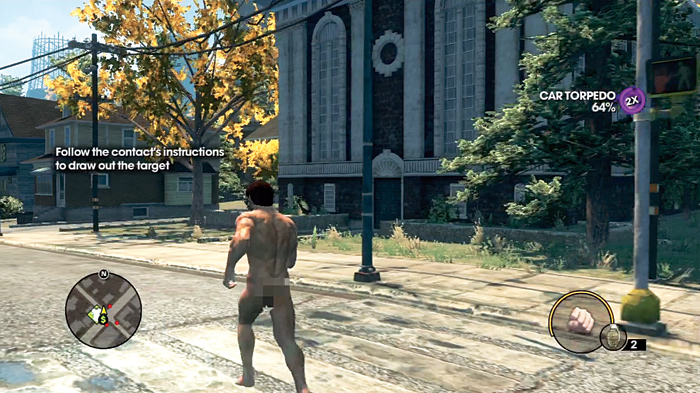
“There’s a group in town called the Crusade for Urban Morality. They’re a modern-day Inquisition run by some chick named Agnes. A little streaking by her HQ near the church in Ashwood oughta bring that repressive bitch out.”
You’ll need to prepare for this job, and to do that you’ve got to strip down at a crib. Then head on over to Ashwood and make a run past the target’s church. It’s across the street from a Nobody Loves Me clothing shop.
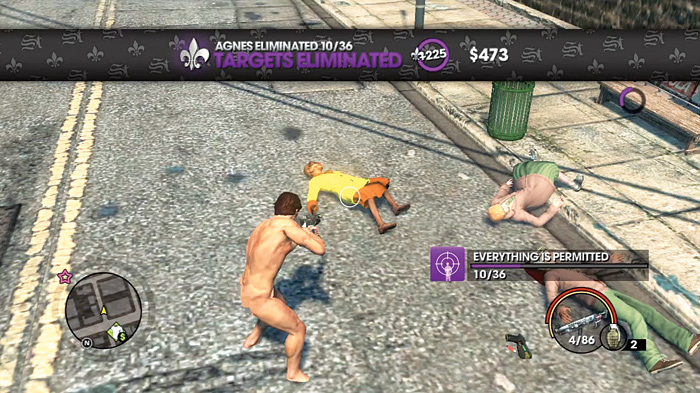
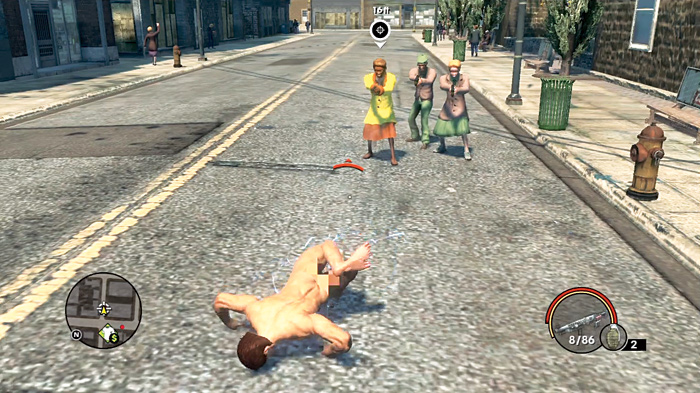
Don’t underestimate her just because she’s an old woman. Agnes comes strolling up to you flanked by a pair of fellow oldsters. They are not afraid of you in the slightest, and will pull out stun guns if you let them get close! As it turns out, real guns beat stun guns, so why don’t you introduce her to this concept?
Target: Brutus
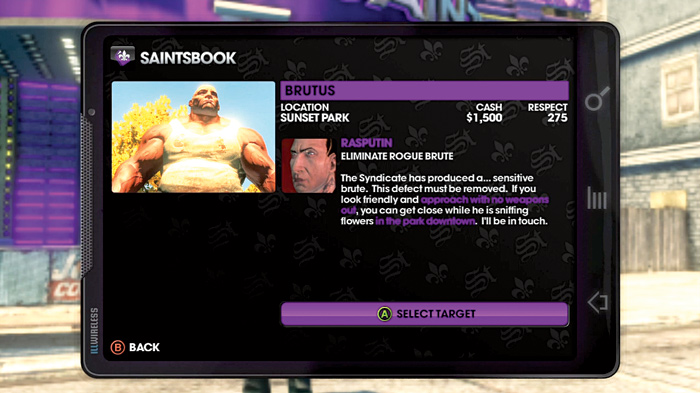
Hired by: Rasputin
Location: Sunset Park
Cash Earned: $1,500
Respect Earned: 225
Overview: Eliminate rogue brute
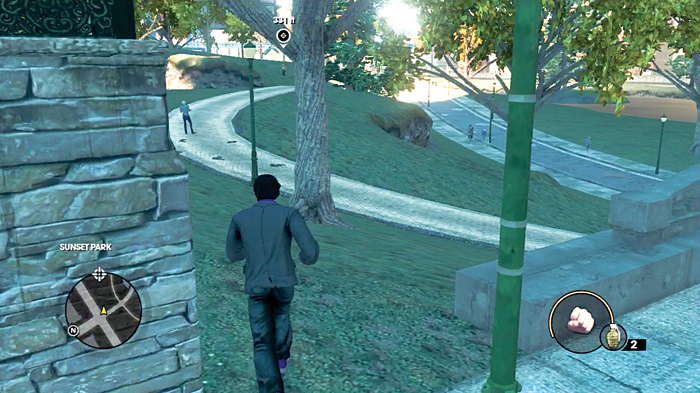
“The Syndicate has produced a . . . sensitive Brute. This defect must be removed. If you look friendly and approach with no weapons out, you can get close while he is sniffing flowers in the park downtown. I’ll be in touch.”
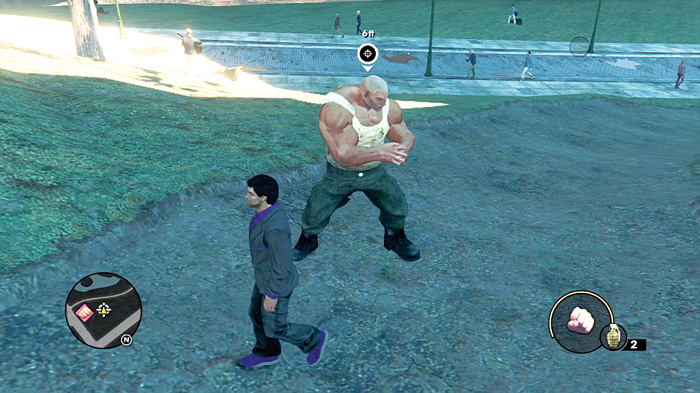
Brutus appears in the central Sunset Park as you approach it without any weapons equipped. Like Rasputin said, it is possible to approach Brutus and not raise any suspicion while unarmed. It’s probably best you don’t start the fight up close. As a Brute, the big guy has the usual incredible endurance and strength, making close-range combat a very dangerous prospect even if he is a defect.
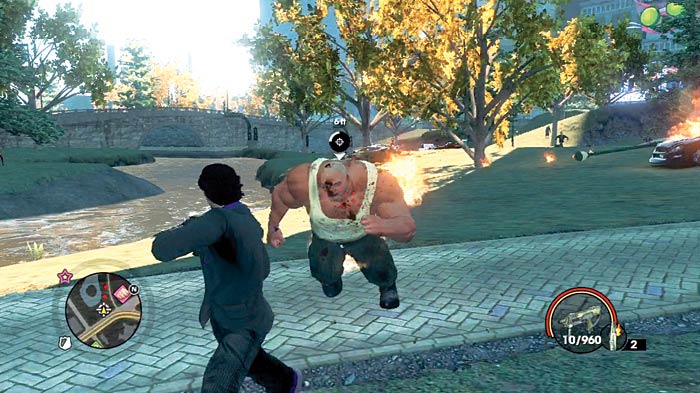
If you’re not particularly well equipped, this fight can drag on for a little bit. Be aware that Sunset Park also has a Gang Activity located within it, which can further complicate matters between you and Brutus if you get that cluster of Morningstar involved. Keep an eye on your minimap so you don’t retreat straight into them while fighting Brutus.
Target: Blaize
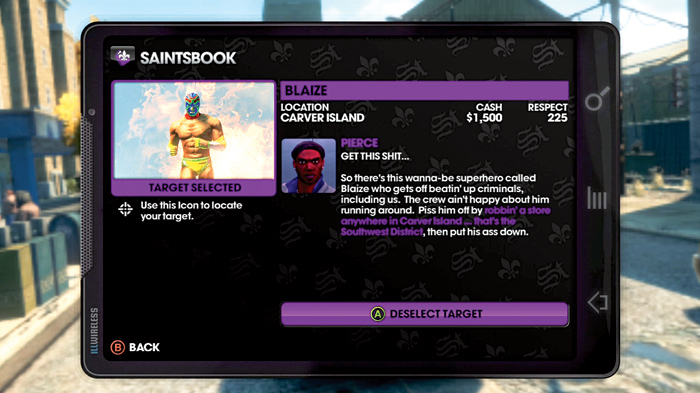
Hired by: Pierce
Location: Carver Island
Cash Earned: $1,500
Respect Earned: 225
Overview: Get this shit . . .
“So there’s this wanna-be superhero called Blaize who gets off beatin’ up criminals, including us. The crew ain’t happy about him running around. Piss him off by robbin’ a store anywhere in Carver Island . . . that’s the Southwest District—then put his ass down.”
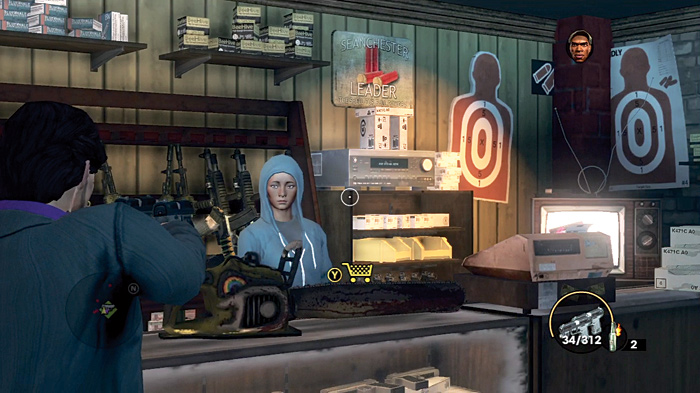
Look at her, she’s practically used to getting robbed at this point!
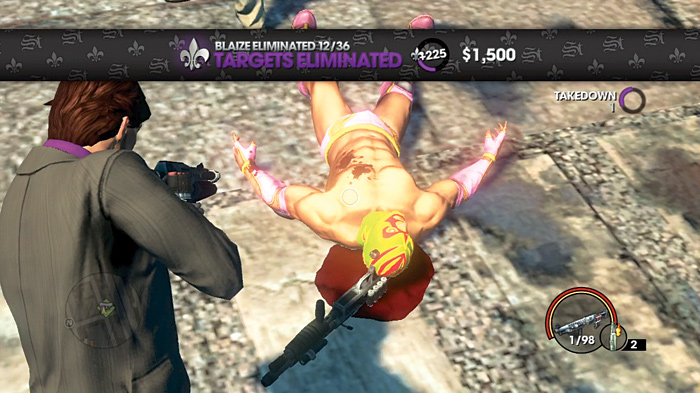
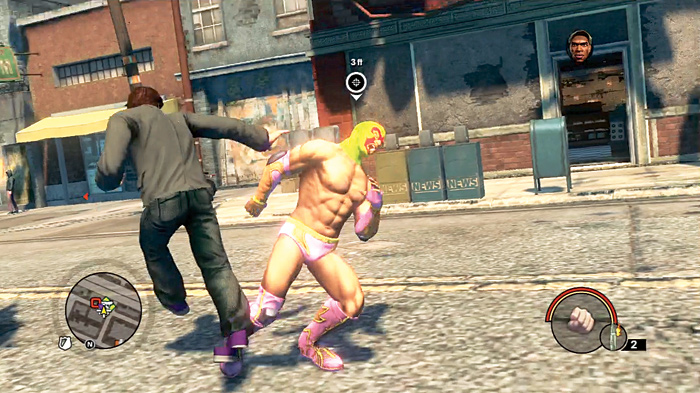
Like Pierce says, any Carver Island store will do. Once you point a weapon at an attendant, Blaize’s sixth sense kicks in and he comes running for you, usually armed with a shotgun. Don’t give him a chance to use it!
Target: Pr0Tip
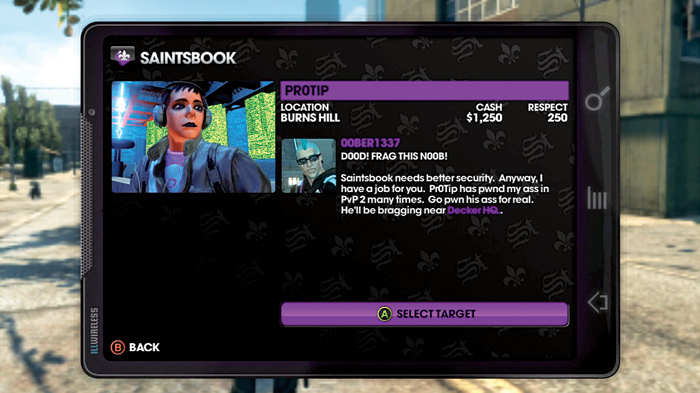
Hired by: 00BER1337
Location: Burns Hill
Cash Earned: $1,250
Respect Earned: 250
Overview: D00D! FRAG THIS N00B!
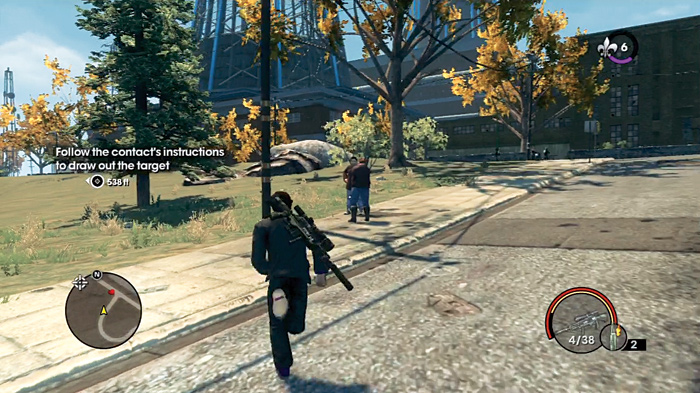
“Saintsbook needs better security. Anyway, I have a job for you. Pr0Tip has pwned my ass in PvP 2 many times. Go pwn his ass for real. He’ll be bragging near Decker HQ.”
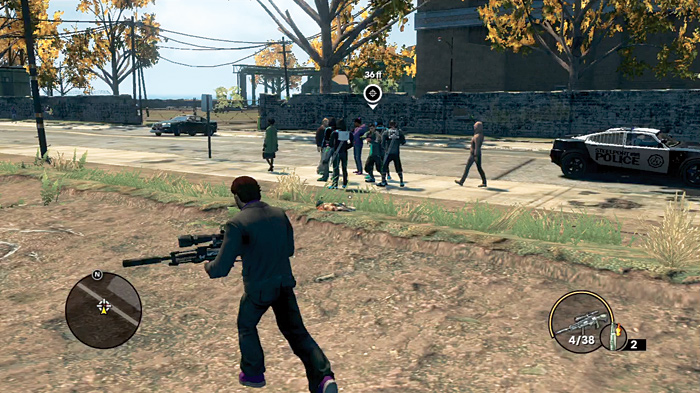
Right into the belly of the beast with you! The Burns Hill nuclear reactors are at the northwestern corner of the islands, and it is the home of the Deckers. It’s especially hard to miss at night, when it glows with bright blue spotlights reaching into the sky.
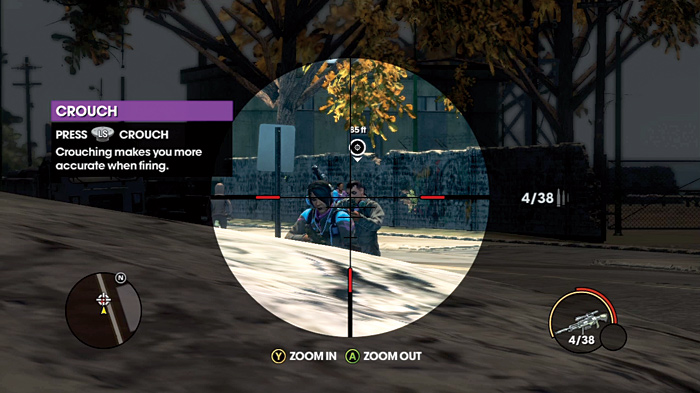
Getting close is not a safe choice. Pr0Tip rolls with four bodyguards, and he’ll be immediately suspicious of you if he so much as sees you, with or without a weapon in hand. He’s not much tougher than the average Decker, though.
Target: Randall
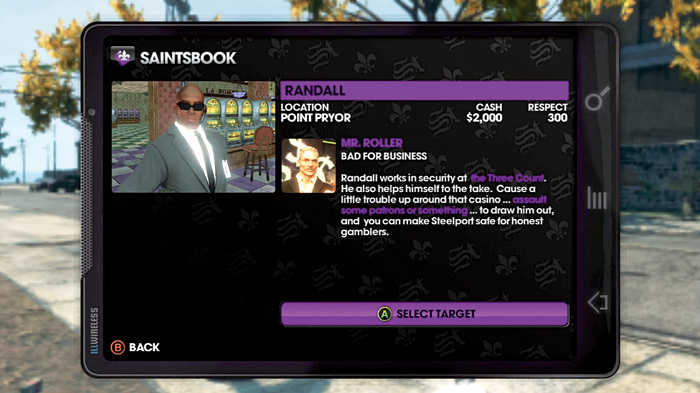
Hired by: Mr. Roller
Location: Point Pryor
Cash Earned: $2,000
Respect Earned: 300
Overview: Bad for business
“Randall works in security at the Three Count. He also helps himself to the take. Cause a little trouble up around that casino . . . assault some patrons or something . . . to draw him out, and you can make Steelport safe for honest gamblers.”
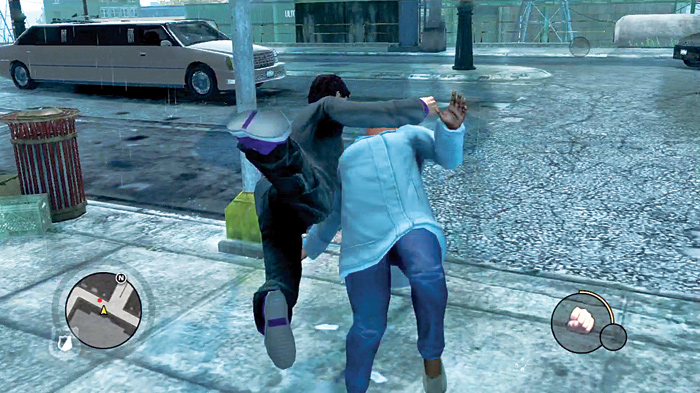
Far be it from us to question the idea that contract killings are making Steelport safe for gambling.
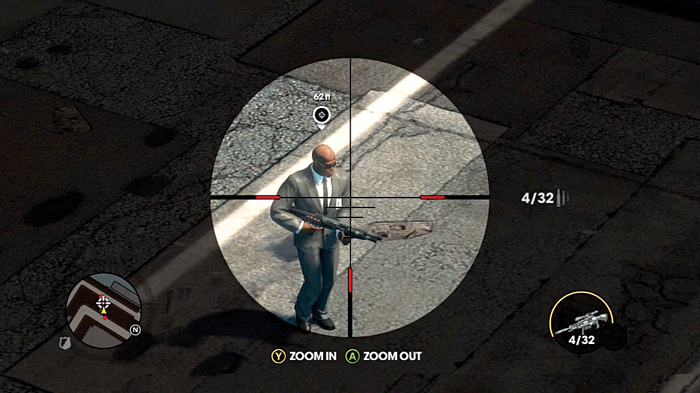
The Three Count Casino is on the southern tip of the western island—it’s hard to miss, as it takes up almost all of it. Drive down there and put some hurt on citizens walking around the casino to draw Randall out.
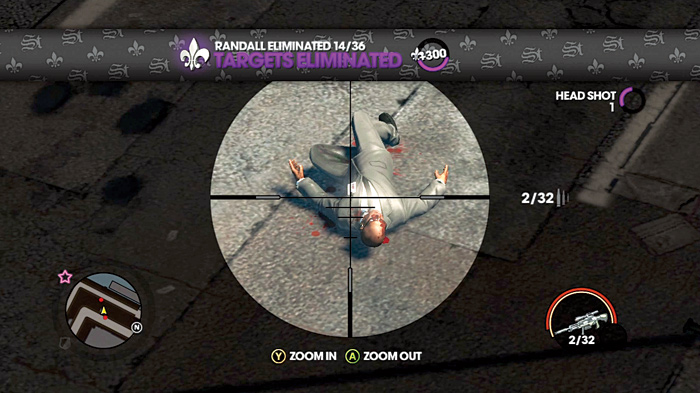
Randall is armed with a shotgun, so keep that in mind when you go after him. He may not always appear near the casino proper; sometimes he is on the dock west of the casino. This gives you a good elevated position to snipe him from, if you so choose.
Target: Mr. Dickson
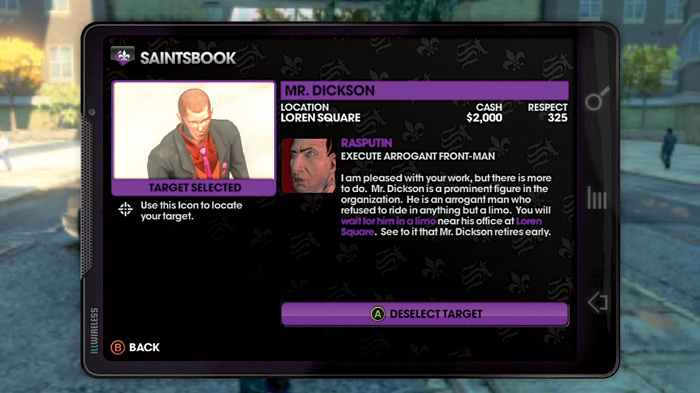
Hired by: Rasputin
Location: Loren Square
Cash Earned: $2,000
Respect Earned: 325
Overview: Execute arrogant front man
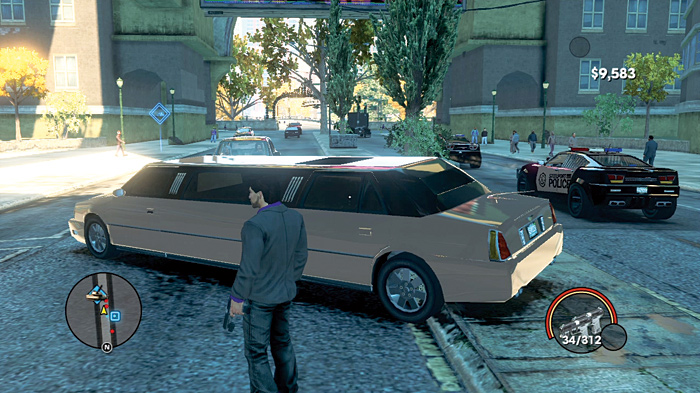
“I am pleased with your work, but there is more to do. Mr. Dickson is a prominent figure in the organization. He is an arrogant man who refused to ride in anything but a limo. You will wait for him in a limo near his office at Loren Square. See to it that Mr. Dickson retires early.”
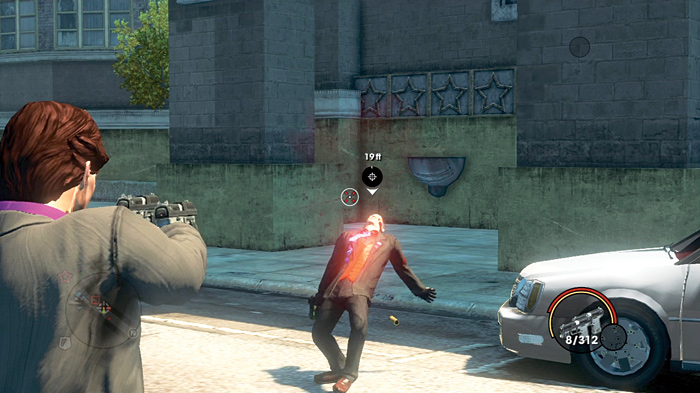
Unlike many Assassination targets, Mr. Dickson appears at a very specific spot. The really tricky part of this job is just finding a limo in the first place. Once you have that, he’ll come running up to the vehicle and you can take him down from there.
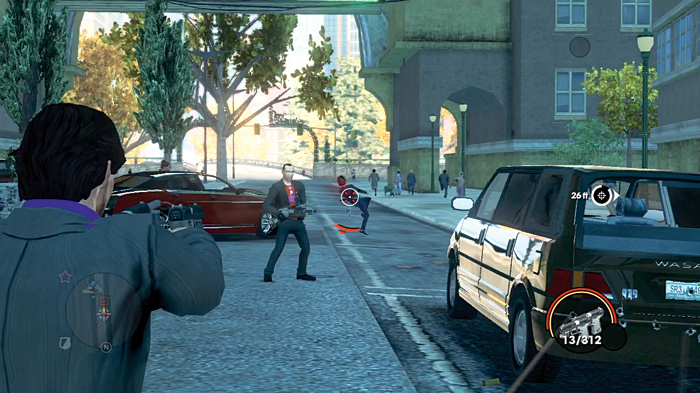
A rival assassin may try to take him out before you, and if that’s the case it isn’t a bad idea to put down the rival first. Rival assassins are quite durable, but not enough to make killing them a real hassle. That way you can kill your target with ease.
Target: Jim
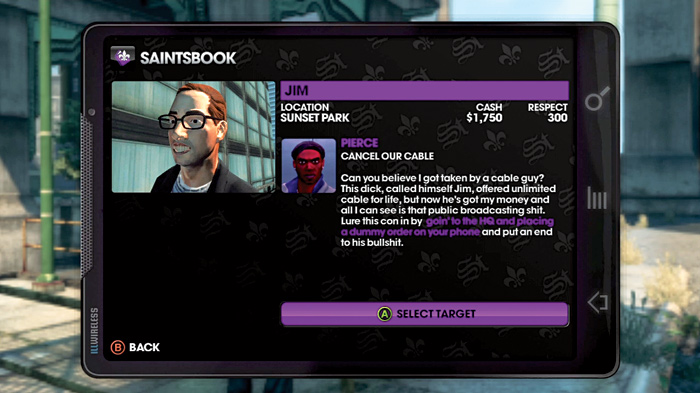
Hired by: Pierce
Location: Sunset Park
Cash Earned: $1,750
Respect Earned: 300
Overview: Cancel our cable
“Can you believe I got taken by a cable guy? This dick, called himself Jim, offered unlimited cable for life, but now he’s got my money and all I can see is that public broadcasting shit. Lure this con in by goin’ to the HQ and placing a dummy order on your phone and put an end to his bullshit.”
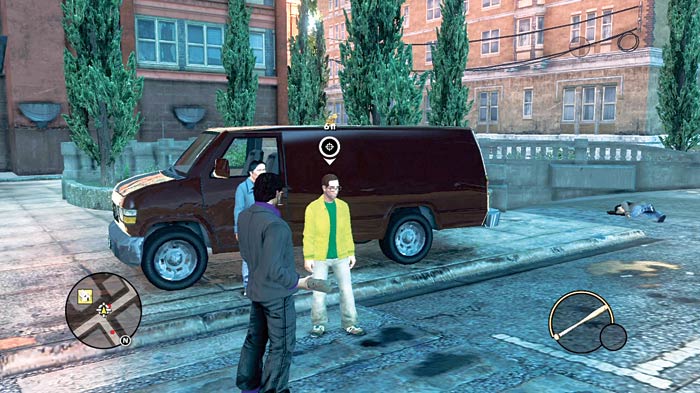
Yes Pierce, we can easily believe you were taken by a cable guy.
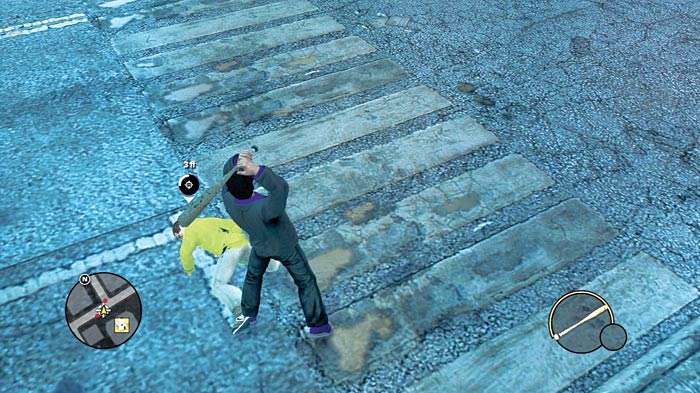
Make the call from in front of Saint’s HQ. Jim appears in his van in short order, and you can cut his life short from there. No real muss or fuss—he comes alone to boot.
Target: Grigor
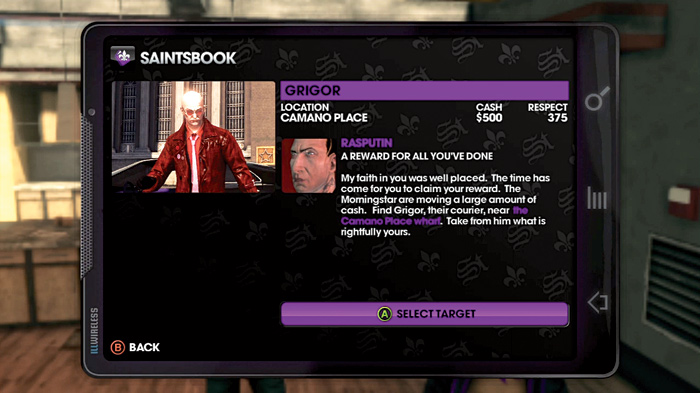
Hired by: Rasputin
Location: Camano Place
Cash Earned: $500
Respect Earned: 375
Overview: A reward for all you’ve done
“My faith in you was well placed. The time has come for you to claim your reward. The Morningstar are moving a large amount of cash. Find Grigor, their courier, near the Camano Place wharf. Take from him what is rightfully yours.”
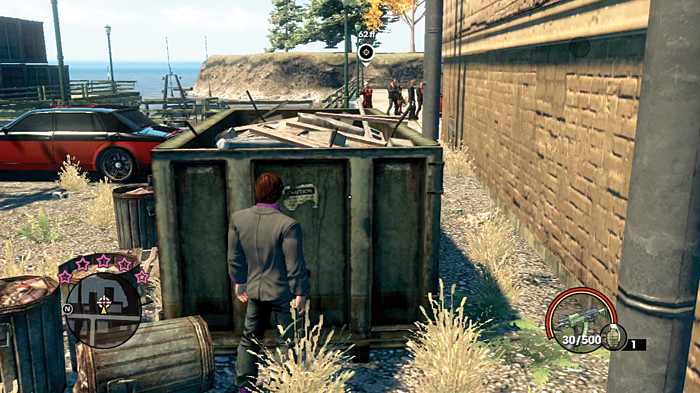
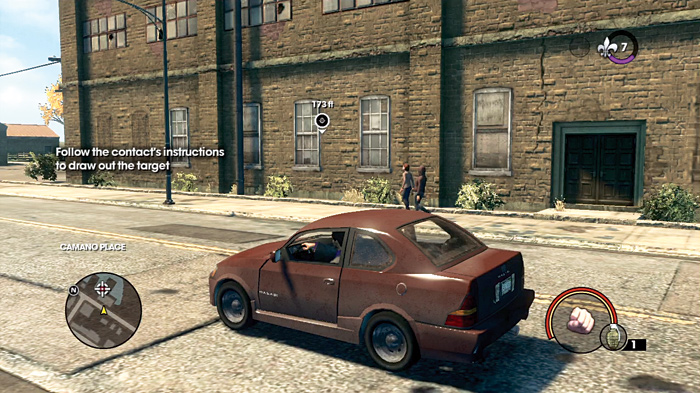
It’s a pretty low reward for dealing with Grigor, but it’s hard to pass up the opportunity within this job. Drive on over to the Camano Place wharf marked on your GPS; Grigor should appear on the map as you get close.
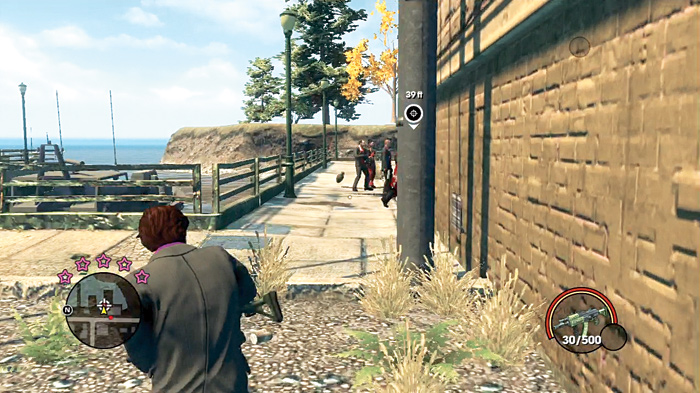
That’s a lot of guys waiting for you. Grigor is placed amid a Morningstar Gang Activity location, and to make matters worse, the moment you’re noticed, you also gain full notoriety with the Morningstar—which means that this isn’t some mere courier you’ve been sent to eliminate. This is a trap.
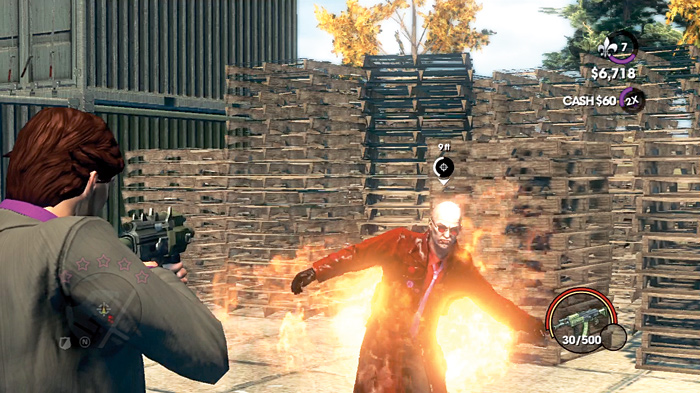
Get the party started with a grenade. A good toss can eliminate many of the guards surrounding Grigor before you move in for the kill. He’s armed with an AR-55, so he can not only hit hard, but hit accurately as well. You don’t have much time to kill him from the moment you trigger the ambush and before reinforcements arrive, so be quick about your business. Then get the heck out of there before the figurative hammer drops on your little head.
Oh Rasputin, how short your life has just become.
Target: Oliver
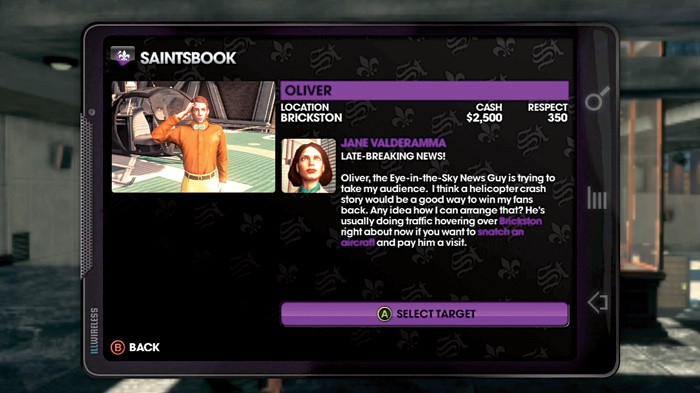
Hired by: Jane Valderrama
Location: Brickston
Cash Earned: $2,500
Respect Earned: 350
Overview: Late-breaking news!
“Oliver, the Eye-in-the-Sky News Guy is trying to take my audience. I think a helicopter crash story would be a good way to win my fans back. Any idea how I can arrange that? He’s usually doing traffic hovering over Brickston right about now if you want to snatch an aircraft and pay him a visit.”
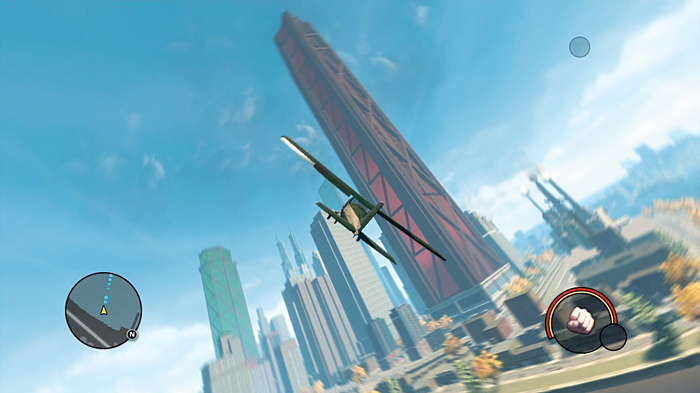
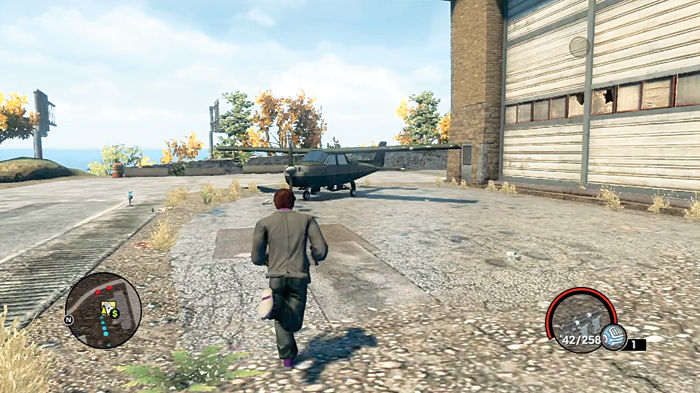
This is a really fun assignment that you can tackle in a number of ways. Get to the airport, and find one of the aircraft you can pilot there—a helicopter or a light fixed-wing plane like the Woodpecker, any will do—then fly to Brickston.
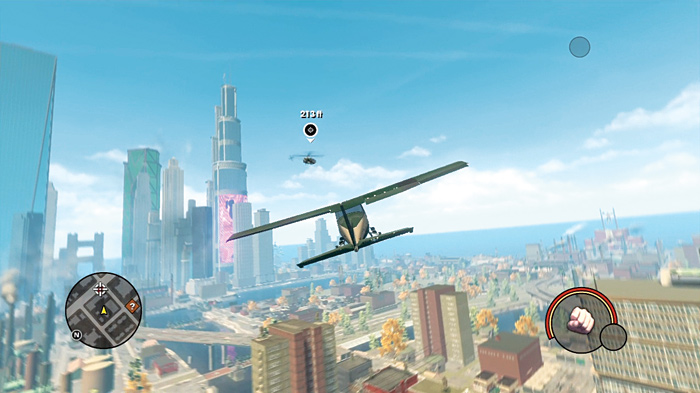
Oliver’s helicopter is a small target to hit, particularly in an unarmed aircraft, but it is possible. It’s just very dangerous. However, if you’re willing to take on a little extra risk, you can use something with a little more kick to it.
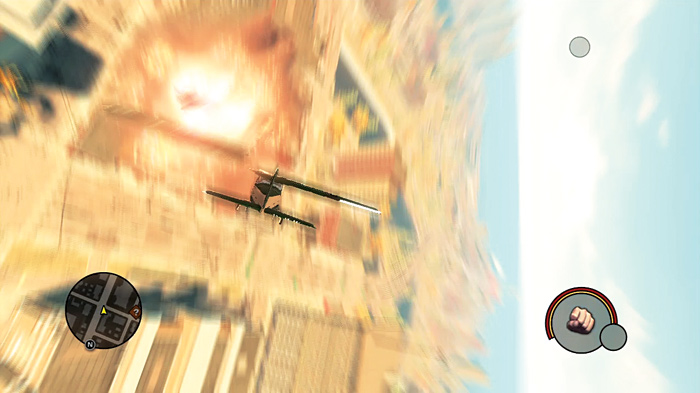
Take an aircraft from the airport and head on over to the National Guard base on the southern tip of the eastern island. Gain some altitude to help you spot your target and also to give yourself a chance to survive incoming fire. The general vicinity of the base is a restricted zone, and being there will give you level three notoriety with law enforcement. It’s especially dangerous around the military because they tend to pack heavier firepower.
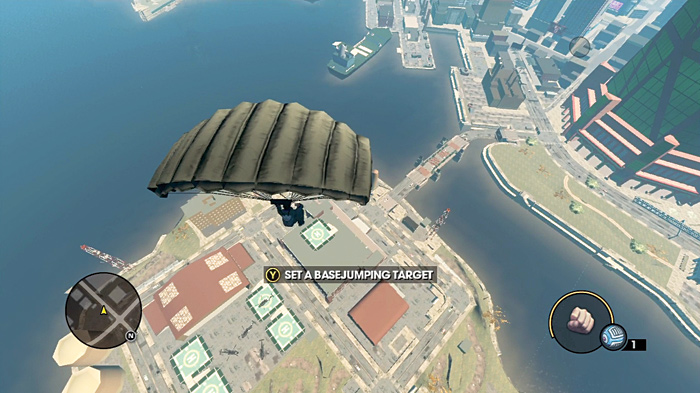
From altitude, you might notice five helipads. Four are quite close to each other. A fifth is off to the side, west of the clustered four. That helipad often contains an attack chopper, a Tornado usually.
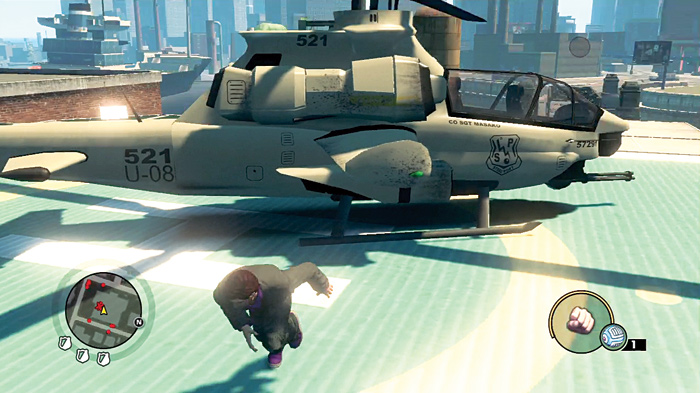
Take it, fly to Brickston, and gun down your target. As an unintentional bonus, if you fly the chopper back to your crib and store it, you now have a Tornado to use on demand! Not too shabby.
Target: Danny
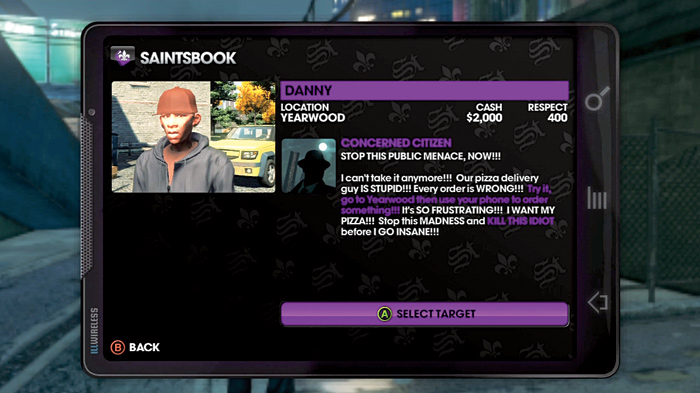
Hired by: Concerned Citizen
Location: Yearwood
Cash Earned: $2,000
Respect Earned: 400
Overview: Stop this public menace, now!!!
“I can’t take it anymore!!! Our pizza delivery guy IS STUPID!!! Every order is WRONG!!! Try it, go to Yearwood then use your phone to order something!!! It’s SO FRUSTRATING!!! I WANT MY PIZZA!!! Stop this MADNESS and KILL THIS IDIOT before I GO INSANE!!!”
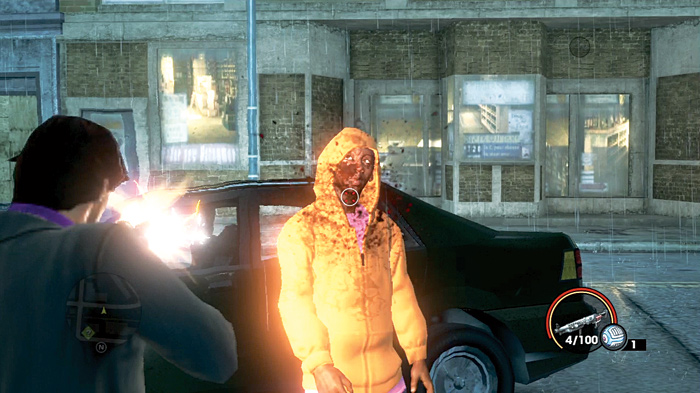
While it’s too late to kill Danny before the client goes insane, you still get $2,000 for your work, so get on top of it.
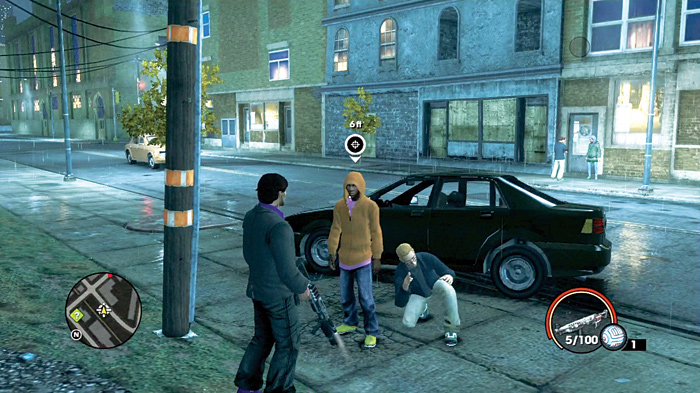
Call out Danny using the Pizzeria option from the cell phone once you’re in Yearwood. He will drive up to your location alone. An easy $2,000.
Target: Barry
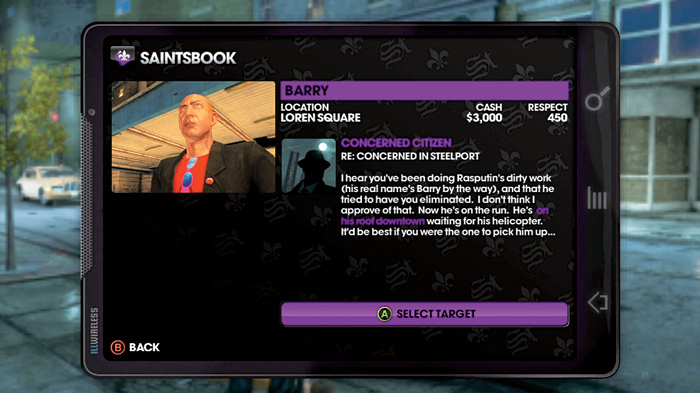
Hired by: Concerned Citizen
Location: Loren Square
Cash Earned: $3,000
Respect Earned: 450
Overview: RE: Concerned in Steelport
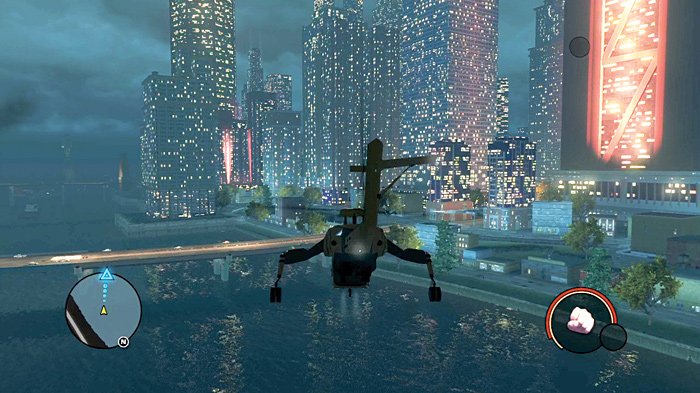
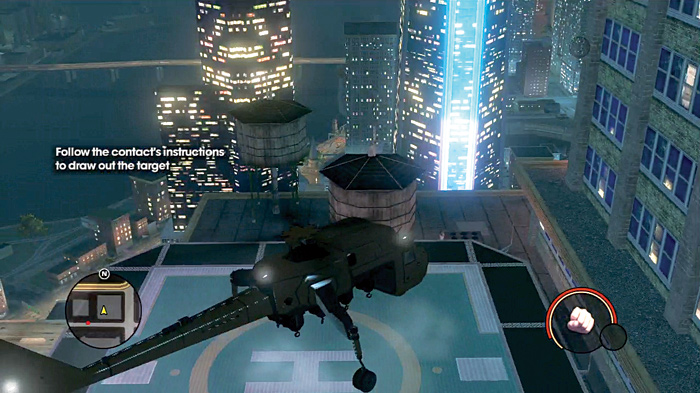
“I hear you’ve been doing Rasputin’s dirty work (his real name’s Barry by the way), and that he tried to have you eliminated. I don’t think I approve of that. Now he’s on the run. He’s on his roof downtown waiting for his helicopter. It’d be best if you were the one to pick him up. . . .”
No wonder he called himself Rasputin. Barry is not a very intimidating name for someone placed high in the Morningstar.
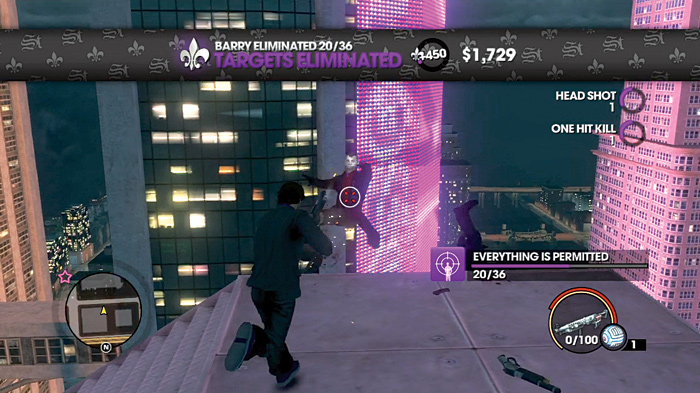
Steal a helicopter (if you haven’t already by this point) from the airport, and fly to the designated helipad in Loren Square. Barry appears with his bodyguards. Make an example of all them.
Of course, if you have managed to steal an attack chopper, the comedy option could be to put a rocket in their faces. Either way, you’ll have shown Barry that the price of betrayal is much higher than any one man can possibly afford when the Saints are the ones demanding payment.
Target: Luther
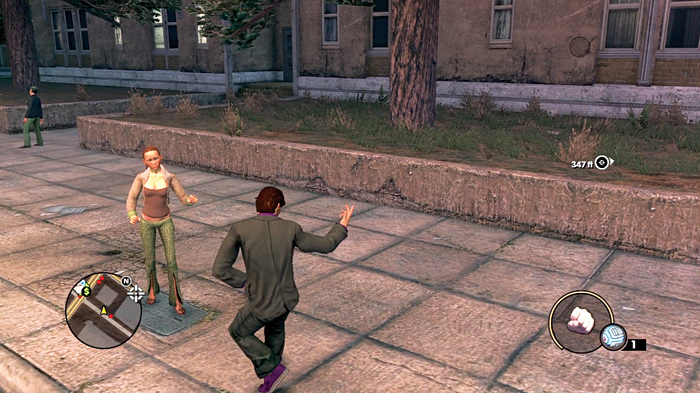
Hired by: Pierce
Location: Loren Square
Cash Earned: $600
Respect Earned: 125
Overview: Stalk the stalker
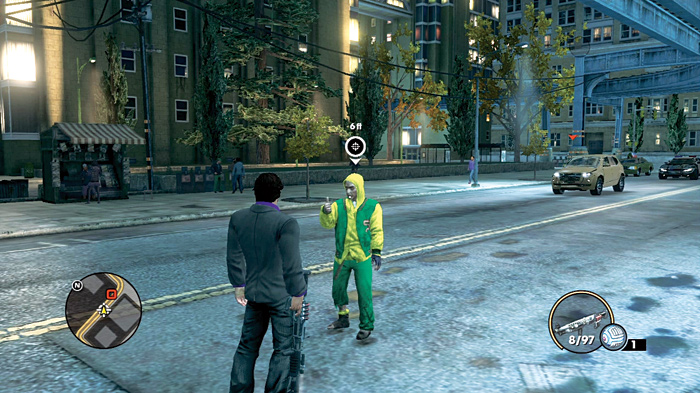
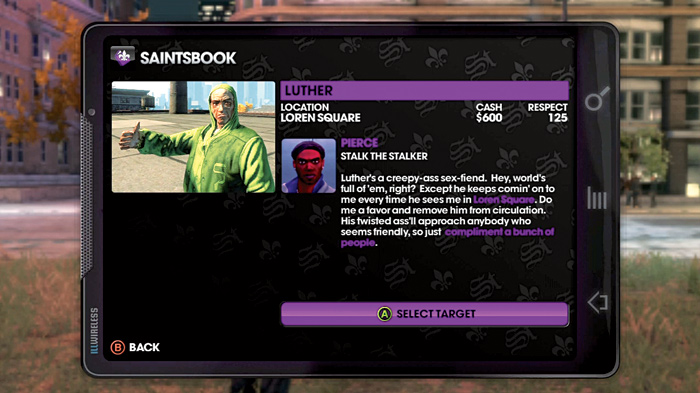
“Luther’s a creepy-ass sex fiend. Hey, world’s full of ’em, right? Except he keeps comin’ on to me every time he sees me in Loren Square. Do me a favor and remove him from circulation. His twisted ass’ll approach anybody who seems friendly, so just compliment a bunch of people.”
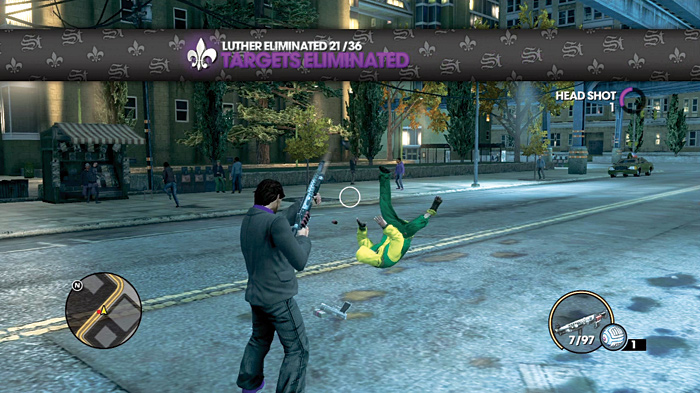
If you ask yourself why Pierce can’t handle it himself, you might come up with answers you’ll regret thinking about. Let’s just get this done.
This target is really easy to draw out. Walk up to people in Loren Square and use your Compliment button to compliment as many folks as it takes to get Luther out of hiding. He comes up to you to compliment you, suspecting nothing. Put him out of his misery. A rival hitman could also be on the job, so keep an eye out for that, and get the kill before they do.
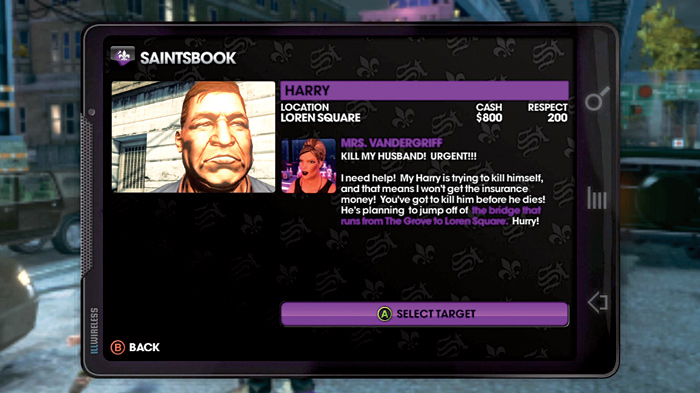
Target: Harry
Hired by: Mrs. Vandergriff
Location: Loren Square
Cash Earned: $800
Respect Earned: 200
Overview: Kill my husband! Urgent!!!
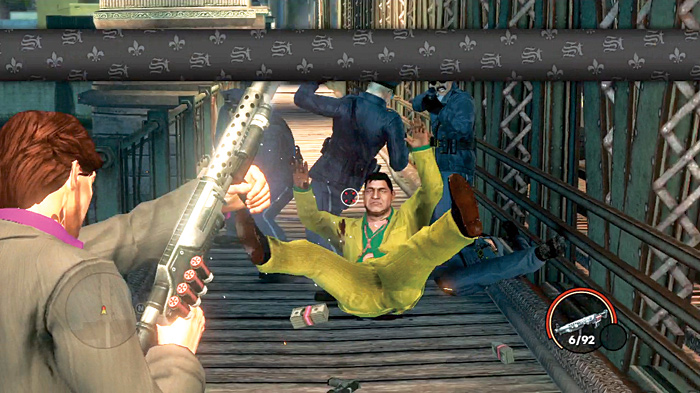
“I need help! My Harry is trying to kill himself, and that means I won’t get the insurance money! You’ve got to kill him before he dies! He’s planning to jump off of the bridge that runs from the Grove to Loren Square. Hurry!”
Oh please, a fall like that into water doesn’t phase the Boss. Harry would be fine!
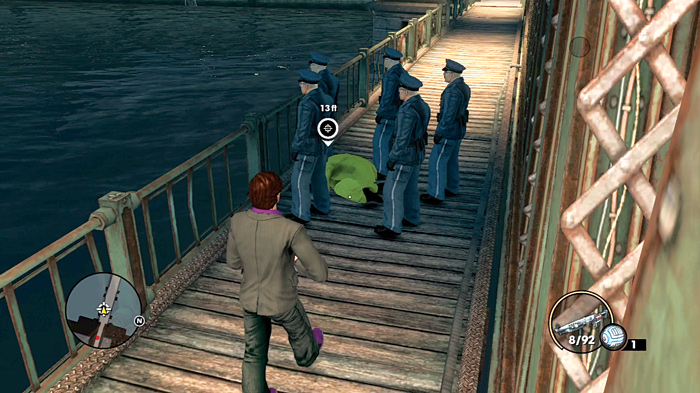
When you get to the location where Harry intends to leap, he has an escort of five police officers surrounding him, which means direct action can be risky. Once Harry has appeared, you can also try sniping him from a distance.
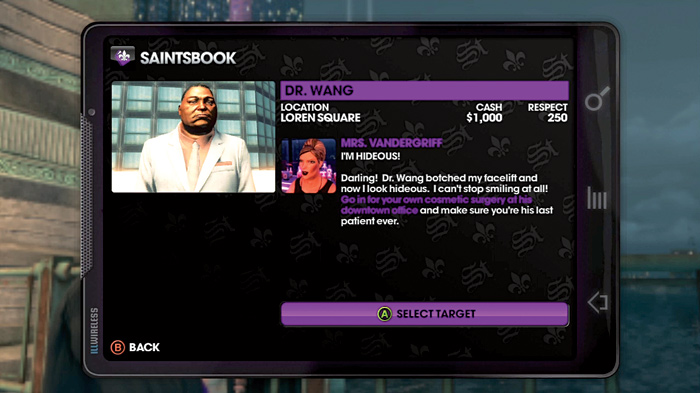
Target: Dr. Wang
Hired by: Mrs. Vandergriff
Location: Loren Square
Cash Earned: $1,000
Respect Earned: 250
Overview: I’m hideous!
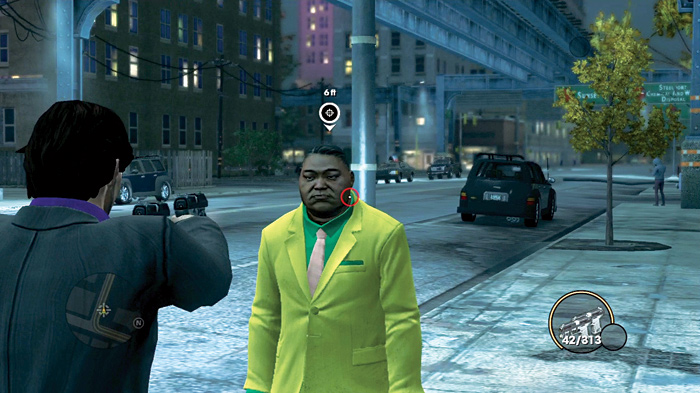
“Darling! Dr. Wang botched my face lift and now I look hideous. I can’t stop smiling at all! Go in for your own cosmetic surgery at his downtown office and make sure you’re his last patient ever.”
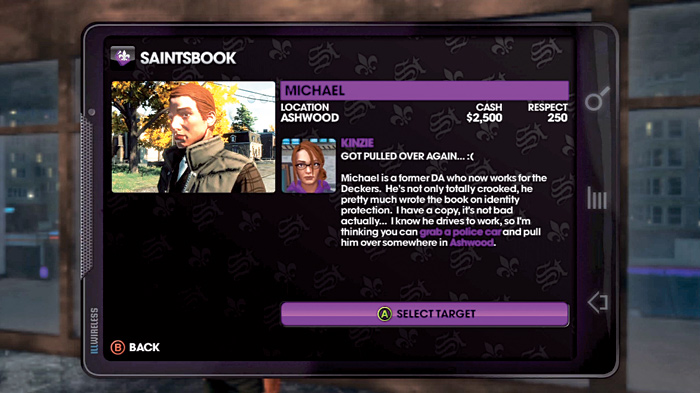
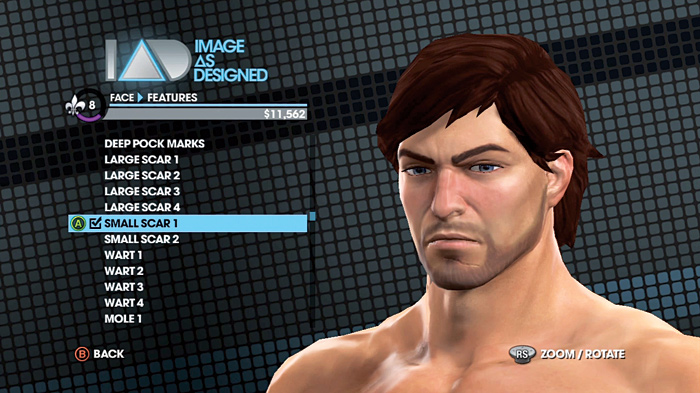
You can take this hit on immediately after killing Harry, so it doesn’t require much in the way of travel. There’s an Image as Designed office really close to where you killed the husband to make it even more convenient. Drive on over to it and get something done to your appearance—it doesn’t even have to be extensive. Wang appears on the mini-map in short order. Get over to him and make the kill.
Target: Michael
Hired by: Kinzie
Location: Ashwood
Cash Earned: $2,500
Respect Earned: 250
Overview: Got pulled over again . . . :(
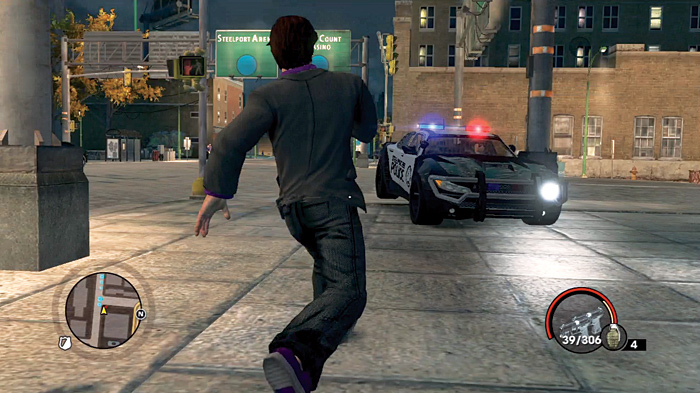
“Michael is a former DA who now works for the Deckers. He’s not only totally crooked, he pretty much wrote the book on identity protection. I have a copy, it’s not bad actually. . . . I know he drives to work, so I’m thinking you can grab a police car and pull him over somewhere in Ashwood.”
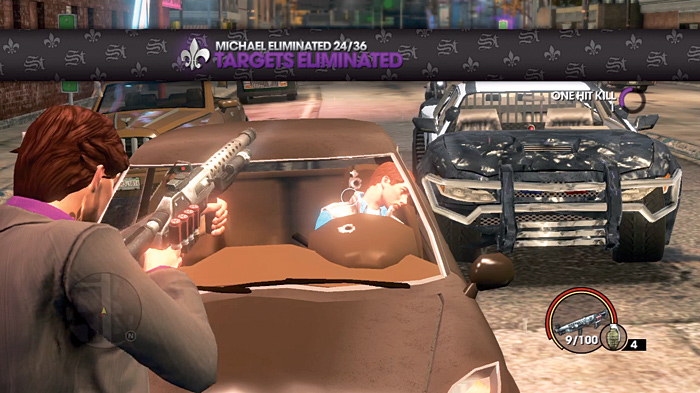
Police are on near-constant patrols of the city, so it shouldn’t take long to find one. Of course, if you’re having trouble, you can always make trouble and they will show up sooner or later.
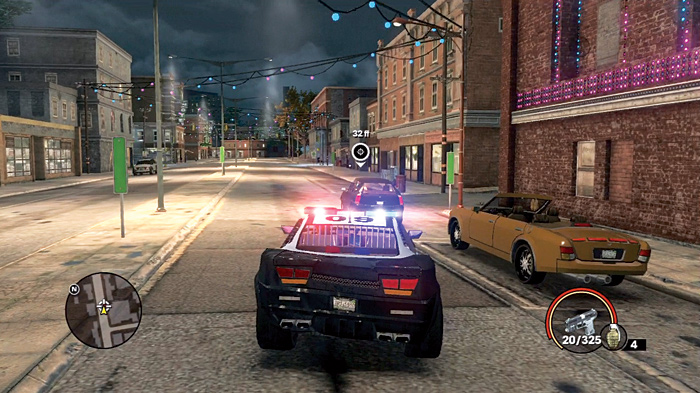
Once you have the car, lose the heat (hide in a crib if you must), and get out to Ashwood. Once he appears on the minimap, get on his tail and use the siren on your car to pull him over. He dutifully awaits his execution.
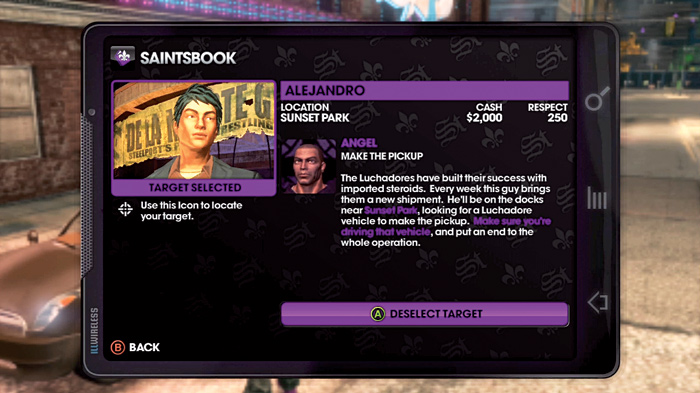
Target: Alejandro
Hired by: Angel
Location: Sunset Park
Cash Earned: $2,000
Respect Earned: 250
Overview: Make the pickup
“The Luchadores have built their success with imported steroids. Every week this guy brings them a new shipment. He’ll be on the docks near Sunset Park, looking for a Luchadore vehicle to make the pickup. Make sure you’re driving that vehicle, and put and end to the whole operation.”
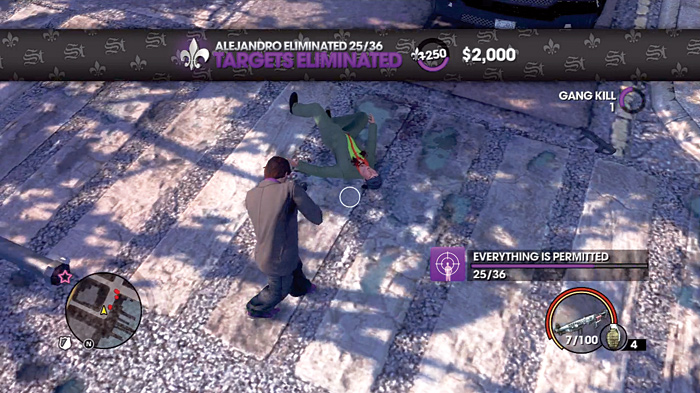
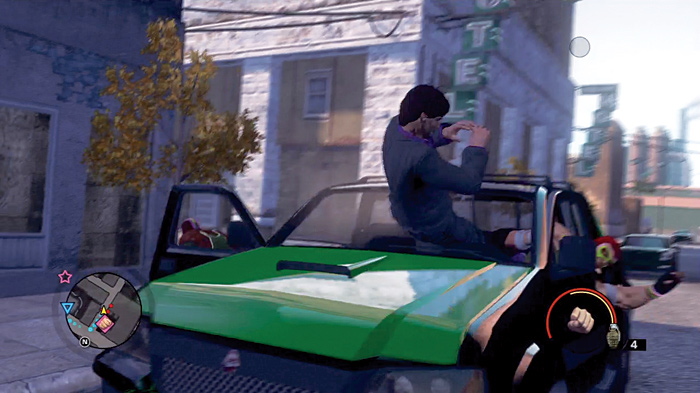
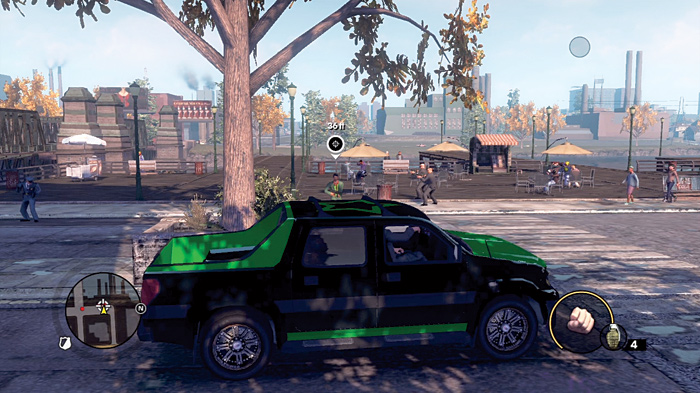
Borrowing a Luchadore ride is easy enough if you go to the south of the western island. From there, get out to the docks by Sunset Park, close to Rondini’s Boat Dock. Alejandro should stroll up, armed with a shotgun.
He might not suspect a thing, so take advantage of that and bring him down before he can fight back.
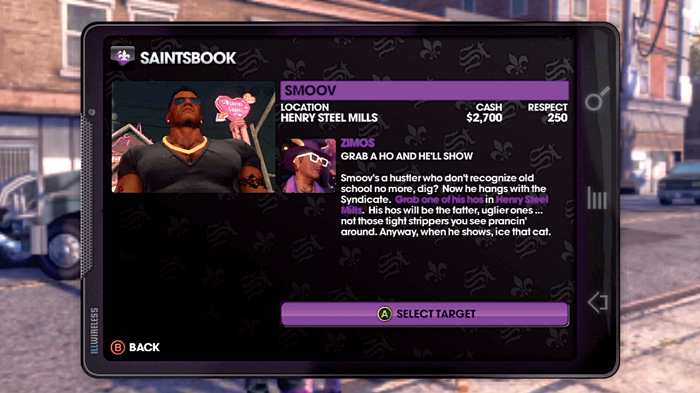
Target: Smoov
Hired by: Zimos
Location: Henry Steel Mills
Cash Earned: $2,700
Respect Earned: 250
Overview: Grab a ho and he’ll show
“Smoov’s a hustler who don’t recognize old school no more, dig? Now he hangs with the Syndicate. Grab one of his hos in Henry Steel Mills. His hos will be the fatter, uglier ones . . . not those tight strippers you see prancin’ around. Anyway, when he shows, ice that cat.”
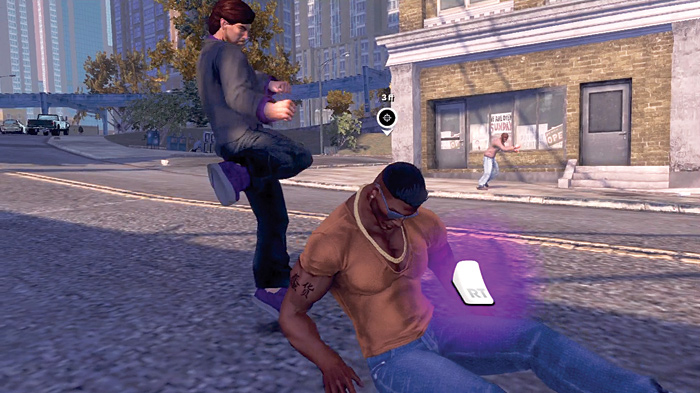
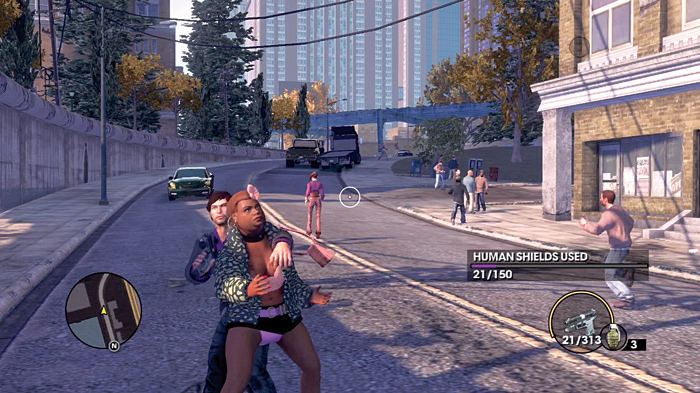
This can be somewhat frustrating because it is easy to miss a fat ho among the crowds of people on the sidewalks while running or driving around Henry Steel Mills. Don’t be picky though, as soon as you see one, run up and grab her for use as a human shield.
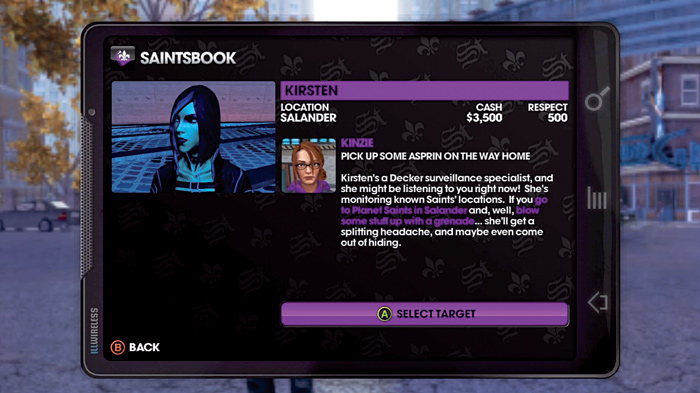
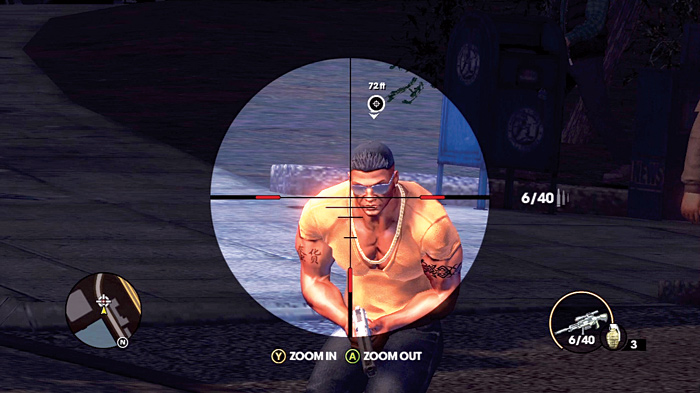
That’s enough to draw Smoov out. He’s only got a pistol, so you should have him outmatched for firepower if it comes down to a shootout.
Target: Kirsten
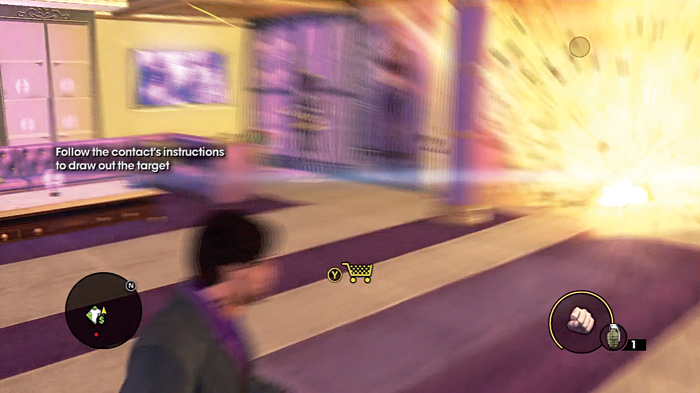
Hired by: Kinzie
Location: Salander
Cash Earned: $3,500
Respect Earned: 500
Overview: Pick up some aspirin on the way home
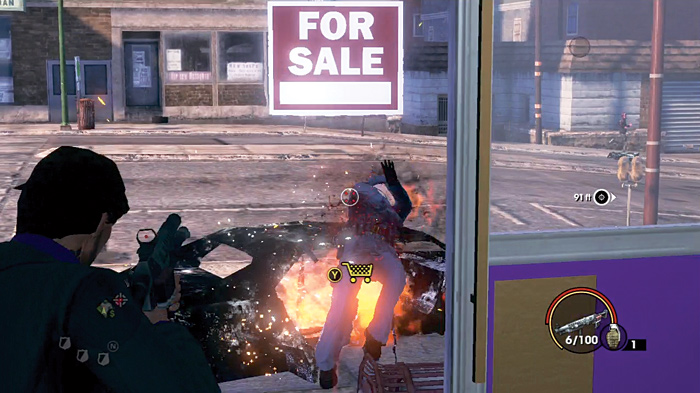
“Kirsten’s a Decker surveillance specialist, and she might be listening to you right now! She’s monitoring known Saints’ locations. If you go to Planet Saints in Salander and, well, blow some stuff up with a grenade . . . she’ll get a splitting headache, and maybe even come out of hiding.”
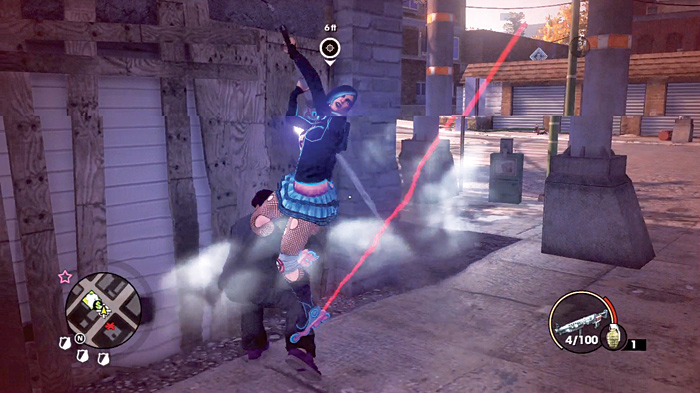
As discreet as a herd of orange elephants, head on down the Planet Saints in Salander and throw some explosives around. This counts as a robbery now, so be prepared for level three notoriety with the cops! Kirsten shows up outside of the building.
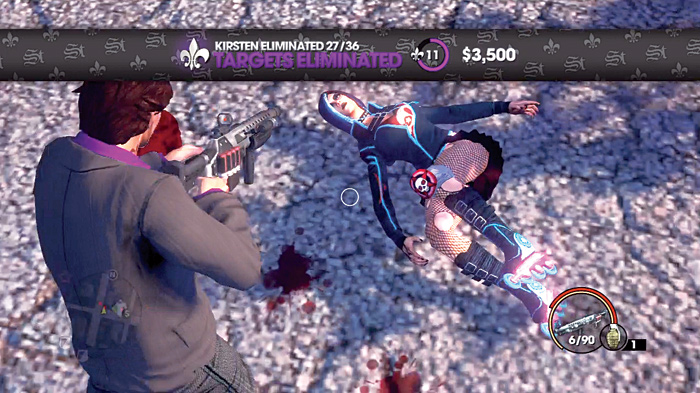
Kirsten has a pair of guards, but that doesn’t really mean much considering that she’s a full-blown Decker specialist who fights with twin SMGs, a Shock Hammer, and has the ability to speed around so quickly on her rollerblades it looks as though she’s teleporting—which she also can do. Between her and the cops, this can get really ugly. Use anything and everything at your disposal to bring her down quick. The longer this drags on, the longer you’ll be under fire from both her and the cops you’ve angered.
Target: Gerrard
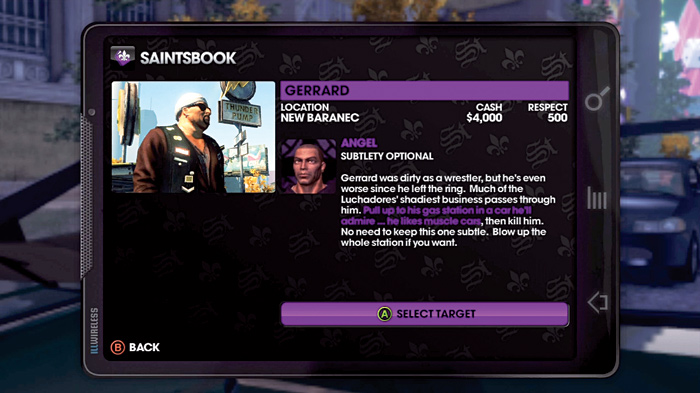
Hired by: Angel
Location: Salander
Cash Earned: $4,000
Respect Earned: 500
Overview: Subtlety optional
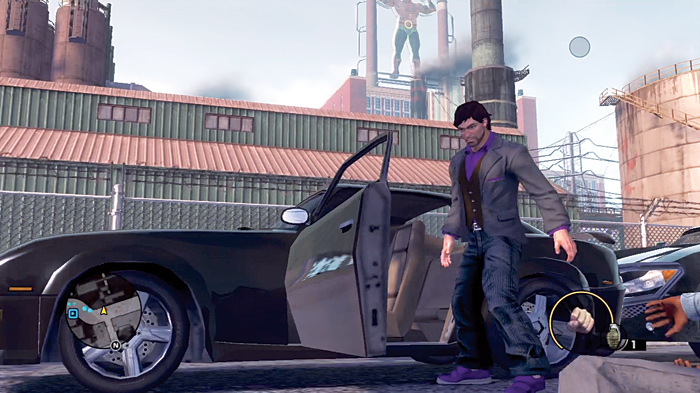
“Gerrard was dirty as a wrestler, but he’s even worse since he left the ring. Much of the Luchadores’s shadiest business passes through him. Pull up to his gas station in a car he’ll admire . . . he likes muscle cars—then kill him. No need to keep this one subtle. Blow up the whole station if you want.”
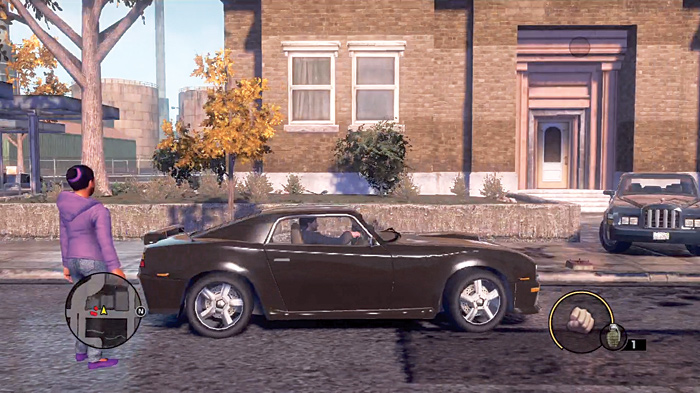
Angel is the best new gang member. Not even a day in the Saints and he wants you to blow up gas stations!
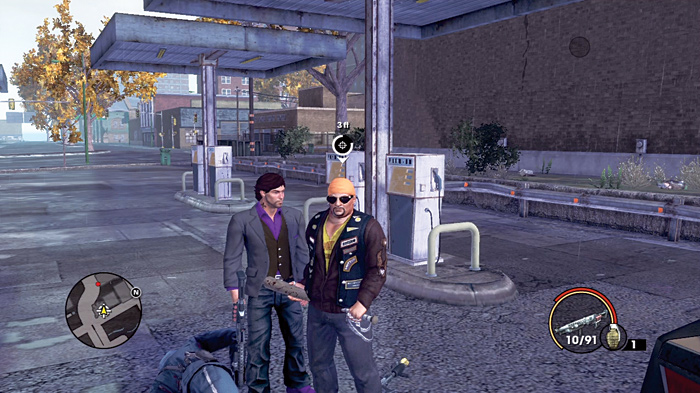
First, you’ll need to acquire a muscle car. There are several on the roads of Steelport, but one of the ones common to the general vicinity of the target is the Phoenix.
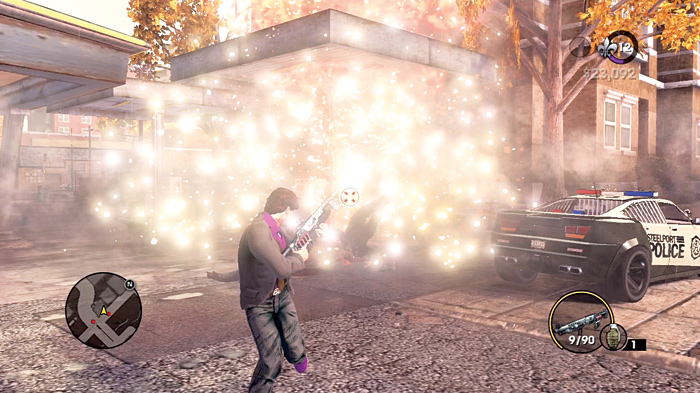
Once you pull past the designated gas station in a muscle car, Gerrard makes his appearance, armed with a baseball bat, appraising your new ride for the rest of his life.
Target: Clovis
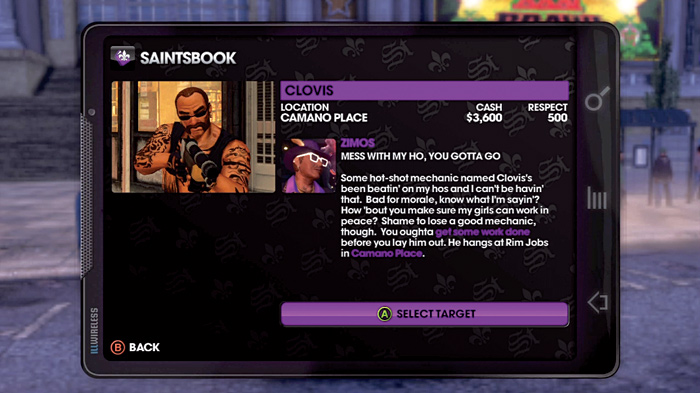
Hired by: Zimos
Location: Camano Place
Cash Earned: $3,600
Respect Earned: 500
Overview: Mess with my ho, you gotta go
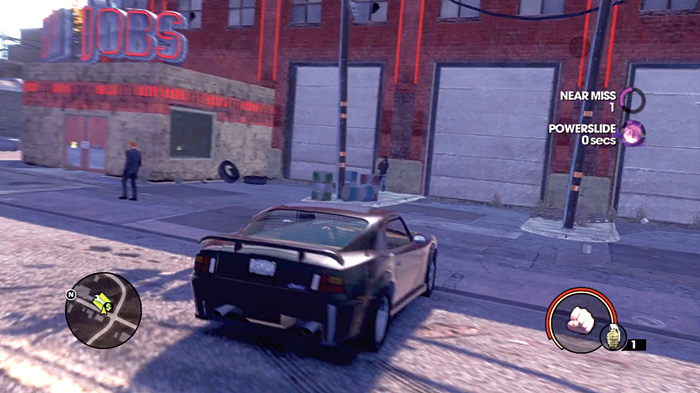
“Some hot-shot mechanic named Clovis’s been beatin’ on my hos and I can’t be havin’ that. Bad for morale, know what I’m sayin’? How ’bout you make sure my girls can work in peace? Shame to lose a good mechanic, though. You oughta get some work done before you lay him out. He hangs at Rim Jobs in Camano Place.”
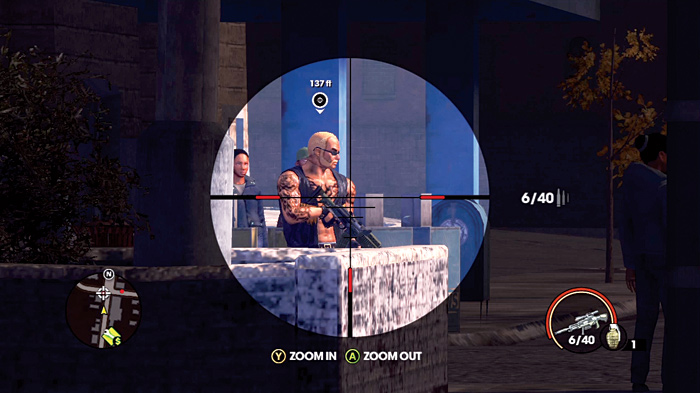
Like other missions that require you to use a service to draw out the target, it doesn’t have to be expensive. Head out to the Rim Jobs marked on the map, get some work done, and Clovis shows up nearby. He’s typically armed with an assault rifle, so he doesn’t quite present the same threat other targets have up close.
Target: Lucas
Hired by: Kinzie
Location: Burns Hill
Cash Earned: $4,500
Respect Earned: 750
Overview: Please water the flowers for me
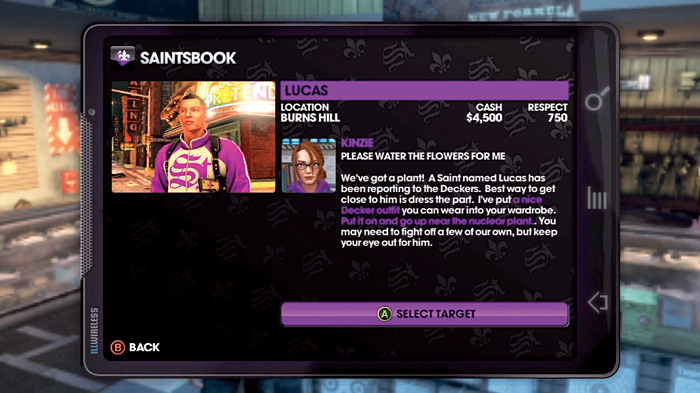
“We’ve got a plant! A Saint named Lucas has been reporting to the Deckers. Best way to get close to him is dress the part. I’ve put a nice Decker outfit you can wear into your wardrobe. Put it on and go up near the nuclear plant. You may need to fight off a few of our own, but keep your eye out for him.”
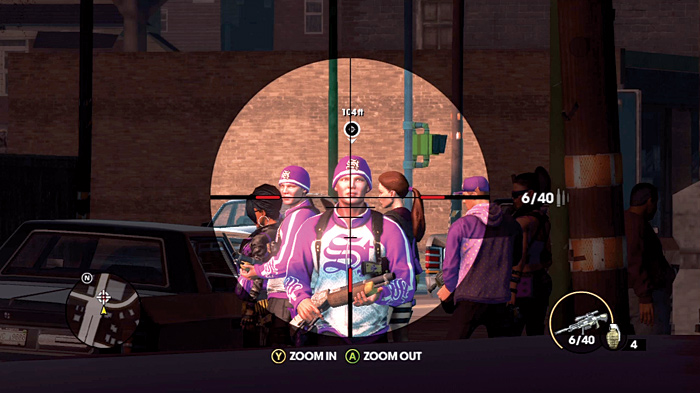
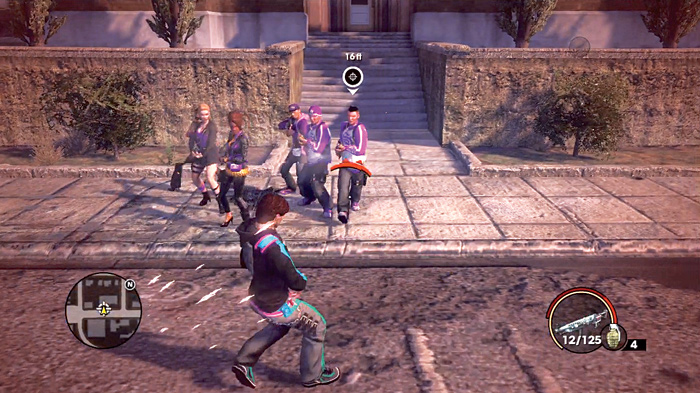
Once you change into the outfit, head on over to Burns Hill to draw Lucas out. Unfortunately for you, Lucas is rolling with a sizable number of Saints, and they will all open fire on you if you get close because you look like a Decker, and Lucas is presumably trying to maintain his cover. Explosives can thin them out.
But you may also prefer a more surgical solution to the problem.
Target: Whitney
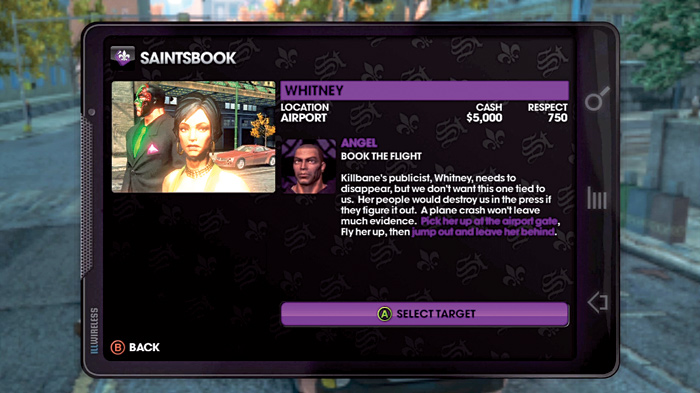
Hired by: Angel
Location: Airport
Cash Earned: $5,000
Respect Earned: 750
Overview: Book the flight
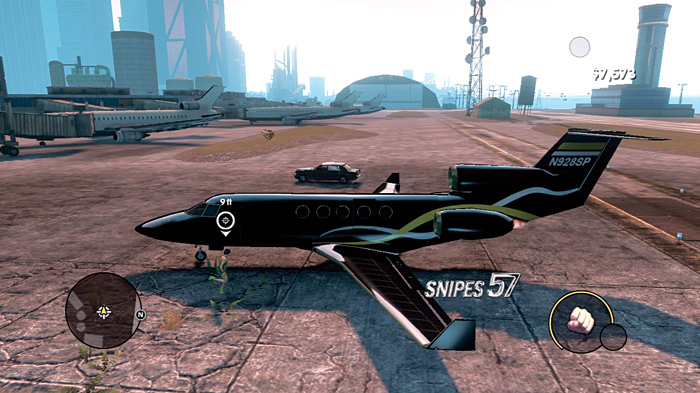
“Killbane’s publicist, Whitney, needs to disappear, but we don’t want this one tied to us. Her people would destroy us in the press if they figure it out. A plane crash won’t leave much evidence. Pick her up at the airport gate, fly her up, then jump out and leave her behind.”
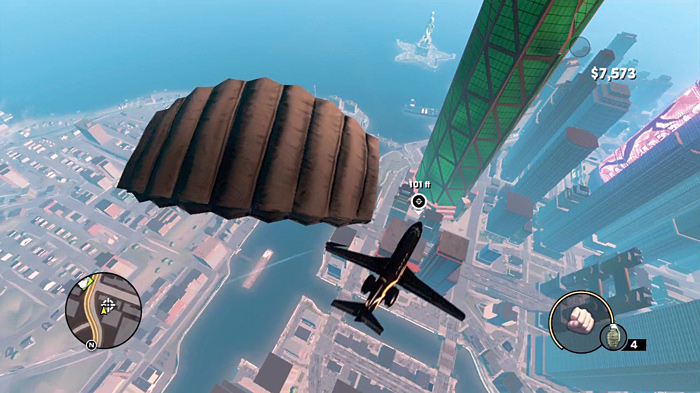
No need to get too fancy. Just head out to the airport to the designated aircraft, a black Snipes 57. Whitney climbs aboard shortly after you take the plane. Once you’ve taken off, give yourself enough altitude to be able to parachute away from the aircraft, and let gravity take care of the rest.
Target: Andre
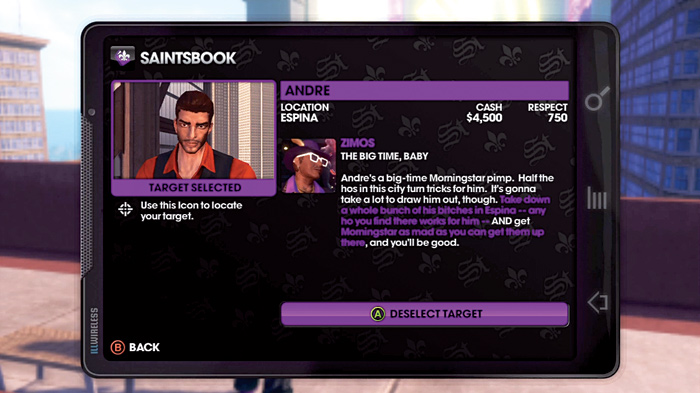
Hired by: Zimos
Location: Espina
Cash Earned: $4,500
Respect Earned: 750
Overview: The big time, baby
“Andre’s a big-time Morningstar pimp. Half the hos in this city turn tricks for him. It’s gonna take a lot to draw him out, though. Take down a whole bunch of his bitches in Espina—any ho you find there works for him—AND get Morningstar as mad as you can get them up there, and you’ll be good.”
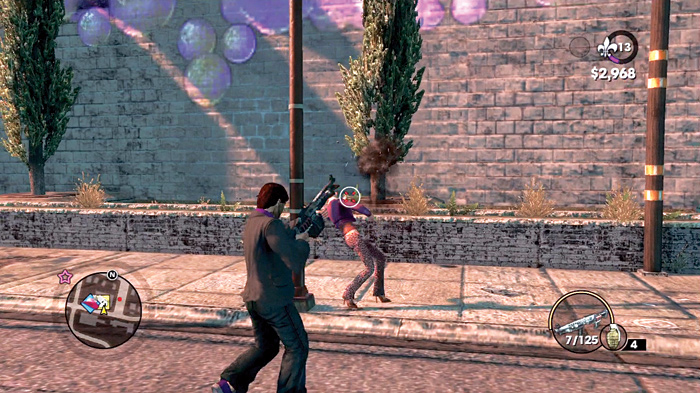
This is by all means the hardest of all 36 Assassinations simply because of the requirement to get full notoriety with the Morningstar. If you’re taking on this hit at fairly low respect levels and lower grade firepower, the Morningstar will seem overwhelming at around level three or four notoriety. Still, it’s possible to do it without being maxed out in some regard; you just have to play smarter.
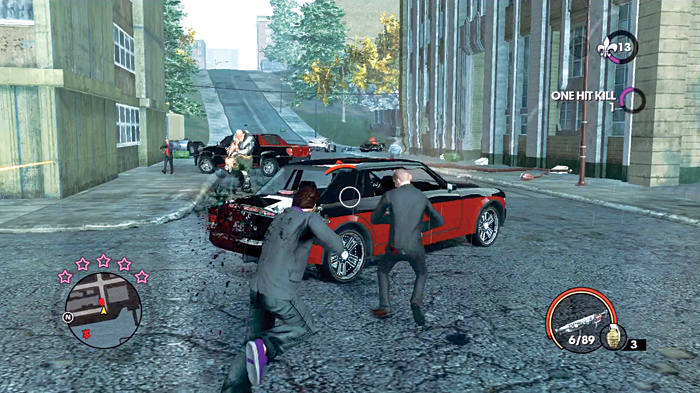
Like Zimos said, any ho in Espina is fair game, so blast a good chunk of them. No mercy, no quarter, blam, splat. You’ll probably tick off the cops, too, but ignore them until you’ve killed five or six hos. Then retreat back to a crib (Zimos’s Car Wash is a good place to use as your base for this hit) to shake off the heat. As long as you’re still on the job you can duck into a crib as much as you need to, so you can meet the requirements one step at a time.
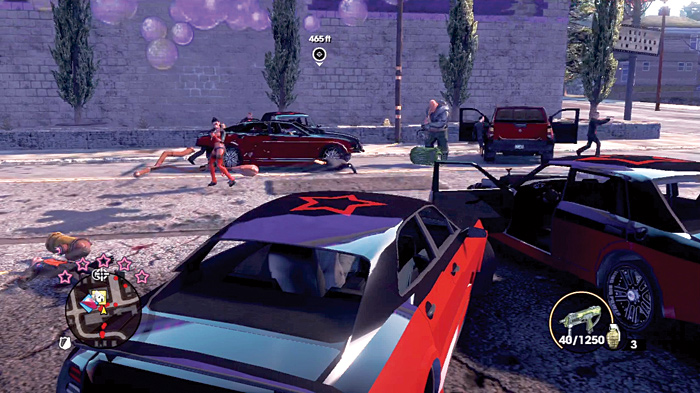
Next, target the Morningstar exclusively. The cops may still get involved, and there’s little you can do to prevent that. When you begin your crusade against the Morningstar, try to pick a part of Espina that has good road access while at the same time provides you with some cover. When the choppers with snipers and Brutes come into play, you’ll want a place to catch a short breather. The area around Zimos’s Car Wash again is a good place to use for this crusade because as long as you don’t enter the crib proper, you keep your notoriety. You can funnel the Morningstar into the parking lot in front of the car wash if things get really desperate, and duck inside the building briefly to recover health.
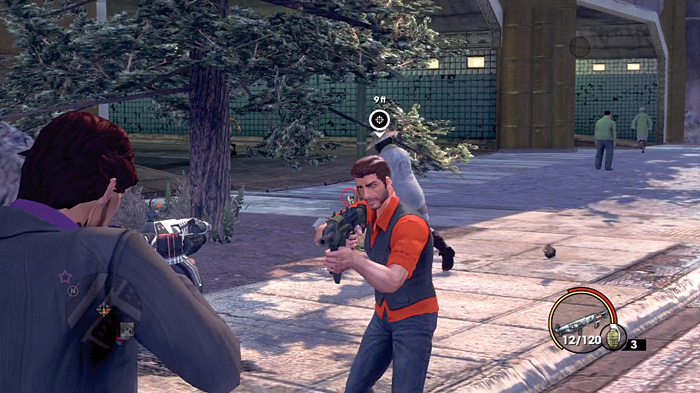
Once the target appears, you can actually retreat back to Zimos’s crib again to lose Notoriety. The Morningstar will all forget about you, but Andre will still be out and about and vulnerable to you. Put him down and you can end this ordeal. He is immediately hostile as soon as he sees you, but without an army of his allies trying to kill you at the same time, he’s just one man with a machine gun.
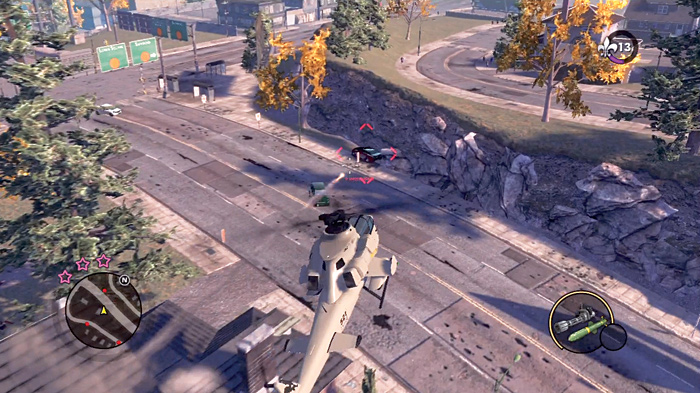
Considering how hard the Morningstar do hit you at higher levels of notoriety, there’s no shame in bringing your own serious firepower to the party—and we’re not just talking rocket launchers. If you haven’t raided the National Guard base for your own attack chopper yet, this is a pretty darned good time to do so.
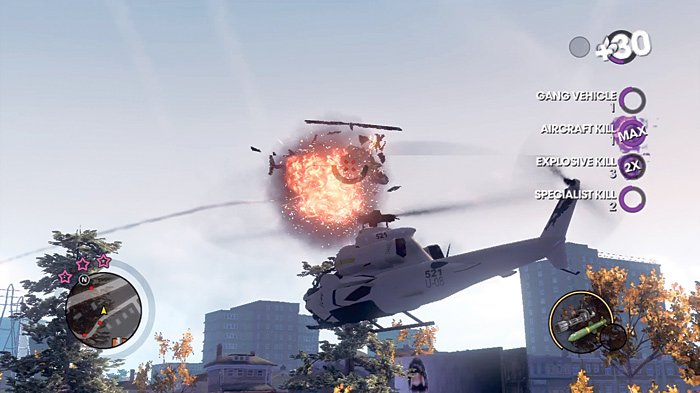
Both the Tornado and the Vulture can massacre the Morningstar, and Espina does contain a gang activity or two for you to bombard, which can really boost your notoriety quickly. The missiles that both choppers contain can also help you clear out the sidewalks of any pedestrians or hookers you might swoop past, which can make your job a lot easier.
Target: Ulysses
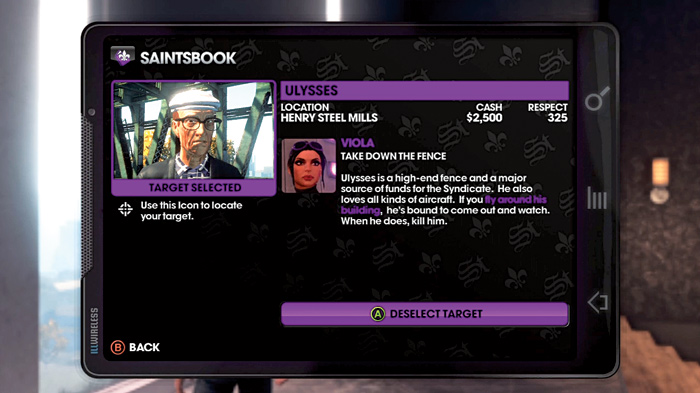
Hired by: Viola
Location: Salander
Cash Earned: $2,500
Respect Earned: 325
Overview: Take down the fence
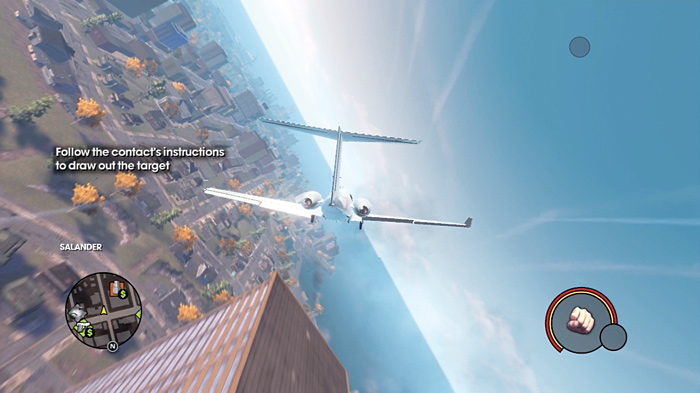
“Ulysses is a high-end fence and a major source of funds for the Syndicate. He also loves all kinds of aircraft. If you fly around his building, he’s bound to come out and watch. When he does, kill him.”
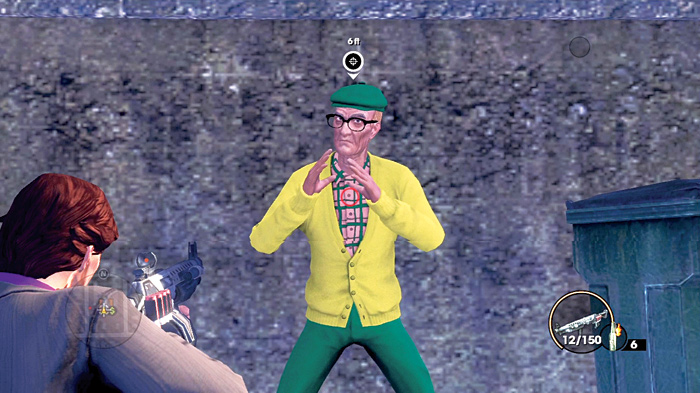
You only get this job once you’ve progressed far enough into the game to have Viola as a homie, and surprisingly it’s not as tough as the hit on Andre.
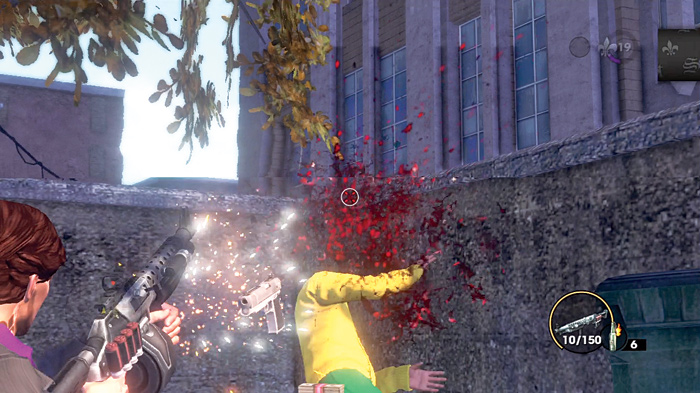
Any aircraft will do. Simply fly near the target’s building to draw him out and kill him.
Target: Sgt. Steiner
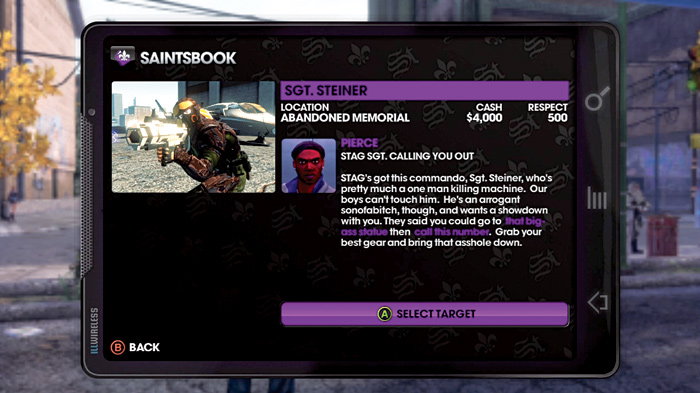
Hired by: Pierce
Location: Abandoned Memorial
Cash Earned: $4,000
Respect Earned: 500
Overview: STAG Sgt. calling you out
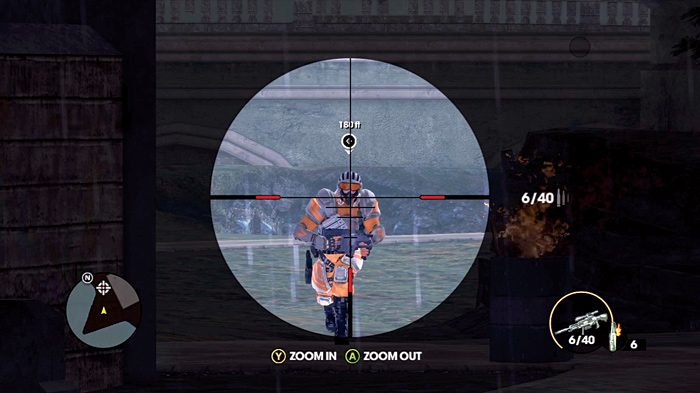
“STAG’s got this commando, Sgt. Steiner, who’s pretty much a one-man killing machine. Our boys can’t touch him. He’s an arrogant sonofabitch, though, and wants a showdown with you. They said you could go to that big-ass statue, then call this number. Grab your best gear and bring that asshole down.”
Once STAG are in town, Pierce can offer you this hit. It’s not quite as bad as it seems. Get down to the star-shaped island south of the National Guard base, and call Steiner out from your cell phone.
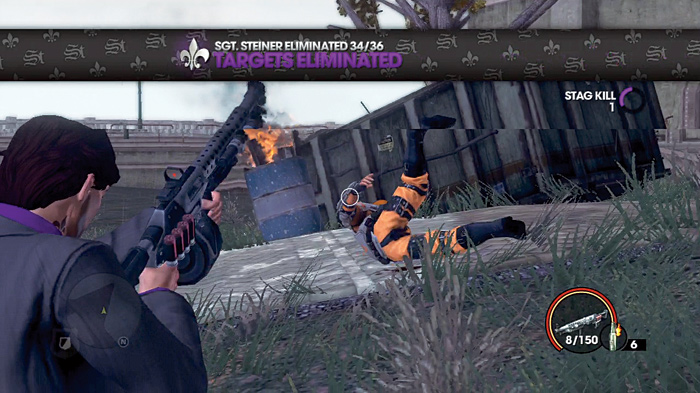
Steiner is tough. Even headshots from a sniper rifle don’t bring him down in one hit, he can shrug off shotgun blasts even up close, and his own standard-issue STAG assault rifle cuts through you like a hot knife through butter, assuming you let him get shots off at you. Fortunately, since it’s a duel, this is merely you against him, and you can bring more than just guns to the table, if you desire.
Target: Bernie
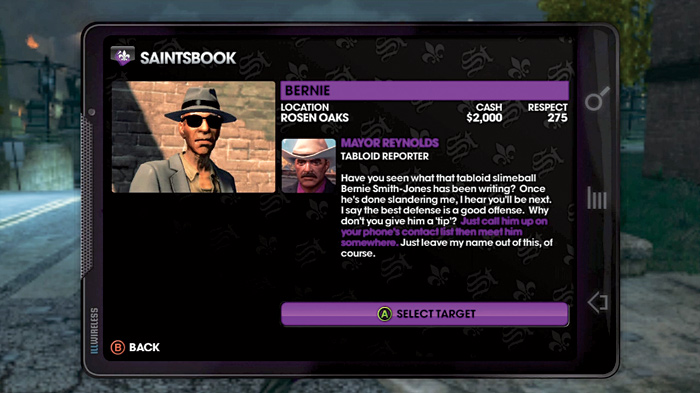
Hired by: Mayor Reynolds
Location: Rosen Oaks
Cash Earned: $2,000
Respect Earned: 275
Overview: Tabloid Reporter
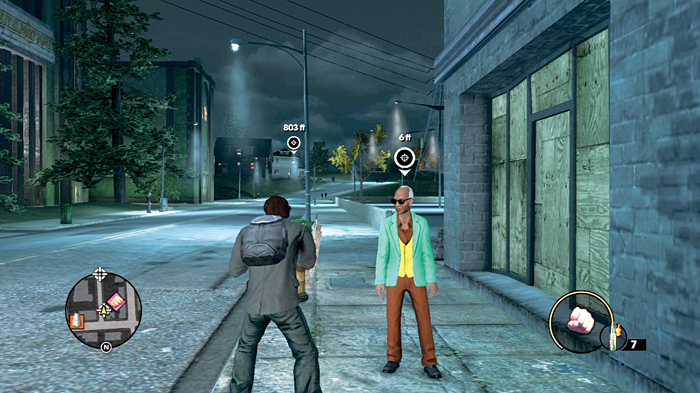
“Have you seen what that tabloid slimeball Bernie Smith-Jones has been writing? Once he’s done slandering me, I hear you’ll be next. I say the best defense is a good offense. Why don’t you give him a ‘tip’? Just call him up on your phone’s contact list, then meet him somewhere. Just leave my name out of this, of course.” BURT FREAKIN’ REYNOLDS has a job for you after you meet him and after you’ve progressed far enough into the Assassinations. Who wouldn’t want to work for Burt? And screw that Bernie guy for talking smack!
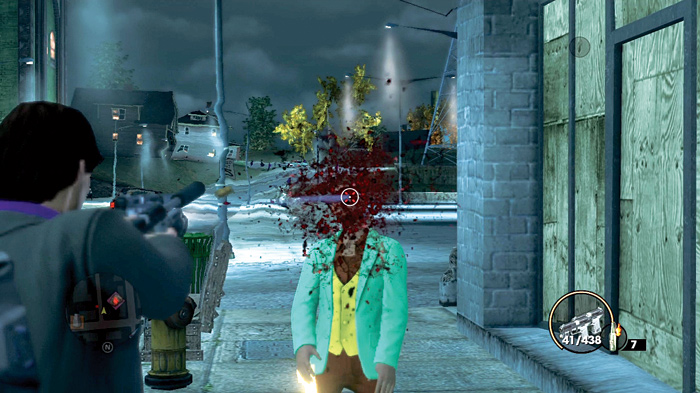
Once you call Bernie, he shows up at somewhere in Rosen Oaks, but there’s a catch: He’s got a decoy, and he could be either one. Just kill until you’re notified the job’s done.
Target: Mr. Hess
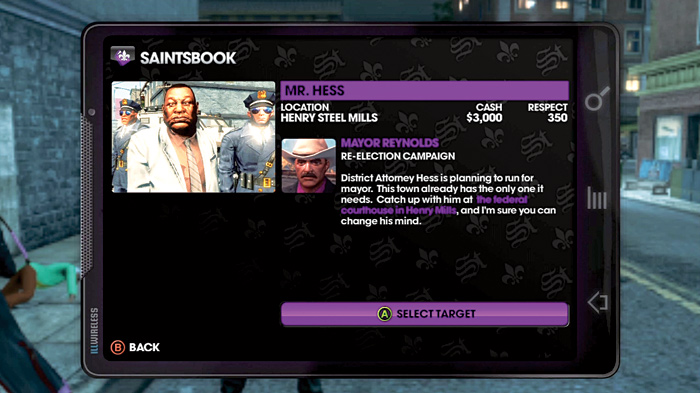
Hired by: Mayor Reynolds
Location: Henry Steel Mills
Cash Earned: $3,000
Respect Earned: 350
Overview: Re-Election Campaign
“District Attorney Hess is planning to run for mayor. This town already has the only one it needs. Catch up with him at the federal courthouse in Henry Mills and I’m sure you can change his mind.”
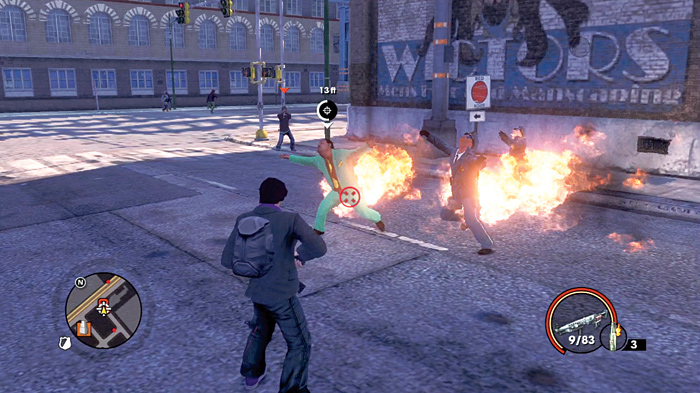
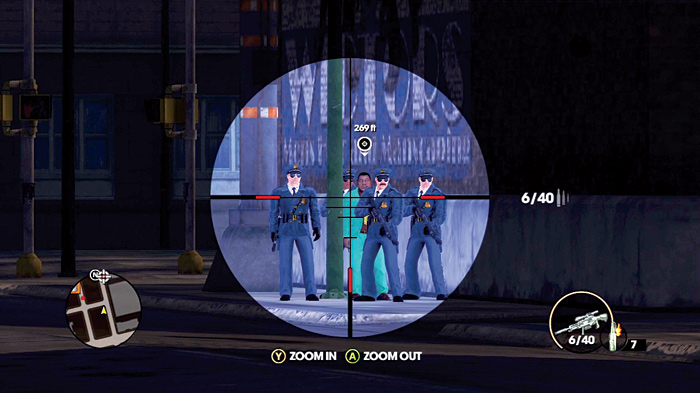
The DA who dares to challenge Mayor Reynolds can be found at that courthouse with an escort of four cops. He’s prudent, if not entirely wise. Assuming you don’t snipe him down from afar and go for a more direct approach, a rival hitman may complicate matters, but probably isn’t enough to stop you, considering the firepower you can pack by this point.