
Saints Row: The Third Guide Walkthrough Campaign
Mission 4: Steelport Here We Come
Cash Earned: $6,000
Respect Earned: 1,500
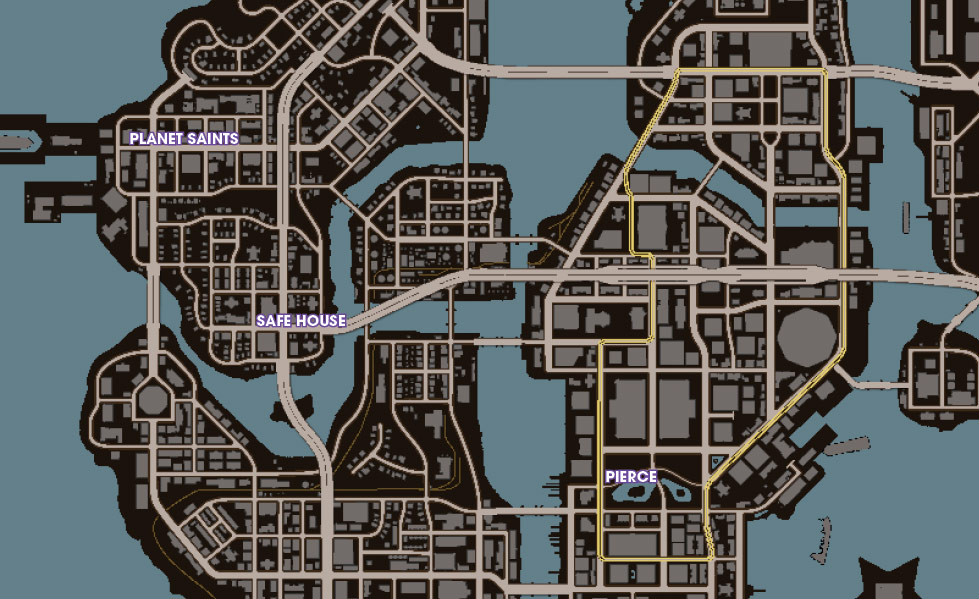
To view our interactive map for Saints Row: The Third, click here (Best viewed in Firefox or Google Chrome).
Meet Pierce and Tune a Car
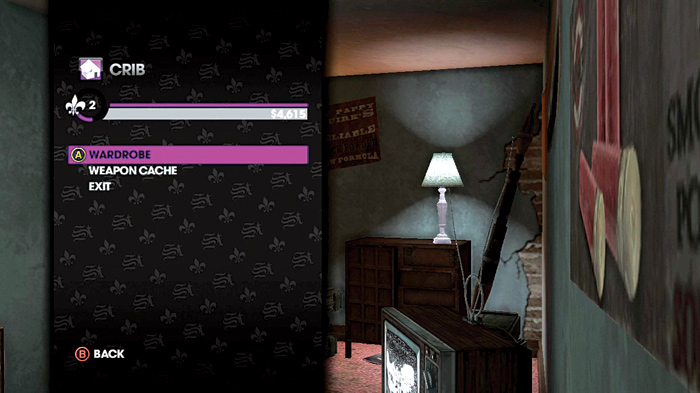
When you’re ready to take on the next adventure use your cell phone and select the new mission. Before you rush into anything, check out your first crib, Shaundi’s loft.
It’s not a glamorous place, in fact it is her ex-boyfriend’s, but this is not a time to be picky if you are going to strike back at the Syndicate. A crib has many features and is also a great place to go if your notoriety becomes a problem because entering any of your cribs immediately resets the notoriety meter. Inside your crib, you can access a menu to edit your wardrobe to customize your look.
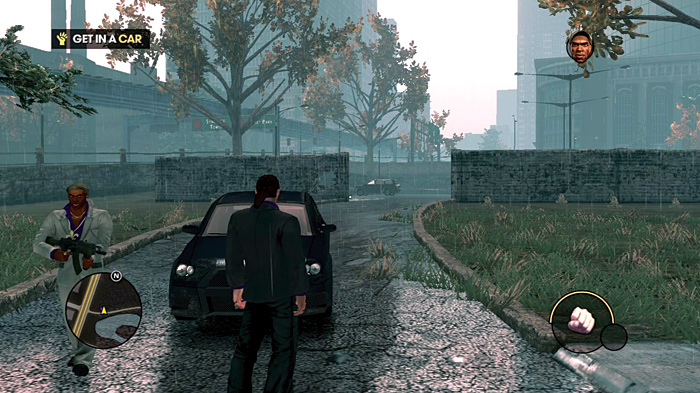
Enter the Cell Phone Menu and select the next mission. Your old buddy Pierce wants to check out what Steelport has to offer. Hijack a car and follow the blue dots on the minimap to meet him in the park.
Pierce is a dude that is used to living a flashy lifestyle. When he shows up to meet you, he wants to tune up the car at the local mechanic shop called, Rim Jobs. Get into the car and follow the minimap to tweak your ride and keep Pierce happy.
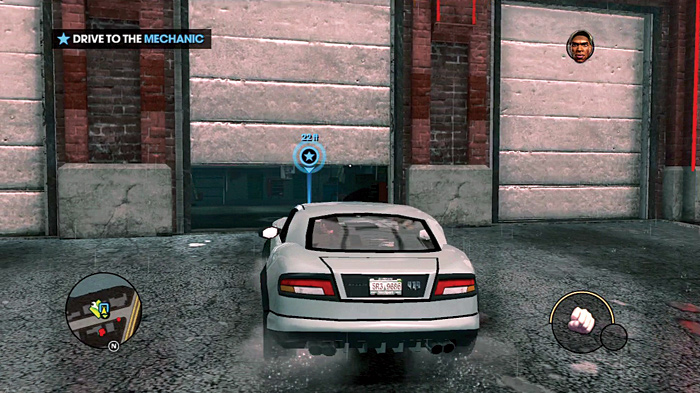
As you arrive at Rim Jobs you can proceed inside the garage to tweak this ride or you can hop out of this car and pick up something else you like on the street. Any time you acquire a new car you can stop by a local Rim Jobs and customize it to your heart’s content, if you have the cash.
There is an absolutely sick number of options at Rim Jobs. You can make performance tweaks to torque, tire durability, reinforce the bumper or frame, upgrade nitrous, and even add some kneecapper spikes that pop out of the wheels.
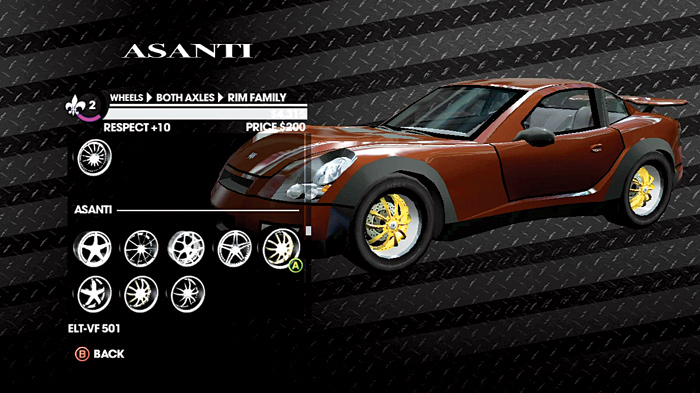
Many of these options have four levels of upgrades and that is just the beginning! You can also make tons of body mods including exhaust tips, bumpers, hoods, lights, doors, decal, spoilers, and more.
When you are done with those mods, move on to altering the colors of the interior, trim, exterior, and underglow. Finally choose among the numerous options to alter the wheels and rims. Since you scored some cash from the last missions, spend some of it to make your ride something you’re proud of!
Get New Clothes at Planet Saints
Now that your ride is styling, it’s time to do the same for yourself. Head over to Planet Saints to pick up some new threads. Look for the tunnel on this short trip and head into oncoming traffic to crank up some near misses and tack on some millage to the oncoming lane diversion.
Pierce was really pushing the need to accessorize at Planet Saints but you didn’t dig the idea. Enter the shop, check out their inventory, and make the best of what they have to offer.
Like all clothing stores, they carry a plethora of items for you head, upper body, lower body, wrists, as well as outfits, suits, and even piercings. Spend some of that hard-earned cash and not only look like a stud but boost your respect as well.
Kill the Brute and Go Home
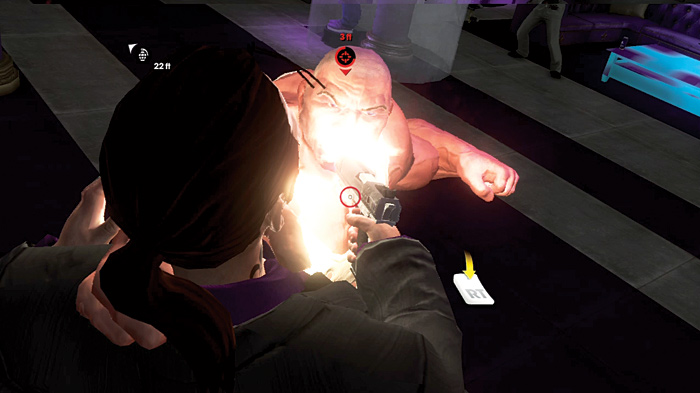
After you have finished purchasing some clothes, trouble will find you. Now is probably not a great time to remind Pierce that you didn’t want to go to this shop because a huge dude is charging right at you.
This guy literally eats bullets for breakfast because your gunfire does relatively low damage. The best tactic for handling this guy is to keep your distance and empty everything you have into him. Run as far as possible, shoot him for as long as long as you can, and repeat.
Of course that is easier said than done because he can still toss objects at you from afar and he is very good at closing the distance between you. If he gets close, he may grab you.
Don’t panic, quickly tap the button shown on-screen to shoot him point-blank in the head to force him to drop you. With several bullets in his cranium, he will finally let go and will be stunned for a short time.
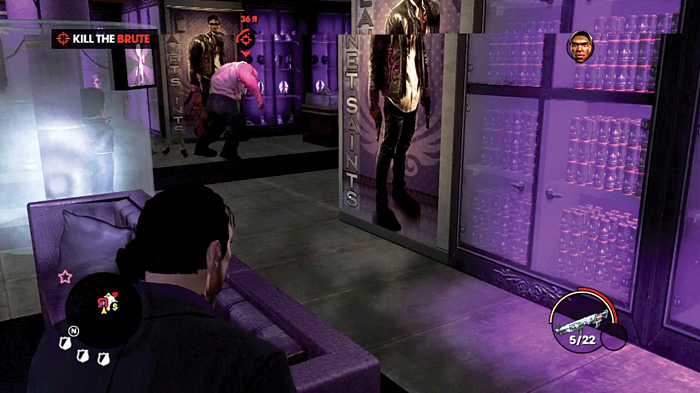
The Brute charges like a bull, but you can dodge pretty easily if you stay out in the open. However, he is relentless and if he gets close enough he will take a huge swing at you. Be prepared to tap the Jump button anytime he is near you for a chance to dodge his massive punch.
If you become overwhelmed or injured, run as far away as possible or try to recoup behind the long purple couch. Fortunately if the Brute mows you down, he will look for another victim. Pierce, and eventually the police, can keep him occupied while you scramble to get your bearings. When the Brute’s health is finally depleted, go in close and finish him by pressing the button shown.
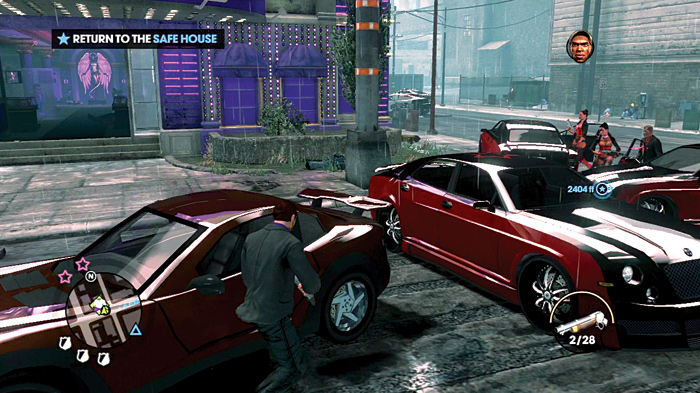
Several other Morningstar thugs are waiting outside and fortunately most of them will stay out on the streets to let the Brute do all the work. One of them may sneak in but he isn’t a problem. When the Brute is finally defeated, run outside and ignore all the Morningstar members.
Make sure Pierce is following you then quickly hop in your car and follow the minimap dots back to your crib. The gang’s notoriety meter will be at two stars and several of their trademark red vehicles will tail you all the way home. You will have even more company as all the mayhem at Planet Saints has also raised your police notoriety to three badges. Don’t bother with any of your pursuers. Simply drive as fast as you can back to your crib.