
Saints Row: The Third Guide Walkthrough Campaign
Decker Arc (Missions 35-38)
Live! With Killbane (Decker Arc)
Cash Earned: $12,000
Respect Earned: 2,500
Unlocks: New Vehicle—Spotlight
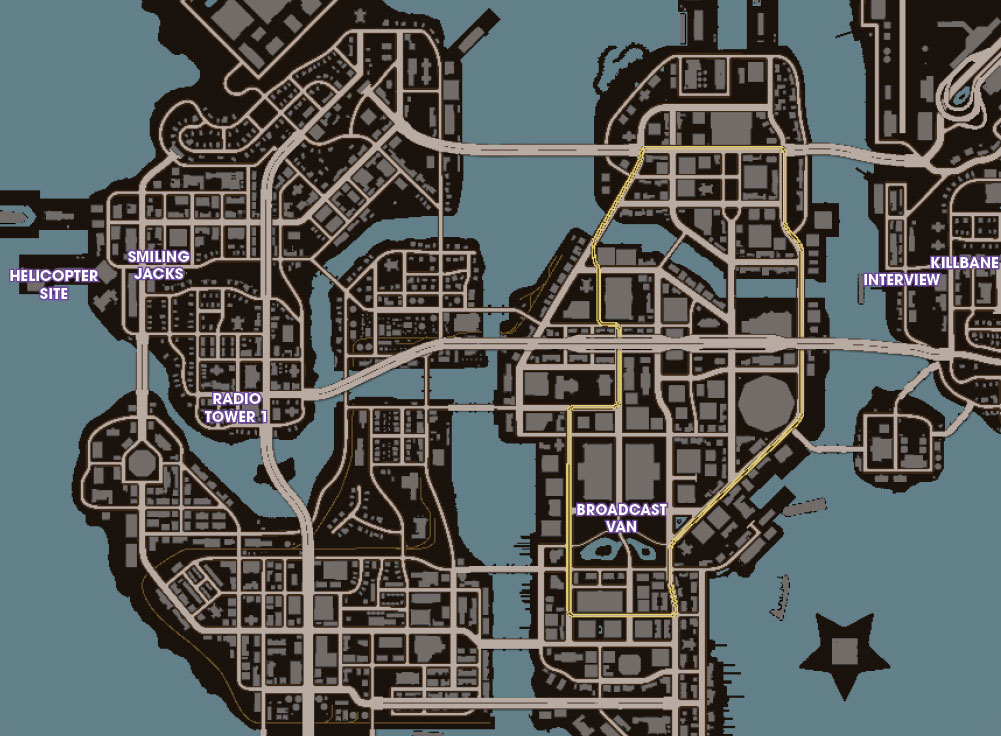
To view our interactive map for Saints Row: The Third, click here (Best viewed in Firefox or Google Chrome).
Hack the Radio Towers

Meet Kinzie at Smiling Jacks to watch a disturbing telecast. Killbane has gone on a talk show to frame the Saints for the Hughes bridge incident and make himself seems less monstrous. The broadcast is coming from an undisclosed location. Get to the helicopter to try to triangulate the TV signal. You have 15 minutes to complete this mission. Get moving and make a beeline to the first tower.
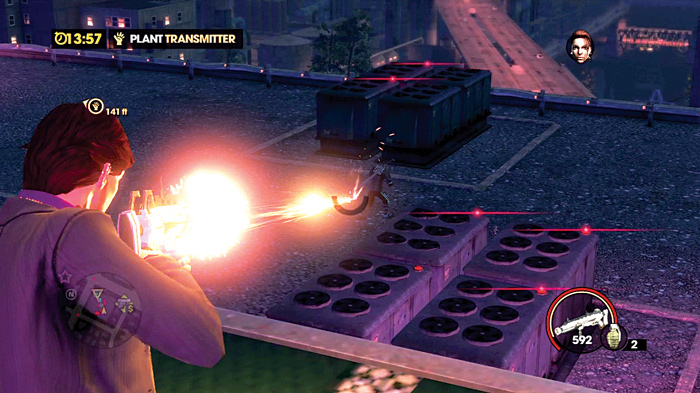
Two radio towers need to be hacked into for you to get a line on where the secret interview is coming from. Fly to the first tower and land the helicopter on the obvious heliport illuminated with red light. The object is to place a transmitter near the large antenna to figure out where the broadcast originates. The Deckers use the antennas as part of their user-net and have guards to watch over them.
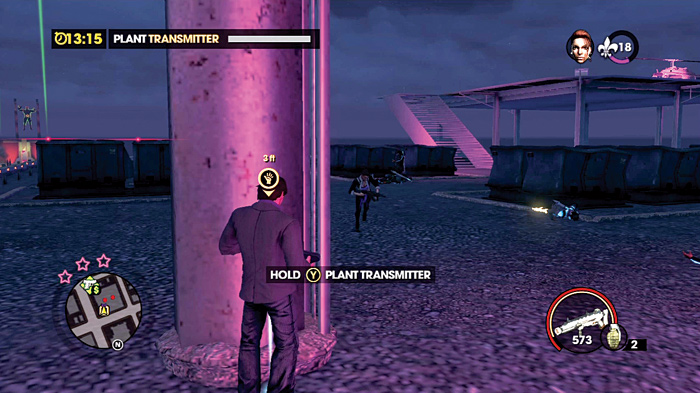
Wipe out the cyberpunks and plant the transmitter. It takes a while to actually place the transmitter, as indicated by the bar in the upper-left corner. Make sure the area is relatively clear of enemies before trying to install the device.
Second Antenna
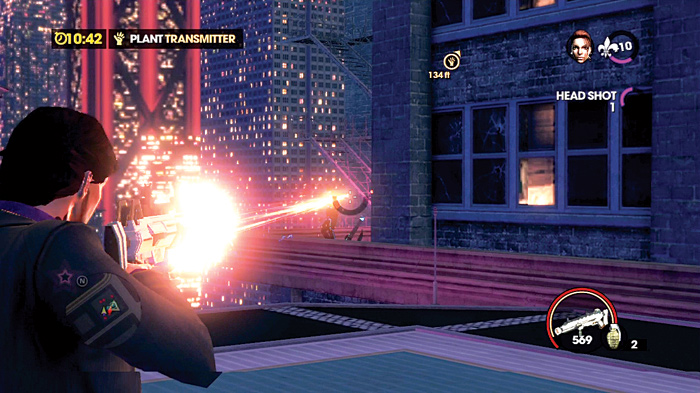
When the transmitter is set, return to the chopper and waste no time getting to the next radio tower. Put the helicopter down on the next heliport and jump across to the ledge of the building from where the Deckers are firing.
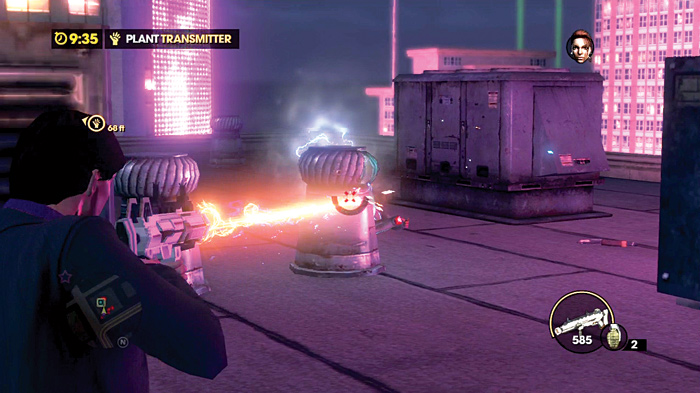
Go to their former position to the left and climb up the fire escapes all the way to the rooftop. There is very little resistance when you’re placing the transmitter, but that will change after it is set up.
Scan the Van
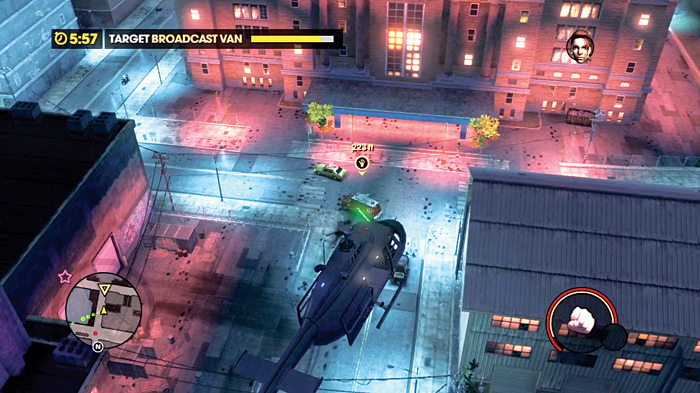
The two antennae provide a trace on the broadcast signal coming from a van. It’s a smart move to use a mobile broadcast source but the Saints’ helicopter has some tech to deal with that. This helicopter has a spotlight that can scan the van to find the origin of the TV signal. The clock is ticking and you must keep the green beam on the van long enough to fill the gauge in the upper left. Stay as close to the van as possible but make sure to have enough altitude not to smash into the buildings.
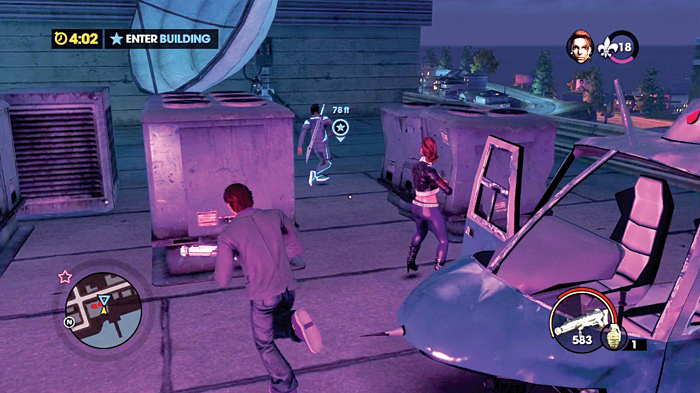
The scan pays off and Kinzie finds the location of the interview—an abandoned office building. She is also able to patch you through to the show for a little chat with Eddie. Fly over to the building quickly as the clock keeps counting down. Kill the few rooftop guards, sprint into the building, and race down the stairs to where all the action is.
Crash Killbane’s Interview
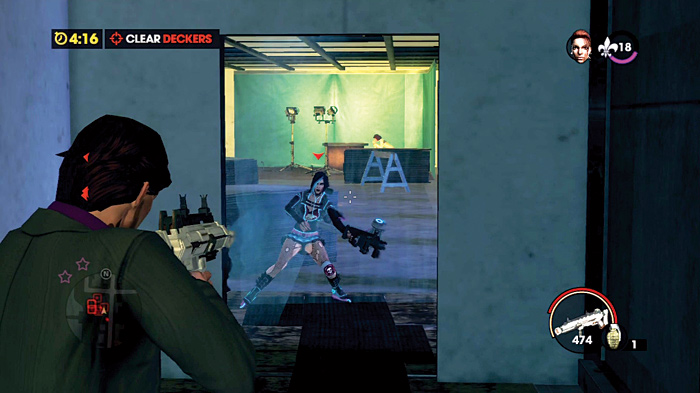
Killbane isn’t at the office building any longer but the reporter, Jane Valderrama, is still there and she might have a good idea where he went. She is in the corner of the building right in front of you as you enter the large office space. Unfortunately, all the Deckers must be cleared out before you can approach her. This battle can be very tough because it mixes the usual Deckers, shooting at long range, with a Decker rollerblader that can knock you to your feet. The rollerblading chick has a special weapon called the Shock Hammer. It can be used to smash the ground, sending enemies soaring through the air and landing on their backs. What makes the skating attacker really deadly is that she moves incredibly fast and can strike with the melee hammer out of nowhere. Out in the open, she is deadly because she can shoot at long rang and zip in close to knock you down while her buddies open fire. The best way to take her out is to entice her into the doorway and shoot her in the narrow hallway.
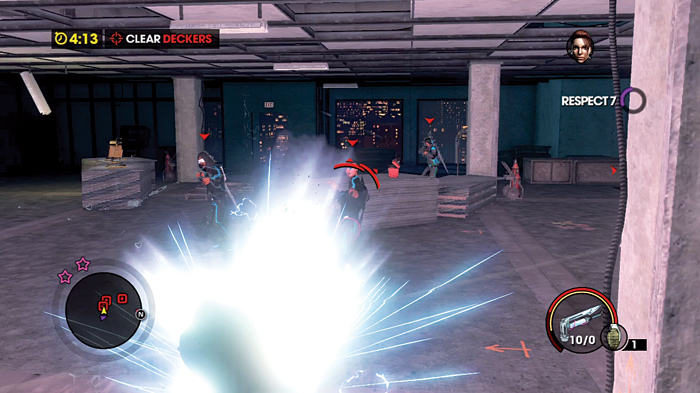
It can be frustrating to kill off the skater chick but once she’s gone, grab the Shock Hammer and give the Deckers some payback. The melee weapon is best utilized by sprinting to a small group in the open and dropping the hammer on them. Just be careful of its explosive rocket tip that can cause you
as much damage as your enemies.
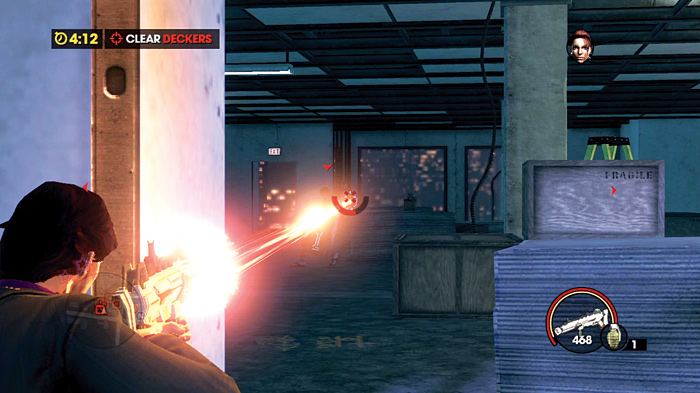
The gunfire in this room can be intense. Duck down and find cover before attempting to kill off any of the Deckers. Also, if the fighting gets too fierce, run back to the stairwell to heal.
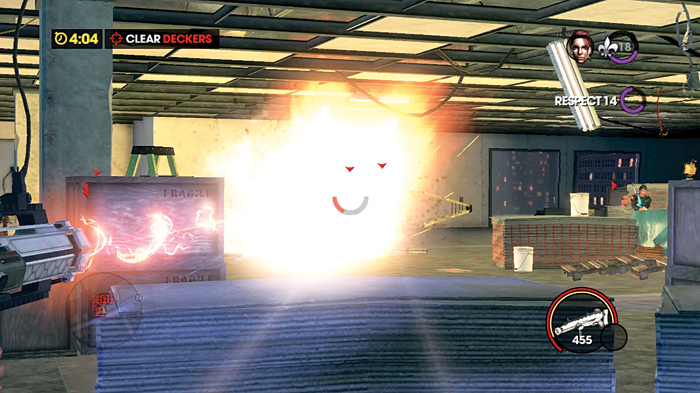
As the Deckers die off, more enter from the elevator.
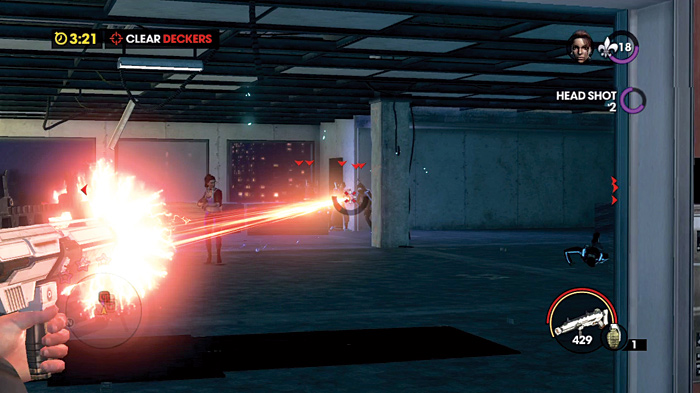
When they first emerge they are clustered together, which is a great time for an explosive or a smash from the Shock Hammer. When they are gone, the elevator can be a good place to get cover, as it protects your back and closes off half the room from fire.
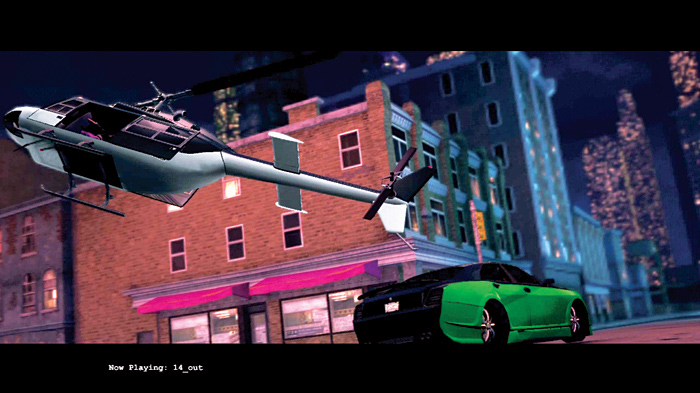
Finally the Deckers go down and you can interrogate Jane, who says Killbane is headed north. There won’t be much time left on the clock but he didn’t get far. Get in the helicopter and track Killbane to end his miserable life. Shaundi has the shot lined up but Matt, the Deckers leader, hacks the chopper and sends it out of control.
Learning Computer (Decker Arc)
Cash Earned: $10,000
Respect Earned: 2,500
Steal the Supercomputer
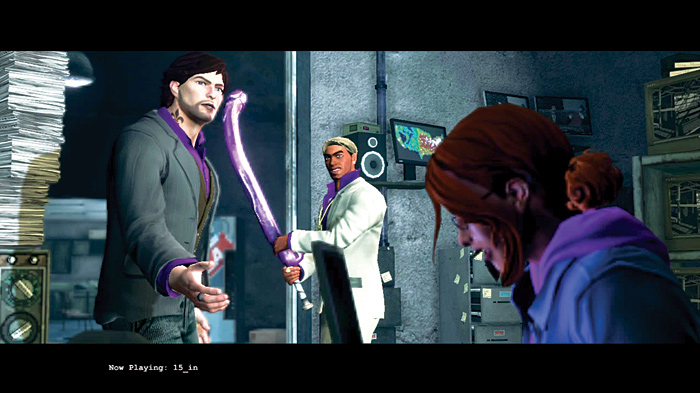
Go to Kinzie’s hideout to come up with a plan to deal with the Deckers.
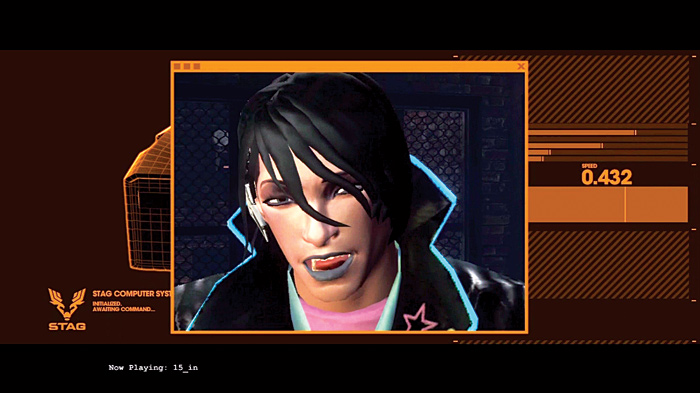
Matt hacked into the flight computer of your helicopter and fried it with an electromagnetic pulse, but that is nothing compared to what he could do if he gets their user-net plugged into the central power grid. STAG has a learning computer that Kinzie can use to worm into the Deckers’ mainframe. Matt breaks into Kinzie’s computer and finds out about the supercomputer. The race is on to see who gets it first.
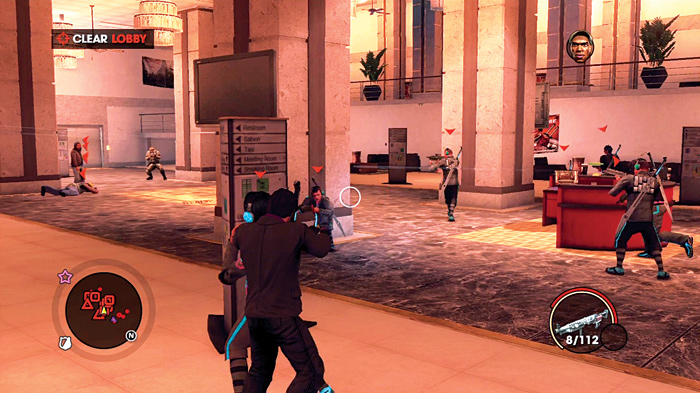
Go to the PC Center, which is overrun with STAG, to get that computer! The Deckers have already arrived and are battling the STAG guards right in front of the doors. There is no need to fight your way into the building. Drive up as close to the doors as possible, smashing through the Deckers’ rides, and just make a dash for the entrance. Inside the lobby of the building is pandemonium, as the Deckers are already fighting STAG. Take cover and let STAG wipe out most of the Deckers for you while you kick back with a human shield and pick off men from either side.
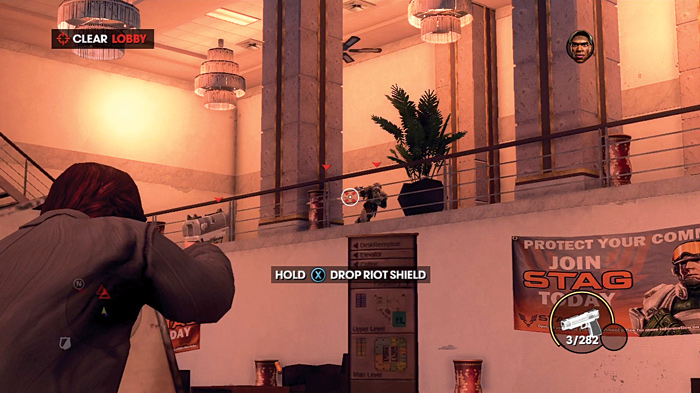
As more STAG soldiers join the battle, look out for specialists with riot shields. Wipe them out and use their shields to advance on any remaining guards. Clearing the lobby consists of killing all the guards on the ground floor as well as anyone on the upper walkway. Keep a watchful eye on the minimap to detect the red targets and hunt them down from below or charge them with the use of your shield.
Use the Tank to Capture the Computer
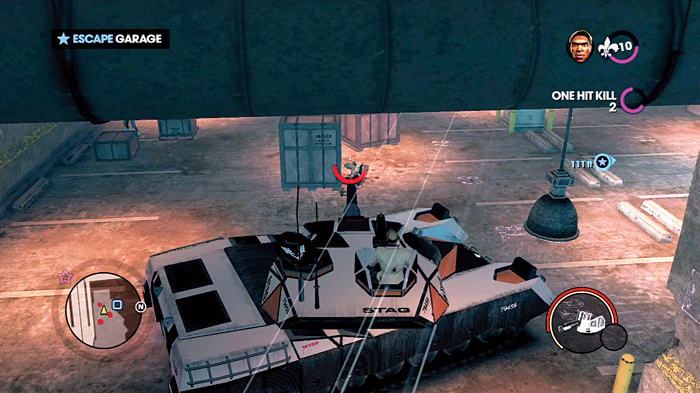
Go to the elevator to ride it down to the garage. A bunch of the Decker punks are hanging out down here, including one of the rollerblading bad girls. It’s tempting to wipe out the snide Deckers but it isn’t worth the effort. Run past them and get your tank on! From the safety of the tank, feel free to obliterate the Deckers and everything else in the garage.
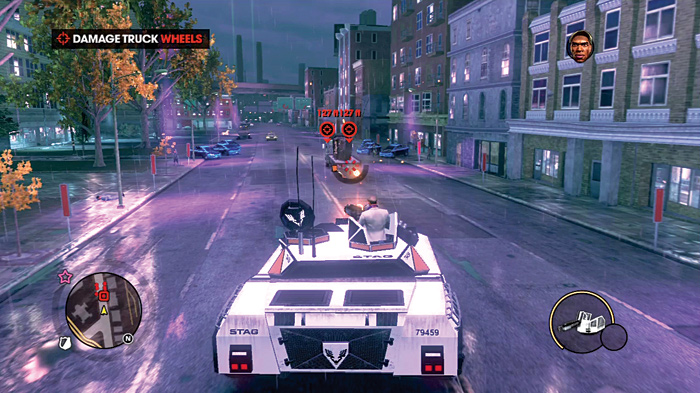
Kinzie specifically asks you not to use a tank and there is actually a good reason. While pursuing the truck with the supercomputer you must only use the machine guns. A single shot from the main cannon would blow up the computer and end the mission. The cannon can come in handy to eliminate some of the enemy vehicles on the road, but make sure the resulting explosions don’t get to close to the tuck or it’s game over. Shoot out all four tires to stop the truck and steal the supercomputer for Kinzie.
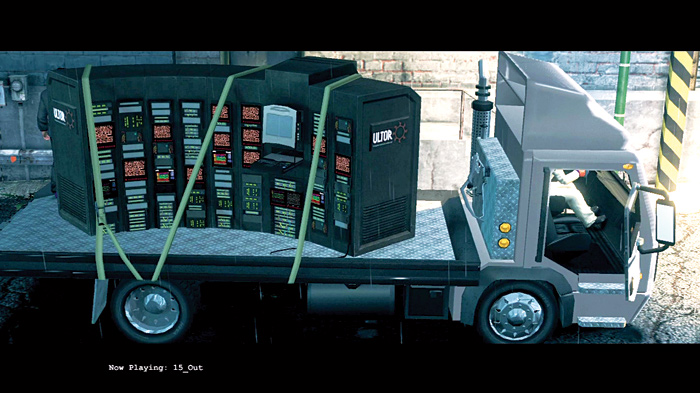
When you delivery the supercomputer to Kinzie’s hideout, you expect her to be excited. Apparently she needs a chair. Of course it has to be a one-of-a-kind special neurological chair that is extremely well guarded.
Stop all the Downloading (Decker Arc)
Cash Earned: $10,000
Respect Earned: 2,500
Unlocks: New Stronghold—Burns Hill Reactors
Rewards: Stronghold bonuses—respect bonus, Decker Star vehicles and Gang Customization, increased transfer limit, hourly cash bonus
Jack into Decker’s User-Net
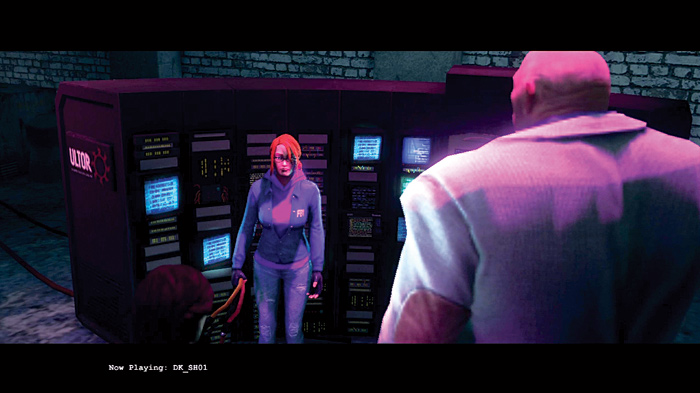
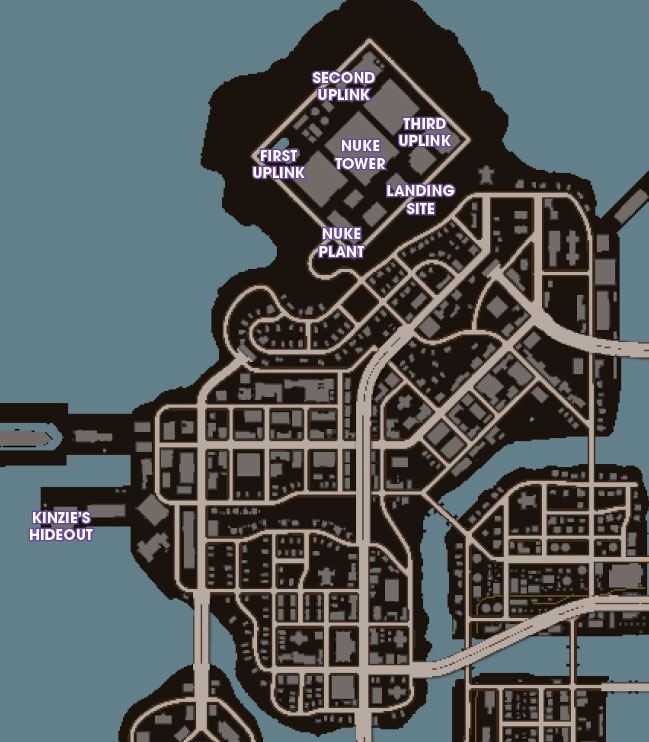
Kinzie wants to broadcast your subconscious into the Decker user-net to allow you better access to their data to take down their operation. To do that she requires a NEMO chair that is being held in the nuclear power plant. The plant is masking the signal from the chair and she must hack several uplink sites to reveal its location.
First Uplink
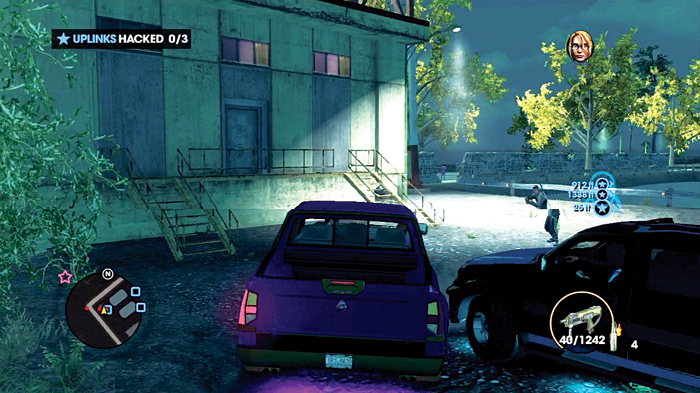
Drive to the nuke plant and help Kinzie disable the three uplink locations. Crash through a fence to get to the first uplink and drive to the small building in the corner. Hop out of the car quickly and kill the Deckers loitering about.
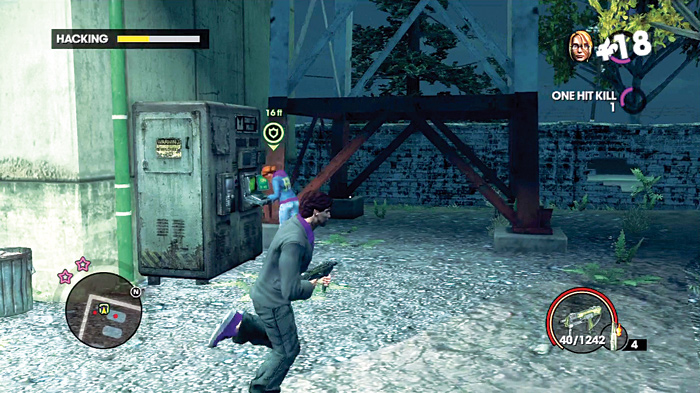
When Kenzie begins hacking the uplink, a bar will show her progress in the upper-left corner. Your job is to keep her safe while she does her thing. Run next to her and turn around to face off against any enemies that try to stop her.
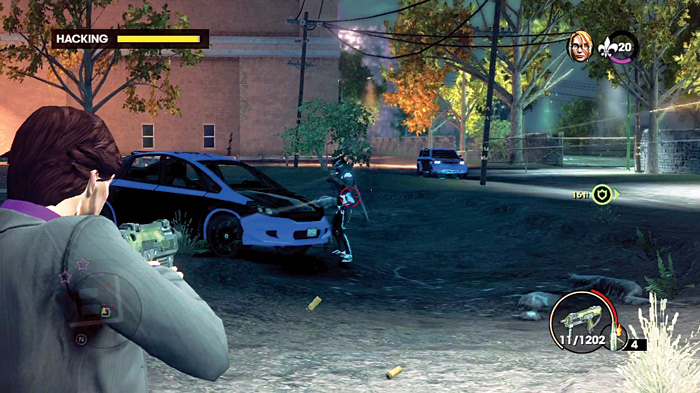
Gang notoriety starts out slow, and at two stars only a few cars of Deckers arrive on the first stop. This mission feels very similar to the trafficking activity and a lot of the same strategies apply. The hacking takes a while and one option to keep the Deckers busy is to hop in one of their cars and run them over while trashing the vehicle.
Second Uplink
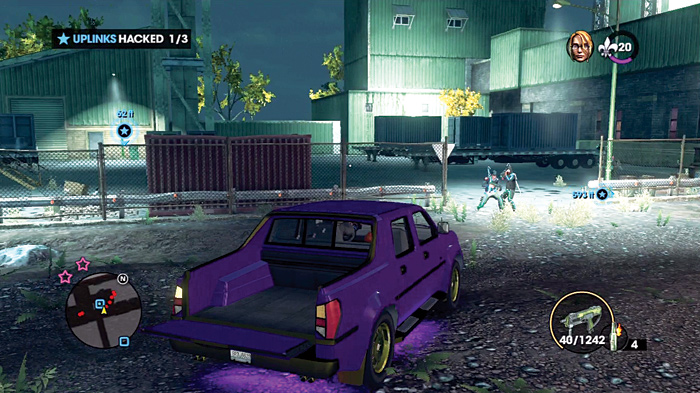
The second uplink is much better protected, and is a lot more challenging with your higher notoriety.
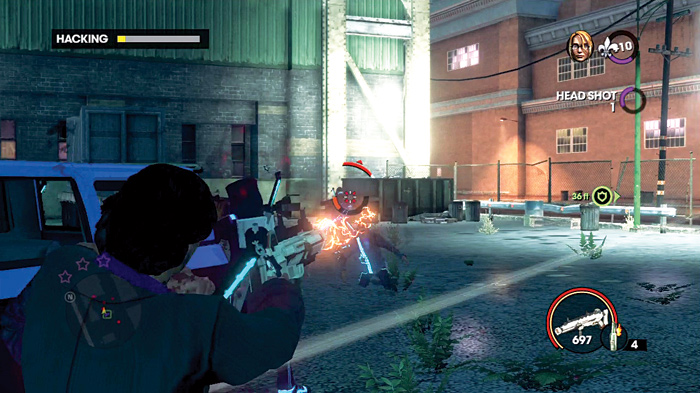
Make roadkill out of any of the pedestrians, then place your purple truck near the node so it provides Kinzie some cover. Immediately go to work on the Deckers, grabbing the closest one as a shield and firing on the rest.
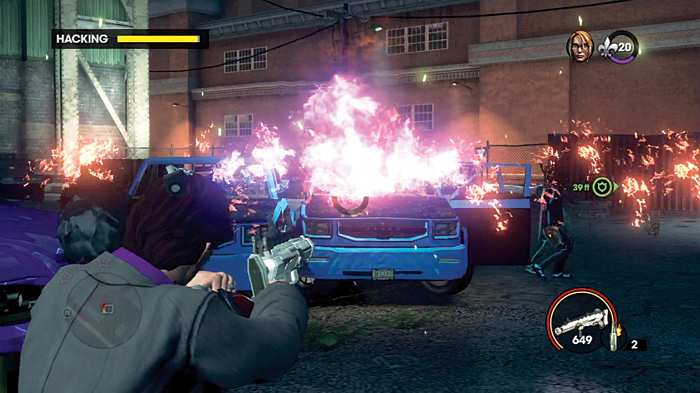
As more cars pull up and foolishly gather together, use an explosive to clear them out fast. The notoriety meter will probably be at three, so expect a lot more Decker backup to arrive while tackling the final uplink. Jump back in the truck and plow through any Deckers on your way to the last uplink.
Third Uplink
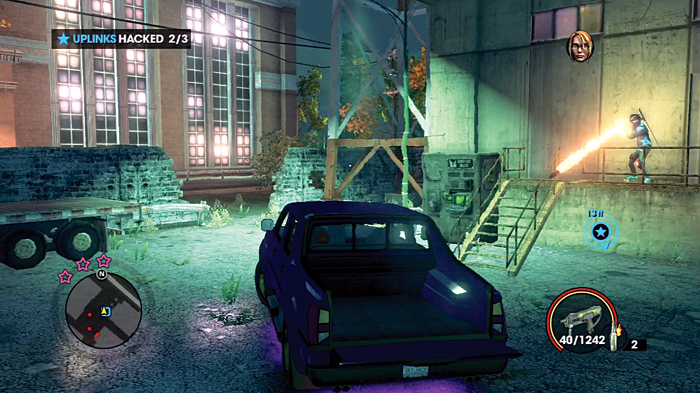
The last uplink is your greatest challenge. Take the time to place the purple ride next to the node to give Kinzie some cover, then find somewhere to get some protection so you take on the impending horde of Deckers.
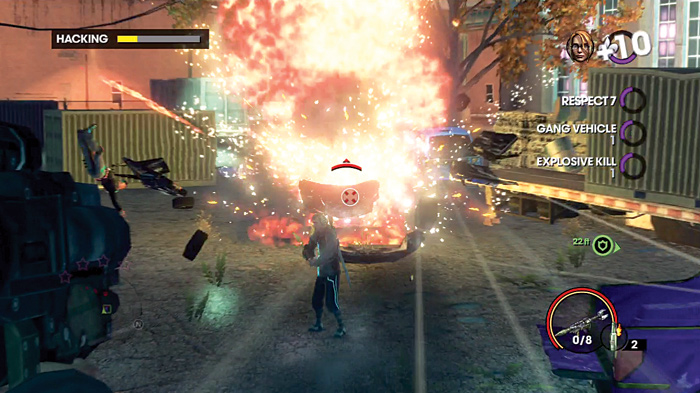
Gang notoriety hits four and that means the heavy reinforcements are coming. Use explosives to hit the vehicles when they are close together, but don’t let them get too close to Kinzie or your purple ride.
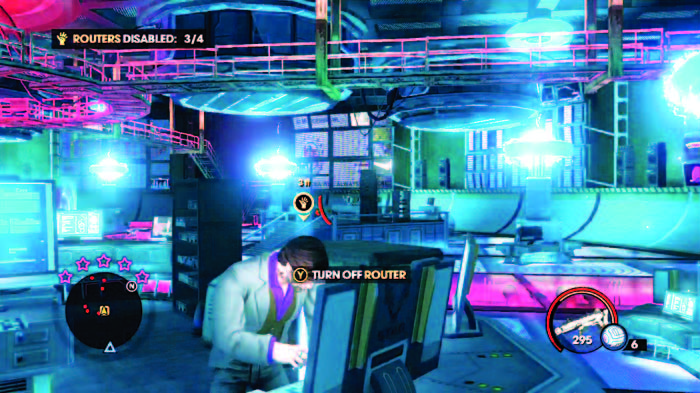
Use your regular weapon to kill off any straggling Deckers and reserve some of the explosive ammo for the Brute. When he shows up riding on the back of a truck, try to blow up the vehicle he is on to clear out most of the area cause him a lot of damage. Using your favorite weapon put as many headshots as possible into the hulking enemy. The goal is to kill the Brute as fast as possible because a Decker Rollerblader will soon join the fight.
Get Inside the Plant
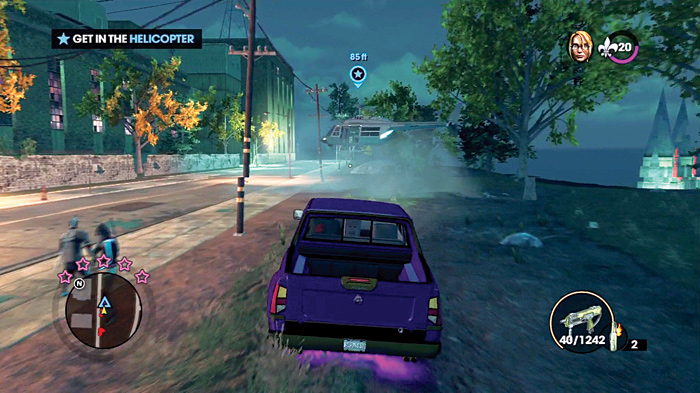
The next objective is to get to the landing site, but once you get there you must wait for the helicopter to arrive at the pick-up spot. You must wait for the helicopter to arrive at the pick-up spot and showing up early and waiting is not a great idea. Drive past the pick-up spot and run over as many enemies as possible. When the HUD display changes from “Wait for the helicopter” to “Get in the helicopter,” you know it’s time to go.
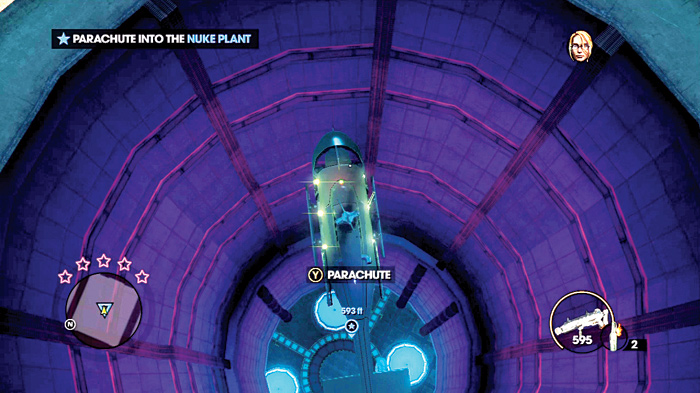
Let the helicopter circle around as Kinzie tracks the power signature of the chair. Eventually the chair is located under the main cooling tower. You need to get down there fast, before the Deckers sabotage the chair. Leap off the helicopter and deploy the parachute to float down into the nuke plant.
Disable the First Routers
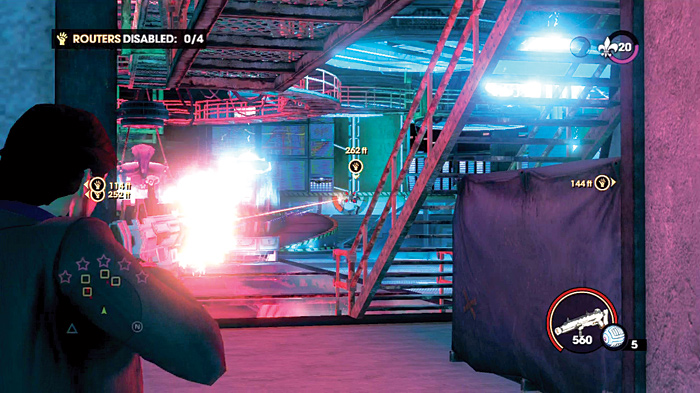
Run downstairs and go to the room where the chair is set up. Four routers need to have their connections cut to disable the chair from the Deckers’ system. This is a rough room to negotiate because it’s filled with lots of Deckers and rollerblading chicks. Don’t even try running through this challenging area without first thinning most of the Deckers. You might think all the hardware in the room would provide great cover but there are just too many enemies in here to hide with a high degree of safety. Before entering this room, shoot as many Deckers as possible from the security of the entrance. Several of them are off in the distance to the right or left sides.
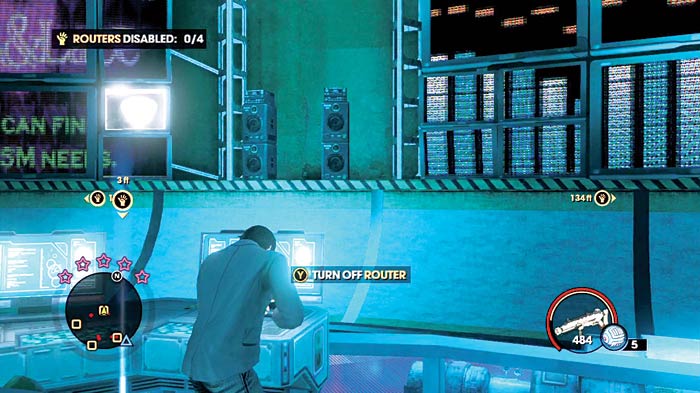
The order in which the routers are unplugged really doesn’t matter, but if you took out a bunch of enemies on the right, that is the first place to start. The controls for each router are on elevated platforms with lots of computer systems. Make your way to the first one on the right. If you were diligent about clearing out the Deckers from the entrance there should be very little resistance now.
Second Router
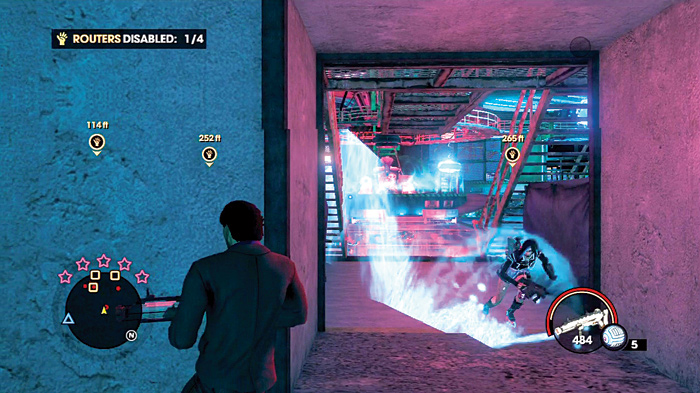
Rather than making a break for the next node, play it safe and head back to the security of the entrance. A Decker Rollerblader should be on your tail and it can be a lot easier to wipe her out in a smaller space without the other guards shooting at you. To locate the skater chicks, check the minimap for red rings amid the solid red dots of the other enemies. Shoot her when she comes in and place your back to a wall to prevent her from zipping around you. Once she is gone, rest if necessary, then once again wipe out any Deckers off in the distance.
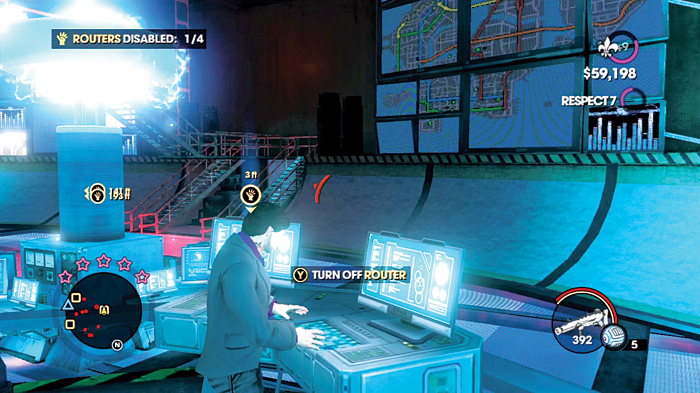
Take out as many enemies from your shelter before making a dash for the second router. The room will keep populating with enemies so there will never be an opportunity to wipe them all out. Kill as many as possible in the vicinity of the router and make sure you aren’t getting bombarded while you disable the device.
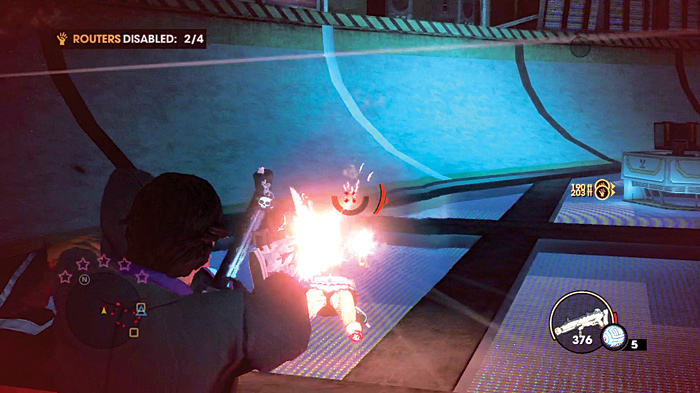
Another psycho skater is bound to be stalking you; if there is no place to get cover, grab a human shield and take her out. Anytime the odds look bad on the battlefield, find a spot that provides complete cover from the back and clear out the nearest threats.
Routers 3 and 4
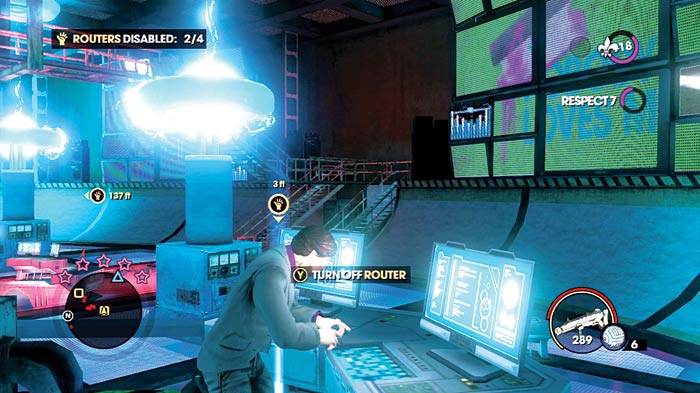
Two more routers to go! Clear out the area around the next router and once again run into the fray and disable it. Jump over the railing to the back of the elevated platform and circle around the perimeter to the last one.
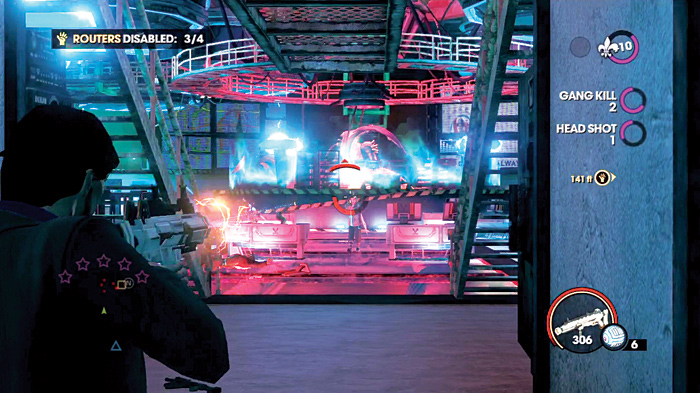
Stay close to the outer wall and duck into an alcove if you must. Use this spot to rest and wipe out anyone in the immediate vicinity. Race to the last router and disable it. Unfortunately the mission is not over.
Shut Down the NEMO Chair
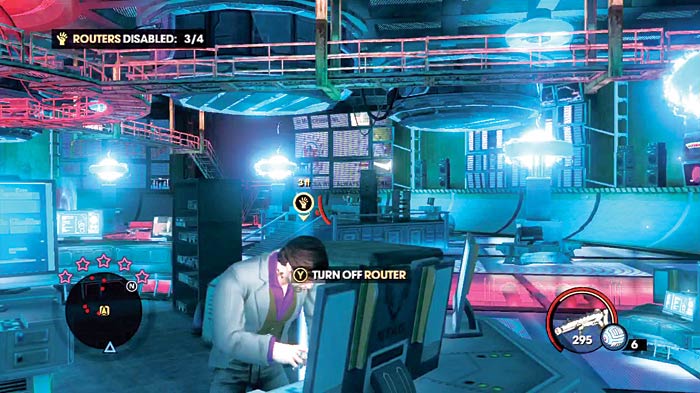
The chair is still pulling power from the system; obviously the it is still jacked in.
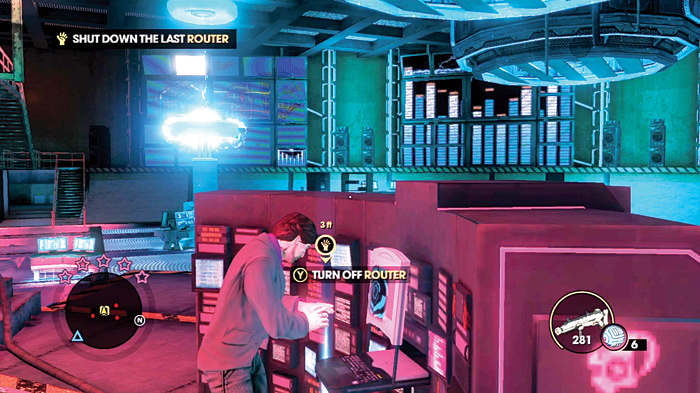
It makes you wonder why you didn’t go for the chair’s router in the first place. Make sure you have enough health for one final run and get ready to sprint to the chair in the center of the room. The chair is on an elevated platform with a spiraling ramp. Run up the ramp on its lowest point and to make it to the final router.
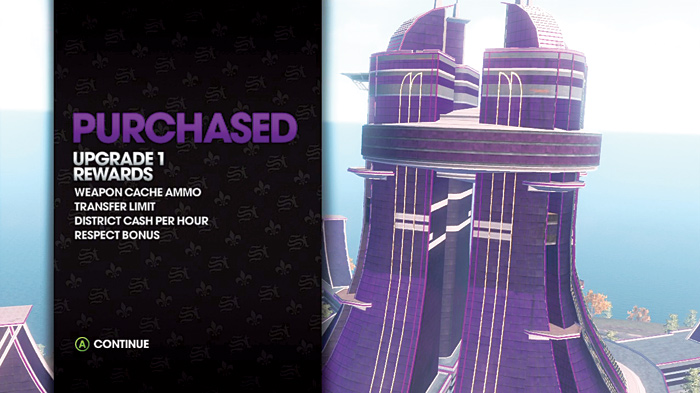
It was certainly worth conquering the nuke plant because when the mission is over it becomes a Saints’ Stronghold. The Burn Hills Reactor can provide the same bonuses as the Safeword Stronghold, except this time you have access to the Deckers’ vehicles and homie customization. If you have the cash, it is well worth the money to upgrade the Stronghold for the respect, money, and weapon cache bonuses.
HTTP://Deckers.Die (Decker Arc)
Cash Earned: $12,000
Respect Earned: 3,000
Unlocks: New Weapon—Cyber Buster; New Outfit—Mocap Suit; New Vehicle—Cyber Tank
Rewards: 25% discount at weapon stores or 50% at car shops
Take Down the Firewall
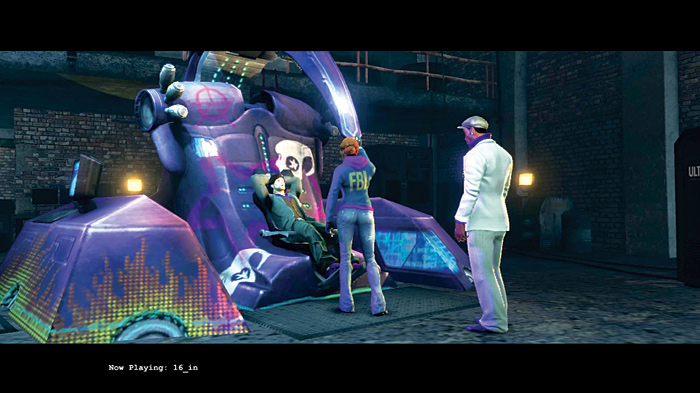
Go to Kinzie’s hideout and have a seat in the high-tech chair you scored. It might seem safe to play around in virtual reality, but if your mind takes too much of a shock, you’ll end up brain dead.
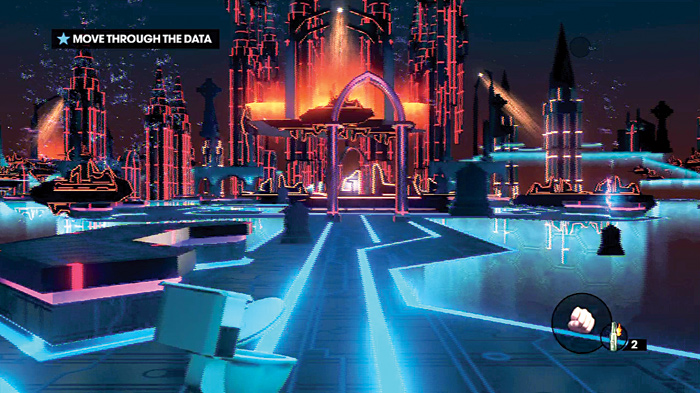
Jacking into the Decker user-net gives you a visual representation of the data. Comically, your initial representation in the virtual world is a toilet. Hop along the path ahead until Kinzie can update your avatar.
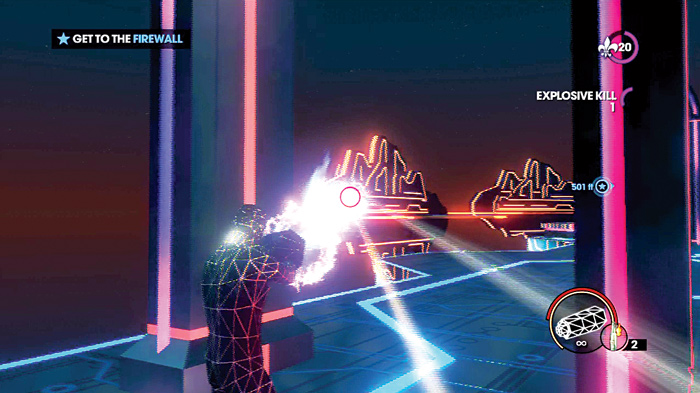
Follow the path to the first doorway and Kinzie will finally update your avatar to something humanoid, with an unlimited-ammo Cyber Buster weapon. Holding the firing button can charge the blaster and send a big energy ball at your foes. The mega blast from the arm cannon can also cause you grief if you shoot an enemy or object too closely. By this point, Matt will sniff you out and send in digital enemies. Use the tall archways as cover while picking off the opposition. Quick shots are great if the target gets close, but try to charge up before you shoot to delver the a more powerful shot. Make sure to eliminate the enemies on the ledges in the distance before running out into the open.
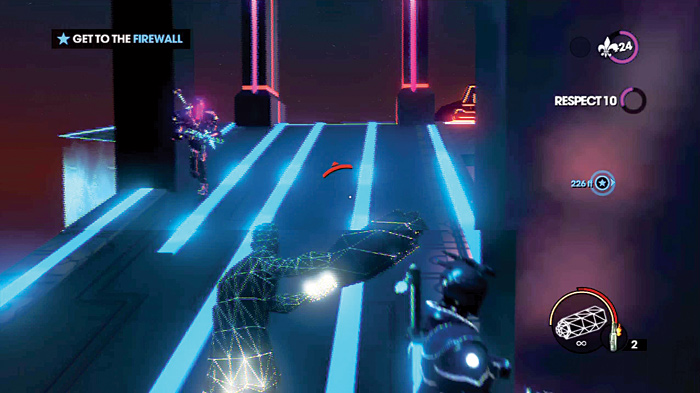
One thing to keep in mind is that the arm cannon can’t hold its charge while you’re running. This leaves two very distinct choices. Slowly walk toward the firewall, charging the blaster as you go, or run like crazy and don’t shoot anything. It’s better to take your time and fight cautiously. But if you like the adrenaline, it is possible to take a bit of damage while running and push the enemies out of your way—but not for long.
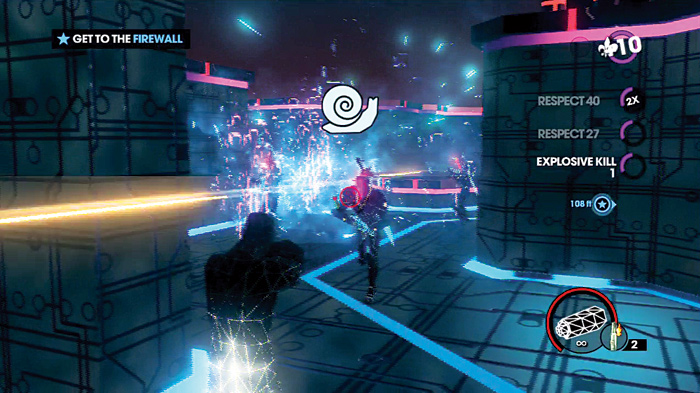
This is Matt’s world and he controls the rules. He has all sorts of tricks and tweaks he can enable to make this place a lot tougher. The first plague he unleashes is a slow down. Whenever you see a snail on the HUD, your character’s speed has greatly been reduced. Luckily the effects are temporary. Obviously, sprinting is not a good option at this point. Use the corners of the maze for cover and keep the blaster charged to unload a shot at anything that teleports in.
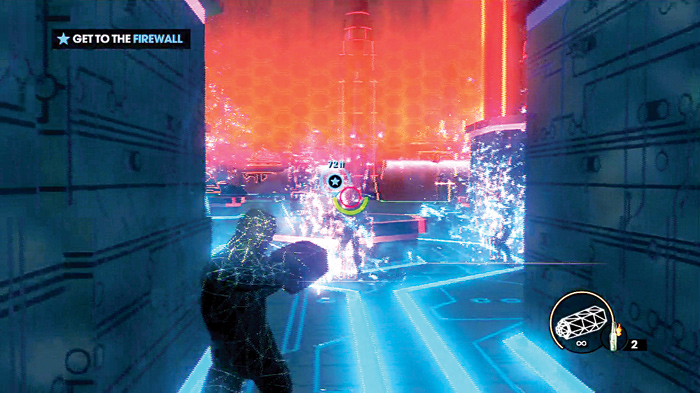
Keep following the blue marker on-screen to an open area near an orange wall. When the wall is in sight, stay between the archways for cover and take out the various enemies before moving forward. Among the many shooting foes is a specialist that is similar to Decker Rollerblader. This quick-moving problem leaves the same blue trail as it streaks by, and it loves to charge in to attack. It can be tough to tag this fast-moving foe. Also, it has a tendency to suicide by running right into your charged shot, knocking you back. When it’s safe, move forward to the firewall to disable it.
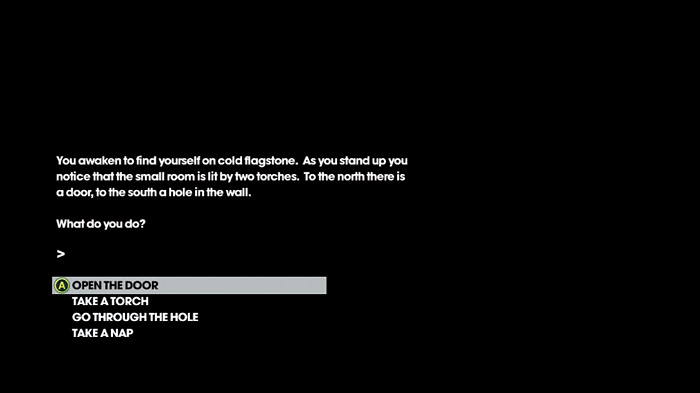
To drop the firewall you must solve a puzzle. Most people won’t remember this type of game, but back in the day of the dinosaurs there were text adventure games without graphics. It was a tough time when people were forced to use their imagination. Getting past this puzzle is just a matter of trial and error, as you select an option and try to find the correct series of actions to complete the challenge. The correct sequence is as follows: Take a torch, keep walking, keep walking, kill the unicorn.
Knock Out the Anti Virus
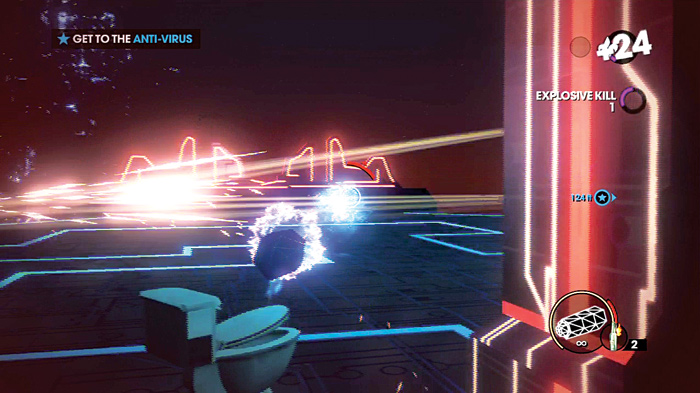
Matt reverts your avatar to a toilet but at least you still have the cannon. Wipe out the first few enemies and go up the ramp. A wide-open space that is deadly to do battle in awaits. Stay close to a doorway and bring down any threats while being partially protected.
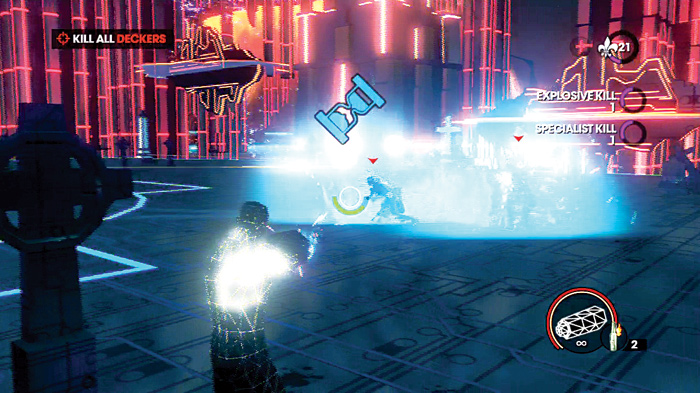
The next area is aptly adorned with tombstone crosses. The good news is that your avatar becomes humanoid once again. The bad news is that this open space is filled with sword-wielding Decker specialists zipping around. In addition, Matt is up to his tricks and uses a connection break, making an hourglass appear on the HUD. The effect of the hourglass icon is that the player is temporarily disconnected and can’t do anything. Your immediate actions are looped, but this won’t last long. Don’t be foolish enough to stand in the open when battling these quick enemies. Put your back to a wall or tombstone and keep charging the blaster; be ready to release a shot when the Deckers stand still for a second.
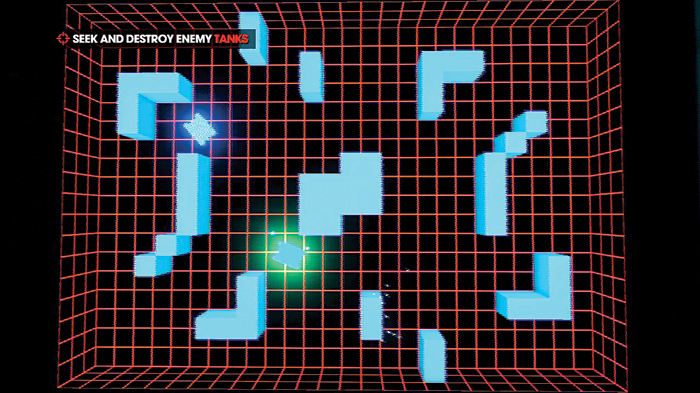
When all the Deckers are wiped out, Matt sends you into another minigame; this time it is a classic 2-D tank battle. Destroy the green tank with your blue tank to remove the last bit of anti virus code. Use the walls to stay partially obscured. Peek out to fire at the tank, then pull back to avoid severe retaliation. Firing the tank is slow, so telegraph your shots a bit and move back into cover.
Get to the Internet Security
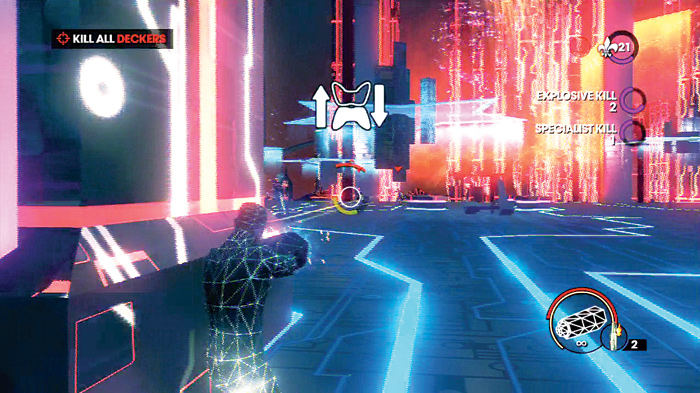
There is one more wall ahead along with several Deckers. Waste a few of them and run up the ramp to the next open area. There are a ton of Deckers in this section and rushing in would be suicide. Also, Matt flips the functions of the controller, as shown on the screen by a controller with two arrows, to make it even harder to cope. Stay near the doorway and take your time killing off the Deckers before proceeding.
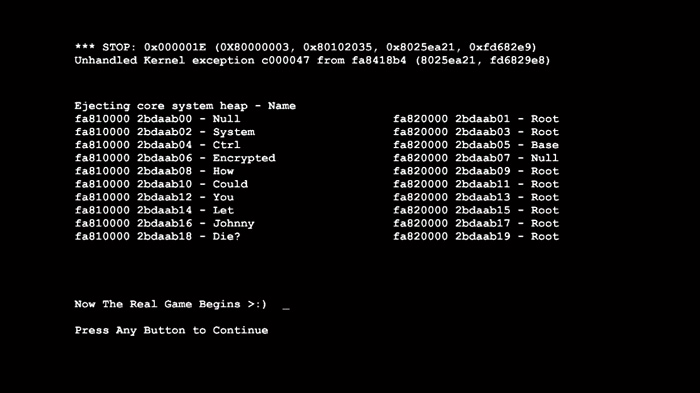
Matt’s last trick up his sleeve is to crash the system into an error screen. Kinzie does the work for you; just wait for her to debug the system and run up the ramp to the cathedral for the final confrontation with Matt.
Defeat Matt’s Avatar
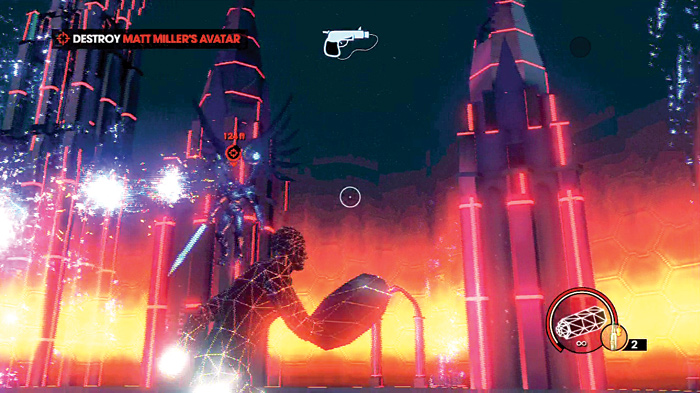
Matt’s avatar is a huge flying dragonlike solider. Defeating that thing is not going to be easy, especially when he cheats! The first dirty trick he uses is to de-power your weapon. Kinzie will fix it, but when the gun icon appears on the HUD, the blaster won’t work. Whenever the arm cannon becomes powerless, do the only thing you can: Run and avoid his attacks. He uses a hit-and-run style, and it’s best to charge the blaster and let lose when you track him after he flees.
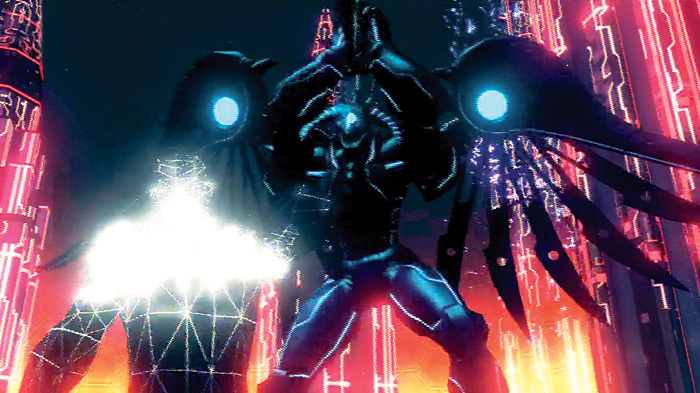
After sustaining about a quarter damage, he will shrink your avatar and perform a lunge attack. Rapidly press the button shown on the HUD to avoid his attack and automatically retaliate.
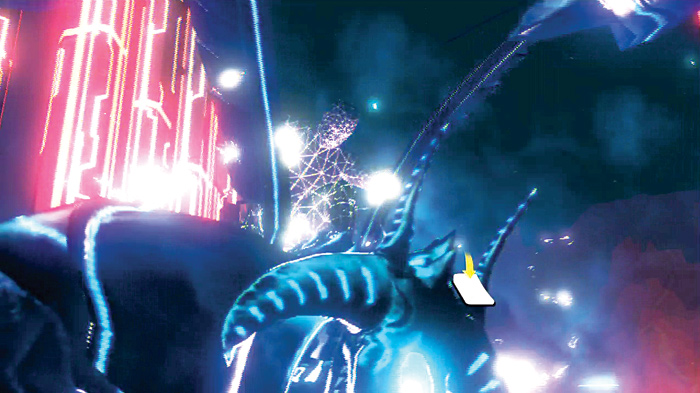
The blast stuns Matt and he becomes truly vulnerable. Jump on his back and press the trigger button shown on-screen to tear off his wings and ground him for good.
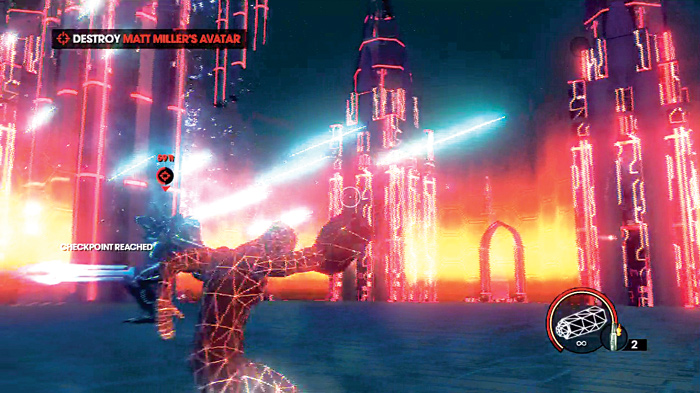
Even without being airborne, Matt is still pretty deadly. Circle-strafe around him, charging your blaster while you move, and release a power shot when you can. Matt uses the slow down effect you experienced earlier, which will hinder the process, but keep moving around him and leap as he shoots his projectiles.
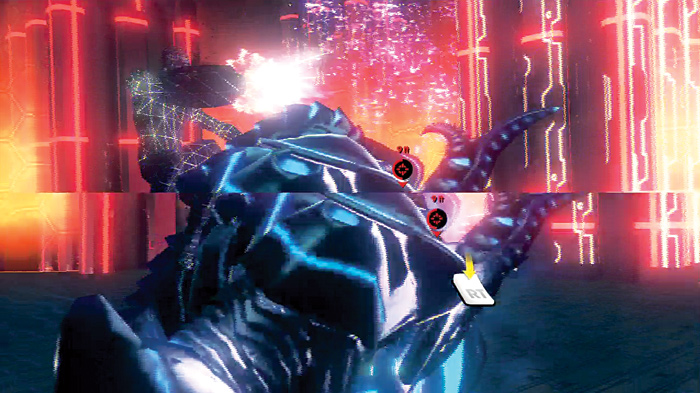
When you get him down to half of his health, you once again run in to do major damage, up close and personal. Press the trigger button shown while he’s on his back to deliver several point-blank basts to the back of his head.
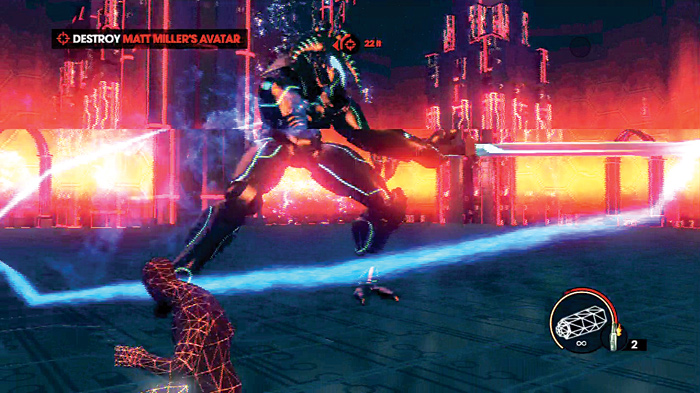
The ground battle resumes and, like before, you must deplete his life by another quarter. The hourglass icon appears on-screen, causing trouble with the connection. Dodge his fire breath and look out for the huge sword swipe.
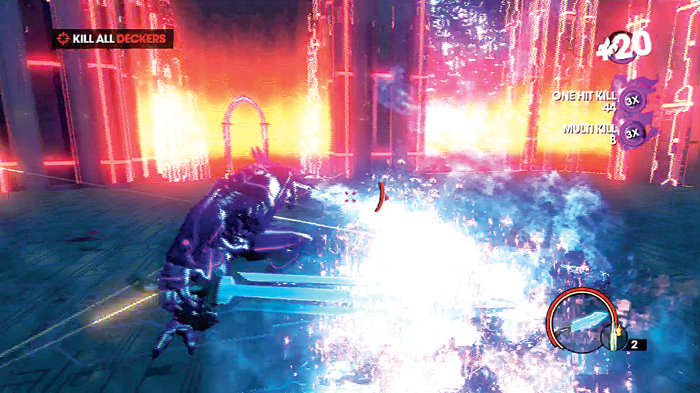
Finally Kinzie copies Matt’s avatar, turning you into the same dragonlike warrior. Matt calls out his guards but they are nothing more than cannon fodder for your new abilities. Try out all the new skills on the hapless guards to prepare for the last confrontation with Matt’s avatar.
A Fair Fight with Matt
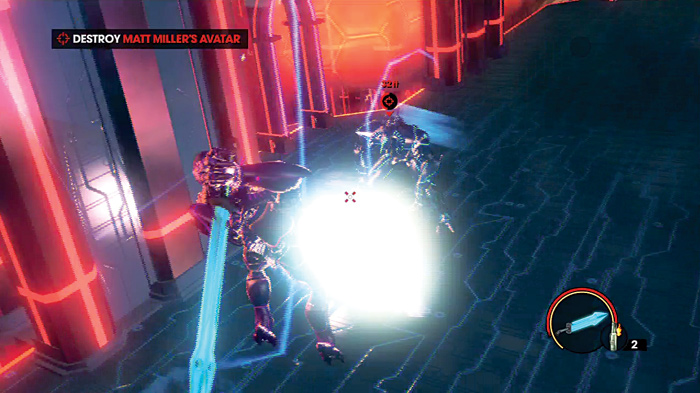
For the last cyber duel Matt has full health, but at least it is now an even fight. The shock wave is a powerful attack that is great to use if you time it correctly. Matt moves quickly and the air time on this move will usually give him time to escape. The best time to try this technique is as a counter to one of his moves because the leap can avoid attacks and he can’t move while in an attack animation.
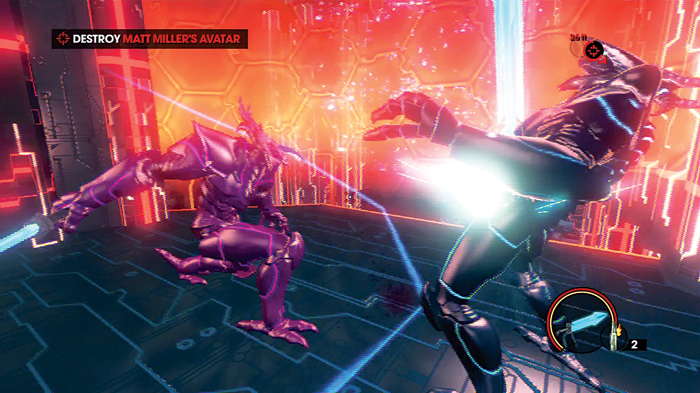
The dash ability is key to winning this battle. Use the speed of this move to dodge his flame breath and attacks to get in close and deliver a blow of your own. Matt continues to use a hit-and-run tactic, but the dashing ability allows you to cover ground quickly and punish him from afar.
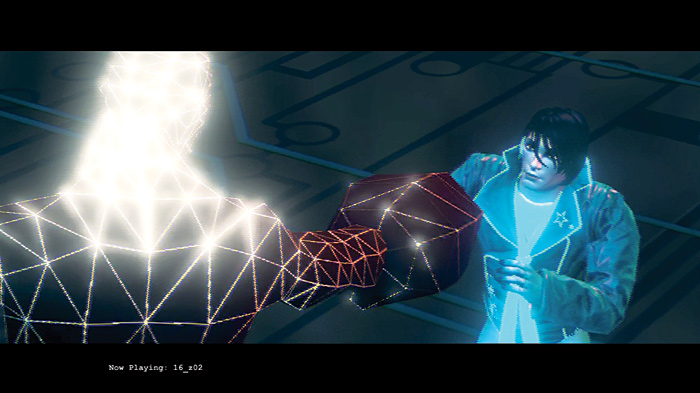
When Matt’s health is gone, follow the prompt on-screen to destroy his avatar. Matt grovels in defeat, offering the Saints a chance to get their empire back if he can walk away. He can clear the Saints’ name from the fake footage Killbane released and more.
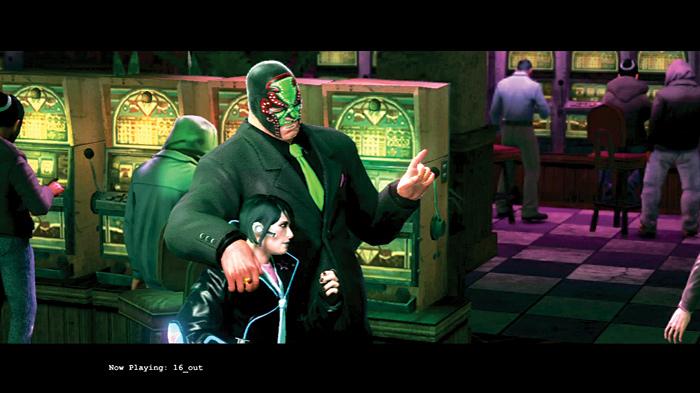
Matt is washed up and the toughest part is trying to tell his boss, Killbane, he wants out. Considering how the last two partners were treated, Matt is terrified of the Luchadores. Fortunately for the Deckers, Matt’s up-front conversation about his departure puts Killbane in a good mood and he even offers himself as a reference.