
Saints Row: The Third Guide Walkthrough Activities
Tiger Escort
Angel De LaMuerte (not an ominous name whatsoever) has decided that you are not tough enough to take on the top man of the Luchadores, which should have you wondering exactly what kind of monster you’re gunning for. Never mind that by now you’ve been beaten, shot, stabbed, blown up, crushed, dropped out of an airplane, flown through said airplane, and who knows what else. He thinks you need to know how to overcome true fear to stand a chance. Conveniently enough, he has a pet tiger for you to drive around town for a little while.
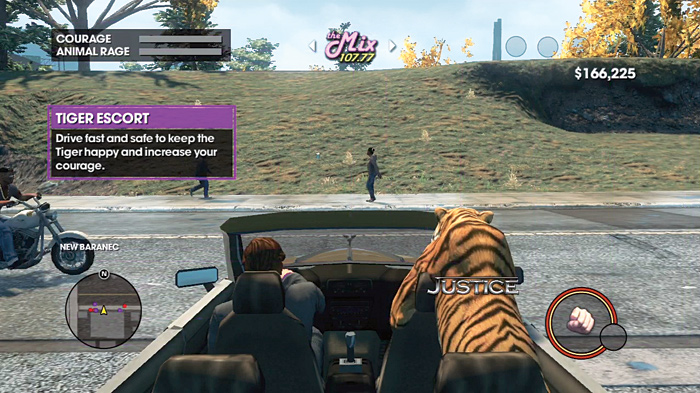
Tigers are much better as signs you can shoot in an episode of “Professor Genki’s Super Ethical Reality Climax,” but apparently this is going to help finally make a gangster out of you.
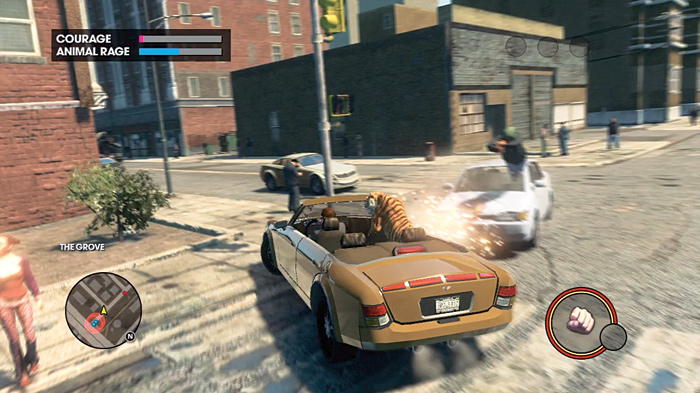
Similar to Escort missions that you can run for your other homie, Zimos, driving Angel’s tiger around requires you to drive the “client”—in this case the tiger—around to please it, which fills your courage meter. You must drive fast so that the animal rage bar does not begin to fill up.
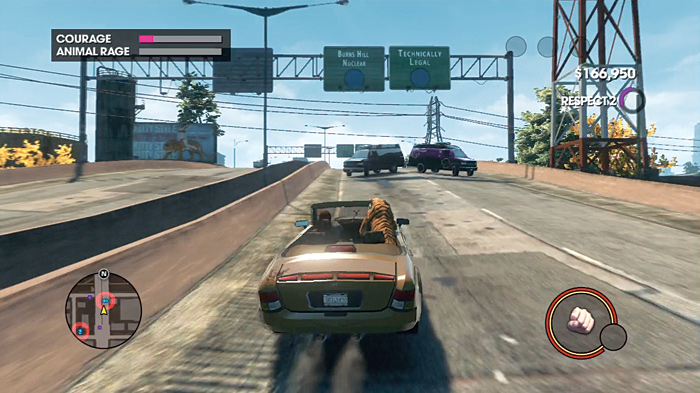
If you slow down, stop, or hit other vehicles, the rage bar fills. Animal rights activist vans will be chasing you around, similar to the Escort mission TV news vans, and being in their vicinity causes the animal rage bar to fill up even faster than usual.
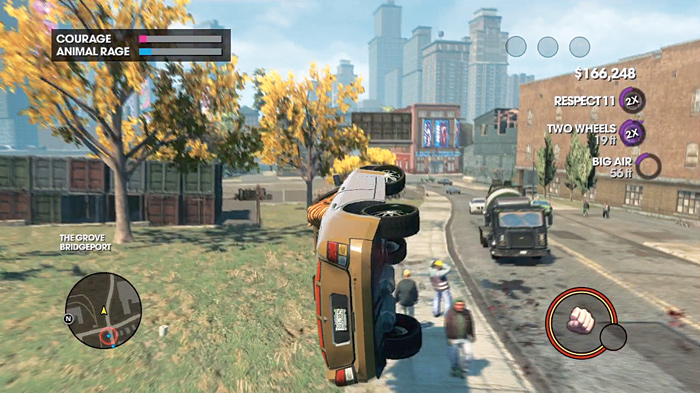
Complicating all this is the fact that you have a flipping tiger in the car next to you. Being a tiger, he will paw at you at random, causing you to swerve violently to one side or the other. At high speeds, this can become a real tragedy real fast. It also means that no street, no matter how straight and wide it seems, is truly safe. Traffic is suddenly a much greater threat than before, and one random swipe of the cat can send you crashing into cars, buildings, and other obstacles. If animal rights vans are nearby when this happens, this can max out the rage bar incredibly fast.
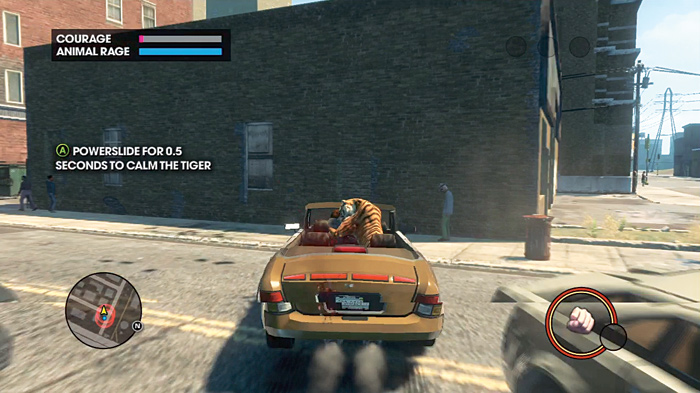
If the rage bar does fill, you’re not out of the game yet, but things become more interesting. The tiger will go tiger all over you as long as the bar is full, making driving a real pain as you keep swerving all over the place. You’ll have to drift to calm the animal down, and in general, you’ll want to drift if you must take a turn, because maintaining your speed keeps the tiger less angry.
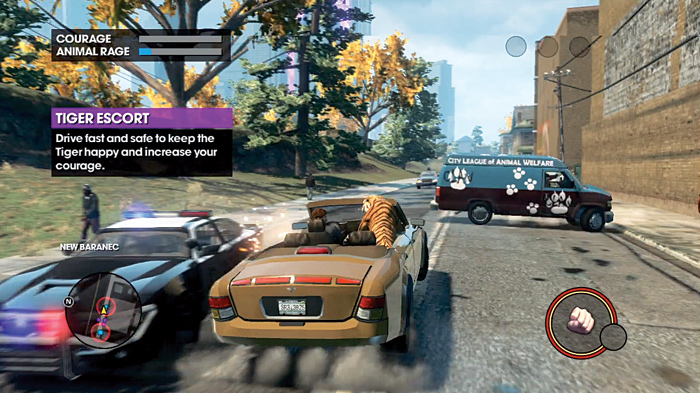
Vans full of animal rights activists will pursue you in each Tiger Escort, trying to stop you and film you. If they get close, your courage meter stops filling, and the animal rage meter starts. As with the Zimos Escort activities, you need to evade them by planning out your route somewhat in advance by checking the minimap. Just because you manage to lose one set of vans does not mean the activists are giving up. They will set up roadblocks ahead of you and take side streets to try and sideswipe you and cut you off, growing in aggression with each difficulty level.
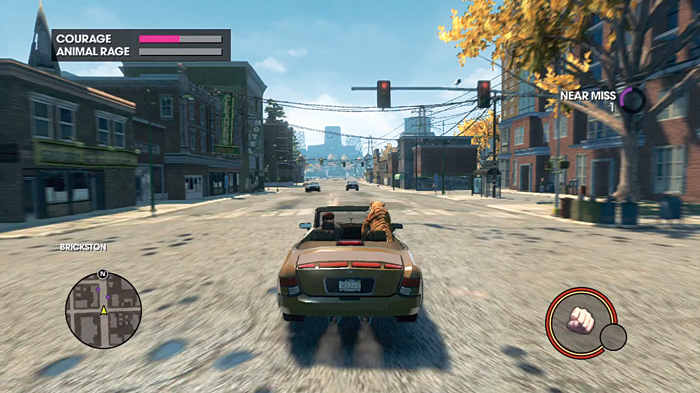
The trick of all Tiger Escort activities is to find a good, long street that is wide enough to give you some breathing room to prevent the tiger from beating you senseless. You can use these roads as a loop of sorts, to swing back around and travel at full speed, to keep the courage meter filling. Narrow roads + traffic + tiger + activists = a recipe for disaster.
Escort Tiger 1 (#4)
Location: New Baranec
Difficulty: Easy
Cash Earned: $2,000
Respect Earned: 200
Rewards: 2% Luchadores Gang District Control—$152 per hour
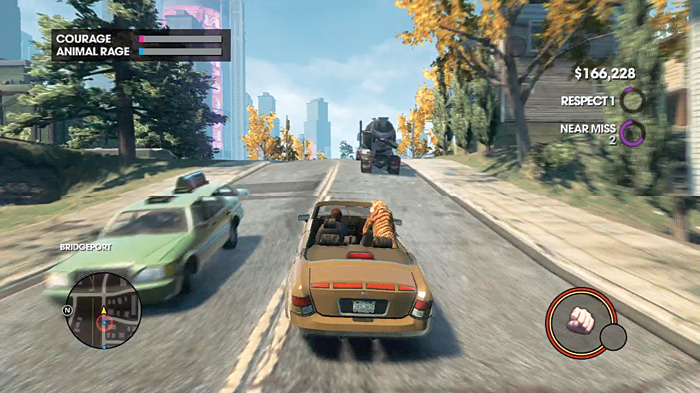
The first Tiger Escort for Angel is about as tame as the missions come, but the following rides will send more animal rights activist vans right at you, the tiger itself is quicker to swipe at you and go into a rage, and your courage meter takes longer to fill with each increase in difficulty.
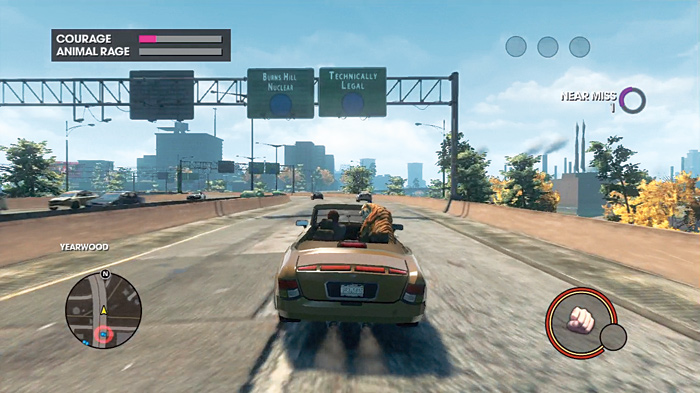
For this mission, the relatively safest route has you make a left immediately from your starting location. This road is only two lanes, but once you reach the end of it, you can make another left that puts you on a very wide four-lane street.
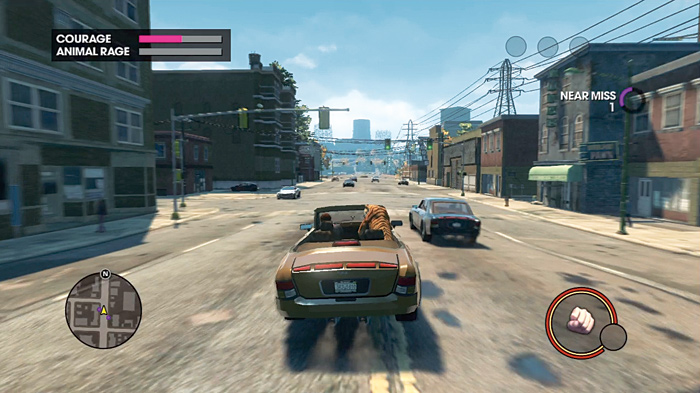
If you’re lucky, the swipes from the tiger won’t send you into other vehicles, and the wide lanes will give you a chance to react to activist vans that come at you head-on. Your goal on every Tiger Escort is to get to those wide streets, and the starting central island has many surface streets that meet this need. If you can get onto the central highway, that can also be a good spot to loop around with relative safety.
Once your courage is full, the mission is complete, and the remaining Tiger Escort activities are unlocked on the map. How tough do you really need to be to handle the Luchadores?
Escort Tiger 2 (#5)
Location: New Baranec
Difficulty: Medium
Cash Earned: $4000
Respect Earned: 400
Rewards: 2% Luchadores Gang District Control—$126 per hour
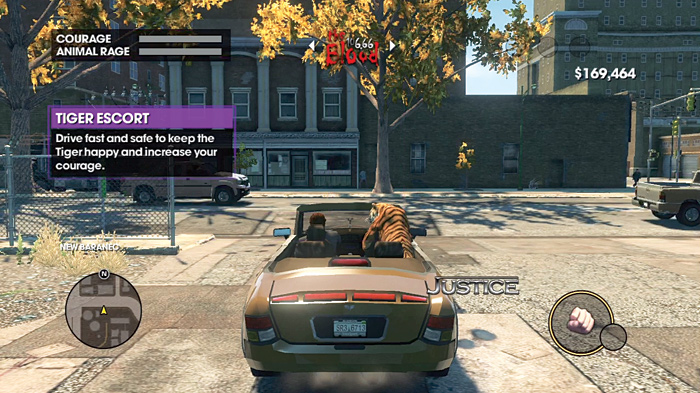
When you start this drive, you may be tempted to make an immediate right and follow the street onto the freeway spanning the water to the next island.
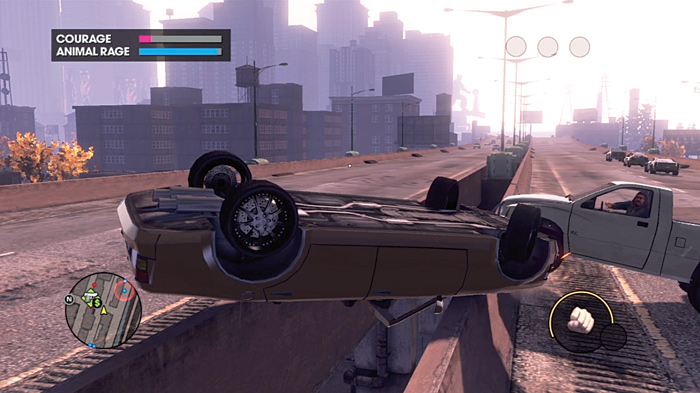
This is not always a sure bet! One swipe from the tiger and you can end up like this, after bouncing off of walls and traffic.
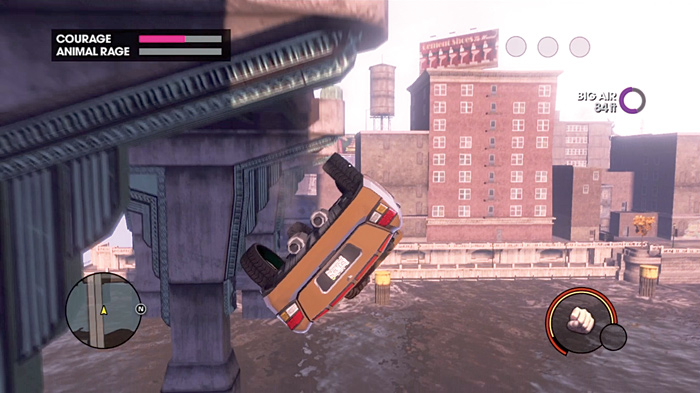
Still, it is a good stretch of road, and if you manage to keep up your speed and remain somewhat in control while you cross the bridge, you will have plenty of long and wide roads on the next island to take advantage of.
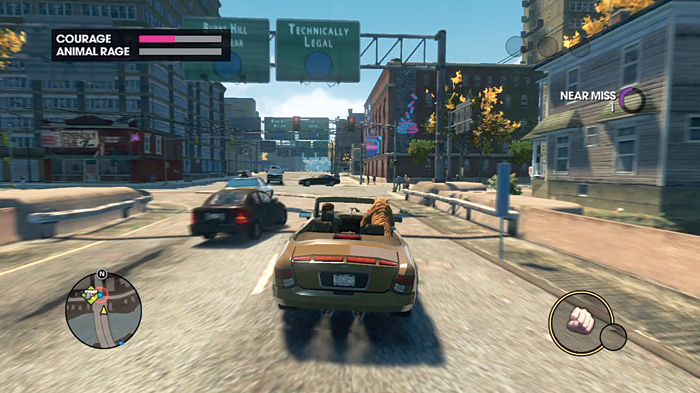
If you do manage to take the freeways or bridges safely onto the central island, the wider streets in the downtown district are once again your playground, but there are plenty of roads near where you start that can be exploited in your quest for courage.
Escort Tiger 3 (#6)
Location: Yearwood
Difficulty: Hard
Cash Earned: $6,000
Respect Earned: 600
Reward: 2% Luchadores Gang District Control—$66 per hour
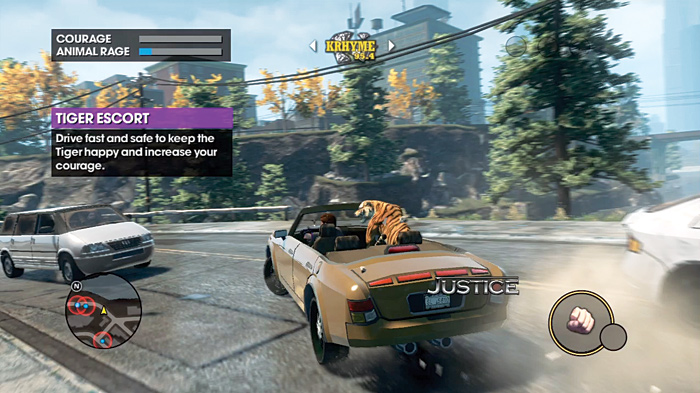
As soon as you start, make a left and fight your way past the activist vans. Stay on this road, and ignore any turns. You’re headed for more open territory.
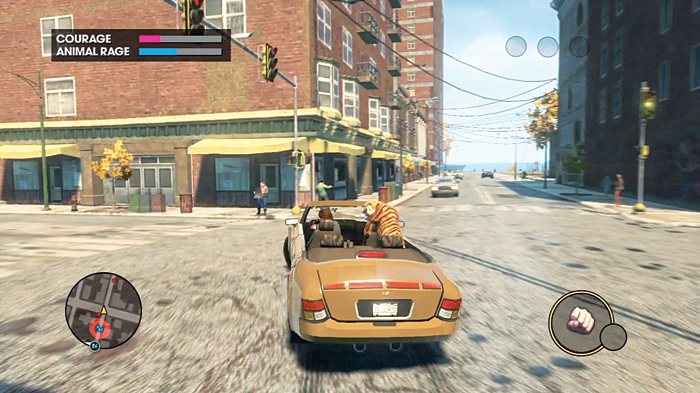
The road you’re on merge right with another street, near a lake. Stay on this road! Pass up three turns you can make, left or right. You reach New Baranec and soon see a wide street you can exploit. Make the left at that large street.
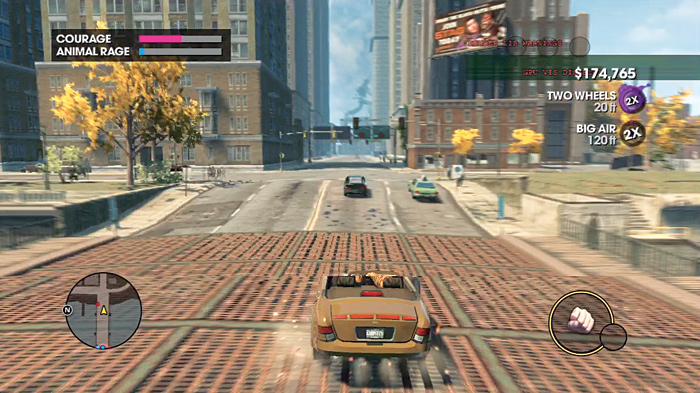
Stick with this road, traveling over the bridge into the downtown area of Steelport, and then into the Sunset Park area. This is your ideal playground for this Tiger Escort, with plenty of long and wide stretches of road you can use. You’ll need every bit of it. This mission takes the longest to fill the courage meter, so you need every advantage you can get!