
Saints Row: The Third Guide Walkthrough Activities
Mayhem
Mayhem
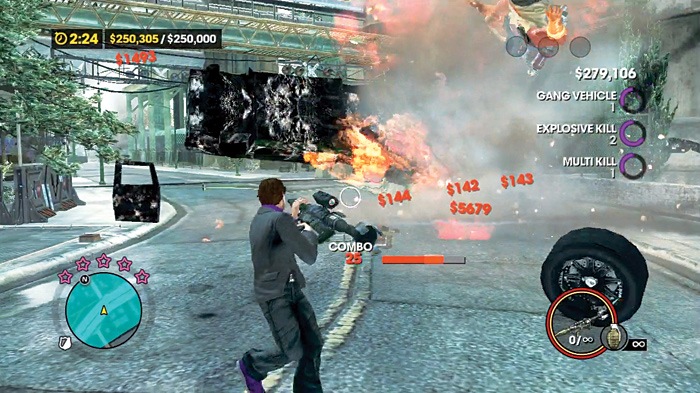
Mayhem activities, similar to the Tank Mayhem and Helicopter Assault missions, are all about causing as much damage as possible, only this time you are on foot and definitely more vulnerable. Fortunately, you don’t go in badly equipped. Each activity provides you with suitable armament and unlimited ammunition.
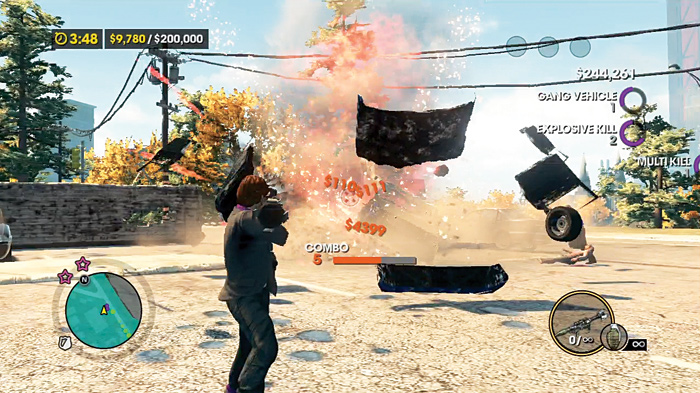
Damages you cause start a combo meter, which can further amplify the cash you make toward the required damages amount.
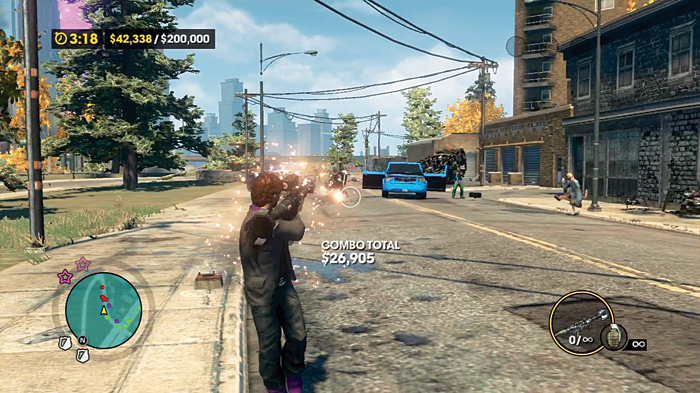
You can boost the meter by destroying vehicles, but you can also shoot or blow up pedestrians to slow the rate by which it decays. The higher the combo, the faster the meter drains.
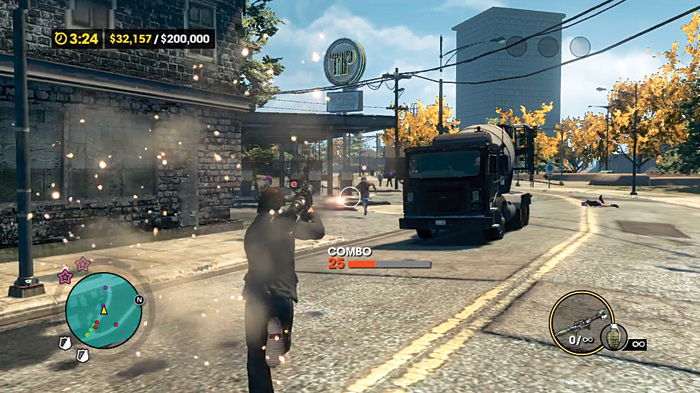
Gang and police vehicles are easy targets, as they keep coming for you even after you start killing them, but expensive civilian vehicles are more lucrative. Unfortunately they tend to flee, so you may need to persuade their drivers with bullets if you don’t have a rocket launcher available.
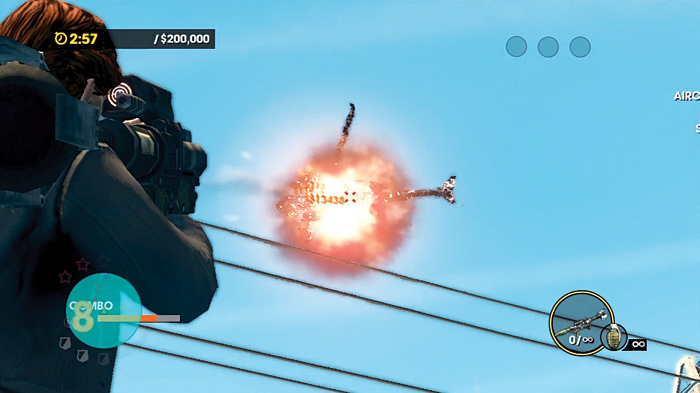
You can also throw grenades or shoot rockets at some building entrances or storefronts for some quick cash.
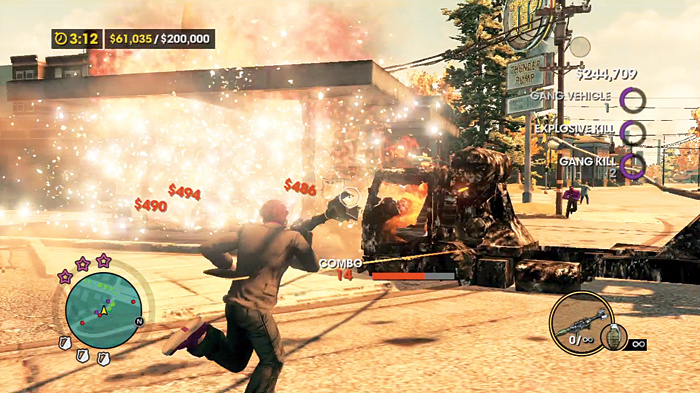
Be on the lookout for nearby gas stations on every Mayhem activity.
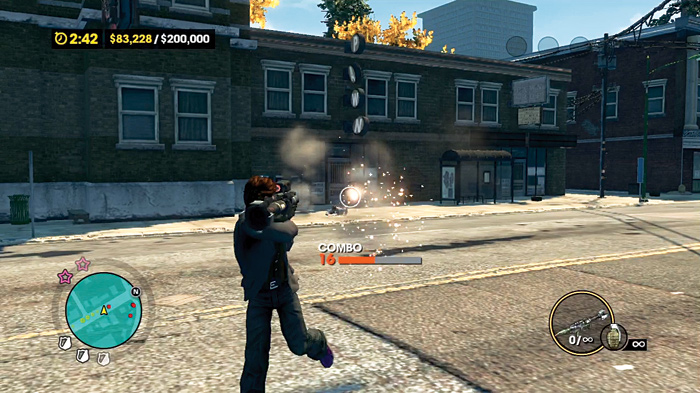
Other things can rack up money, too, like clusters of mail drop-offs, newspaper dispensers, and trash cans in front of houses. Basically, you should hit or throw explosives at anything that can be knocked over.
It’s important to keep moving! You need to find more things to destroy, and once you start your rampage, the gangs and the cops will be all over you. But don’t get too reckless; death is still a possibility on these jobs. To make things go really smoothly, it’s best to have upgraded grenades, an upgraded rocket launcher, and upgraded submachine guns or shotguns. These weapons allow you to kill vehicles the fastest from short to long range.
Mayhem 1 (#21)
Location: Salander
Difficulty: Easy
Damages Required: $90,000
Time Limit: 5:00
Cash Earned: $2,000
Respect Earned: 200
Rewards: 2% Deckers Gang District Control—$90 per hour
Let’s be honest, the Deckers already had this coming. Terrible fashion sense, obnoxious hair styles, and the fact they simply exist—these are all pretty big crimes to have committed, and it doesn’t help their case that they are in on the conspiracy against the Saints. Kinzie has a pretty big mad on for them too, which only compounds the one you have developed. It’s time to act on it.
You can’t bring the full breadth of your arsenal with you for this activity, but you can definitely make some noise, considering you start with unlimited pistol, submachine gun, and shotgun rounds, and more importantly, unlimited grenades. You know what you must do.
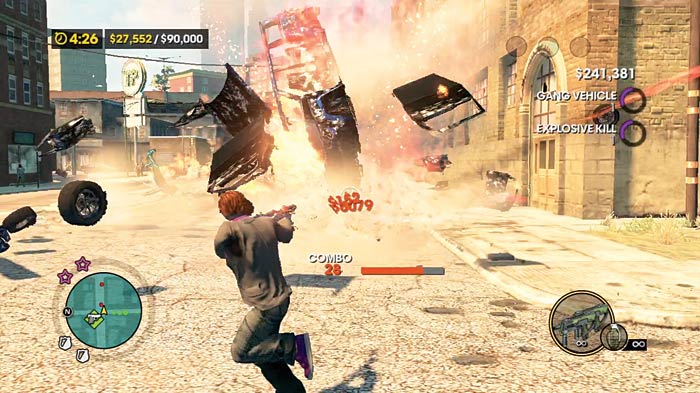
Take full advantage of your grenades. You should never stop throwing them. Any time a Decker vehicle pulls up, a grenade should be right on it, with a second on its way for good measure.
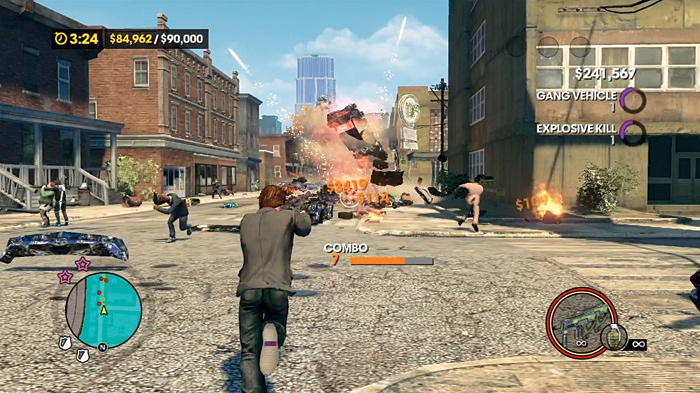
Civilian vehicles tend to be worth a little more than a car packed full of Deckers, but they also tend to run away when being shot at. To solve this, cap the driver of the vehicle, then put a grenade on it.
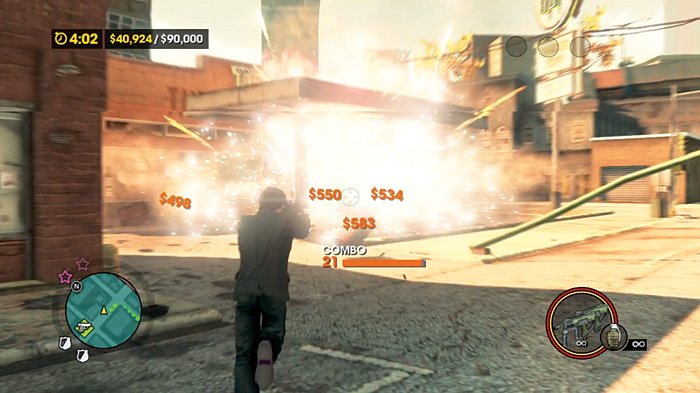
Near the starting location, a gas station awaits your wrath.
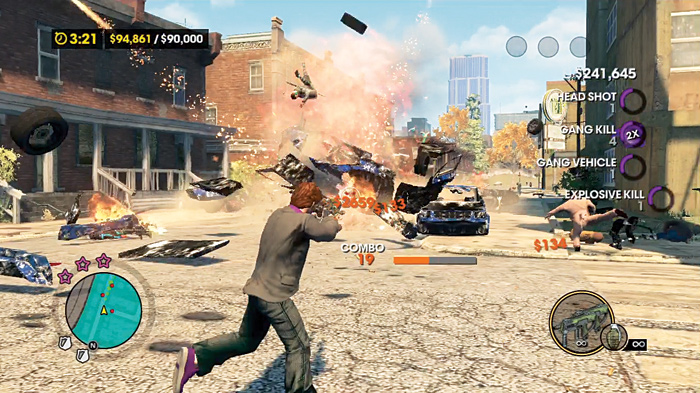
You can use this to keep your combo meter filled as you walk down the street. Also, throwing your grenades at buildings can help keep your combo meter filled, and is a good way to kill time while hunting down vehicles if they become scarce.
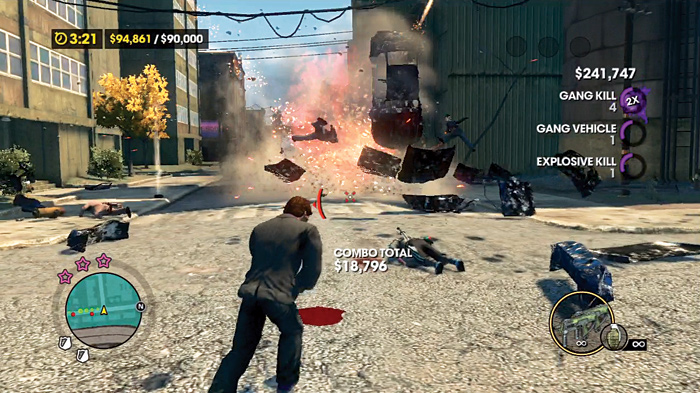
As long as you keep wiping out whole cars full of Deckers, they will keep sending more to fuel the fires. Even with the relatively low level of resistance they present, you should be able to break $90,000 in damages well within the time limit.
Mayhem 2 (#22)
Location: Brickston
Difficulty: Medium
Damages Required: $200,000
Time Limit: 3:58
Cash Earned: $4,000
Respect Earned: 400
Reward: 3% Deckers Gang District Control—$104 per hour
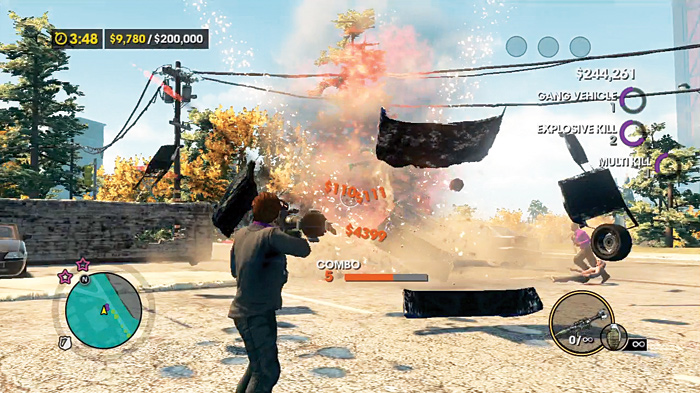
You might look at the increased damages requirement and the fact that you have one less minute that you did on the previous activity and be somewhat discouraged.
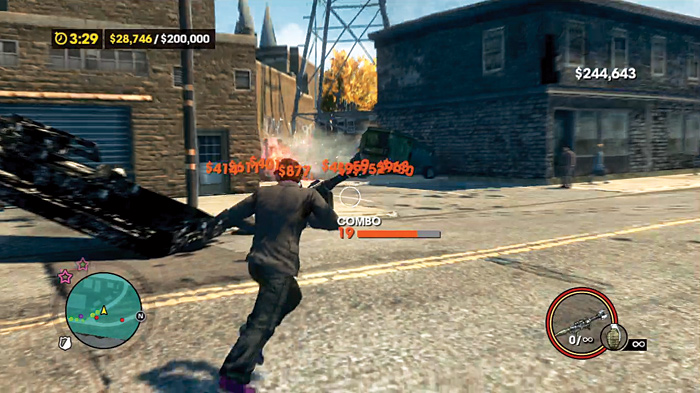
Fear not, Lord Rocket Launcher blesses you with unlimited ammunition for these activities on Medium and Hard difficulties.
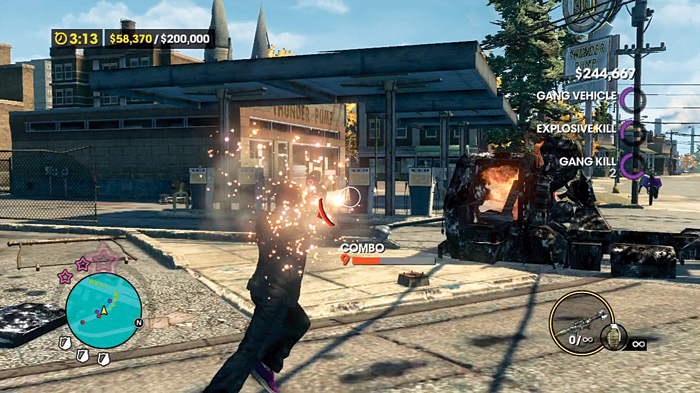
From the starting location, head to the northwest, following the road (and not up the hill to your right). You’ll see a gas station on the left.
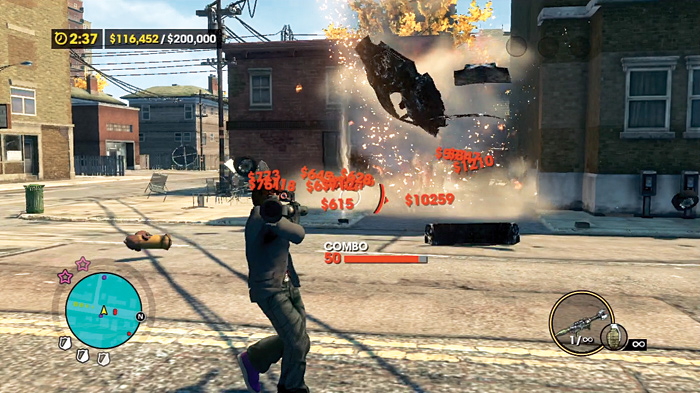
Next to the gas station is another intersection with a four lane road going north and south. Continue moving south, shooting rockets and throwing grenades at anything that moves.
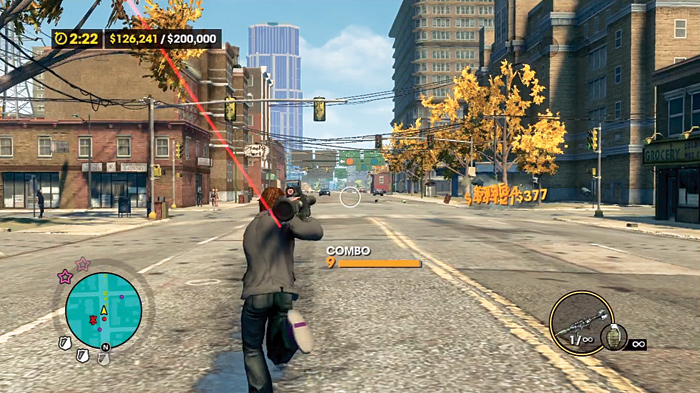
Pay attention to the sidewalks for clusters of newspaper bins, trash cans, mailboxes, and fences. Even the alleys contain things you can send rockets into to help boost your combo and cash flow!
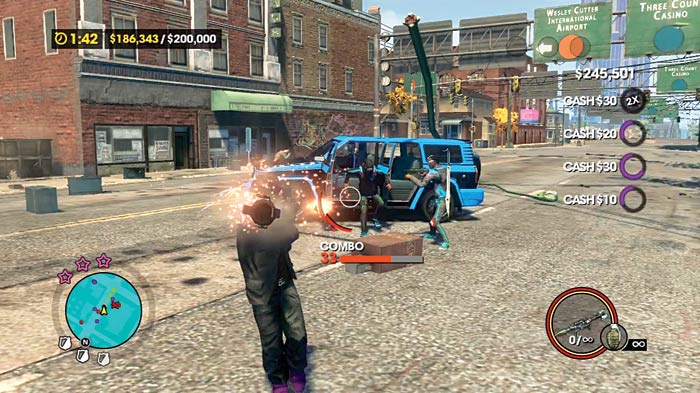
Better yet, the Deckers and the cops just keep coming. If you just travel down this street, shooting up everything, you should have no problem reaching the $200,000 in under the time limit.
Mayhem 3 (#23)
Location: Ashwood
Difficulty: Hard
Damages Required: $300,000
Time Limit: 4:59
Cash Earned: $6,000
Respect Earned: 600
Rewards: 2% Deckers Gang District Control—$65 per hour
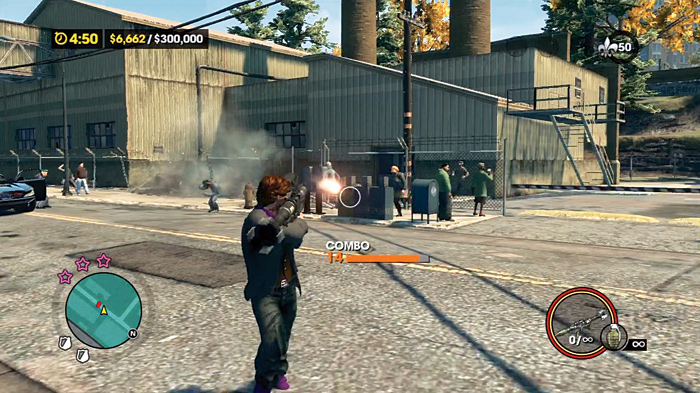
Sing! Sing the praises of Lord Rocket Launcher, and deliver His high-explosive, armor-piercing justice and cleansing flame to everything!
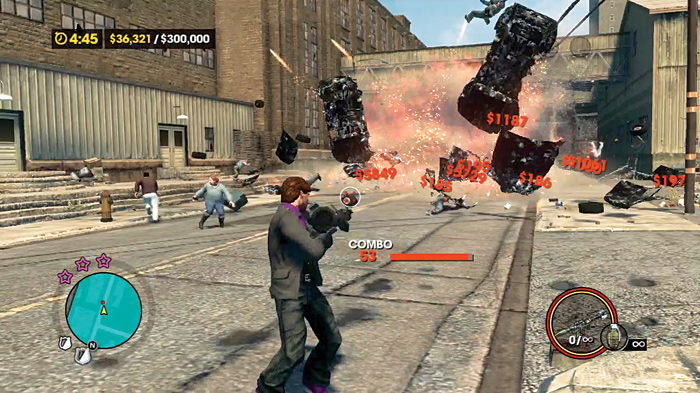
Ahem. As in the previous mission, you have a rocket launcher, the real challenge is to keep moving to keep finding stuff to shoot.
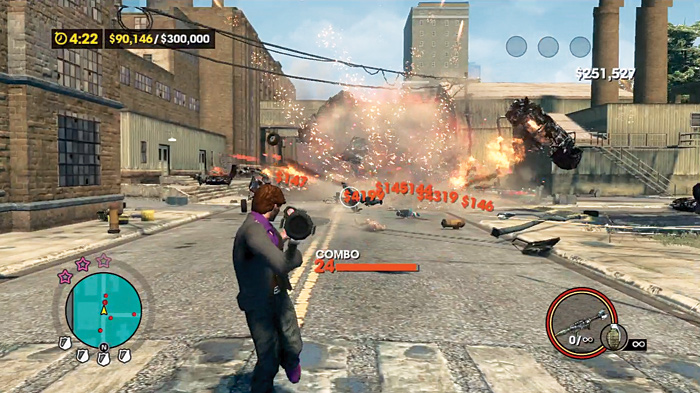
Steelport graciously provides quite the meal here. The Deckers and the police are both quicker to escalate to higher notoriety levels on the Hard difficulty.
Expect SWAT teams, helicopters, snipers, Decker specialists, Brutes, and the National Guard.
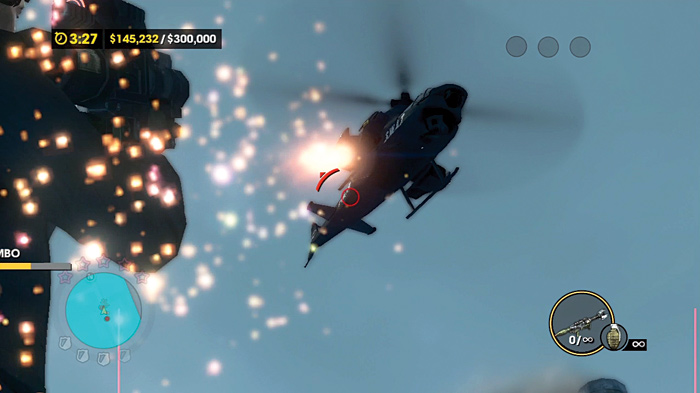
Kill them all.
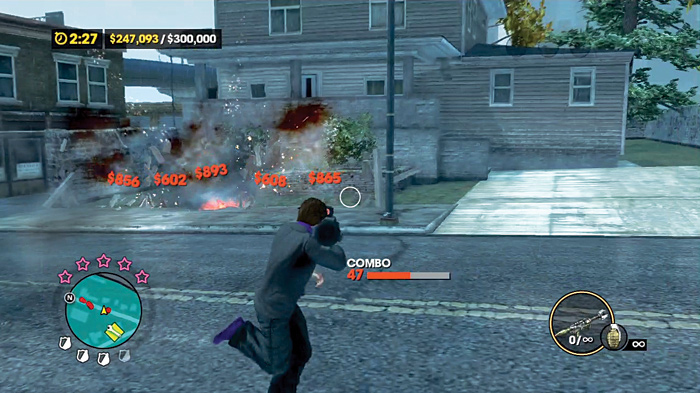
Head south on the starting street, toward a series houses with plenty of fencing you can use to boost your combo while you wait for the gangs and cops to gather.
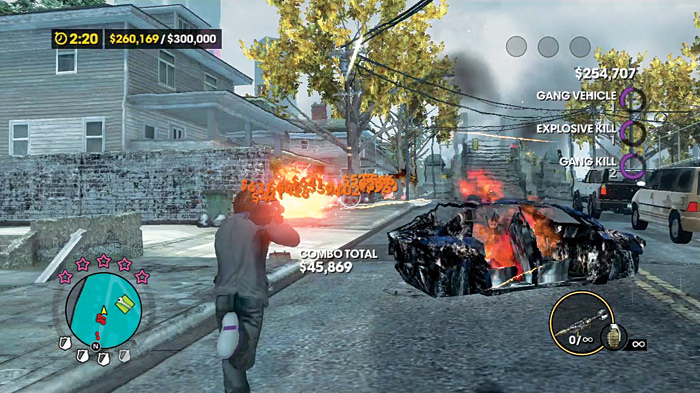
Keep the rockets flying at them. You can cross the bridge once you get to it, but it is not a bad idea to take the street that turns away from the bridge to the northwest.
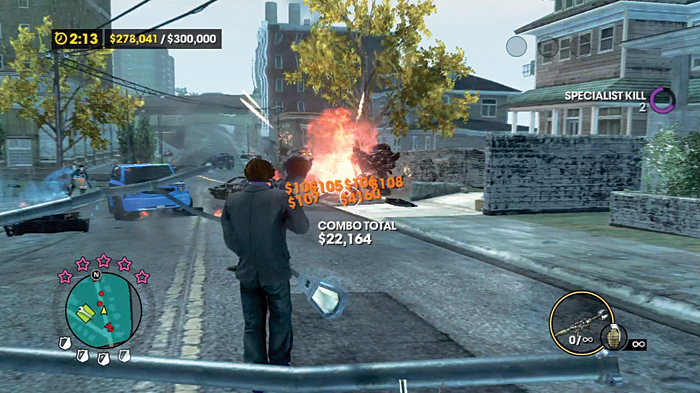
Just watch your health while on this rampage, You’re under more fire now than you were during the last two mayhem activities, so it can be easy to forget yourself in the middle of the rampage.
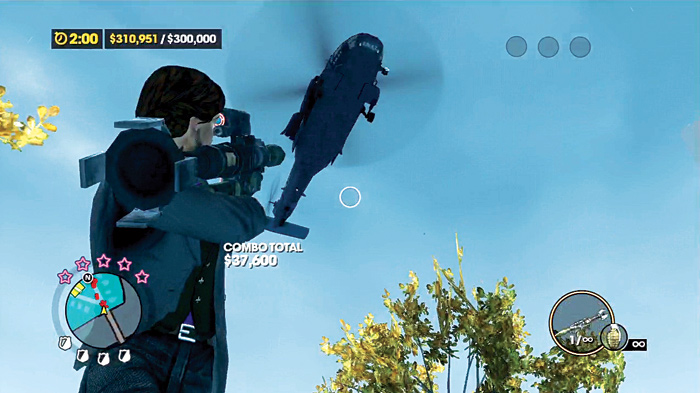
Gang vehicles and cops will try to box you in on this street, but there are alleys you can use for a temporary reprieve. It will also force helicopters to position themselves in such a way that you can easily fire rockets at them with less chance of reprisal.
Mayhem 4 (#24)
Location: Bridgeport
Difficulty: Easy
Damages Required: $115,000
Time Limit: 3:58
Cash Earned: $2,000
Respect Earned: 200
Reward: 2% Luchadores Gang District Control—$98 per hour
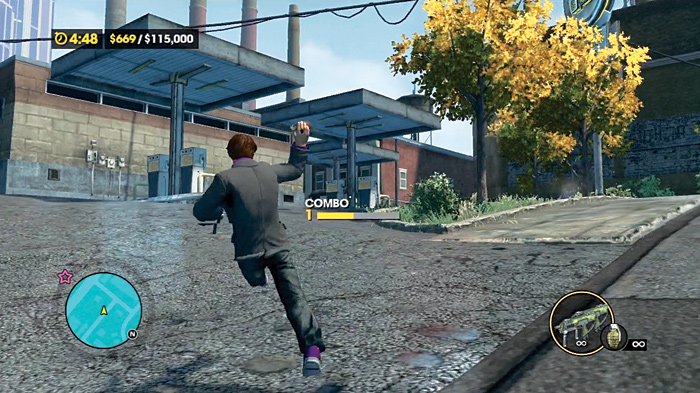
Sadly, you are not equipped with the rocket launcher for the Easy activity in Luchadores’ territory, but you have fragmentation grenades in unlimited quantities. All things come in time, and higher difficulties.
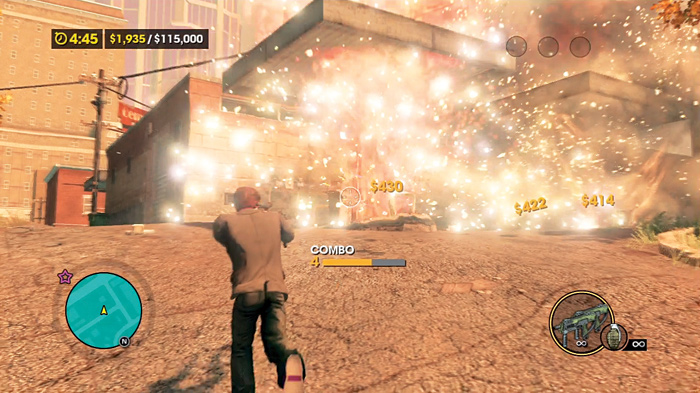
Head west up the hill and destroy the gas pumps at the station to your left. Proceed down the street to the south.
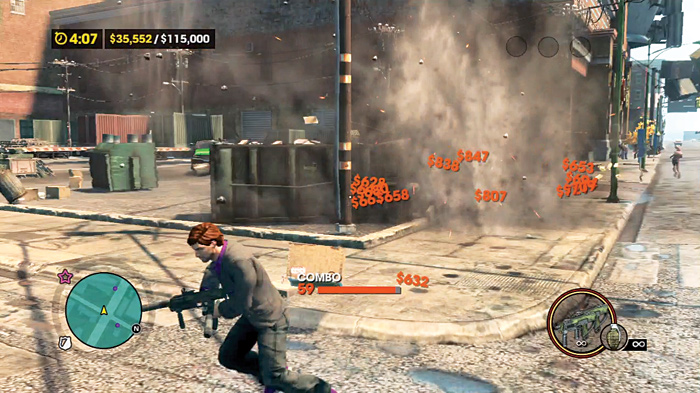
If you haven’t cleared out the Gang Operation nearby, this is an excellent chance to take it down just across the intersection from the gas station.
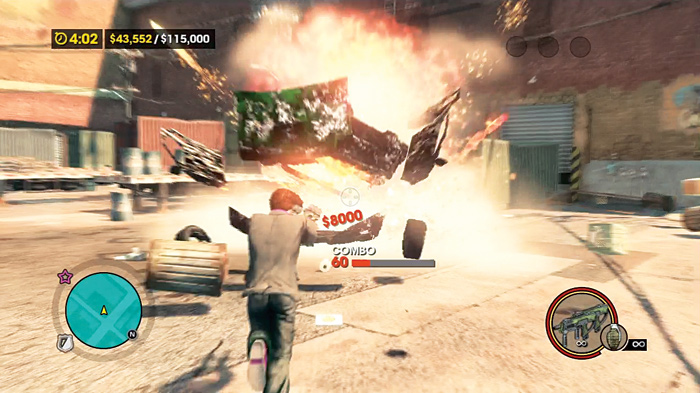
There are many destructible objects on the corner of this intersection, so be sure to frag them as well.
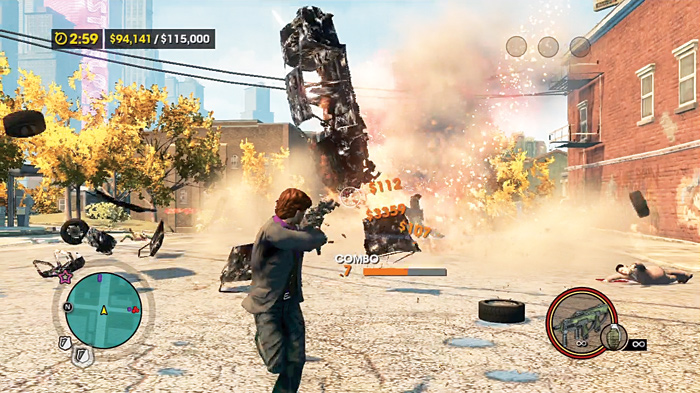
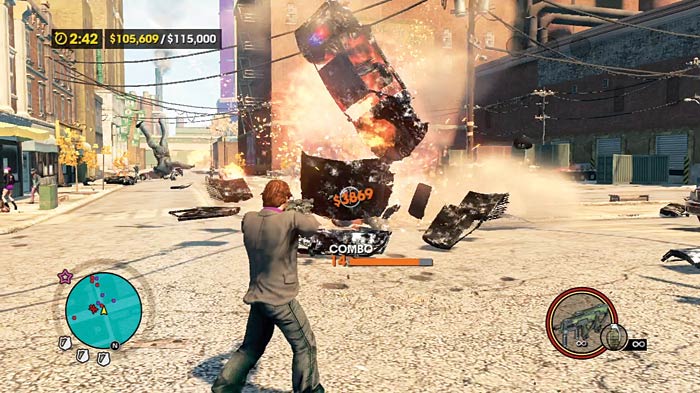
Just keep tossing grenades and shooting anything that moves. If you’ve upgraded your explosives, you can easily deal out $115,000 in damages without straying very far from this area.
Mayhem 5 (#25)
Location: Yearwood
Difficulty: Medium
Damages Required: $200,000
Time Limit: 5:00
Cash Earned: $4,000
Respect Earned: 400
Rewards: 3% Luchadores Gang District Control—$95 per hour
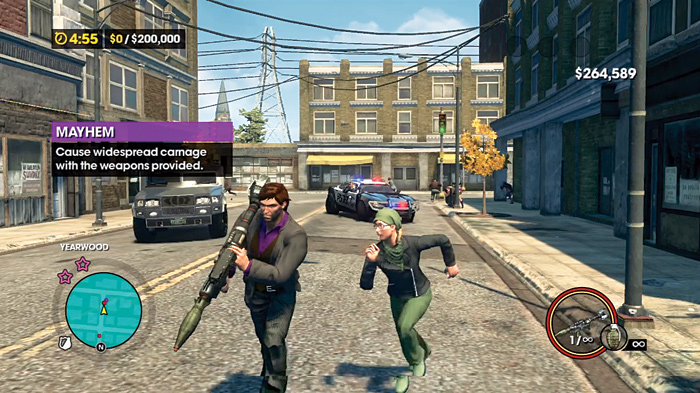
Rocket launcher is back, baby. Good thing, too, because your starting location doesn’t have a lot of incidental objects to wreck.
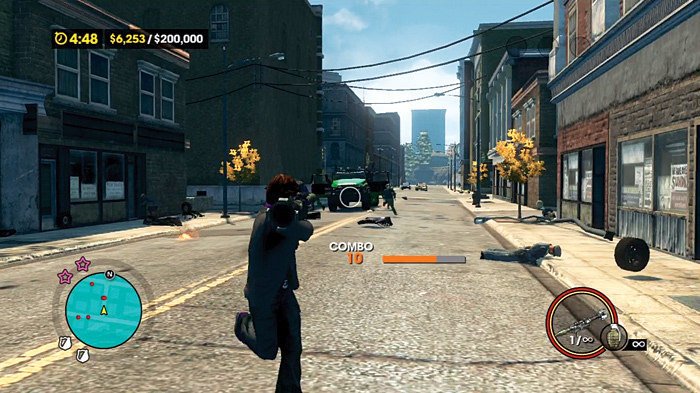
Find a Luchadore vehicle right away and kill it.
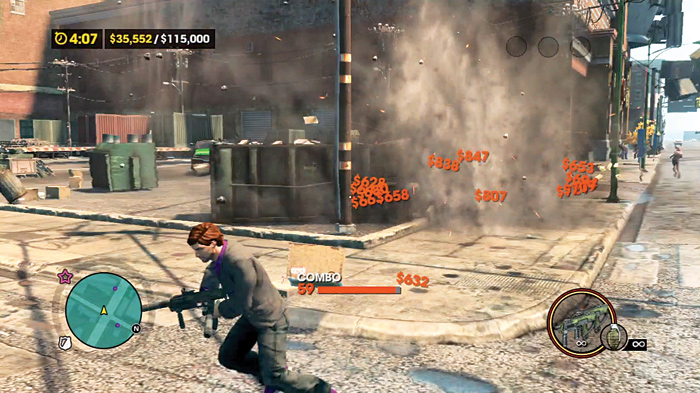
Kill a lot of them. The larger Luchadore trucks carry a lot of gang foot soldiers, so destroying a full one is always a good thing.
As always, the alleys hide clusters of things to destroy, so toss a grenade or rocket into them.
It’s actually best to focus on drawing out the Luchadores and the cops while you keep moving because their vehicles are worth so much and they bring so many soldiers that you can keep the combo meter filled through their noble sacrifice.
Mayhem 6 (#26)
Location: Arapice Island
Difficulty: Hard
Damages Required: $250,000
Time Limit: 5:00
Cash Earned: $6,000
Respect Earned: 600
Rewards: 6% Luchadores Gang District Control—$250 per hour
This is actually potentially tricky to accomplish. If you take up this activity early in the story line, it plays out like the other Mayhem activities.
However, there is a complication. The island you’re on does not seem to have as much traffic as in previous missions. Fortunately, the factories you’re near have ample fencing and other destroyable items for you to blast to pieces. You also start near some houses with trash cans lined up in front of them and more fencing to wreck.
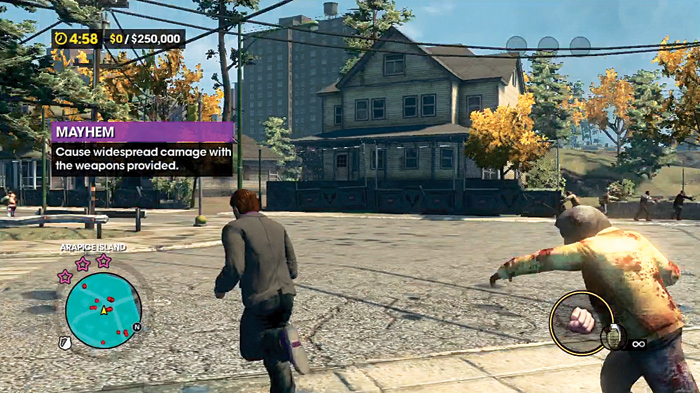
Normally, once you start killing Luchadores or cops, enough vehicles head your direction that, as long as you keep moving, you will have enough destructive opportunities. More will keep appearing, and because this is rated Hard, the resistance will be significant.
However, if you’ve handled a little problem regarding a bioweapon shipment crashing onto the island for Mayor Reynolds . . .
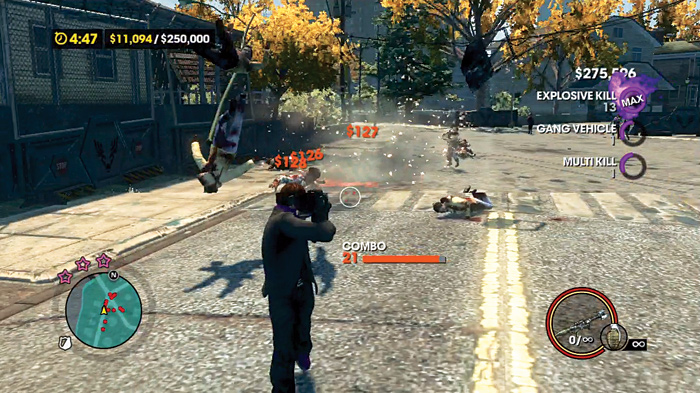
. . . you’ll have zombies to deal with, and even fewer vehicles to shoot. Your mantra here should be to keep running at all costs. Luchadores will brave the zombie infested streets to get at you, but the zombie hordes make no distinction between you and them, and they will not last long under the crushing waves of undead.
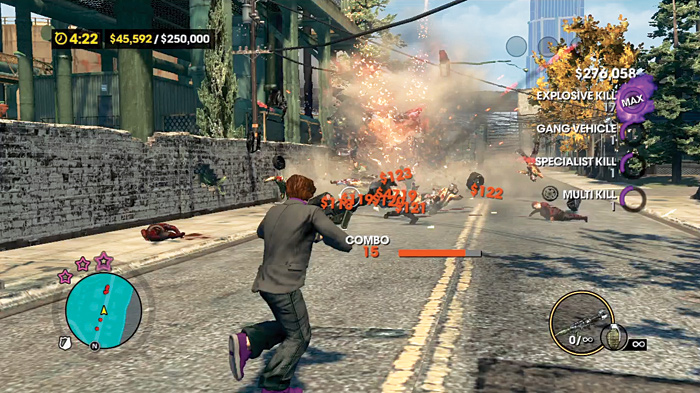
Similarly, your rockets should share the love with both sides equally. But it cannot be stressed enough: Keep moving.
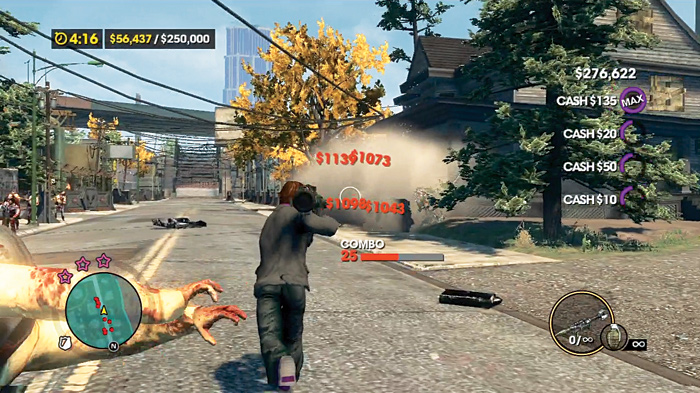
Because there are fewer vehicles to destroy during the zombie outbreak, you must rely on the nearby factories and the failed containment barricades strewn throughout the area. It is possible to rack up a significant combo while fleeing the undead.
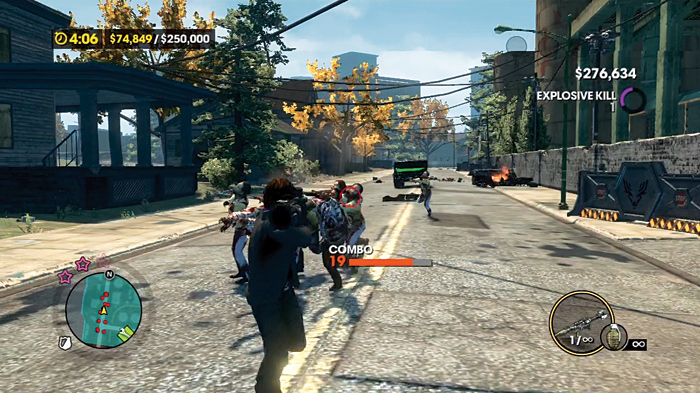
You’ll undoubtedly have a large number of zombies chasing after you as you keep moving.
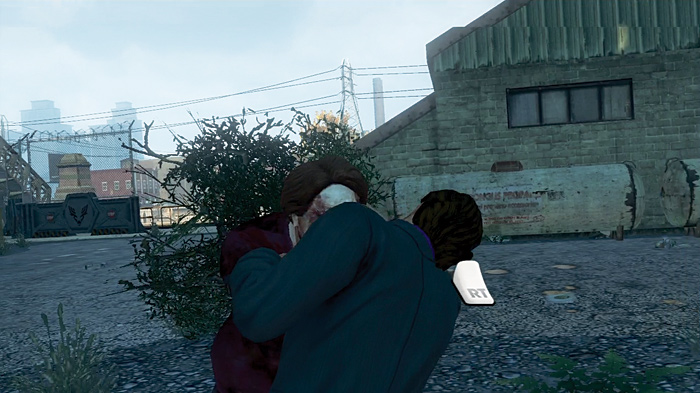
Every once in a while, turn around and pop rockets into the horde, but keep moving.
As long as you circle the industrial buildings, destroying everything you can while picking off the Luchadores as they come, you can still make the money you need within the time limit. You just might be cutting it close.