
Saints Row: The Third Guide Walkthrough Activities
Insurance Fraud
The six Insurance Fraud activities are a great and fun way to take advantage of the twisted legal realities of Steelport, and the physics of the game. Use the controls to ragdoll your character into any and all oncoming vehicles, and while in midair, use the analog sticks to guide yourself to crash into more oncoming vehicles to add to the painful combo. It is important to ragdoll yourself wisely because it takes time to recover regardless of whether or not you’ve been hit, and you’re on the clock.
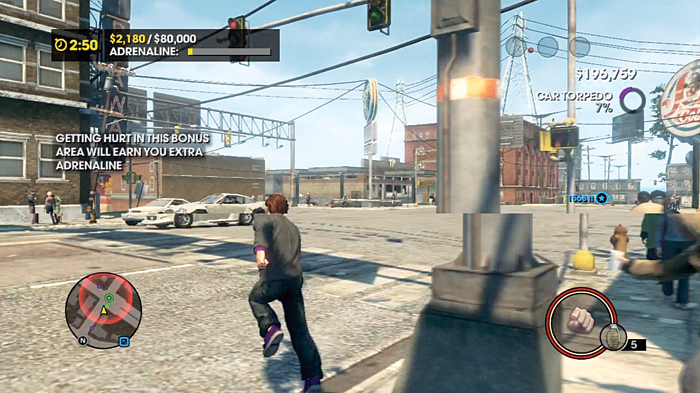
Every Fraud activity has specially marked bonus zones, typically in places where traffic at an intersection is heaviest. Within a bonus zone, your adrenaline meter fills much faster with each hit.
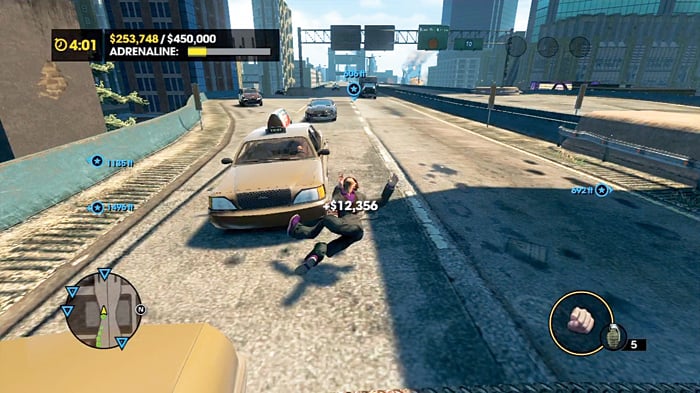
At full adrenaline, you can steer yourself in midair to a much greater degree, and chain some seriously nasty hits. Keep in mind that the bonus zones are not permanent; They fade after a certain amount of money has been made inside them.
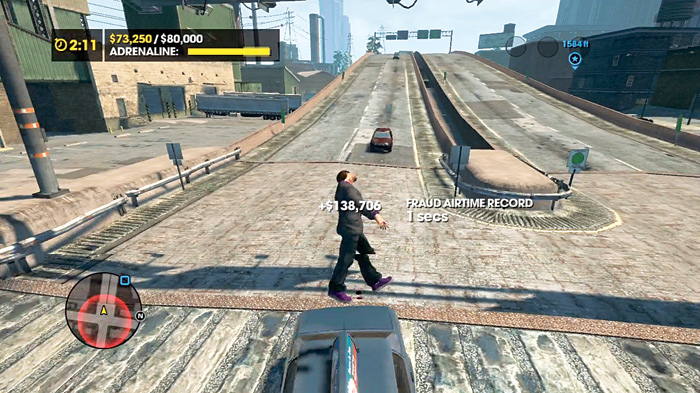
While in the easy Insurance Fraud activities you might be able make the limit in the first zone you visit, later activities will require significantly more money to complete. You’ll find that traveling between bonus zones is stressful and slows down your income of cash, so you might be tempted to sit in a depleted zone and keep racking up the money that way.
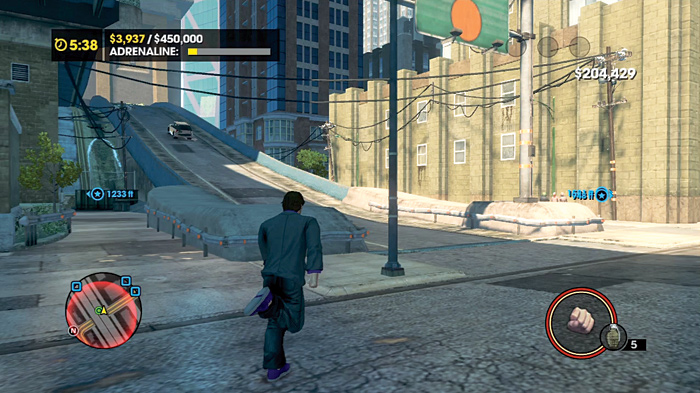
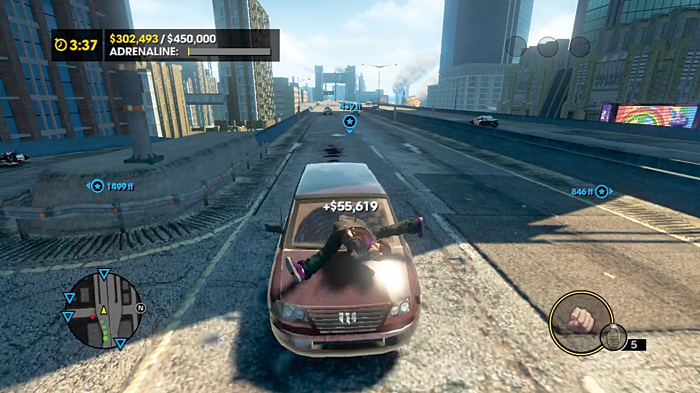
However, there is one trick that can help you on every single Insurance Fraud activity: Find a freeway entrance near where you start. The cars move very fast in those locations, and a good solid hit can actually not only knock you into the sky, but also sometimes drag you for hundreds of feet. It is possible to break $100,000 in a single “accident” in these areas!
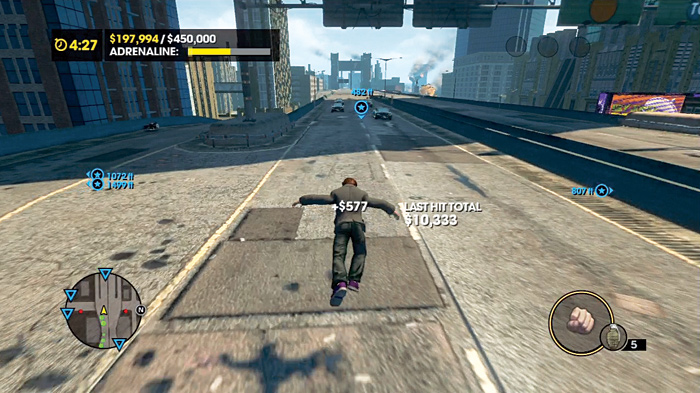
Another trick is to take a running start, leap, then ragdoll in midair. If you’re lucky, you’ll be sent flying a ridiculous distance by the impact and be totally steerable the whole time. Use this to bounce from roof to roof of multiple cars. Each car that hits you in succession tacks on a significant cash bonus, and when combined with a bonus zone this cash can go a long way.
Insurance Fraud 1 (#15)
Location: Sunset Park
Difficulty: Easy
Settlement Required: $80,000
Time Limit: 3:30
Bonus Zones: 2
Cash Earned: $2,000
Respect Earned: 200
Rewards: 2% Morningstar Gang District Control—$74 per hour
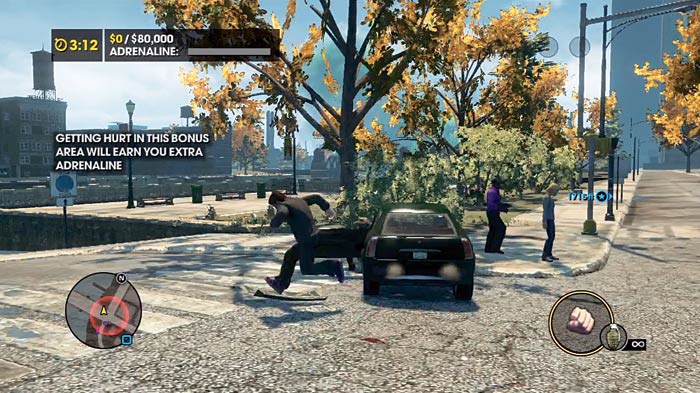
It can be surprisingly easy to make the required $80,000 in this mission. Start by going to the closest bonus zone, taking a car there to give you the maximum amount of time in which to abuse yourself. Once there, park your car on the sidewalk so it does not impede street traffic, as you want the cars to pass through the intersection at full speed.
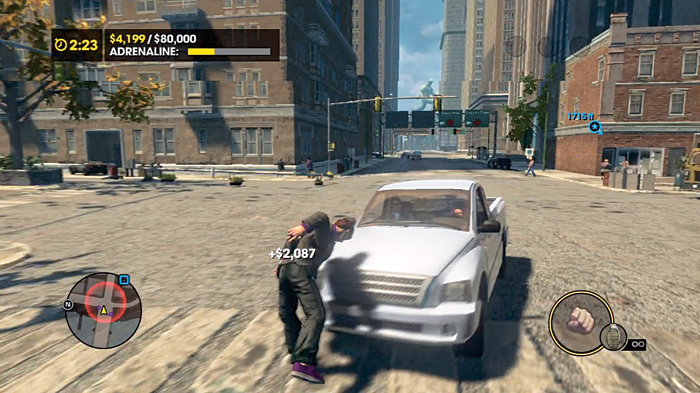
Now, wait for cars to come at you and ragdoll into them. If you’re lucky, you can guide yourself in the air to another waiting vehicle, which further compounds the money value of the hit.
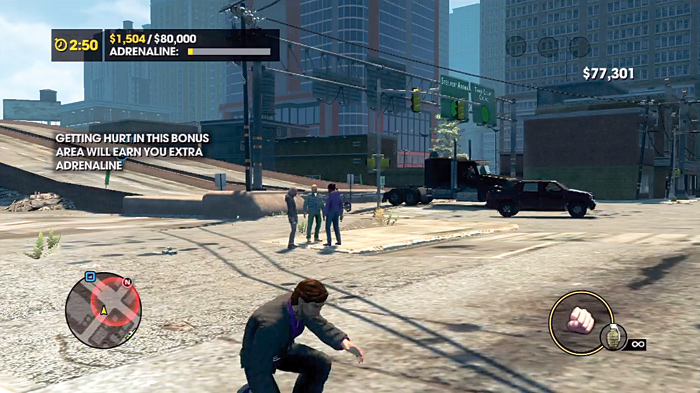
The other bonus zone is a bit farther, however. It is at the mouth of one of the highway bridges leading to the western island. This is where the real money is!
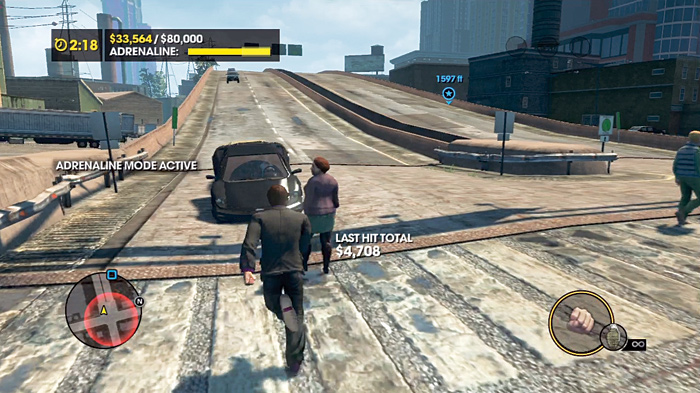
Now, charge on foot into the traffic coming off the freeway. The vehicles are moving at great speed, so the potential for something hilarious and profitable is high here.
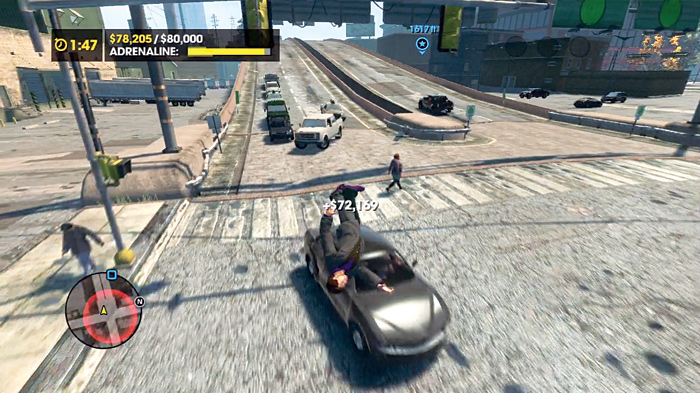
That’s all there is to it! It isn’t the fastest way to make money, but it probably is the most amusing. Oh, the distances you will travel, assisted or otherwise, for your homies and the Saints!
Insurance Fraud 2 (#16)
Location: Henry Steel Mills
Difficulty: Medium
Settlement Required: $200,000
Time Limit: 4:59
Bonus Zones: 3
Cash Earned: $4,000
Respect Earned: 400
Rewards: 2% Morningstar Gang District Control—$51 per hour
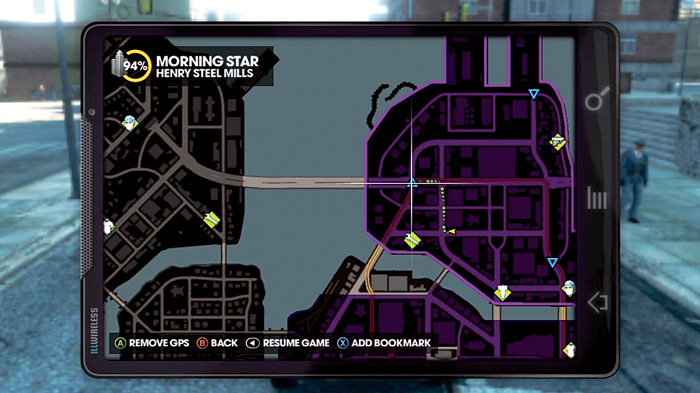
If you check out your cell phone map, you’ll notice that the closest of the three bonus zones is right next to the entrance of a highway. Convenient! Drive on over there as quickly as you can. You want a lot of time for leeway in case you get some low-scoring crashes.
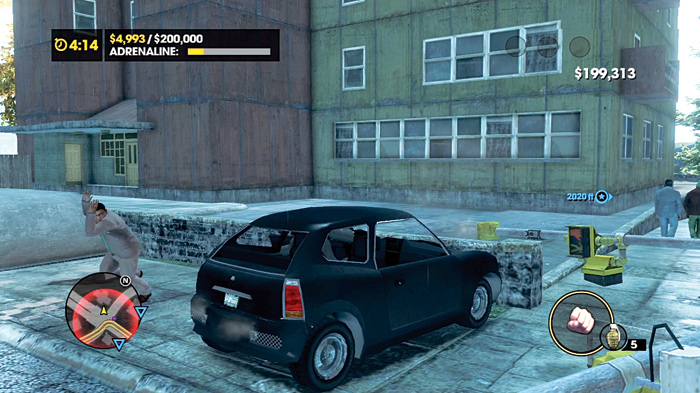
Make sure that when you do get to the intersection before the highway that you ditch your car well off the road, so traffic isn’t impeded.
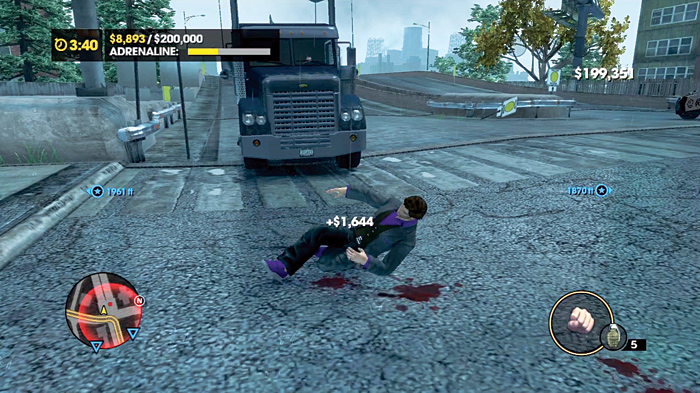
You have two options: You can stick around in the bonus zone and take your lumps there. Or you can run down the highway, aiming at oncoming cars.
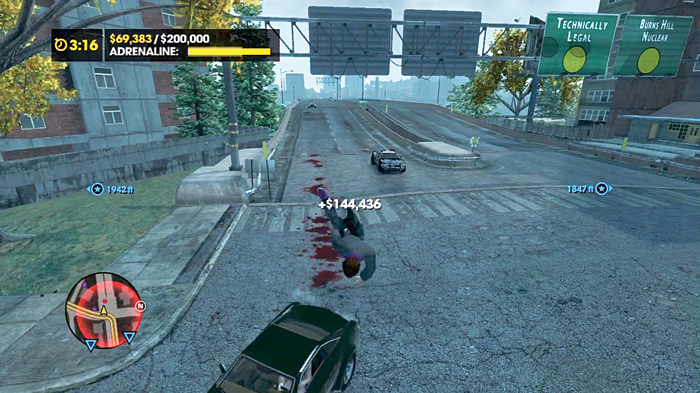
Either way, the cars move much faster around the highway, so you can expect some really juicy hits!
Insurance Fraud 3 (#17)
Location: Loren Square
Difficulty: Hard
Settlement Required: $450,000
Time Limit: 4:59
Bonus Zones: 4
Cash Earned: $6,000
Respect Earned: 600
Rewards: 4% Morningstar Gang District Control—$77 per hour
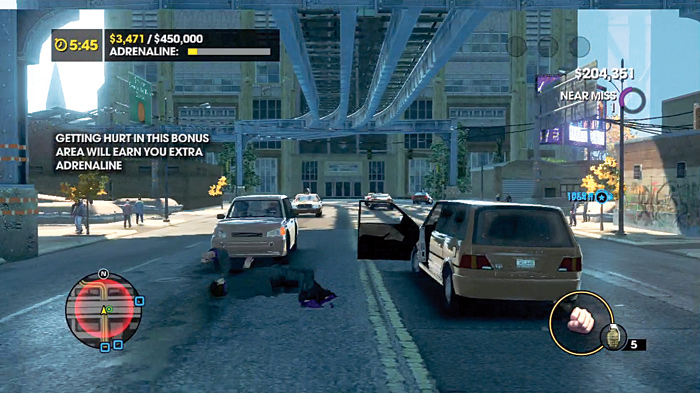
There closest bonus zone is directly underneath the freeway, which is literally around the corner from where you start. Confirm it on the map and then get over there.
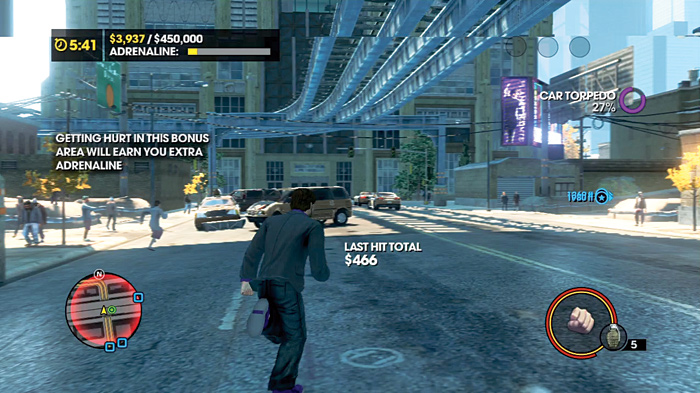
This first location is very well suited for you to abuse yourself. Cars getting on and off the freeway are often just flying, and north of the overpass is a bridge that serves as a major crossing point between parts of the city. Use the zone on the ground level.
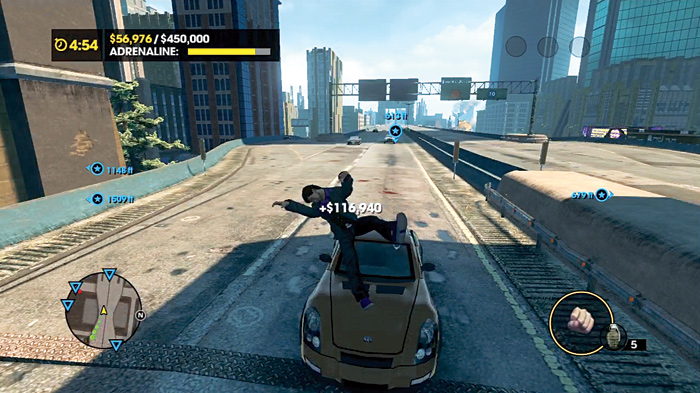
But once it’s depleted, you can take a car and get up to the freeway to finish the job with style.
Insurance Fraud 4 (#18)
Location: Bridgeport
Difficulty: Easy
Settlement Required: $70,000
Time Limit: 3:44
Bonus Zones: 2
Cash Earned: $2,000
Respect Earned: 200
Rewards: 2% Luchadores Gang District Control—$119 per hour
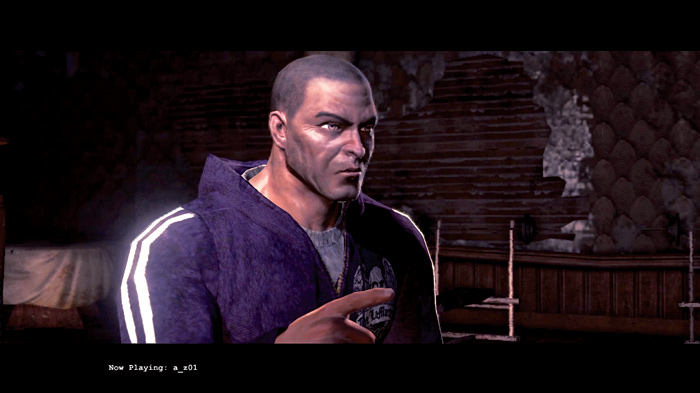
Angel’s training regimen requires a lot of physical sacrifice to prepare you to take on Killbane’s Luchadores. He claims you need to harden up if you are to stand a chance. Maybe he’s missed all the other times you’ve played chicken with oncoming vehicles?
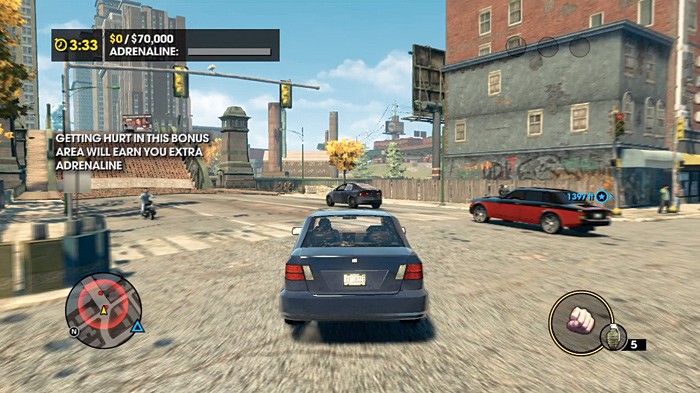
The first bonus zone is less than 300 feet away, right before one of the major bridge crossings into central Steelport. It’s a busy intersection, and $70,000 isn’t very much money compared to other settlement objectives in similar Insurance Fraud activities.
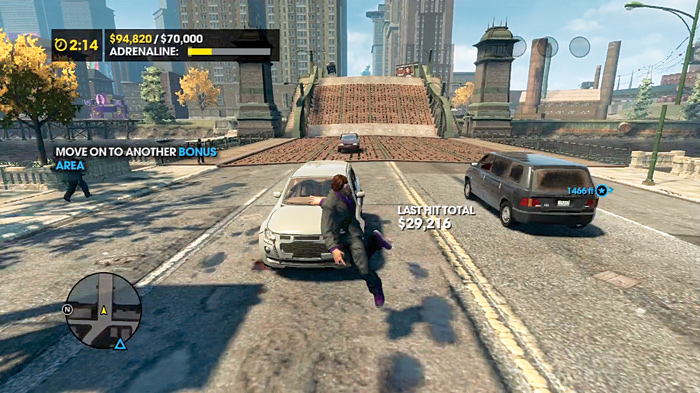
Just throw yourself into the work. You can do anything when your face is bouncing off a windshield.
Insurance Fraud 5 (#19)
Location: New Baranec
Difficulty: Medium
Settlement Required: $200,000
Time Limit: 4:59
Bonus Zones: 2
Cash Earned: $4,000
Respect Earned: 400
Rewards: 3% Luchadores Gang District Control—$79 per hour
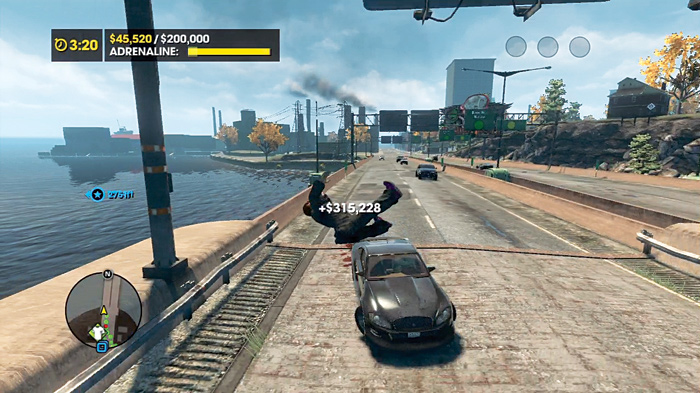
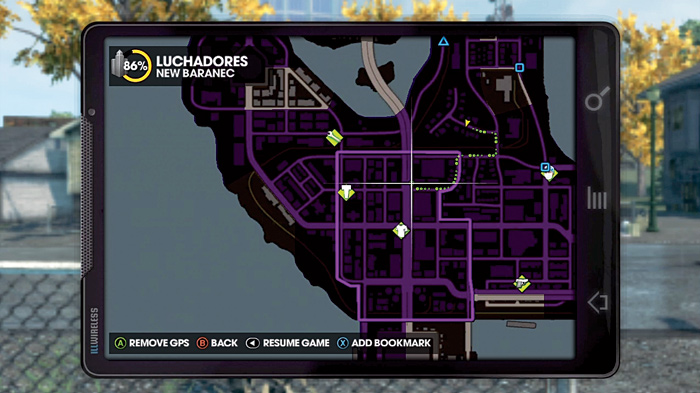
You’ve got five minutes to make $200,000 through vehicular self-mutilation, and the first thing you’ll probably notice is that the bonus zones are quite far away.
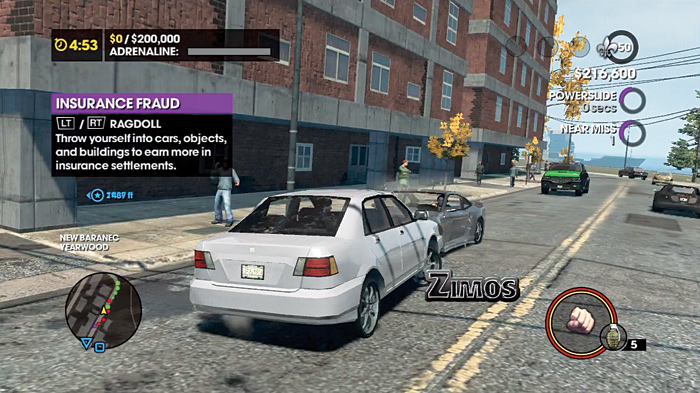
One of the zones is near a bridge to the northwestern island, and it is pretty busy most of the time. With adrenaline, you can bounce off a lot of cars for a long time. However, if you’re going to drive that far . . .
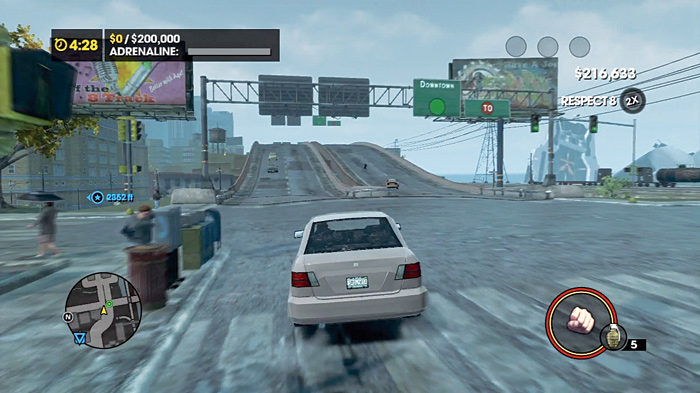
. . . keep in mind that in the southeastern part of New Baranec is one of the major highways that spans the city.
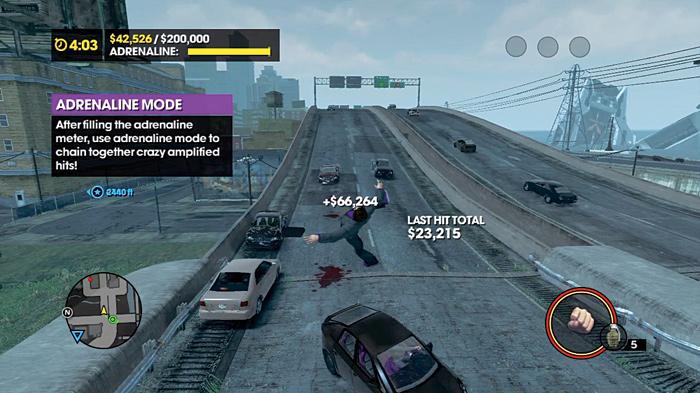
It’s also much closer, and is reliably busy. Remember, the bonus zones increase the speed at which you gain adrenaline, but you gain adrenaline pretty fast just by taking repeated hits from the rapidly oncoming cars. Happy hurting!
Insurance Fraud 6 (#20)
Location: The Grove
Difficulty: Hard
Settlement Required: $450,000
Time Limit: 6:59
Bonus Zones: 3
Cash Earned: $6,000
Respect Earned: 600
Rewards: 5% Luchadores Gang District Control—$207 per hour
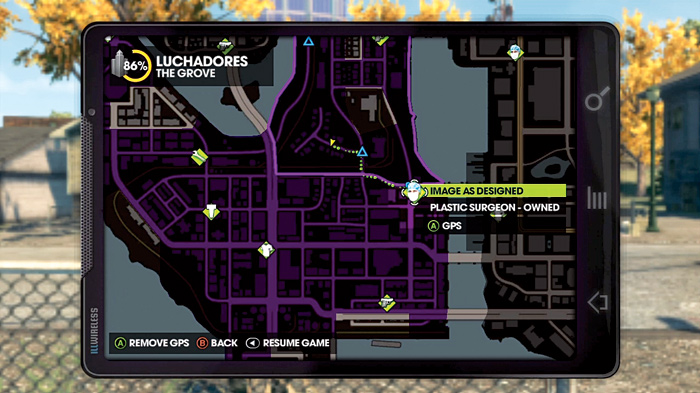
Check your map as soon as the activity begins. All three bonus zones are fairly close. However, the most lucrative one is next to an Image As Designed shop.
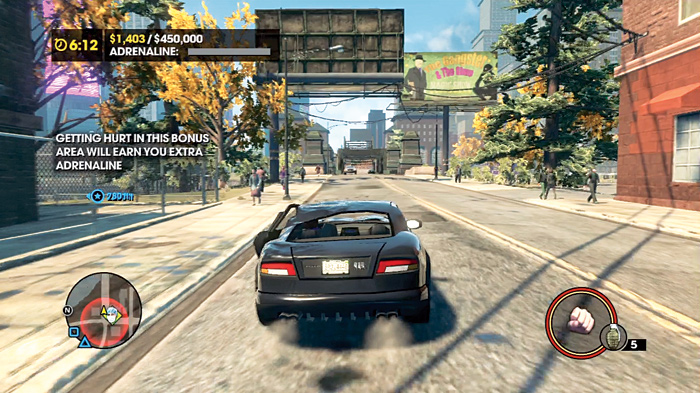
Traffic here is quite thick; it’s possible that a bottleneck you start here can cause slowdowns and total stops for very long chains of vehicles.
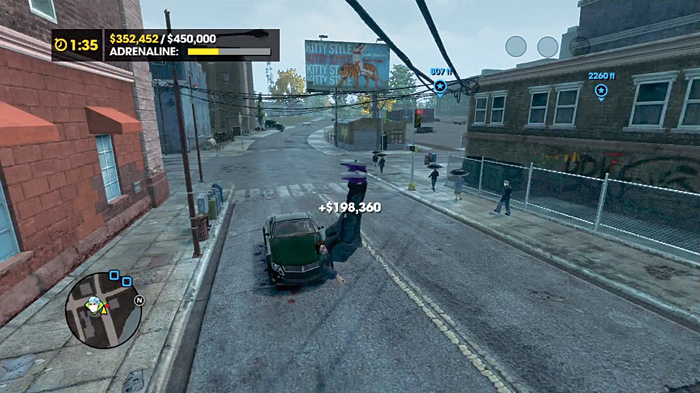
Because this location is an intersection next to a very busy bridge, there’s no shortage of cars to get pounded by.
You can even engineer a traffic jam, and with full adrenaline, just bounce between cars until the meter runs dry!
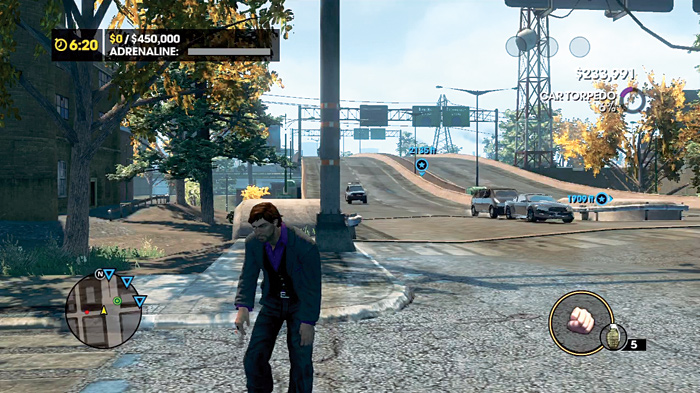
There is, of course, a freeway close to where you start and that is also a very good place to get hit with motor vehicles.
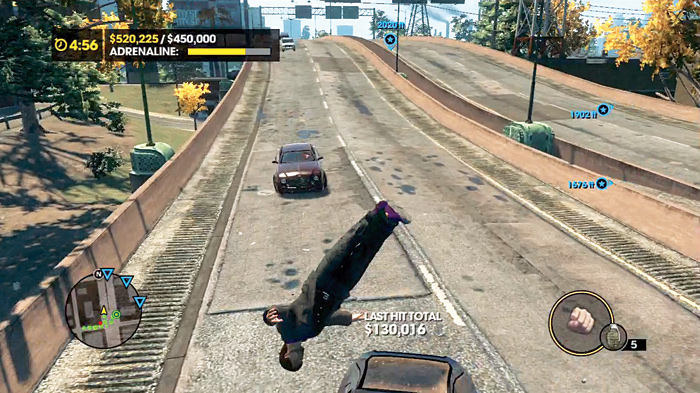
Graceful. Like a swan.