
Prima Games eGuides
primagames.com Browse Redeem a code Help
Saints Row: The Third eGuide
Sign in My Guides

Sign in or create an account

We'll email you a link. No password needed, and if you don't have an account yet, the link makes one.

By creating an account or signing in, you agree to our Terms of Service and Privacy Policy.

Have a password?

Had an account on the old eGuides site, or a code from a printed guide? Help and troubleshooting

Sign in with a password

By signing in, you agree to our Terms of Service and Privacy Policy.

Check your email

A sign-in link is on its way. It works once and expires in 15 minutes. Open it and you're in, with an account if you didn't already have one.

Contents

  • Essentials
    • Game System
      • Introduction
      • Saints & Sinners
      • Special Enemies
      • Homies and Followers
      • Player Actions
      • Vehicles
      • Combat and Weapons
      • Customizing
      • Notoriety
      • Shortcuts
      • Radio
      • Cell Phone Menu
      • Cribs and Stronghold
      • Cash, Respect and Rank
      • City Takeover
      • Diversions
      • Modes of Play
      • Community Site Features
      • Developer Tips
    • Saints
      • The Player
      • Johnny Gat
      • Pierce Washington
      • Shaundi
      • Oleg Kirrlov
      • Kinzie Kensington
      • Angel De Lamuerte
      • Joshua Birk
    • Sinners
      • Phillipe Loren
      • The Dewynter Sisters
      • Eddie "Killbane" Pryor
      • Matt Miller
      • KIA
      • Commander Cyrus Temple
    • Weapons
      • Weapons Overview
      • Melee
      • Pistols
      • Submachine Guns
      • Shotguns
      • Rifles
      • Explosives
      • Special
      • Grenades
      • Temporary
    • Vehicles
      • Vehicles Introduction
      • Bikes
      • Boats
      • Cars
      • Compact cars
      • Sports Cars
      • Muscle Cars
      • Luxuary Cars
      • Helicopters
      • Planes
      • VTOLs
      • SUVs
      • Tanks
      • Trucks and Vans
    • City Takeover
      • Properties and Shops
      • Gang Operations
    • Saints Book
      • Assassinations
      • Vehicle Theft
      • Challenges
    • Diversions
      • Diversions Introduction
      • Survival
      • Jumps
      • Barnstorming
    • Collectibles
      • Sex Dolls
      • Money Pallets
      • Drug Packages
      • Photo Ops
    • Extras and Bonuses
      • Achievements
      • Cheats
      • Unlockables
  • Walkthrough
    • Campaign
      • Mission 1 : When Good Heists Go Bad
      • Campaign Introduction
        • Overview
      • Mission 2: I'm Free-Freefalling
      • Mission 3: We're Going to Need Guns
      • Mission 4: Steelport Here We Come
      • Mission 5: Party Time
      • Mission 6: Guardian Angel (Pierce)
      • Activity 7: Trafficking (Pierce)
      • Mission 8: City Takeover (Pierce)
      • Activity 9: Tank Mayhem (Pierce)
      • Activity 10: Professor Genki (Pierce)
      • Mission 11: We've Only Just Begun
      • Mission 12: Hit the Powder Room
      • Mission 13: The Belgian Problem
      • Mission 14: Return to Steelport
      • Zimo's Arc (Activities 15-17, Mission 18)
      • Kinzie's Arc (Activities 19-22, Mission 23)
      • Angel's Arc (Missions 24-27)
      • Mission 28: Trojan Whores
      • Mission 29: Pimps up Hos Down
      • Mission 30: Ho Boat
      • Mission 31: Gang Bang
      • Stag Arc 1 (Missions 32-34)
      • Decker Arc (Missions 35-38)
      • Mission 39: My Name is Cyrus Temple
      • Stag Arc 2 (Missions 40-41)
      • Killbane Arc (Missions 42-44)
      • Mission 45: Three Way
      • Mission 46: Stag Film
      • Mission 47: Gangtas in Space
    • Activities
      • Overview
      • Escort
      • Tiger Escort
      • Guardian Angel
      • Helicopter Assault
      • Insurance Fraud
      • Mayhem
      • Professor Genki's Super Ethical Climax
      • Snatch
      • Tank Mayhem
      • Trafficking
      • Trailblazer
  • Multiplayer
    • Multiplayer
      • Co-op
      • Whored Mode
  • DLC
    • The Funtime Pack
      • Funtime Extras!
    • Money Shot Pack
      • Money Shot!

Saints Row: The Third Guide › Walkthrough › Campaign

Activity 7: Trafficking (Pierce)

Cash Earned: $2,000

Respect Earned: 200

Rewards: 5% Morningstar District Control—$49 per hour

Activity Objectives: Complete two deals in 3 minutes

Pimp the Merch

The first of six Trafficking activities has you rolling with your homie Pierce, trying to score some dough off customers deep within Morningstar territory. There are three things to keep in mind when taking on any trafficking activity.
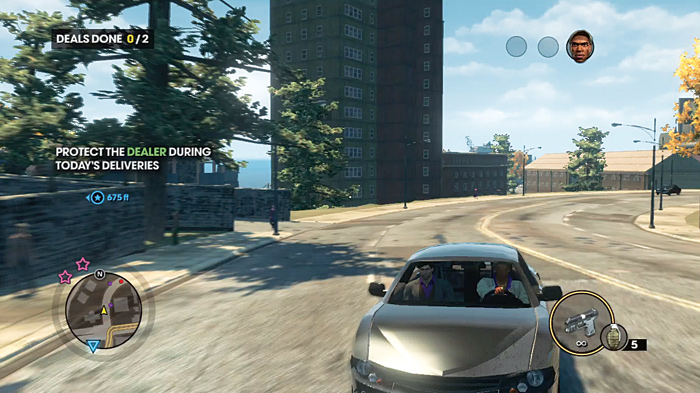
First, you don’t get to drive, you’re only acting as a guard to the seller. This can lead to some problems, such as the skill (or lack thereof) of Pierce’s driving, which can lead to some very tough situations or cost you the activity outright. If you do lose the car, it’s not always a wash, though. You can jack another vehicle if necessary, and your homie will take up the wheel for you.
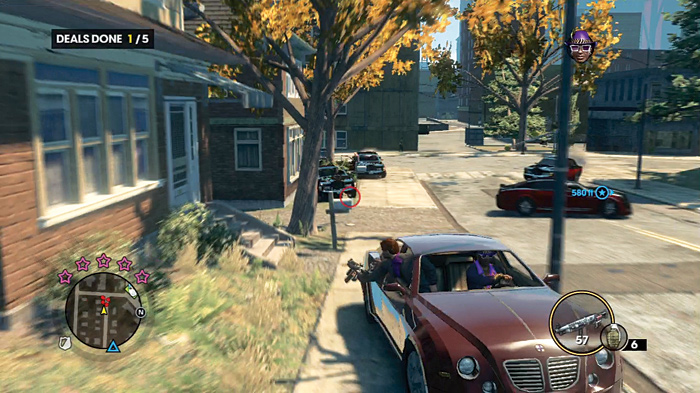
Second, wherever your deals go down the local rival gang will be dogging you every step of the way. Things can get somewhat frantic in later activities. You can make things much harder on yourself by blasting away at cops while fighting off gangs. You don’t need the local cops making things difficult for you.
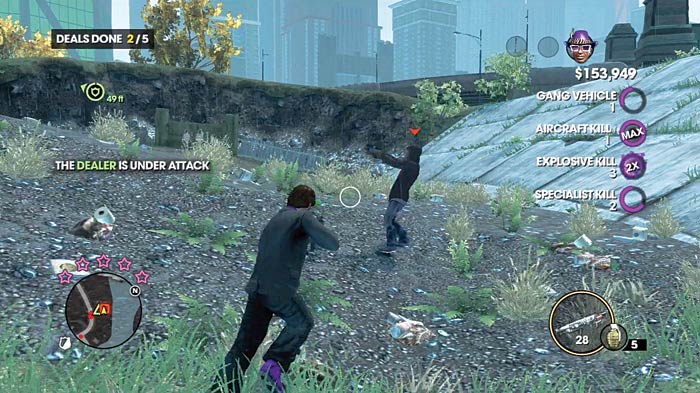
Third, the actual outcome of the deals is not always guaranteed to be a simple sale. FBI informants can sic the cops on you.
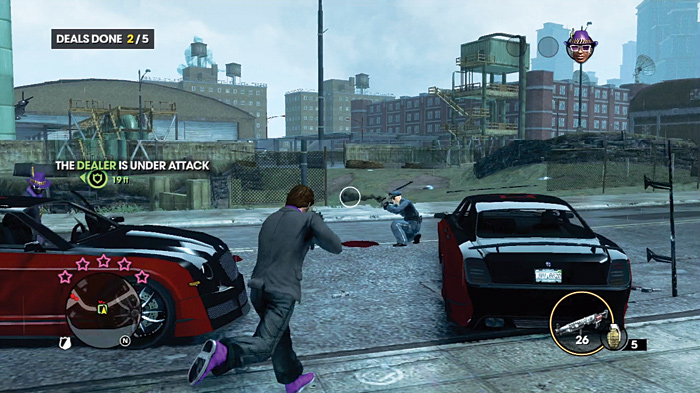
A buyer can refuse to pay, forcing you to chase them down and dispense 3rd Street justice. The local gang of the territory might be waiting in ambush for you, drawing you into a firefight where you have to eliminate the designated targets before your homie gets to the car and gets you both out of Dodge.

First Stop
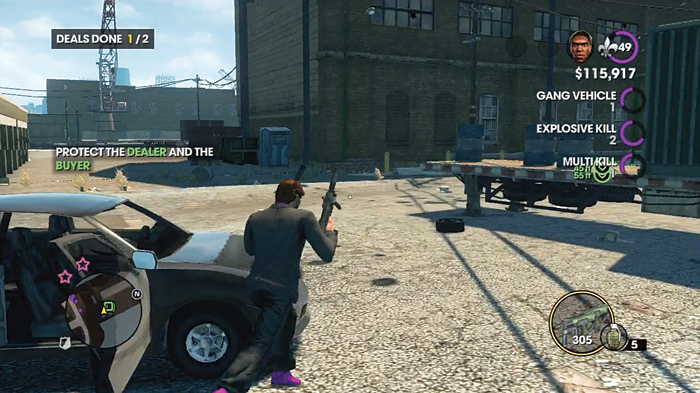
You start this activity with level two notoriety with the Morningstar, so expect to come under fire right away. Fortunately, this is still an introductory level activity, so the resistance you’ll face is probably nothing greater than what you’ve seen up to this point. As Pierce drives, keep the camera spinning around so you can spot incoming Morningstar vehicles. The chases here are relatively low-speed, so take advantage of that and try to line up headshots on the drivers of incoming gang cars.
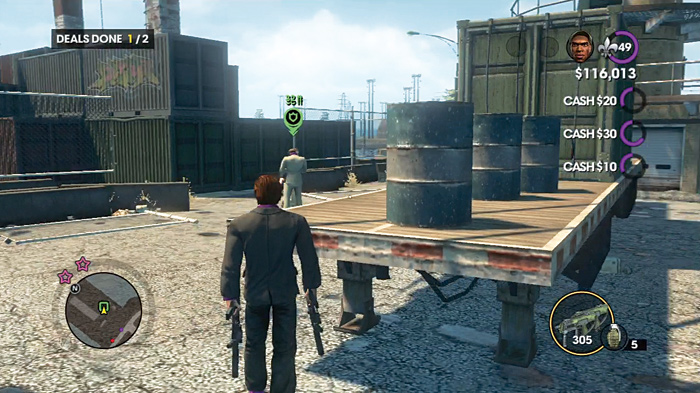
One stop is at a small warehouse behind a truck trailer. Pierce stops the car on the side of the trailer closest to the street, and runs around to make the deal. This leaves you wide open for gang attackers who will definitely try to interrupt the deal or join in on any ambush. Get out of the vehicle and make your stand away from it, and use their cars for cover if you need to. If the buyer ends up being a runner, kill them as quickly as you can. The longer you take, the more Morningstar will show up to make life difficult.
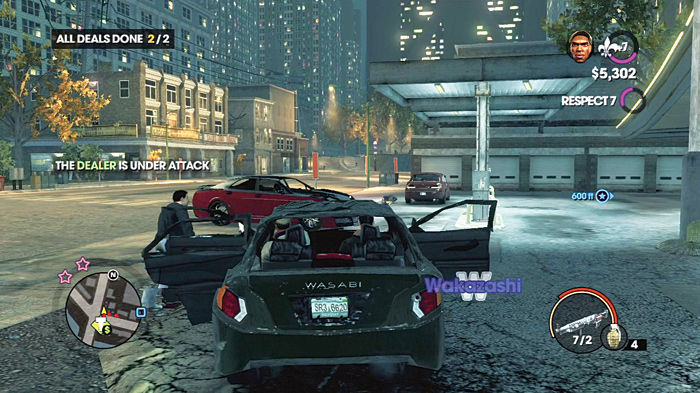
With the first deal finished, Pierce will climb back in the car.
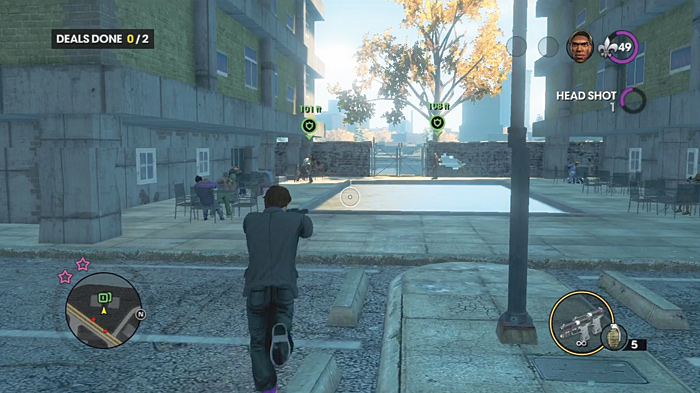
Continue providing him cover while he drives to the next location.
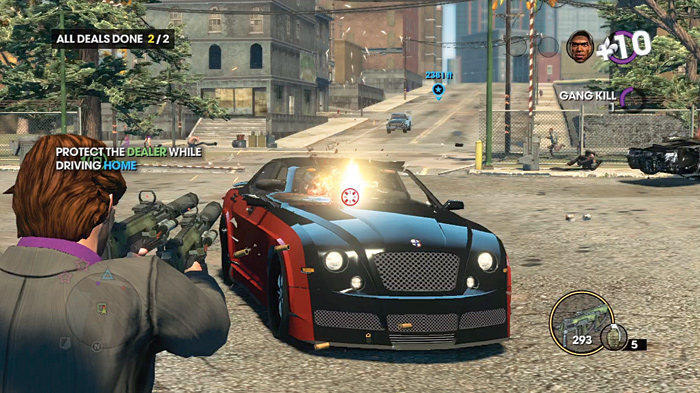
It could be a gas station, or the parking lot of an apartment complex, next to an outdoor pool. You may have attracted a number of gang vehicles at this point, so deal with those as you see fit.
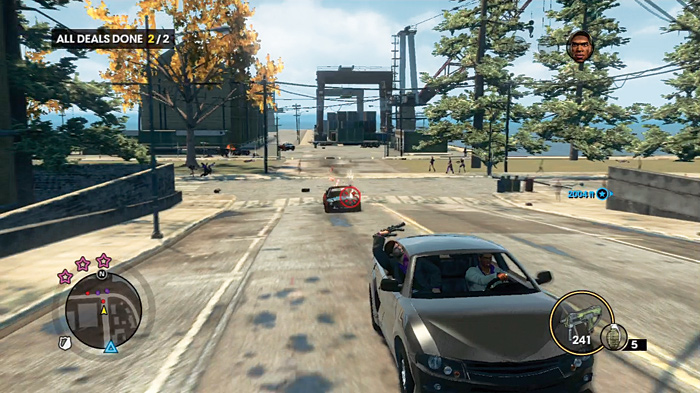
Once you get the message that the deal is completed, you have to protect Pierce as he heads back home. The Morningstar, and possibly the cops, persist in their attempts to kill you, so keep the lead flying at them. The moment Pierce drives you to the goal, the activity ends.

Keep reading with a free account

The first 3 sections of Saints Row: The Third are open to everyone. An account opens the rest of it, and every other guide in the archive. It's free, and there's nothing to buy.

Bought guides on the old Prima Games site? Your account and every guide you own moved here, so there's nothing to buy again. Sign in.

Create a free account Or browse our free guides

PreviousMission 6: Guardian Angel (Pierce) NextMission 8: City Takeover (Pierce)