
Saints Row: The Third Guide Walkthrough Campaign
Mission 45: Three Way
Three Way
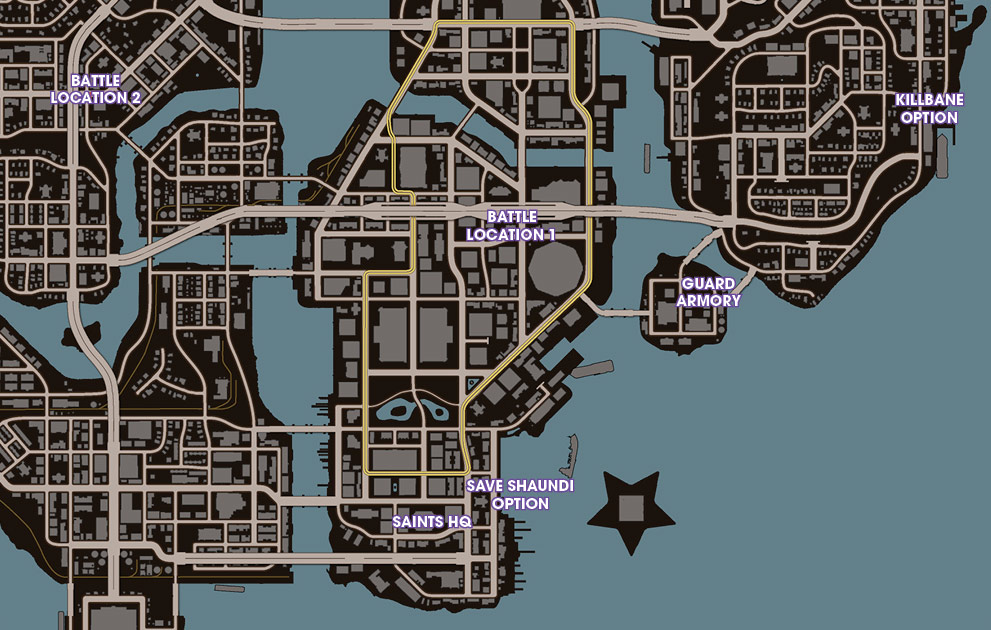
To view our interactive map for Saints Row: The Third, click here (Best viewed in Firefox or Google Chrome).
Riot Control Round 1
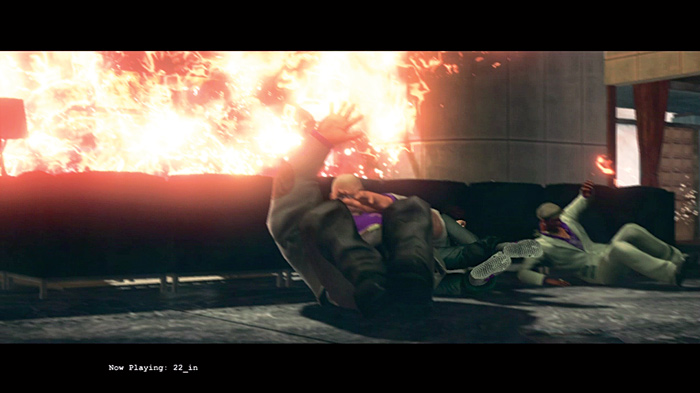
This is essentially the finale because it is the largest combative mission and the most difficult. Stop by Friendly Fire to prepare for the mother of all battles. The mission literally starts out with a bang as an explosion rocks your crib. Steelport is in utter bedlam as STAG and the Syndicate make an all out effort to own the streets. The Saints have to join the three-way battle to end some of these conflicts before it destroy’s the city.
Drive to the first battle location to the north, but don’t expect the leisurely drives you’ve had in the past. Full gang and law notoriety are in effect, which means STAG and the Luchadores will swerve into you as well as set up roadblocks. Avoid them using the sidewalks if possible because there are more pressing matters at hand, and it’s important to keep your vehicle in good shape.
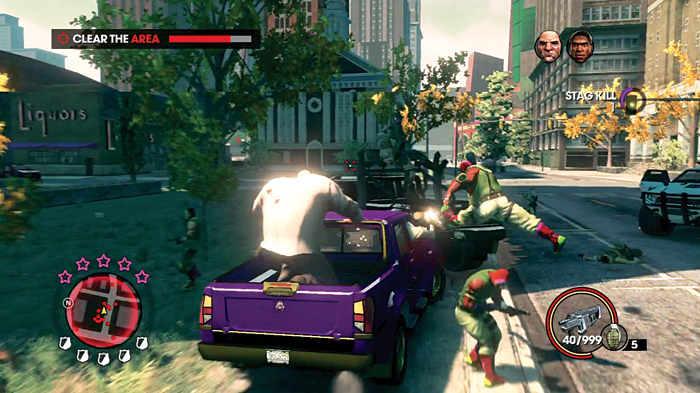
The first battle location starts out relatively slow. When you arrive, a red ring appears on the minimap to indicate the area you must clear. Run over as many pedestrians as possible with a few passes of your purple truck. Ram into any enemy or vehicle in sight. This truck isn’t meant to last for the entire mission or even this first encounter, and it’s good practice to get as much out of each ride as you can.
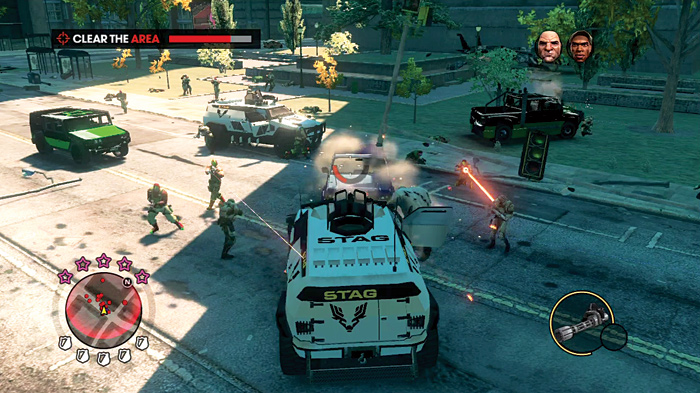
When you ditch the Saints truck, Oleg jumps out of the back and goes to town on STAG and Luchadores. He is a one-man army, but he is not invincible. Ignore him for most of the mission and let him do his destructive thing, unless he goes down for the count. It’s a good thing he is on your side because he is strong enough to over turn trucks and smash enemies like bugs.
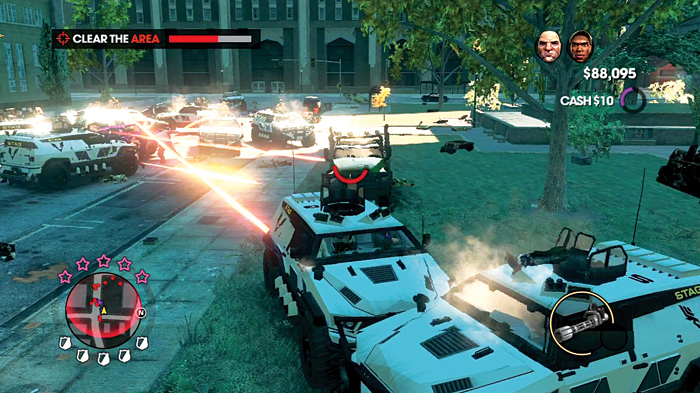
After a short killing spree, STAG sends in N-Forcers. They keep coming several at a time and they are probably the biggest threat on the battlefield if you let too many of them go uncontested. It takes a lot of damage to blow up the trucks, and a quicker approach is to just wipe out the gunner on the top turret.
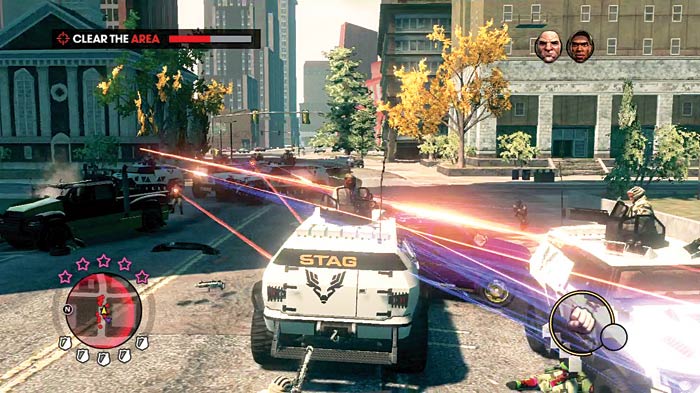
Needless to say, the battle gets very chaotic and extremely dangerous. It is possible to deal with the enemy from the streets, but it is a hell of a lot safer inside of a vehicle. When the N-Forcers arrive in droves, run up to one and take it. Its unlimited turret provides plenty of firepower while its reinforced armor keeps you alive for a lot longer than if you were roaming the streets. However, don’t get cocky in this thing. As tough as it may be, you are significantly outnumbered and if you stay out in a crossfire the N-Forcer will be junk in no time.
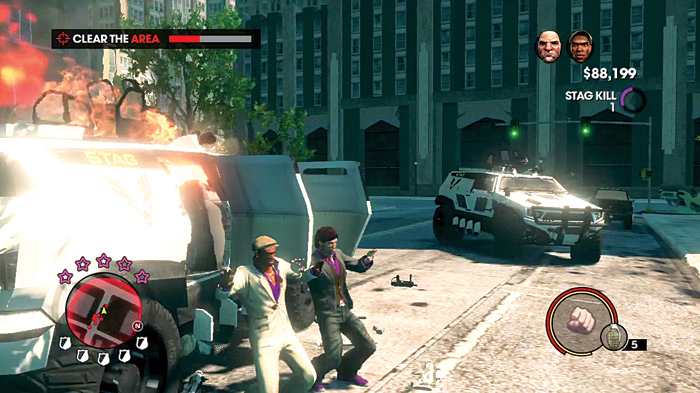
Most of the action takes place in the center of the block, but you can take cover near the buildings to close off one or more directions from attack. Pay as close attention to your vehicle as you would your health if you were on foot. When the N-Forcer starts to smoke, it’s about time to bail and get a new one. The last-minute warning is a annoying buzzer that tells you the truck is about to blow. Don’t try to milk that ride for too long or it will literally blow up in your face. When the warning sound goes off, look for another ride and place the mobile junk heap somewhere you want to cause an explosion.
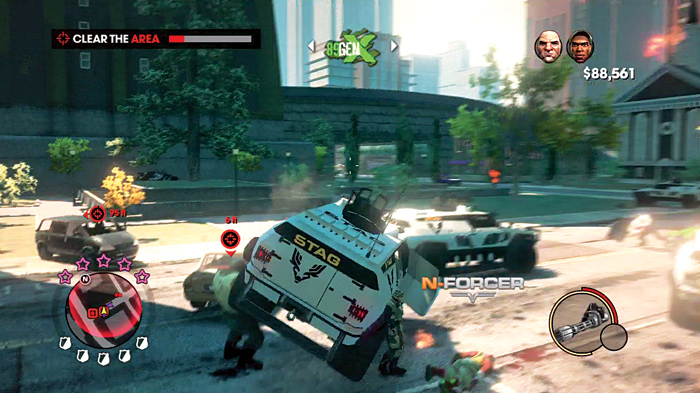
When the red bar at the upper left is almost gone, a pair of Brutes—normal and minigun-toting—show up. Like Oleg, they can flip the vehicles, so keep your distance when attacking. The regular Brute will charge you down and must be dealt with first. The machine gun on the N-Forcer is a great tool, but you must keep moving backward or he will ram you. If you prefer, take him out on foot. Either method uses the same tactics; stay away and deal damage from afar. Look for vehicles to blow up in his path to slow him down. Fortunately, the Minigun Brute is somewhat stationary and will probably be taken out mostly by STAG.
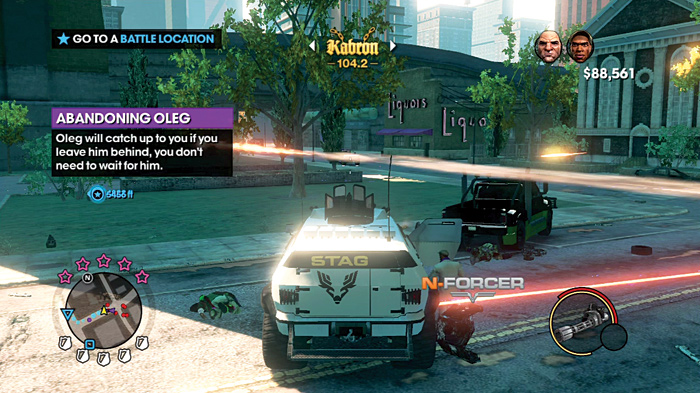
One down, two more to go! There are two options for the next battle location and the challenge is the same, so pick either one. Once again, getting there will be tricky due to roadblocks and everyone gunning for your head. Hop into a N-Forcer and make sure Pierce is with you. Don’t worry about Oleg; the big man will catch up.
Riot Control Round 2
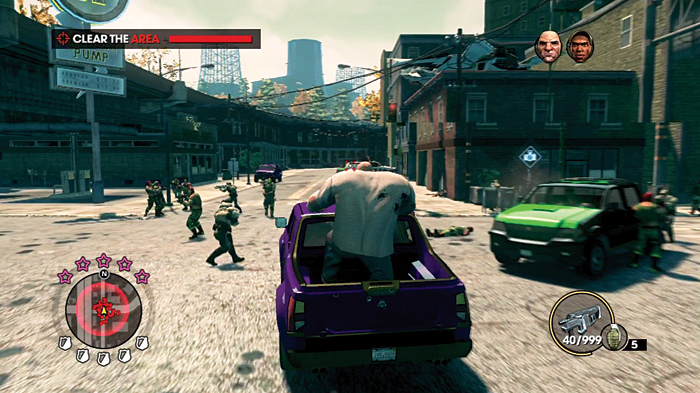
The second battle location is swarming with STAG and Luchadores fighting on foot. It’s a great opportunity to rack up your roadkill count with a few passes through the street.
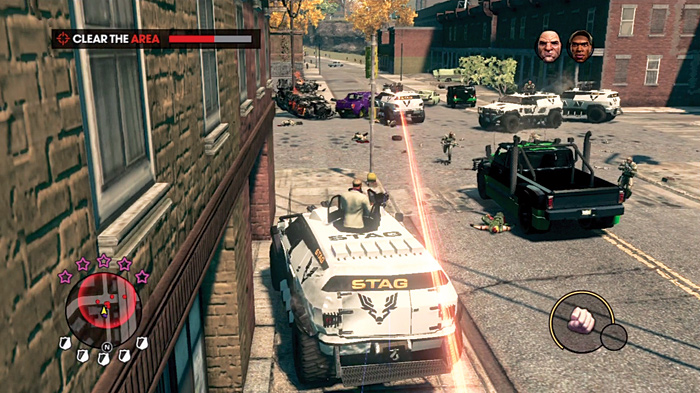
Mow down as many pedestrians as you can and upgrade to a new N-Forcer when need be. Whether fighting on foot or using the armored trucks, it should be clear that having enough stamina is important to stay alive and a good investment. It is easy to get pinned down and the chaotic battle can leave you without any protection or nearby vehicle to snatch. Avoid running around in the open or exposing yourself to attacks from all sides. Use the buildings and area under the highway to get cover.
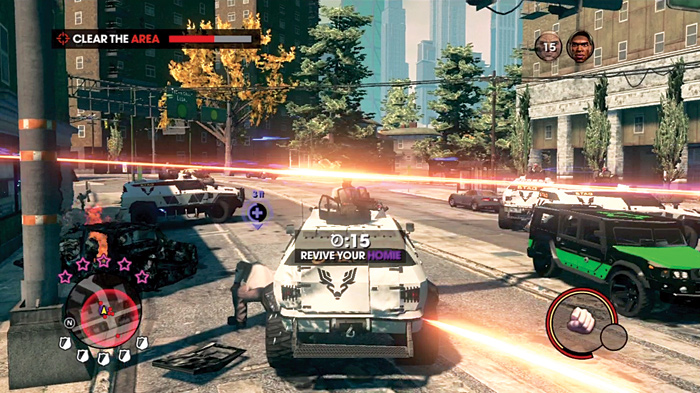
By now, it should be well established that using the armored trucks is the safest method. However, it is not simply a good idea for your own protection, but for Pierce’s as well. In fact, it’s probably more common to fail this mission by having your homie go down than getting killed yourself. Pierce is the one who needs the most attention, but Oleg can be knocked down as well.
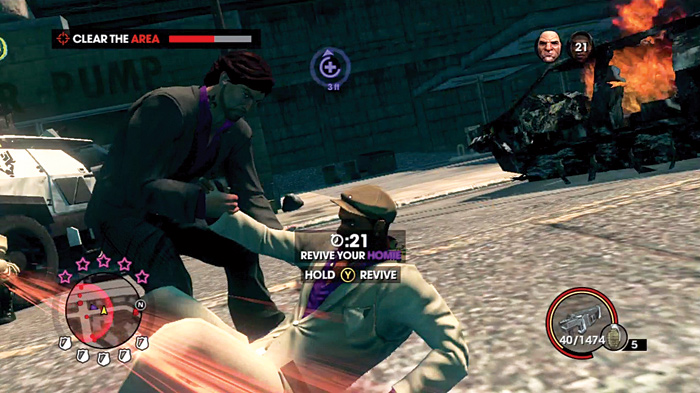
When you notice the “Revive your homie” message, go to their aid immediately. Try to clear the area as much as possible, but don’t wait too long to perform the actual rescue. If you are in a vehicle, place it between your fallen friend and whatever was attacking them. This should provide a bit of protection while they get back into the fight. Also, make sure your comrade is fully on his feet by holding the button until the message disappears.
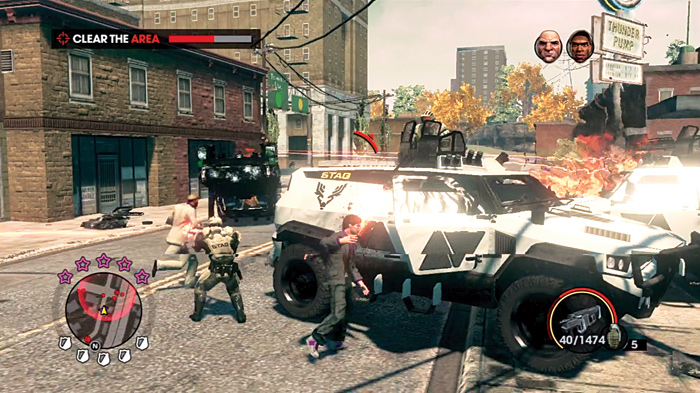
Steering the N-Forcers is always up to you, but depending on how Pierce enters the truck, the turret might be at your disposal as well. If Pierce gets in the back he will take over the gun, leaving you to drive and smash into enemies. It’s a lot more exciting to man the turret yourself, but Pierce is a pretty good shot and it will let you focus on finding the best spot to place the vehicle. If you don’t like the arrangement just pick up another ride.
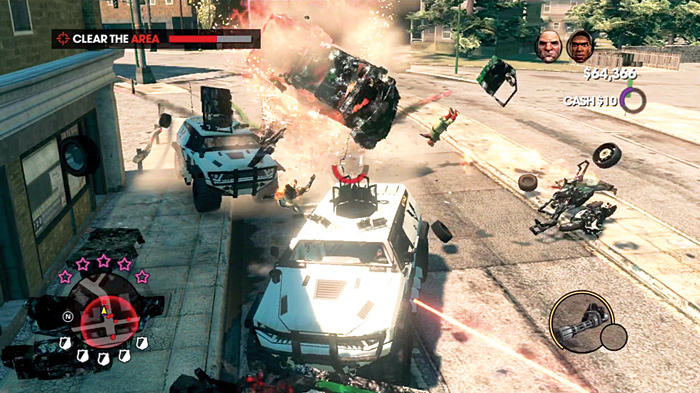
New enemies keep pouring in and while the objective is to take out the attackers, not the vehicles, the trucks can be a good source of explosive destruction. It takes a lot more shots to blow up a vehicle, but if they are clustered together or a lot of enemies are lurking around they make excellent bombs.
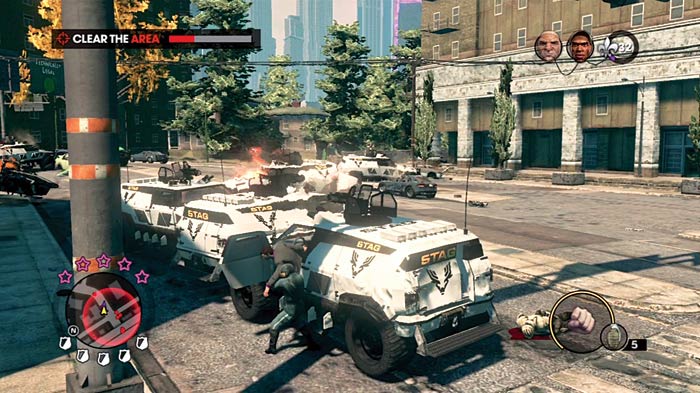
Continue to swap vehicles when necessary, but don’t be caught off guard like the chumps that you hijack. If you are diligent about wiping out anyone near your ride and if you keep moving, it won’t be a problem. However, if you become lax or another truck boxes you in, a solider or Luchadore can tear you out of the driver’s seat. A hijacker shouldn’t pose much threat if you quickly grab him and snap his neck. You’ll be driving in no time. This only becomes a problem if there is a lot of gunfire in the area.
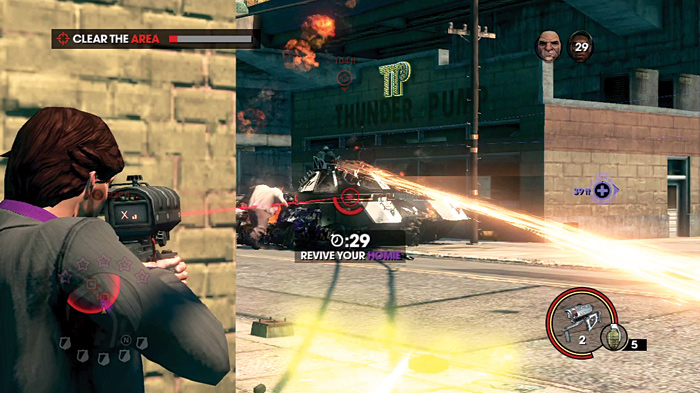
When the area is nearly clear, STAG gets desperate and pulls out the big guns. A devastating tank is sent into battle and it is the most significant threat so far. As tough as the N-Forcers are, they get ripped to pieces by its laser cannon. Also, if you’re without any vehicular protection, it will cut you down in no time. Fortunately, Pierce got the SA-3 Air Strike weapon the last time you dealt with tanks. Find some cover, preferably a corner of a building and peek out long enough to lock the weapon on the tank and bring the rain. Your homies won’t last long with that monstrosity on the scene and you must take it out quick before they get wasted.
Bust Up the Armory
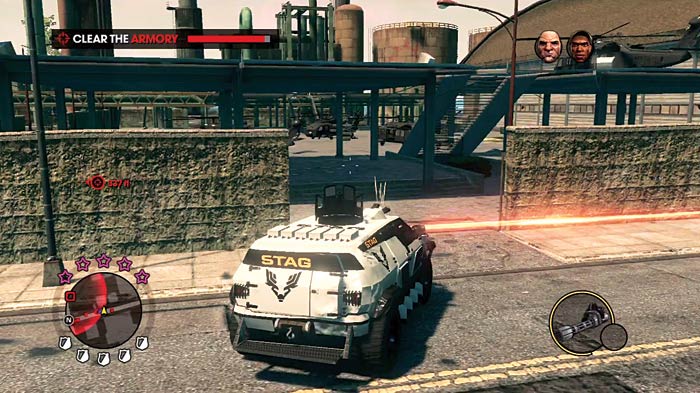
Take a trip back to where it all began in Mission 3, the National Guard Armory. Unlike the last two battle encounters, the fight at the armory is a lot more open. Drive around the perimeter of the base and pick off groups as you encounter them. To pick up the pace and add a new wrinkle to this battle, go to the area you stole the VTOL as Commander Cyrus Temple.
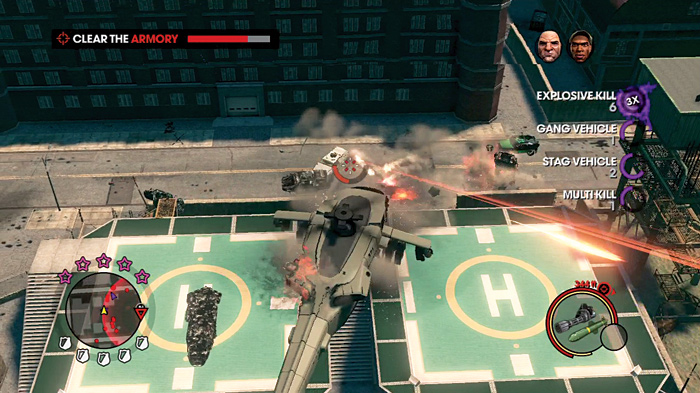
Forget about the black helicopters on the ground. Instead, run up the stairs to the gray Eagle on the heliport. This chopper has rockets and a machine gun that can help clear the area quickly. Make sure Pierce is near you and he will enter your chopper. If he is too far, he may hop in one of the black helicopters to keep up. If you get too far away from him you will be accused of abandoning your homie. As cool as the concept of destroying everything from above may be, the chopper has very limited armor and a few hits will send it to the scrape yard. Still, it’s an effective and enjoyable way of doing a lot of damage fast!
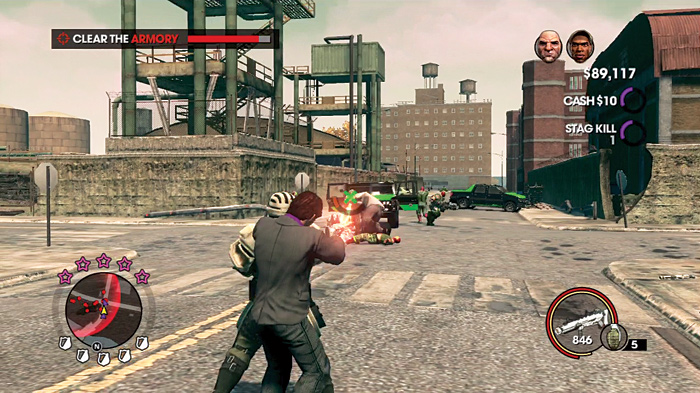
This is technically the hardest of the battle locations, but it might not seem that tough because the action can be spread out. Previously, all the mayhem occurred on a single street. The fighting in this zone occurs around the entire armory. Therefore, the enemies can be spread out and this makes it somewhat manageable on foot. If you want some man-to-man combat, stay near your homies but keep your distance from the enemies to avoid getting surrounded. If the fight gets hectic, grab a human shield or use that extended sprint ability to find cover and heal.
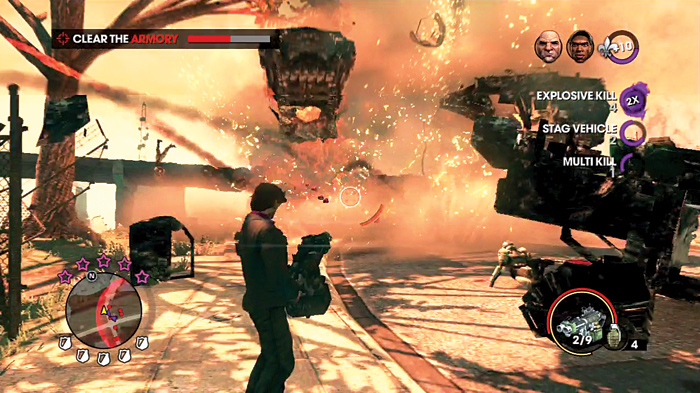
The more firepower you pack the quicker the cleanup will be. Hunt down a Luchadore Grenadier and grab his GL G20. The grenade-launching gun doesn’t have a ton of ammo, but it does a great job of clearing out vehicles and enemies. Try not to waste the ammo on single foes. Rather, wait for groups of enemies to arrive together or get clustered around a vehicle.
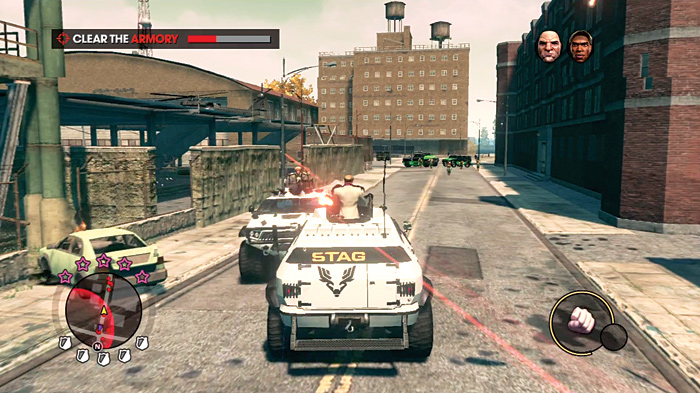
If too many N-Forcers close in on you or the fighting becomes too fierce, hijack one of the trucks and mop up the place like the previous battle locations. Use the long stretches of road to avoid getting boxed in and make sure to return to Oleg so that he is not abandoned during the fight. Keeping space between the groups of STAG and Luchadores can tone down the intensity a lot. Also, if you let Pierce handle the turret it allows you more control over where the fighting goes down.
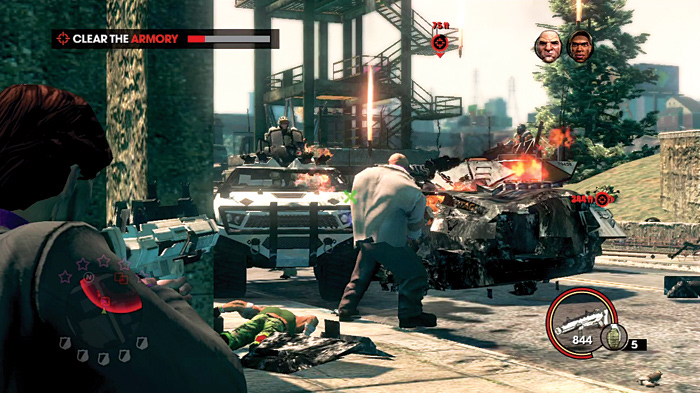
Toward the end of the fight, the big troublemakers from the last two battle locations join the war. This is where this final battle can get really tough. A tank, a Flamethrower Brute, and a Minigun Brute make a final stand for the opposition. Run far enough away to use the SA-3 Airstrike and if you are lucky the Brutes will be blocked by the tank and other street debris and get caught in the airstrike.
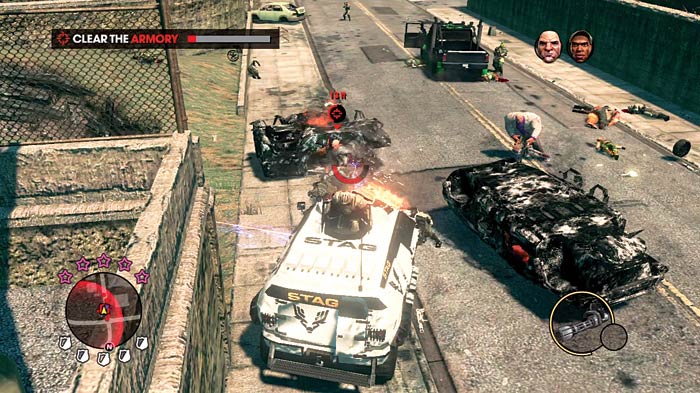
Keep a close watch on Pierce during the conclusion of this mission, as he is bound to get himself killed. Hop in an armored truck to keep him safe and run over the Minigun Brute. When the hulking foe loses enough health, pit your turret against his minigun to finish him off. The Flamethrower Brute will probably go down from his explosive canisters. If not, he shouldn’t be a challenge from inside an armored truck.
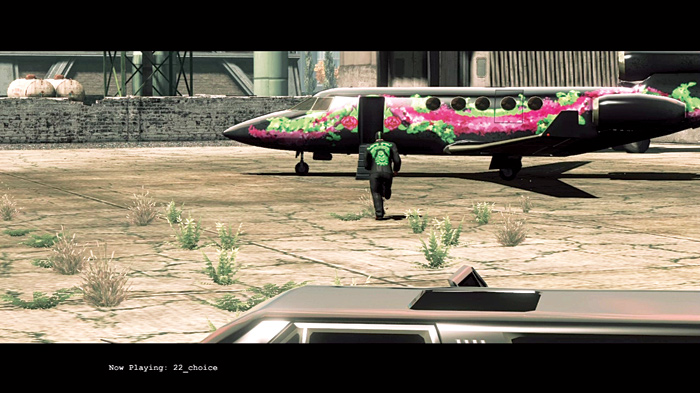
The Saints emerge as the victor of the three-way war and Killbane attempts to flee the scene.
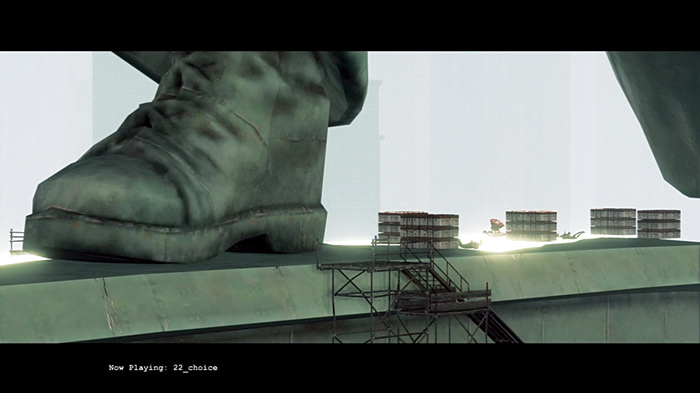
Angel wants him dead, but a call from Kia sets the stakes a lot higher. She has gone out of her mind and is about to blow up Magarac Island to frame the Saints. Even worse, she has Shaundi and Viola captive on the island to prove the Saints’ involvement with the act of domestic terrorism.
Finish Killbane Option
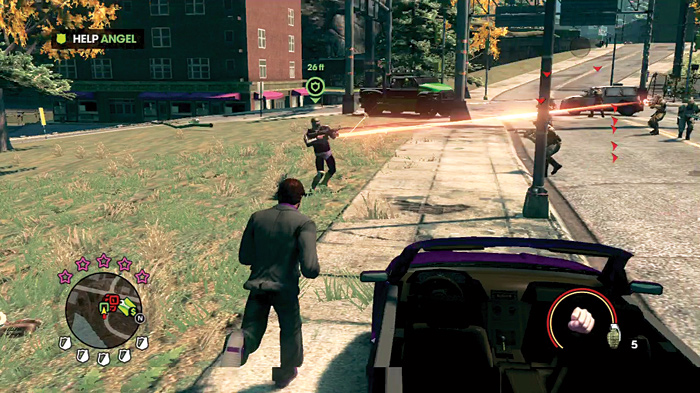
Angel went after Killbane and ends up getting pinned down by STAG. Race to his location and join him for another battle in the streets. Unlike Pierce, Angel won’t ride shotgun if you hijack a vehicle. He stays pretty close to his car, leaving you with the responsibility of eliminating most of the enemies.
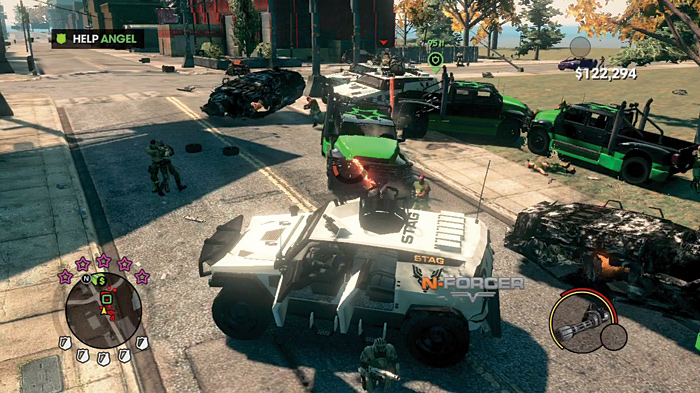
This is not a scenario where you must kill off everyone in the area. However, the fighting can get pretty intense, and commandeering a N-Forcer is the safest choice. Contrary to the previous battle locations, here there are only a few targets that need to be wasted. Check the minimap for the red square targets and wipe them out. The Luchadores will join the conflict, but concentrate your efforts on STAG since they are the main targets.
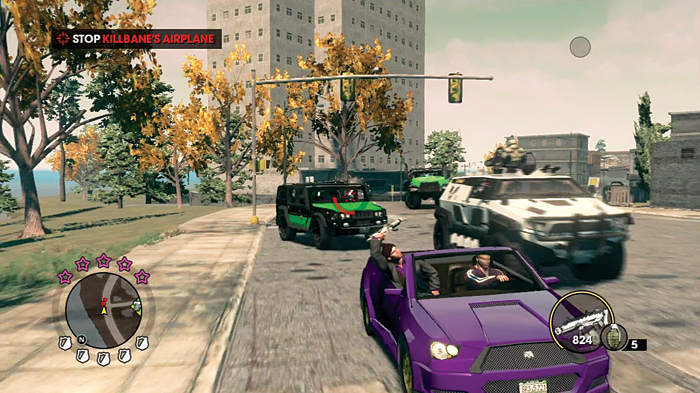
Once Angel has been rescued, the two of you drive to intercept Killbane’s plane. Angel is behind the wheel and he is a pretty good driver. That leaves you on offense to clear out the cars in hot pursuit. Several cars try to ram you head-on and it is tough to take out the drivers before they swerve in front of you. It is a lot easier to turn around and deal with your pursuers using a well-placed shot, through the windshield, at the person behind the wheel.
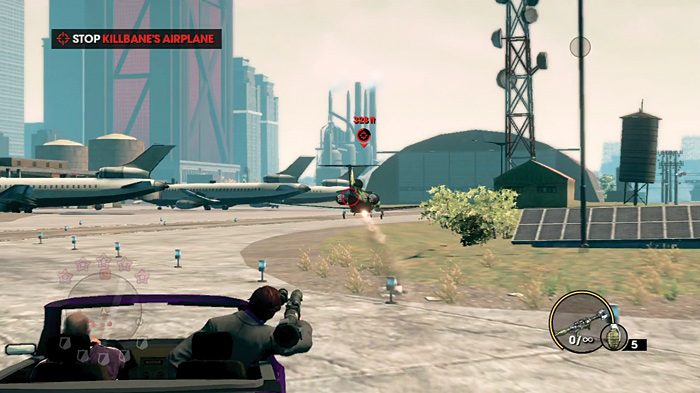
Break out the RPG when Killbane’s plane is in sight and blast it to prevent Eddie from escaping. Many enemy cars are on the runway but keep your attention on Killbane. During the chase sequence, Angel eventually gets in front of the plane. Turn around and continue to launch rockets into the aircraft until it is destroyed.
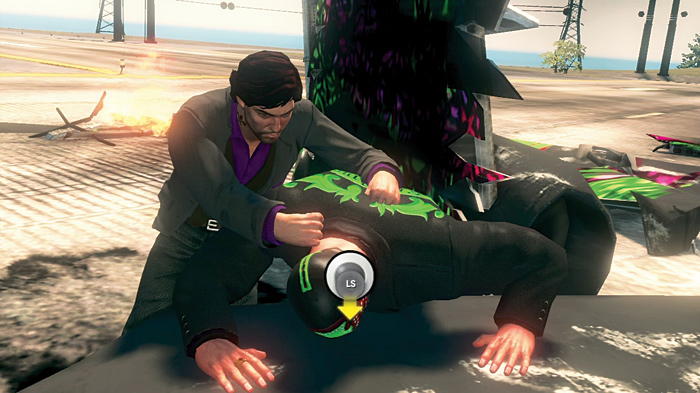
Blowing up his plane isn’t enough to take out the self-proclaimed walking apocalypse. Killbane emerges from the wreckage for one final fight. Follow the prompts on-screen to finally finish this! The choice for vengeance has its consequences. The bomb goes off at Magarac Island, killing several homies.
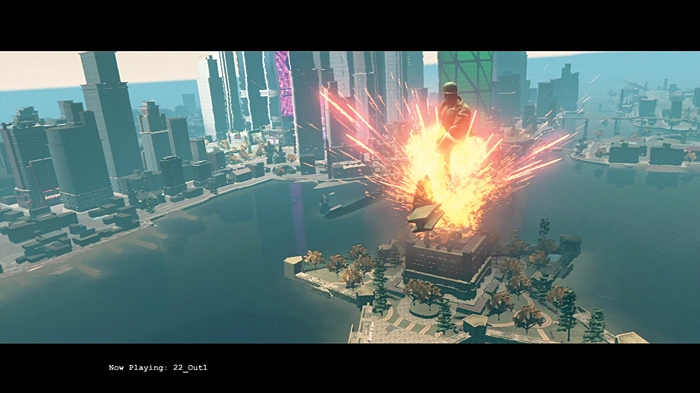
Also, Kia’s desperate plan works and Senator Hughes gives Cyrus permission to deploy the Daedalus.
Save Homies Option—Remove the Bombs
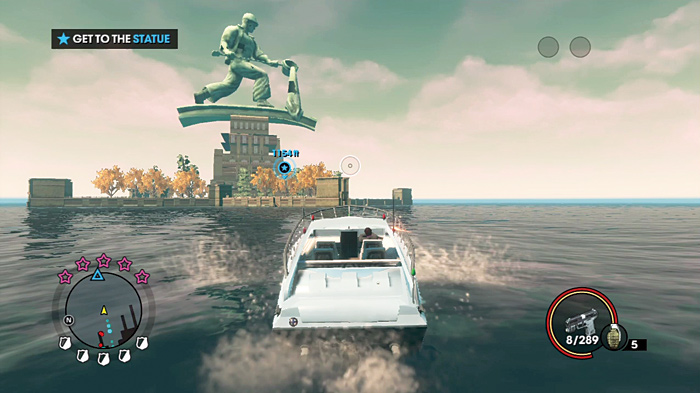
Drive to the docks to meet Kinzie and hop in the boat. Speed off to the statue to foil Kia’s insane scheme and save your homies.
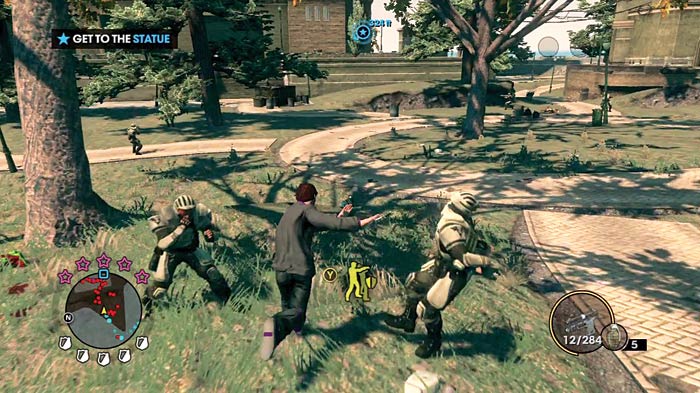
Don’t bother engaging the enemy forces on the island. Simply sprint like a cheetah up the stairs to the side of the base of the statue.
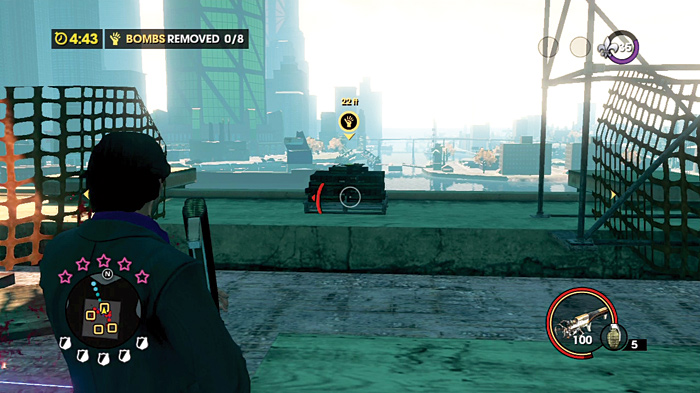
A timer is set at five minutes and immediately counts down when you appear on the upper balcony. There are eight bombs that must be knocked off the tower, but they are delicate and only the Sonic Boom can safely push them over the edge without detonating them. Remove the first one right in front of you with a short blast. It takes only a quick shot to knock them over so don’t charge the gun too much.
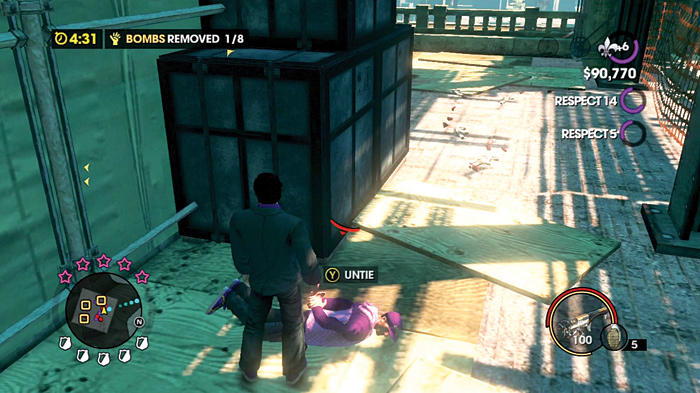
On this upper level are several generic homies. If you want to be a nice guy, take the time to untie them and they can help eliminate some of the STAG forces that are up here. However, they can also get hurt, which forces you to revive them.
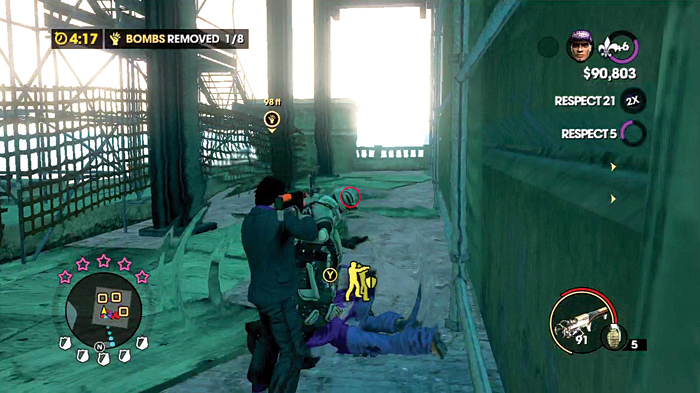
There are several STAG soldiers on the upper level and you are free to switch to any weapon to get rid of them. It is a little more difficult to charge the Sonic Boom to blow them away but it might be easier than switching back and forth or forgetting to change when removing the bombs.
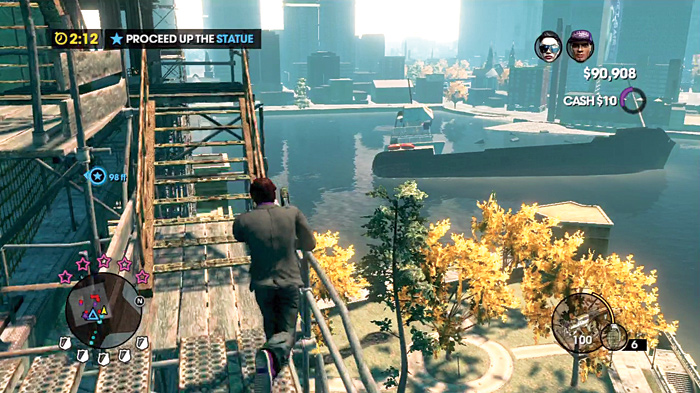
Four bombs are on this level but very few guards are protecting them. Simply run around the perimeter and knock them off with a quick blast of the Sonic Boom. When all four are pushed over the edge, you must go up the statue itself using scaffolding. It’s actually a long run up several flights of stairs, walkways, and ramps.
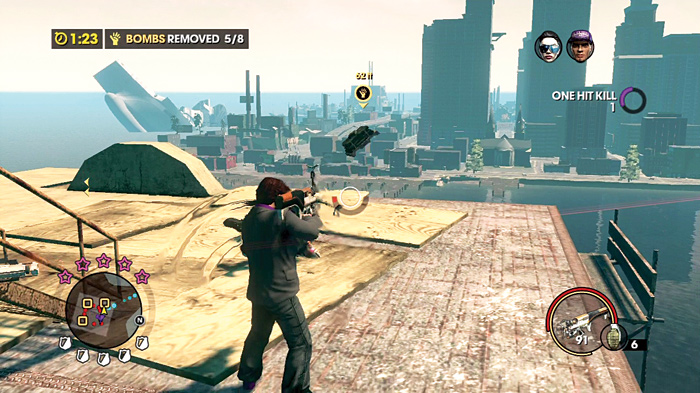
With time running out, blast the guards in your way to clear a path to the bombs. There are four more at this level and the guards are going to do everything possible to slow you down, even though it means their own doom.
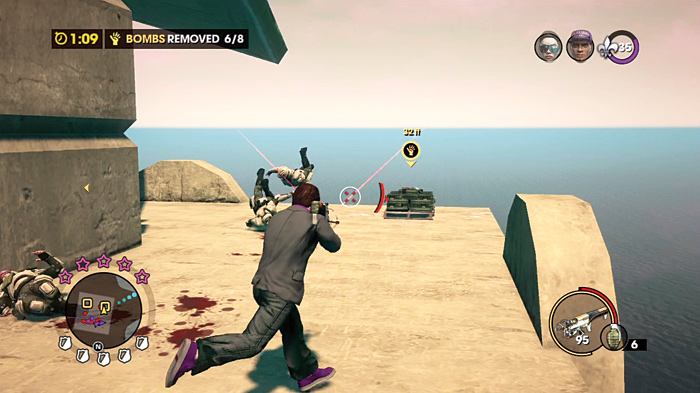
There should be plenty of time to handle the bombs so don’t get careless with the guards. There might not be that many but they can still take you out if you ignore them.
Kill Kia
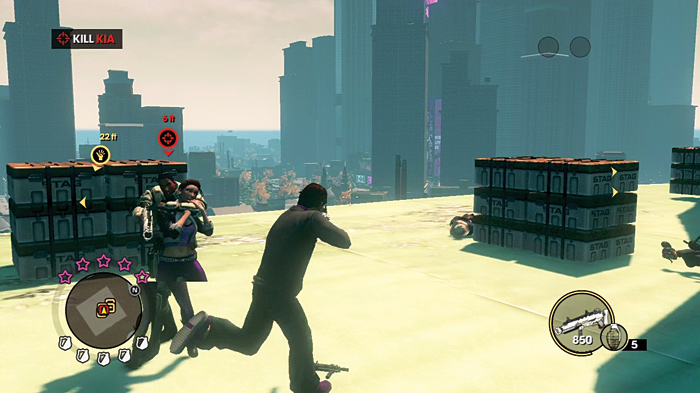
When the last of the eight bombs tumbles into the water below, the timer ends. The immediate threat is over and yet there is some unfinished business up by the statue. Climb all the way to the top to confront Kia. She is holding Shaundi, with a gun to her head, and this is going to take some tactical methods to separate them. Any attempt to take out Kia while she is holding her hostage is game over. Viola and Mayor Reynolds are bound up here as well; you can tell from all the colorful commentary from Burt that they forgot to gag him.
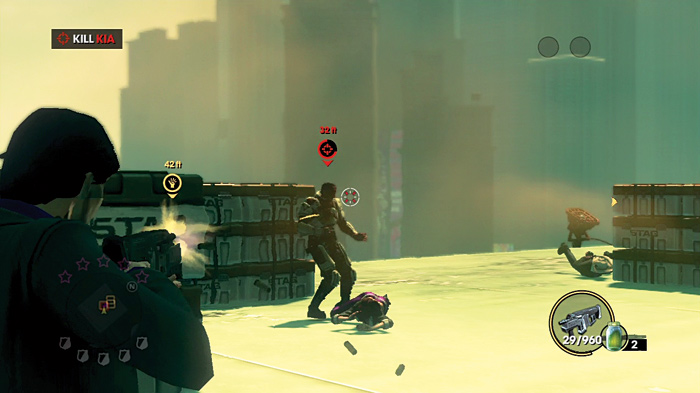
In back of the STAG crates are several “grenades,” which are actually farts in a jar! The strategic plan is to throw these stink bombs to cause Kia to briefly let go of Shaundi. Switch to the smelly projectiles and toss one at Kia to open her up for a direct attack. She will cough and bend over as if she is puking, leaving herself wide open for attack.
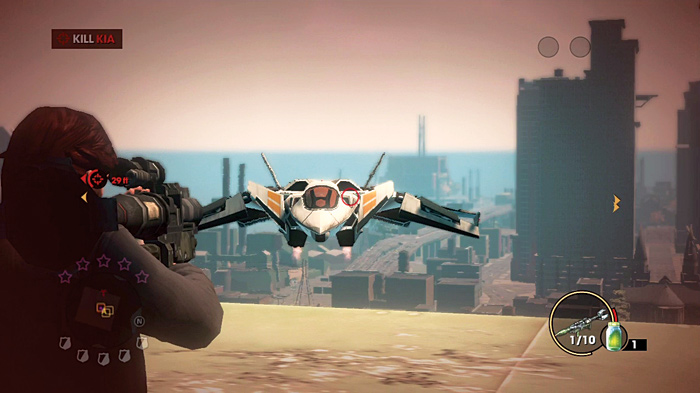
STAG is not content to leave this a fair fight and has no problem shooting around its people with a VTOL. The laser cannon on that thing can rip you to pieces, so take cover behind the STAG crates. Because there is no time limit to save Shaundi, stop to put down that fighter. A single shot from an RPG can do it, but it several weapons will work due to the VTOL’s low armor.
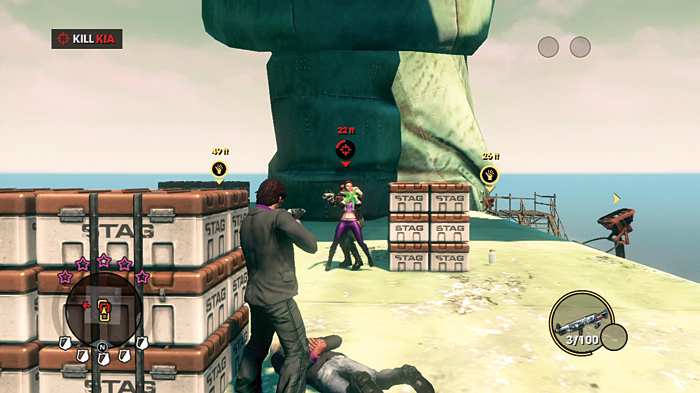
Even if you destroy the fighter, another takes its place, which means you need to kill Kia fast after destroying the plane. The jars keep respawing if you use them all and there is some ammo near the duo if you run low. It is also important to note that Kia will not fight back, which means you can get in as close as you want to hurt her in any way you want.
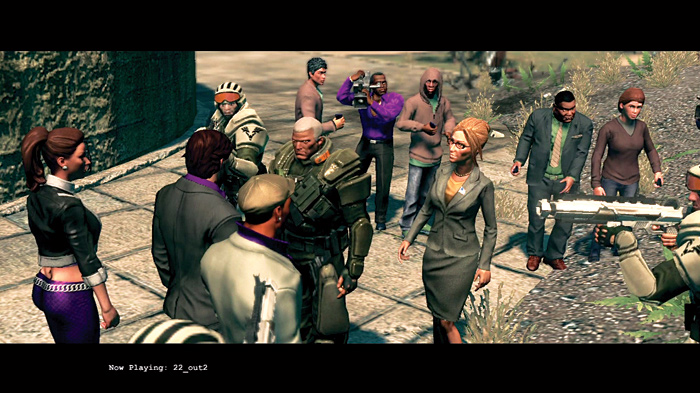
STAG attempts to arrest the Saints when they depart the statue, but as the senator points out, they are now heroes that prevented the destruction of a public monument. Kia’s plan completely backfires and makes the Saints more popular that ever!