Saints Row: The Third Guide Walkthrough Campaign
Stag Arc 1 (Missions 32-34)
Convoy Decoy (STAG Arc)
Cash Earned: $10,000
Respect Earned: 2,500
Unlocks: New Vehicle—STAG F-69 VTOL
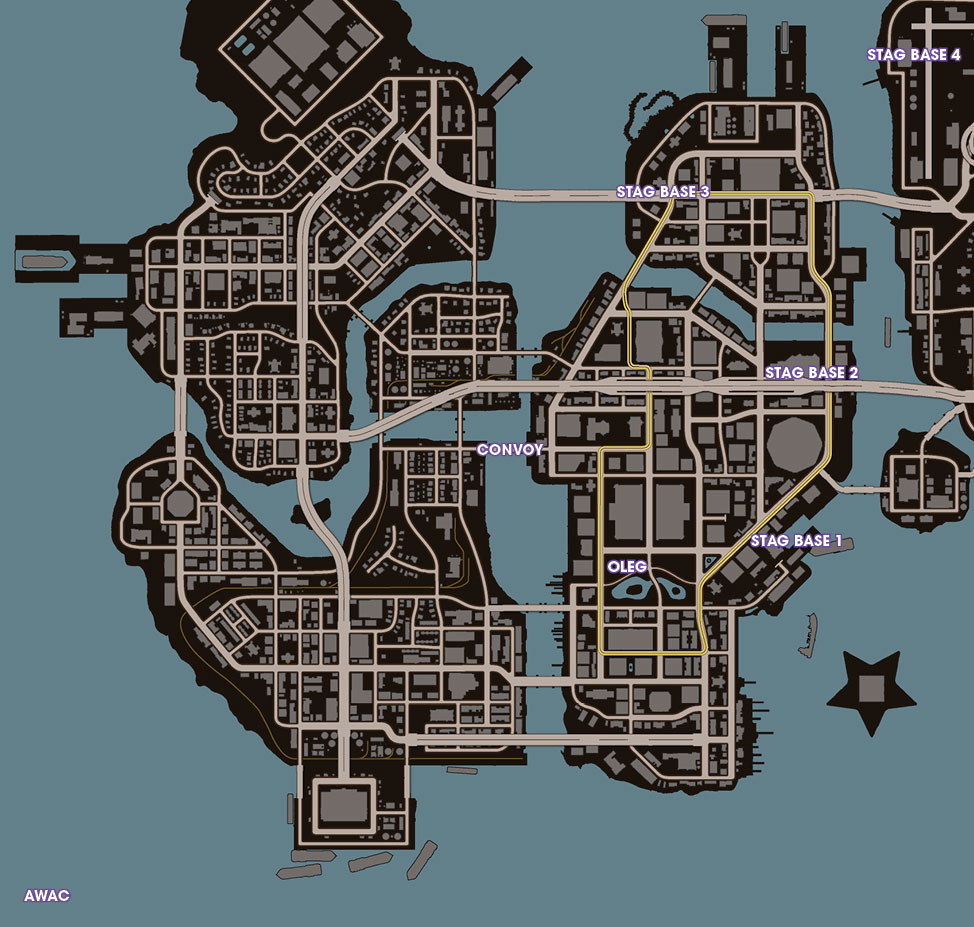
To view our interactive map for Saints Row: The Third, click here (Best viewed in Firefox or Google Chrome).
Steal a High-Tech Fighter
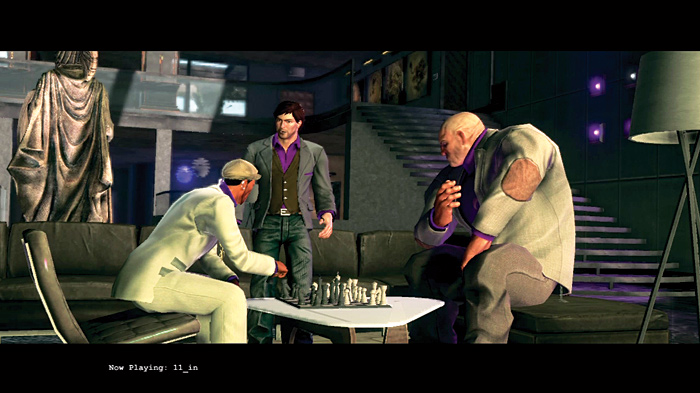
Pierce has a one-track mind and for a change he is putting it to good use by playing chess with the Oleg. Unfortunately, he is very distracted and right now the Saints need to focus on the latest and greatest threat—STAG. The Saints need to clear out their HQ to avoid the high profile the penthouse gives them. It’s time to create a distraction for STAG so that Pierce can pack up shop.
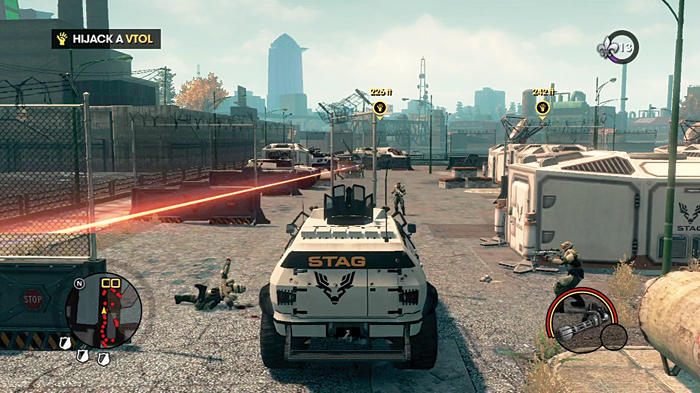
Drive to a STAG base and cause some mayhem to provide a good decoy. Smash through the weak chain-link fence and quickly trade up your vehicle for one of STAG’s N-Forcers. The left side of the building looks more secluded for your infiltration but it can be tricky to navigate because of the large concrete barriers. The right side is even worse! If you are going fast enough, you can smash through one barrier but there won’t be enough space and speed to knock out the others. Go slow to steer around the blockades but be careful not to stop or go too slow because the STAG soldiers can run up and boot you from their ride. Ultimately, it won’t matter once you’re behind the wheel because the machine gun on top should be able to keep STAG at bay until you make it to the back of the base to hijack an F-69 VTOL.
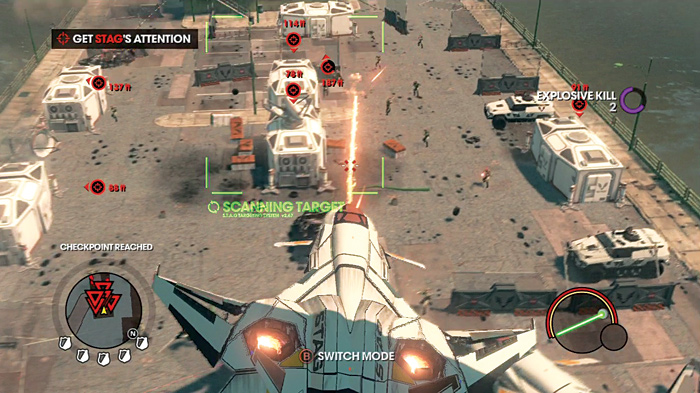
Sprint to one of the airships and hop on board. This is a high-tech plane with utterly devastating firepower. One trigger controls the laser canon that slices through enemies like a hot knife through butter. The other trigger launches rockets that can lock onto their targets. When the trigger is pressed, a red gauge appears above the fighter and begins to fill up. The longer the trigger is held, the more rockets will be armed and ready to seek out their target. Even when the curved red bar is full, the button can still be held down to keep the rockets charged for a maximum volley when needed. Hover above the base to try out the sleek toy and take great satisfaction in destroying everything below.
Destroy STAG Bases
The first base was easy to demolish but you still need to keep STAG occupied for a while. Blowing up their base definitely got their attention, and STAG puts the word out to all of their other bases. Luckily the plane you jacked has the locations of three other STAG bases. Get some altitude and check the map and HUD to find the closest base, as indicated by the blue marker with the lowest number.
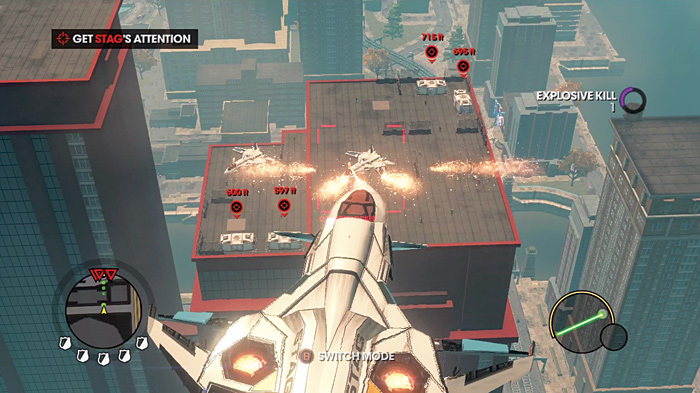
Not only is this plane an excellent fighter, but you can convert from hover mode to jet mode. Weapons will still be available in jet mode but the aircraft moves very fast and this makes it difficult to shoot small stationary targets. However, the flight mode is excellent for traveling long distances. Switch to it now and go to the first of three bases that is just north of your current position. When the red markers appear on the HUD, toggle back into hover mode and wipe out the rooftop base. There is not a lot of resistance from the base in the sky but the others will be a lot more challenging.
Clear a Path for the Convoy
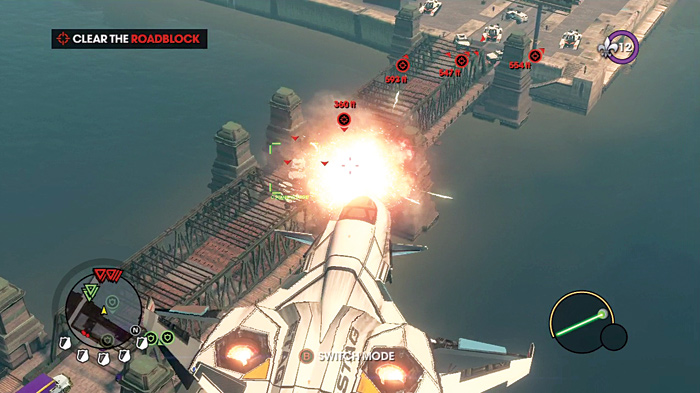
A call comes in from Pierce, who is stuck at a bridge with the Saints’ convoy. Switch back to jet mode and quickly soar to the troubled spot to clear a path for the convey. There are two sets of STAG blockades: one in the middle and one on the far side of the bridge. Approach the bridge from the same side the Saints are on and wipe out the enemies in the middle first. This will keep the other group, on the opposite side, from launching an effective offensive. When the middle is clear, turn your weapons on the second group and blow them away to open traffic for the convoy. When the blockade is gone, look out for and destroy any enemy F-69 VTOL before you take off.
Blow Up the Third Base
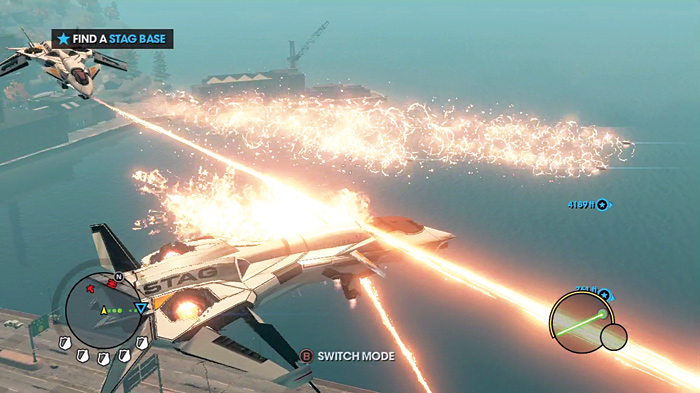
Switch into flight mode and fly to the next base that is under a freeway near two identical buildings. From this point on the mission gets really tough. Planes and tanks, armed with laser canons, come out in force, along with other STAG forces. It’s essential to check the minimap and look for the plane and tank icons before they cut you to ribbons. It should go without saying, but these must be eliminated as soon as possible to avoid taking heavy damage to your fighter. A few blasts from those cannons and you will be looking for another plane.
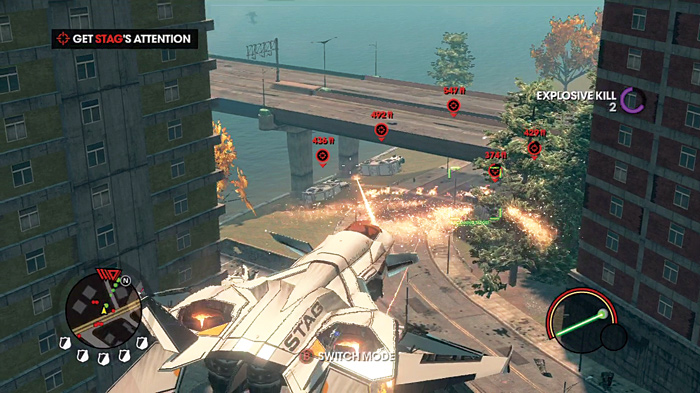
It might be best to approach the second base by flying around the buildings rather than hovering over the water or bridge. Staying close to a building protects one side of your plane from damage.
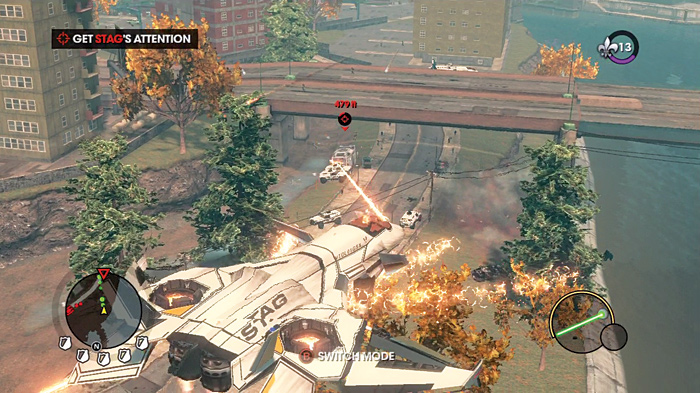
Make sure to take out any STAG forces before attempting to wipe out the base. It’s also important to note that there is grounded F-69 VTOL next to one of the twin buildings, if your plane takes too much damage. Destroy everything you can from this spot and hover to the other side of the freeway to blast any remaining structures.
Eliminate the Fourth Base
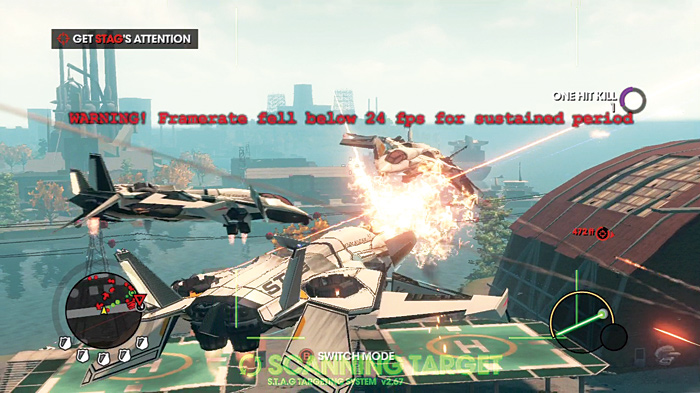
The final STAG base awaits.
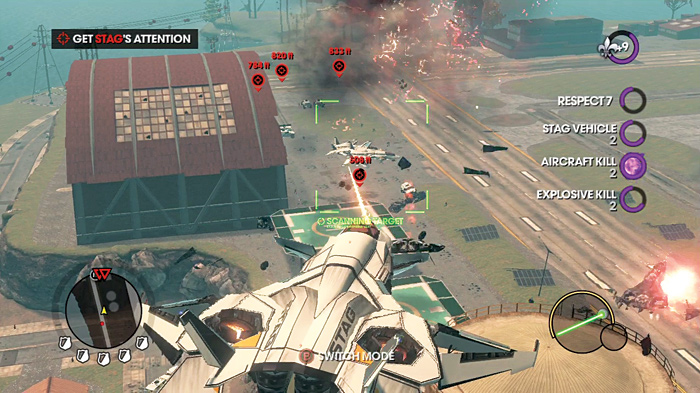
Switch to jet mode and burn up the sky to tackle the last base. Before you can make it there, expect several fighters to launch an aerial attack. Swing your sights around to track the planes and bring them down before concentrating on the targets below. There is a lot of enemy opposition by this point but at least the base is out in the open and easy to destroy.
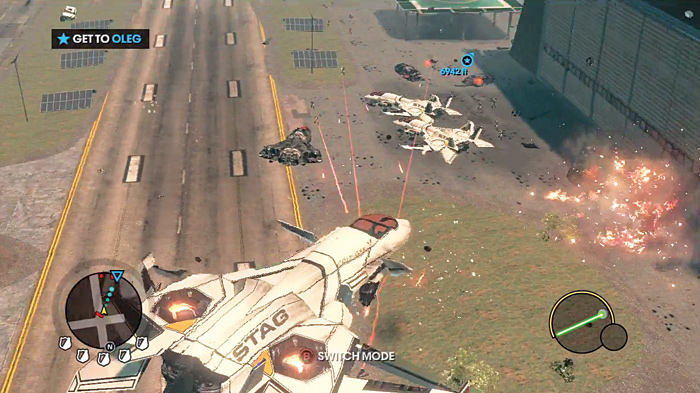
STAG forces will be out in full force and there is a decent chance that your plane might not make it though this battle. The good news is that there is a pair of fighters on the ground. If your plane is in terrible shape, deal as much damage as possible and parachute down to grab a new one.
Help Oleg
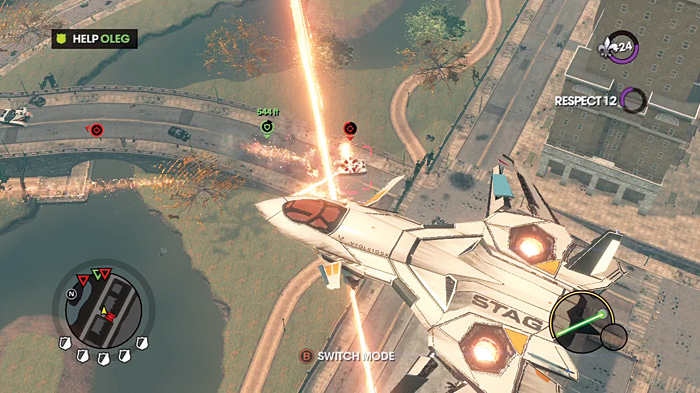
Oleg is causing a diversion of his own but he runs into trouble and is outnumbered by STAG. Fly to his location and hover above him to provide some protection. Tanks approach from all sides so stay high enough in the air to get a good view of all them. Try to pick off the enemies early, before they get too close to Oleg, to avoid any collateral damage to your friend. Oleg is not the only target in this scenario. More fighters and tanks arrive to hassle you while you’re attempting to clear a path for your homie. It’s okay to turn your attention to any direct assailants because Oleg is pretty tough and has plenty of health.
Destroy the AWAC
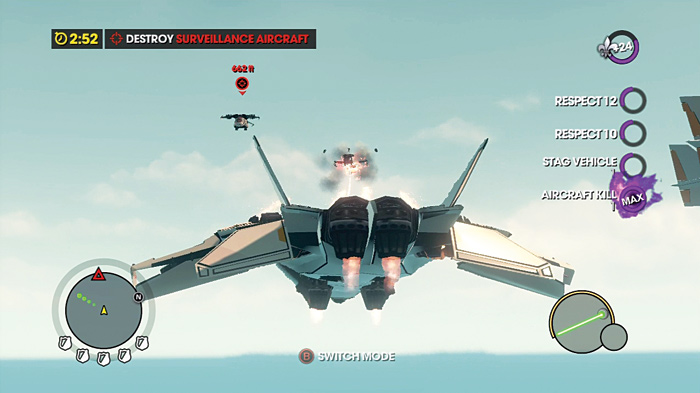
The last part of this mission is to bring down the surveillance aircraft and its escorts. The aircraft is a far way over the water and you have only 4 minutes to destroy it.
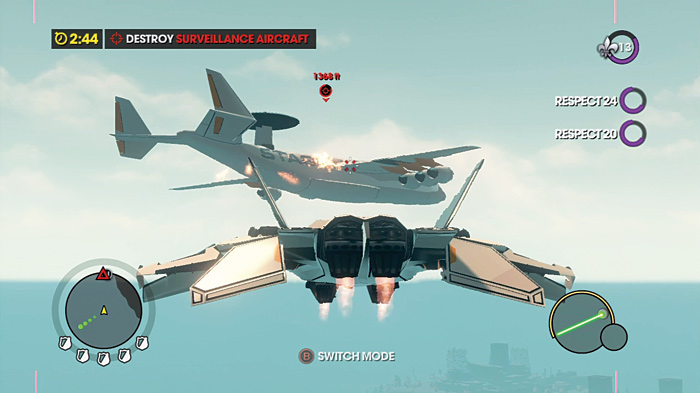
As you approach the huge plane, its fighter escorts will engage. Use hover mode to blast the pair of fighter jets as well as the support choppers. Without any protection the large aircraft is dead meat. Switch to flight mode to chase down the big plane while unloading everything you’ve got.
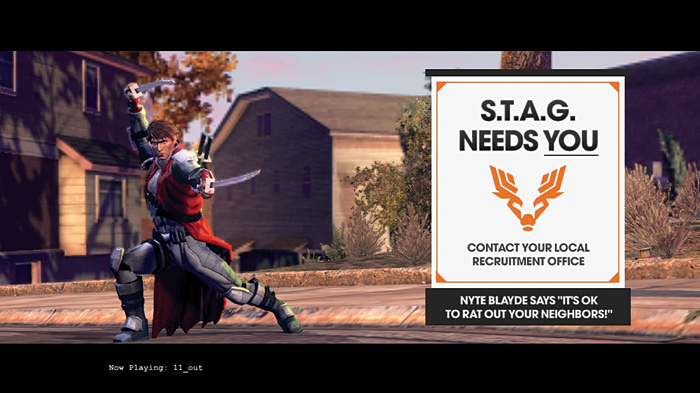
Remember the goofball from the start of the game during the “filming” of the bank heist? Well, he’s back as the spokesperson for STAG. That’s right, Joshua Birk, the egotistical star of a campy vampire series, has teamed up with STAG to create a public service announcement. Don’t worry; you’ll get a chance to pay him back really soon. The new mascot for the STAG initiative is under the protection and responsibility of Commander Temple.
Nyte Blayde’s Return (STAG Arc)
Cash Earned: $10,000
Respect Earned: 2,500
Unlocks: New Outfit—Cardinal Outfit
Play Dress Up to Find Nyte Blayde
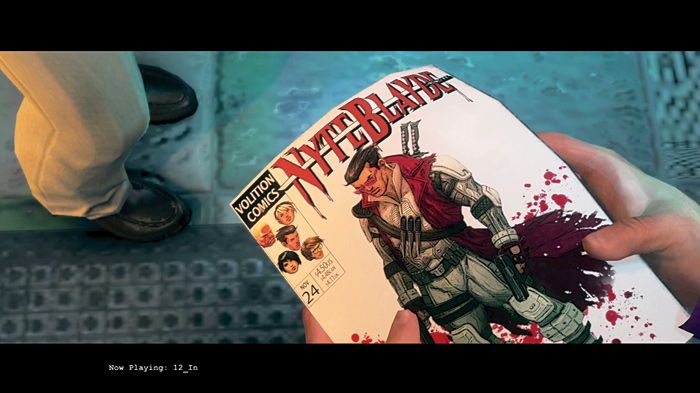
Go to the comic store to listen to Pierce’s crackpot scheme to put a hurt on STAG. Joshua Birk is the public face of STAG and if the Saints can get a hold of the punk they can leverage him against STAG.
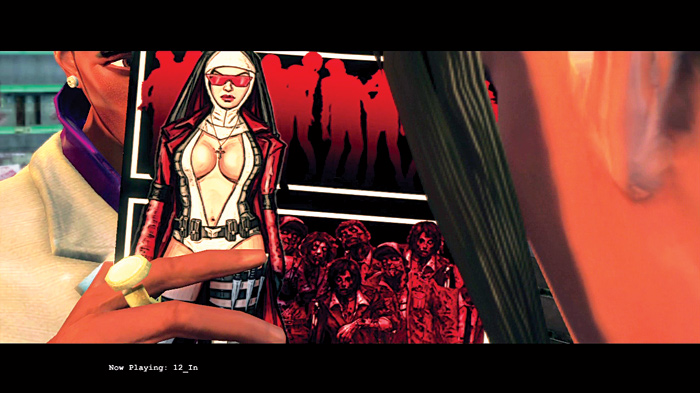
The hard part is trying to get to the guy, but Pierce has a plan to take advantage of the Birk’s comic namesake “Nyte Blayde.” Dressed as characters from the comic, you and Viola use the disguises to sneak into the PR Center, which happens to be occupied by STAG.
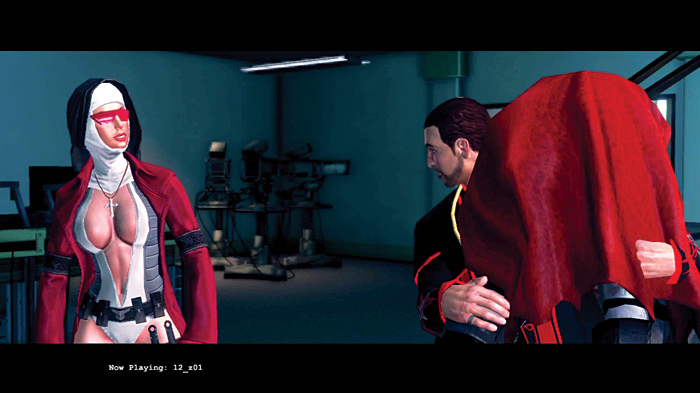
Drive to the PR Center, lose the guns (not literally) and stroll right in. Check in at the front counter and go upstairs to the second-floor elevator. Locate the “Nyte Blayde” photo shoot with the help of the on-screen indicators and punch Joshua Birk right in the face. That guy has a weak chin, but it will be a lot easier to carry him than listen to him.
Escape With Birk
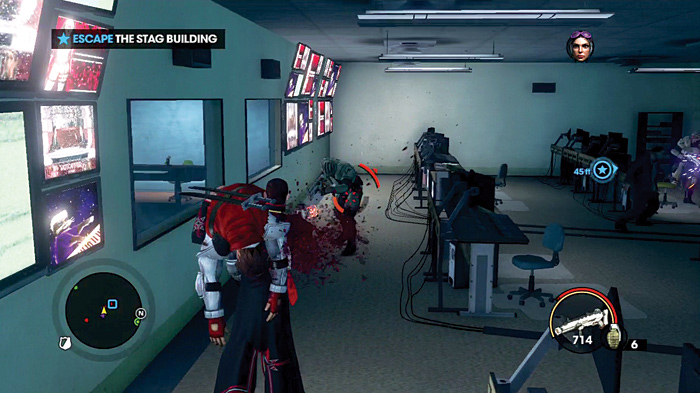
Now it’s time to escape the STAG building with Josh slung over your shoulder. The downside to carrying this chump is that you won’t be able to use thrown explosives. The adjacent room is filled with monitors and computer terminals, as well as STAG soldiers. There are only a few in here, so a few precise headshots will make short work of them.
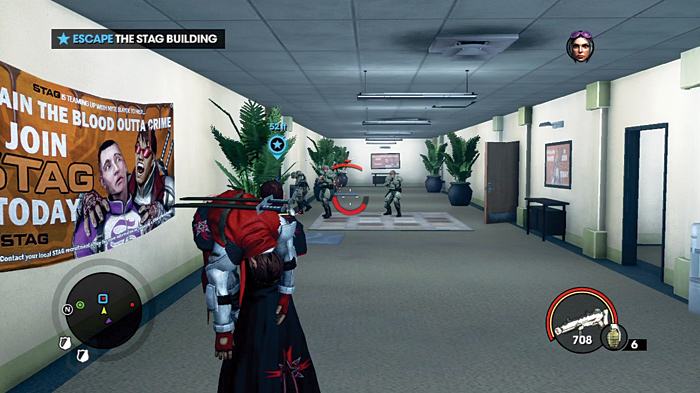
A trio of guards awaits you in the hallway. When one of them falls, the other two run for cover in the open doorways. Blast them if they pop out and then go down the stairwell.
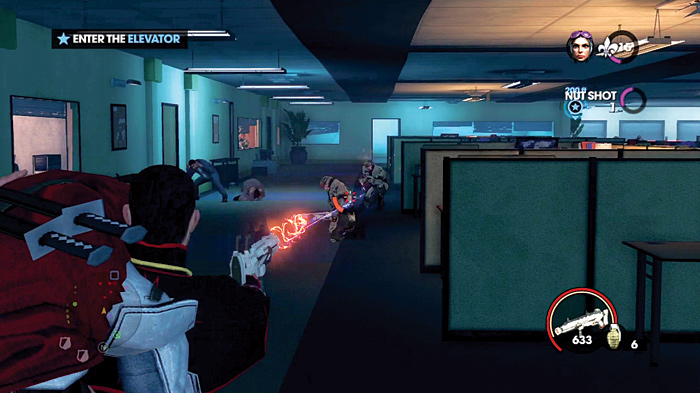
The room you emerge in when you get downstairs is a large space filled with office workstations. A quick glance at the minimap should alert you that there are a lot of soldiers in this room. Don’t let the guards surround you and don’t attempt to walk down the center aisle. Instead, go to the left and wipe out the enemies standing in the open. Also be on the look out for guards hiding in the cubicles.
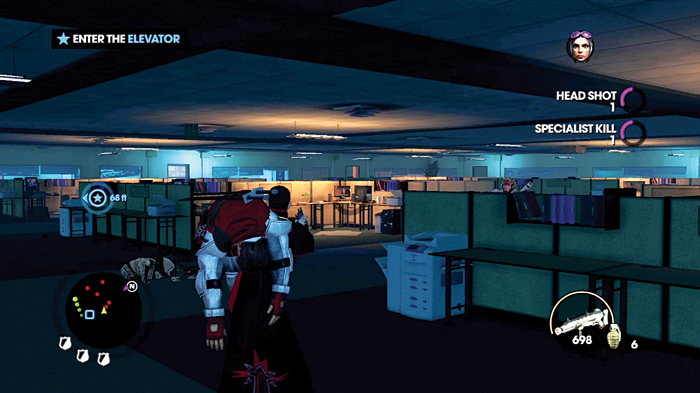
Sprint down to the end of the room and be cautious of the specialist sniper near the back of the center isle. Kill this last enemy and ignore the rest while making a dash for the elevators.
Easy In, Tough Exit
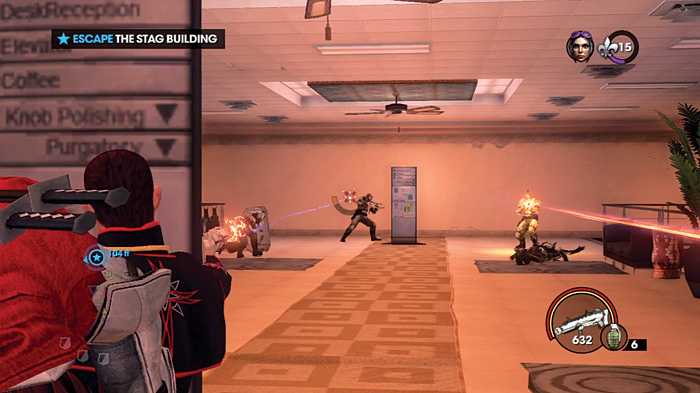
The next area should look familiar because it is the same place you waltzed in earlier while undercover. It might be tempting to stay far away and keep your back to the elevator, but at long range it can be difficult to drop the soldiers quickly. Also, guards with riot shields start to appear and it is a good idea to have some space to retreat to when they slowly walk your way. Move up to the first sign and take out the shieldless guards as quickly as possible.
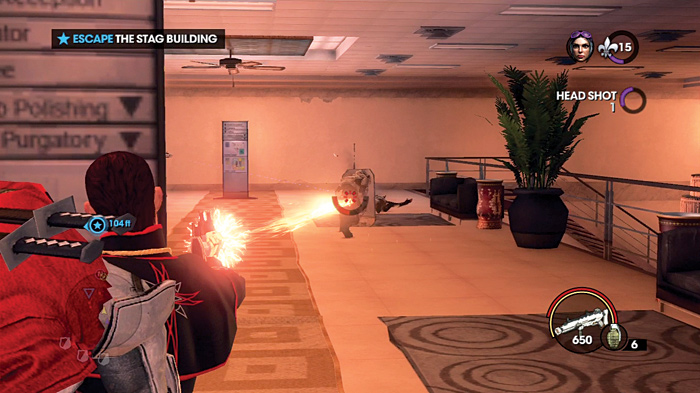
As their comrades fall, the STAG guards with the riot shields tend to move around and expose themselves from behind their shields. Take advantage of their vulnerability when they are exposed. When the initial enemy rush is over, go down the left staircase.
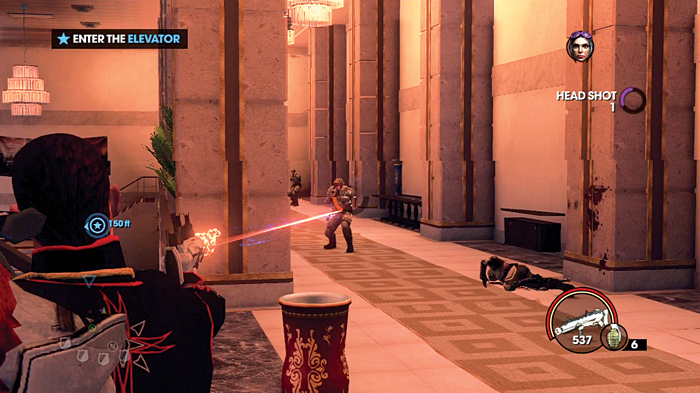
Use the large stone pillars as cover as you work your way down the hallway to the bottom floor.
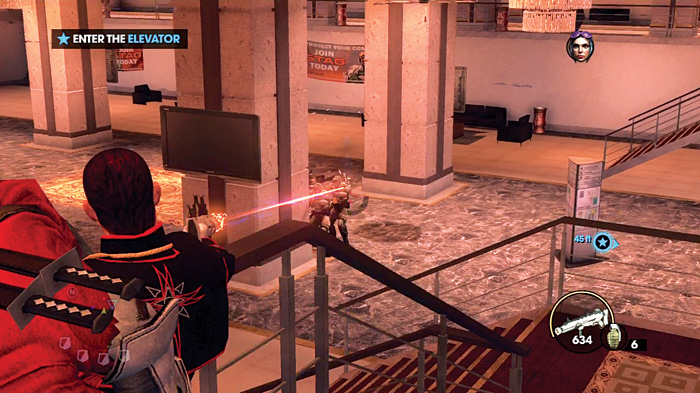
Pick off the final few soldiers below from the relative safety of the upper level before running to the elevator.
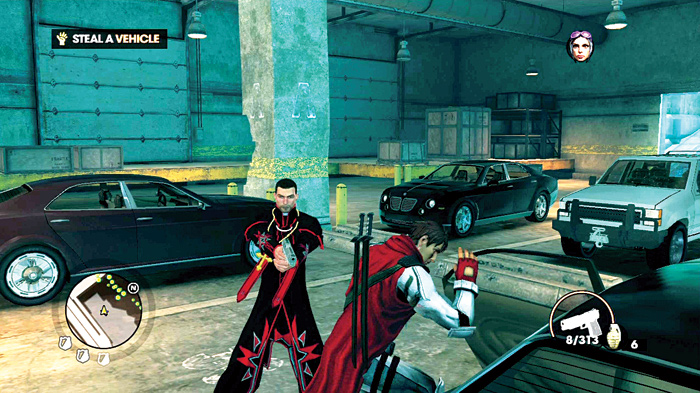
When the elevator goes down to the garage, hop out and follow the yellow marker to steal a car. Force Josh, at gunpoint, to get into the vehicle and drive like crazy out of the PR Center. STAG forces will hound your car the entire trip and when they come at you head on, expect them to try to slam into you.
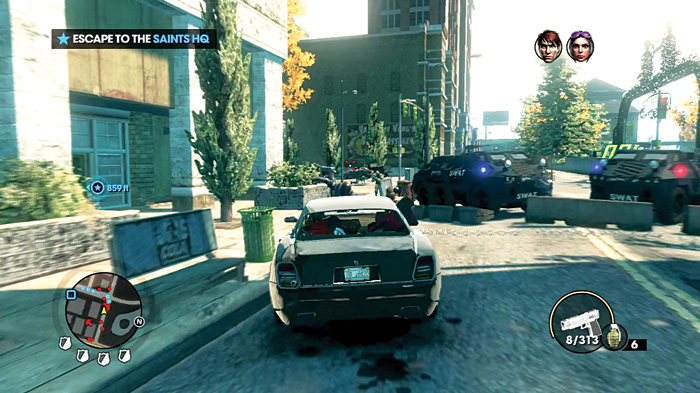
Drive as fast as possible without smashing into things and keep your eyes peeled for the roadblocks. Don’t try to smash through the STAG blockades. Take the sidewalk and avoid them at all costs.
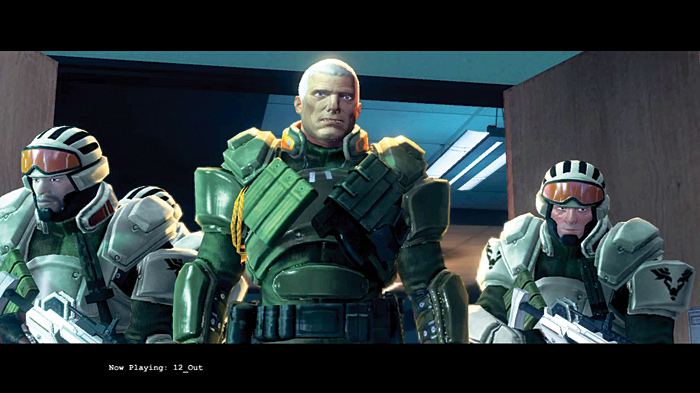
STAG’s commander, Cyrus, arrives at the PR Center late and finds out that Birk was taken. He has to report the news to Senator Hughes. She demands that he get Birk back immediately.
STAG Party (STAG Arc)
Cash Earned: $12,000
Respect Earned: 3,000
Unlocks: New Weapon—SA-3 Airstrike
Rewards: City Takeover or New Homie: Joshua Birk & Nyte Blade
Pick a Fight with STAG
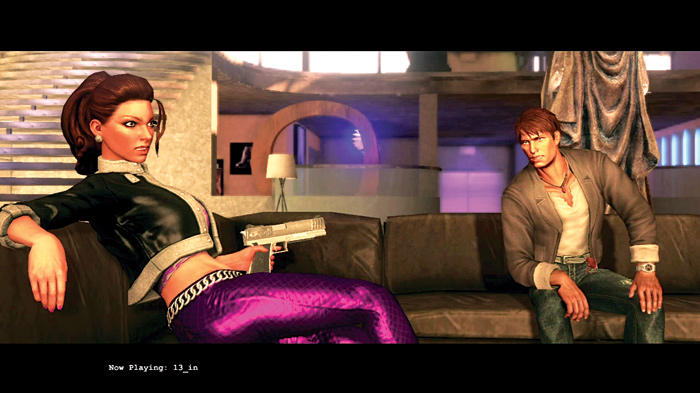
Shaundi and Joshua are getting along great, if by that it means she is about to kill him. Well, at least STAG is desperate to get him back. Senator Hughes gave Cyrus orders to retrieve their mascot at any cost. STAG still thinks the Saints HQ is their primary base of operations: Good thing they don’t know about the brothel Stronghold. It’s time to set a trap for STAG at the HQ for when they try to rescue their spokesman. A bunch of car bombs placed on the streets surrounding the HQ will give them an explosive welcome. Oleg will take care of the bombs while Pierce runs an errand to bring back a surprise.
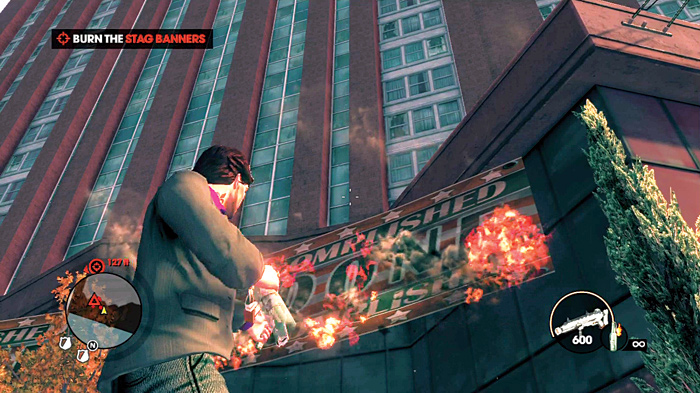
To gets STAG’s attention, go pick a fight at the PR Center. For this mission you have unlimited molotovs that can be used to burn STAG’s banner and really tick them off. Toss the bottles at two of the large banners and lead STAG back to the Saints HQ and into the trap.
Defend the Saints HQ
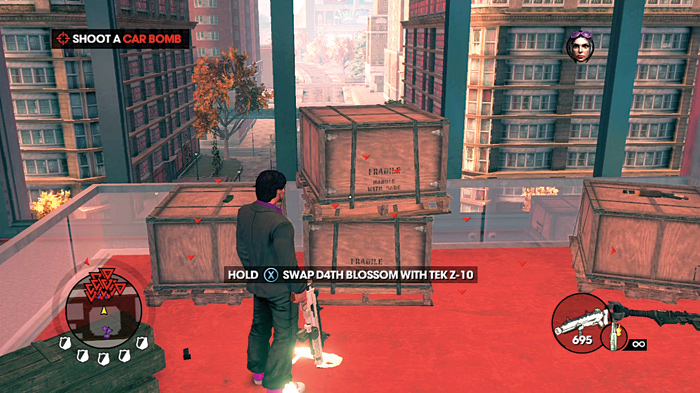
STAG will be arriving in force, but the observation deck is well stocked. Just past the elevators are several crates littered with ammo and weapons. The best thing is that they don’t get consumed when you use them; they essentially yield infinite ammo! If any of your weapons are running low, stop by the crates to fill them up. This mission involves a lot of running back and forth. Just listen to your homies as they call out the next objective.
Defend the North Side
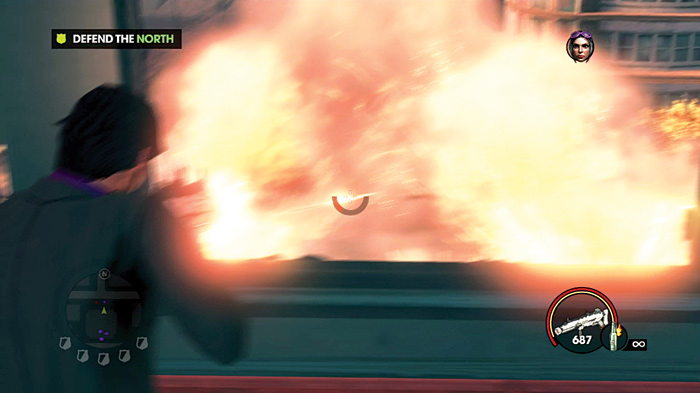
Don’t get trigger happy with all the extra ammo and wait for STAG to gather around the car bombs to the north. Oleg tells you when it’s time to light up the neighborhood and as confirmation, the minimap is filled with red triangles. Run to the north window and quickly shoot the cars below before taking too much laser fire. The entire street explodes and annihilates all STAG presence, for now.
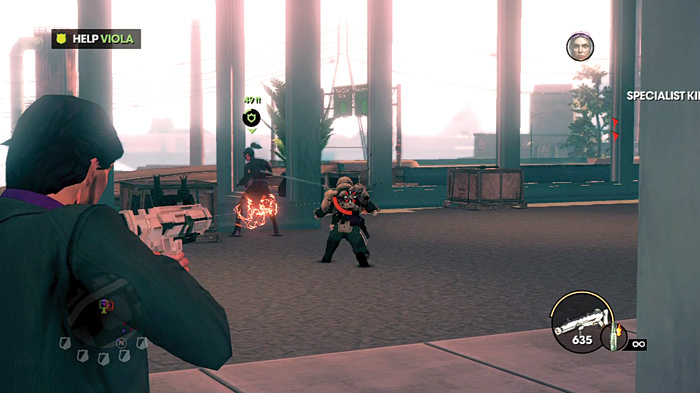
STAG reinforcements arrive at the north side. Take them out quickly with rockets because Viola soon needs assistance. Run to her location to find that STAG interlopers have already gotten inside. Help Viola out by wasting the soldiers. When they are dead, STAG begin their assault on the south side. Run over there to check it out.
Defend the South Side
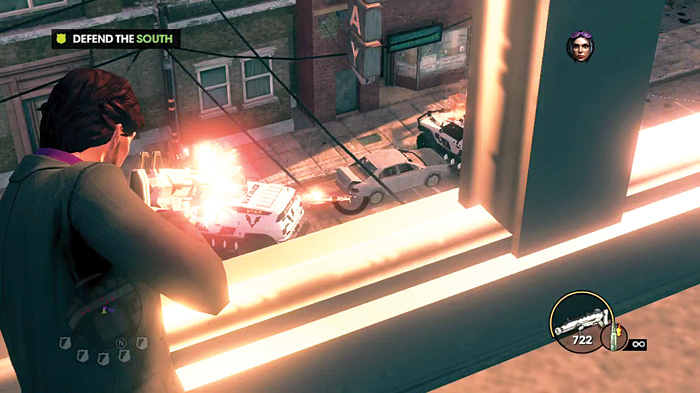
Aim out the window at the cars below to set off the bombs on this side of the building. All of the first wave of STAG vehicles should go up in flames without much resistance
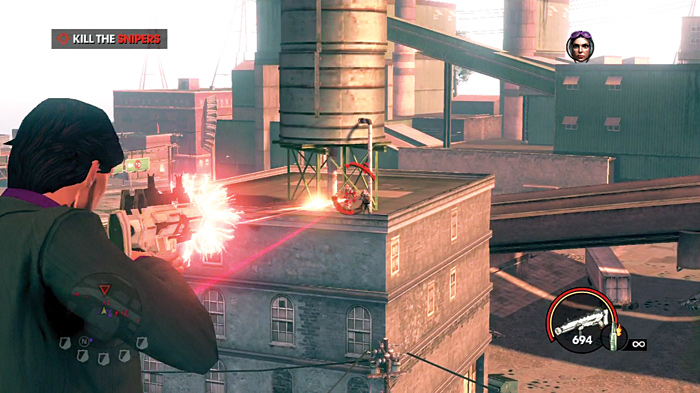
The south side is a hotbed of activity as snipers join the attack from nearby roofs. Use your sniper rifle if possible, or just take them out with any weapon you have handy. Only two sets of two snipers appear on the rooftops. Kill off the squad on the left and then the men to the right.
Return to the North Side
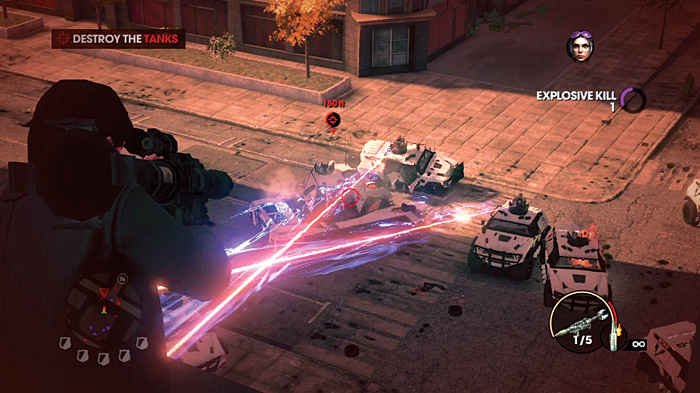
STAG resume the assault on the north end with tanks. Run over to deal with the threat and make sure to pick up rocket ammo if needed. Without the car bombs, it is going to be significantly harder to clear the streets. The opposition below is overwhelming and if you take too much damage, pull back from the window to heal before resuming the attack. Many armored vehicles are shooting at you, but the objective is to destroy the three tanks that arrive from the left and right side as we down the middle road.
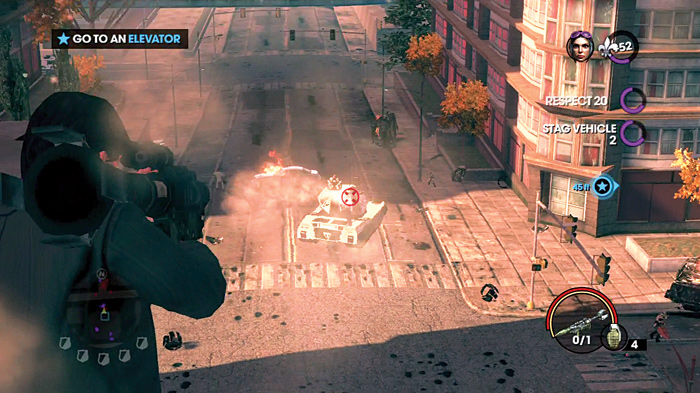
Pierce finally returns to the HQ with the new toy he promised earlier. The tough part will be getting the new gadget as he pulls up amongst the tanks and STAG onslaught. The goal is to get Pierce upstairs but that is not going to be possible with the heavy offense STAG is laying down. Follow Pierce’s car from the north window and use the RPG to get rid of the tanks and vehicles in his immediate vicinity before Pierce gets killed.
Run Outside to Save Pierce
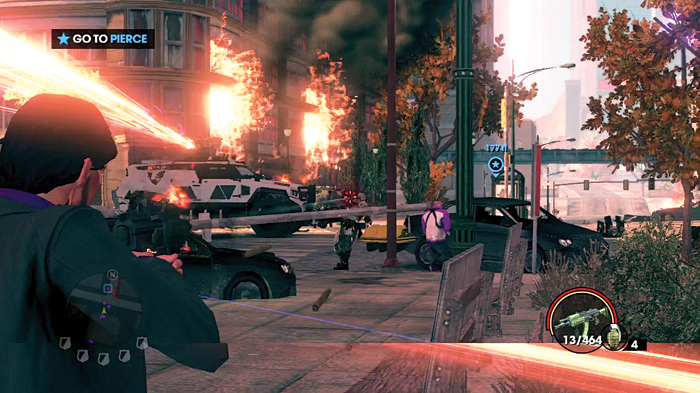
Go downstairs to try to bring Pierce inside the building. STAG resistance makes it a very tough proposition to help your friend. Running through the mayhem will send you to an early grave. This is going to require a bit of guts and tactics to get both men back into the building alive.
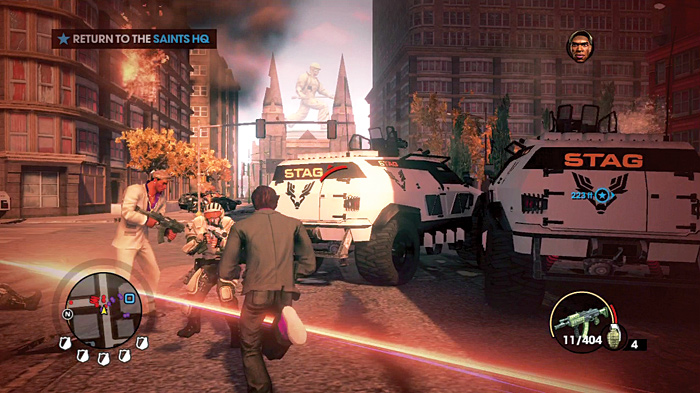
Look for Pierce’s location on the HUD and stick to the left side to retrieve him. Take cover and work as fast as possible to eliminate any soldiers between you and Pierce. When you get close, sprint to him and offer some protection until the objective changes to “Return to Saints HQ.” At this point, you can make a mad dash to the building even if Pierce it still floundering around.
Use the New Toy
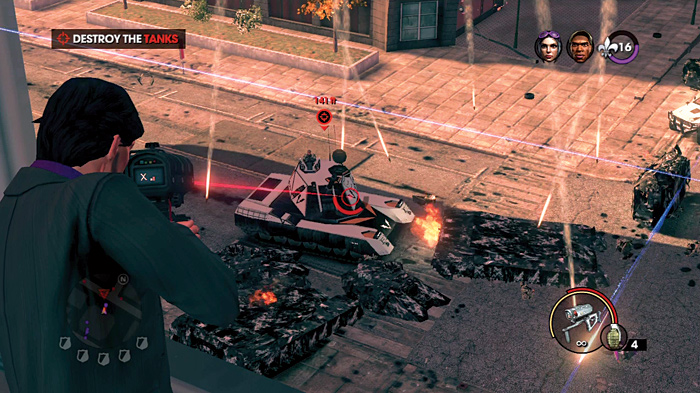
It was a big risk running out into the streets, but Pierce’s new toy is worth it. He brought back an SA-3 Airstrike weapon that has unlimited ammo for this mission. Equip the new weapon and go to the northern windows to try it out on the tanks below. The weapon requires a short time to fill up a curved red gauge to mark the target for an airstrike, but it is worth the wait when a barrage of rockets rains down from above. Use the new weapon to wreck the tanks that arrive on the scene.
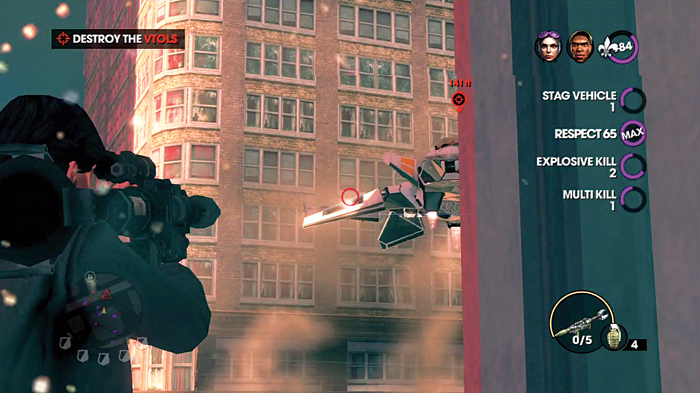
If tanks weren’t enough to contend with, STAG unleashes some F-69 VTOL jets to make your life miserable. The fighters might be an offensive powerhouse but they are easy to take down with a single rocket from the RPG. If you run out of rockets, make sure to take cover from the deadly laser beams while you chip away at them.
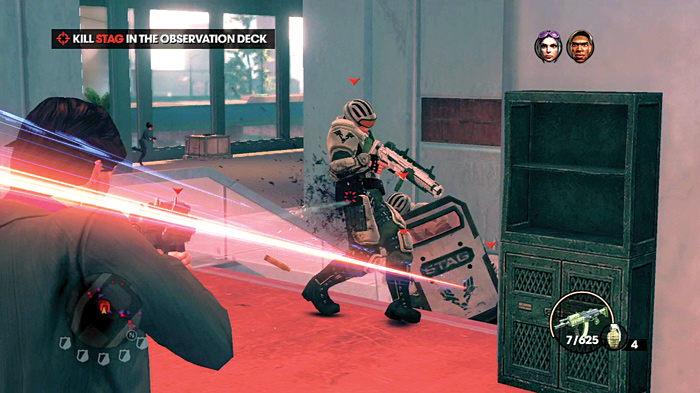
Bring down all the fighters and contend with the troop of STAG that advance on the observation deck. Check the minimap for the highlighted enemies and hunt down the STAG forces. Circle around the deck clockwise and you might get the jump on them as they advance on your former position. Kill the key soldiers and go to the elevator to head up to the penthouse.
Player’s Choice
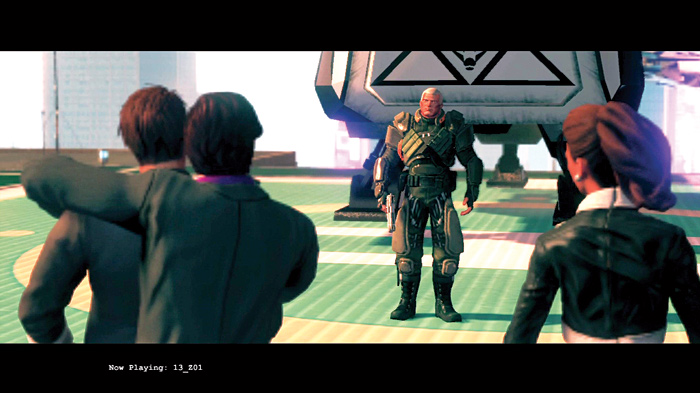
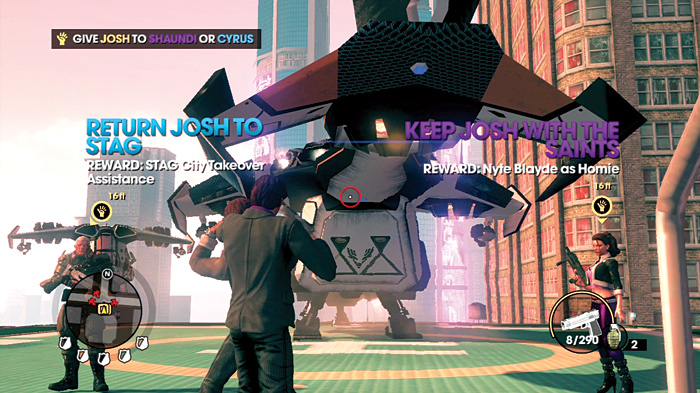
From the penthouse, go outside and across the pool, near the heliport, to find Shaundi. Commander Temple has the place surrounded, but you still have their poster boy at gunpoint. This standoff give you two options although the choice seems pretty clear. The first option is to keep Josh with the Saints and make him a homie. The other, more logical, choice is to release Birk to the STAG commander and he will go and harass the Syndicate for a while. Cyrus is a true solider and has to follow his orders to attack the gangs of Steelport. But where he focuses STAG’s firepower is up to him. The choice seems pretty clear: keep the annoying actor, or give him back and as a reward gain control of entire hood of Steelport. Easy choice!