
Saints Row: The Third Guide Walkthrough Activities
Guardian Angel
Guardian Angel
These two activities are actually tied directly into the story line, but unlike the majority of the story missions, they can be done repeatedly by going to their activity icons on the map.
Guardian Angel—Pierce (#7)
Location: Henry Steel Mills
Difficulty: Easy
Cash Earned: Cash Earned: $2000
Respect Earned: 200
Rewards: 2% Morningstar District Control—$44 per hour
Despite the difficulty rating, this mission is fortunately about as straightforward as anything gets with the Saints involved. Pierce needs you to escort him to the target building, and how can he possibly top you in a helicopter with unlimited rockets? The answer is: He can’t.
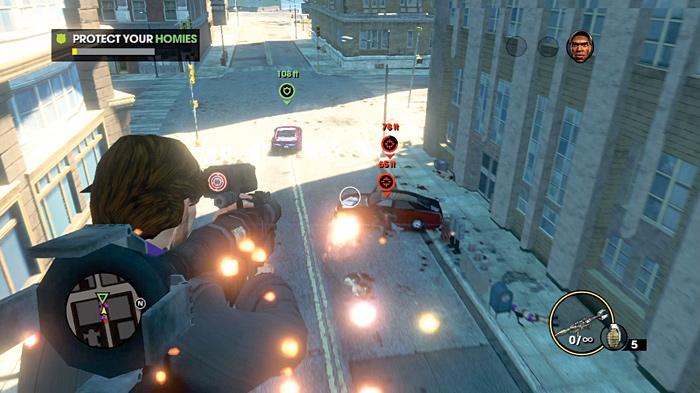
The helicopter pilot is good and gives you a generally steady flight path for the first half of the mission, leaving you able to concentrate totally on giving the Morningstar much deserved deaths as they drive in from various alleys and side streets in front and behind Pierce’s car as he rolls toward his destination.
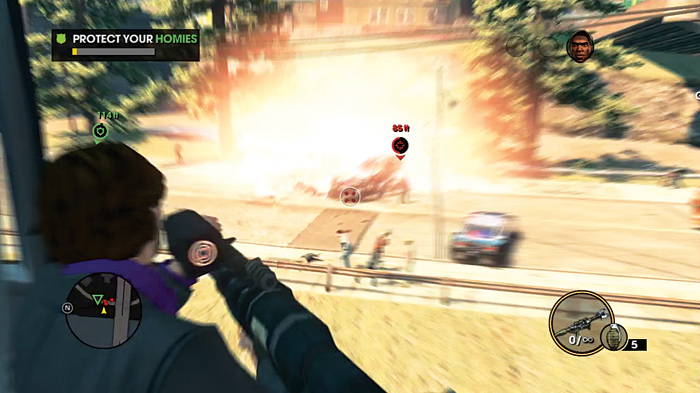
For the most part, you are likely a greater threat to him than the Morningstar are. Fire your rockets carelessly, and you can take out your homie’s car in one or two direct hits! Try to kill the Morningstar cars before they get too close, as their deaths can also harm Pierce. If they do get too close, try to place a shot close to their vehicle while also being as far from your homie as possible.
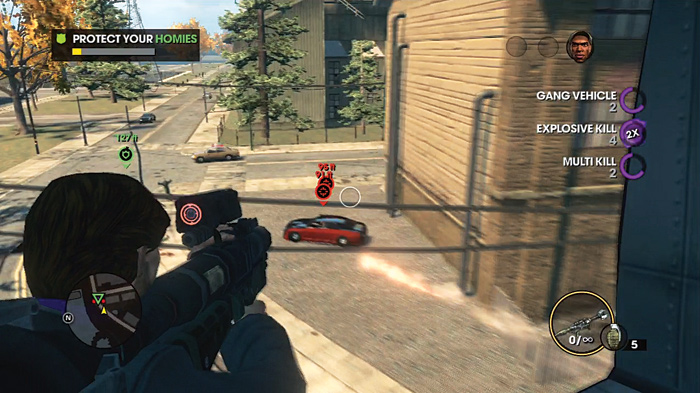
Any car that is designated with a small red arrow and target sight on the HUD is a target vehicle that is directly threatening Pierce. You might see other blips on the ground, but unless they are directly called out, you can ignore them.
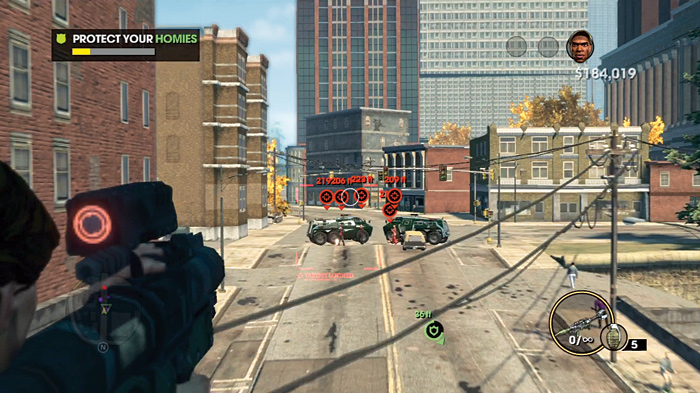
Eventually, Pierce will inform you of a roadblock with significant Morningstar presence waiting for him. This is the first legitimate threat they present to him, which is easily remedied by planting a rocket in the hood of one of the vehicles at the center of the blockade.
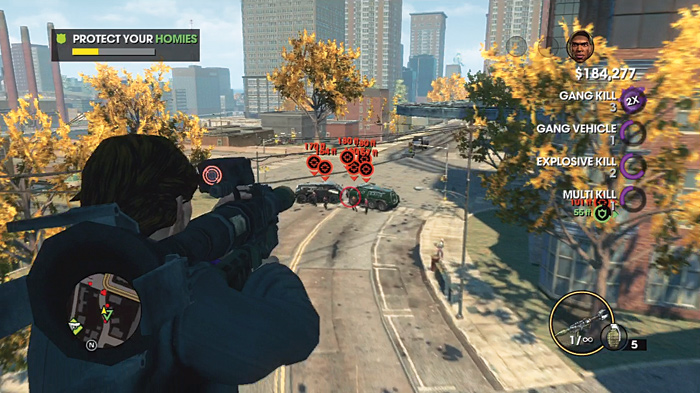
A short time later, a second roadblock is called out for destruction, and once Pierce blows past the debris and crosses onto the bridge, you’ll be in the second phase of the mission.
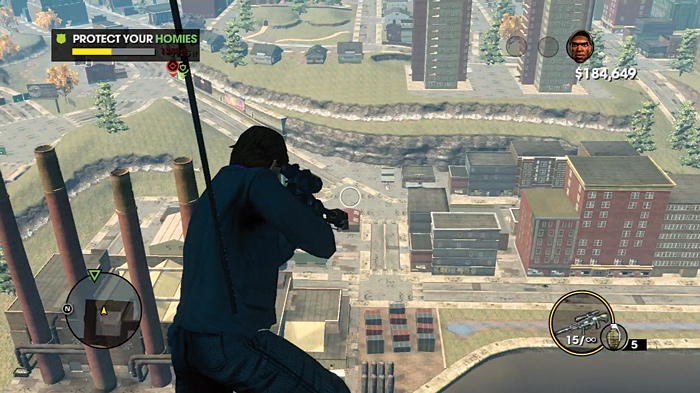
The helicopter lands atop a skyscraper facing across the river toward where Pierce is headed, making the rocket launcher worthless. Fortunately, you have a high-powered sniper rifle for this next bit. If you’ve been diligent in clearing out the enemy, Pierce will clear the bridge unmolested. If not, the moment you have the rifle ready, zoom in and try to take out the vehicles. Three to five shots from the rifle will take care of them.
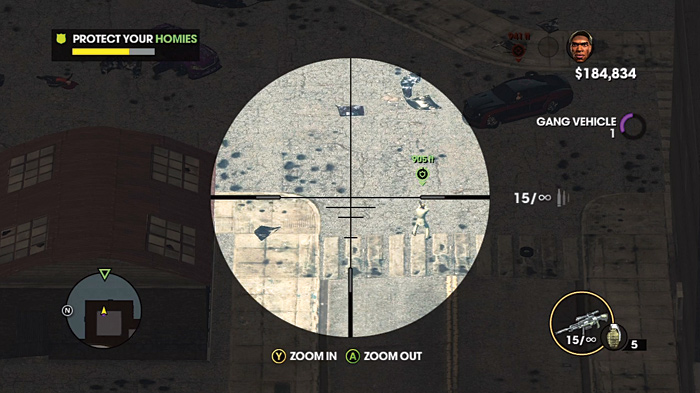
As Pierce approaches the target building, he exits the vehicle and proceeds on foot. Morningstar ambushers continue to dog him, driving up in their vehicles and jumping out to attack him.
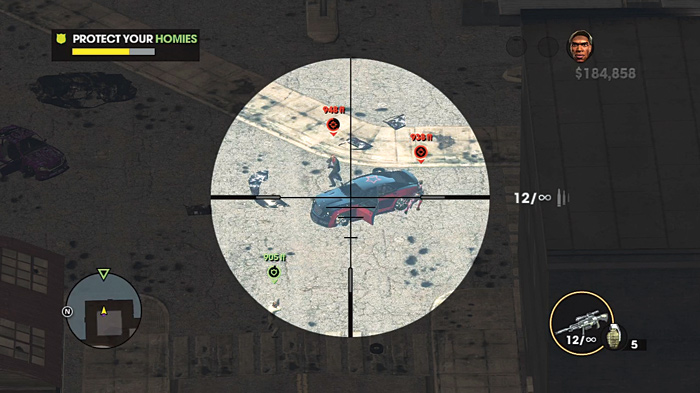
You can thin the odds by killing the driver and passenger of each car before they even exit, or just destroy the car with direct fire. Try to not stay zoomed in, as that cuts down how fast you can shift your aim to deal with new threats.
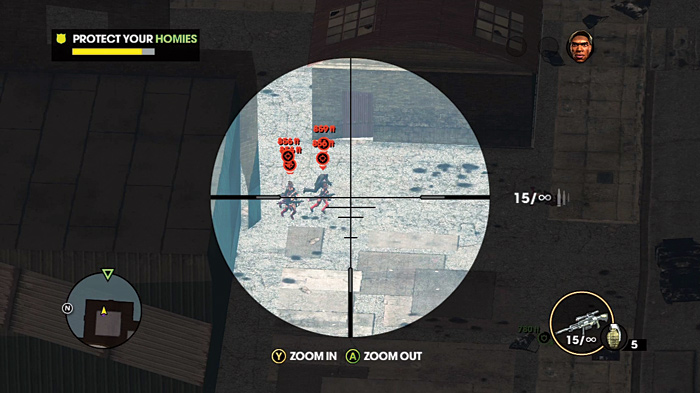
Eventually a group of Morningstar rush from a factory to your left on the street Pierce is running through, and two more cars join them. By this point, the protect your homies meter should be nearly full, and when these punks go down, you’ll clear the mission.
Guardian Angel—Kinzie (#8)
Location: Ashwood
Difficulty: Hard
Cash Earned: $6,000
Respect Earned: 600
Rewards: 2% Deckers District Control—$66 Per Hour
Kinzie’s hacking antics have made her a very attractive target for the Deckers, and she requests your help. You offer to come directly to her, but she has something different in mind. It’s time for another date with a helicopter, a sniper rifle, and unlimited rockets.
You start this Guardian Angel mission already dangling from the side of a building, sniper rifle out. Kinzie is in the distance with several Saints guarding her.
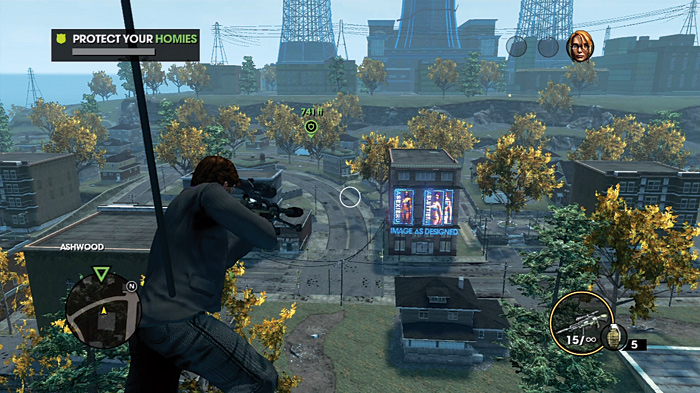
Deckers begin pulling up in their vehicles much like the Morningstar did in Pierce’s Guardian Angel mission, but the Deckers’ cars are a bit more durable, so taking them out with direct fire is a bit more time consuming. Try to plug passengers and driver before they exit the vehicle to thin the odds. If you clear a wave of enemies, zoom out so you can move quickly toward the next group once they drive into view.
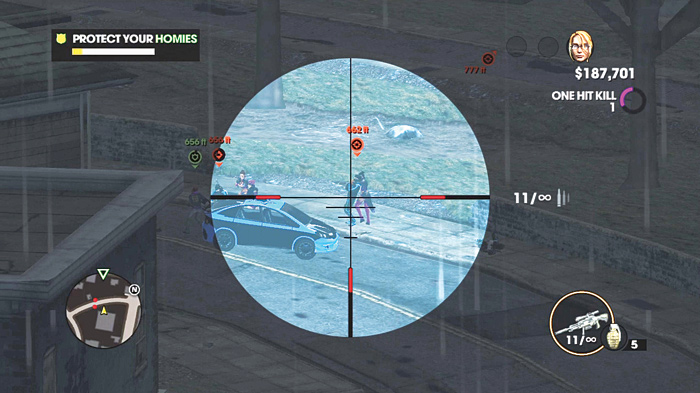
You’ll find that the Deckers are much more persistent and numerous than the Morningstar were, so quickly you may find yourself overwhelmed by targets. Don’t waste shots; wait for the enemy to stop moving before feeding them a sniper shot.
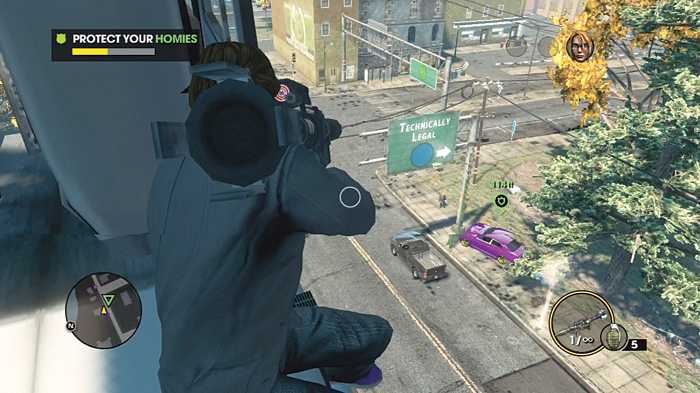
Eventually, Kinzie and any surviving Saints enter the getaway vehicle (in a very discreet purple), and you will be pulled on board the helicopter to take up your rocket launcher once more.
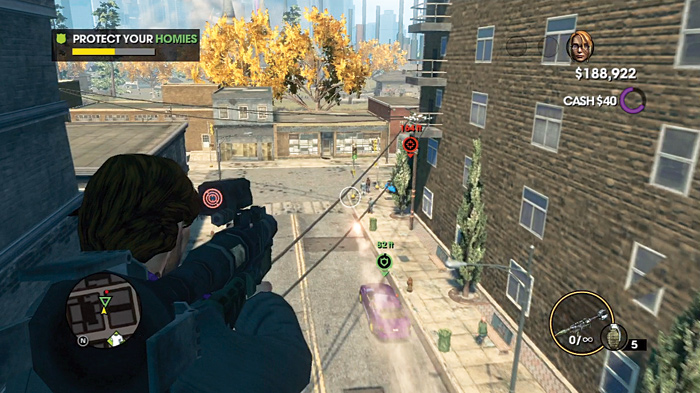
The pilot again will maintain a reasonable, steady flight path, so it’s on you to take out the Deckers before they get to close to Kinzie. The same rules from before apply: Take them out as far away from her as possible, and watch your fire. The Deckers have rockets of their own, and that presents a grave threat to your homies. If they are chasing them down for long enough, they will take accurate and repeated rocket shots, so you cannot be lax.
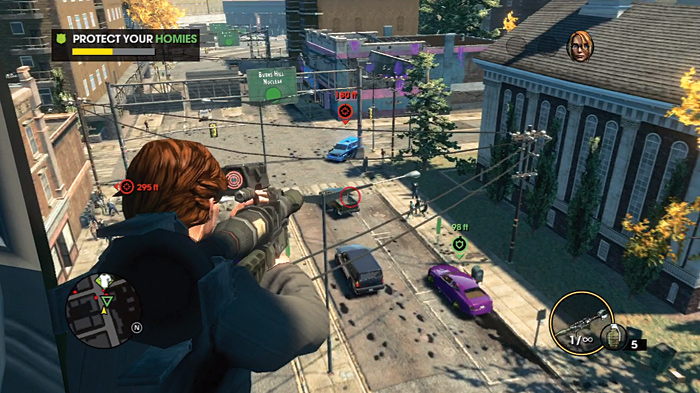
They also bring out heavier vehicles that can survive a direct hit from the rocket launcher—a dangerous situation as Kinzie’s driving skills are only slightly better than her social skills, and she tends to plow into them, making a follow up shot a dicey proposition. Worse yet, her drive is longer than Pierce’s was, so if she takes too much damage early on, you might have difficulty protecting her in the last legs of the mission.
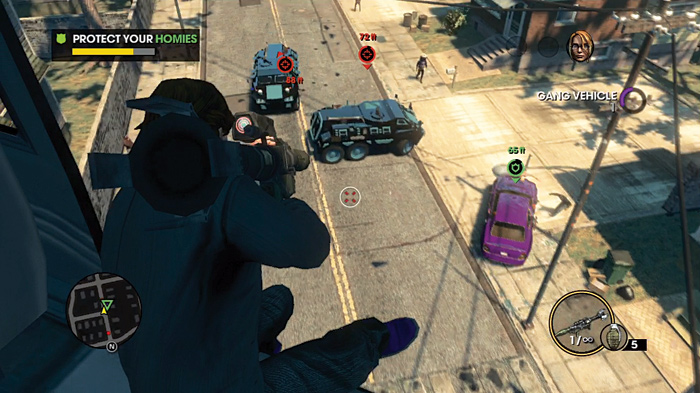
Once the protect meter is full, the mission is complete!