
Saints Row: The Third Guide Walkthrough Campaign
Mission 6: Guardian Angel (Pierce)
Cash Earned: $6,000
Respect Earned: 600
Rewards: 2% Morningstar District Control—$41 per hour
Activity Objectives: Protect Pierce
Drive to the Safe Deposit Boxes
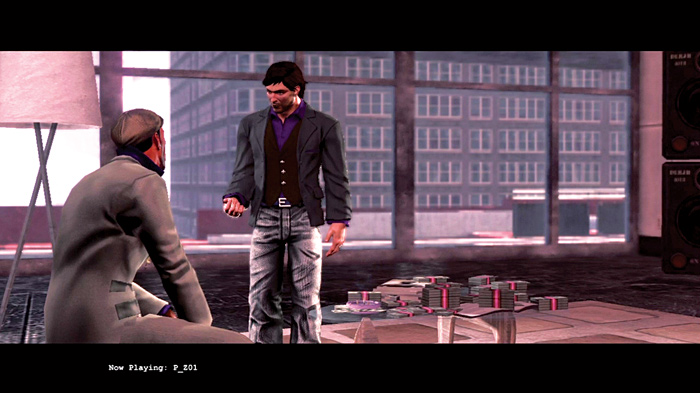
After taking over the Morningstar penthouse, Pierce finds a set of keys to a bunch of safe deposit boxes. There are certainly some important goodies tucked away in those private stashes and there is only one way to find out what’s inside. The Morningstar gang knows what they left behind and will not make it easy for Pierce to get to the these boxes. Your job is to provide protection for Pierce, utilizing a helicopter and a rocket launcher.
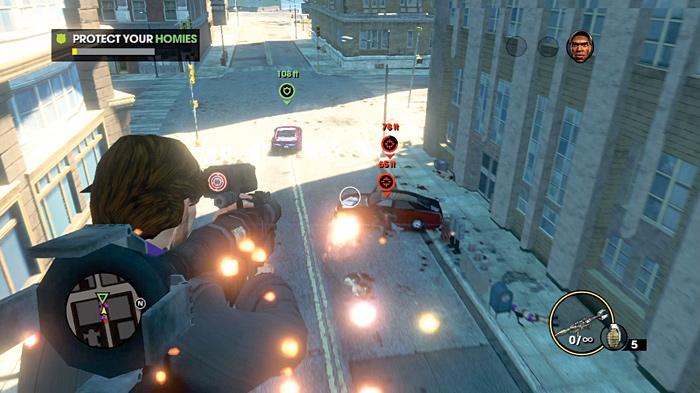
The helicopter pilot is good, and will give you a generally steady flight path for the first half of the activity. Steering the helicopter is taken care of for you. Having someone else pilot the chopper leaves you able to concentrate completely on giving the Morningstar much deserved deaths as they drive in from various alleys and side streets in front and behind Pierce’s car while he rolls toward his destination.
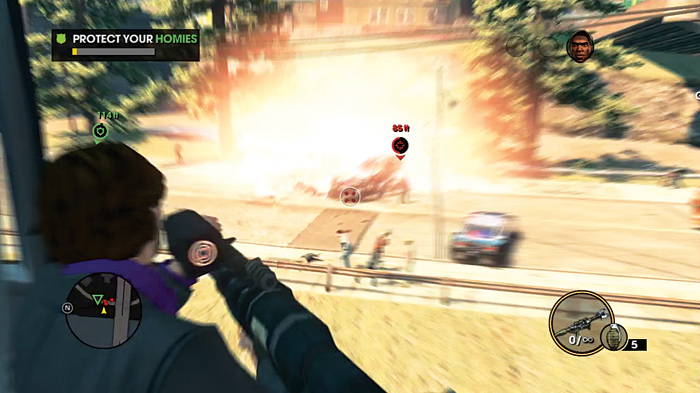
For the most part, you are likely to be a greater threat to Pierce than the Morningstar are. Fire your rockets carelessly and you can take out your homie’s car in one or two direct hits! Try to destroy the Morningstar cars before they get too close to Pierce, as a blast from their deaths can cause significant damage to your homie. If they do get in close proximity of him, try to place a shot close to their vehicle but as far from Pierce as possible.
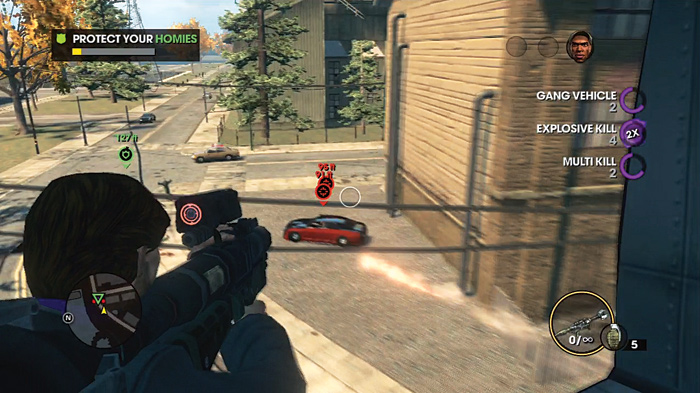
Any car that is designated with a small red arrow and target sight on the HUD is a target vehicle that is directly threatening Pierce. You might see other blips on the ground, but unless they are directly called out, they are not a major concern.
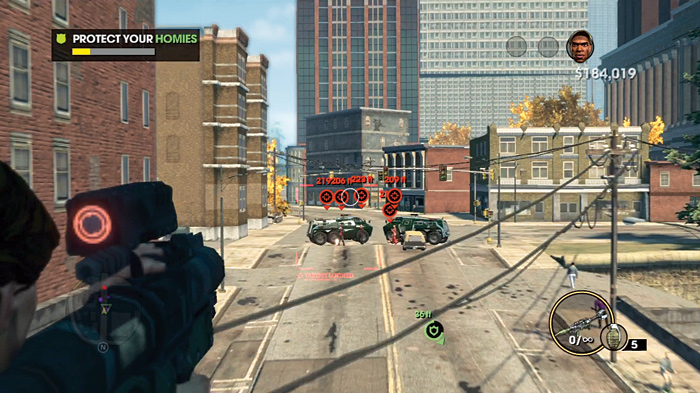
Eventually, Pierce informs you that a roadblock with significant Morningstar presence is waiting for him. This is an impassable barrier that can easily be remedied by planting a rocket in the hood of one of the vehicles at the center of the blockade.
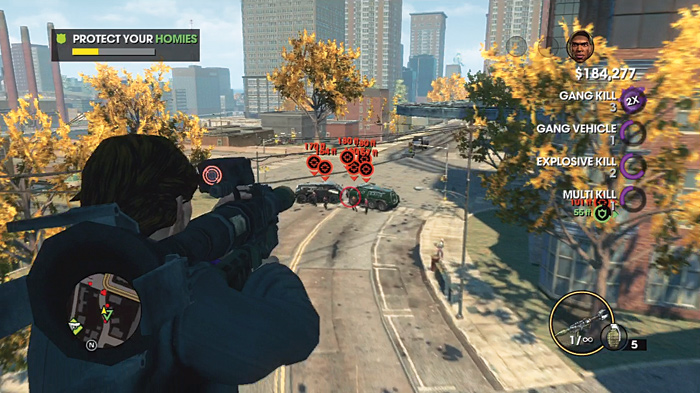
A short time later, a second roadblock is called out for easy destruction. Once Pierce blows past the debris and crosses onto the bridge, you’ll be in the second phase of the activity.
Cover Pierce As a Sniper
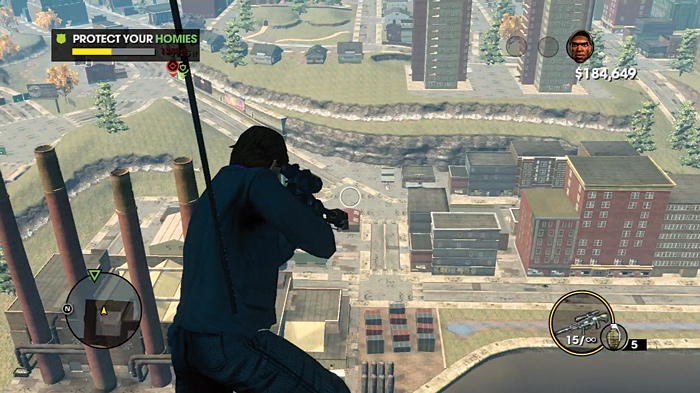
The helicopter land atop a skyscraper facing across the river to where Pierce is headed, making the rocket launcher pointless. Fortunately, you have a high-powered sniper rifle for this next scenario. If you’ve been diligent about clearing out the enemies, Pierce can clear the bridge unmolested. If not, the moment you have the rifle ready, zoom in and try to take out the vehicles. Three to four shots from the rifle will take care of the enemies before they can leave their cars.
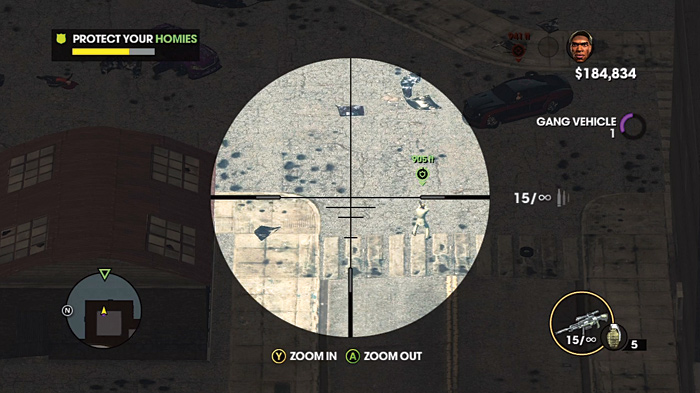
As Pierce approaches the target building, he exit the vehicle and proceeds on foot. Morningstar ambushers continue to dog him, driving up in their vehicles and jumping out to attack him.
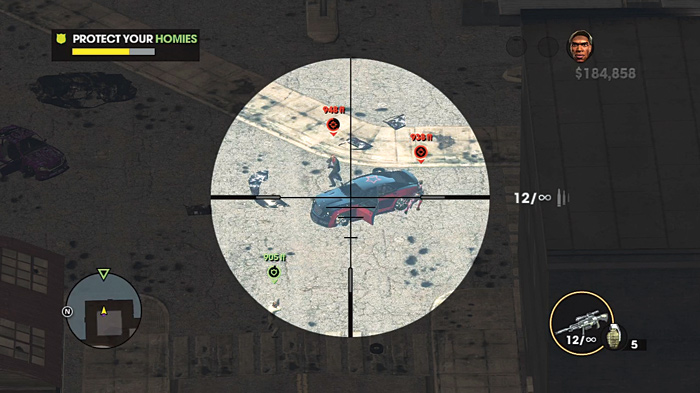
You can thin the odds by killing the driver and passenger of each car before they even exit the vehicle, or just destroy the car with enough direct fire. Try to not to stay zoomed in, as that cuts down how fast you can shift your aim and locate new threats.
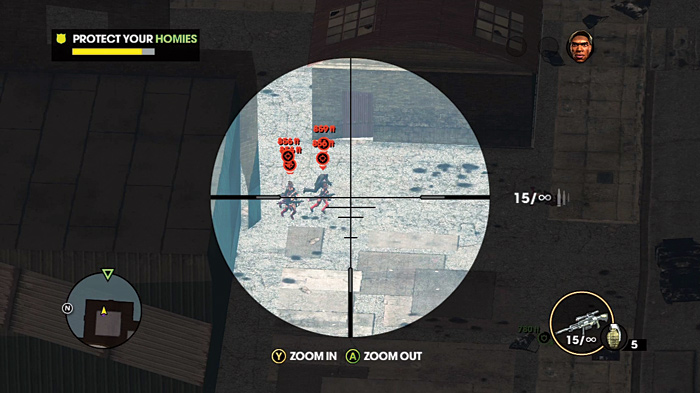
Finally, a group of Morningstar rushes from a factory to your left, on the street Pierce is running through, and two more cars join them. By this point, the protect your homies meter should be nearly full, and a few more quick sniper shots should allow Pierce to reach the lock boxes.