
Saints Row: The Third Guide Essentials Saints Book
Vehicle Theft
Beyond the Assassinations you can take up and the Challenges you can beat, Saintsbook provides citizens of Steelport with the ability to request Vehicle Thefts handled by the Saints. Why should the people of Steelport steal something themselves when they can hire the most influential gang in the history of the world to do it?
Steelport has five major chop shops (not including the chain of Rim Jobs you can purchase for the Saints) that all want in on your services. Each shop offers six jobs, with the difficulty increasing at each level, with some that are available only later into the story, when the STAG initiative has made it’s presence felt in the city. Others may appear at other points in the story line.
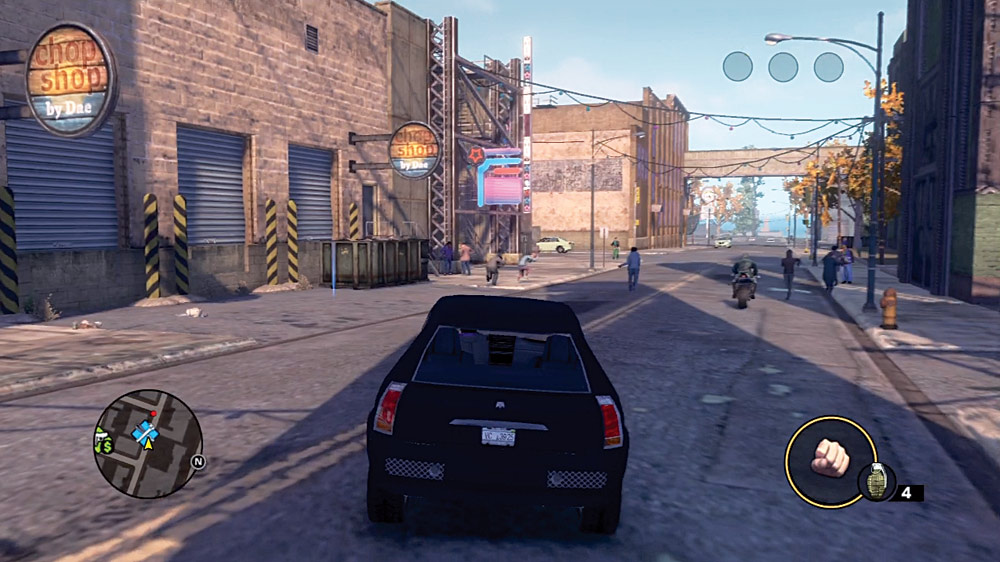
All Vehicle Thefts begin by selecting a target on your cell phone, then driving out to the hood the vehicle is said to be in. Your minimap will eventually indicate where a target vehicle has been spotted. Once you locate it, take it back to the chop shop, which will be marked on the GPS as soon as you steal it. As you have come to expect by now, very little in Steelport goes smoothly. There are always “snags” to consider when you’re on assignment.
Tips and Hints for Any Theft
Most of the vehicles you’re asked to steal are not parked some place in particular. Some are, and those are often under some form of guard, but most of the time you’re going to be jacking the vehicles from some very upset drivers. When you pick a job, you’re typically given the only the neighborhood the vehicle generally appears in, and that’s it. Read the text for the assignment to determine if it’s actually parked somewhere specific.
The cops and/or gangs will be on top of you the moment you take the target vehicle, at increasing levels of notoriety depending how far along the list you are for each chop shop. This can be problematic, to say the least, especially if you take on jobs while STAG is in town. You’re going to be shot at either way, which reduces the value of the vehicle. But STAG firepower has a much higher propensity to blast you to small glowing pieces, particularly on the slower vehicles you’re asked to steal. With so much incoming fire, combined with any accidents you get into on the way back to a chop shop, you might not make it back alive. This is why you have a cell phone. Call in favors to reduce your notoriety to zero to make these missions manageable.
Map out your own route to the chop shop. While it’s true that the GPS tries to find the direct surface street/air/sea route to any location, this can still get you into some trouble for certain jobs. When STAG raises the bridges to enforce martial law, you’ll find that some ground vehicles have trouble making those new makeshift jumps, especially without nitrous.
Try to avoid making the cops and gangs angrier than they may already be! The limiting factor in these jobs is how much damage you can take, and this can be made a lot shorter if you get more heat on your tail than you are able to deal with. If you’ve called in a favor, try to keep that notoriety down. It’s a real waste of a favor to call off the cops and then run over a patrolman on a street corner!
Drive smart. It sounds obvious but it bears repeating. You might feel the urge to take extreme risks to get back to the chop shop quicker, but remember that you’re rewarded based on the condition of the vehicle not the amount of time it took to retrieve it. If you get back with the ride shot up and bashed up, you may as well not have delivered at all.
Andi Dae
Located in the middle of Salander, deep inside Deckers territory, the Chop Shop by Dae is easy to fly past if you’re in a hurry. Keep track of it on your map as you approach so you avoid missing it. Andi Dae specializes in vehicles built for speed, and failing that, vehicles that can be heavily modded for speed.
Target: Halberd
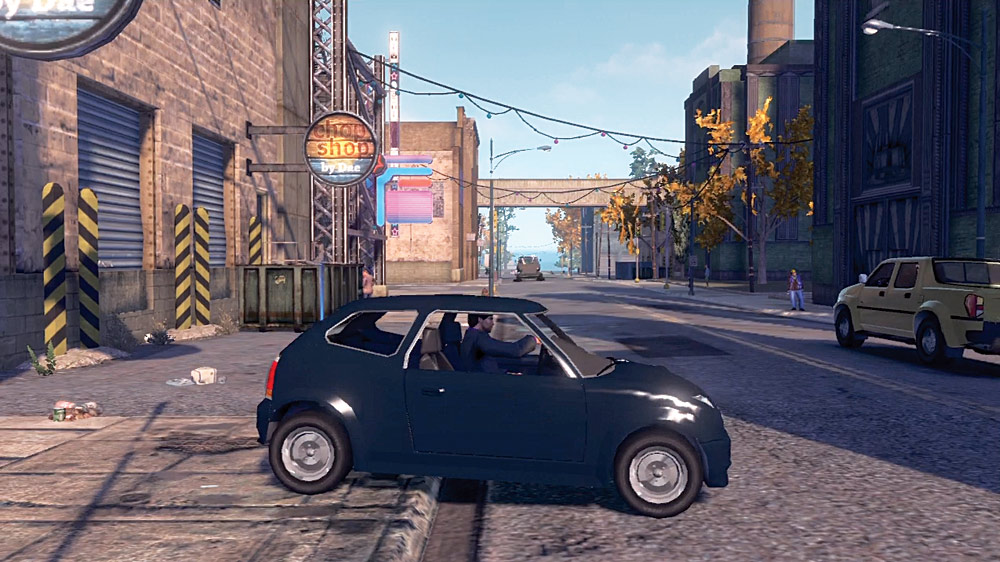
Location: Brickston
Cash Earned: $500
Respect Earned: 100
Overview: Boost me a Halberd
Threat Level: Level 2 police notoriety
“So my shop keeps the best parts in stock for Steelport’s tuners. You can start with a Halberd. It’s short on headroom, but entry level tuners can make it fly, ya know? Look around Brickston.”
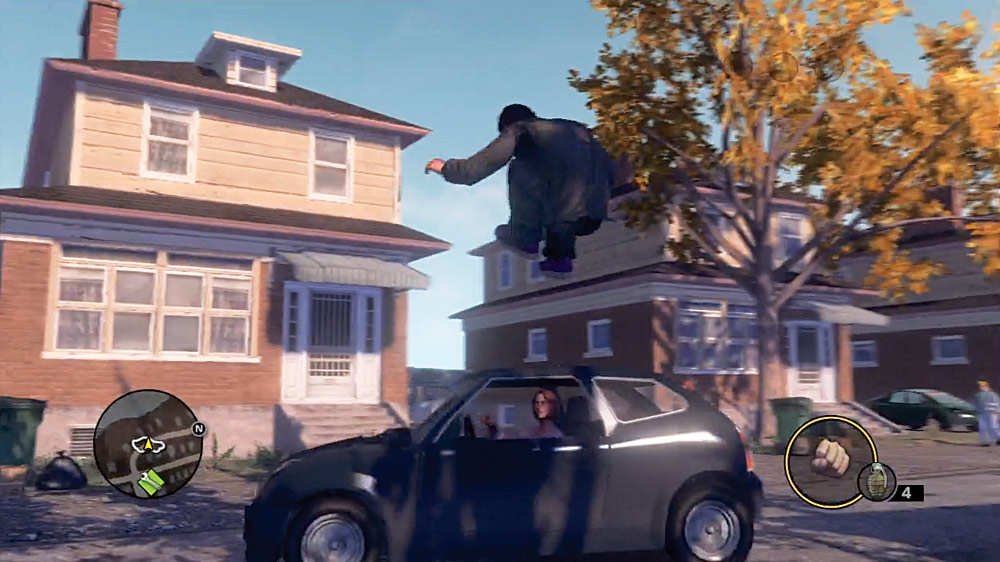
Despite its somewhat homely appearance, the Halberd is a very maneuverable machine, which gives you a good chance to just plain out-drive your pursuers. It’s just not very fast.
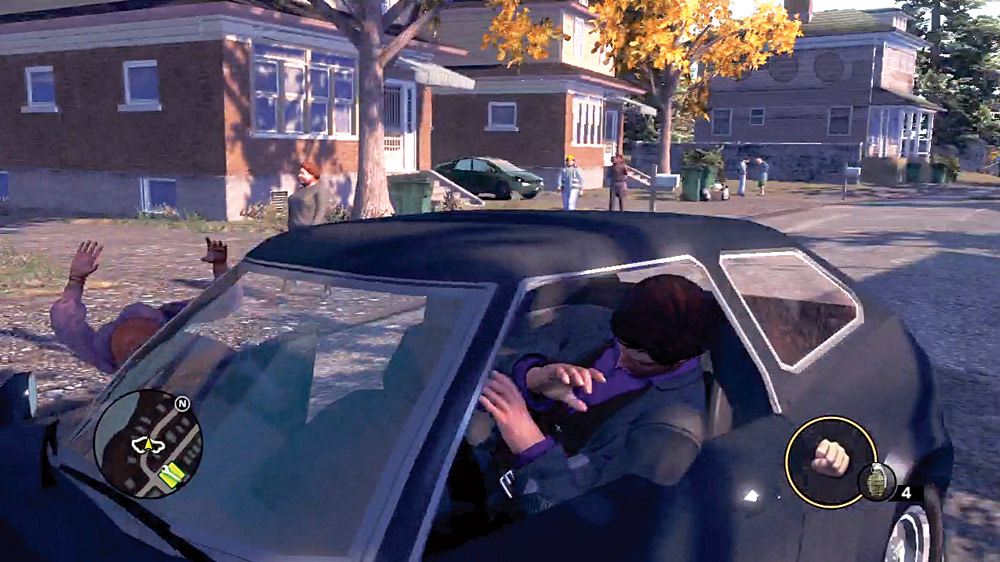
A direct route back to the chop shop isn’t always the best in this car, so try to switch things up with turns to slow the cops down. If you’ve got nerves of steel, the compact Halberd can use tight alleys to shake off persistent cops, but you risk pretty severe damage if you screw up.
Target: Neuron
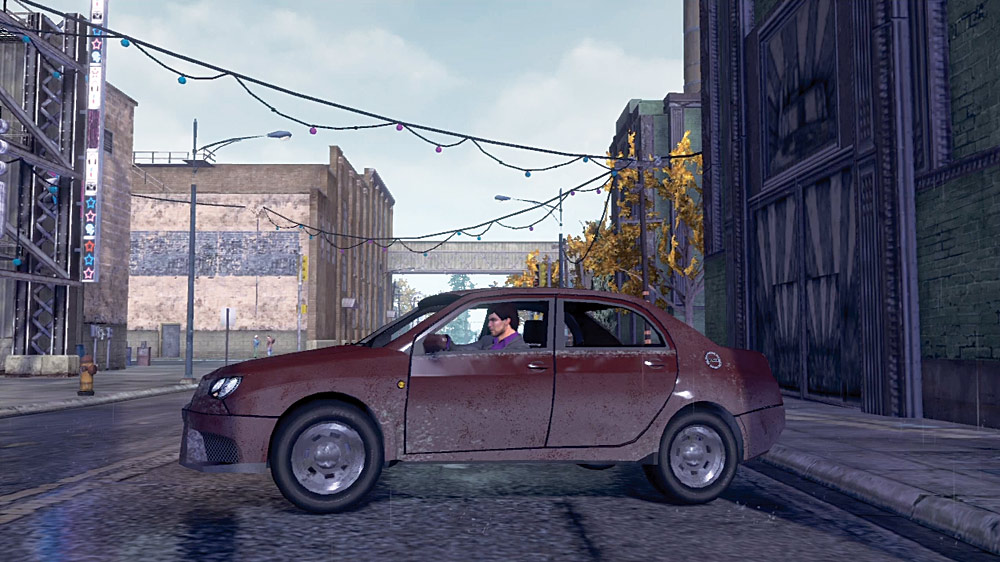
Location: Henry Steel Mills
Cash Earned: $625
Respect Earned: 125
Overview: Grab a Neuron for parts
Threat Level: Level 2 Gang Notoriety
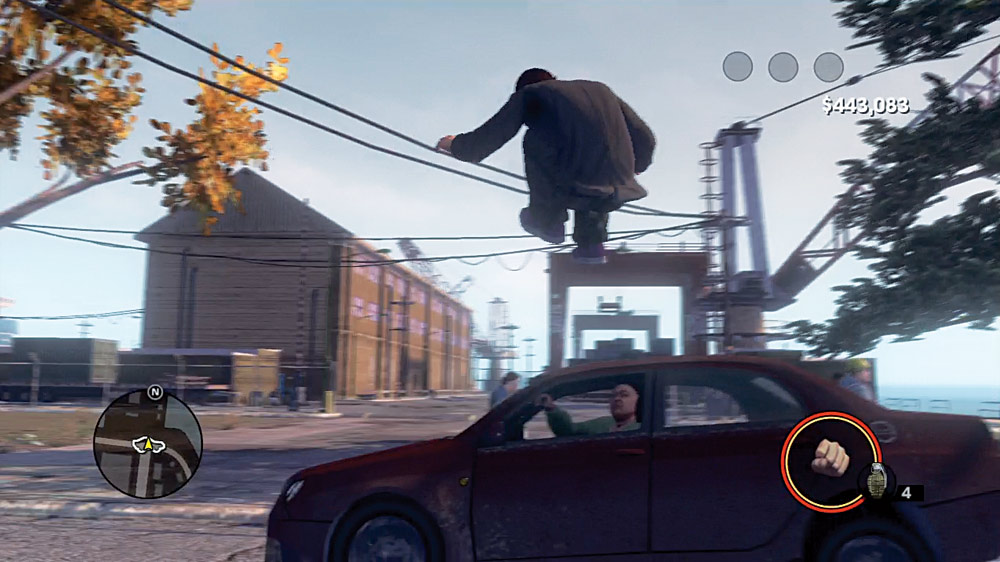
“It isn’t a street race without a Neuron, which kinda makes their parts high-demand items. Look for them around the Henry Steel Mills.”
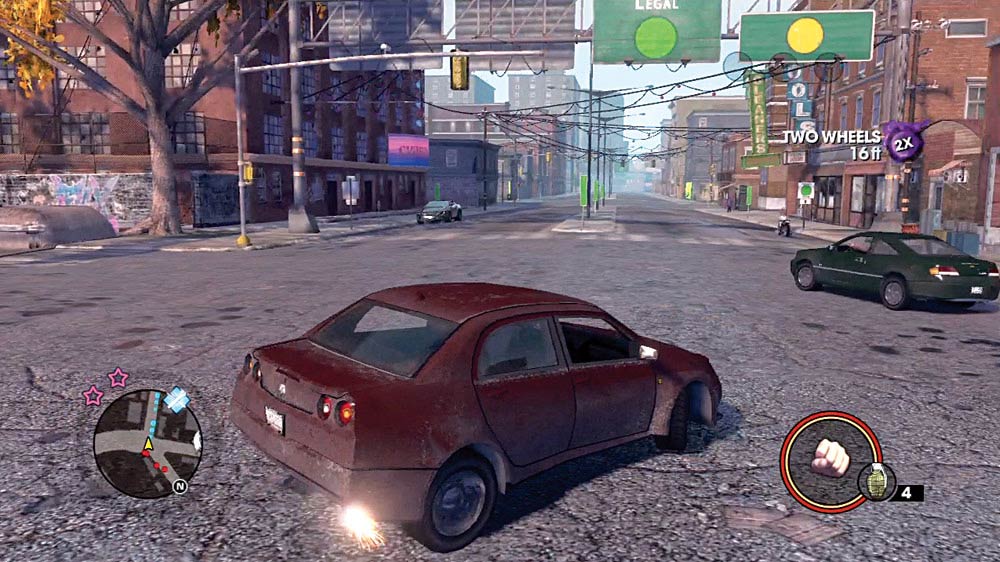
Continuing a trend, the Neuron is an agile ride. Not as small as the Halberd, but quicker in just about every respect. Henry Steel Mills is Morningstar territory, and they will be the ones to take issue with your work. The GPS will likely recommend the major freeway bridge spanning the water on the way out of the Mills, and it’s a good route to take since you can probably outpace your pursuers there. Avoid taking the opposing lane, as the pursuing gangs will be shooting at you, and that makes traffic react quite unpredictably.
Target: Torch
Location: Ashwood
Cash Earned: $750
Respect Earned: 150
Overview: Runner up wants a Torch, too
Threat Level: Level 3 Gang Notoriety
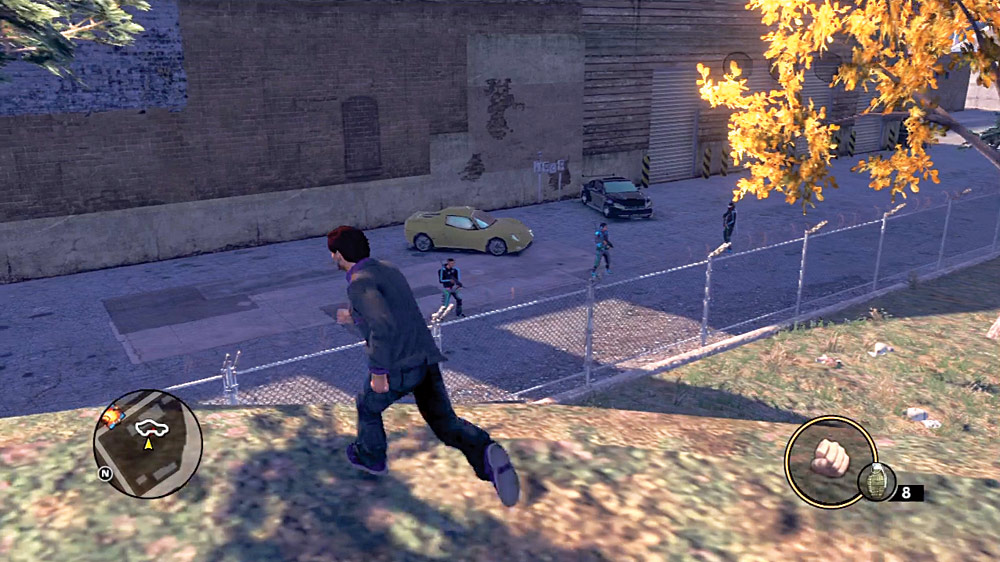
“This particular Torch is Steelport’s street racing champion. Now the sore loser second-place finisher wants it. You’re gonna find it around Ashwood.”
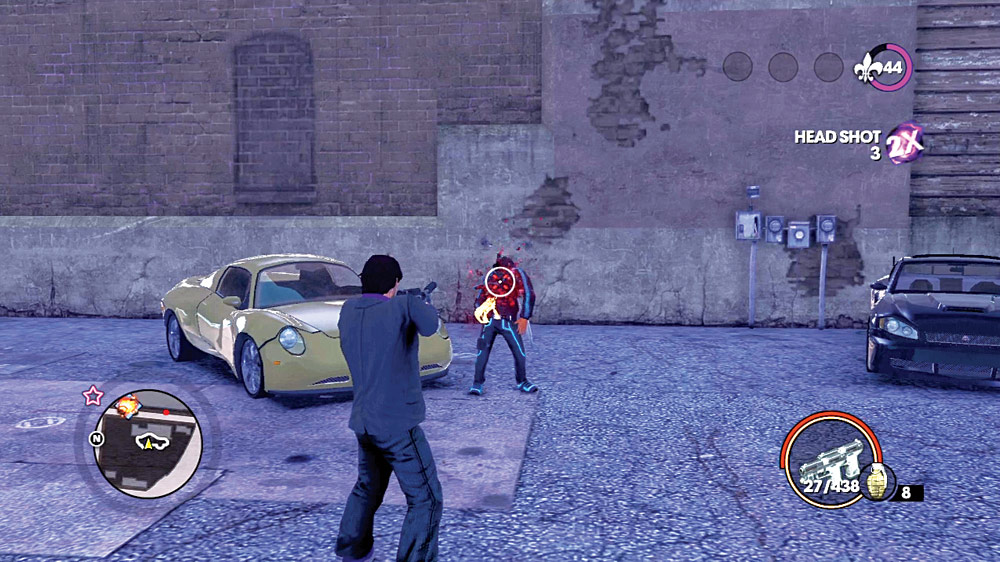
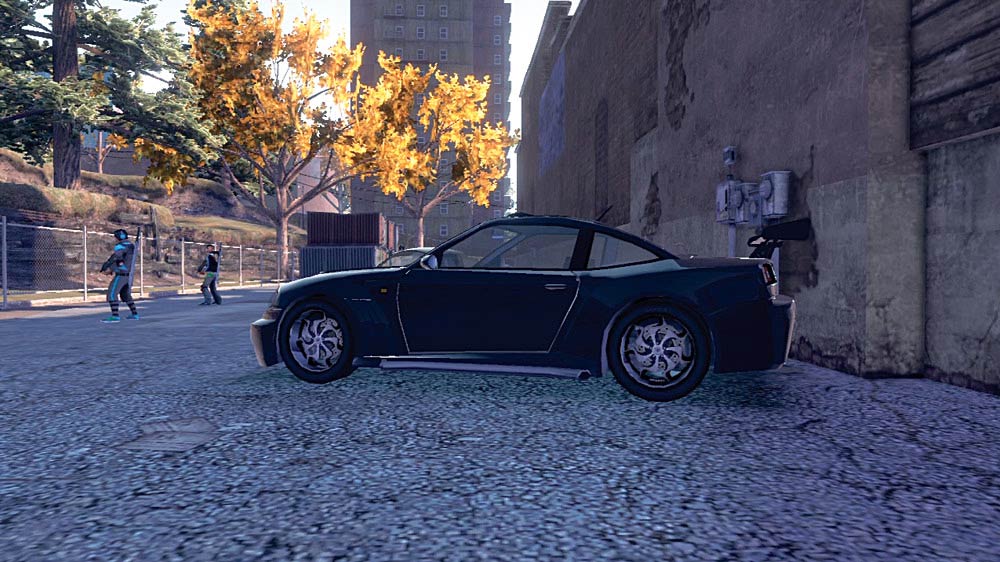
The Torch in question is parked behind a building in Ashwood. If you approach from behind the structure, you’ll notice a group of Deckers patrolling near it. As soon as they spot you, you’ll get a level of notoriety. You can choose to skip fighting them and make a run for the Torch, but either way, you’ll end up with level three notoriety with the Deckers.
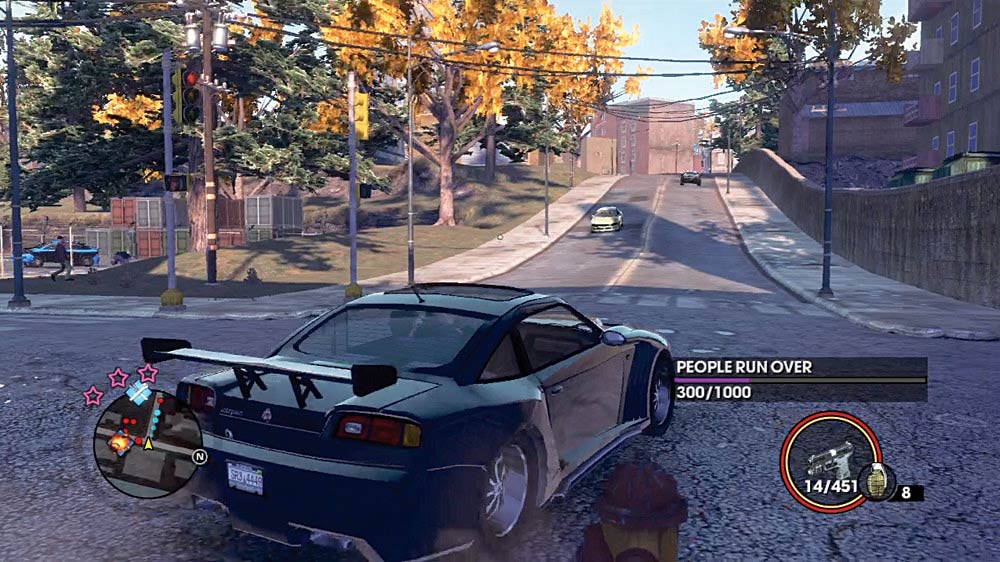
Thankfully, the drive back to Dae’s is short, and the Torch is perfectly equipped for it. It can be a bit squirrely in the turns, but the car is responsive enough for you to compensate for that. It doesn’t take damage too well, so you’ll have to evade the gang and traffic better than you have on the previous thefts.
Target: Vortex
Location: Loren Square
Cash Earned: $875
Respect Earned: 200
Overview: Snatching this Vortex is a win-win
Threat Level: Level 3 police notoriety
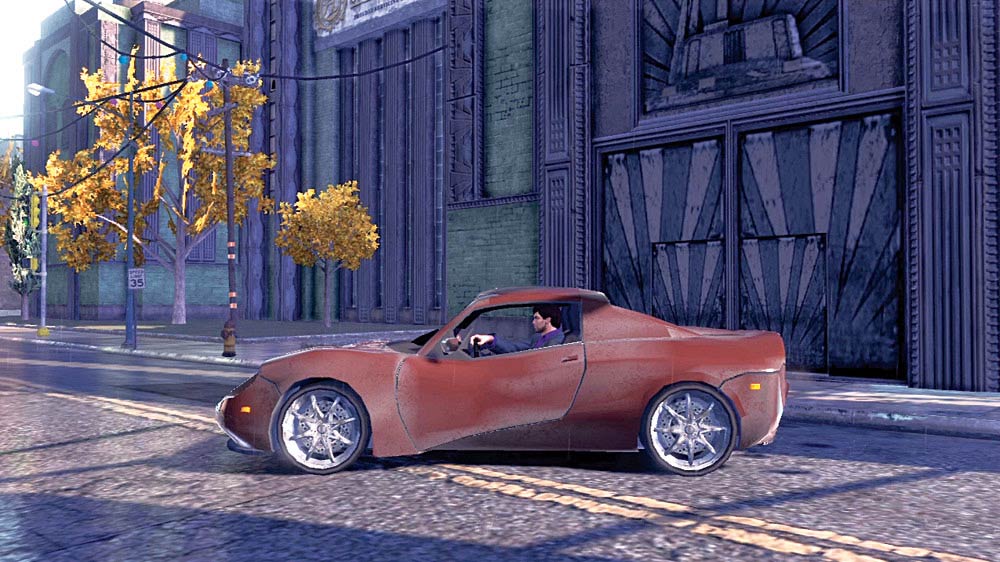
“European roadster styling meets high resale value in the Vortex, meaning, baby, we can’t lose on this one. You can find them in or around downtown.”
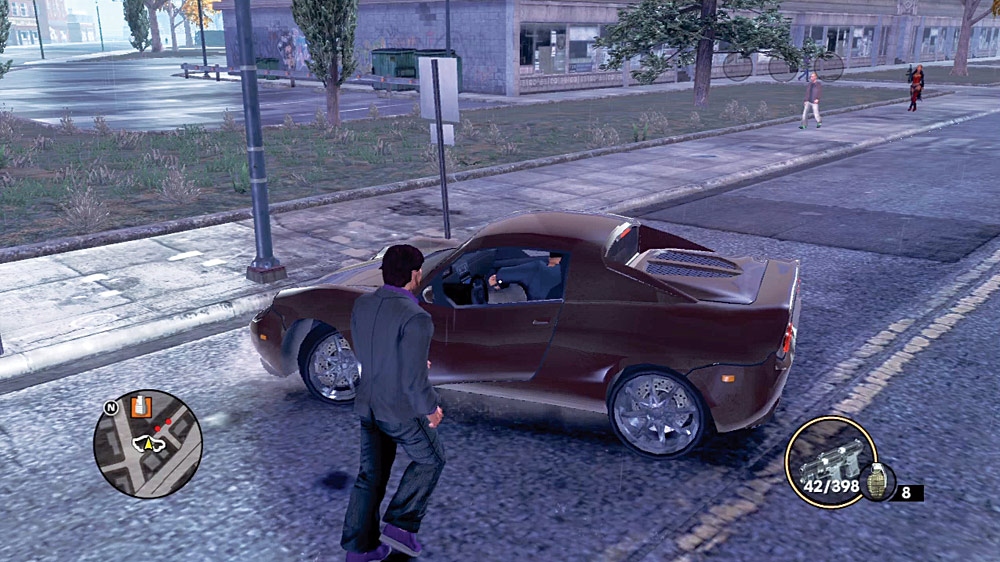
Even faster and wilder than the Torch, the Vortex is one of the fastest cars on the road, which means tracking them down in the downtown area can be a bit of a hassle. The drivers of these cars don’t waste much time leaving you in the dust if you’re not quick to jack the car, so being violently persuasive always helps.
And you will need all of that power and speed of the Vortex. Level three police notoriety brings out the snipers, and in a car as light as the Vortex, it won’t take much incoming fire to turn it to slag.
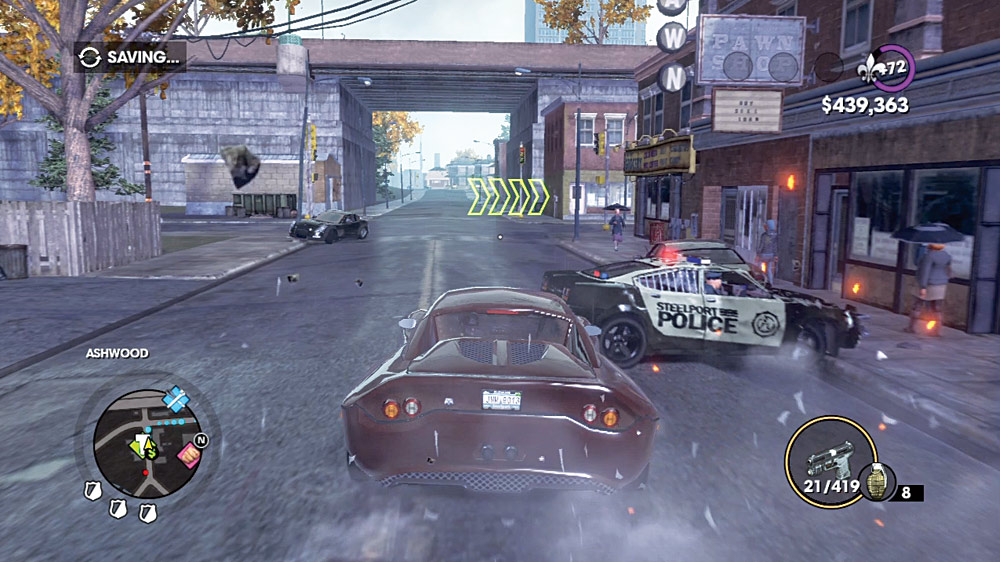
Your margin of error in this car is pretty thin, so your focus on the road needs to be solid. If you have the ability to call off the cops, don’t feel bad if you resort to that. It can help preserve the value of the car and keep you in one piece.
Target: Kaneda
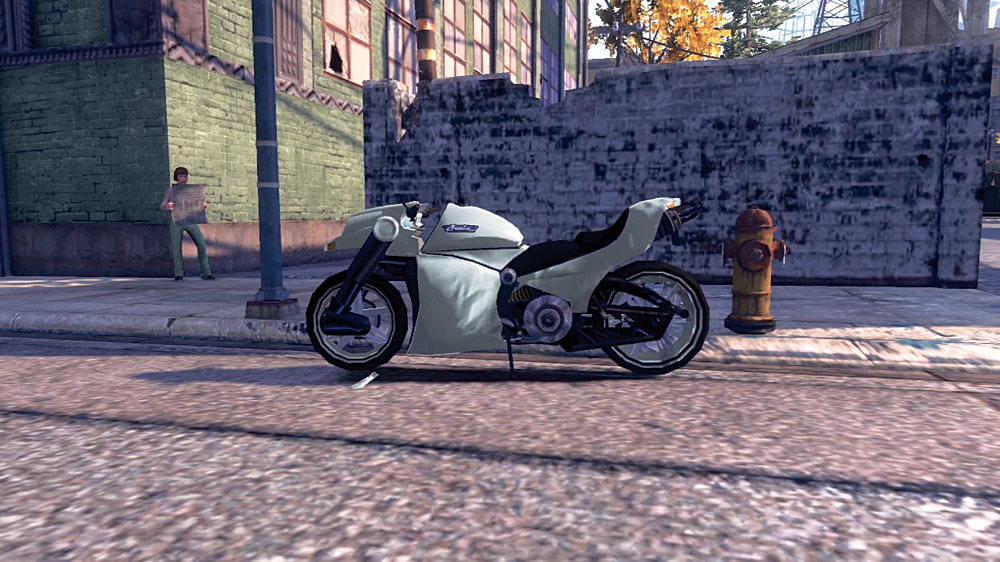
Location: Bridgeport
Cash Earned: $1,000
Respect Earned: 250
Overview: Feel like grabbing this Kaneda for me?
Threat Level: Level 4 Gang Notoriety
“Mint-condition Kanedas bring big bucks on the underground bike racing circuit, if you can catch one. Try looking in Bridgeport.”
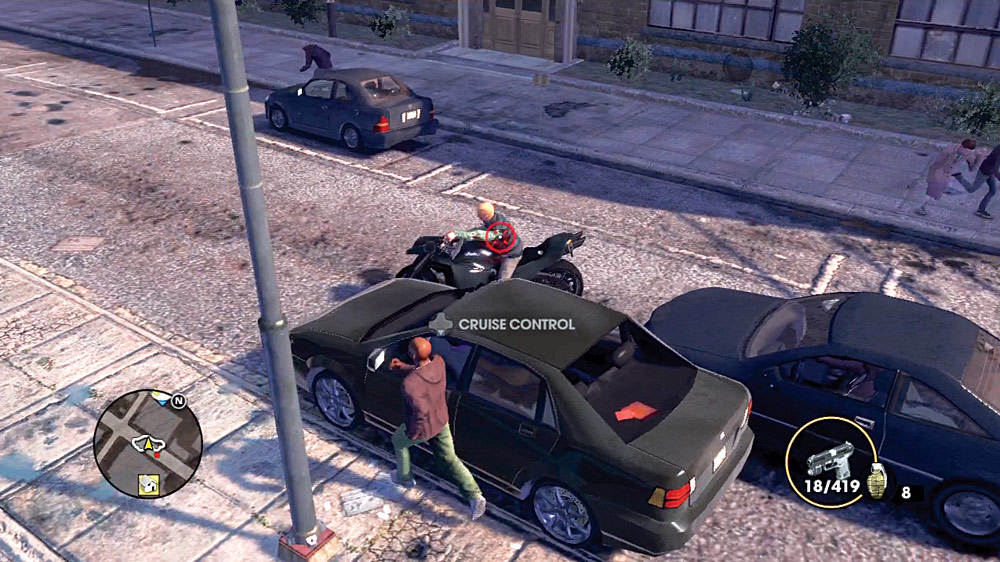
This is one of the hardest Vehicle Thefts in the game, and not simply because the Deckers will be out for blood the moment you steal one. No, no, that’s only part of the problem.
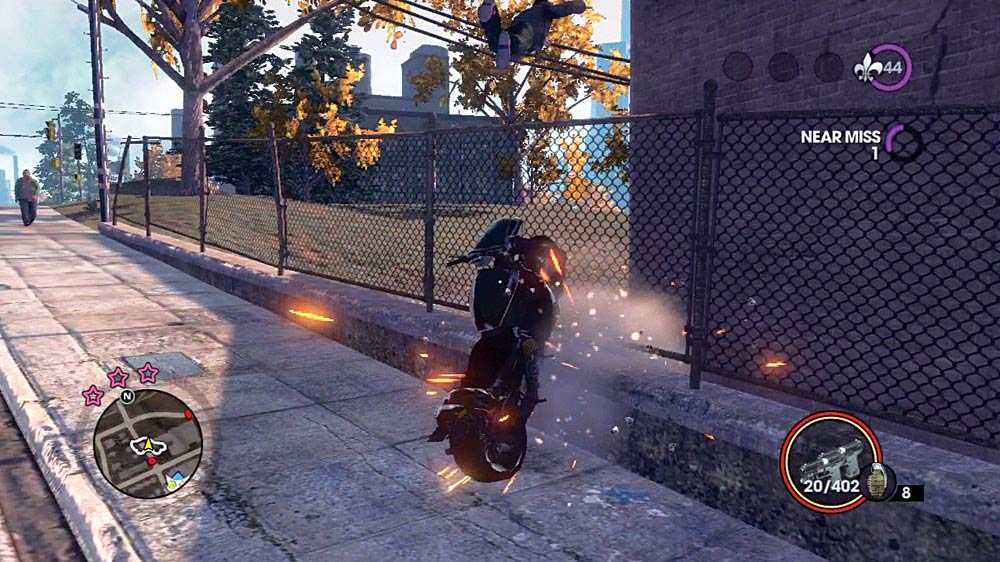
The Kaneda is a superbike. It is ridiculously fast and nimble, almost more than is reasonable to assume it is safe to drive even under less violent circumstances. While under fire, you can expect to lose the back tire very quickly, and it can lead to ... well, see above.
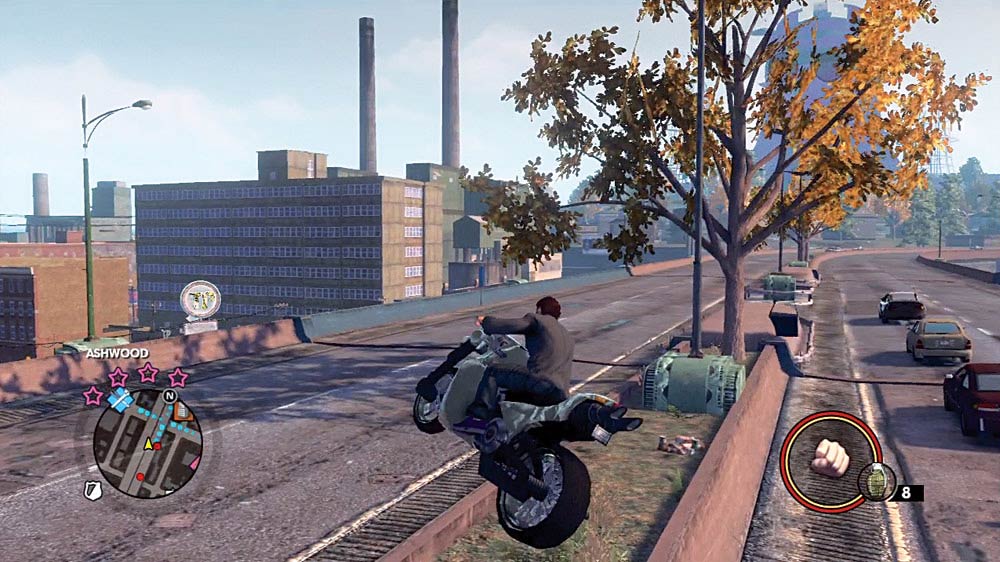
Once you get the bike, you cannot afford to slow down, otherwise the Deckers will make life difficult. Fortunately, Bridgeport isn’t too far from Salander, the real trick is just controlling the bike well enough to survive the trip there. If you have the ability to call in Gang Forgiveness, this is an excellent time to do so. This way, you can have a more relaxed ride back to the chop shop and retain most of the bike’s value.
Target: Temptress
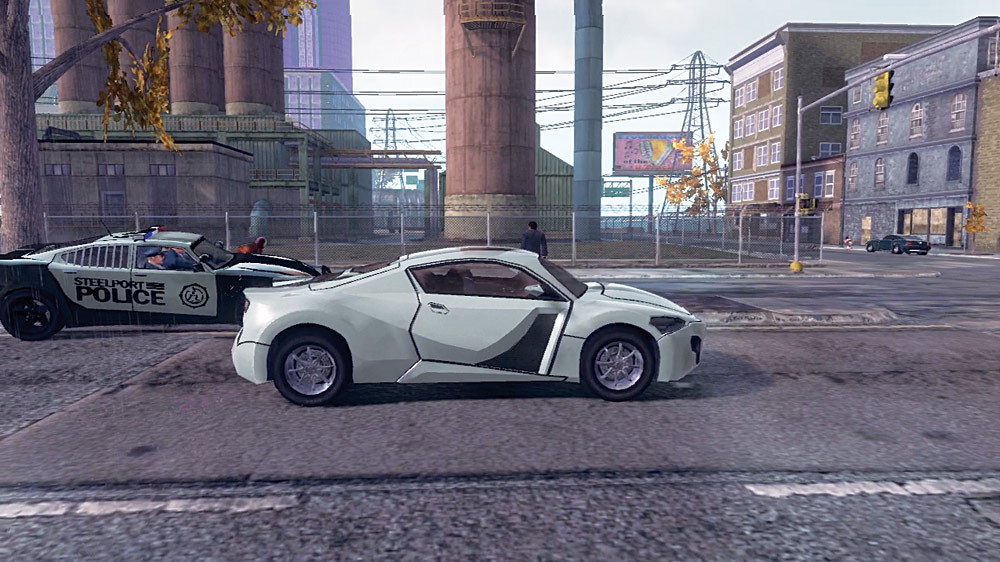
Location: New Baranec
Cash Earned: $1,250
Respect Earned: 300
Overview: Need a super-exotic Temptress pronto
Threat Level: Level 4 police notoriety
“You don’t see a lot of these . . . The Temptress is stylish, agile, and very, very fast. People pay top dollar for these machines. I will, too, yah? Try looking around the strip in New Baranec.”
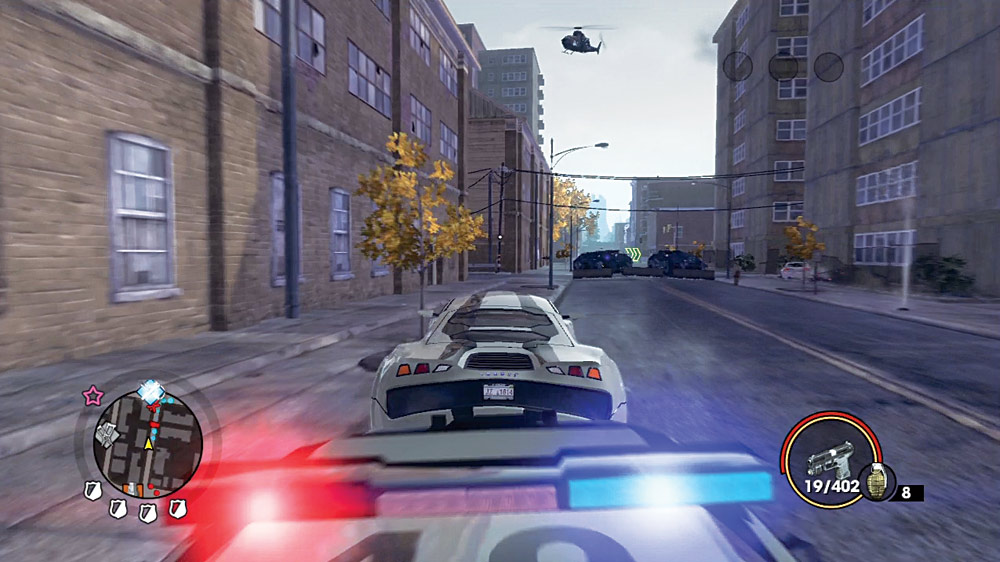
Not top dollar enough, Andi. Do yourself a favor and take one of these cars to a crib and store one for yourself. Andi can wait the ten minutes it’ll take for you to do that.
There was a television program that once asked if a super-car could evade the wrath of an attack chopper. In certain circumstances, yes, yes it could. Now’s your chance to try it out for yourself. Expect SWAT APCs, attack choppers, and very heavy cop pursuit. Roadblocks will be the bane of your existence, with barriers set up to stop you cold.
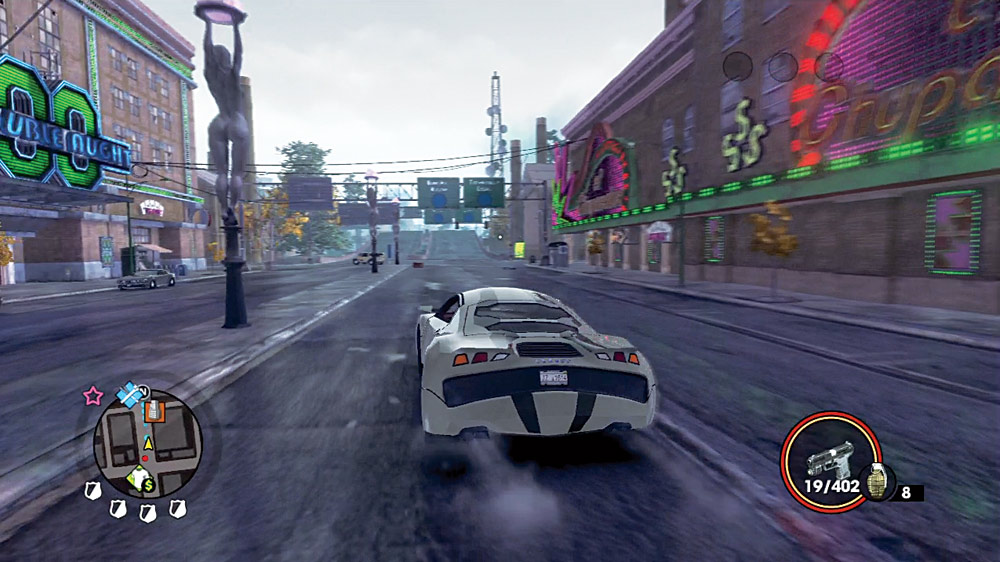
Fortunately, you’re in a Temptress. This is seriously a blistering ride, and once you get out in the open, nothing but bullets will catch you, leaving you to concentrate on the road ahead. The car is fast enough and maneuverable enough that you can conceivably make it back to the shop without calling Police Forgiveness, but if you’re having trouble, having the option available is a real help.
BJ Barnes
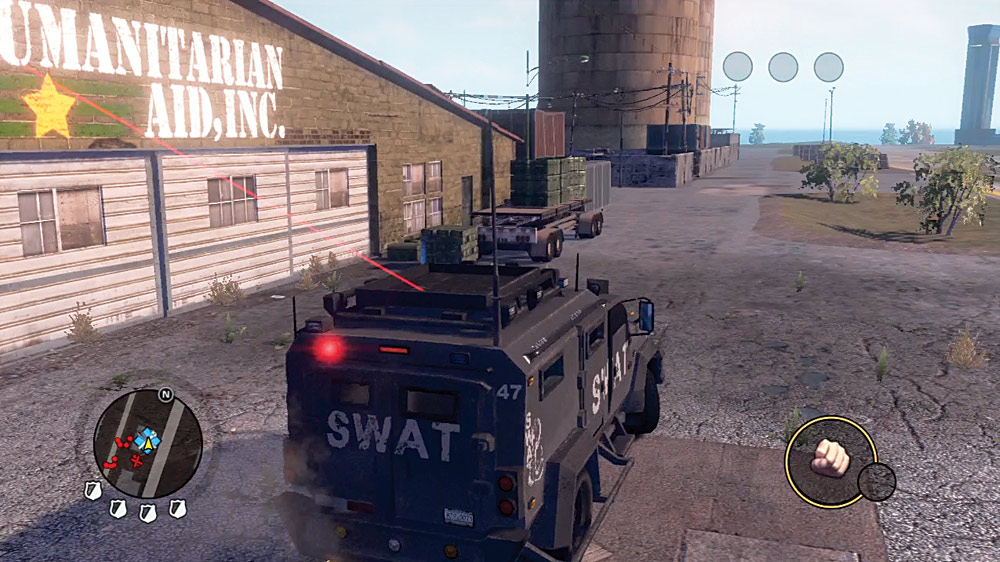
Located at the airport, BJ Barnes’s Humanitarian Aid, Inc. specializes in selling foreign nations top-grade military equipment, and it has to get that stock from somewhere. That somewhere is Steelport. Missions provided by BJ Barnes are a step above many other Vehicle Thefts in difficulty, not because the vehicles are tough to drive, but rather because you’re gunning for hardware that requires you to awaken the military giant that protects the city. It’s highly recommended for all of these missions that you have the abilities to call off the Police and military via your cell phone, otherwise you could find yourself having a very difficult time.
Target: Lockdown
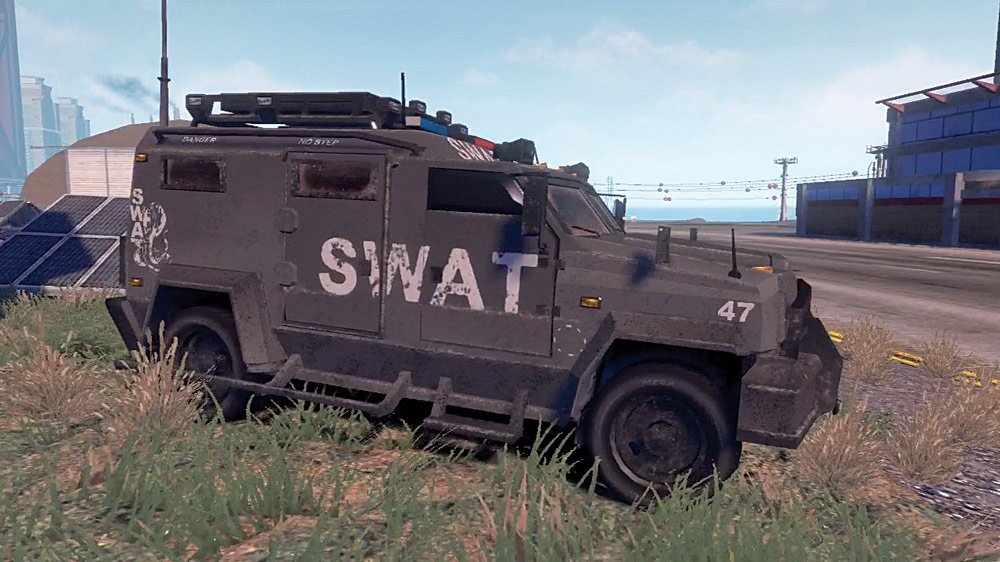
Location: N/A
Cash Earned: $1,000
Respect Earned: 250
Overview: Humanitarian Aid, Inc.—Locking down insurgents
Threat Level: Level 3+ police notoriety
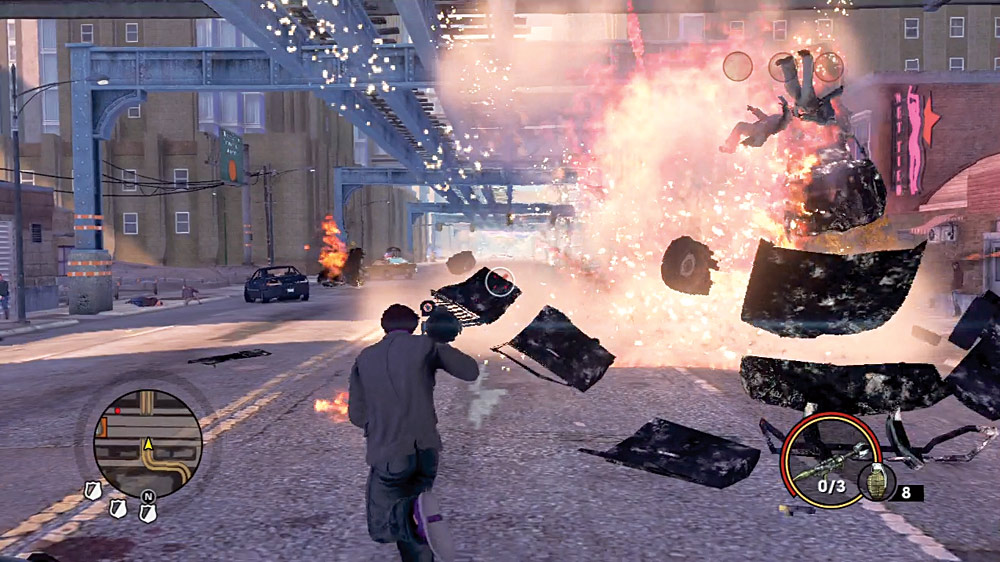
“We provide police and military-grade equipment to an exclusive Third World clientele. We’re big league, but if you can prove yourself by stealing a Lockdown van for us, we’ll enlist you further. Get law enforcement angry and take one from a roadblock.”
There’s not even an attempt at being subtle on this, Barnes wants you to attack the cops until they send SWAT after you. Give ‘em a show they won’t forget...
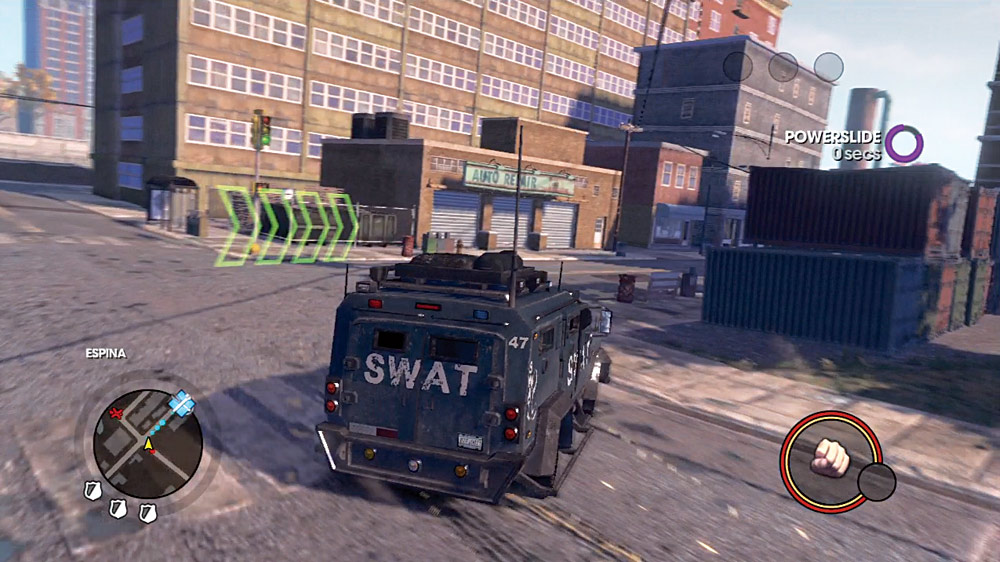
The SWAT van is tougher than most vehicles on the road, but it isn’t invincible. If you start the trip with the van from too far away, you might not make it. Save yourself some trouble, and pick the fight against the cops close to the airport. That way, if you don’t have the ability to call in a favor from the police, you can at least have a short trip. Another trick is if you have the ability to call in a SWAT team, should you have sided with the Mayor on a certain mission, you can call them in, they will arrive in a van, and you can take it for yourself with no real consequences!
Target: N-Forcer
Location: N/A
Cash Earned: $1,250
Respect Earned: 300
Overview: Bravo target designation: N-Forcer
Threat Level: Level 3+ police notoriety
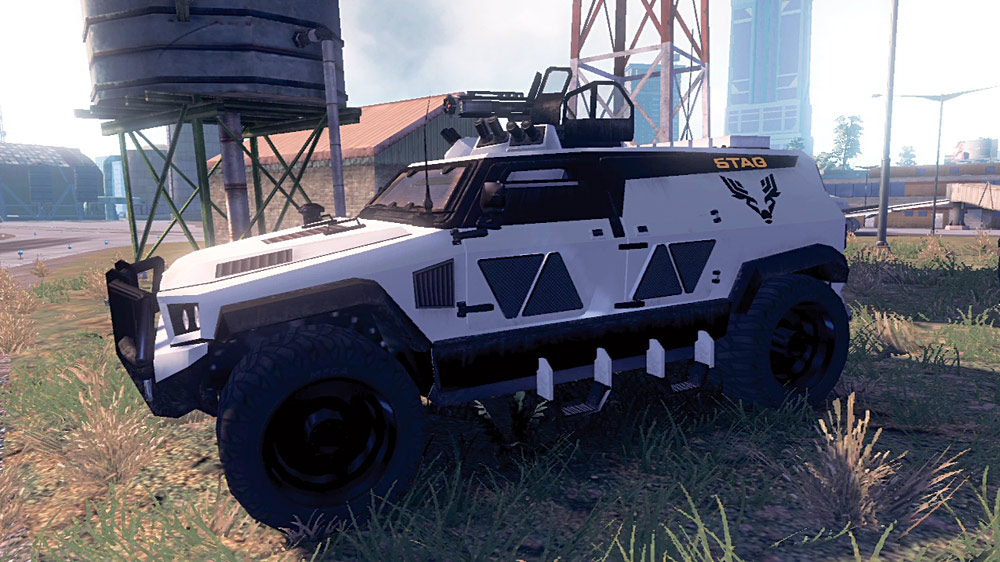
“Here at Humanitarian Aid, Inc., we think it’s unfair that STAG has these monsters and our clients don’t. Help even the odds. If you don’t know how to get one of these N-Forcers after you by now, you’re doing something wrong.”
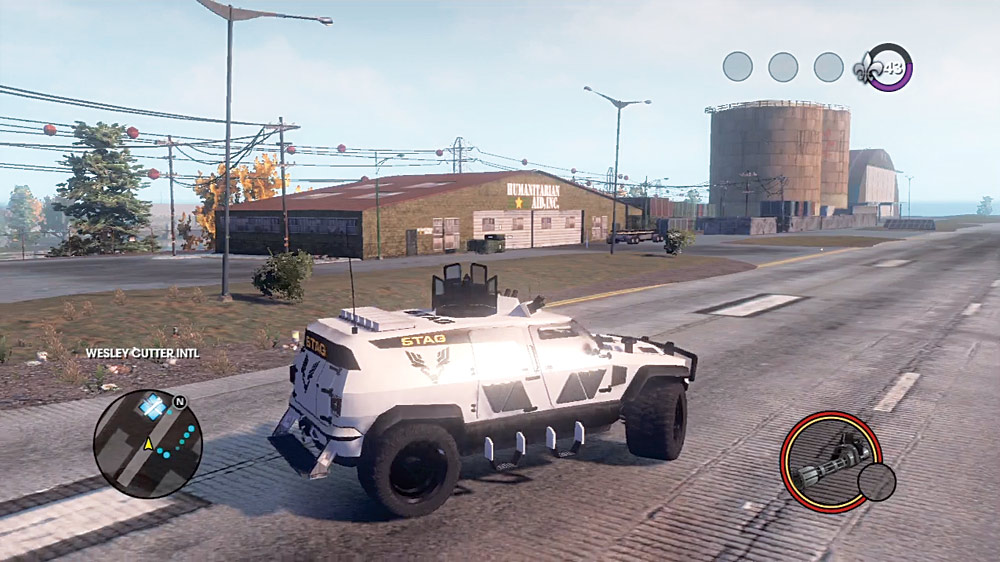
This is more or less the same as the job to steal the Lockdown, with the usual STAG twist of their much greater firepower to deal with. Make no mistake, once you take the N-Forcer, you can expect very heavy resistance. They will chase you all over town until you manage to get to the chop shop. A call for Police Forgiveness is highly recommended, otherwise STAG will probably destroy the vehicle outright if you start your trip from too far away! Start the fight at the airport, if you can. STAG’s response time is faster than the police, and you’ll see an N-Forcer very quickly.
Complicating matters is also when you take the job. If you’ve driven STAG out of the city, N-Forcers will not be part of the response to your destructive antics. Lucky for you, you get a free N-Forcer in your crib garage for completing the infiltration and destruction of STAG’s supercarrier during the story, so you can just take that one and have a pleasant drive to the airport.
Target: Tornado
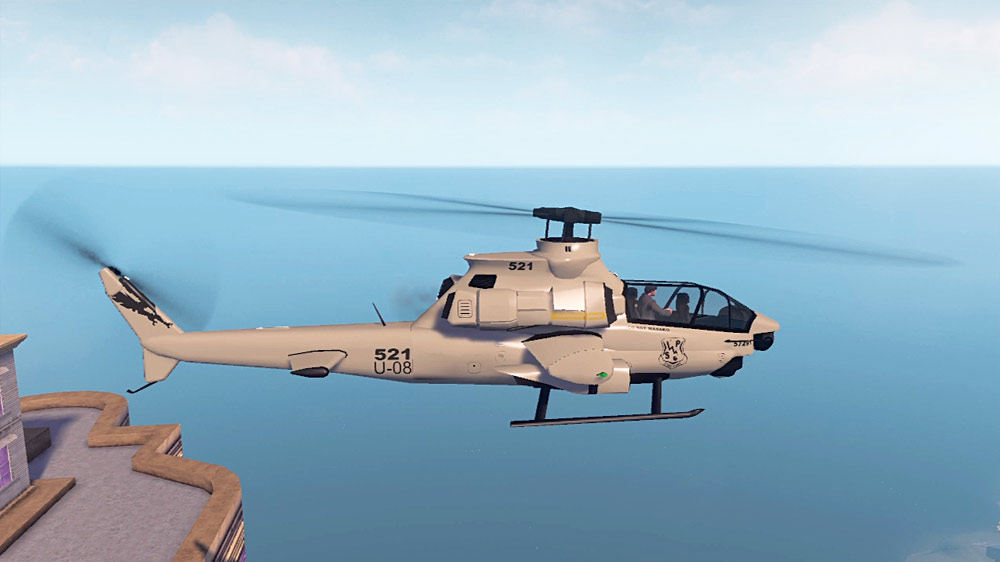
Location: Sierra Point
Cash Earned: $1,500
Respect Earned: 350
Overview: Charlie target designation: Tornado
Threat Level: Level 5 police notoriety
“A very big client needs a Tornado to help him win a very little war. Check the National Guard base for one.”
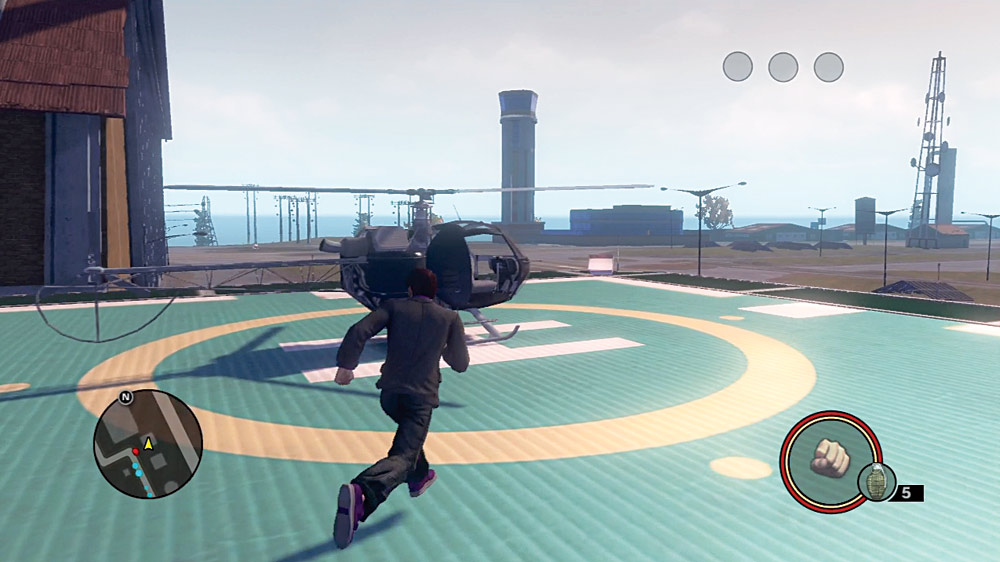
This is a fun Vehicle Theft to take on, and it rewards you if you show some creativity. You don’t have to necessarily follow the exact method detailed below, but this method does work consistently.
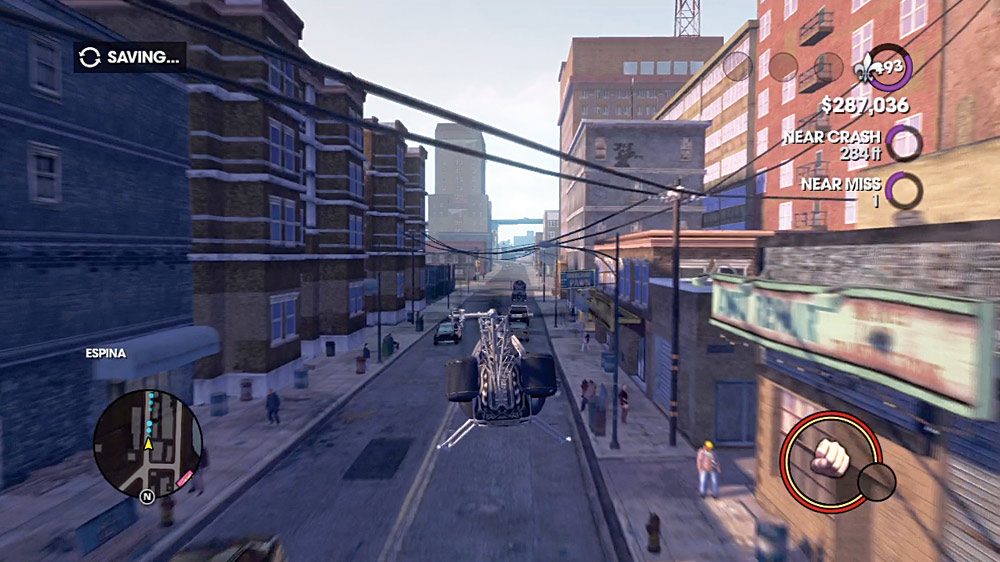
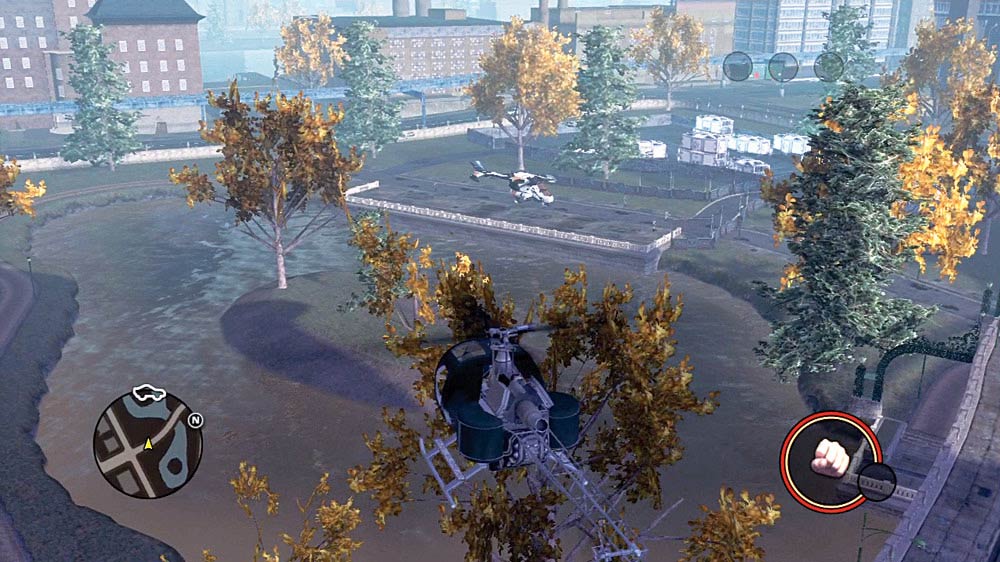
At the airport, near the actual HQ for Humanitarian Aid, there are a pair of helipads close by. Find the helipad that has a small Thompson helicopter. It’s fast, maneuverable, and will get you into the National Guard base on the southern tip of the eastern island quickly; speed is of the essence on this mission.
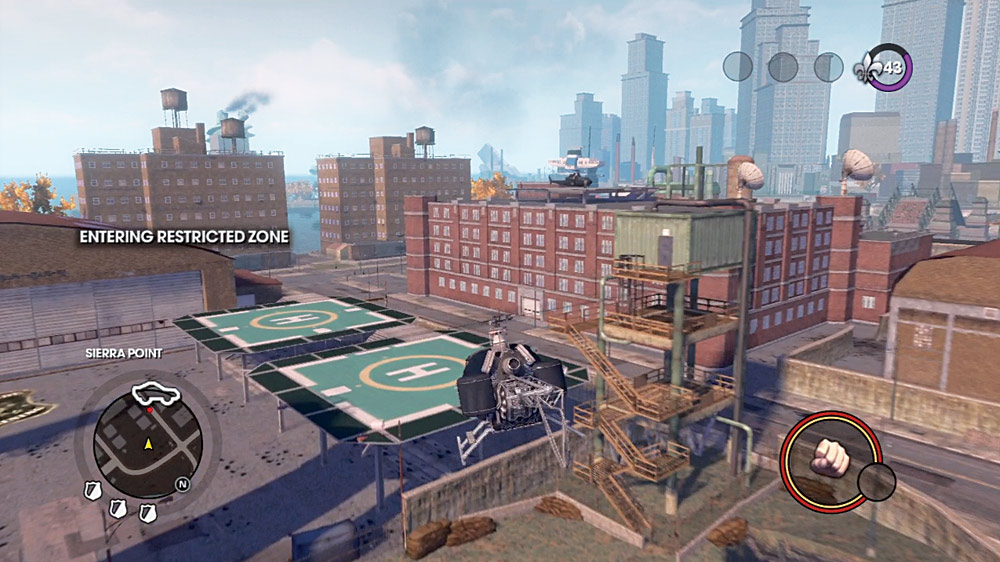
The airspace over the base is restricted, so you’ll get level three police notoriety right away, and the whole base will be swarming with troops. The Thompson will not last long under that kind of fire! Find the building near the cluster of helipads near the hangers. It has it’s own helipad on the roof, and your target is waiting there. Land on the rooftop quickly and fight your way to the waiting Tornado.
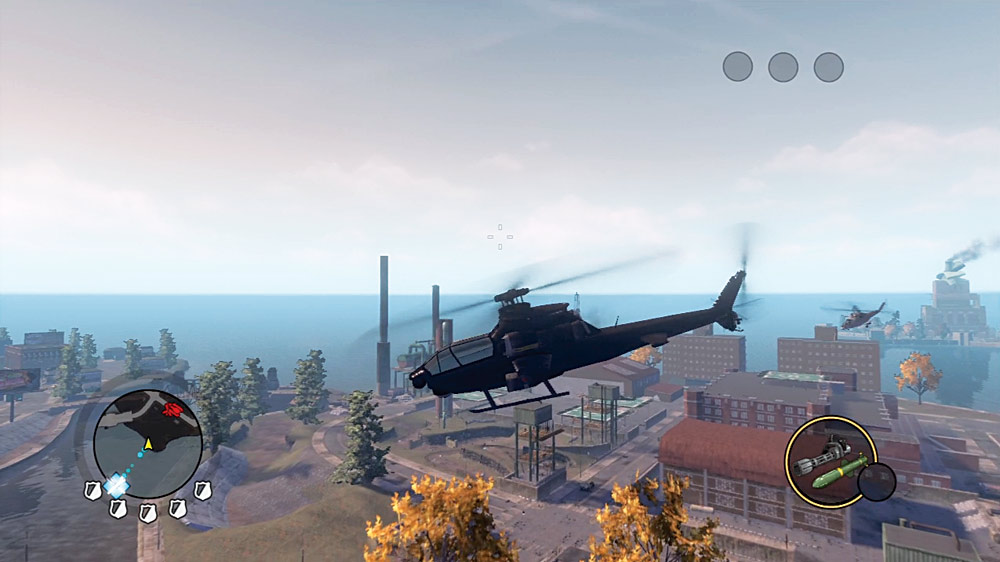
Now get the heck out of there! You’ll have full notoriety as soon as you climb aboard the Tornado, so don’t waste any time standing still. You can follow the canal, ducking under bridges as necessary, to get back to the airport, or fly low over the city proper. Either way, you will have a good number of helicopters chasing you, and if STAG is still in town, expect VTOLs and very heavy ground fire from APCs and N-Forcers! A call for Police Forgiveness may be in order, but if you’re quick and lucky, you may not need to resort to that.
Target: Vulture
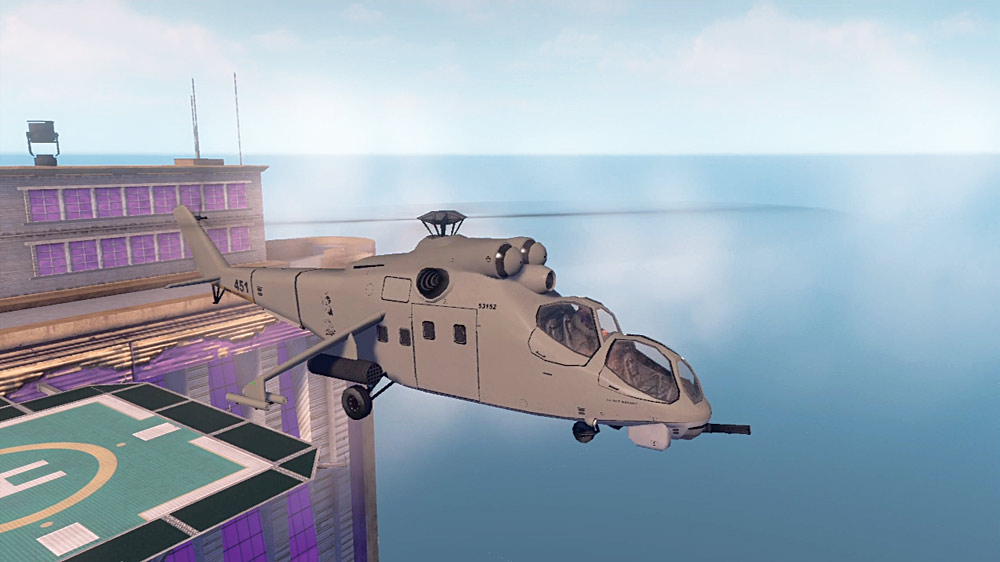
Location: Port Pryor
Cash Earned: $1,500
Respect Earned: 350
Overview: Delta target designation: Vulture
Threat Level: Level 4 police notoriety
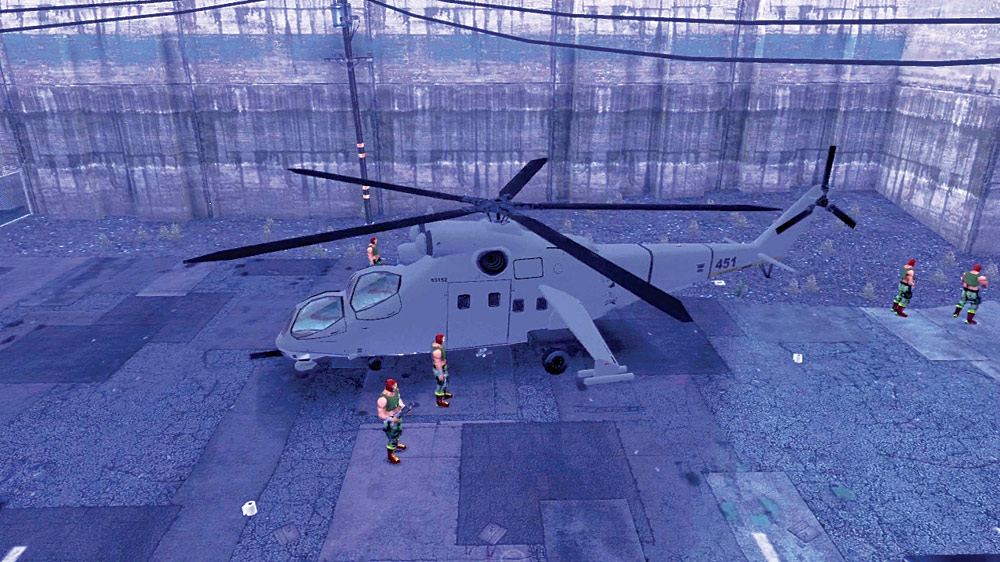
“Killbane ordered one of these for his boys in a fit of grandiosity, but doesn’t have anyone who knows how to fly it. We’ll put this Vulture to better use. It’s parked on a dock near the 3 Count.”
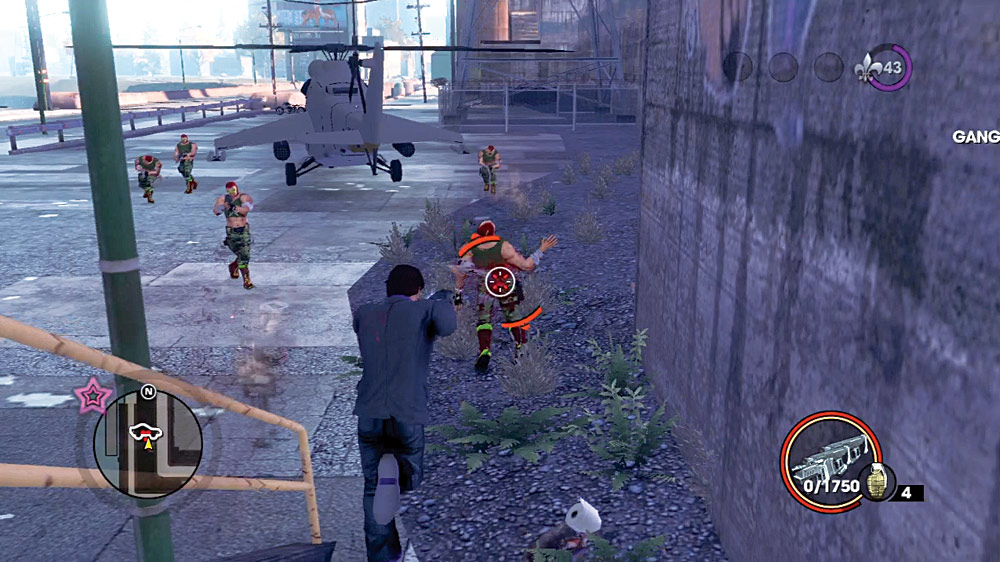
The 3 Count Casino is one of your potential cribs, depending on how far in the story you’ve come. If it is, this can make this job a bit easier, since there won’t be as much resistance from the Luchadores in the area. Located on the docks west of the casino itself, the Vulture is under heavy Luchadore guard, and they will open fire on you as soon as they see you. Cut through them and get to the chopper!
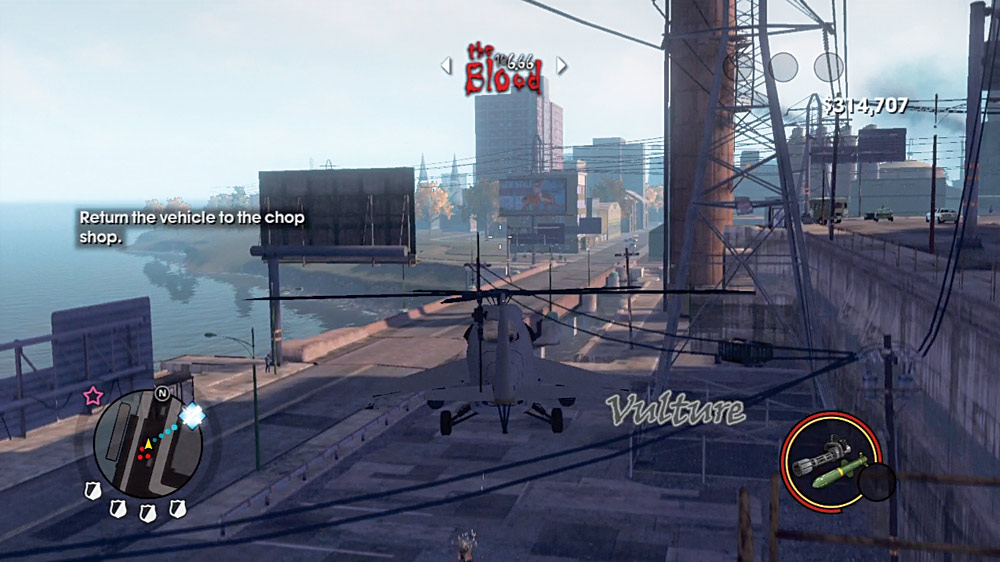
Once you are airborne, expect heavy pursuit from the law. Counter this either by gaining a very high altitude as you fly toward the airport, or by calling in Forgiveness. Either way works, but, depending on when you take this assignment, you might not have the latter option available. Take as direct a route to the airport as you can manage, and watch for attack choppers sneaking up on you if you aren’t able to call off the heat.
Target: Challenger
Location: Sierra Point
Cash Earned: $1,750
Respect Earned: 400
Overview: Echo target designation: Challenger
Threat Level: Level 5 police notoriety
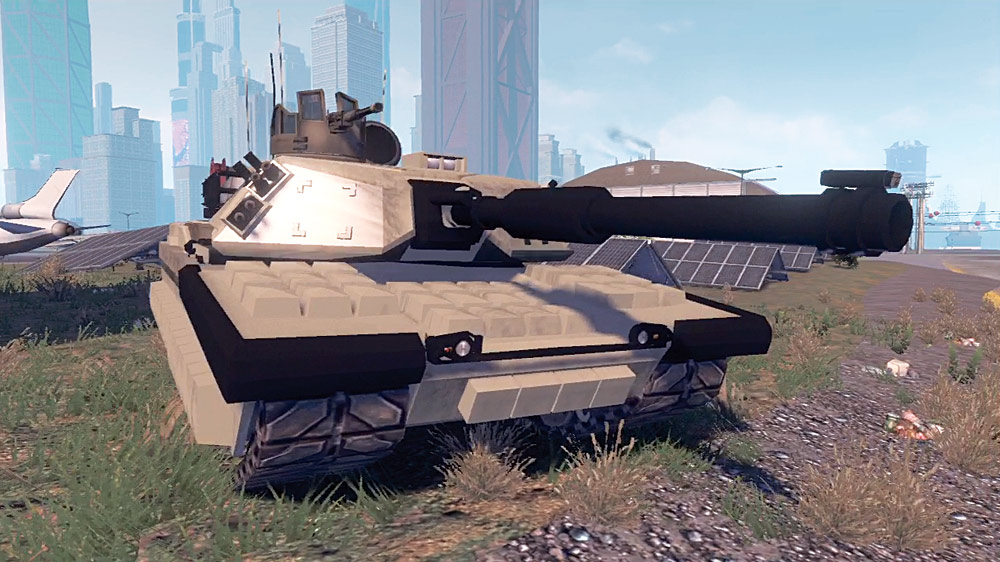
“Yes, we want you to steal a Challenger tank. If it were easy, we wouldn’t be paying you as much as we are. Try near the armory, and expect a lot more guards.”
The National Guard base just hasn’t been able to catch a break since the Saints got in town.
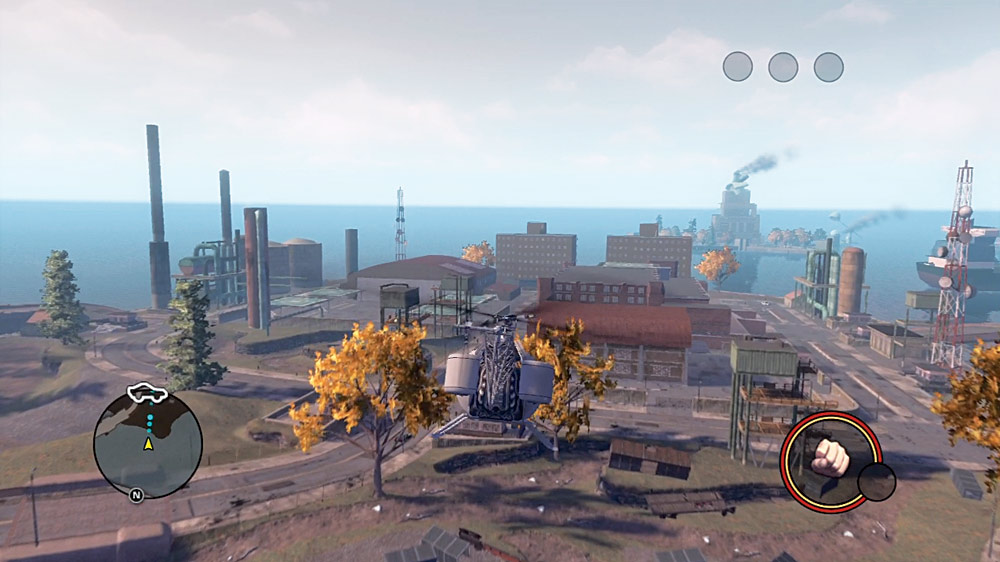
As with the mission to steal a Tornado, you want to get into the base as quickly as possible. A Thompson helicopter is a good choice, but generally anything that can get you to the base by air quickly is a solid bet. The airport is filled with options!
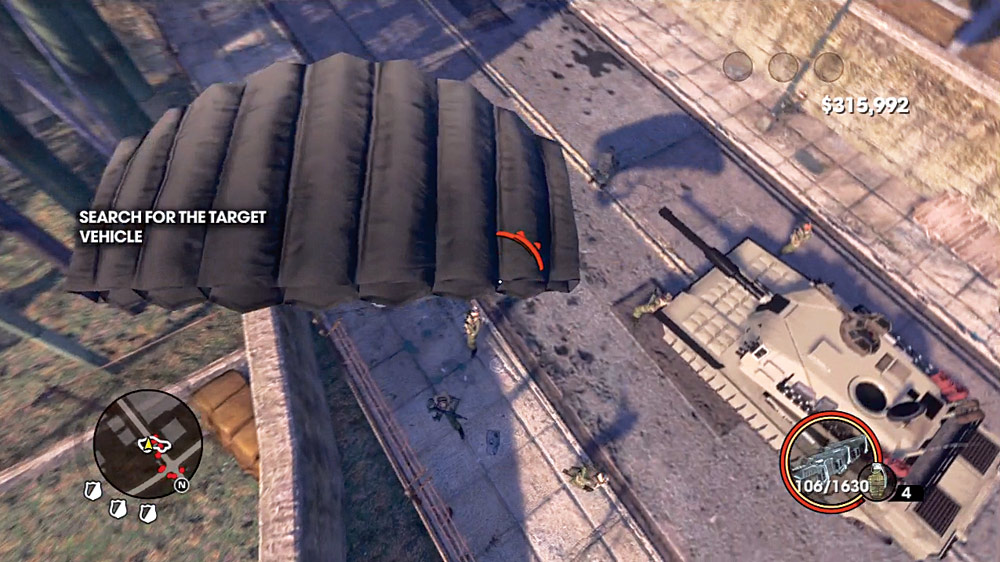
Once you get onto the base, the tank is parked on a road facing south, and is surrounded by military personnel. Get ready for a scuffle. Don’t waste your time trying to fight them all off—just take the tank!
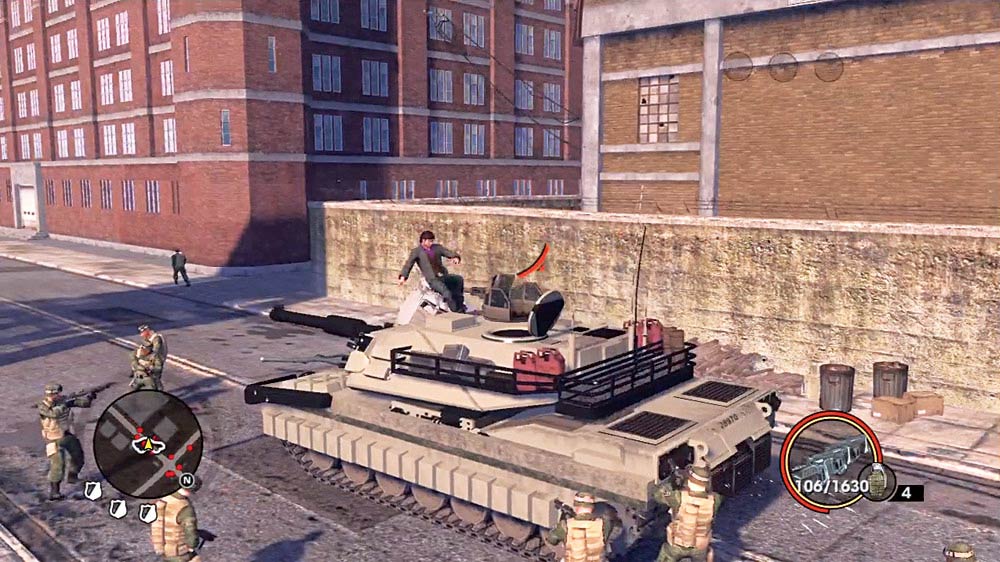
Challenger acquired, it’s time to leave. You cannot call off notoriety while in a tank, so that option is out. You’ll have to fight a running battle all the way to the airport. The law will send everything it has to stop you, so don’t linger around in one spot to clear resistance. Roll over everything you can and keep moving! You do not want to get caught by all the tanks that are doubtlessly chasing you down.
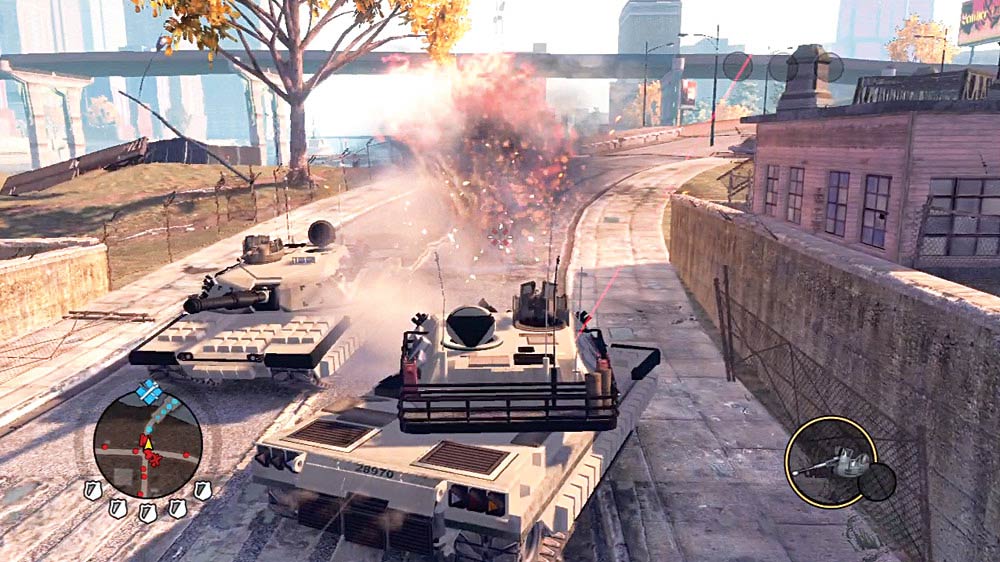
Pause the game occasionally to make sure you’re following a direct route. The GPS tends to try to give you proper street routes to Humanitarian Aid, Inc., which is just asking to get killed because that is taking the long way.
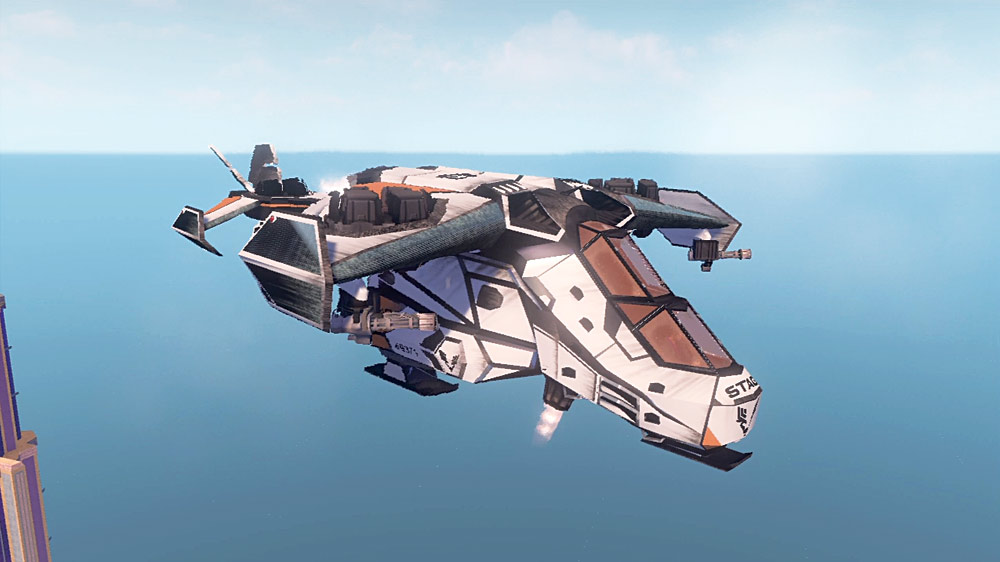
Target: Condor
Location: Sunset Park
Cash Earned: $2,500
Respect Earned: 500
Overview: Foxtrot target designation: Condor
Threat Level: Level 5 police notoriety
“This one is the big score. STAG’s heavy lifter could make somebody the ultimate getaway vehicle. The Condor is well guarded, but you can find one near their base in Sunset Park.”
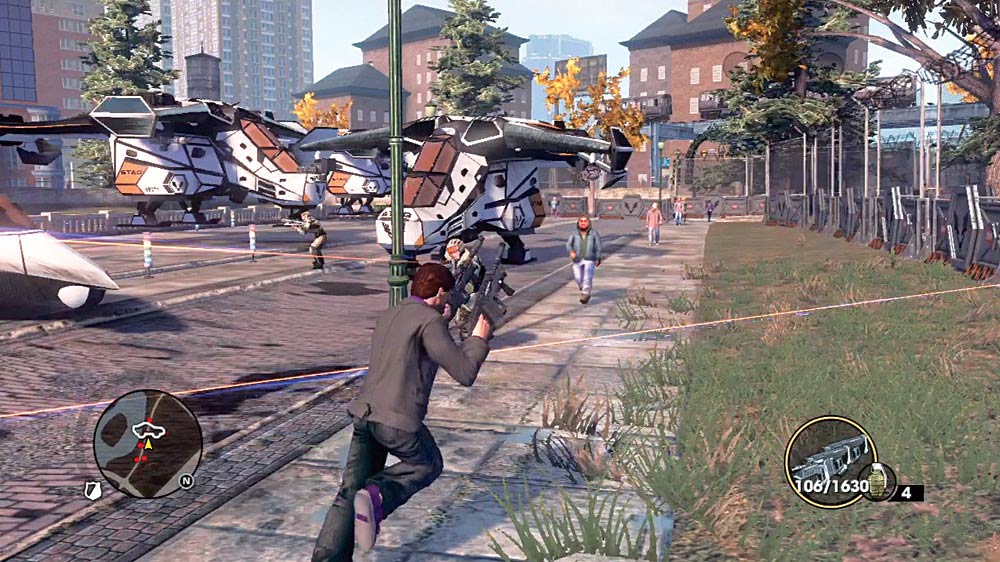
Word of warning: You will probably need to call in for Police Forgiveness or a Mayor’s Favor on this job. The Condor is a swift VTOL for its size and weight, but it’s armored with tissue paper. The moment you snag this craft, you get full notoriety with the law, and if STAG is still involved in Steelport, expect VTOL fighters to join the chase.
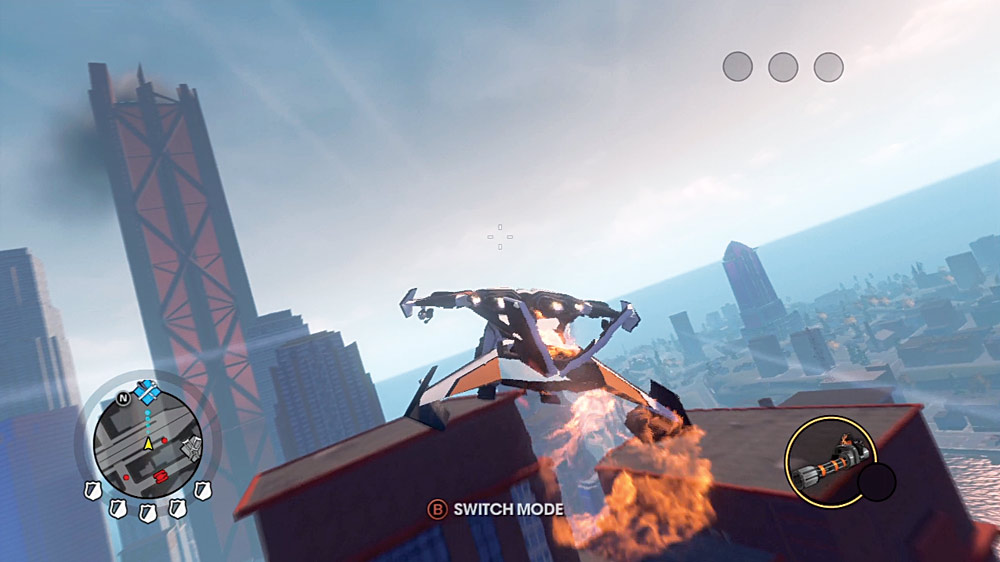
As long as you’re over the city, you’ll be getting shot at, with fairly predictable results. Even if you attempt this mission after driving STAG out of Steelport, the base you’re stealing it from will still appear at the center of Sunset Park, and you’ll take a lot of damage on takeoff from the guards and their laser weapons.
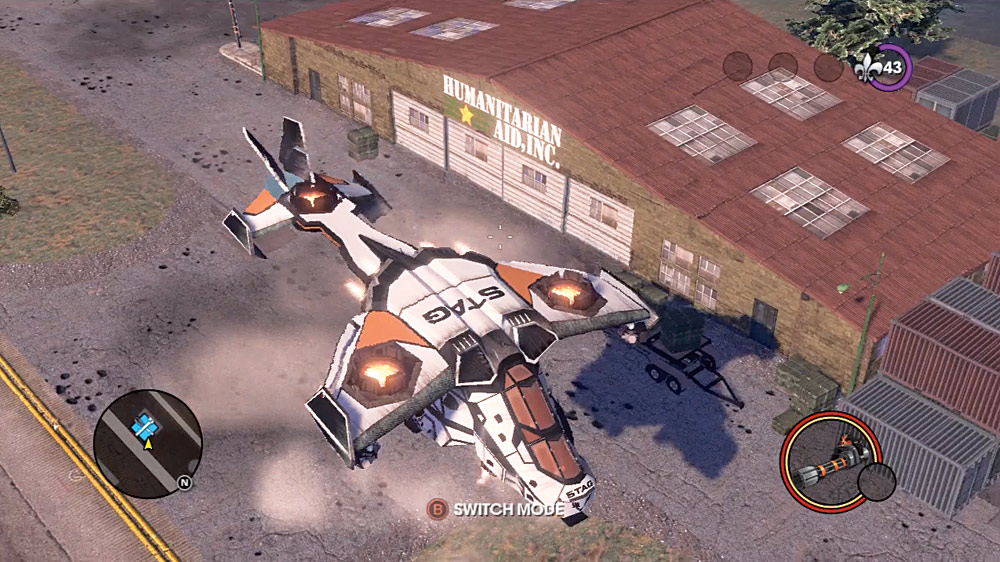
Just save yourself a headache and call in the favor. There’s just too much luck involved with trying to outfly all the incoming fire from the military.
Dieter
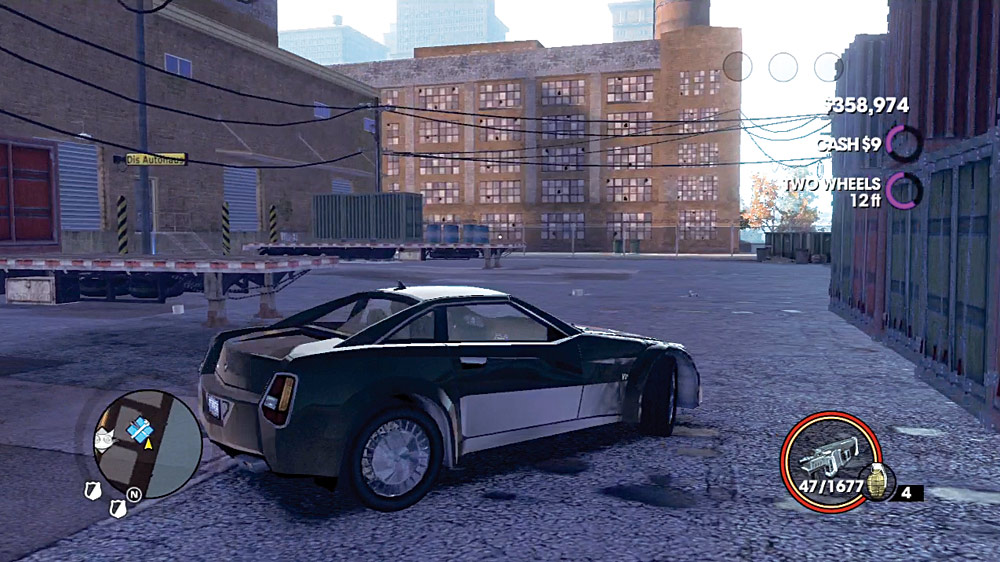
Dieter’s Dis Autohaus is on the docks on the western side of Loren Square, tucked away near abandoned shipping containers. Access it via a small alley, which provides a final opportunity to damage any cars you deliver by smashing into the tight walls. It’s easy to blitz past this alley if you’re being chased by the cops.
Target: Sovereign
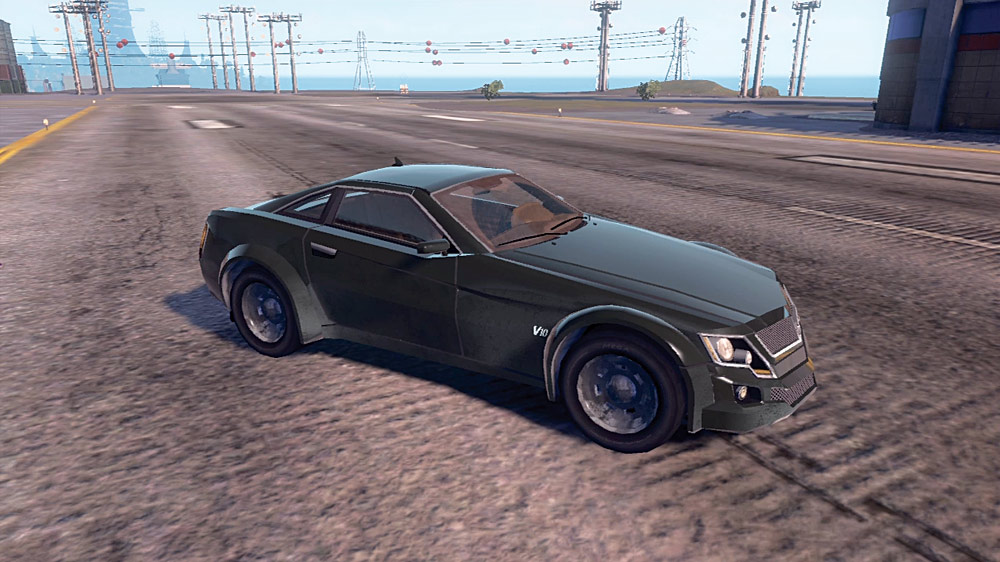
Location: Sunset Park
Cash Earned: $500
Respect Earned: 100
Overview: Dis Autohaus is in need of Sovereigns
Threat Level: Level 2 police notoriety
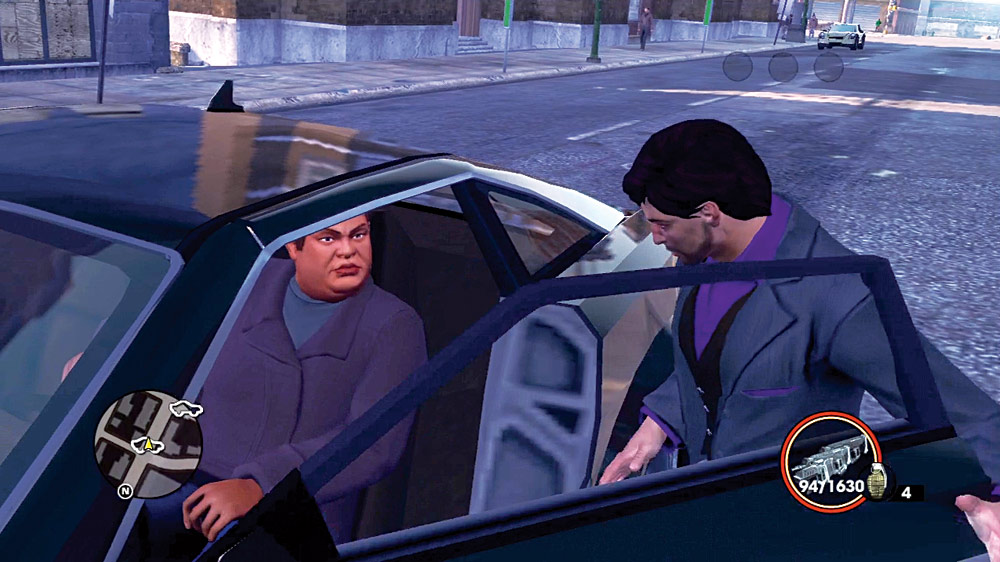
“You look to make an impression in this city. Dieter has heard this. Want to be known by all the right people? Find for Dieter a Sovereign. ‘Real men’ drive them, but smart men steal them. The Downtown district will provide.”
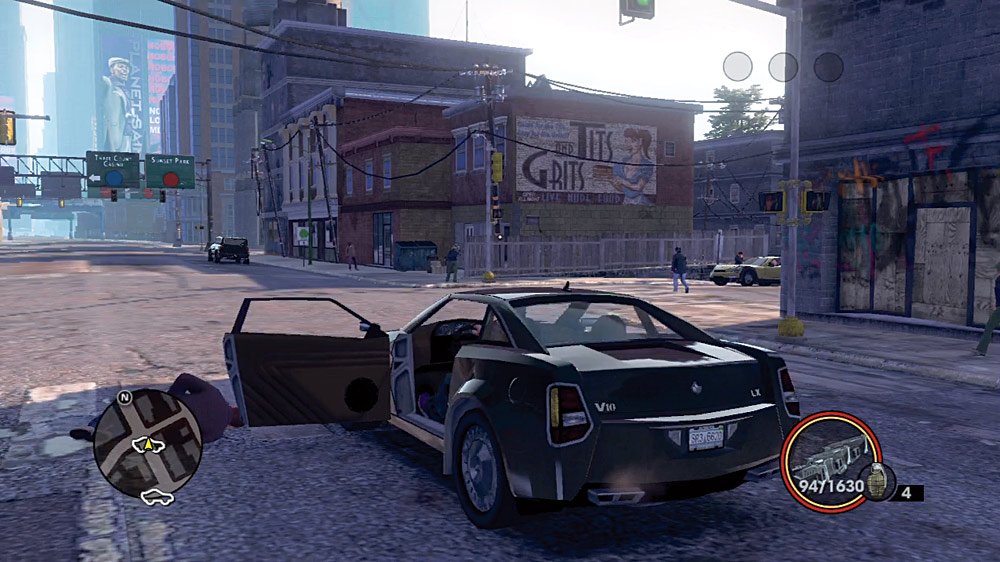
You can’t walk around Sunset Park without tripping over a Sovereign, so once you enter the hood it shouldn’t take long to locate and liberate one.
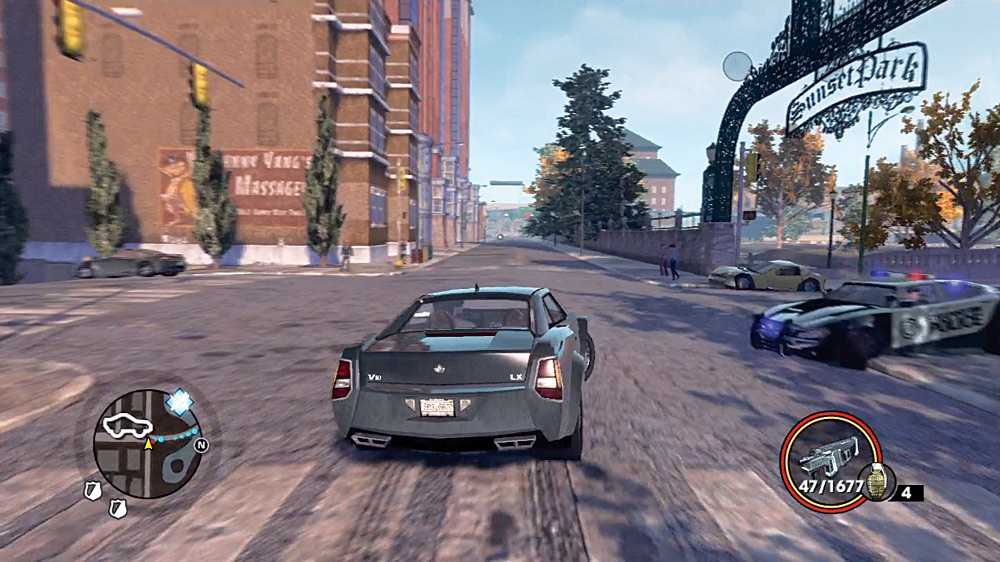
Once you have it, get back to Dieter. Sovereigns are solid all-around cars—more durable than the sports cars you can steal for Andi Dae, and nimble enough to evade level two Police notoriety with ease.
Target: Emu
Location: Brickston
Cash Earned: $625
Respect Earned: 125
Overview: Dieter must have an Emu! For art!
Threat Level: Level 2 police notoriety
“Dieter is a patron of the arts, darling. The Autohaus has commissioned a glam-trash installment piece featuring this kitschy, midtown ride. Since all the little people drive them, go looking in Brickston.”
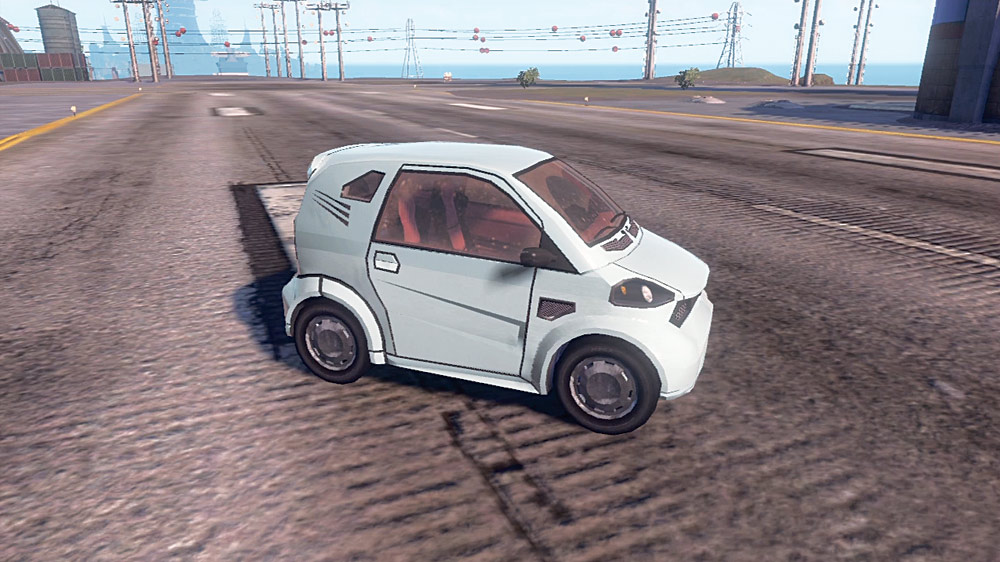
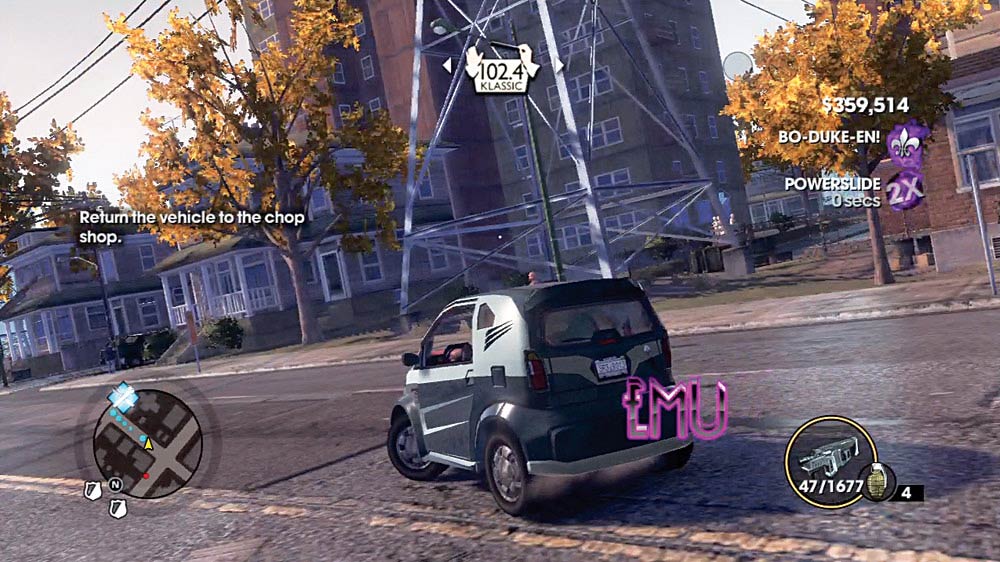
Emus are one of the smallest cars you can find in Steelport, if you don’t count the carts you can snag at the airport. They are not very fast, but they can fit just about everywhere.
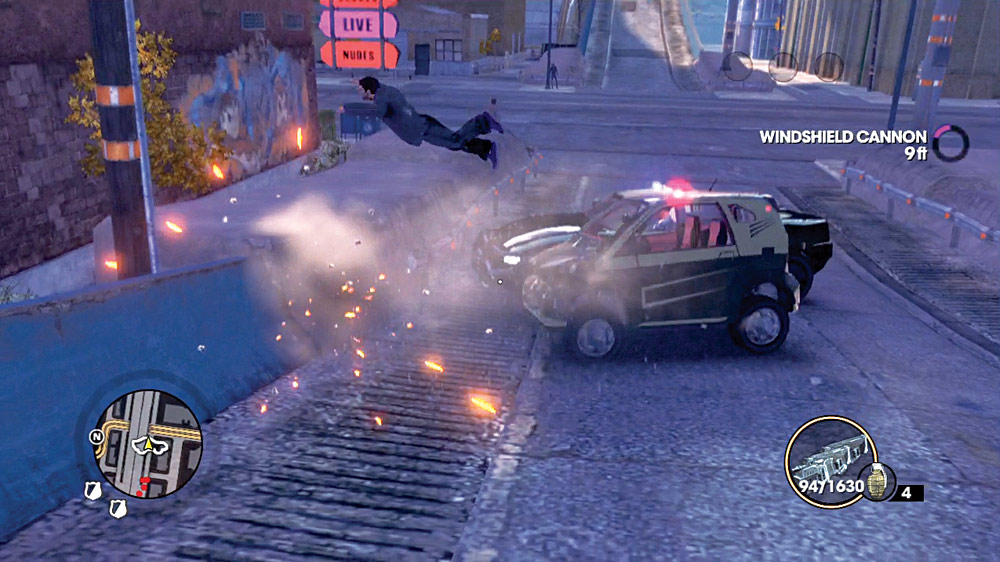
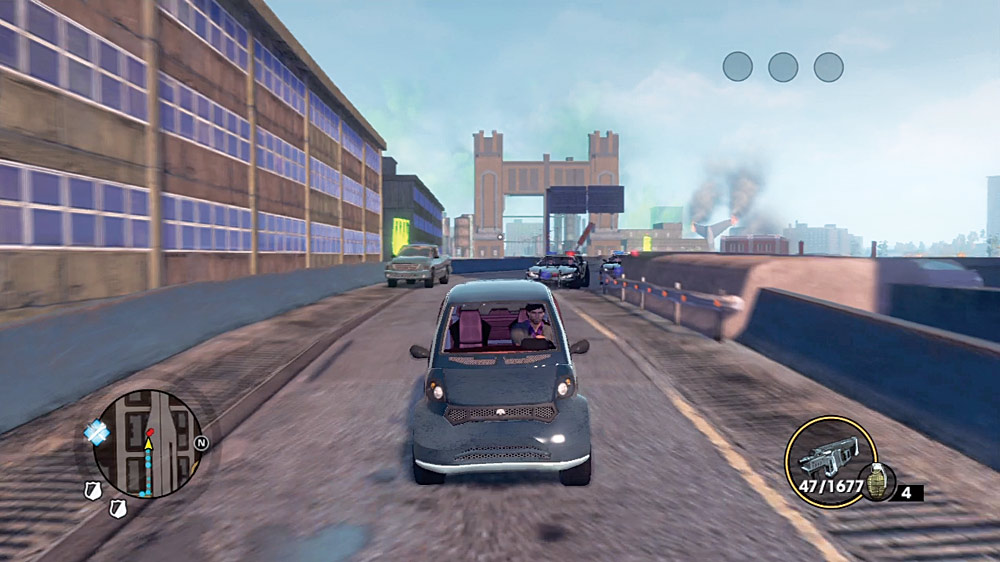
The Emu’s lack of speed can be a bit problematic. The cops can easily keep up with you, and can cut you off and nudge you into compromising situations. Still, it is possible to stay just ahead of the chase long enough that the cops eventually lose you on your way to Dieter, just avoid accidents as much as possible.
Target: Status Quo
Location: New Baranec
Cash Earned: $625
Respect Earned: 125
Overview: Urgent! Dieter needs to keep the Status Quo!
Threat Level: Level 3 police notoriety
“There is a fabulous party tonight to which Dieter is invited. Whether you are closing billion-dollar deals or parading around five escorts (Dieter does both), you need a Status Quo! Look along the New Baranec strip for Dieter.”
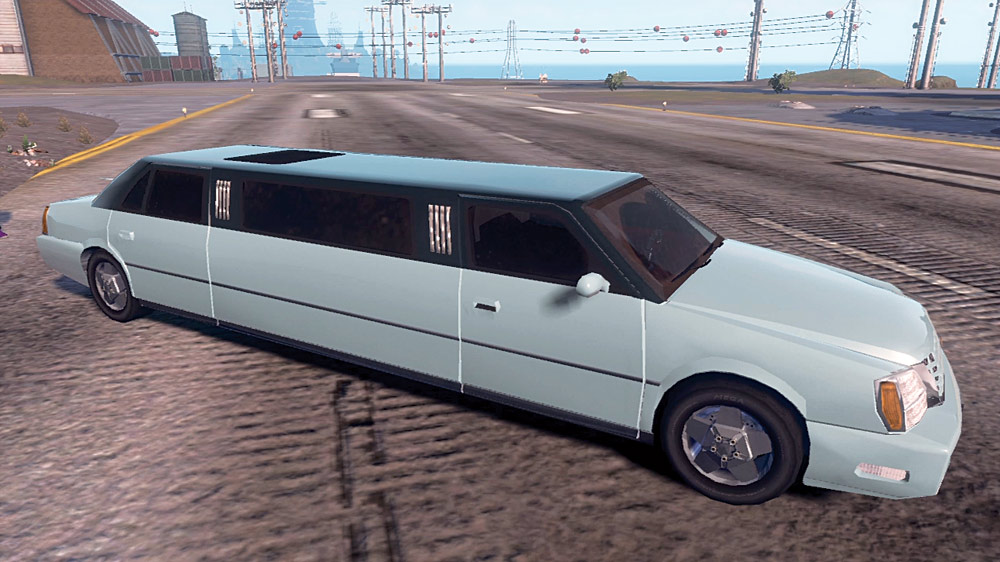
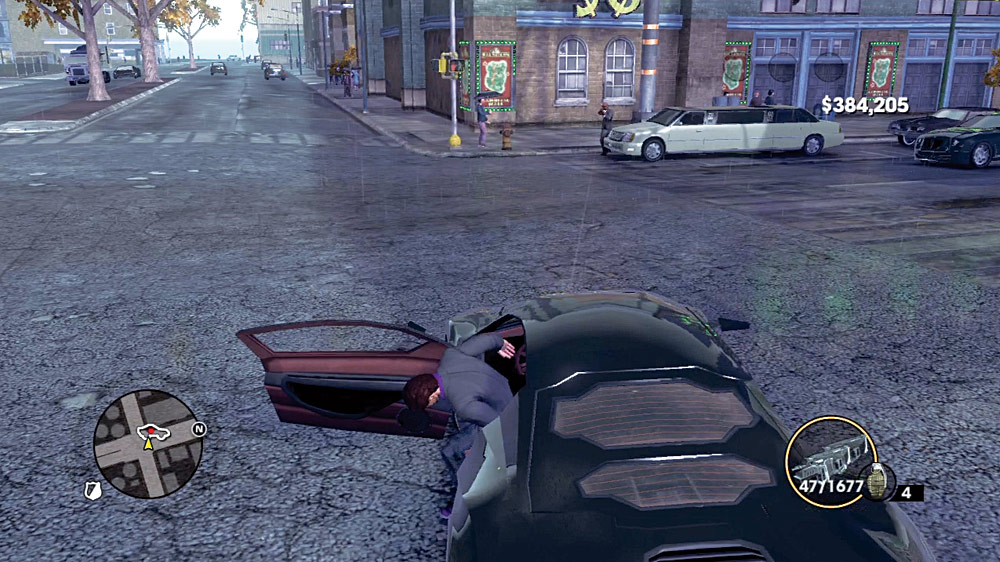
Hope he doesn’t mind broken glass and a little scratch on the paint. The strip Dieter refers to is the massive four-lane street that leads into the 3 Count Casino on the southern point of the western island.
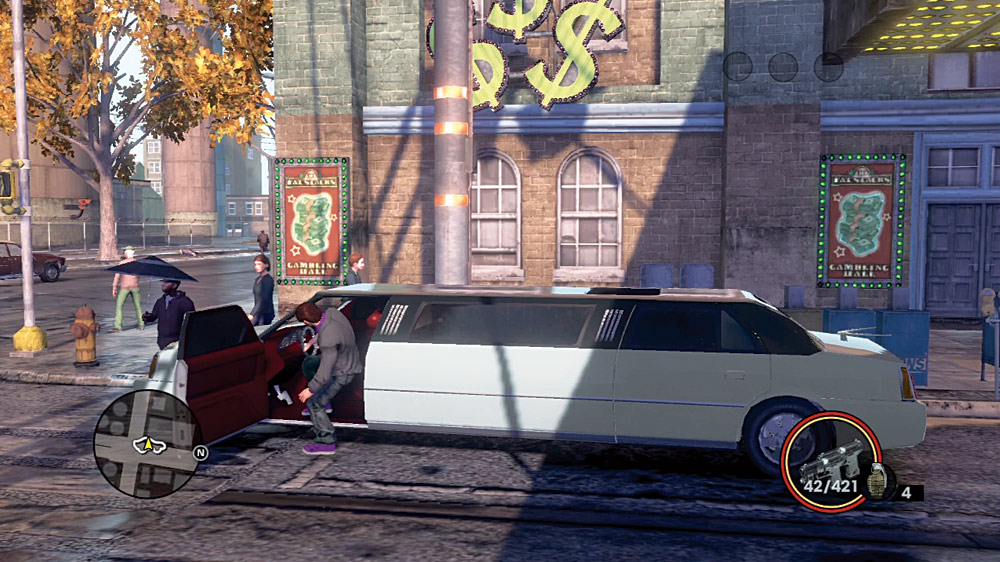
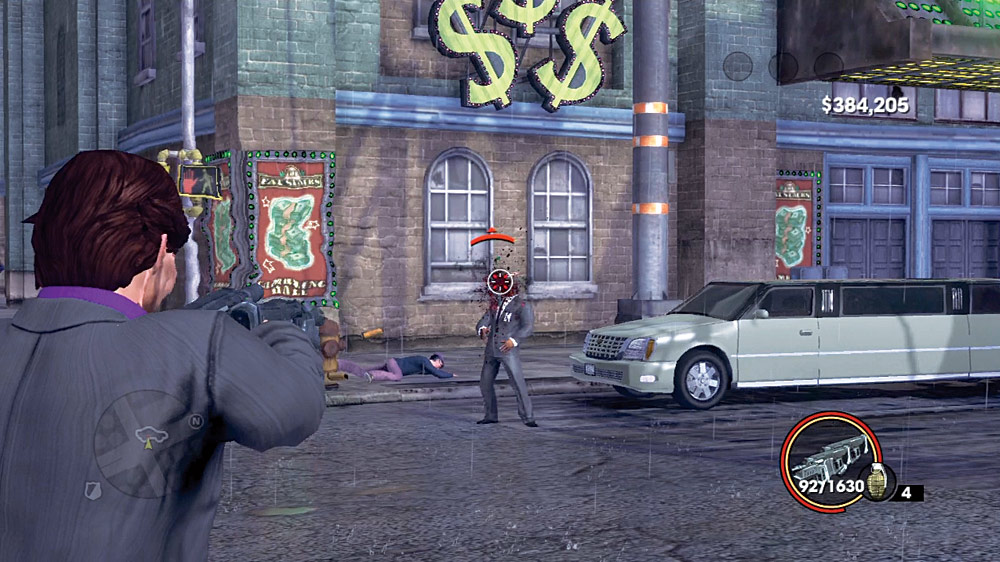
You should find a Status Quo parked near one of the many casinos on this strip, you’ll probably be able to tell, when men in business suits begin fire on you, that you are closing in on the target vehicle. Deal with them accordingly.
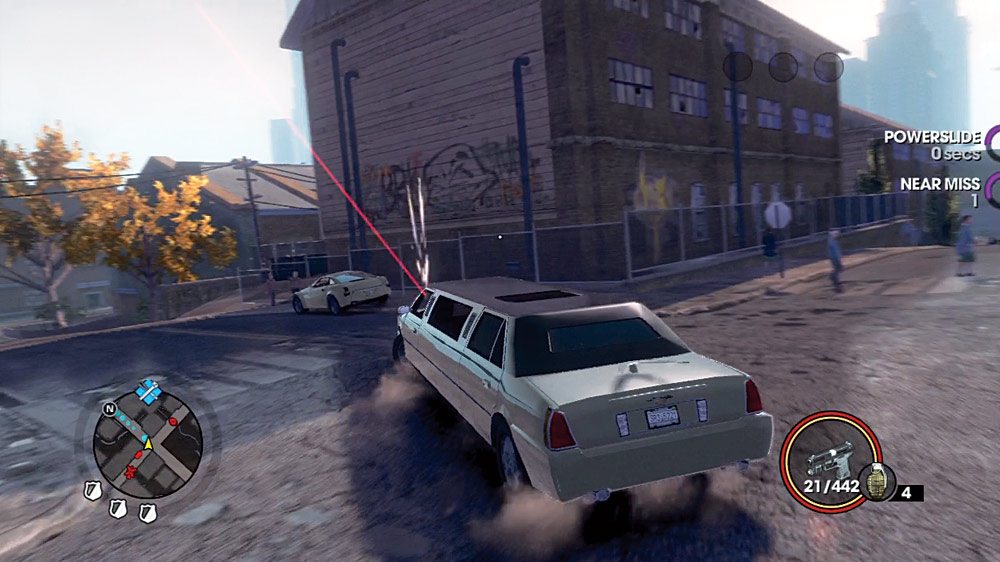
It may be fun to be driven around in a Status Quo, but to drive one yourself with level three Police notoriety dogging you every step of the way, they are considerably less entertaining. These cars are big, and handle about as well as a wounded elephant. Fortunately they have some measure of muscle, meaning you can keep some speed drifting though turns, but you’ll be fighting for every turn you make.
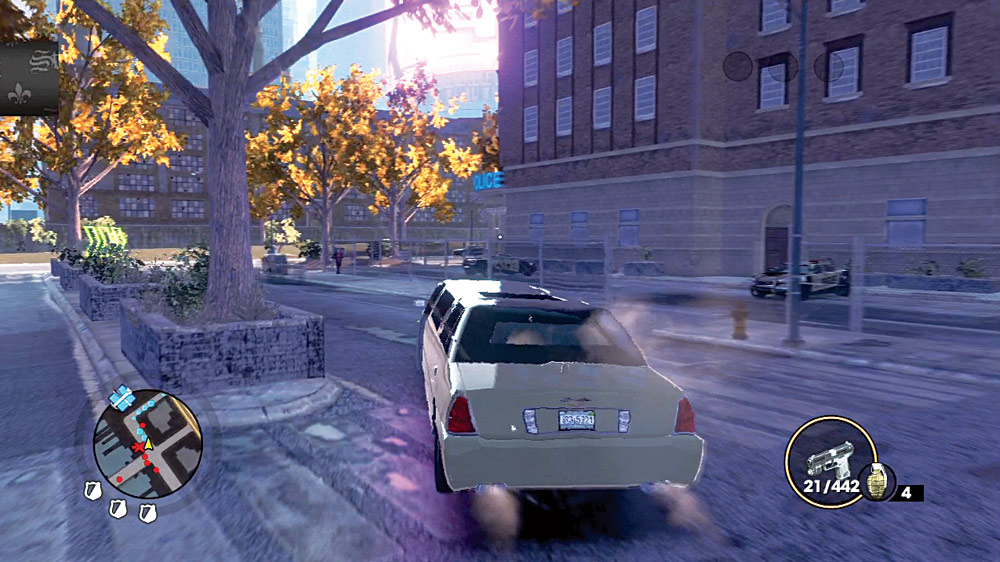
The cops aren’t playing nice anymore; their snipers can do considerable damage to the Status Quo over time. Combine that with all the other potential hazards you’re facing on the way back, and you’re in a rough spot. You’ll be taking a lot of damage on the way back to Dieter—enough that a safe trip is hardly guaranteed. Consider calling in Police Forgiveness as early as possible, if you have the ability to do so, otherwise you’ll be left with little reward on this ride, if it doesn’t get blown up completely!
Target: Longhauler
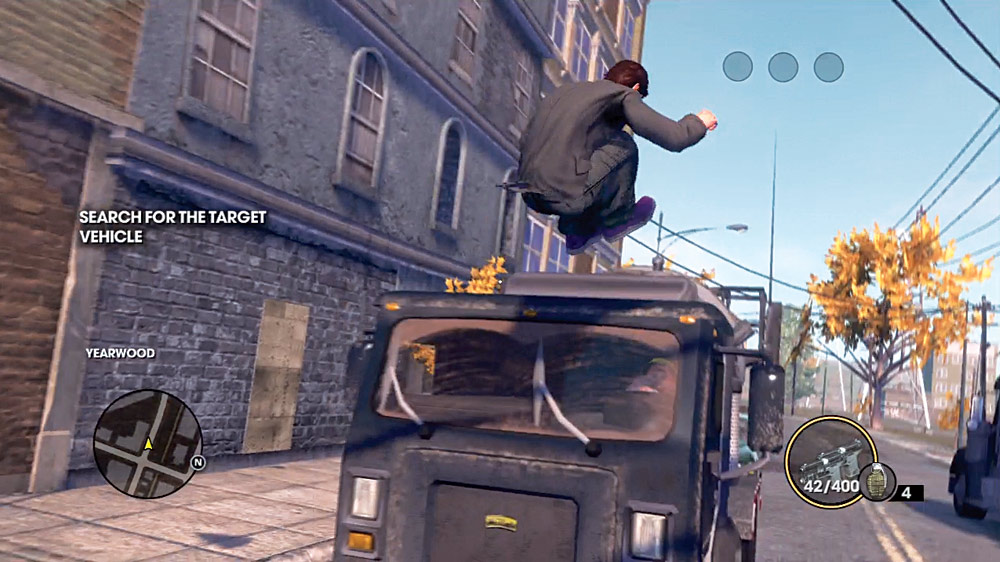
Location: Yearwood
Cash Earned: $1,000
Respect Earned: 250
Overview: Mixmaster Solution
Threat Level: Level 3 police notoriety
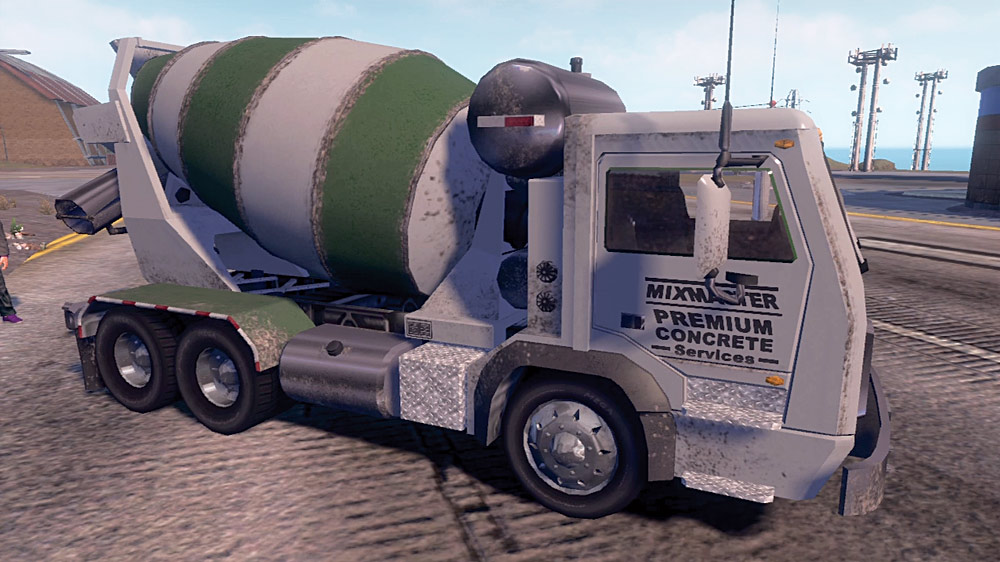
“Problem people get cement shoes. Dieter’s clients have a lot of problems. Dieter needs a lot of cement. Find a Longhauler ‘Mixmaster’ in Yearwood.”
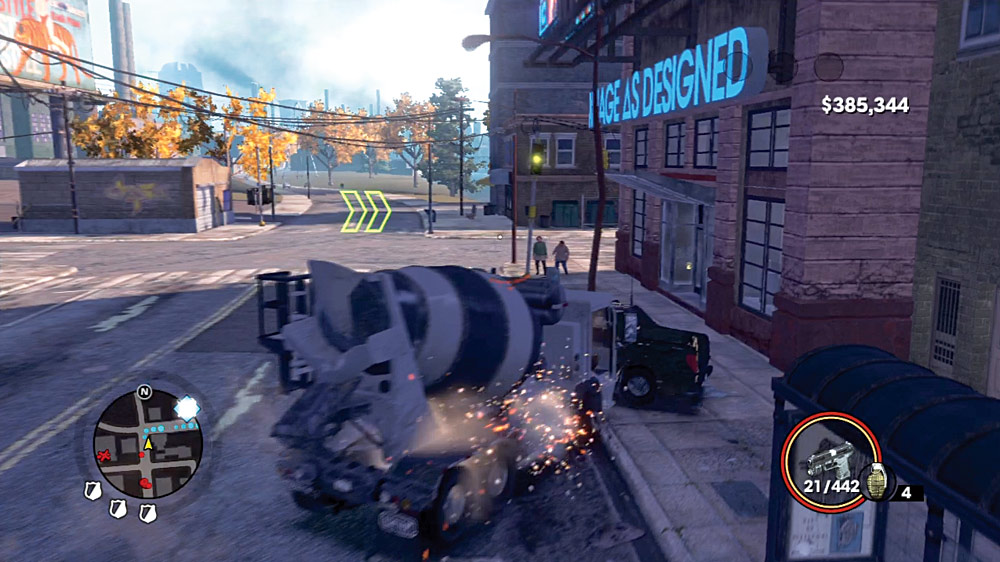
The Mixmaster is big, slow, and drives like a cow being herded to slaughter. The problem is that in Yearwood you must make a lot of turns to escape the law, and while the Mixmaster is big enough to push aside just about anything it runs into, it’s not invincible.
You can afford only so many crashes when the police are chasing and shooting you. There’s no shame in calling in Police Forgiveness here.
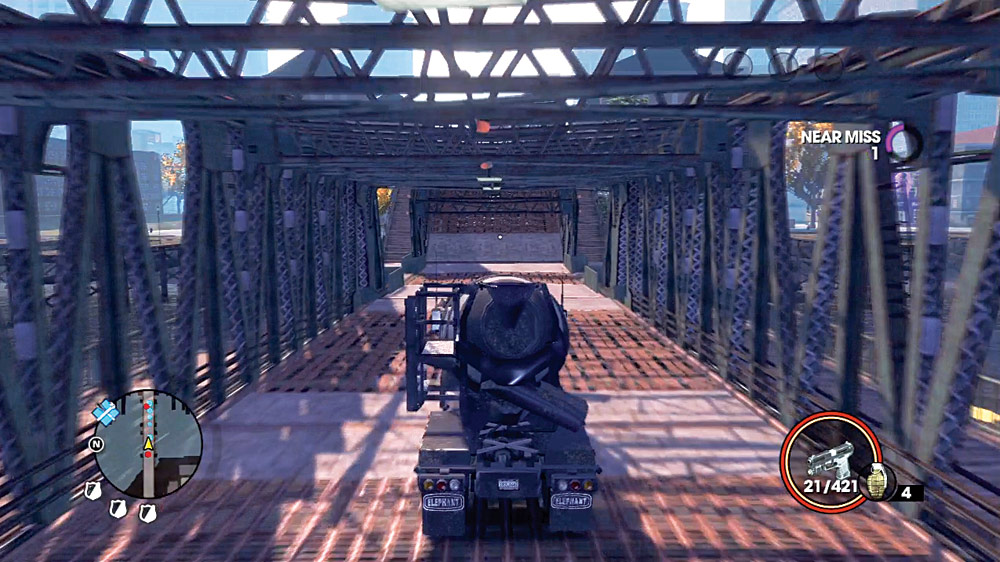
That said, it’s not impossible to drive straight back to Dieter’s with no favors called in. If you take the bridge closest to his chop shop that leads out of Sunset Park into Bridgeport, and keep driving straight, you will eventually drive right into Yearwood, which is marked on your minimap as a glowing blue hood. Remember this street.
If you can get a Mixmaster on this road, it’s about as straight a shot as you’ll find. It really helps if you also have nitrous to push the Mixmaster onward.Depending on how late in the game you are attempting this Vehicle Theft, the bridges may be up, and you’ll need that speed boost to jump them.
Target: Justice
Location: Henry Steel Mills
Cash Earned: $1,000
Respect Earned: 250
Overview: Dieter wants Justice!
Threat Level: Level 4 Gang Notoriety
“I simply must have a walnut dash and heated foot pedals. Nothing will do but a Justice. Find one in Henry Steel Mills.”
Everybody wants something, and after the last two jobs Dieter sent you on, something a bit easier would be welcome.
Everyone gets to be happy this time around, except for the Morningstar, who will be chasing you down with level four notoriety. It’s not so bad as it sounds though. A Justice is quick enough by itself, and Henry Steel Mills is not very far from Dieter’s Dis Autohaus. There is plenty of room on the streets to maneuver during the chase.
Target: Titan
Location: Port Pryor
Cash Earned: $1,250
Respect Earned: 300
Overview: Find a Titan for me, won’t you?
Threat Level: Level 4 police notoriety
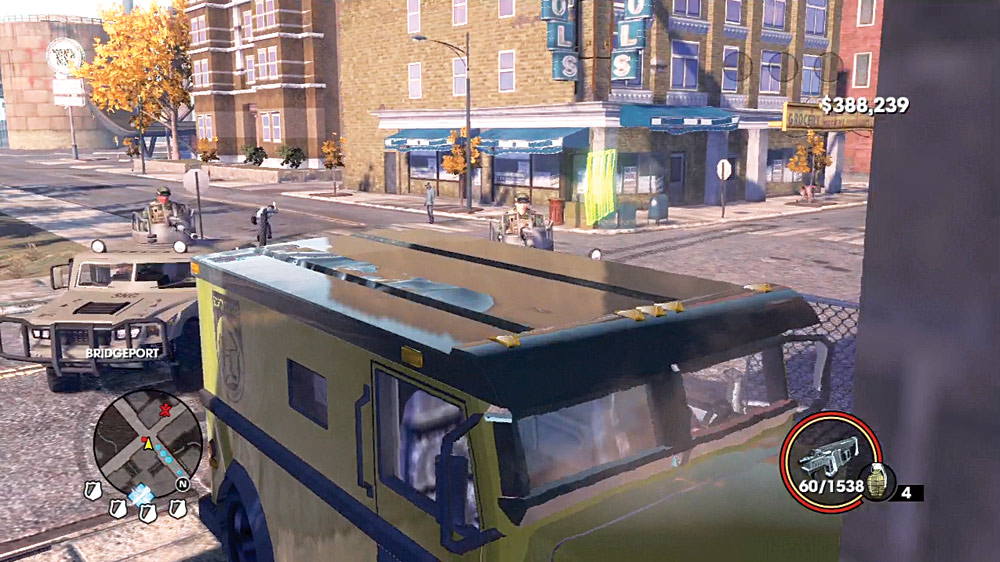
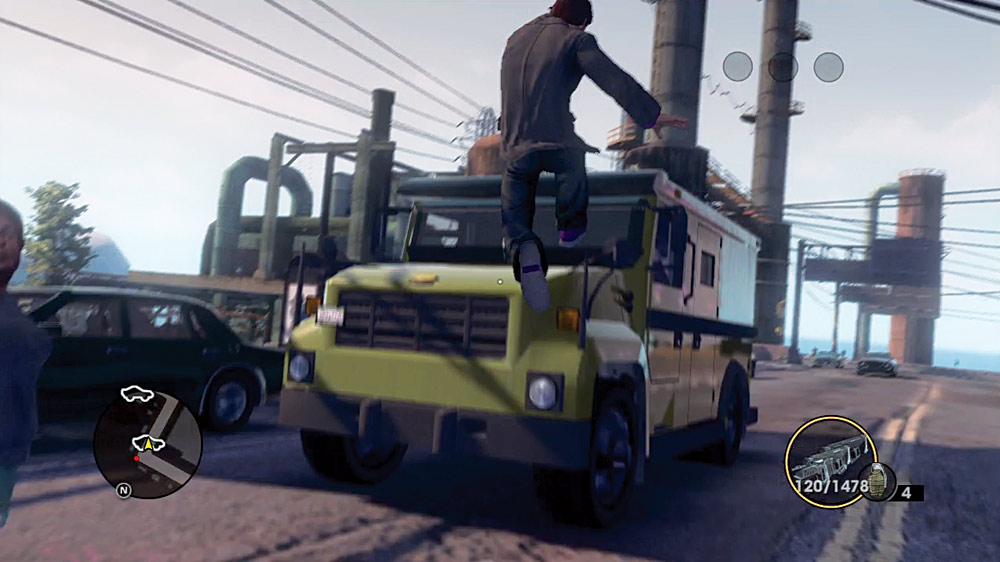
“So big, so fierce, so bulletproof. But a Titan’s most attractive feature to Dieter is how often they are filled with bags of cash. Find a few near the 3 Count, picking up the casino take no doubt.”
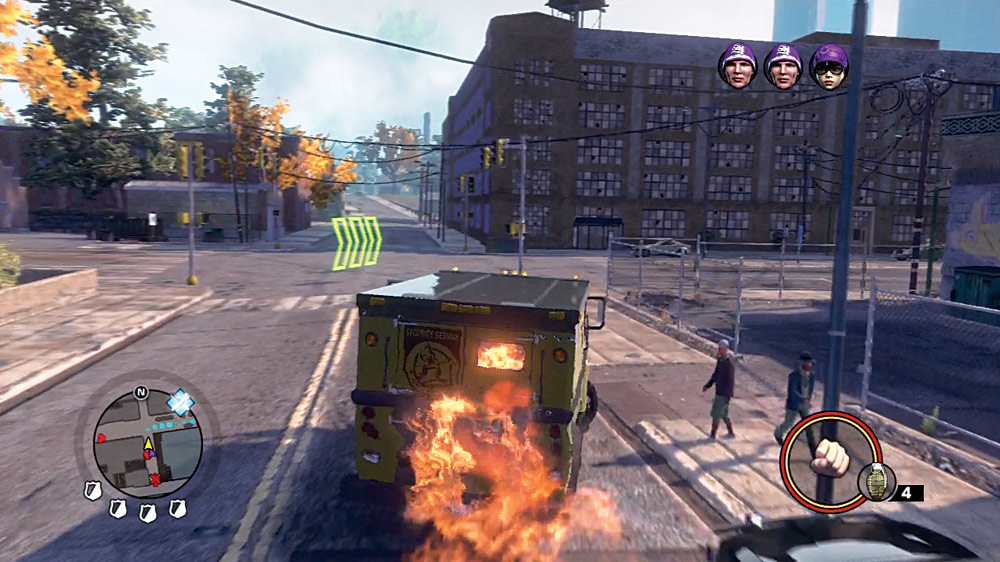
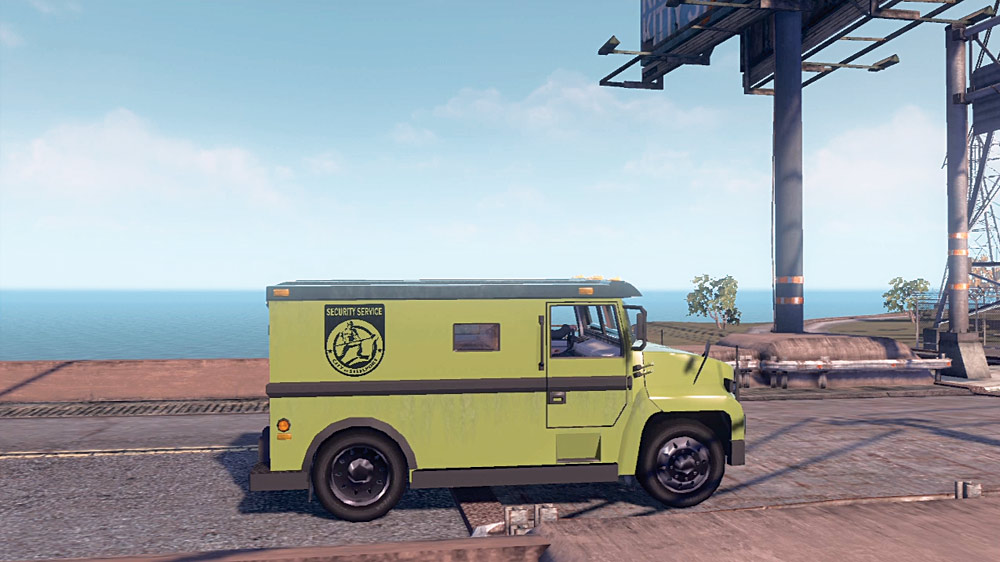
Two things: First, Dieter is a liar. The Titan is far from bulletproof. Level four notoriety brings out the military, with attack choppers and guard jeeps with mounted machine guns joining the cavalcade of jerks who are out to kill you for stealing one armored car.
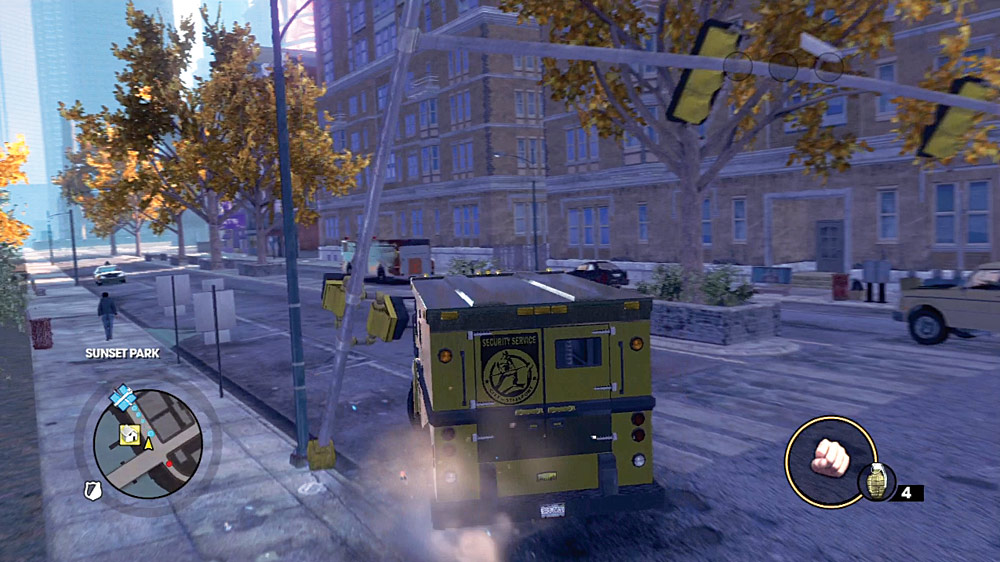
Second, call in for Police Forgiveness or Mayor’s Favor as soon as the notoriety appears on the minimap. No joke, the moment you climb in the marked Titan! With that much incoming firepower aimed at you, you’ll be lucky to make it back to the central island without being destroyed.
You simply can’t survive that level of sustained firepower through the whole drive back to the chop shop on any route you could try from the 3 Count. Perhaps, if you’re some sort of headshot savant and are able to perfectly knock out the machine gunners of guard jeeps and the drivers of all pursuit vehicles, and are lucky enough to block angles of fire for snipers and choppers alike with buildings while shooting them down—all while driving—you can do this without the favors. But if you want to save yourself some pain, just call it in and enjoy the peaceful ride back.
Grieves
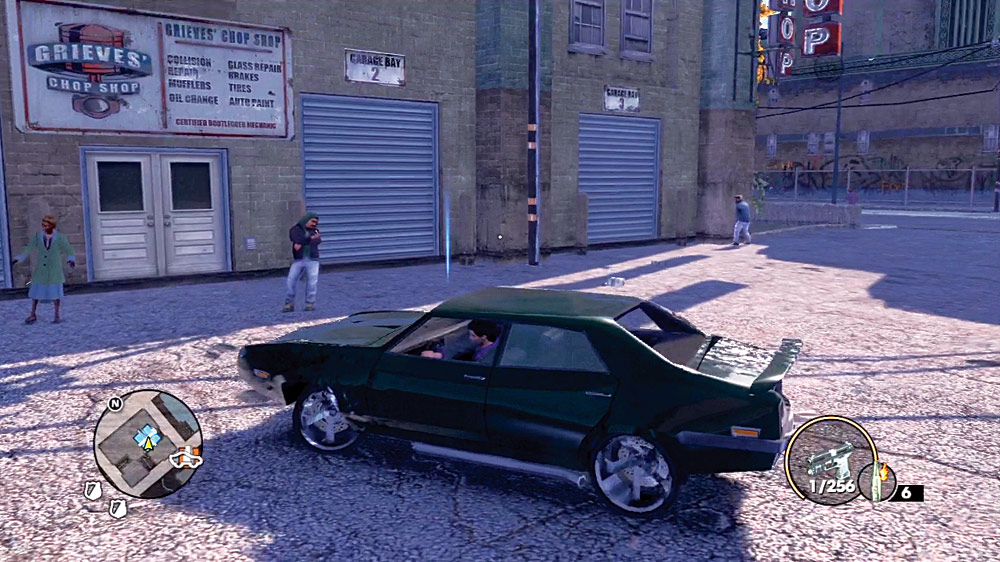
Grieves’ Chop Shop is within Bridgeport, close to the hospital in the same hood. It’s in a small side lot that the GPS doesn’t necessarily tell you to turn down, so for your first couple of deliveries, keep an eye on your minimap as you approach the finish line. This shop specializes in more working class vehicles, and they aren’t always pretty, or fast.
Target: Bootlegger
Location: Rosen Oaks
Cash Earned: $500
Respect Earned: 100
Overview: You got talent, I got work. Let’s bank a Bootlegger.
Threat Level: Level 2 police notoriety
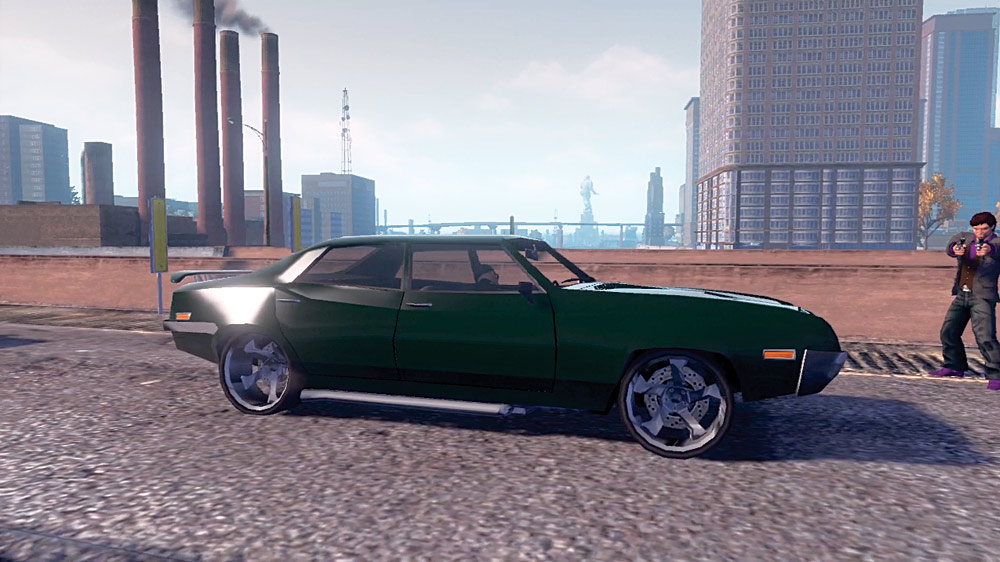
“I run the working man’s chop shop in town. And I need something big on power and short on brakes. This tricked-out Bootlegger is worth its weight in chrome, if you can find it. The owner usually hangs around Rosen Oaks.”
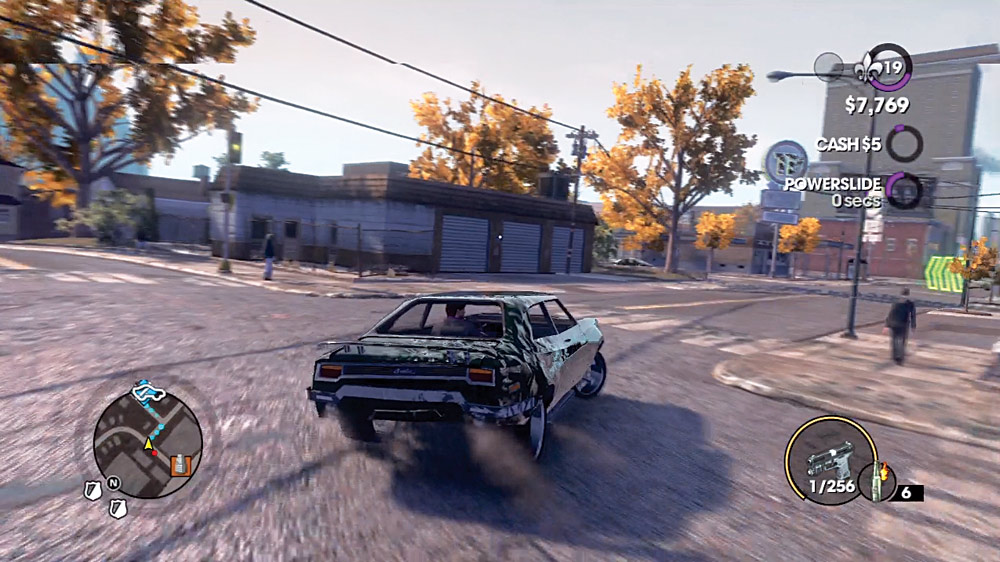
The greatest challenge of this whole job is the fact that Rosen Oaks is basically on the other side of the city from Grieves, which means that the drive is plenty long enough for you to find a way to mess the car up if you’re not patient. Take the freeway bridges back to Bridgeport to cut down on dealing with surface street traffic.
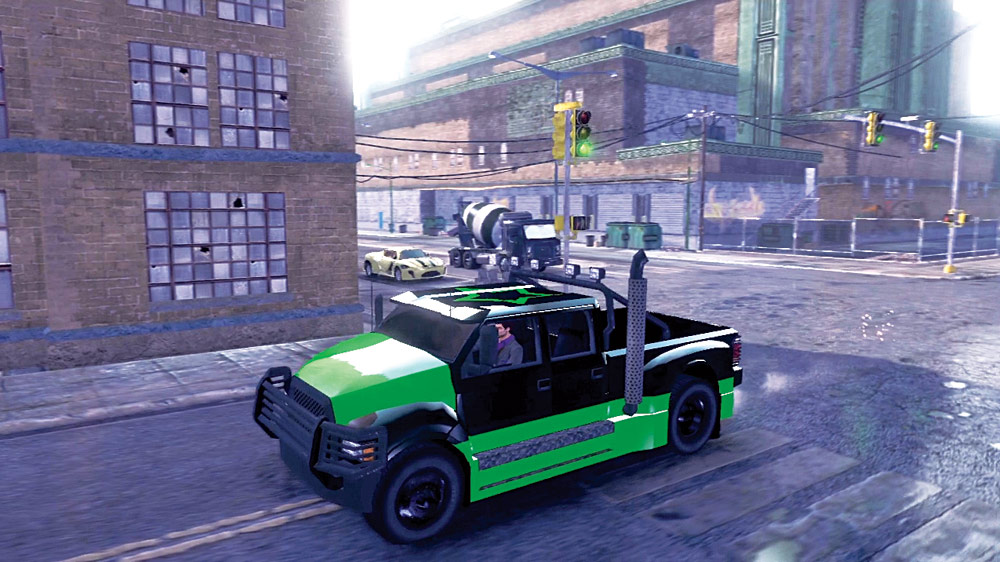
The Bootlegger you find is definitely fast enough to evade pursuit, as well as strong in the corners. Just hold the pedal down and drift though each turn, and you’ll make it to the shop easily enough.
Target: Compensator
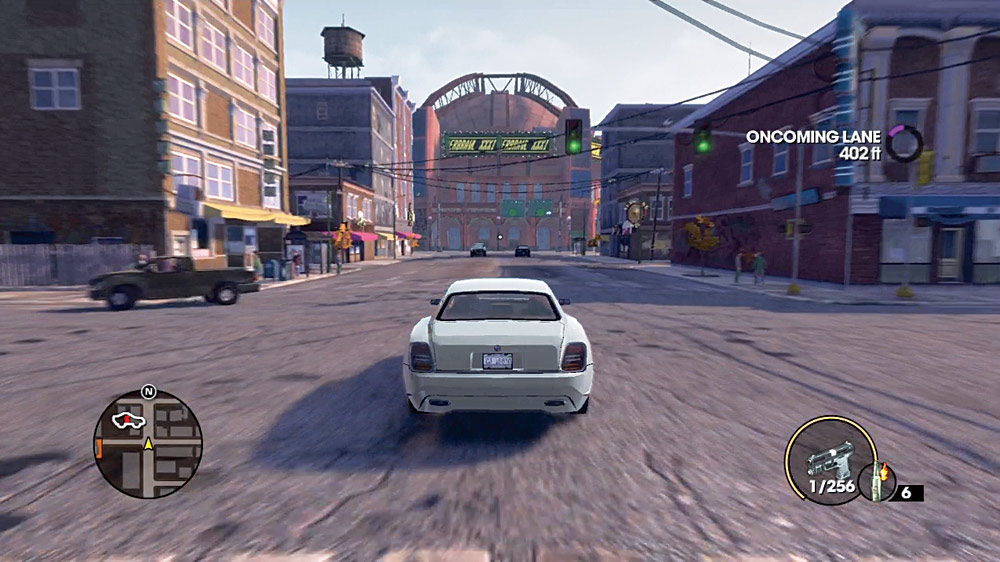
Location: Yearwood
Cash Earned: $625
Respect Earned: 125
Overview: Take a Compensator to pay debts
Threat Level: Level 3 Gang Notoriety
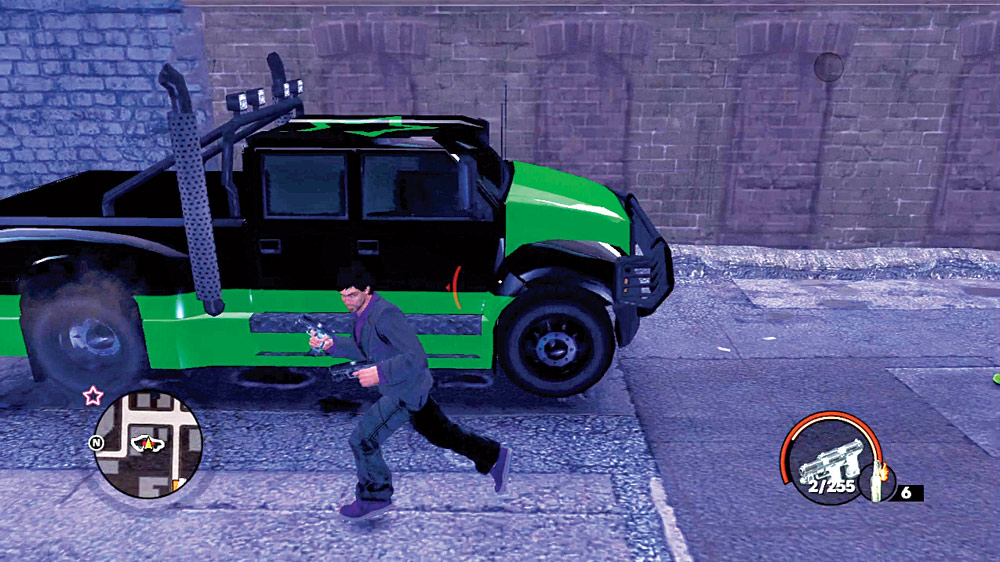
“Somebody couldn’t pay their gambling debts, so we’re taking their Compensator instead as . . . uh . . . compensation. Find it in Yearwood.”
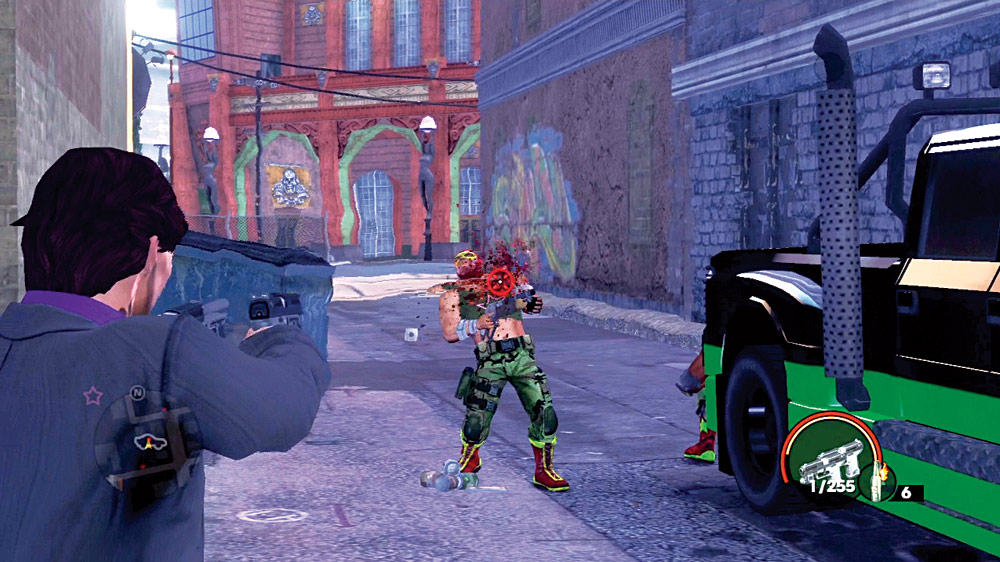
The particular Compensator you want is actually parked in an alley behind some small businesses near the Murderbrawl XXXI stadium in Yearwood, and it belongs to the Luchadores.
Clearing out the guards and taking the Compensator will slap you with level three notoriety with the gang, but that’s okay because it’s a Compensator.
Just avoid slowing down too much, and the Luchadores won’t be able to take out your ride before you make it to the chop shop.
Target: Sandstorm
Location: Burns Hill
Cash Earned: $750
Respect Earned: 150
Overview: Kick up a Sandstorm
Threat Level: Level 3 police notoriety
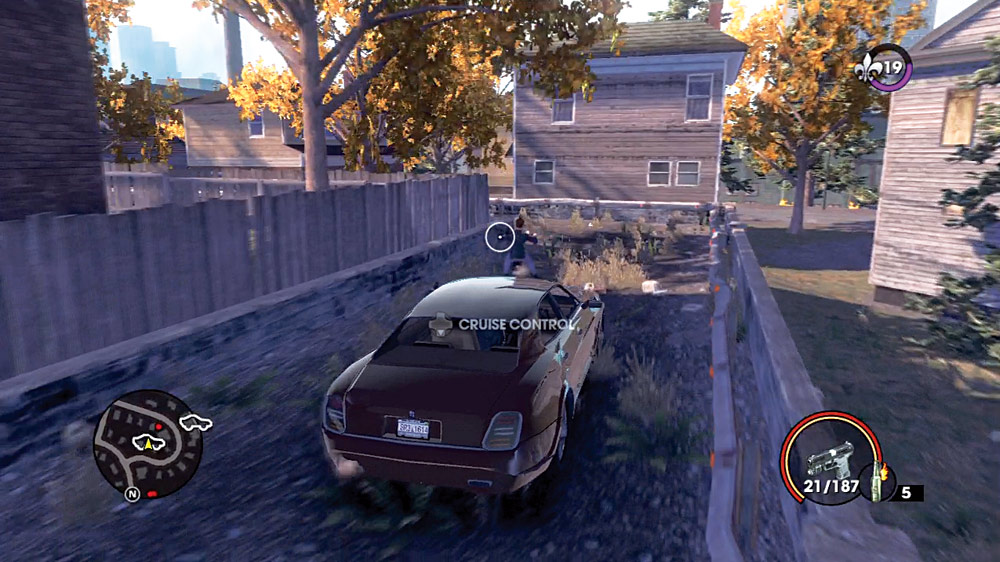
“Those ‘Xtreme’ supercross gearheads can’t get enough of the Sandstorm. That’s why they get stolen. So steal one. You might try looking around Burns Hill.”
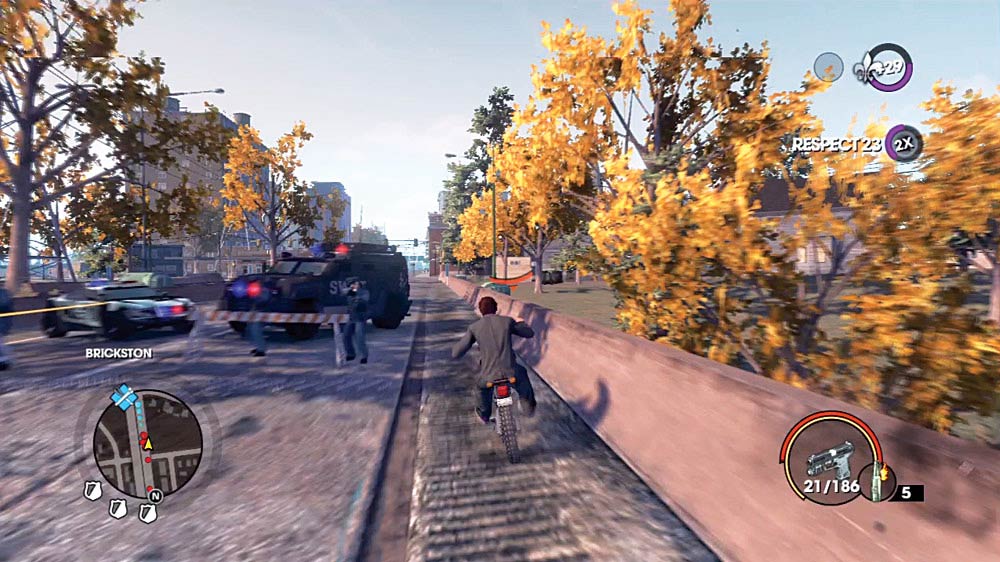
These bikes can be a pain in the rear to steal for two good reasons.
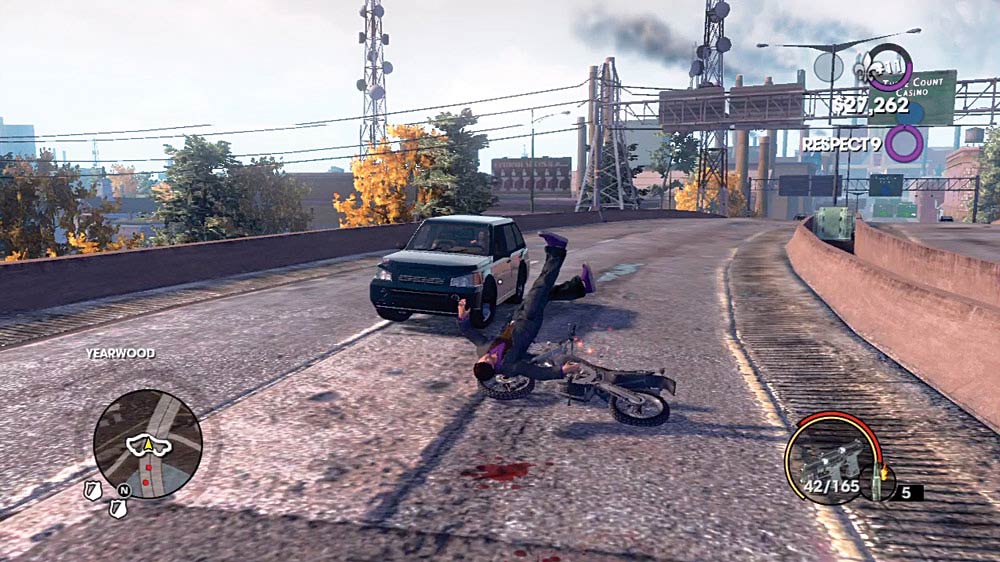
First, the riders of the bikes are surprisingly resourceful when you try to chase them down. They speed off when you approach on foot, and lead you into tight spaces when you try to run them down in a vehicle.
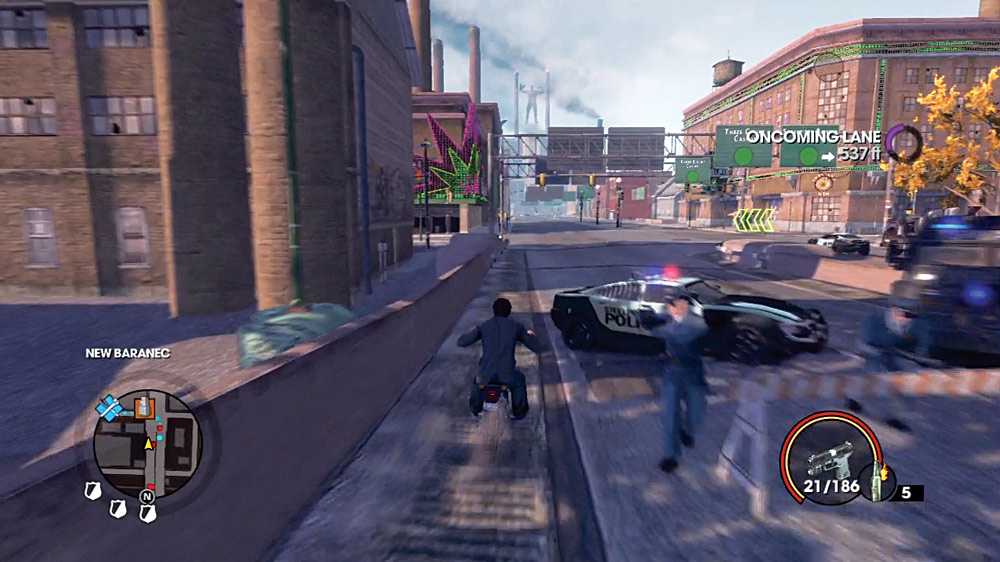
Second, it’s a bike. While not as off-the-wall crazy as a Kaneda, you still have to deal with sensitive controls, as well as the fact that you’re pretty unprotected on a bike. Bullets are more likely to hit you and not the bike, and you are more likely to hit walls and other vehicles if you get ejected from the bike after a crash. Fortunately, the smaller size of the bike means you’re able to thread your way through roadblocks and alleys with some ease to evade pursuers and even catch a short break if you’re low on health.
Target: Scrubber
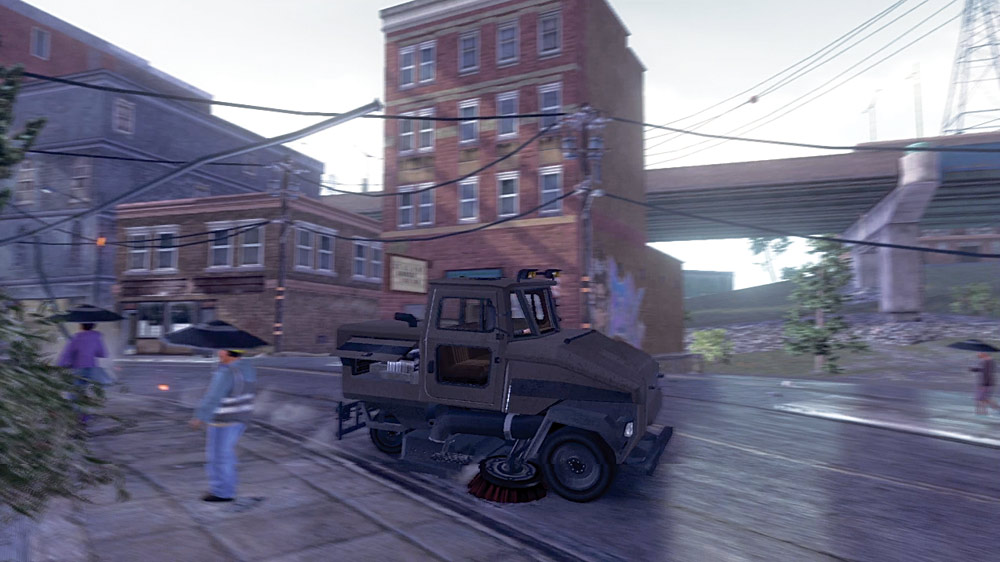
Location: Sunset Park
Cash Earned: $875
Respect Earned: 200
Overview: Snag me a Scrubber
Threat Level: Level 3 police notoriety
“These street cleaners keep Steelport’s streets and casino parking lots free of trash, blood, and puke. You can find ’em pretty much anywhere downtown late at night.”
Contrary to what Grieves says, you don’t need to troll Sunset Park at night to find a scrubber. You can go to Sunset Park any time of day and you’ll eventually find one doing it’s job.
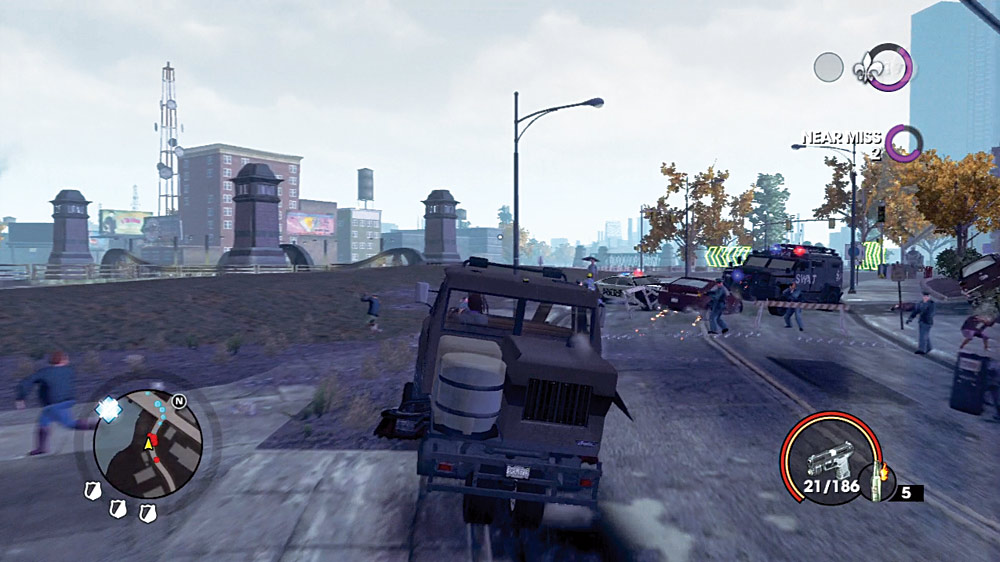
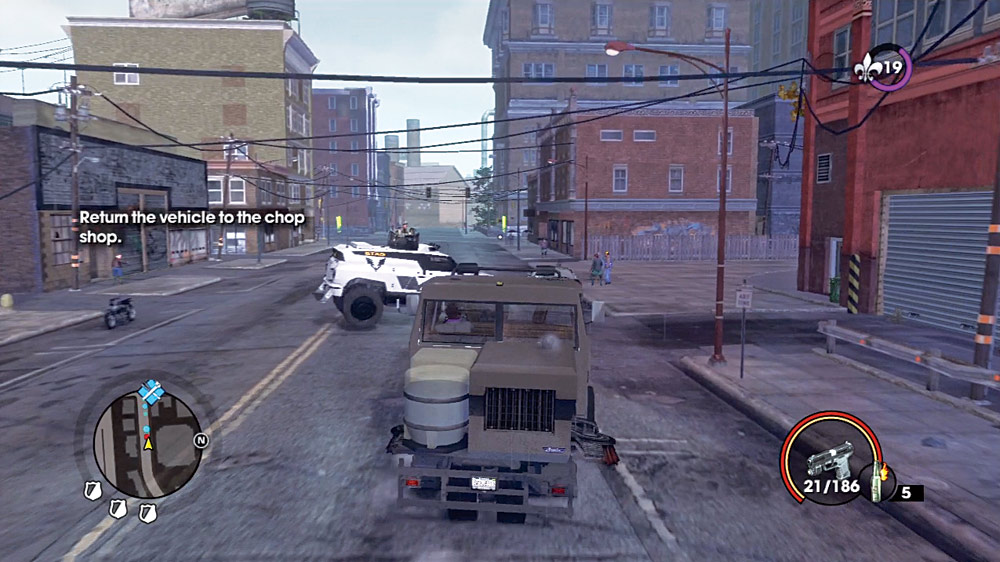
It takes time for a scrubber to get to full speed, but once you’re there it’s hard to stop, literally. The brakes don’t seem very responsive, and on top of that, a Scrubber can’t steer for beans, meaning you’ll be barreling through a lot of stuff trying to get to where you want to be. Combine that with police and/or STAG presence and you’ve got a bit of a problem.
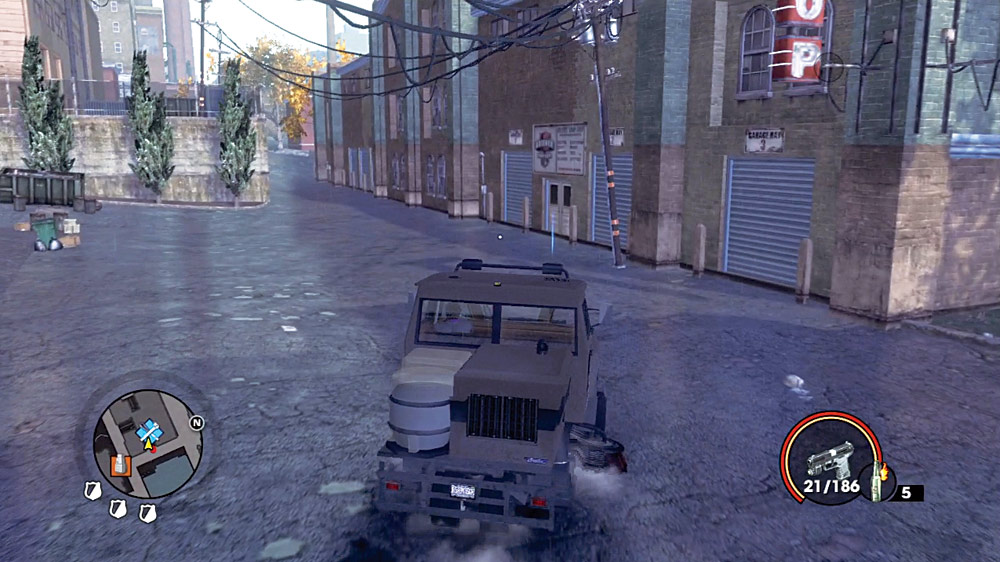
Still, the Scrubber is surprisingly durable. If you’re still having trouble with this Vehicle Theft, having the Police Forgiveness or Mayor’s Favor ability can help you succeed.
Target: Steelport Municipal
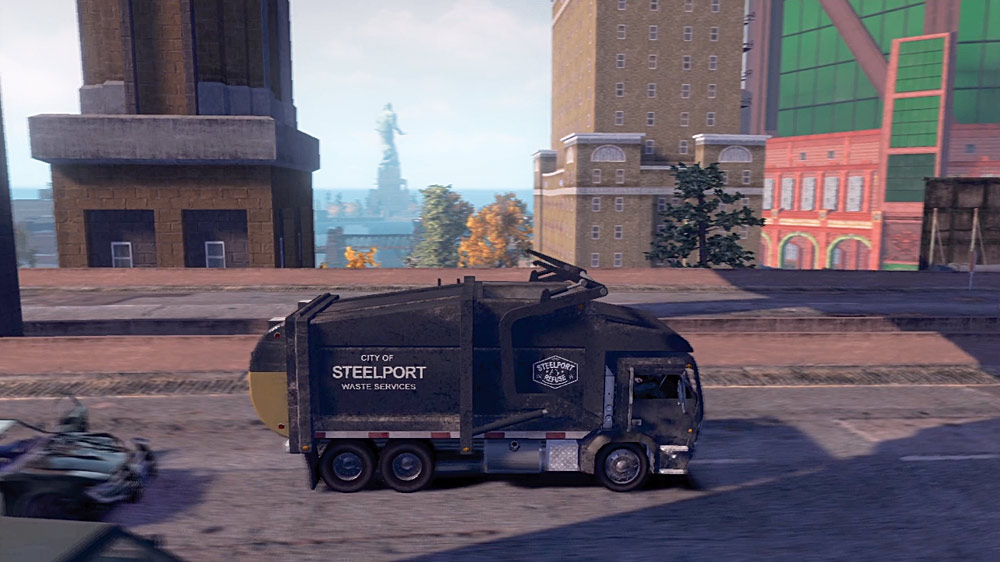
Location: Camano Place
Cash Earned: $1,000
Respect Earned: 250
Overview: Why do I need a trash truck?
Threat Level: Level 3 police notoriety
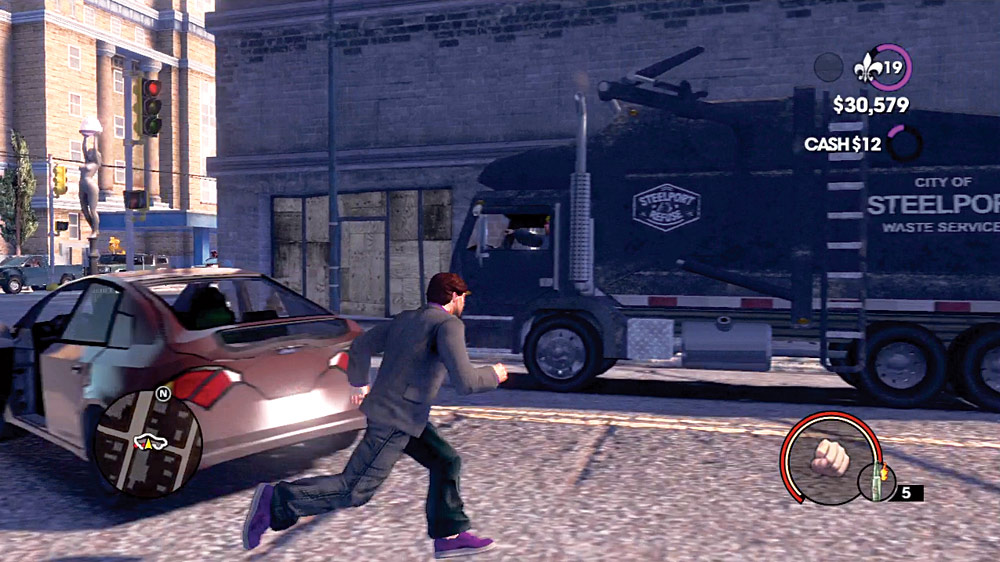
“Because sometimes you just need to take out the trash. These hunks of municipal steel roam around the streets all over in the wee hours of the morning.”
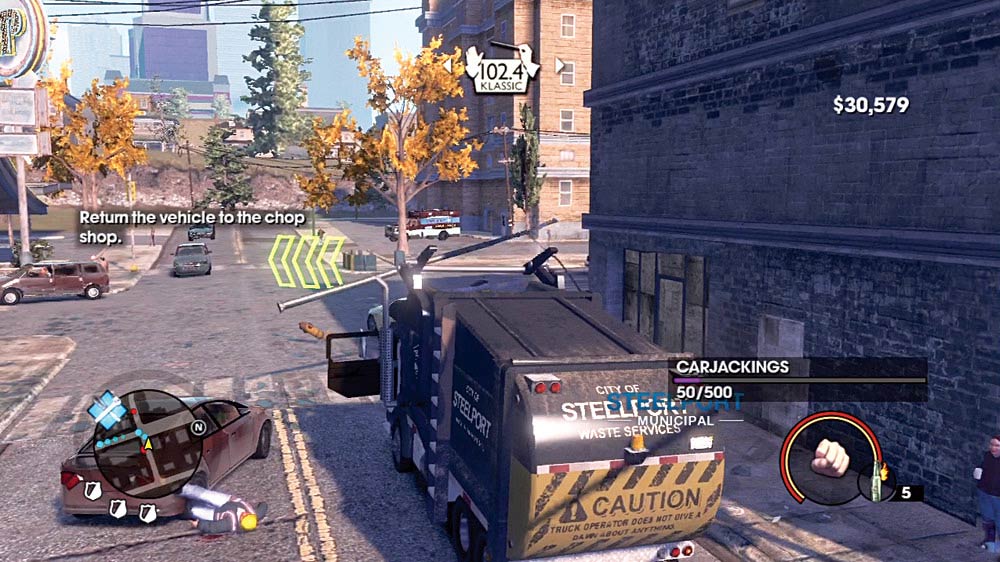
Like with the Scrubber, you don’t have to drive around Camano Place in the morning to find a Steelport Municipal, but you’ll probably see more on the streets at that time. Once you have it, prepare for a very long drive back to Grieves.
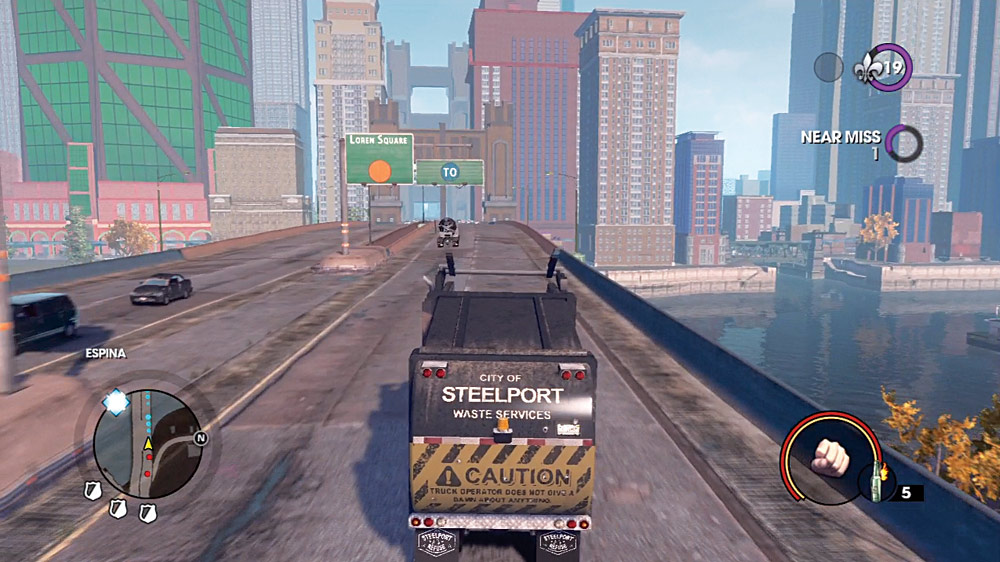
Much bigger than most vehicles you’re asked to steal, the trash truck can blast through just about any roadblock short of a tank, which thankfully they don’t send after you on this job. As is, it’s a slow ride, even with nitrous to help push you along (if you have it), so concentrate on minimizing damage to the vehicle.
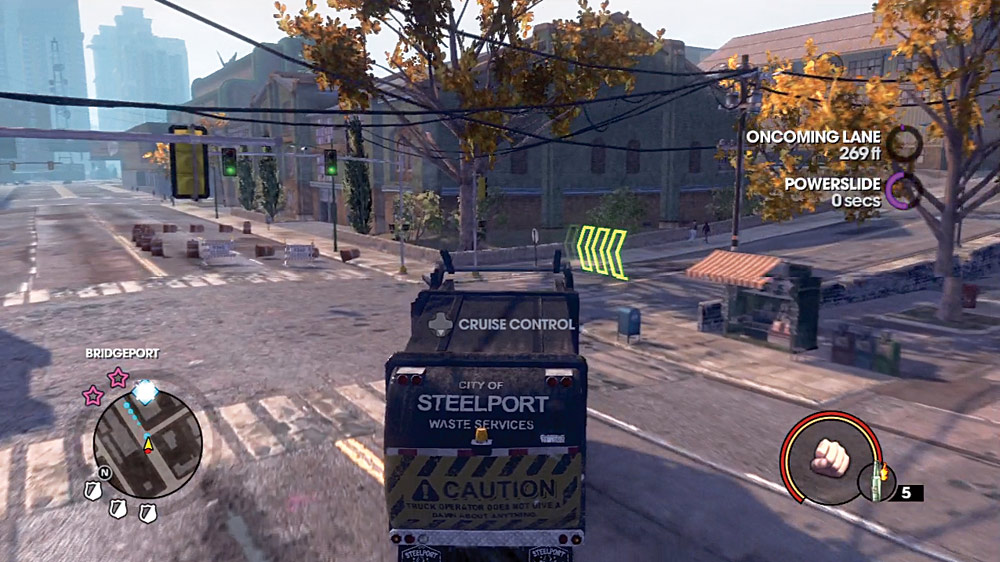
If pursuit is too heavy for you and you’re taking too much fire, call in a favor once you get to a decent stretch of road where you can avoid regaining notoriety. The truck has a very wide turn radius, so it’s completely possible to clip pedestrians and cops on the sidewalks while speeding through the suburbs.
Target: Peterliner
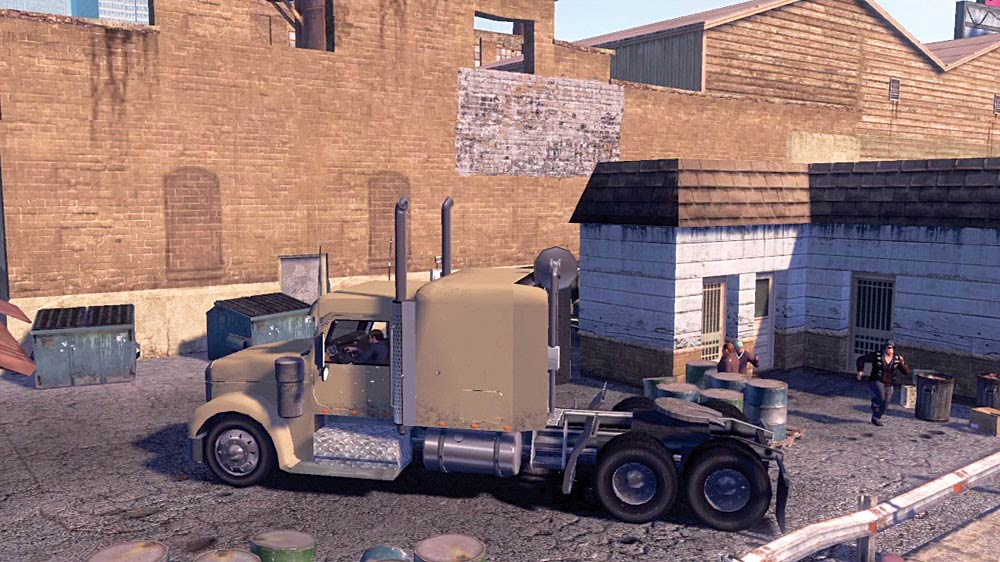
Location: Espina
Cash Earned: $1,250
Respect Earned: 300
Overview: Best to haul a big load with a Peterliner
Threat Level: Level 3 police notoriety
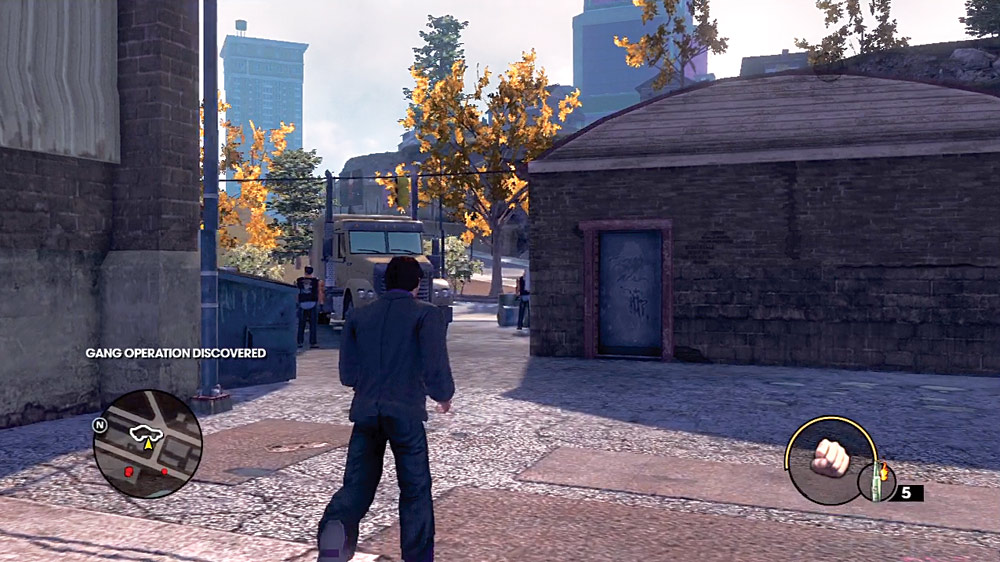
“Gas ain’t cheap, and with prices going up, the Peterliner’s just the thing to bring back a tanker load of black-market fuel. You can find it in Espina.”
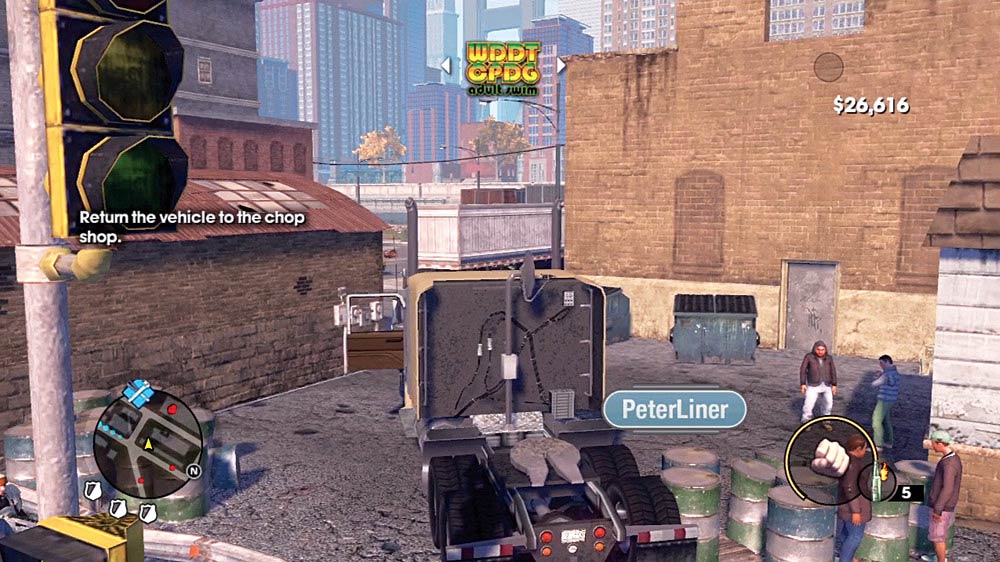
The Peterliner in question is in Espina near the some industrial buildings close to the water. It’s parked in such a way that as soon as you climb aboard you can accelerate away from the spot and into the streets.
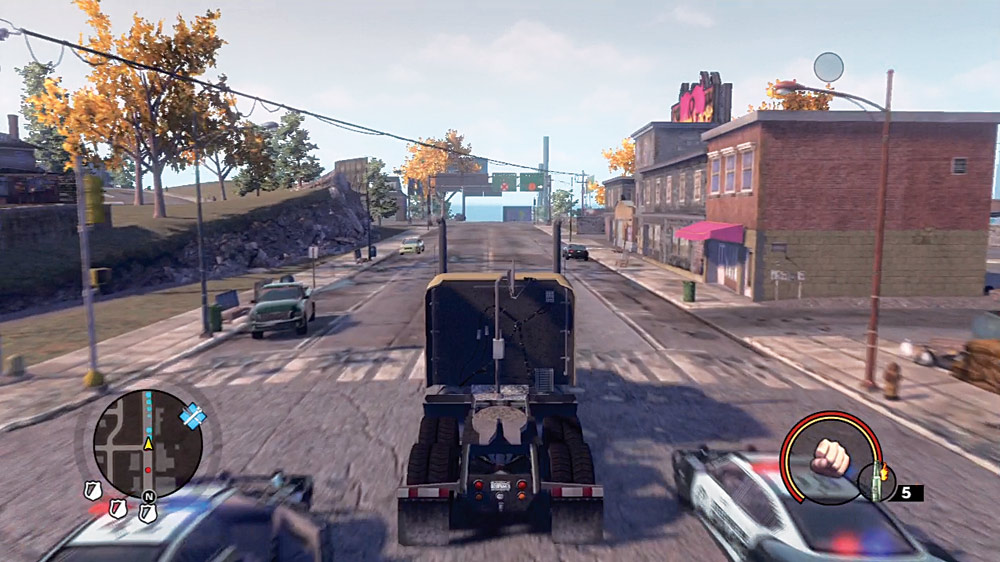
The Peterliner is slow, big, and not very maneuverable, and if STAG are in town, the already-slim chances of making it back to Grieves in one piece are brought down to almost nothing.
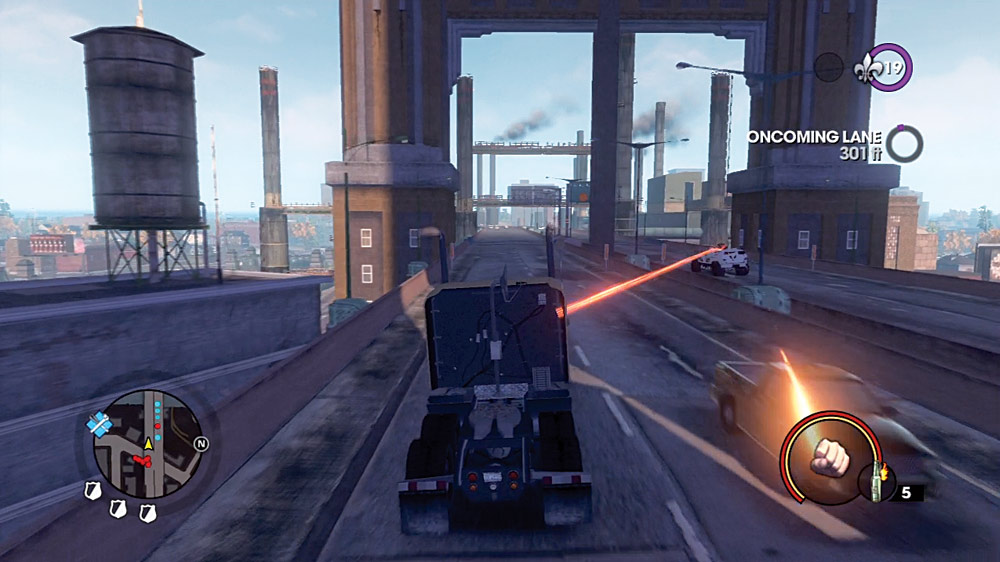
You really need to call in Police Forgiveness on this one—it’s one of your longest drives yet, and having people shoot at you will not make it easier. It might end sooner, though.
Rigg
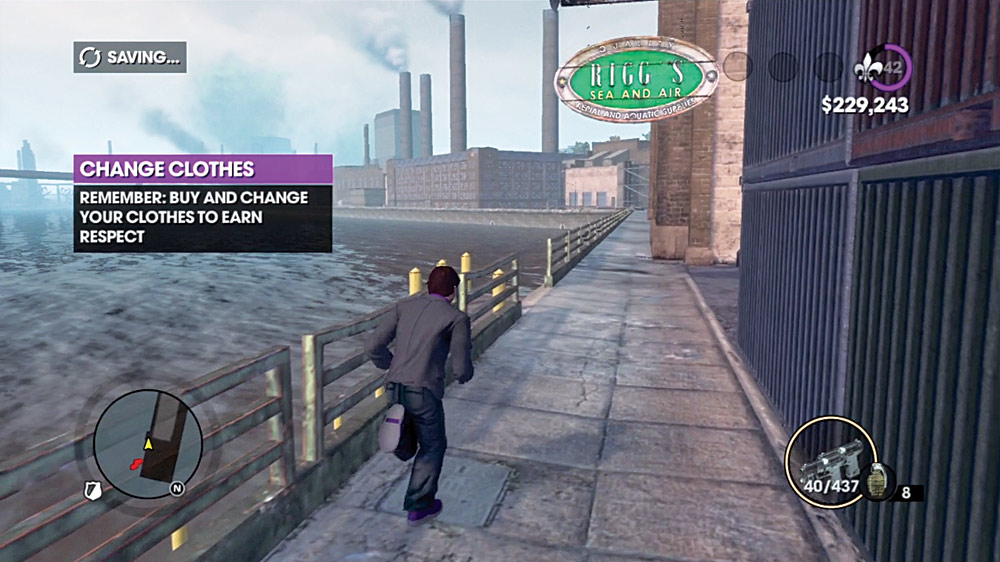
Rigg’s Sea and Air: Aerial and Aquatic Supplies, located in Ashwood on the dock protruding from the northeastern point of the western island, says its specialty in the name. You can expect to be going after boats and an assortment of aircraft to satisfy this client.
Target: Shark
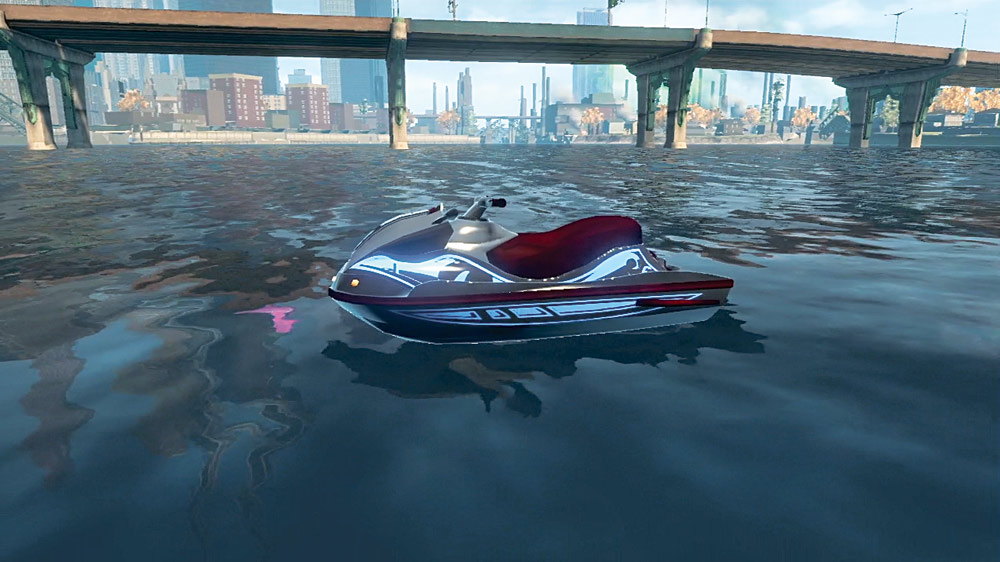
Location: Camano Place
Cash Earned: $750
Respect Earned: 150
Overview: Rigg’s Sea and Air has an opening for a real Shark
Threat Level: Level 2 police notoriety
“We specialize in air vehicles and watercraft, and we have an opening for someone in acquisitions. We can start small. Snag a Shark and bring it to the dock, and we’ll talk more. Try up near Camano Place Waterfront.”
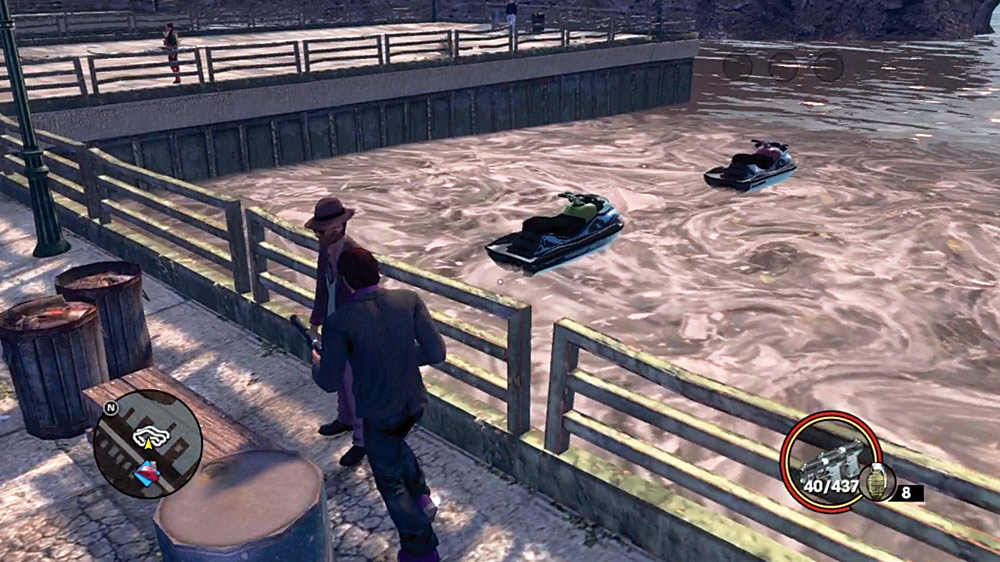
Located on the eastern edge of Camano Place near the waterfront, you’ll find not just one, but two Sharks waiting to be stolen. Either one will do. As soon as you get in one, the cops will be on to you.
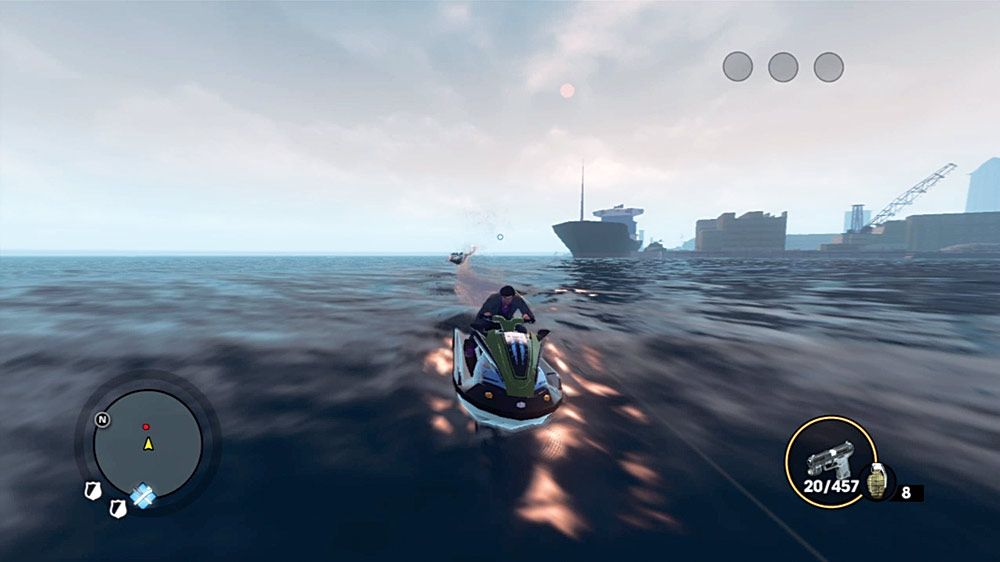
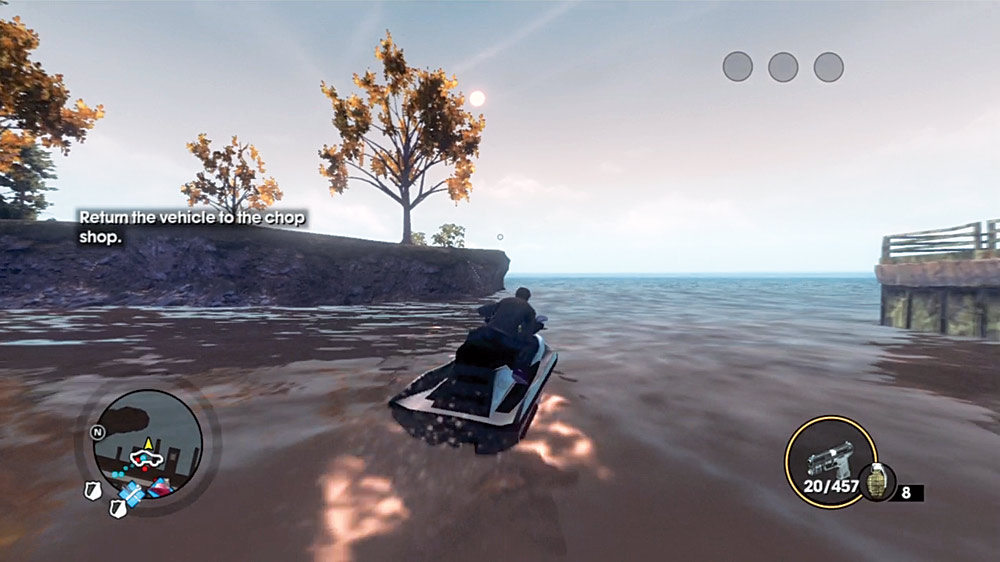
The best route to take is along the northern coasts of Steelport. Check your map so you don’t aim for the wrong dock, and most importantly, don’t stop moving. The police have their own jet skis chasing you, as well as a missile-armed patrol boat!
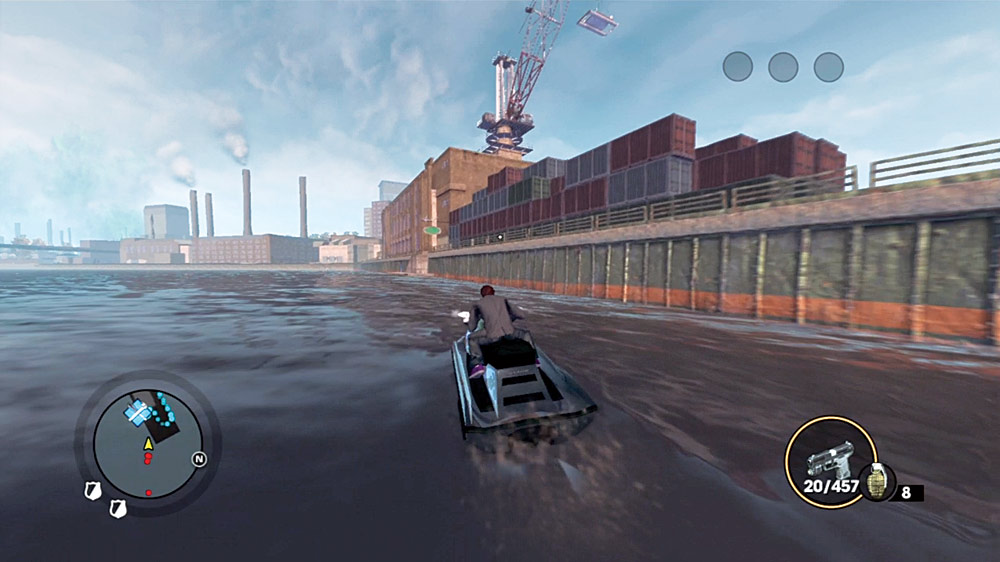
The rockets are usually a little off target, but it doesn’t hurt to swerve back and forth a little bit to keep them missing. Make sure that when you approach Rigg’s dock, you aim for its southernmost side.
Target: Miami
Location: Sunset Park
Cash Earned: $750
Respect Earned: 150
Overview: Snag me a Miami speedboat
Threat Level: Level 3 police notoriety
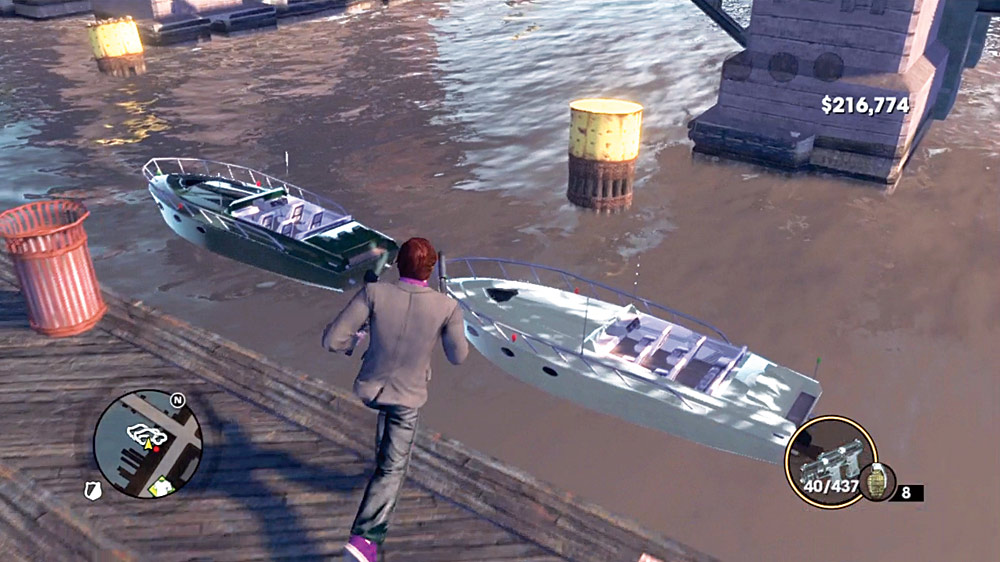
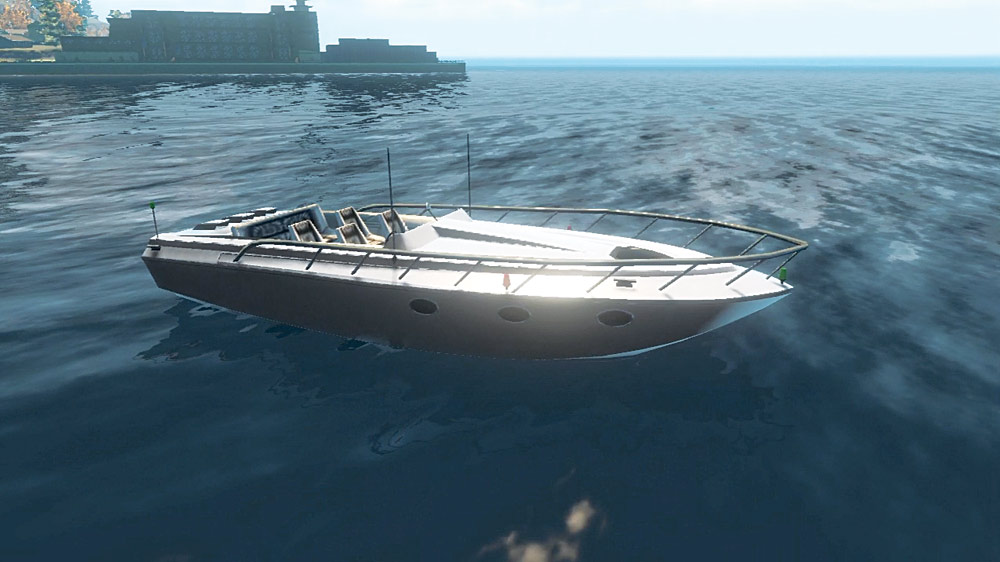
“This particular Miami was featured in the first episode of an ’80s hit cop show, and a collector wants it bad. You can find it around the wharf in Sunset Park.”
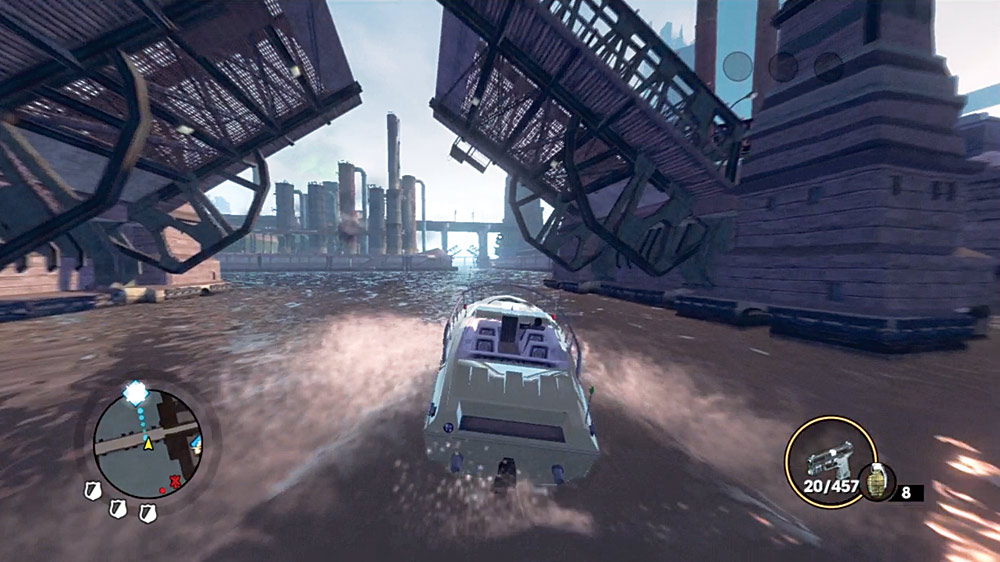
This a pretty quick run. You can find the Miami at the docks near Rondini’s Boat Dock, one of the properties you can purchase in Sunset Park. Once you grab the boat, head north, passing under the bridges and highways and following the canal until you get into more open waters that lead to Rigg’s.
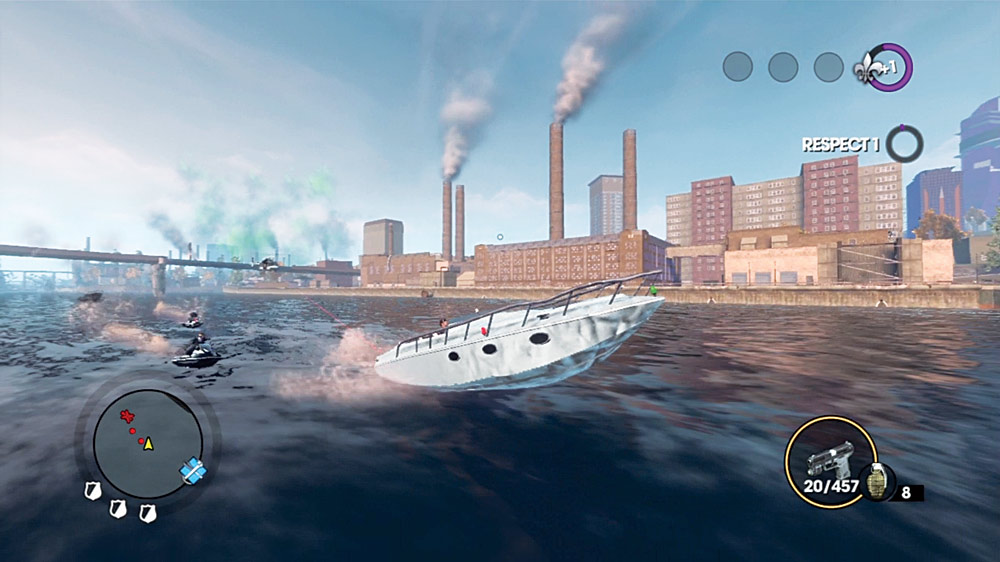
Helicopter snipers are added to the mix, and of course you will have the missile boats chasing you. Keep the throttle open and swerve now and again to throw off incoming missiles. The Miami’s a bigger target, so you’ll have to work a little harder to stay in one piece.
Target: Oppressor
Location: Sunset Park
Cash Earned: $1,000
Respect Earned: 250
Overview: No longer the Oppressor
Threat Level: Level 4 police notoriety
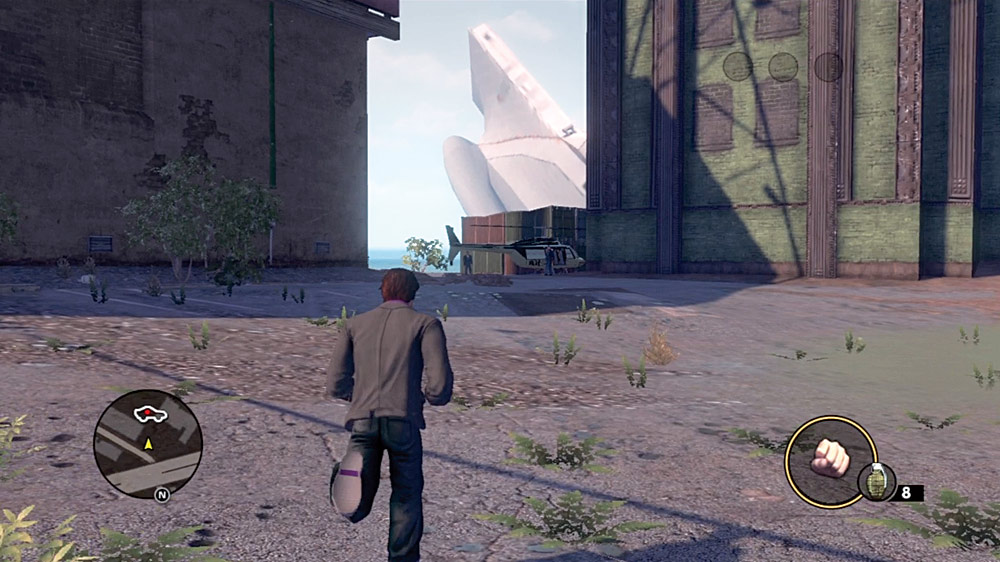
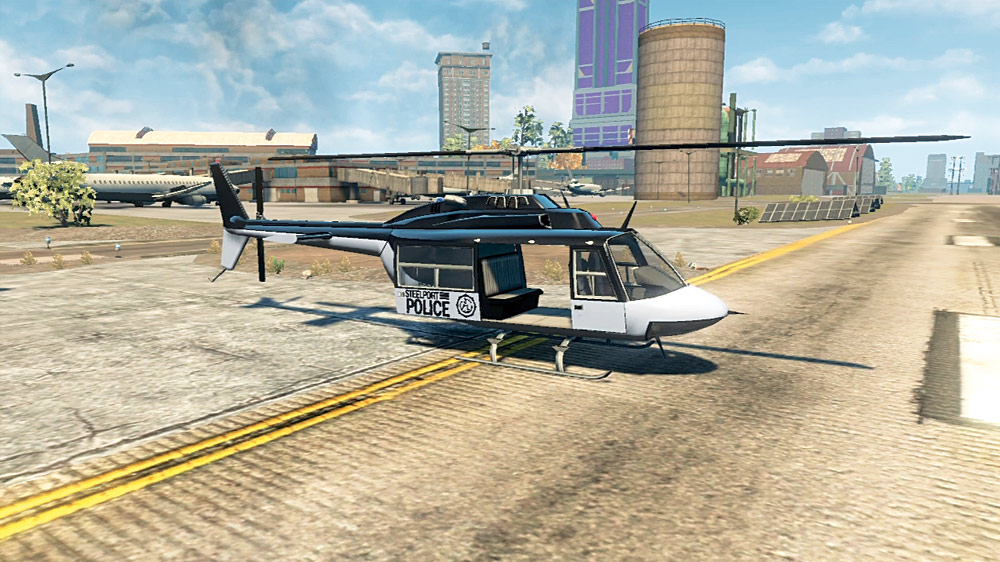
“The Oppressor’s been the cops’ eye in the sky and a thorn in the side of honest criminals for years. It’s perfect for carrying cops . . . or framing them. Get my drift? The cops usually have one parked and at the ready down by the old power plant in Sunset Park.”
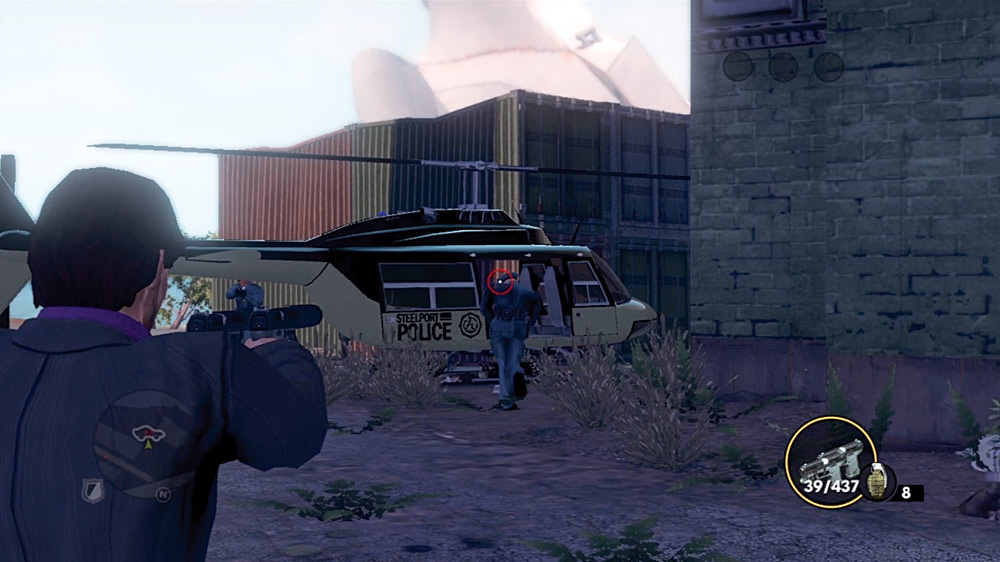
You can find the Oppressor under police protection on the southern tip of the central island. They will open fire upon you as soon as you approach, so be aware of that and ready yourself for a gunfight.
Once you have the Oppressor, get out of Sunset Park’s airspace quick as you can. You can get shot down distressingly quick, particularly if STAG are a factor in your operations. You’ll have attack choppers chasing you down, so do not stop for anything. If you’re having really bad luck getting out to Rigg’s, call in Police Forgiveness. However, as long as you maintain good speed, you can probably evade the cops long enough to set the Oppressor down at Rigg’s safely.
Target: Commander
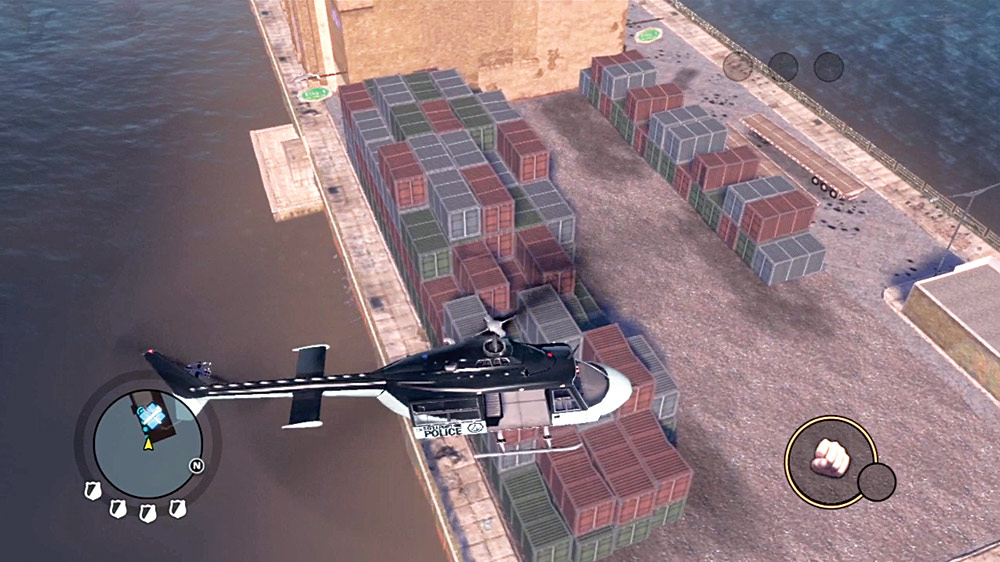
Location: Sierra Point
Cash Earned: $1,250
Respect Earned: 300
Overview: Acquire a Commander for a client
Threat Level: Level 5 police notoriety
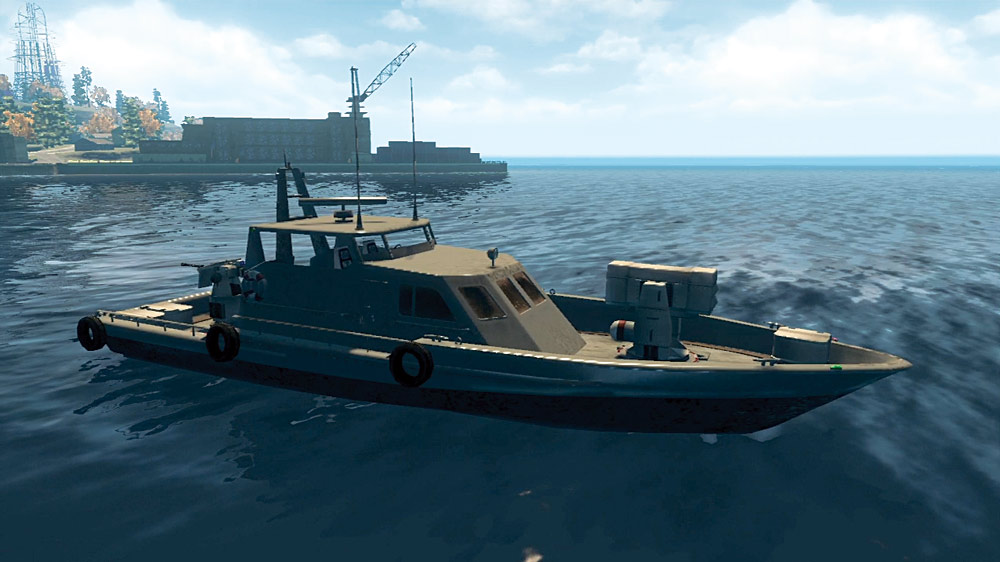
“This thing’s a seagoing enforcer. It’s just as good for chasing waterborne perps as it is cruising the Mekong Delta. And smugglers love ’em, too. You can always find a Commander docked off Sierra Point . . . that’s the Guard base just north of the big statue.”
Hooo boy.
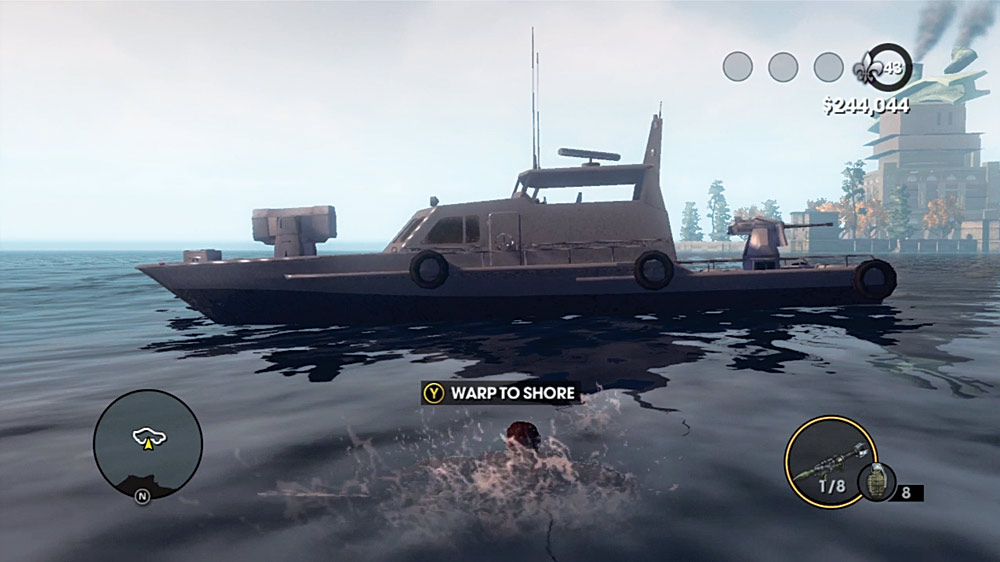
To start, a sea approach to the Commander is definitely preferred. The longer you can avoid attracting attention, the better. The boat is off the southern coast of Sierra Point, and once you climb aboard, the police and military response is dangerously fast—they throw the whole gamut at you on this job.
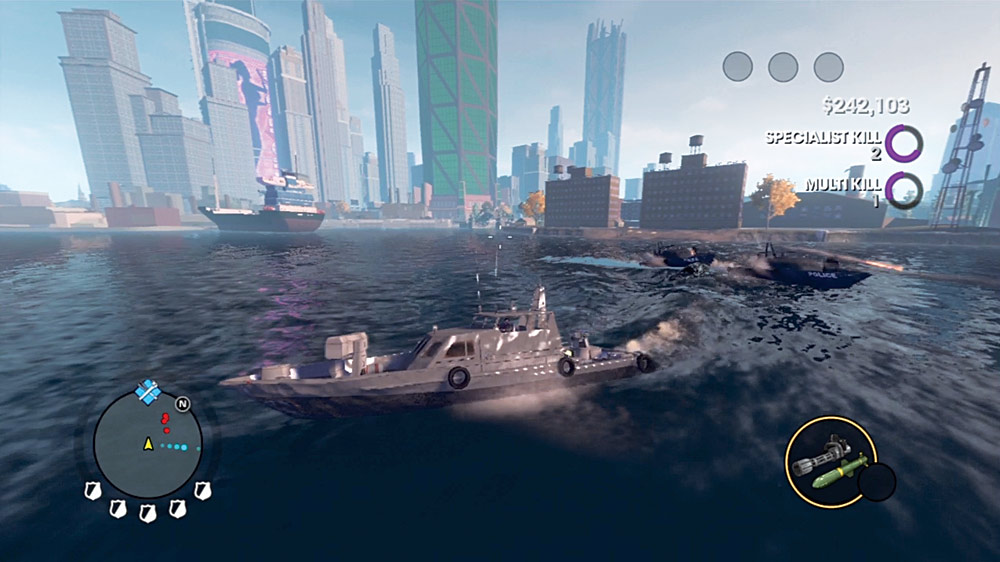
You can try taking out your pursuers as they come closer to you, but make sure you know where you are going so you don’t run into obstacles on the way to Rigg’s. Your ultimate goal is to take the canals through the city, as they are the fastest way to get to Rigg’s.
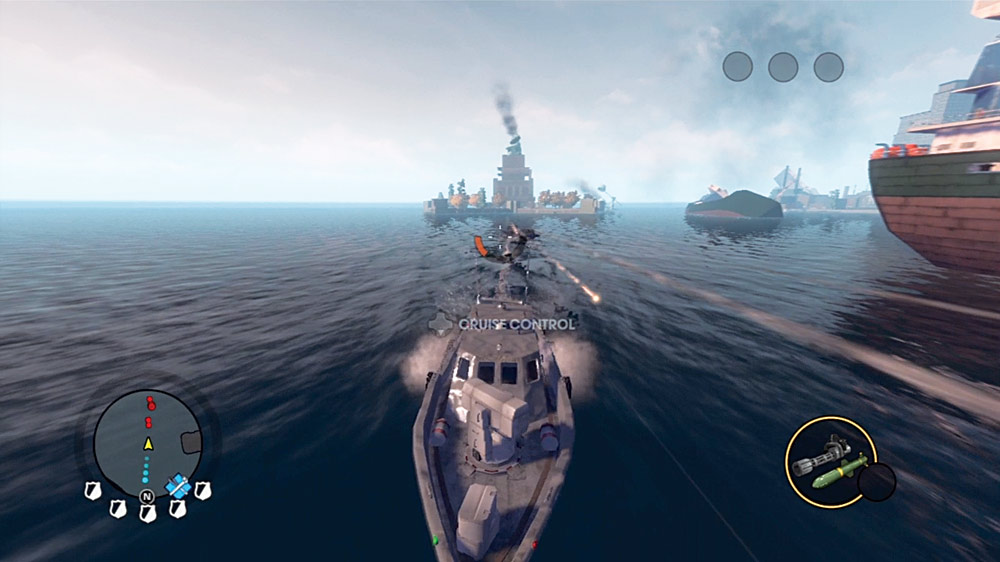
The Commander starts off facing away from where you want to go, so turn that boat around and get into the canal system. Make sure you take the west branch through the city when it comes up. It’s a more direct route.
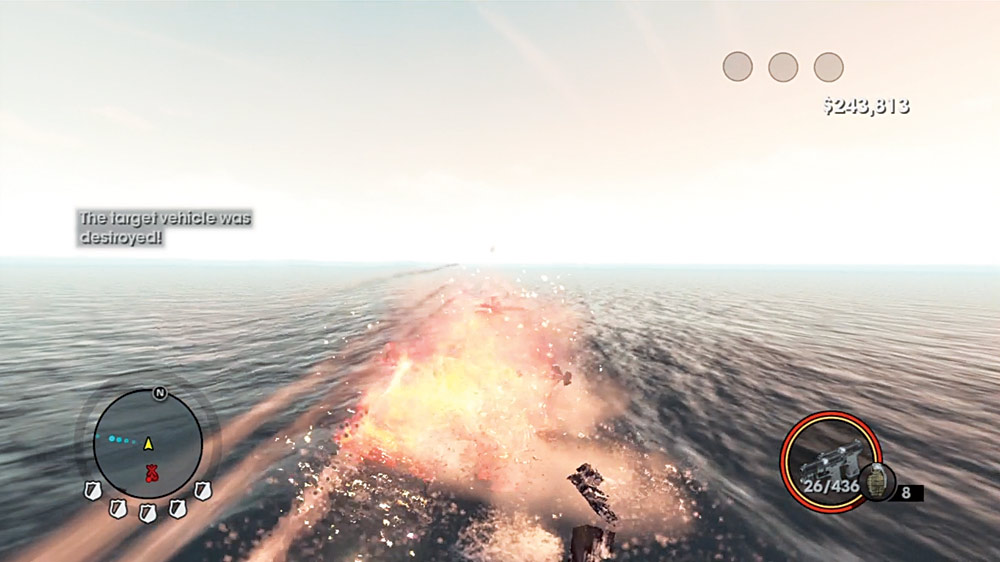
The problem is that the Commander is a big target that isn’t very maneuverable, and you’ll have a lot of people shooting at you. Even if you cut through the city canals to save time, you still might not make it! Police Forgiveness and Mayor’s Favor are very good options to have available before trying this Vehicle Theft. It is possible to use the canal route to make it without using those special favors, but the Commander will have taken a serious beating on the way there.
Target: Stork
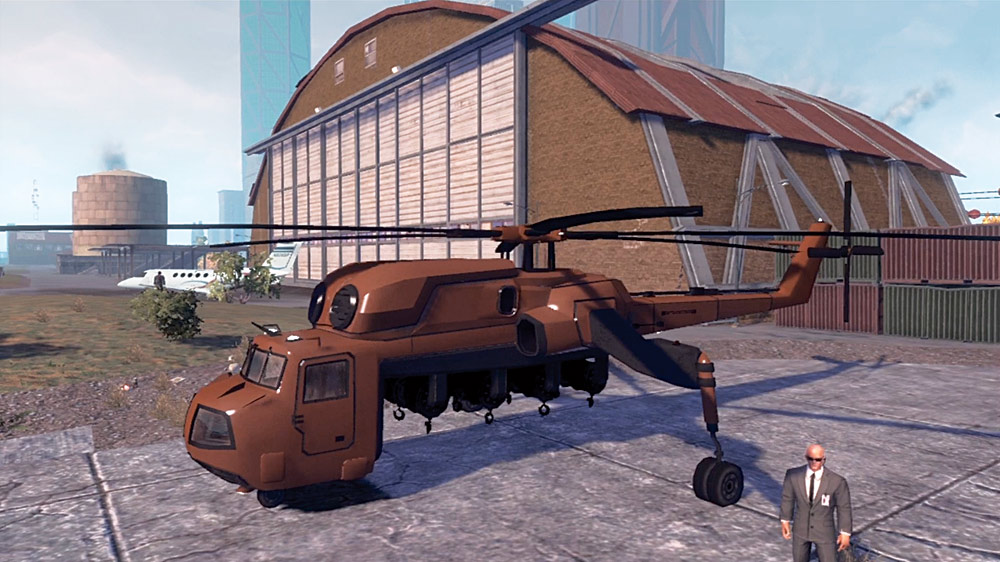
Location: Wesley Cutter International
Cash Earned: $1,250
Respect Earned: 300
Overview: Got a request for a heavy-lifting Stork
Threat Level: Level 3 police notoriety
“The Stork can transport just about anything . . . smuggled goods, smuggled people, smuggled goods in smuggled people. Get one in or around the airport.”
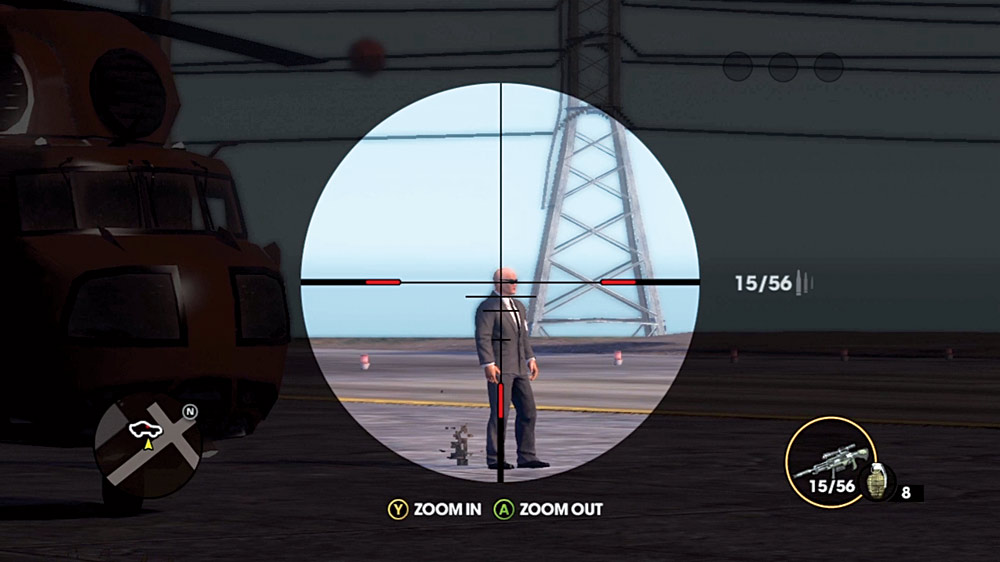
The Stork presents a similar problem as the Commander. It’s not particularly fast or maneuverable, and you’ll have the wrath of the military upon you as soon as you step inside. It’s slow to change altitude, though that might be a benefit in this case. The Stork in question is on the west side of the airport, under guard. Take off immediately upon getting in and head due west, and do not look back or stop for anything.
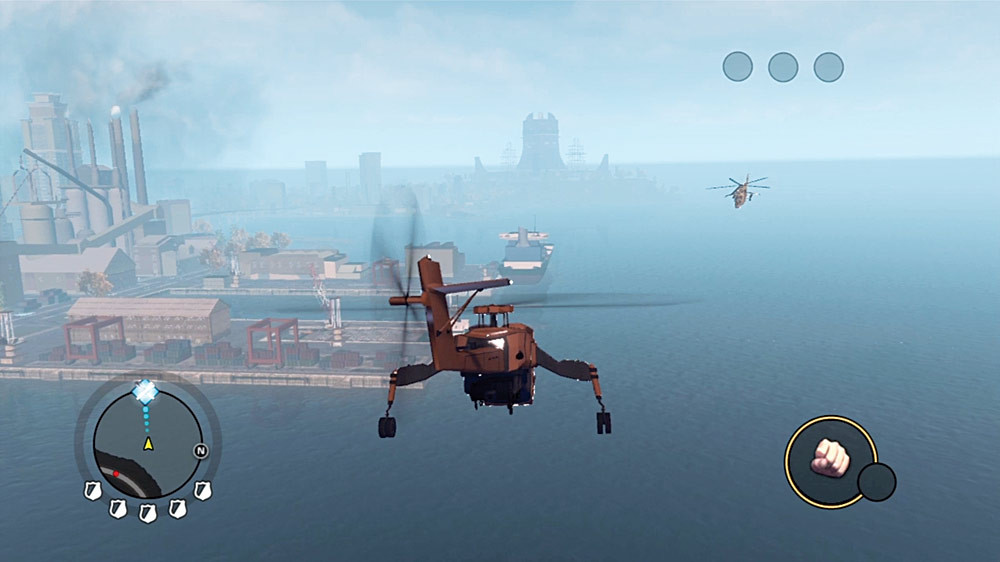
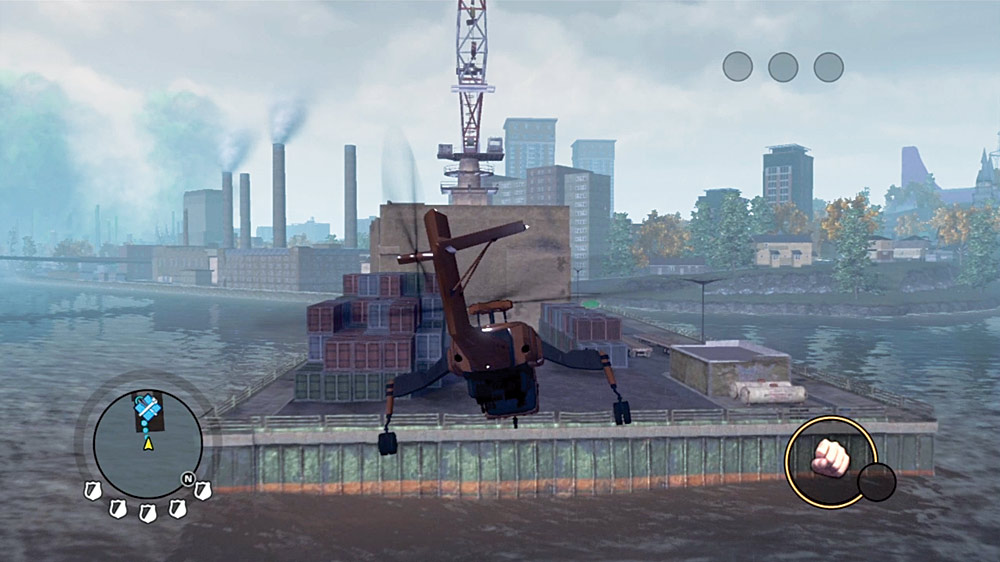
Stay low and fly as fast as the Stork can manage. As long as you keep moving, you’ll stay ahead of the bulk of your pursuers, leaving only oncoming attack choppers as a threat. Staying low means you’ll be able to slide right into the landing zone at Rigg’s dock without having to wait for the Stork to take its sweet time to lose some height.
Target: Woodpecker
Location: Wesley Cutter International
Cash Earned: $1,750
Respect Earned: 400
Overview: Another airport run with a Woodpecker
Threat Level: Level 3 police notoriety
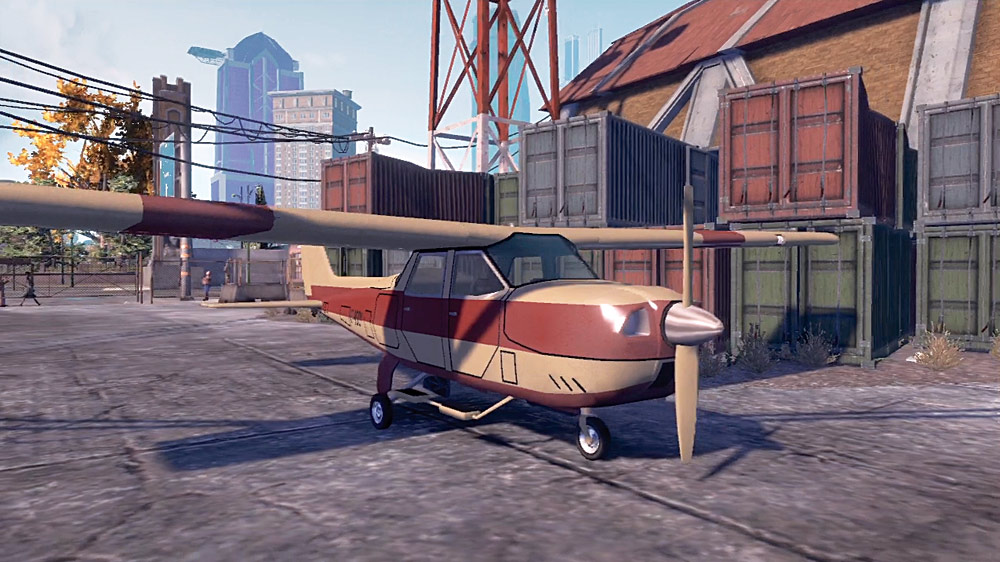
“Normally I wouldn’t ask you to land a plane on the pier, but someone stuffed this Woodpecker with some contraband we need back. Find it on the tarmac up at Cutter International.”
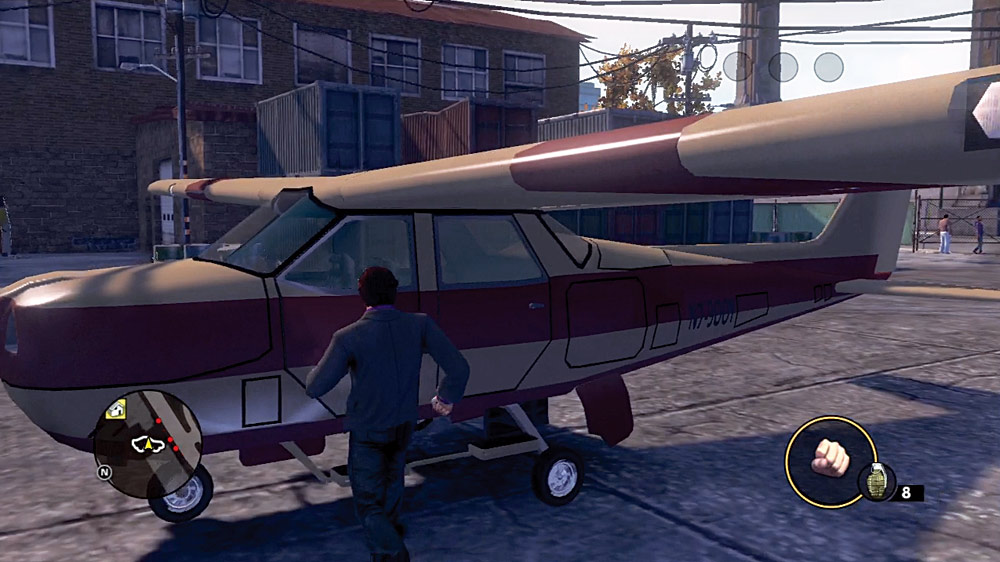
Interestingly enough, you can find the plane without any serious guards next to the hangar you can purchase at the airport. You’re even given a good amount of open space in front of the plane to take off quickly. On top of that, you don’t even have a full military alert to deal with, and the Woodpecker is more than capable of outrunning any pursuit sent your way.
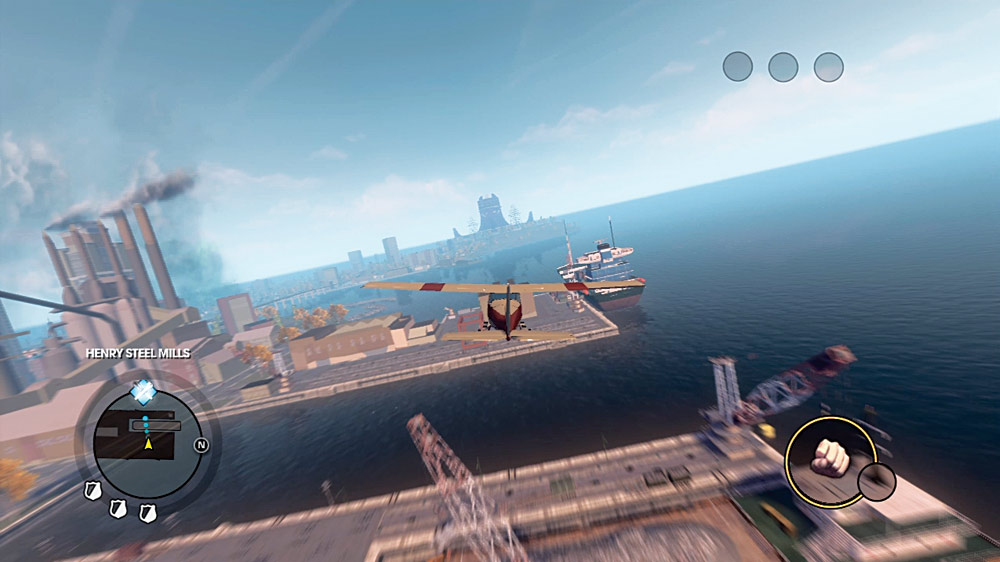
You’ll want to stay relatively low as you approach the dock, but don’t reduce the throttle too much, otherwise you lose not just altitude, but also your ability to steer! It’s best to line up the approach from a distance. That way, you can slip the Woodpecker right onto the cleared space on the dock, cut your throttle, and hit the drop-off point to complete the delivery. If you’re having trouble with the assignment, practice flying a Woodpecker you can own by purchasing the Hangar crib to get a better idea of how the plane controls.