Evolve Official Strategy Guide MAP EFFECTS
Favors Hunters
The following map effects favor the Hunters, meaning that they gain an advantage in the game.
 Armored Turrets
Maps: Colonial Water & Power, King’s Fort, New Calico, Salveron Industries
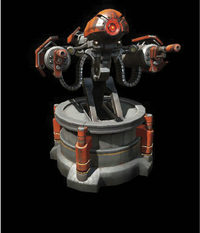
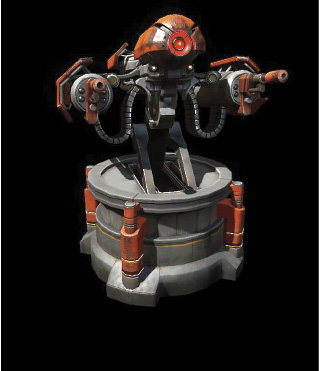
Only found in Defend mode, this map effect adds armor to the turrets, making them tougher for the Monster and its minions to destroy. This map effect only happens in the final round of Evacuation if the Hunters won the previous game.
 Attack Drones
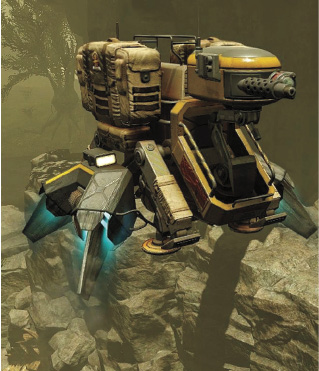
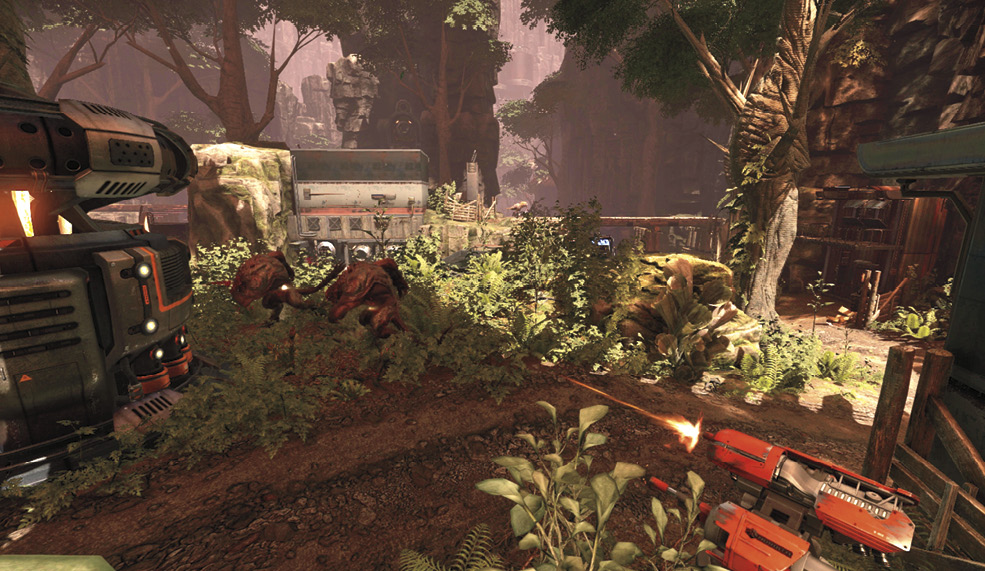
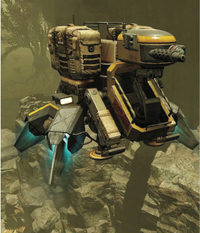
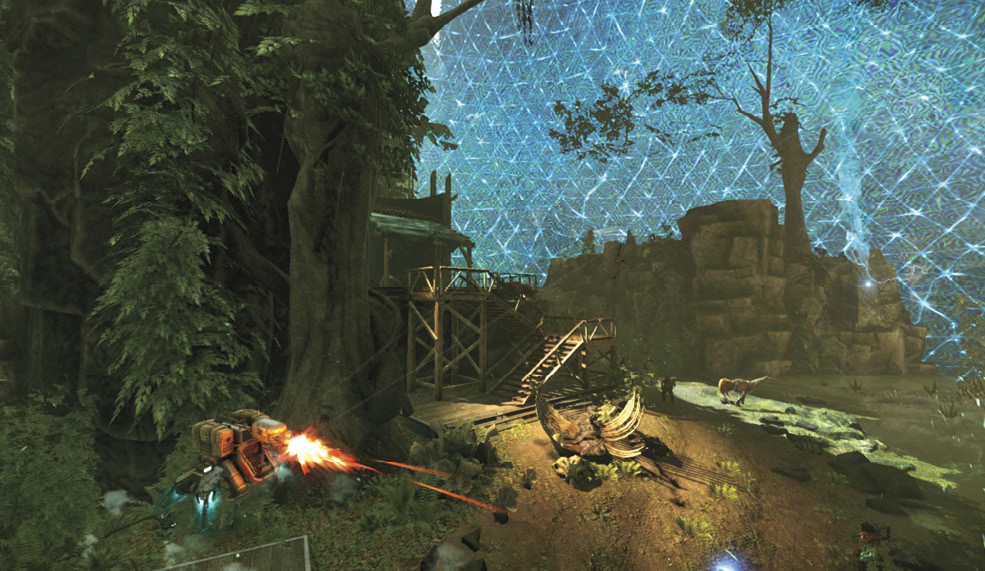
Attack drones released by EbonStar patrol the map to spot and attack the Monster. These floating turrets pursue the Monster, making pests of themselves. They are easily destroyed, but not until they’ve dealt a little damage and wasted the Monster’s time.
 Birds
Birds
Maps: Distillery, MedLab, Refueling Tower, Weather Control
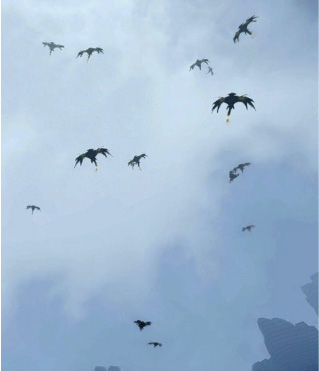
More birds make it easier to find the Monster. Scattered birds are always a huge help for the Hunters, as they reveal the Monster’s location. Adding more of these guys around the map allows the team to pinpoint the beast’s position with a little more ease.
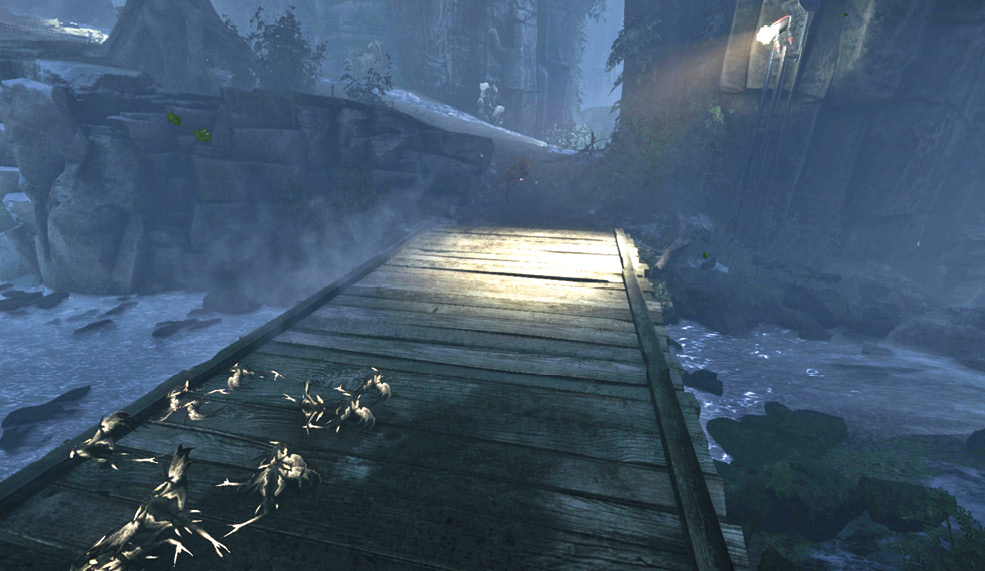
 Cargo Ship
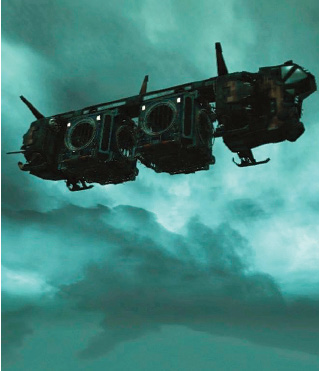
Maps: Aviary, Fusion Plant, Rendering Plant, Weather Control, Wraith Trap
A cargo ship patrols the map and helps the Hunters spot the Monster. You can see the cargo ship patrolling the skies above, and every now and then, it tags the Monster. As you search the wilderness, look out for the red icon to appear. Obviously, tracking the Monster becomes less of a priority, so take this into account when selecting a character.
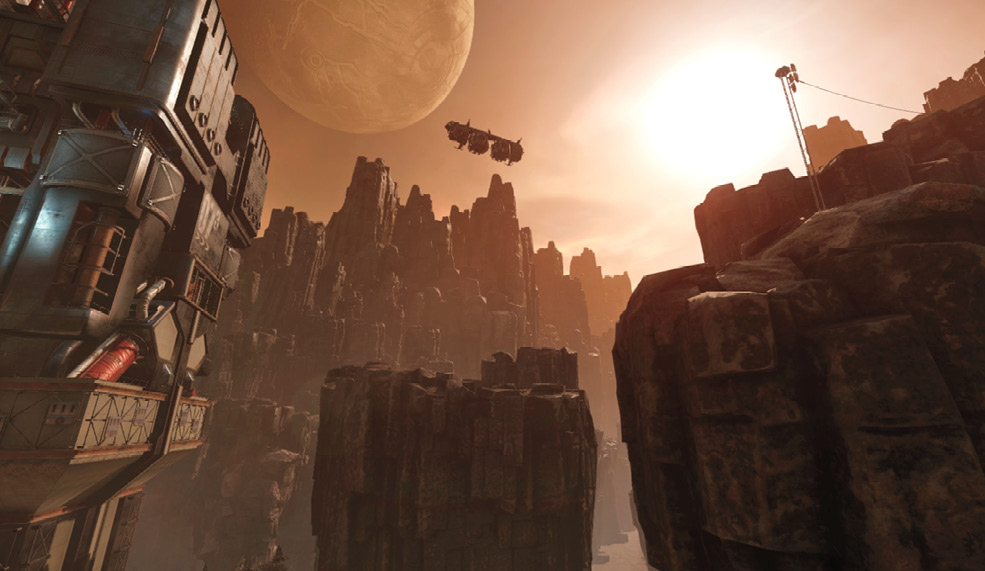
 Clear Skies

Maps: Aviary, Fusion Plant, MedLab, Refueling Plant
Clear skies force predators into hiding and make Monsters easier to see. The big thing here is that nocturnal predators do not bother the Hunters. This includes some of the tougher wildlife the team must deal with.
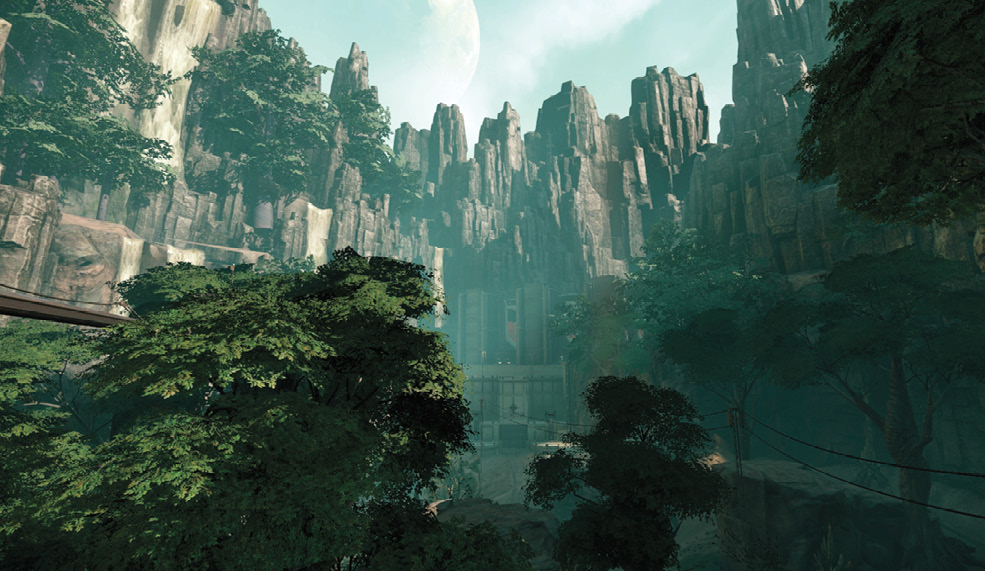
 Colonists
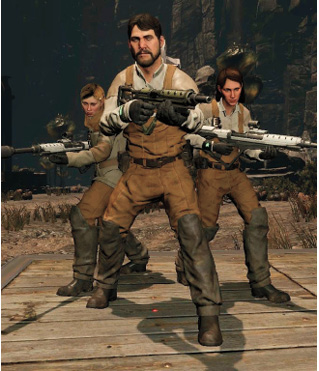
Maps: Barracks, Refueling Tower, The Dam, Wraith Trap
Two colonists join the Hunters as they fight the Monster. These people are not nearly as powerful as the EbonStar soldier who joins the team with the EbonStar Ally map effect. These guys can be protected, but they aren’t worth going too much out of the way for. Still, they are a nice distraction for the Monster.
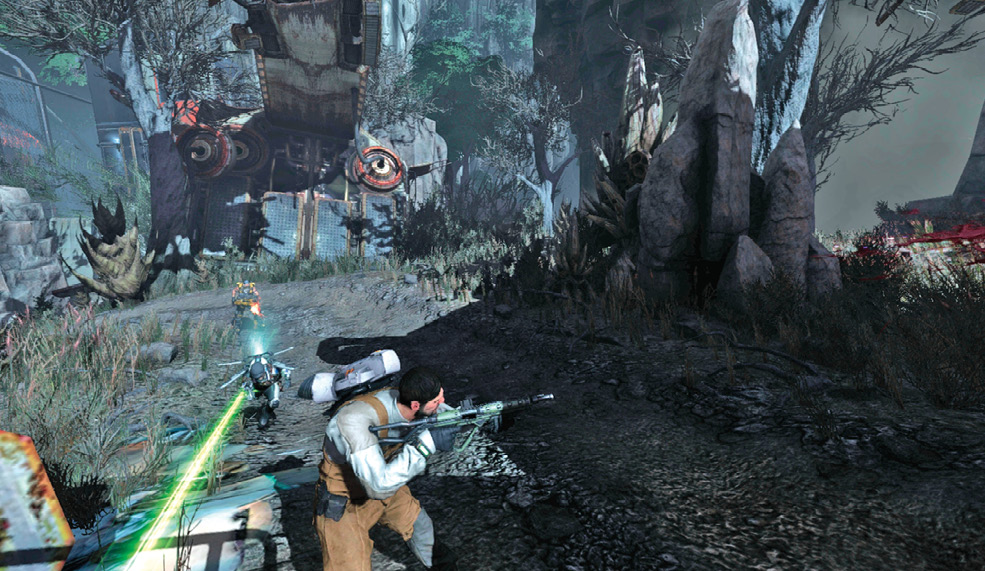
 EbonStar Ally
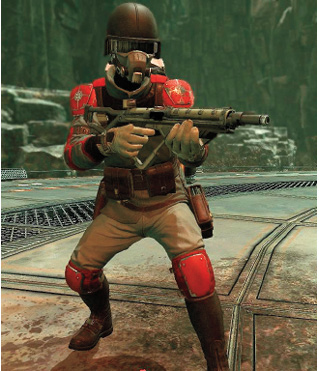
Maps: Orbital Drill, Rendering Plant, The Dam
After the Hunters help defend the Barracks, an EbonStar ally joins the team to fight the Monsters. This soldier is quite a bit tougher than the colonists.
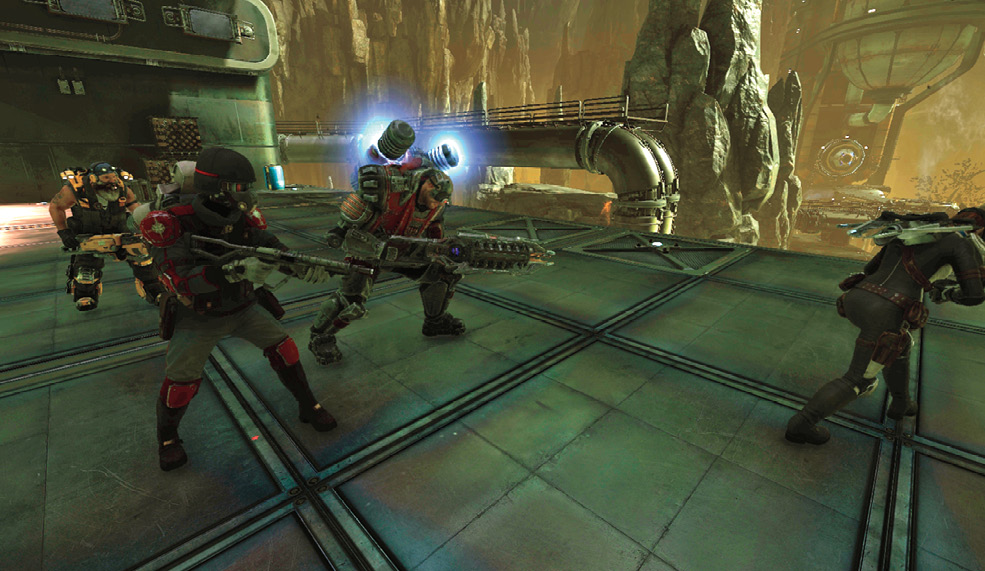
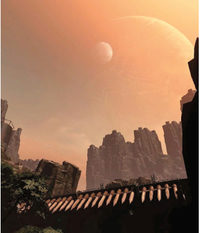 Fair Weather
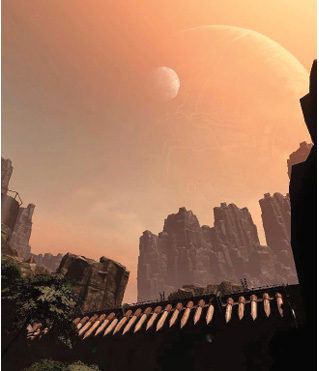
Maps: Armory, Barracks, Distillery, Orbital Drill, Rendering Plant, The Dam, Weather Control, Wraith Trap
Experience natural lighting, with no adverse weather effects.
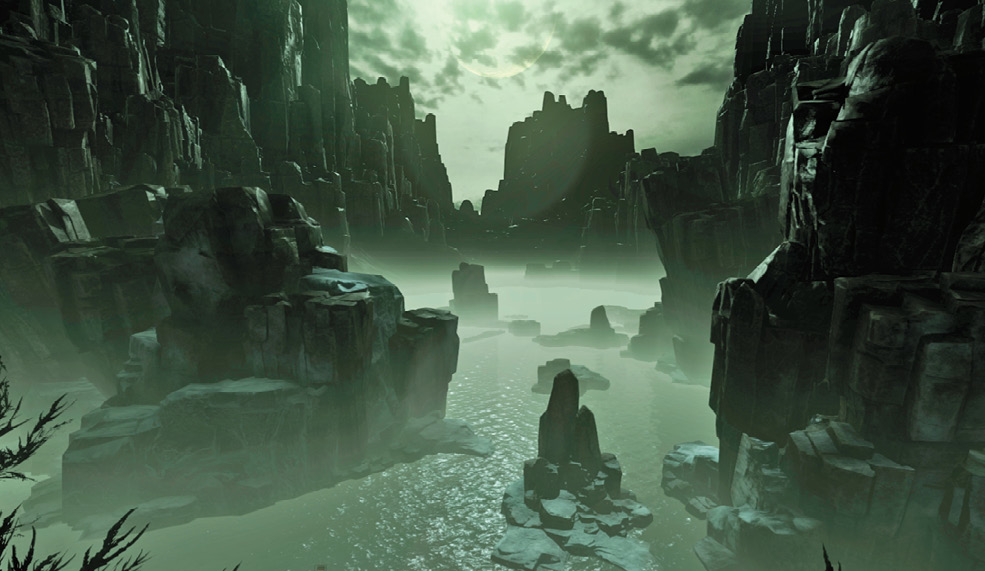
 Forcefield
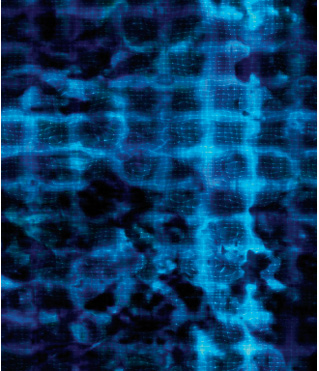
Maps: Armory, Barracks, Rendering Plant, Wraith Trap
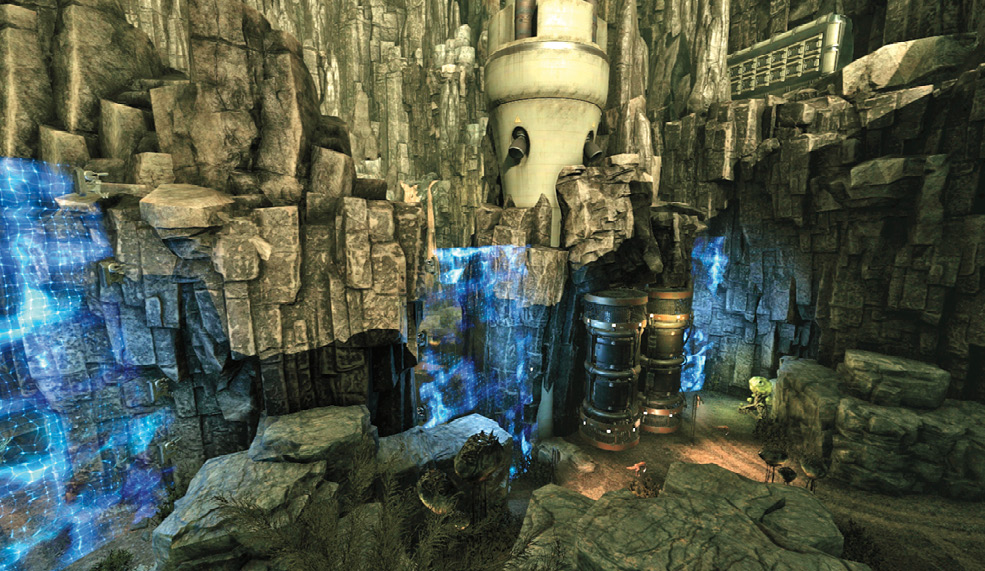
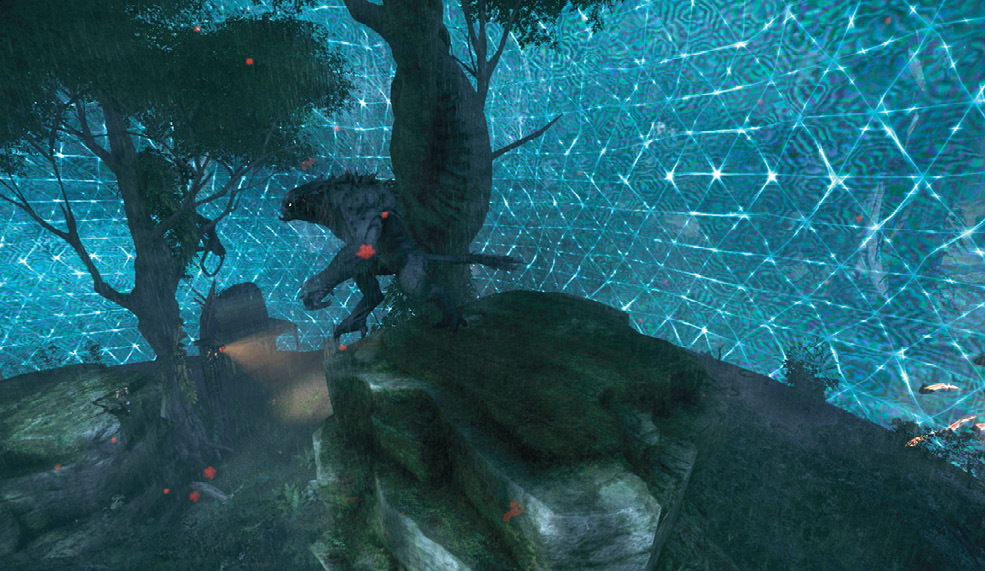
Forcefield walls limit the available space in which the Monster can run and hide. A tall blue wall runs across the map, drastically reducing its size. Access the in-game map to see exactly where it is positioned. With less space for the Monster to hide in, the Hunters have an easier time finding it.
 Medbays
Maps: Aviary, Distillery, Weather Control
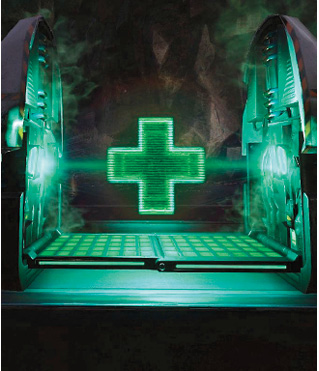
Medbays, deployed by the MedLab, allow Hunters to heal and remove strikes. Open the in-game map for the locations of each Medbay, which the plus icons indicate. Step into the bay, and let it heal you. While you’re standing inside, strikes are also removed.
 Scent Masking
Maps: Aviary, MedLab
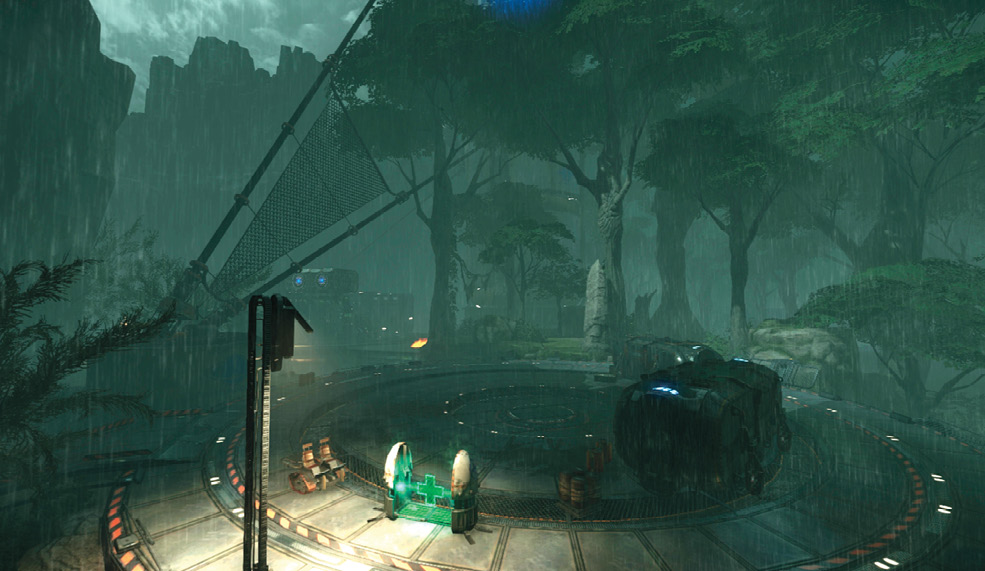
Scent masking inhibits the Monster’s ability to smell. This is a great map effect for the Hunters, since it allows them to sneak up on their target much more easily.
 Sentry Guns
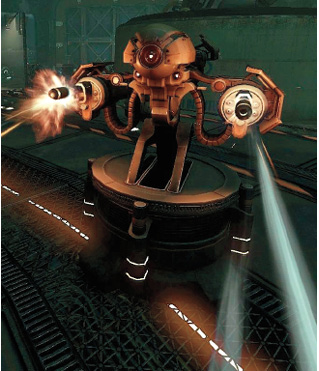
Maps: Refueling Tower, Weather Control, Wraith Trap
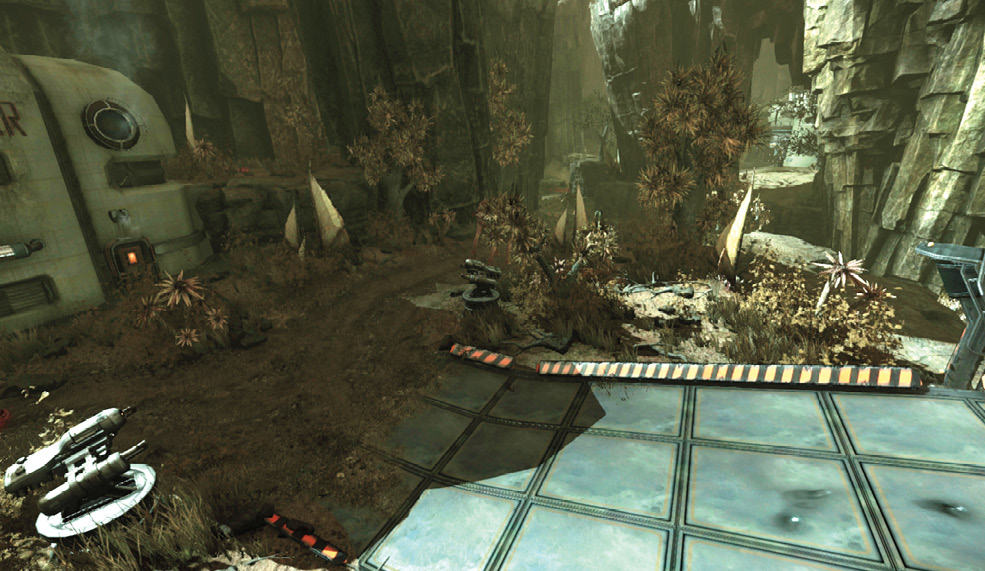
Sentry guns, scattered around the map, defend areas against Monster attacks. These turrets are marked on the map. Although the Monster can destroy them, use these to the team’s advantage by flushing the enemy toward them.
 Space Laser
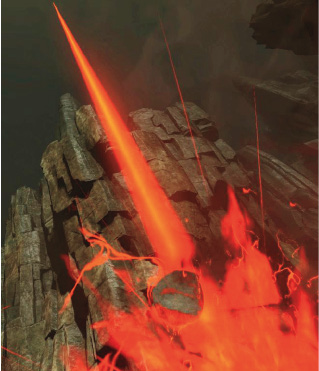
Maps: Barracks, Rendering Plant
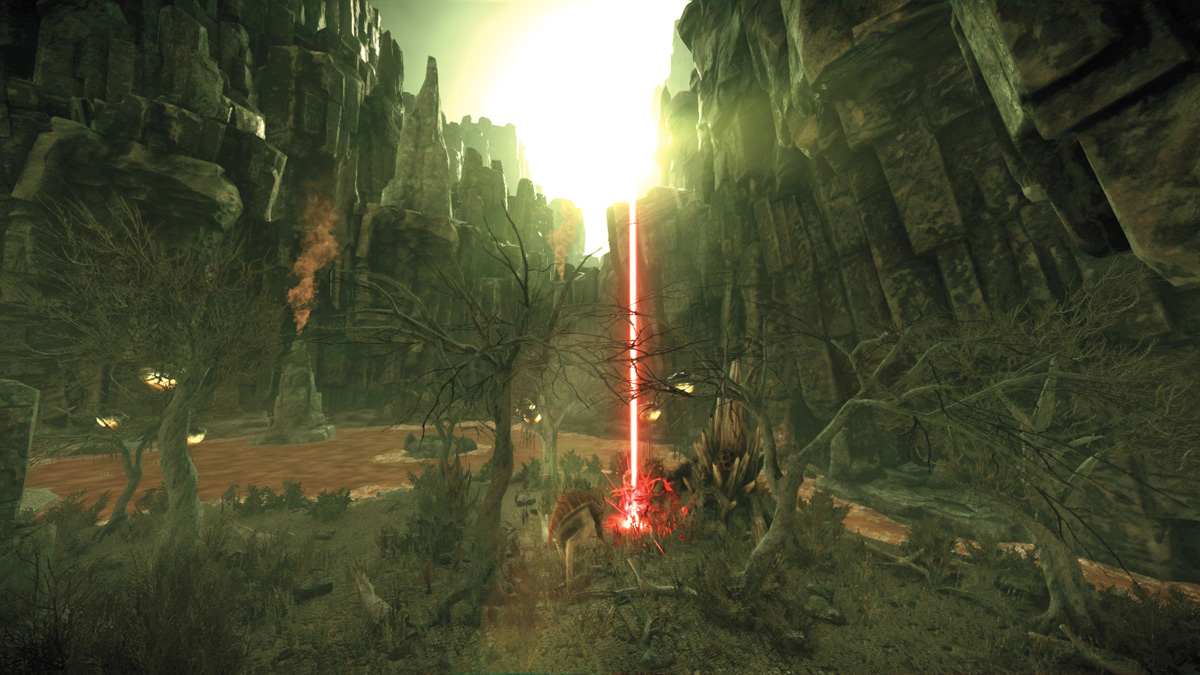
A laser from space periodically fires at the Monster, severely damaging it. When playing as the Monster, watch for incoming laser strikes, and dodge out of the way to avoid taking damage.
 Teleport Gates
Maps: Armory, Fusion Plant, Refueling Tower, Rendering Plant, The Dam
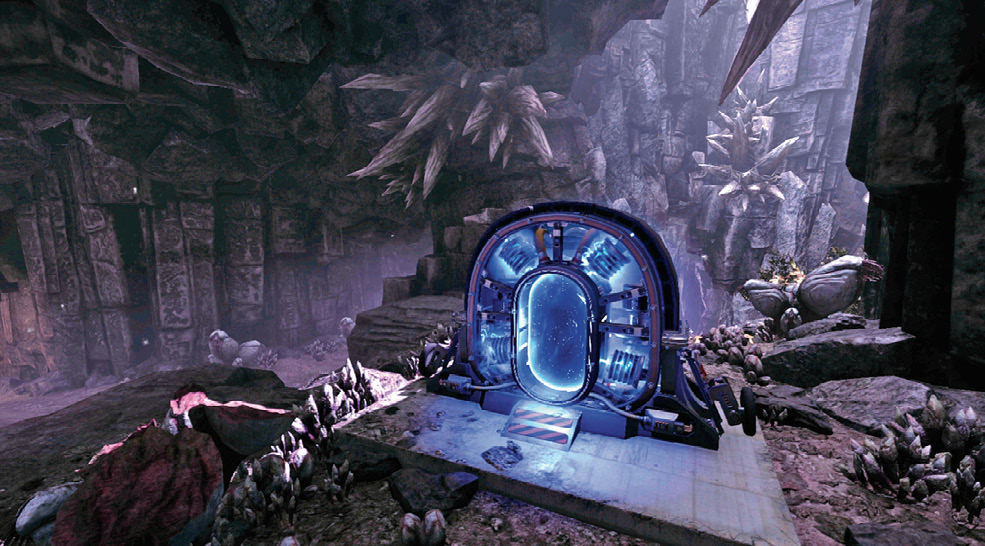
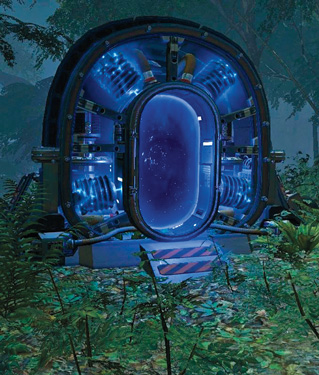
Teleport Gates allow Hunters to teleport to a central location. Take a peek at the map to see where the gates are placed. Stepping inside one sends the Hunter to a pad located in the middle of the map. All gates lead to the same spot.
With good planning and timing, you can trap the Monster around one of the distant Teleport Gates and slip out through the device. In Nest or Rescue mode, the team can continue taking care of the objectives without fear of the Monster until the Mobile Arena comes down.