Evolve Official Strategy Guide HUNTER TRAINING
Assault Tutorial: Markov
Tutorial Goals

Complete the Markov tutorial within these goal times to earn XP and the corresponding Badge pieces.
Moving Around the Environment
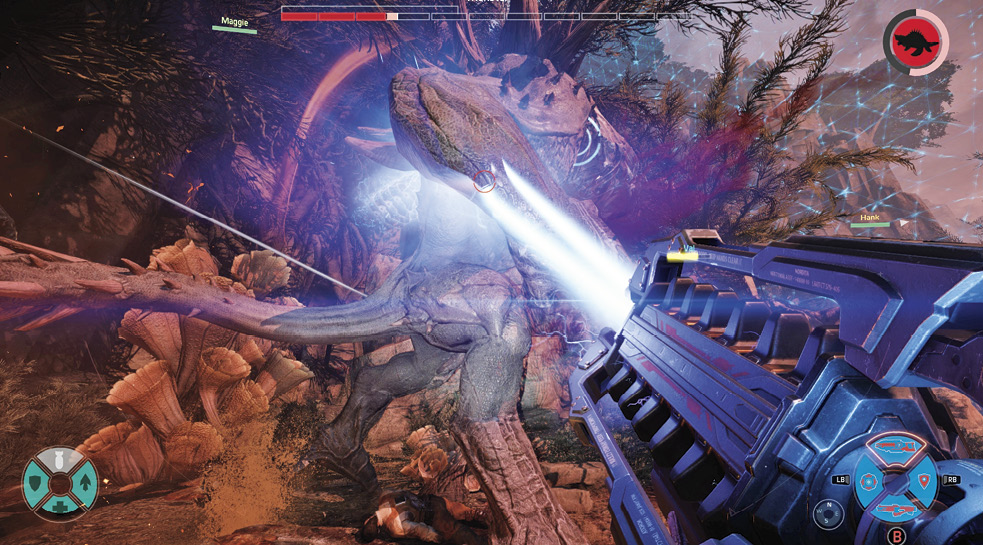
The Hunter tutorial uses Markov to learn the ropes. Most of the basics are shared between the 12 Hunters, though their equipment and skills vary greatly. The Assault Hunter is the damage dealer of the group.
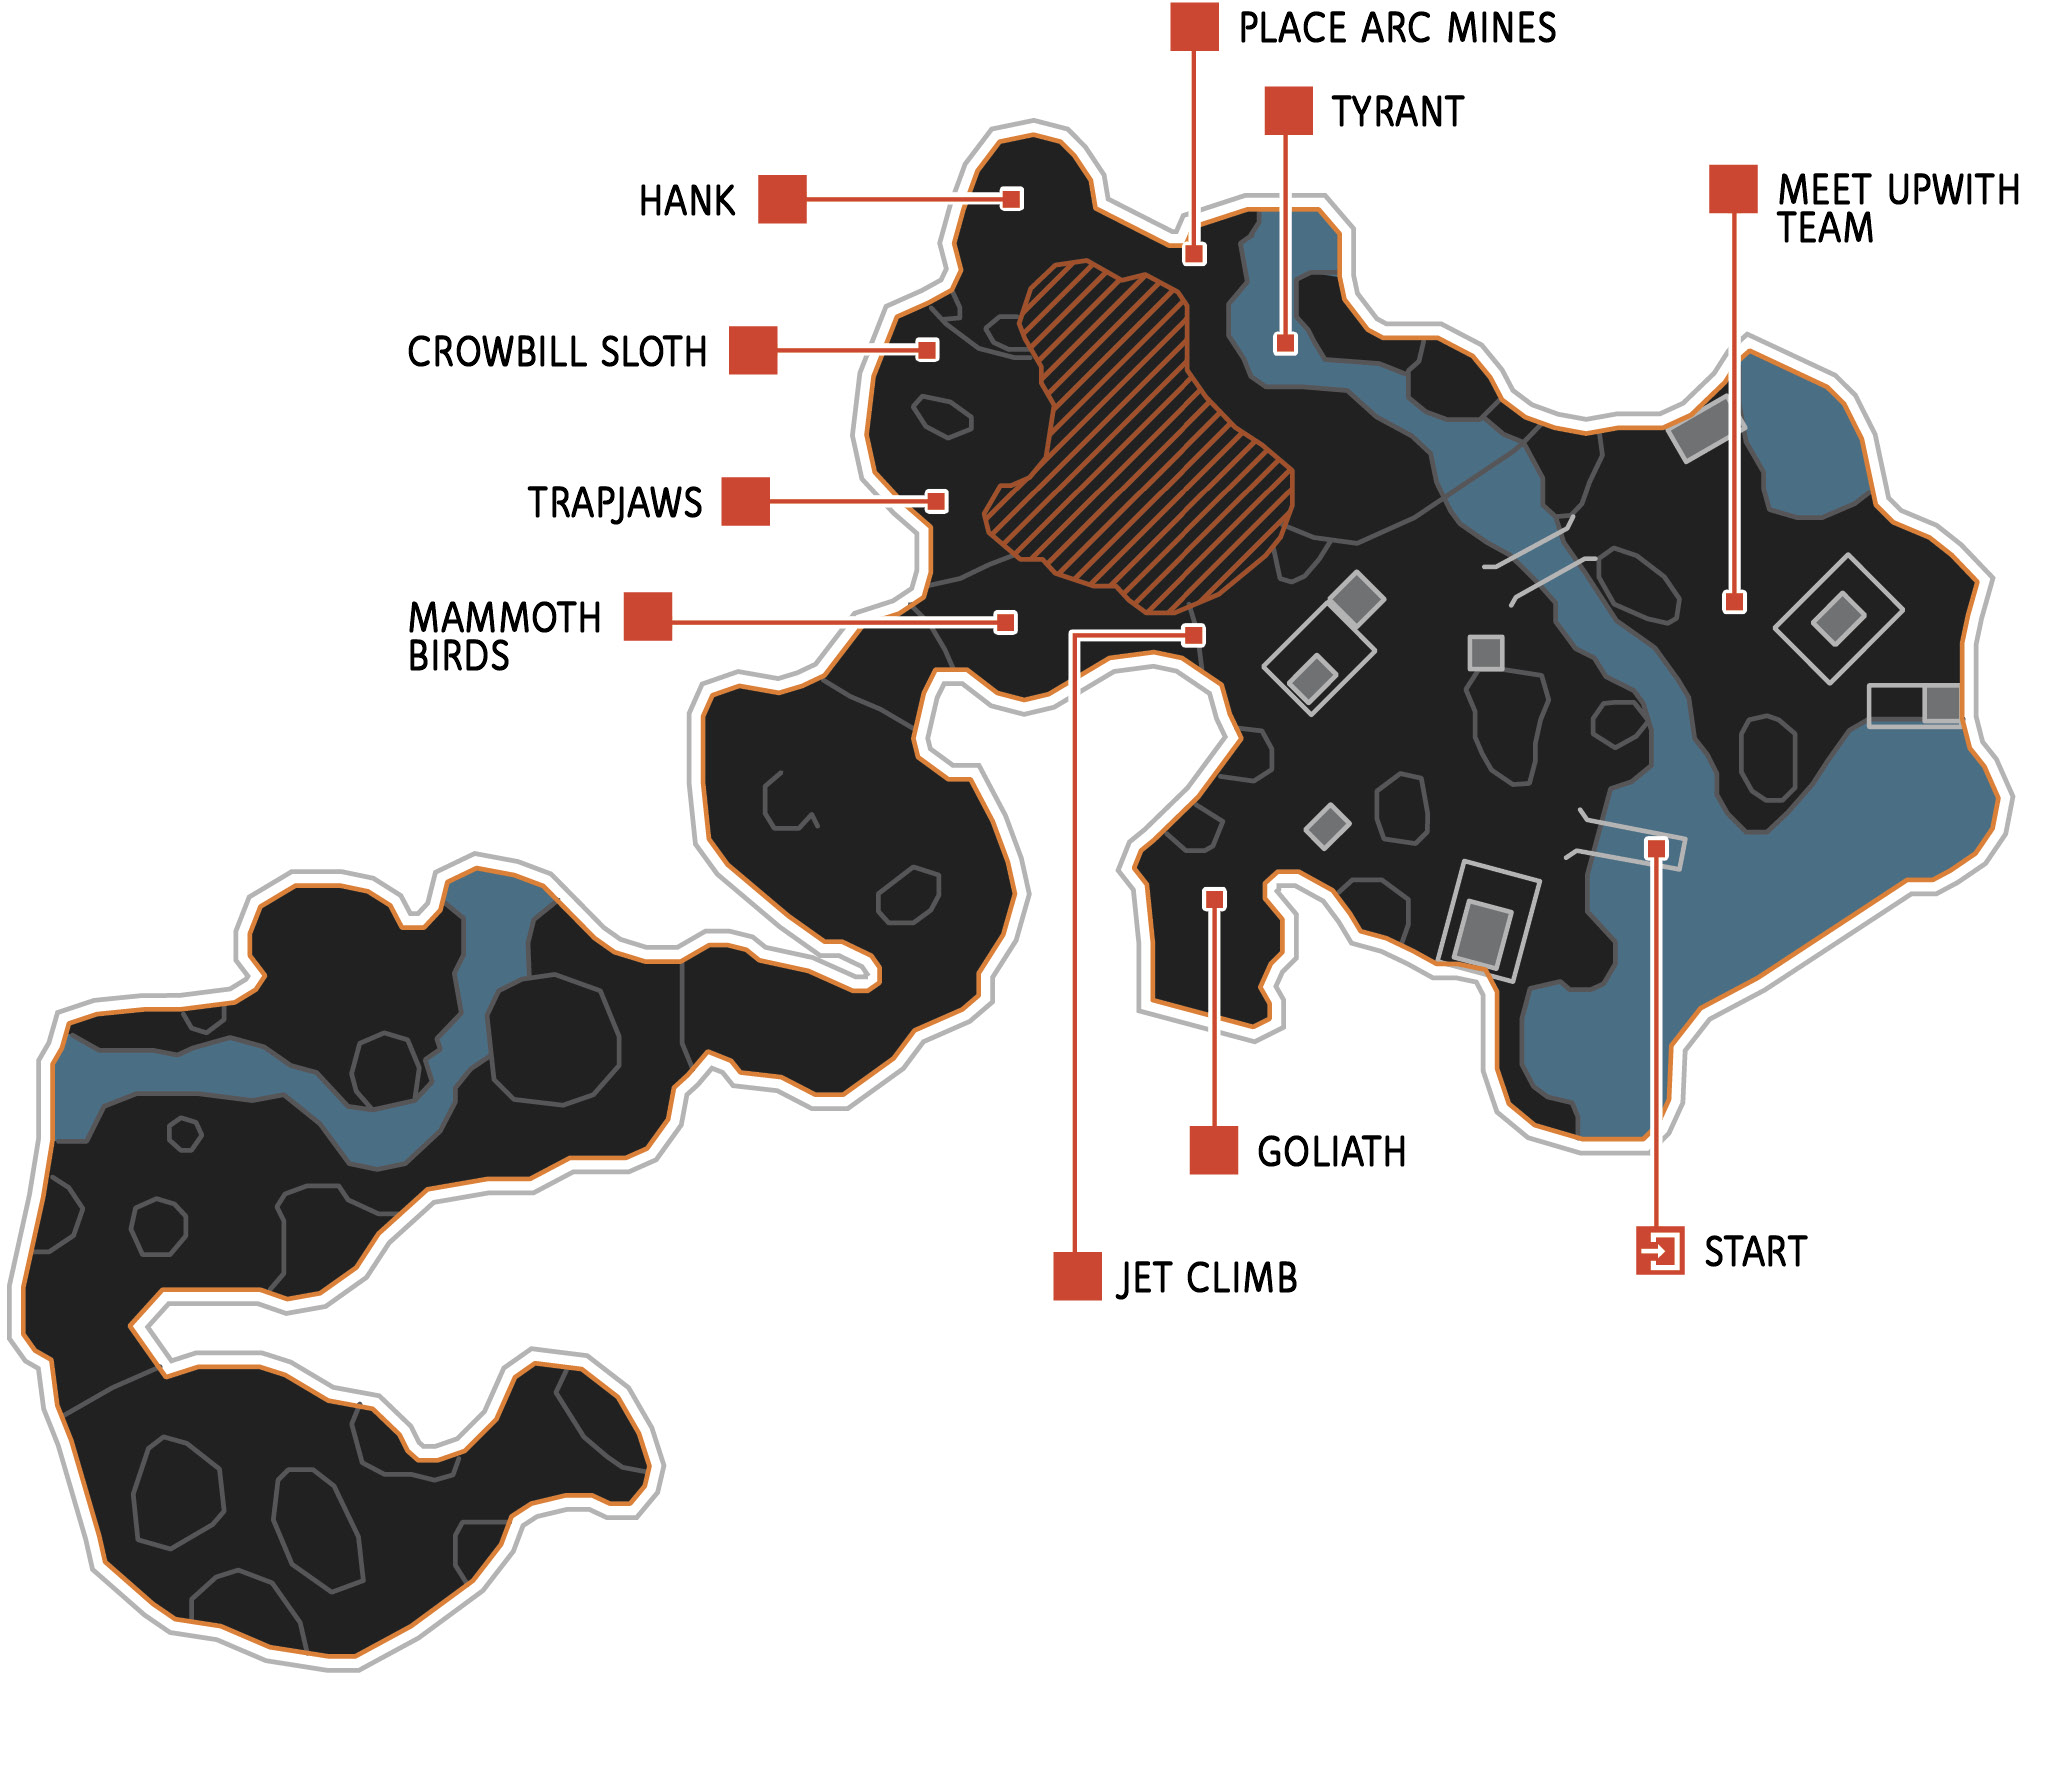
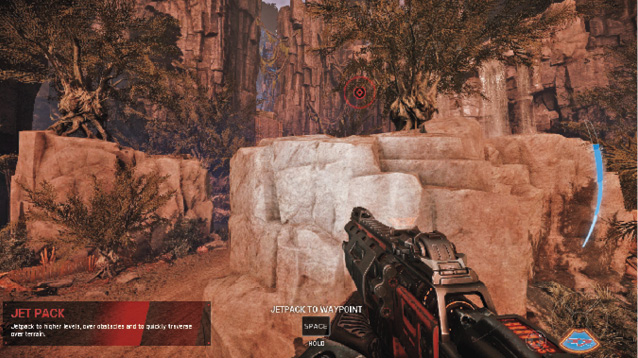
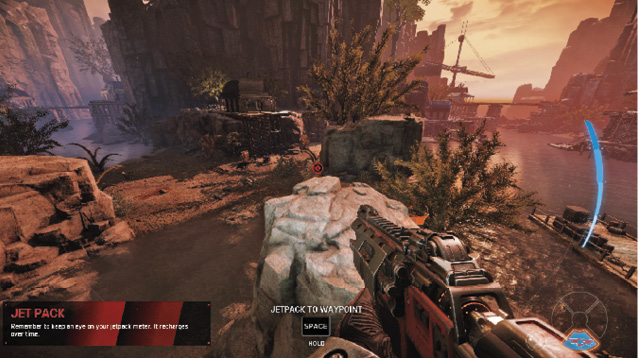
Move across the bridge to the first waypoint, and then use your Jet Pack to get on top of the rock platform on the right. Pressing the Jump button causes your character to hop. Holding it down uses the Jet Pack to rise into the air, allowing the Hunter to reach higher levels.
Watch your Jet Pack meter on the right side of the screen. Any time you use the Jet Pack, this meter is depleted (though it does recharge over time). Glide over to another rock structure, drop to the ground, and continue around to the left.
Jet Dodge, Thrust, and Climb
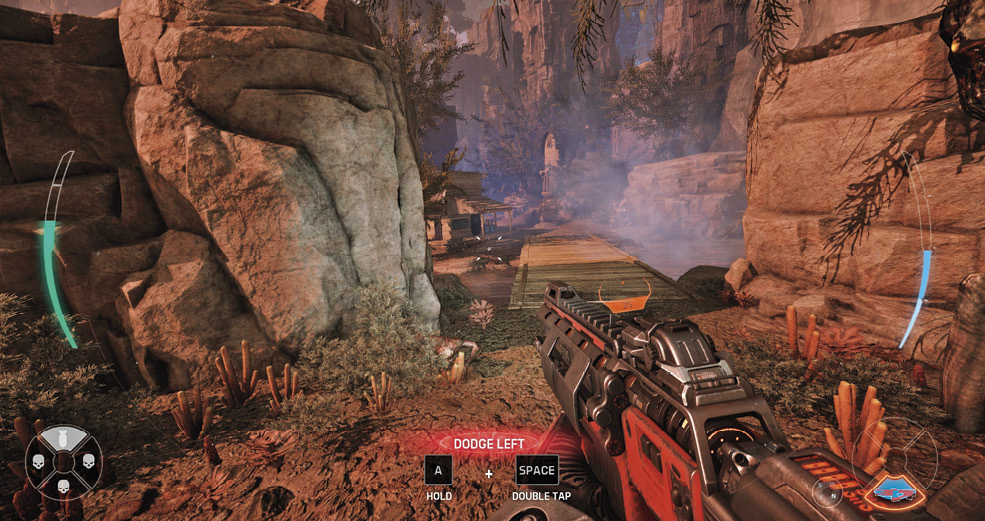
Double-tapping the button while moving gives you a burst of speed in the direction you are going. This also uses your Jet Pack, so watch the meter. Dodge left, right, and then back when instructed to do so.
Follow the waypoints along the dirt road ahead, using a forward Jet Dodge, or Jet Thrust, to move quickly. Move up the right path, and then use a Jet Climb to ascend the tall wall. By moving into a vertical surface and holding down the Jump button, you can slowly climb any distance regardless of fuel.
Using Your Loadout
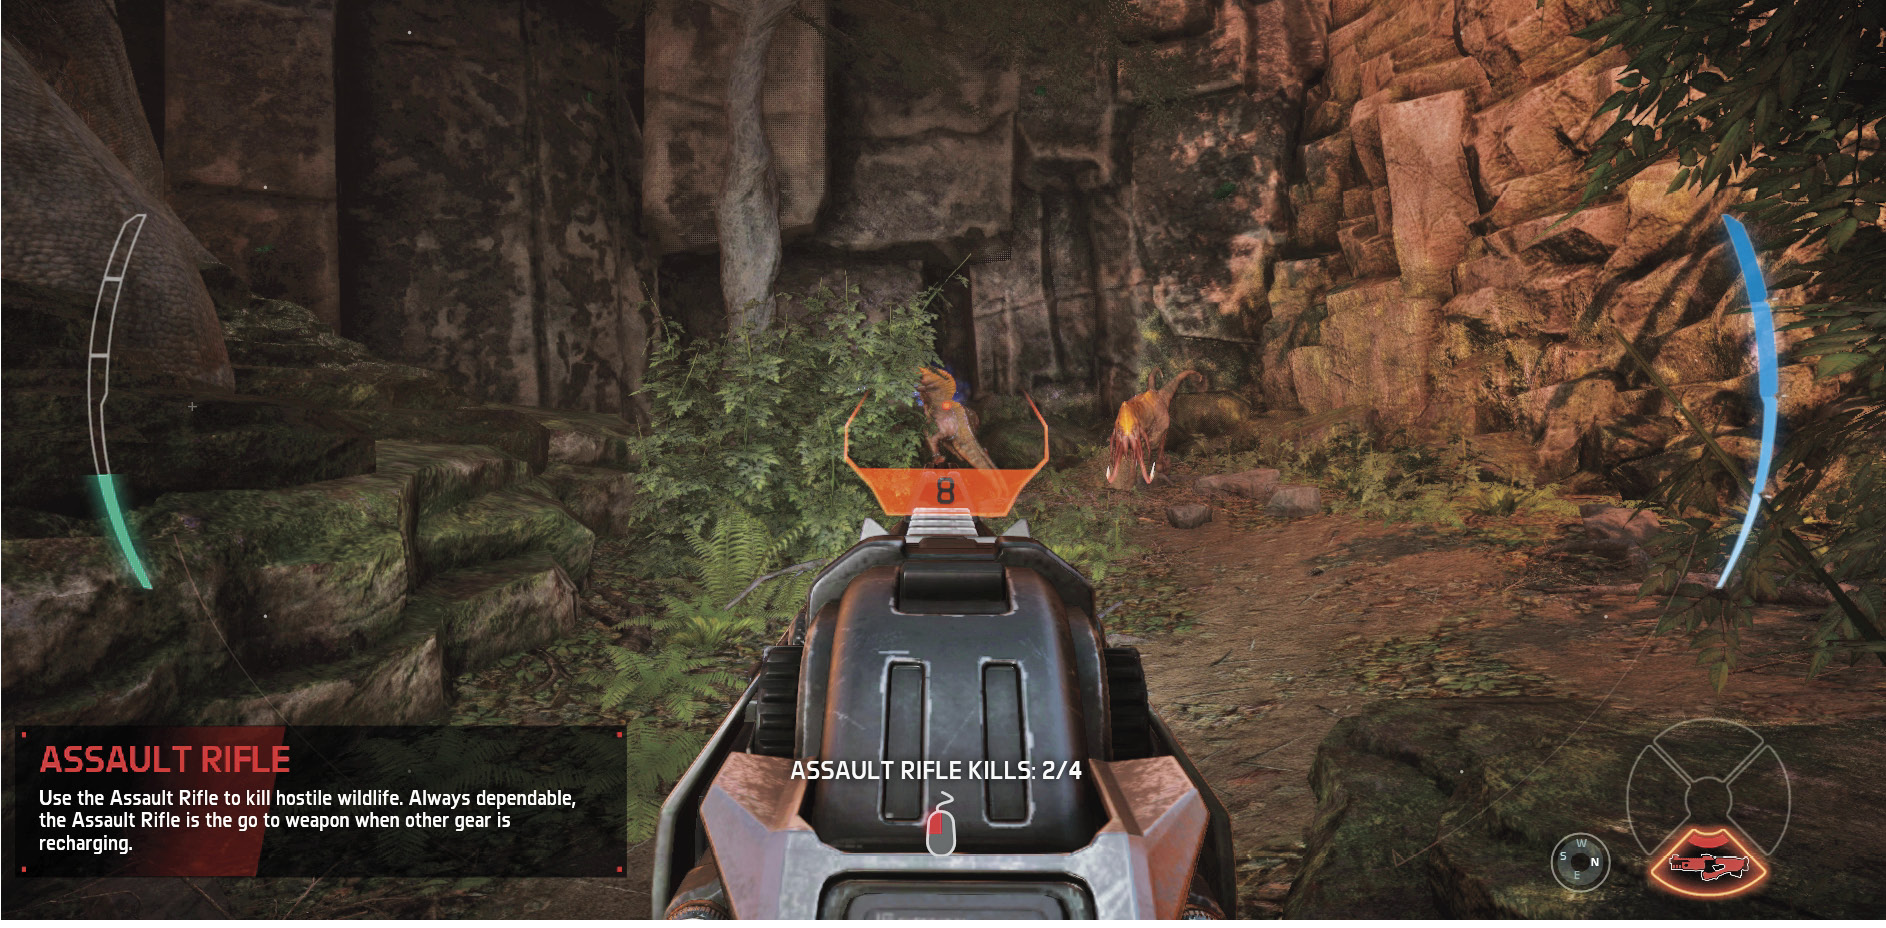
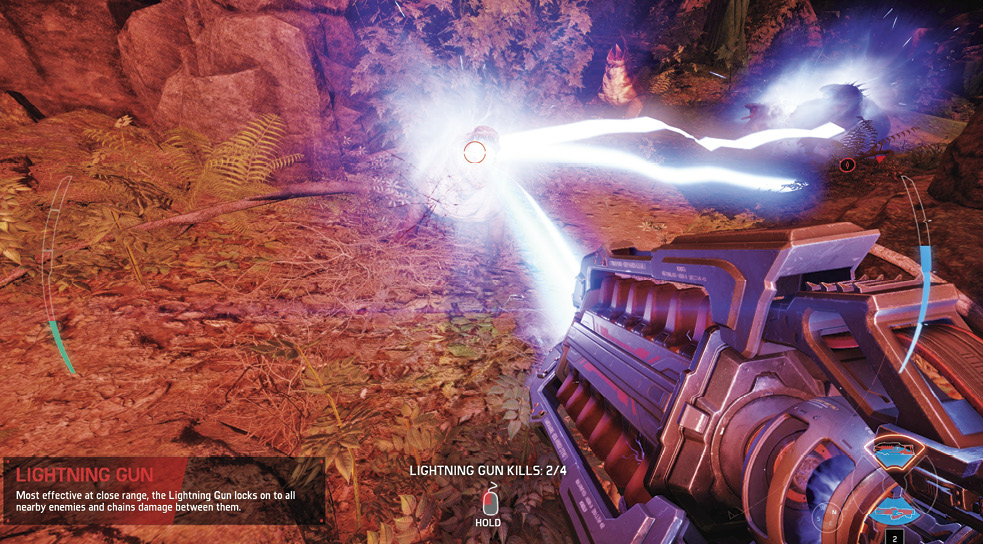
Use Markov’s Assault Rifle to take down the four mammoth birds ahead. The weapon is already selected, so aim down the sights, or simply fire from the hip. The Assault Rifle is good for long-distance fighting or when the Lightning Gun is recharging. Once you have taken care of the birds, Jet Climb up the nearby cliff to reach the next waypoint.
Press the Primary button to equip the Lightning Gun and use it on the pack of Trapjaws ahead. This weapon has a relatively close range and is great for quickly eliminating a group of enemies, as it chains between nearby foes.
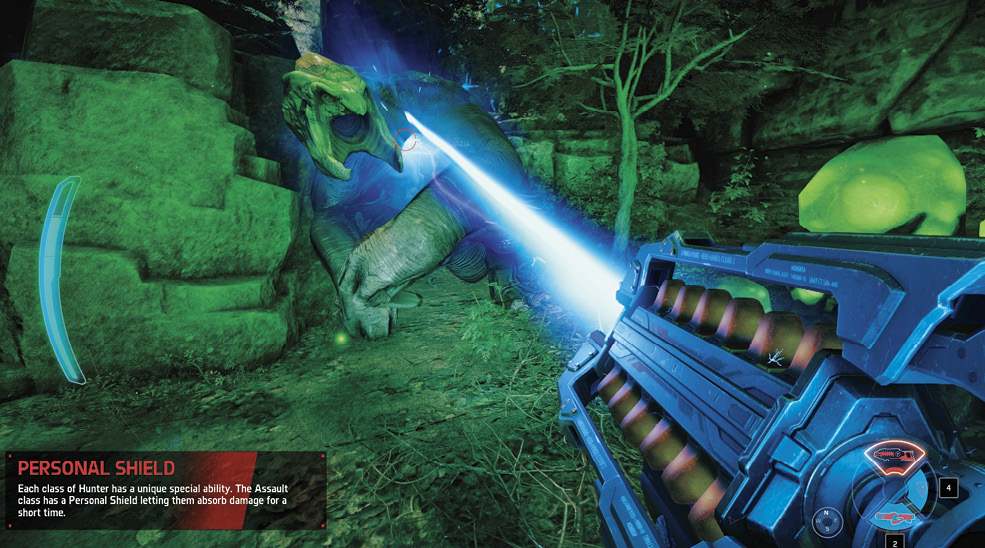
Each class has a unique special ability, such as the Assault class’ Personal Shield. This allows the character to absorb damage for a short period of time. It is best used just before taking a beating from the Monster or big wildlife.
Just around the rock ahead is a bigger, tougher wildlife creature. Fire at it with your Lightning Gun, using the Personal Shield as it attacks.
Reviving a Fallen Ally
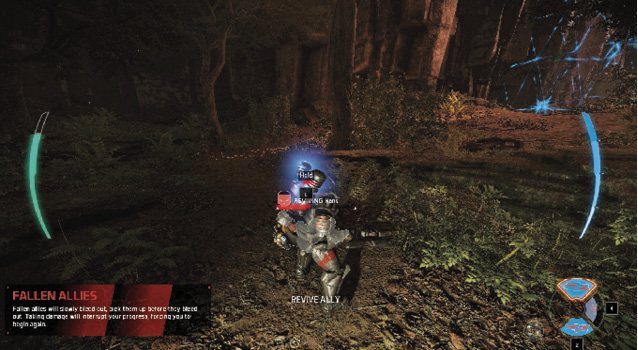
Jump up to the landing ahead and approach Hank, who has been taken down. He has fallen and is slowly bleeding out. A skull icon represents the time you have to revive him. Get to him before the red drains out of it. Quickly use the Lightning Gun to eliminate the wildlife that surrounds your teammate. With them out of the way, hold the Reload/Revive/Use button to revive Hank. Taking damage interrupts the reviving process, forcing you to begin again.
Using the Arc Mines
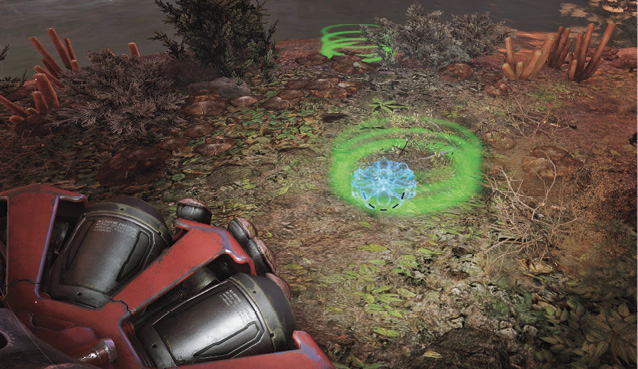
Press the Equipment button to select the Arc Mines, and place one near each of the three green circles near the water ahead. These are great for planting around an objective or battlefield. Once they are in place, fire at the elite wildlife in the water to draw him your way. Approach the corpse, and pick up the temporary Buff. This time, it is Health Regeneration.
Follow the shore to the right toward the drop zone, where Hank and Markov are to meet Val and Maggie. Fallen Hunters return on a dropship every two minutes by default. Drop down the waterfall, and head to the waypoint.
Tracking the Monster
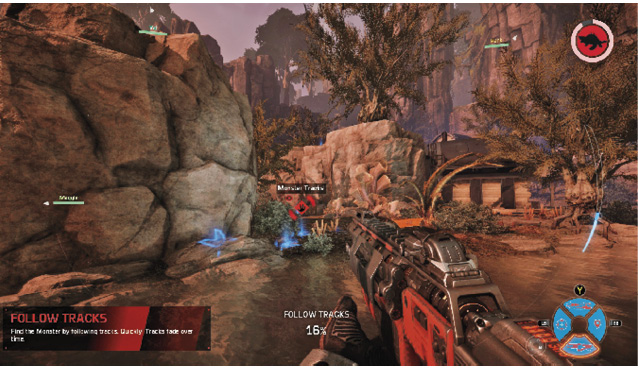
Blue footprints lead into the water. These tracks fade over time, so follow them quickly. No tracks are made when the Monster climbs, so glide up the rock to pick the trail back up again. Continue along the path until you find Goliath.
Defeating the Monster
Use your Personal Shield, and hit him with your Lightning Gun. Retreat when the shield is used up, and use the Assault Rifle to continue damaging the beast. Deplete Goliath’s health to complete the tutorial.