
The Witcher 3: Wild Hunt Guide Treasure Hunts Scavenger Hunt: Cat School Gear
Novigrads Biggest Secret
Objectives:
|
Journey to Novigrad and uncover its biggest secret! It is critical you find the the passages from the Elector’s Square signpost, rather than exploring the shoreline under this huge island rock, or you’ll never find the entrance! From Elector’s Square, head roughly west and northwest. You’re looking for a clifftop stone path that winds precariously around the dwellings that face the sea. Carefully climb down the rocks to a subsequent grassy path, which takes you down and around to the cave passage entrance.
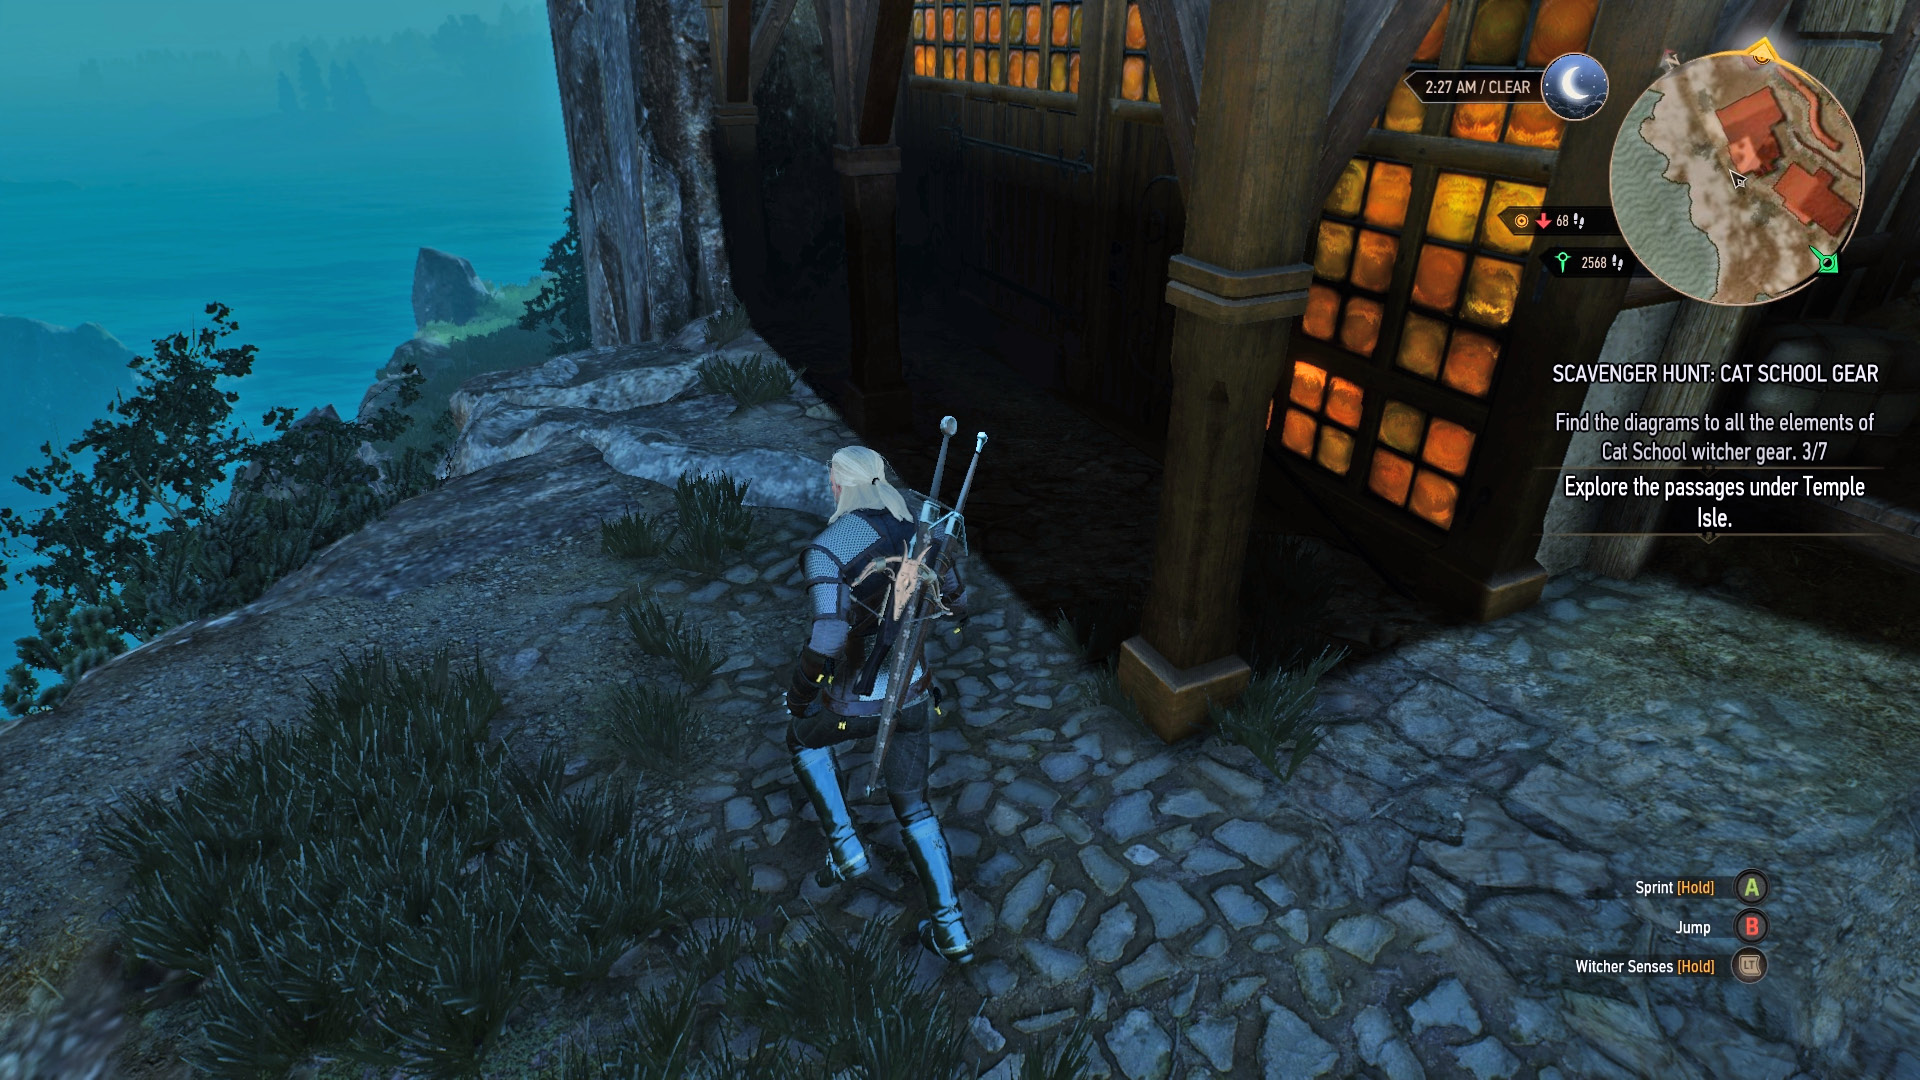
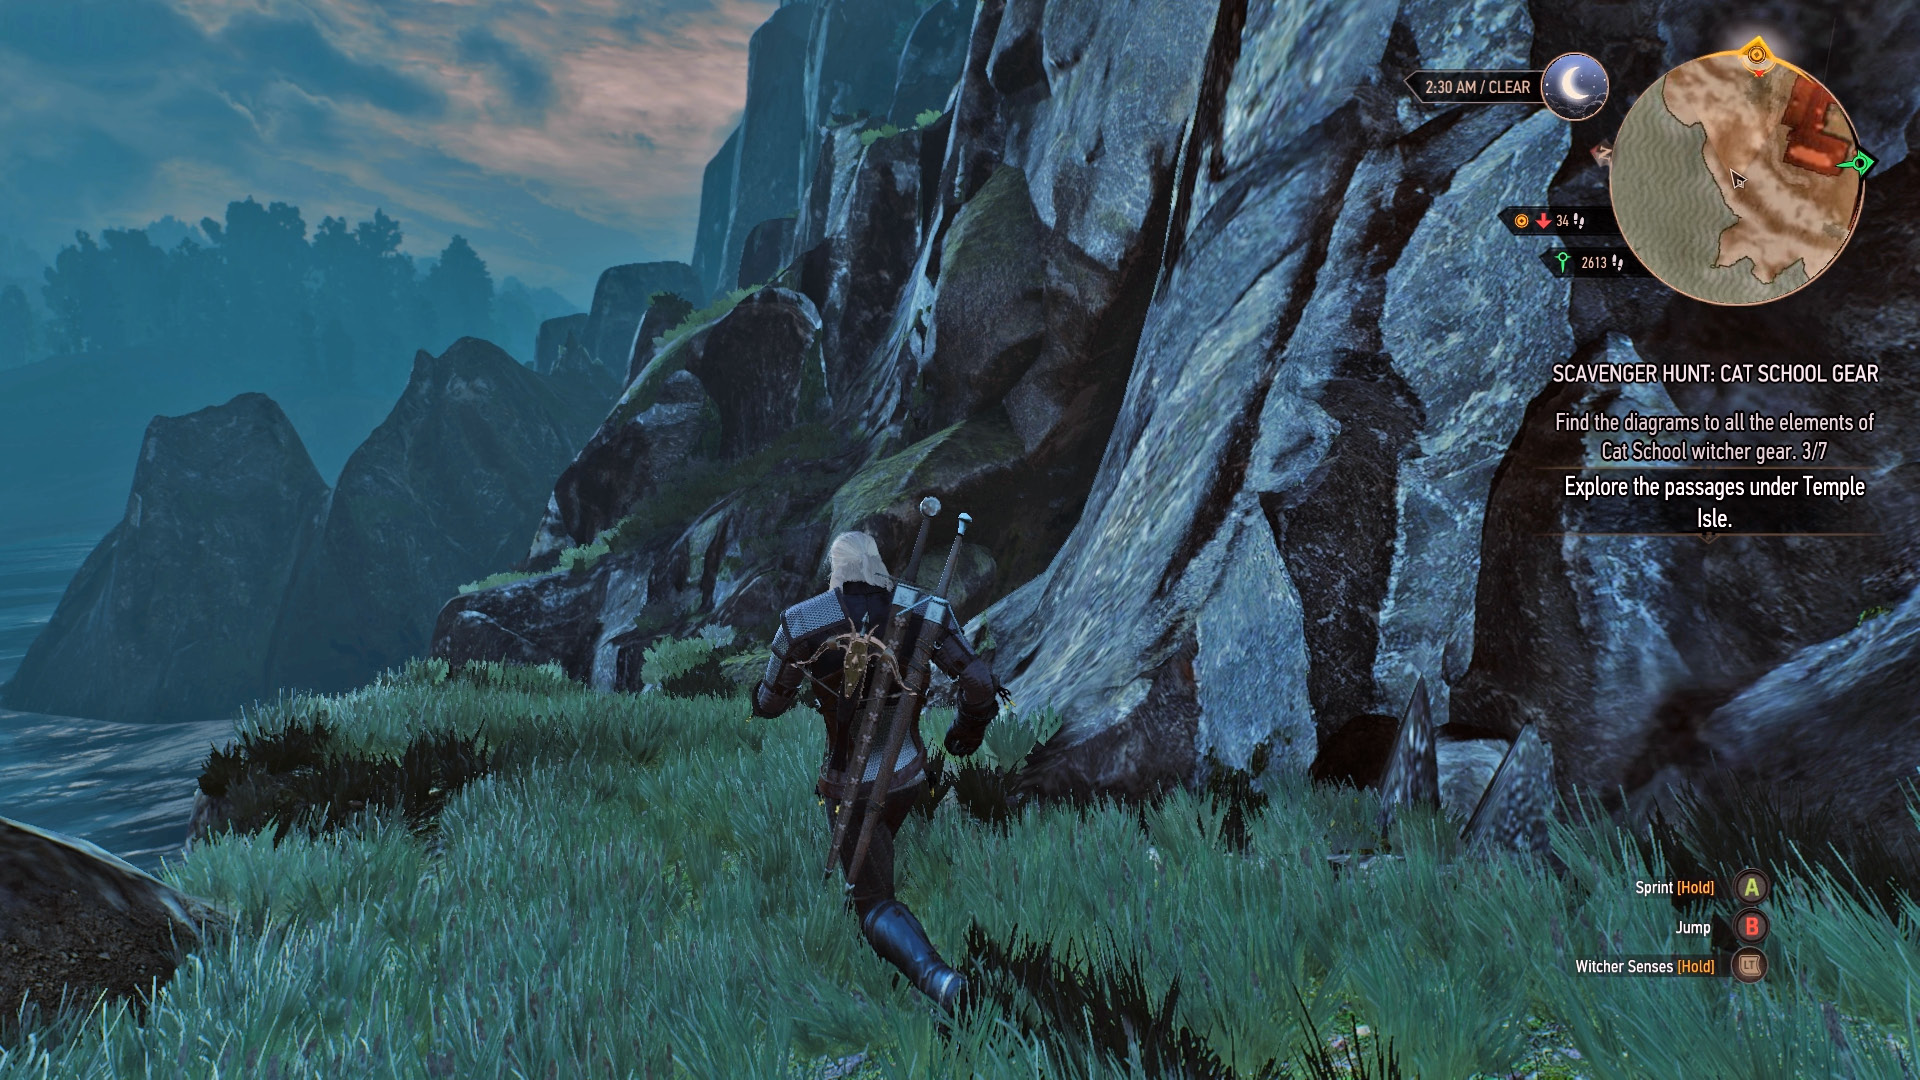
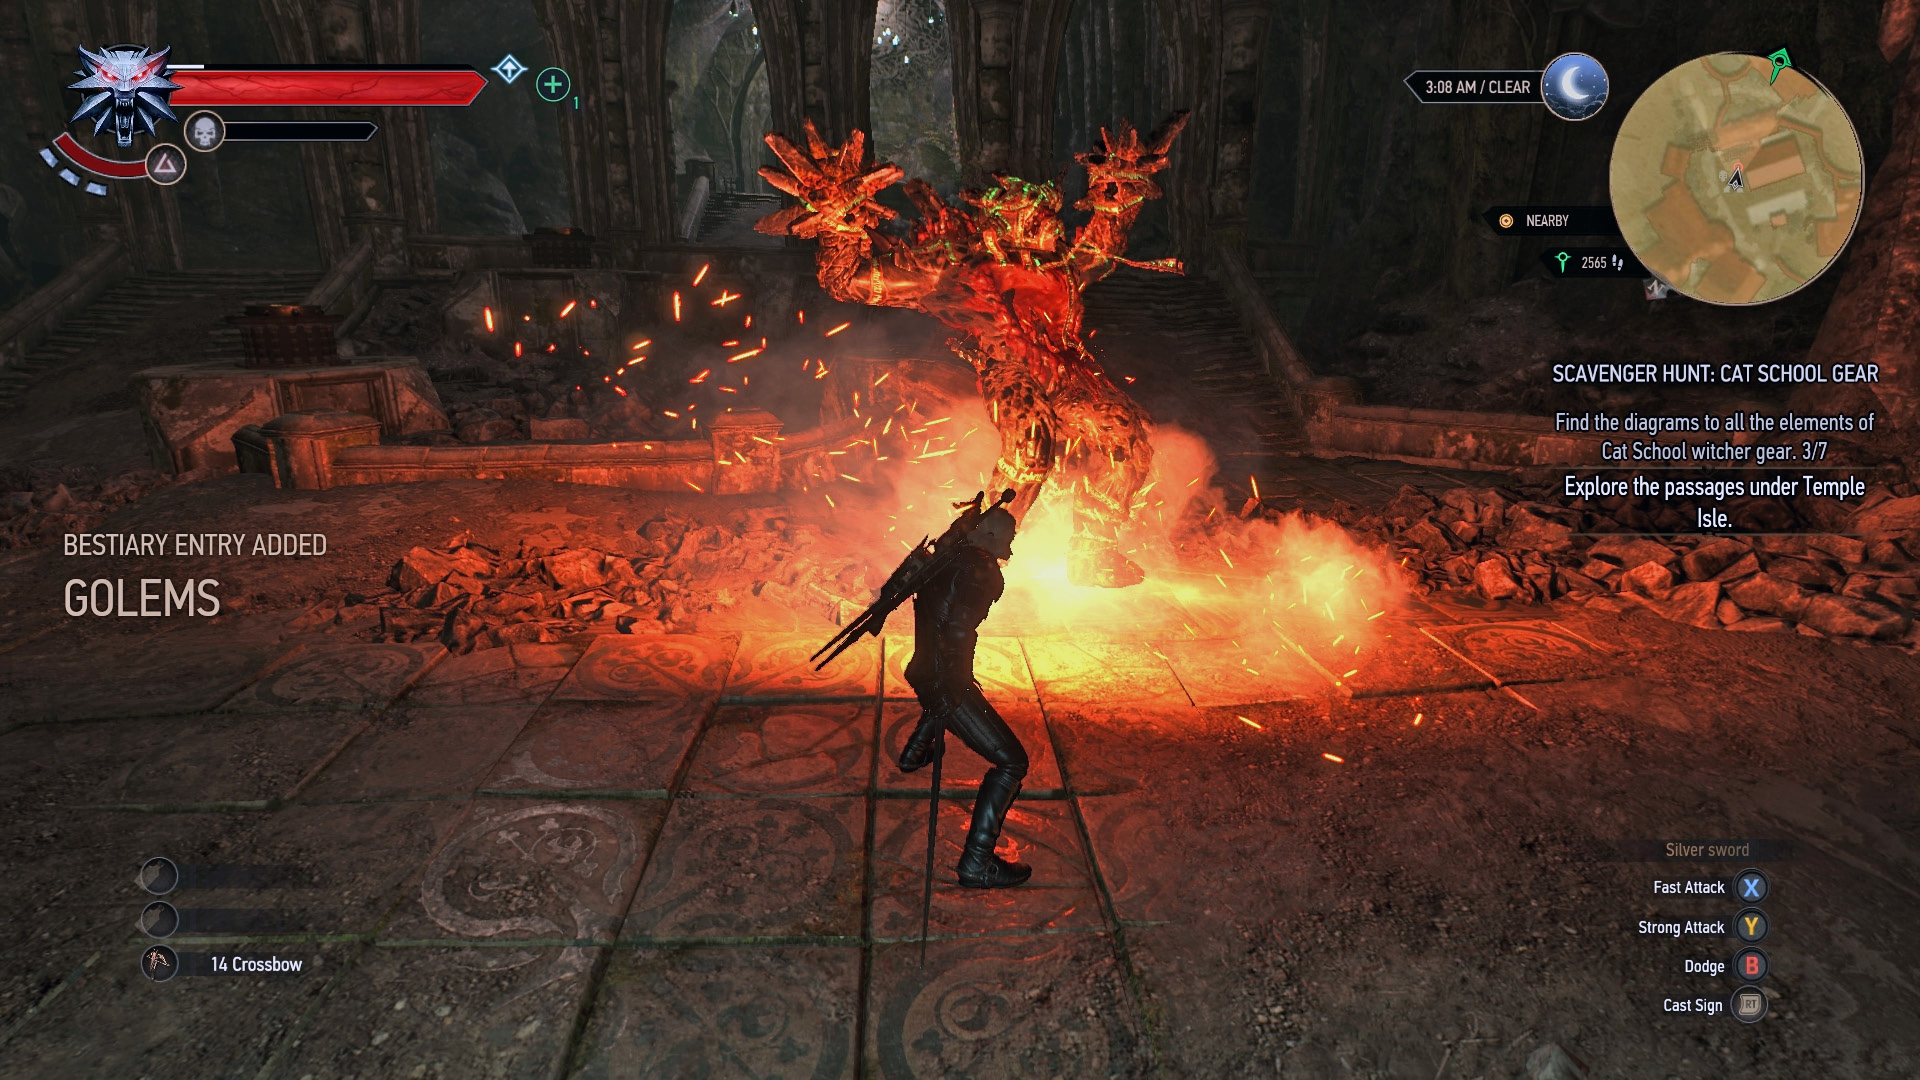
Enter the cave passage, continuing east until you’re stopped by a rock wall. This is actually an illusion, so providing you’ve obtained the Eye of Nehaleni from Keira Metz (during Main Quest: Wandering in the Dark page 80), interact with the rock and it dissolves away. You gain entry to a large subterranean cavern with elven arches around the perimeter. Beware of a golem up ahead. Battle or avoid this summoned monster near the stonework. Two sets of steps (choose either to climb) with four cauldrons to light, ending at firmly-locked door.
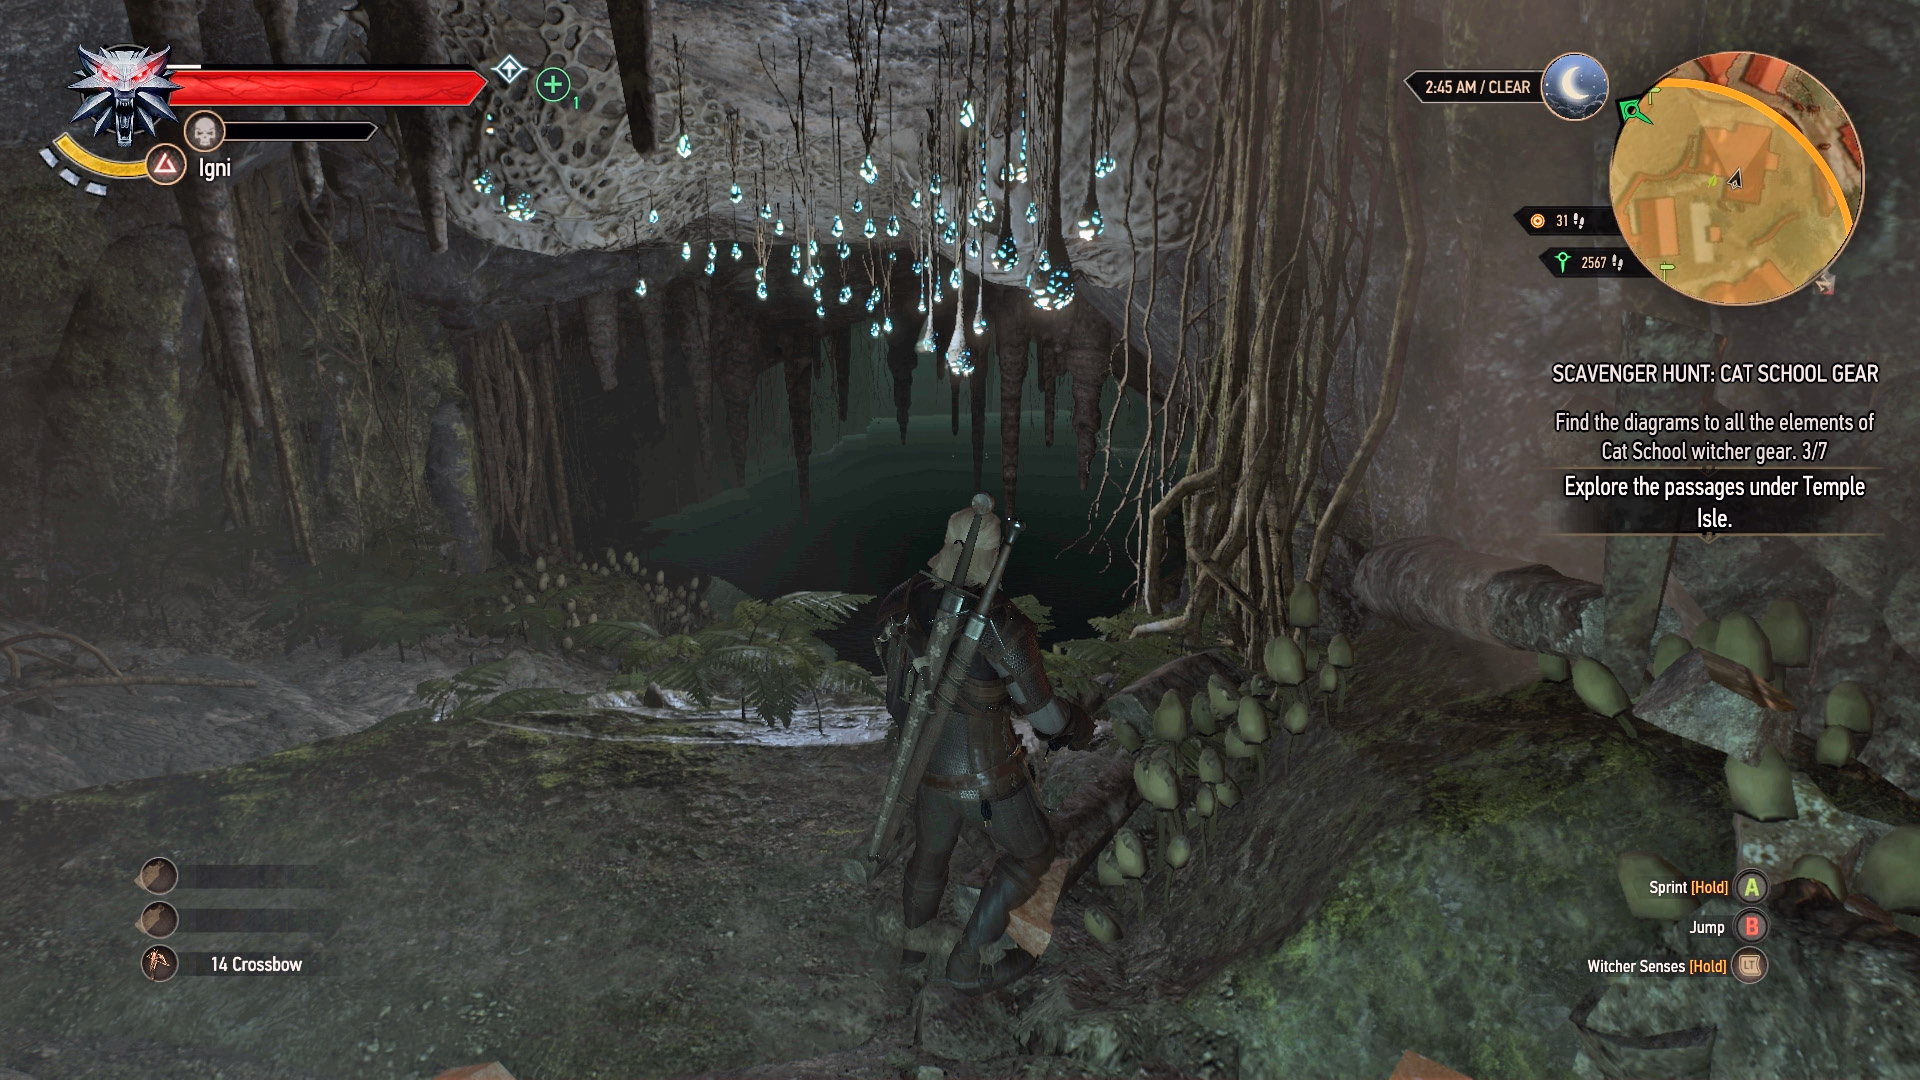
Work your way in a counterclockwise direction around the perimeter of the cavern, from your starting entrance. At the first blocked archway on your right, light the two cauldrons and break the arch entrance apart using Aard. Continue (roughly) south down a few rock steps to a pool. Dive down and loot a chest. Then climb out the other side of the pool, heading south into an eerily-illuminated chamber. Watch for a wraith guarding some paperwork and a chest. Read the invoice, which was purchased by Irenues var Steingard.
| ITEM: Quest Item: Invoice for a Golem |
Head roughly east, through the rock opening in the golem cavern, lighting braziers and following the tunnel to the right (south). Climb the rocks at the end, and finally enter a chamber marked by a stone inscription. Examine it to read “look to the depths to be lifted up.” This leads to an octagonal chamber with strange cowled statues surrounding a central stone floor. Use your Witcher Senses and uncover some notes, some strange markings, and a mysterious recipe. Slay the two wraiths guarding this place.
| ITEM: Quest Item: Research Notes, Mysterious Recipe |
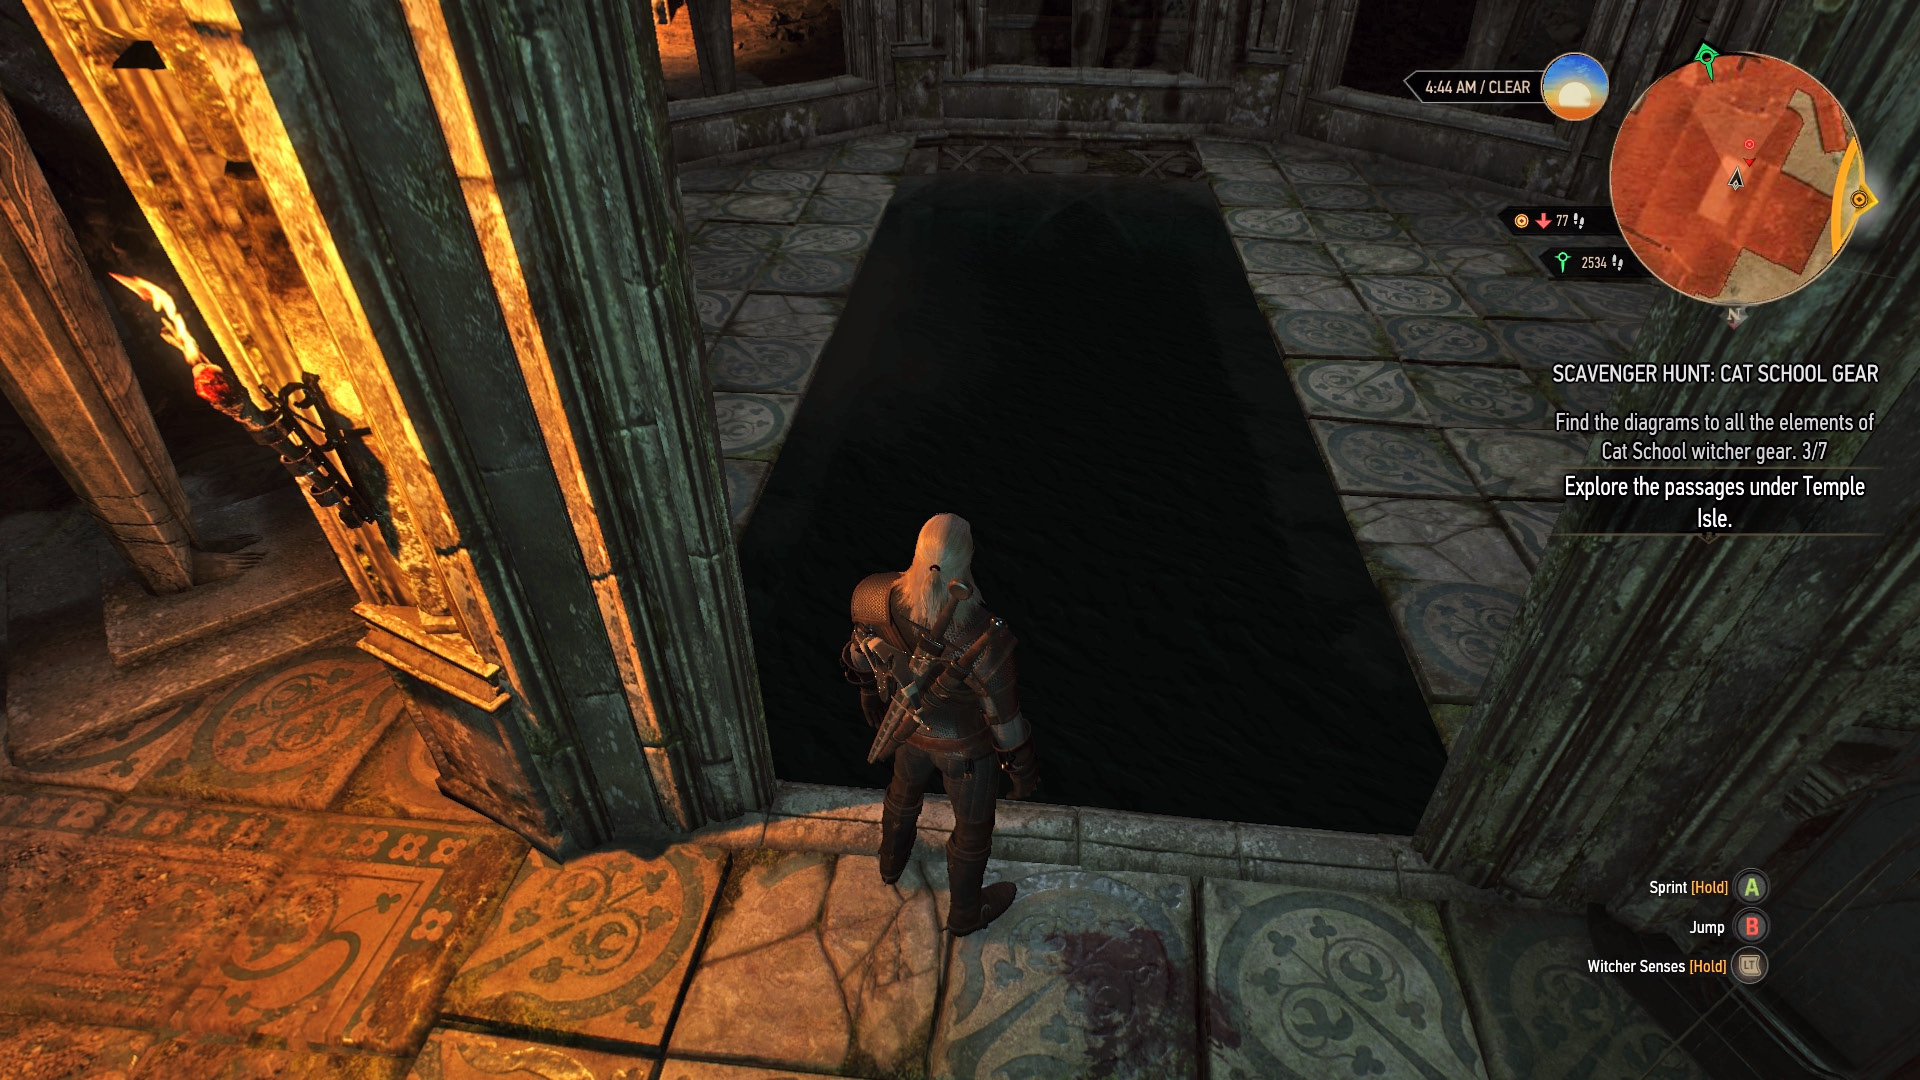
Light the torches and inpect the pillars around the chamber. Some of them have levers you must pull. Use all of the levers, one at a time. Each lever you pull rotates one of the statues around 90 degrees. Continuing moving these statues until every one of them faces into the central stone floor. You’ll know when this has occurred as the floor grinds back, revealing a plunge pool! Dive into the murky depths, using your crossbow to fend off drowners as you descend deeper to a skeleton on the bottom of the pool. Extricate its key, ascend, and head back to the golem chamber.
| ITEM: Quest Item: Laboratory Key |