
The Witcher 3: Wild Hunt Guide Quest Walkthrough: Act I (Velen) Secondary Quest: Return to Crookback Bog
End: The Fate of Gran
The fight is over, and Graden thanks you for your mettle, but the crones live on and elsewhere. Their plaything, now wretched and barely human, has a predetermined destiny (as does the fate of the Baron himself):
Path 1: Convalescing in the Blue Mountains
 The insane Anna is gathered up by the Baron, who vows to take her beyond the Blue Mountains, and heal her no matter what it takes. Tamara begrudgingly agrees, and the family part ways. The quest (and your dealings with the Baron) now conclude.
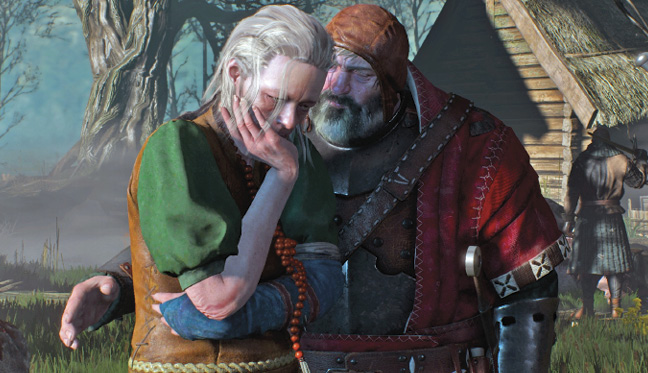
Path 2: Cursed in the Crookback Bog
Objectives:
|
 The monstrous Anna has been cursed. After Tamara pleads with you to help, you mention Johnny the Godling might have an answer as to what happened. Head northeast into the swamp, clearing Johnny’s burrow of any drowners and a water hag, and inspect the lair.
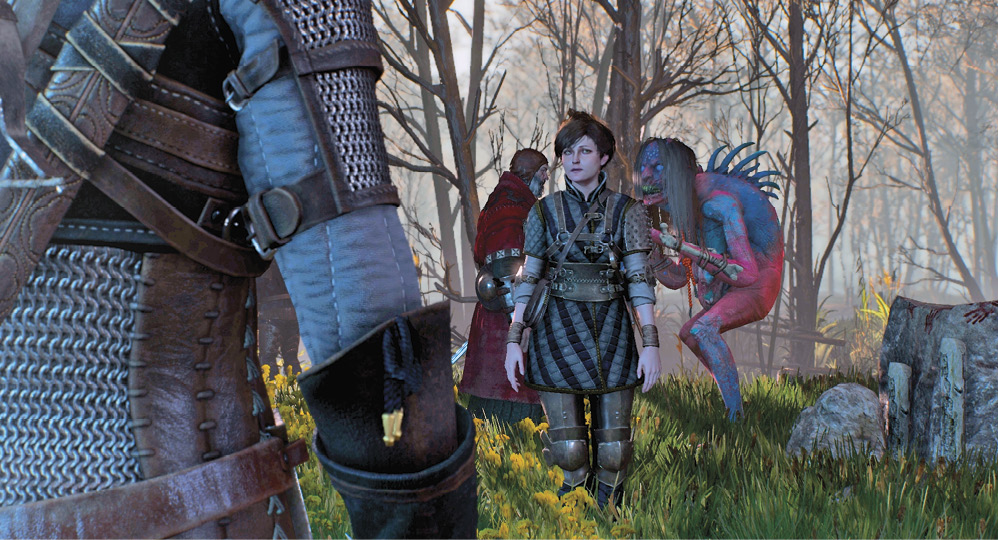
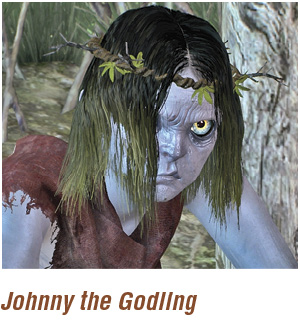
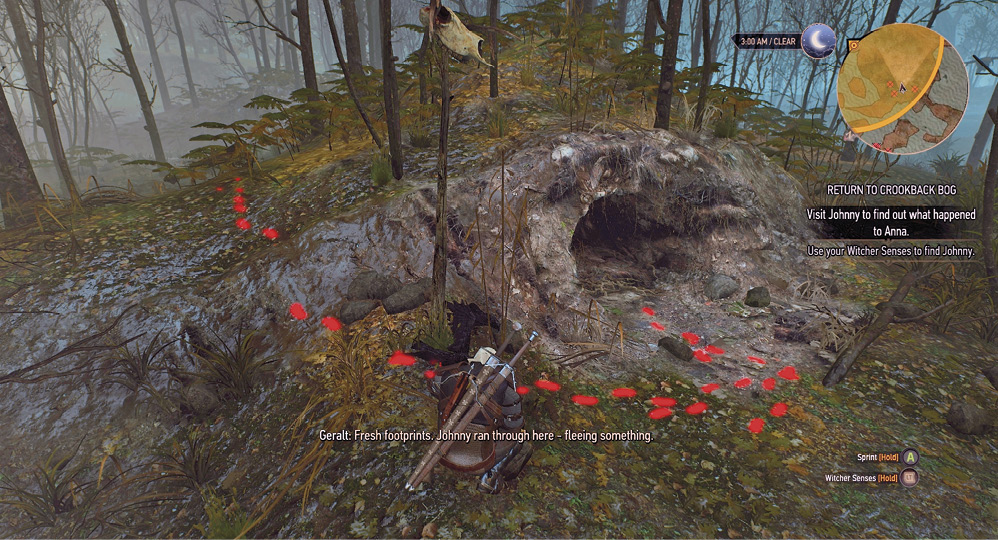
Johnny is missing. Use your Witcher Senses to uncover his footprints. Follow the footprint trail east and a little southeast, to a collection of planks and posts masquerading as a den. Johnny is hiding in there. When you question him about Anna, he explains he was with her when the curse was cast, as punishment for letting the children escape. Weavess took a lock of Anna’s hair, descended into the cellar, and after a while Anna started to transform into her current form. Johnny tried to help, but the crones returned, and he had to flee.
Objectives:
|
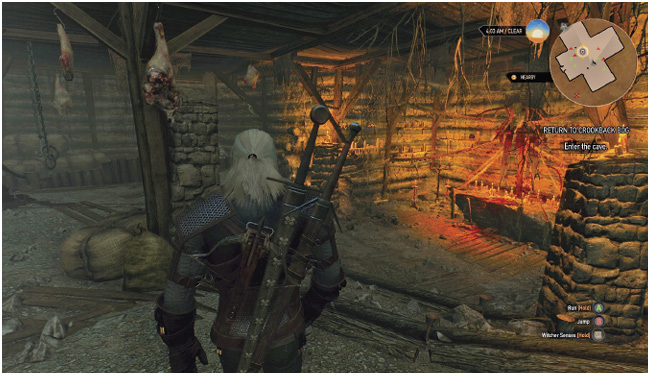
Head directly back to the orphan village, and inform everyone. Graden orders the crones’ hut opened. Head inside, look to your right for a trapdoor, and descend into the cellar. The earthern cave room is dominated by a huge altar, used in black magic rituals. Graden is familiar with such matters, and notes there are a number of dolls, woven in with Anna’s hair and a keepsake. Only one of the dolls symbolizes Anna, and is the key to removing the curse. Inspect each one carefully:
- Doll with the red bead—Anna wears this around her neck, as do half the women from Novigrad to Vengerberg.
- Doll with the bird feathers—this one reminds you of Philippa Eilhart.
- Doll with the violet hollyhock bloom—the Baron told you this was Anna’s favorite flower.
- Doll with the human ear—it probably belonged to a peasant. Anna still has both ears intact (just not what’s between them).
Now pick the one you think represented Anna. It is the one with the violet hollyhock bloom.
|
ITEM: Quest Item: Crones’ Doll |
 Choose the correct doll, and there is a scream from outside. Anna has returned to her human form, but alas, she is dying. Nothing can be done.
 Choose the incorrect doll, and there is a scream from outside. Anna has returned to her human form, but is burning alive. The Strenger family are suitably furious, but clutch to their grief over a violent outburst towards you.
The family is torn apart. A distraught Tamara cannot forgive her father, and leaves for Novigrad with Graden. A shocked Baron tells you to head to Crow’s Perch for your pay. When you reach the castle, you see that the Baron has ended his days hanging from a noose. You receive your reward from the sergeant as this quest concludes.
|
ITEM: Crowns: 100 |