
Mario Party 9 Guide Walkthrough Game Boards
Magma Mine
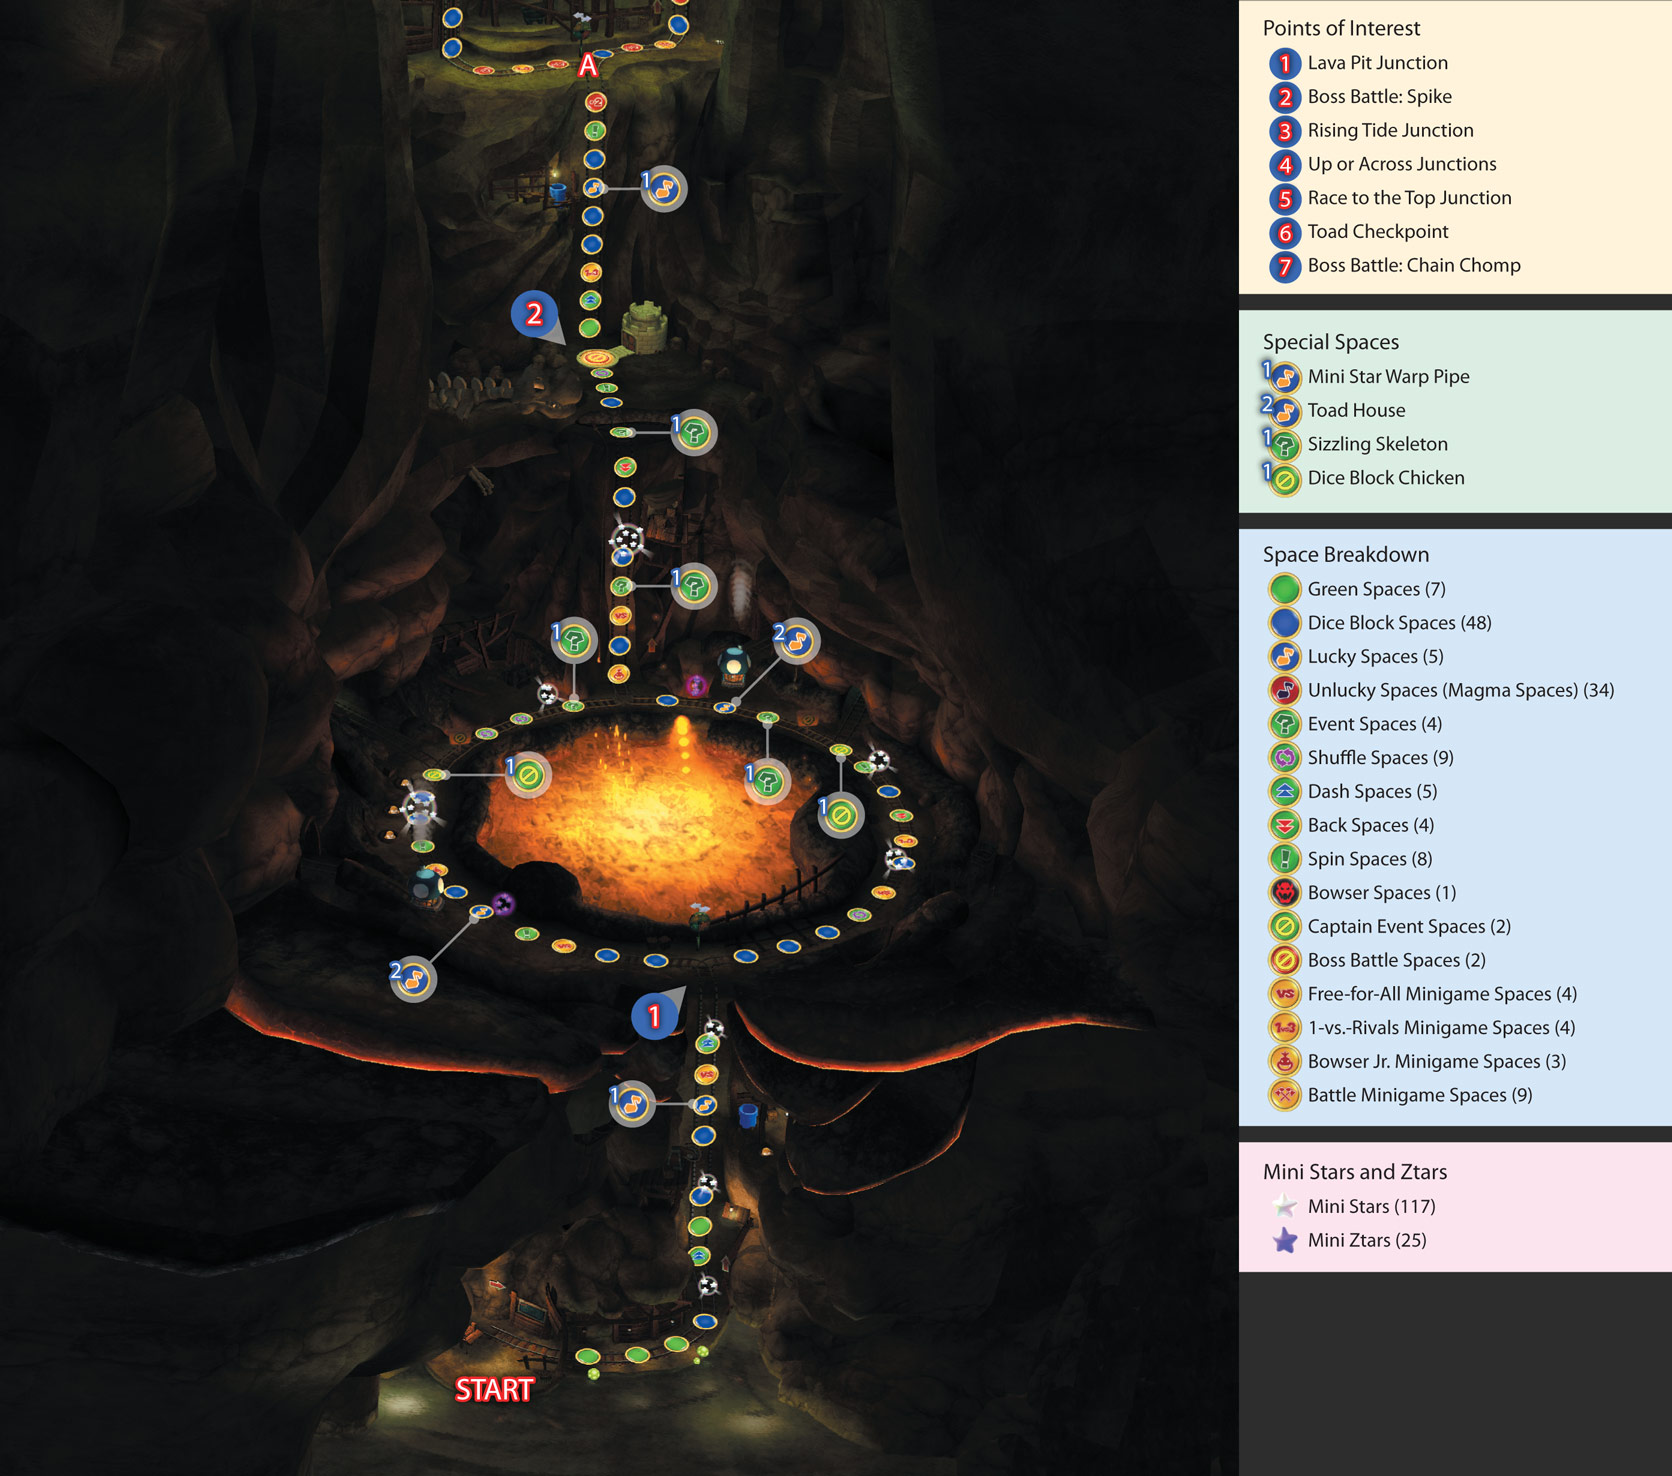
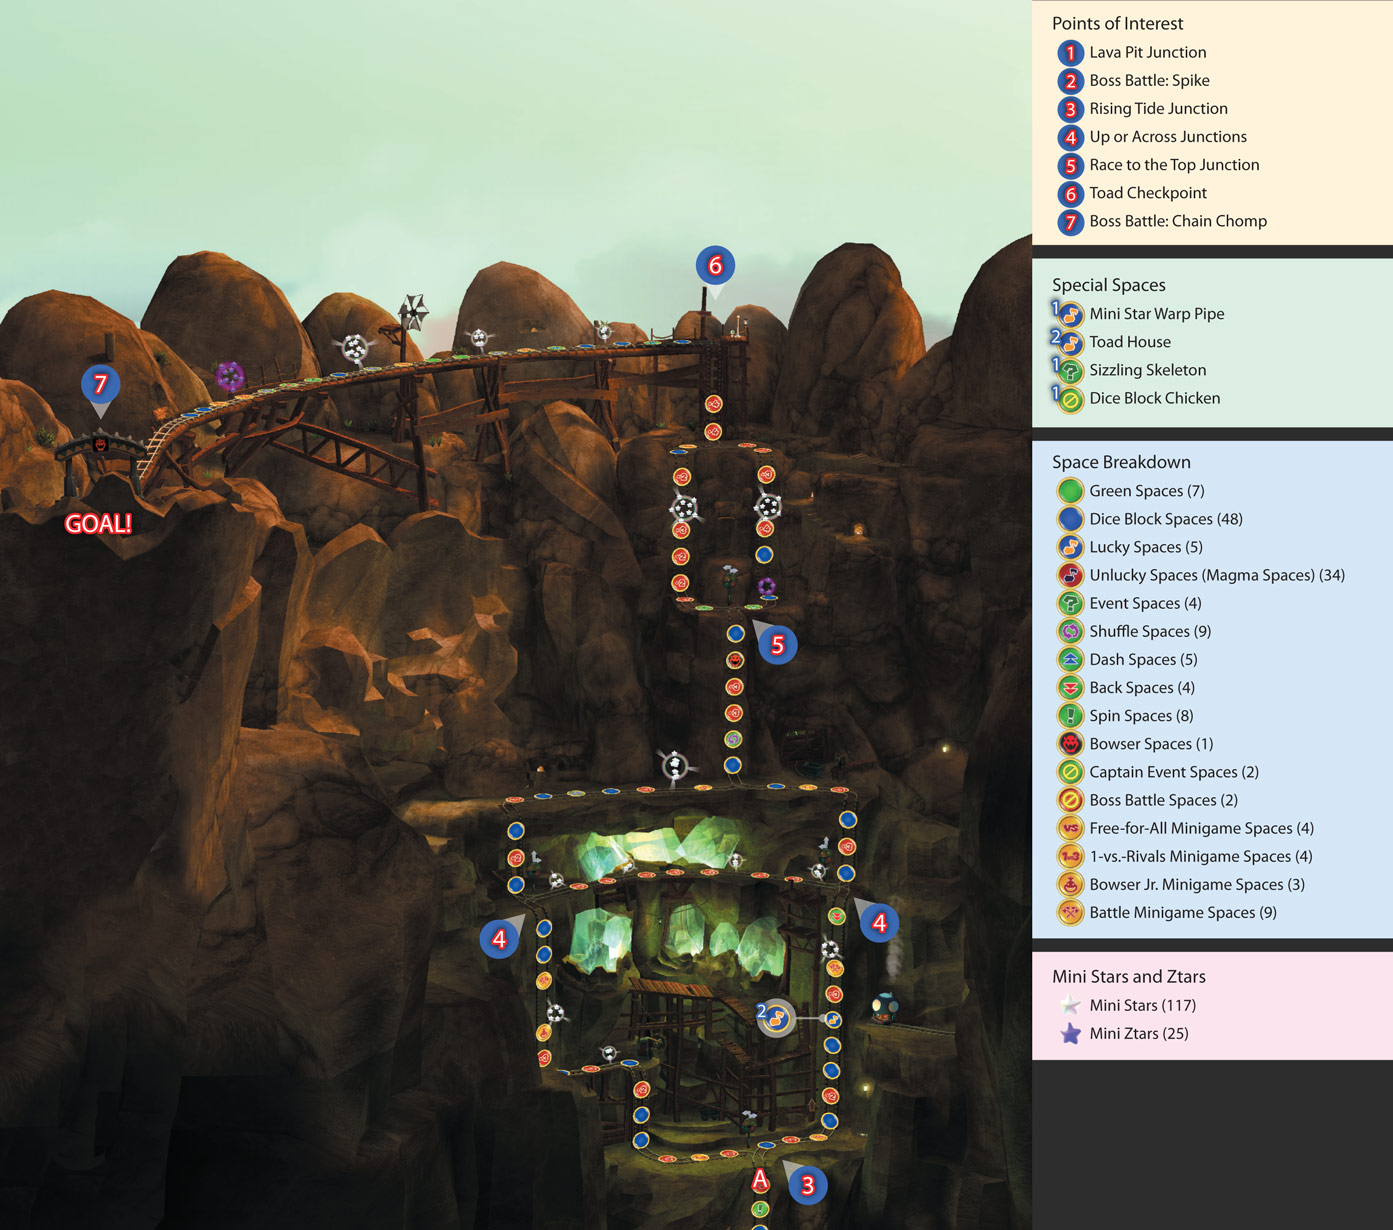
| Points of Interest | Special Spaces | ||

|
Lava Pit Junction |

|
Mini Star Warp Pipe |

|
Boss Battle: Spike |
2

|
Toad House |

|
Rising Tide Junction |

|
Sizzling Skeleton |

|
Up or Across Junctions |

|
Dice Block Chicken |

|
Race to the Top Junction |
|
|

|
Toad Checkpoint |
|
|

|
Boss Battle: Chain Chomp | ||
| Space Breakdown | |||

|
Green Spaces (7) |

|
Spin Spaces (8) |

|
Dice Block Spaces (48) |

|
Bowser Spaces (1) |
|
|
Lucky Spaces (5) |

|
Captain Event Spaces (2) |

|
Unlucky Spaces (Magma Spaces) (34) |

|
Boss Battle Spaces (2) |

|
Event Spaces (4) |

|
Free-for-All Minigame Spaces (4) |

|
Shuffle Spaces (9) |

|
1-vs.-Rivals Minigame Spaces (4) |

|
Dash Spaces (5) |

|
Bowser Jr. Minigame Spaces (3) |

|
Back Spaces (4) |

|
Battle Minigame Spaces (9) |
| Mini Stars and Ztars | |

|
Mini Stars (117) |

|
Mini Ztars (25) |
Board Overview
There’s no hotter place to party than Magma Mine! This large, sweltering volcano brims with bubbling lava and a host of hazards, but the mine is also lined with big clusters of Mini Stars, enticing you to explore.
It’s a long way to the top of this vertical board, but you’ve plenty of incentive to hurry: Just beyond the boss fort, a tide of boiling magma begins to swell up from the depths below!
This fiery fluid rises two spaces each turn, and it will scorch away half of the current captain’s Mini Stars if the magma manages to catch up.
Worse, an array of hazardous Magma Spaces can cause the magma to rise even faster than normal—do your best to avoid landing on these unfavorable spots!
Magma Mine has relatively few special events and an ever-present risk of being burned to a crisp; games played here feel a lot like frantic dashes to the final boss gate. Just keep climbing and don’t look down!
Magma Mine Tour
Mini Star Warp Pipe
|
|
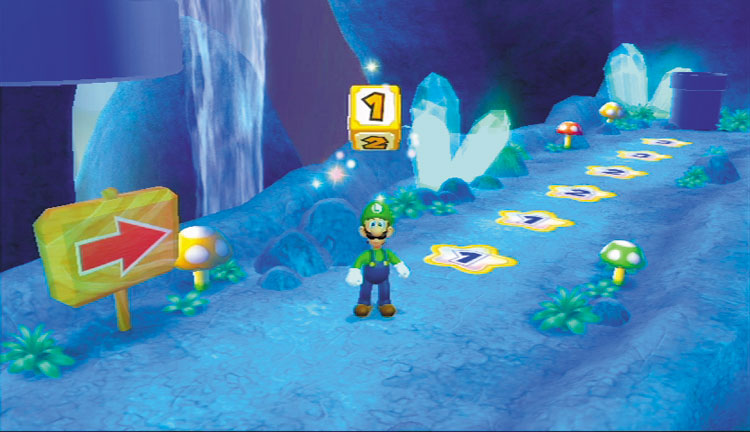
This mine sure has plenty of Mini Stars!
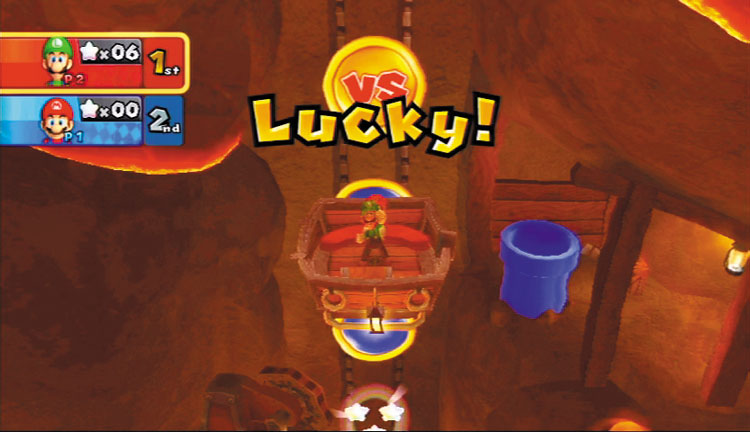
Things start off relatively quietly at Magma Mine, and you can land on a few Lucky Spaces in the early goings.
Plop down on one of the Lucky Spaces that lies next to a blue warp pipe, and you’ll be whisked away to a secret cavern of Mini Star Spaces!
Roll once and pocket your Mini Stars before returning to the mine cart.
Lava Pit Junction
|
|
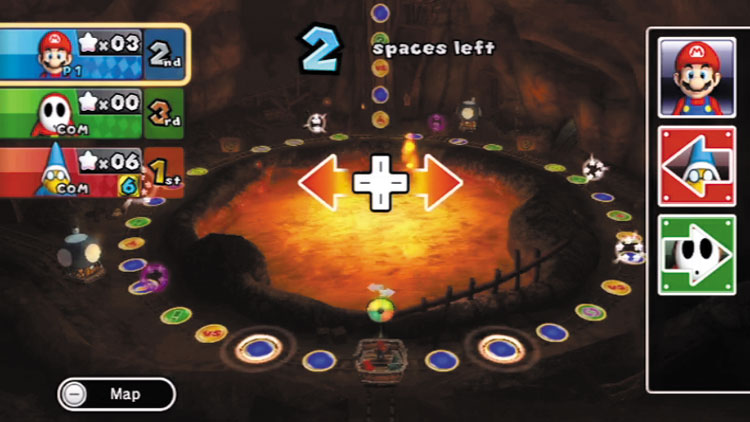
Whoa, check out all that lava! You definitely need to go around this bubbling bath.
The left route features more Mini Stars, while the right route sports a Back Space that can send you through the same Mini Star cluster multiple times.
Both routes feature Toad Houses and Captain Event Spaces, and both Captain Event Spaces lead to the same event, so there’s no risk of missing it.
Consider your remaining moves and the turn order carefully, and pick your path wisely!
Toad House
|
|
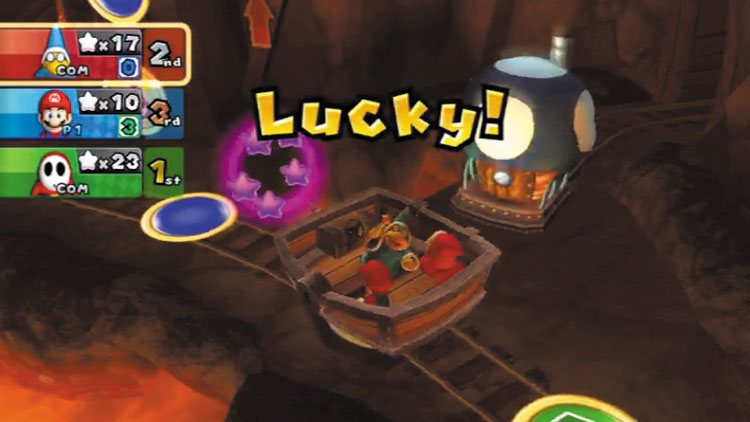
Their homeowner’s insurance must be through the roof!
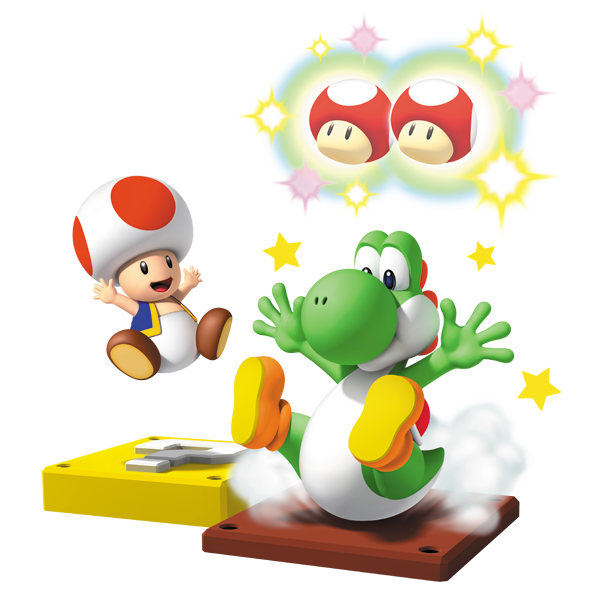
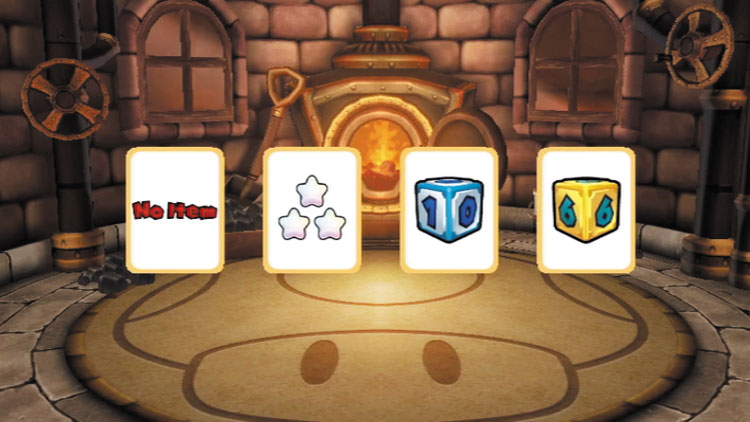
No matter which way you veer at the Lava Pit Junction, you have a chance to land on a Lucky Space that allows you to visit with a friendly Toad.
High-rolling Dice Blocks are your best friends here at Magma Mine, so keep your eye on any cards that depict Slow Dice Blocks, 4-5-6 Dice Blocks, or 1-10 Dice Blocks.
These items can help you outrun the rising magma when the volcano soon becomes active!
Dice Block Chicken
|
|
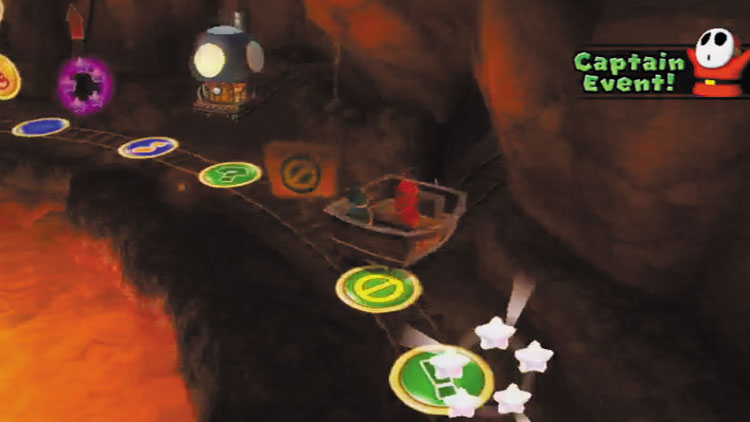
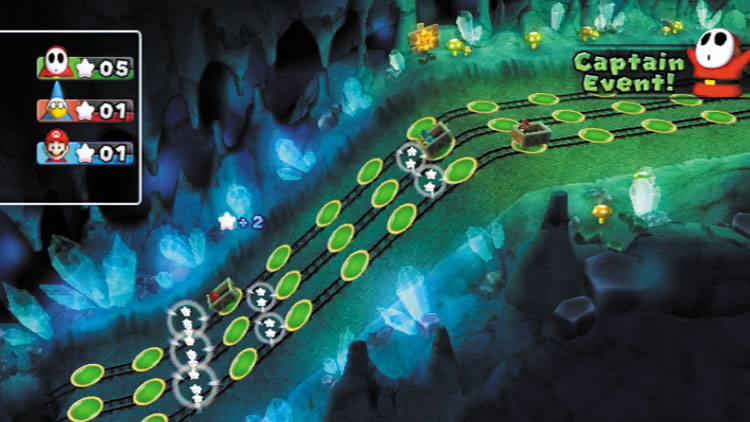
Fortune favors the bold!
Reaching either of the Captain Event Spaces around the giant lava pit temporarily diverts you to a special cavern where an exciting Captain Event is held.
Here, each player takes turns hitting a normal Dice Block and moving along separate yet similar tracks. Your goal is simple: Collect as many Mini Stars as possible without racing over the edge at the end of the line!
The event ends when the captain chooses to quit, tumbles over the edge, or claims the final Mini Star along his or her route. The luck of the dice plays a big role in how this event will play out!
Sizzling Skeleton
|
|
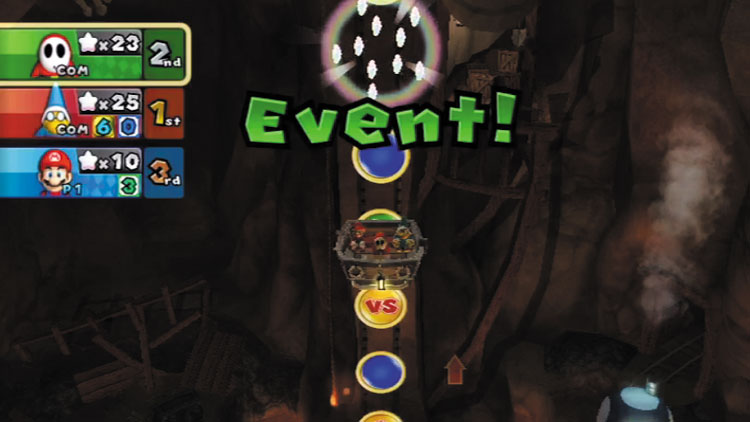
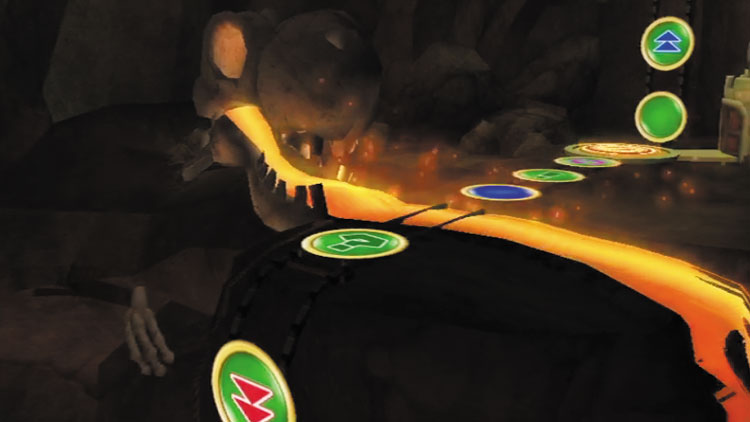
Whoa! Anyone got a breath mint?
Beware: Landing on any of the four Event Spaces that lead up to the boss fort will cause a searing river of hot liquid magma to spill out of the mouth of a huge overhead skeleton!
Once this river forms, one unlucky player will lose half of his or her Mini Stars when they’re forced to travel across it as captain.
Use whatever special Dice Blocks you might have in an effort to roll low, and try to make sure you don’t get burned!
Rising Tide Junction
|
|
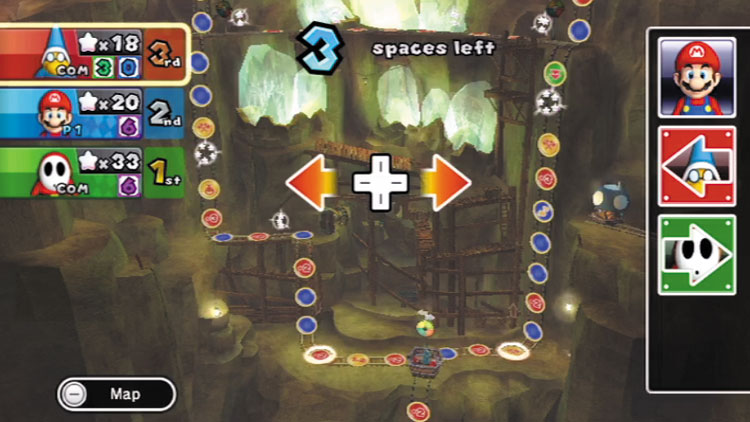
This junction lies just above the boss fort and presents you with a choice of two paths. The left path is much longer than the right, but the right path sports a dangerous Back Space that can send you tumbling into the magma that’s begun to bubble up beneath you!
The left path also features several more Mini Stars than the right path, but there’s a Lucky Space near a Toad House along the shorter right route.
Go left if you’re feeling lucky and wish to risk maxing out your Mini Stars. Head right if you’ve got the need for speed and don’t want to get burned.
Up or Across Junctions
|
|
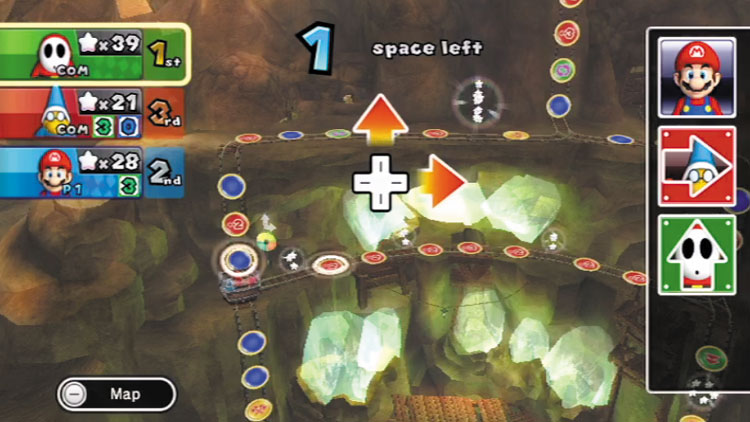
No matter which path you take at Rising Tide Junction, you’ll encounter another junction before the rail reunites.
These two junctions are mirror images of each other, and they both ask you to choose between fleeing upward or cutting across a horizontal stretch that’s filled with Mini Stars.
Beware: The horizontal route is also lined with Unlucky Spaces that will cause the rising magma to bubble up even faster!
Take the horizontal path only if you think it’ll set your rivals up for disaster. Otherwise, go upward in an effort to stay ahead of the fiery tide.
Race to the Top Junction
|
|
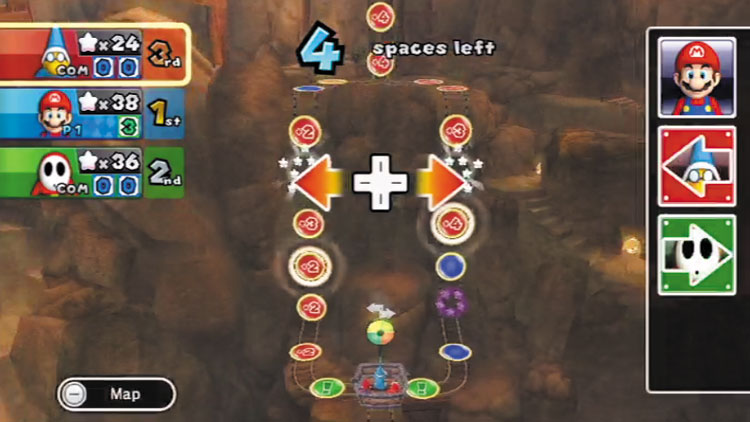
This is it: Magma Mine’s final junction! Both paths are similar, and you certainly don’t want to hit those floating Mini Ztars to the right, so this decision boils down to your remaining moves.
Go left if going right will send you into the Mini Ztars, or veer right if you’ll stop short of them—this will set up the next captain for a nasty Mini Ztar surprise!
Toad Checkpoint
|
|
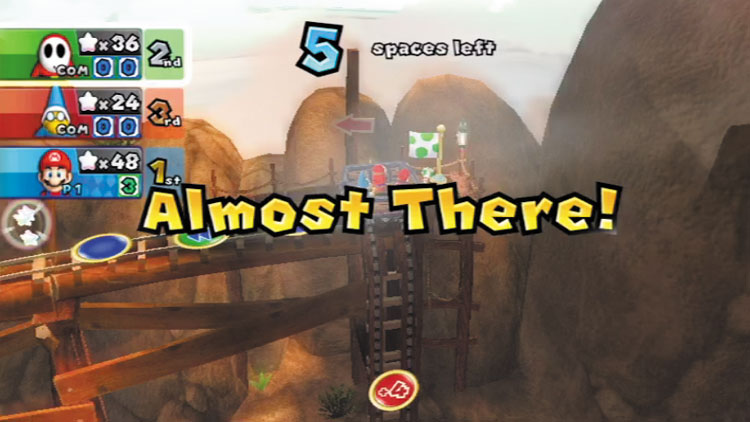
Whew! You made it! That was quite a climb, and we bet you’ve never been so happy to see the friendly face of a Toad before.
Of course, Bowser makes his trademark appearance at the checkpoint as well, zapping several of the upcoming spaces and transforming them into devious Bowser Spaces!
Fortunately for the last-place player, they’ve just been handed a Slow Dice Block, courtesy of the helpful Toad!