
Mario Party 9 Guide Walkthrough Game Boards
Bob-omb Factory
| Points of Interest | Special Spaces | ||

|
Boss Battle: Whomp
|

|
Mini Star Warp Pipe |

|
Bob-omb on Board
|

|
Toad House
|

|
Conveyor Belt Way (Captain Event Area)
|

|
Mini Ztar Warp Pipe |

|
Toad Checkpoint |

|
Conveyor Belt Activator |

|
Boss Battle: King Bob-omb |

|
Sliding Platform |

|
Platform to Captain Event | ||
| Space Breakdown | |||

|
Green Spaces (23) |

|
Spin Spaces (5) |

|
Dice Block Spaces (33) |

|
Bowser Spaces (1) |

|
Lucky Spaces (4) |

|
Captain Event Spaces (1) |

|
Unlucky Spaces (2) |

|
Boss Battle Spaces (2) |

|
Event Spaces (29) |

|
Free-for-All Minigame Spaces (8) |

|
Shuffle Spaces (9) |

|
1-vs.-Rivals Minigame Spaces (4) |

|
Dash Spaces (1) |

|
Bowser Jr. Minigame Spaces (4) |

|
Back Spaces (4) |

|
Battle Minigame Spaces (5) |
| Mini Stars and Ztars | |||

|
Mini Stars (126) |

|
Mini Ztars (22) |
Board Overview
The clink-clank of heavy machinery can be heard all throughout the bustling Bob-omb Factory.
Here, an endless army of volatile Bob-ombs are mass-produced for Bowser, and production never stops!
This good-sized board features four separate areas that you visit in turn. Each area is relatively small and sports an array of conveyor belts and sliding platforms that can suddenly move you forward or backward.
Landing on the many Event Spaces in Bob-omb Factory will activate its belts and platforms, and you never know what might happen as a result!
Beware of wayward Bob-ombs here—they’ve been known to hitch rides on the hoods of passing vehicles.
You don’t want to be sitting up front when one of these explosive windups blows!
Bob-omb Factory is one of the more unpredictable boards in Mario Party 9, so grab your hard hat and buckle in for a wild ride.
Bob-omb Factory Tour
Conveyor Belt Activator
|
|
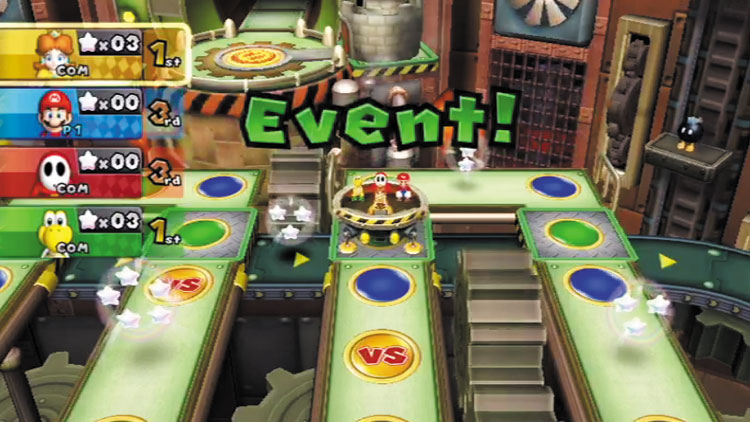
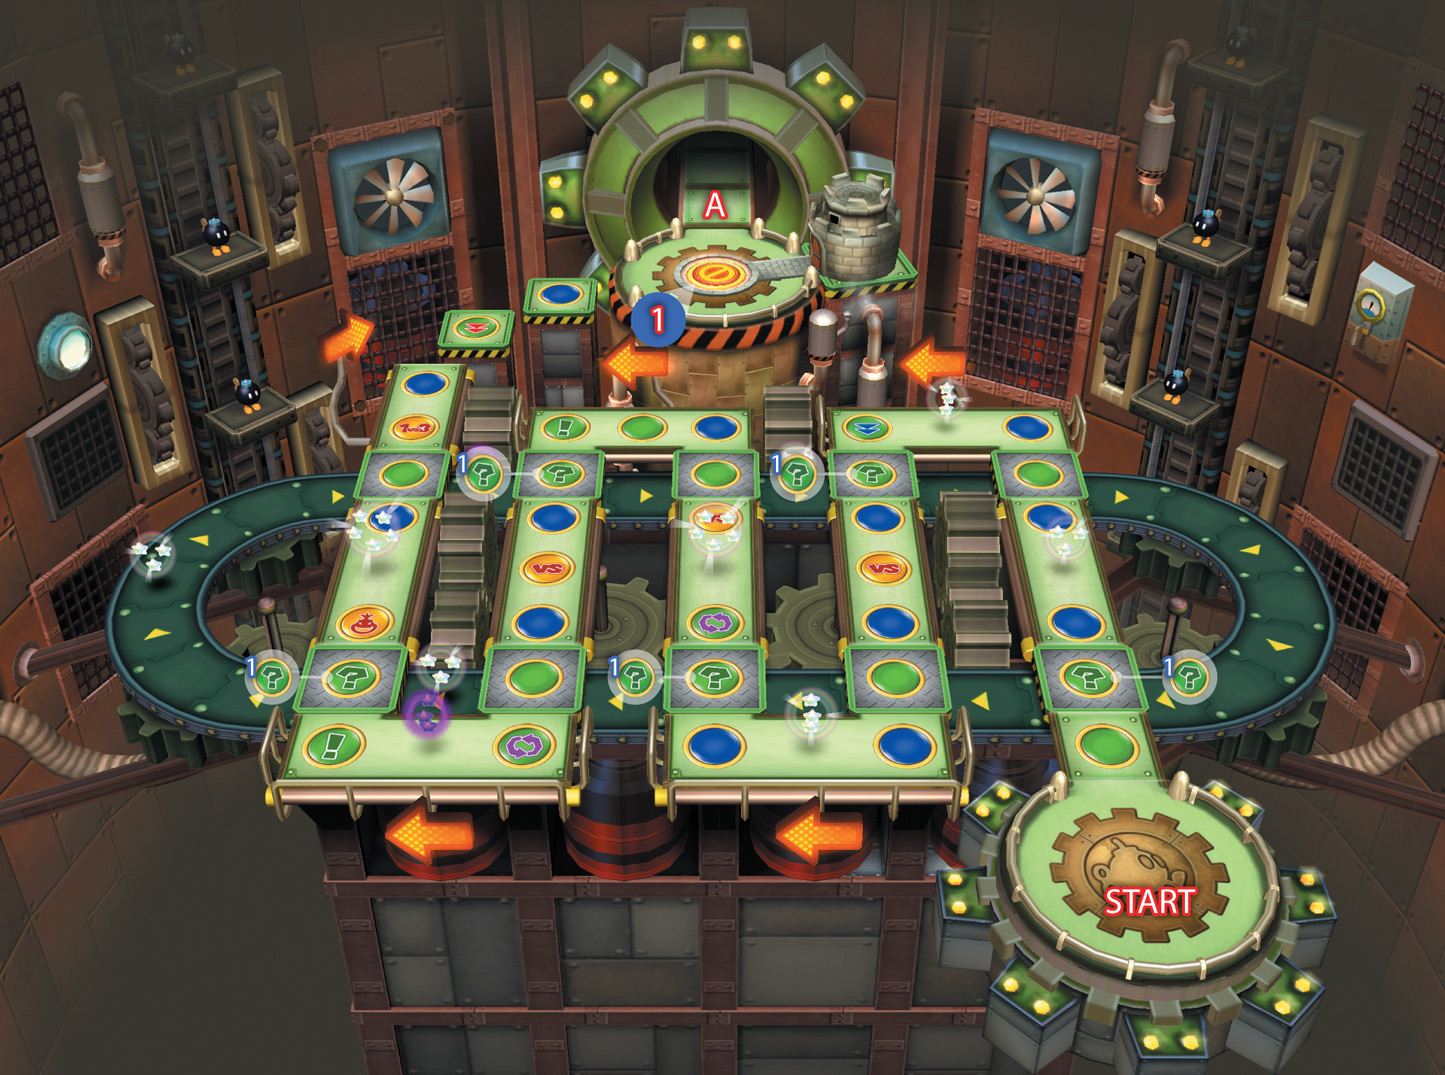
Our tour begins in Bob-omb Factory’s first area. Landing on any of the five special Event Spaces that lie along this area’s snaking path will cause the lower conveyor belt to rotate clockwise.
This shifts all of the metal spaces around and may cause you to advance along the path faster than normal—or you may end up sliding backward!
Mini Stars also hover above the conveyor belt, so there’s always a chance of collecting some as a bonus.
Bob-omb on Board
|
|
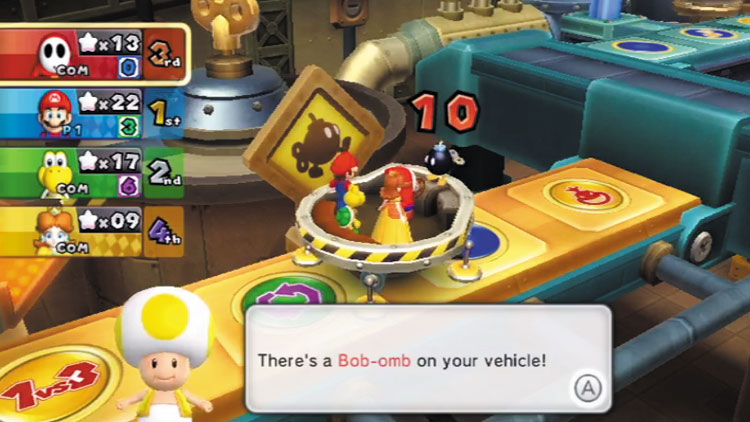
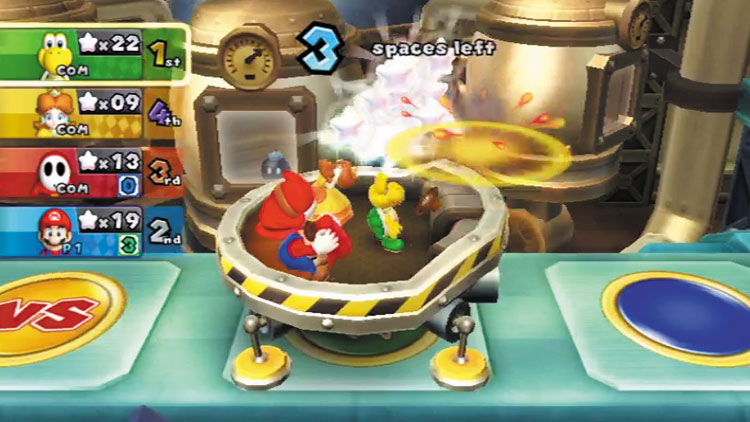
Oof! Blast those pesky Bob-ombs!
The action ramps up when you reach Bob-omb Factory’s second area.
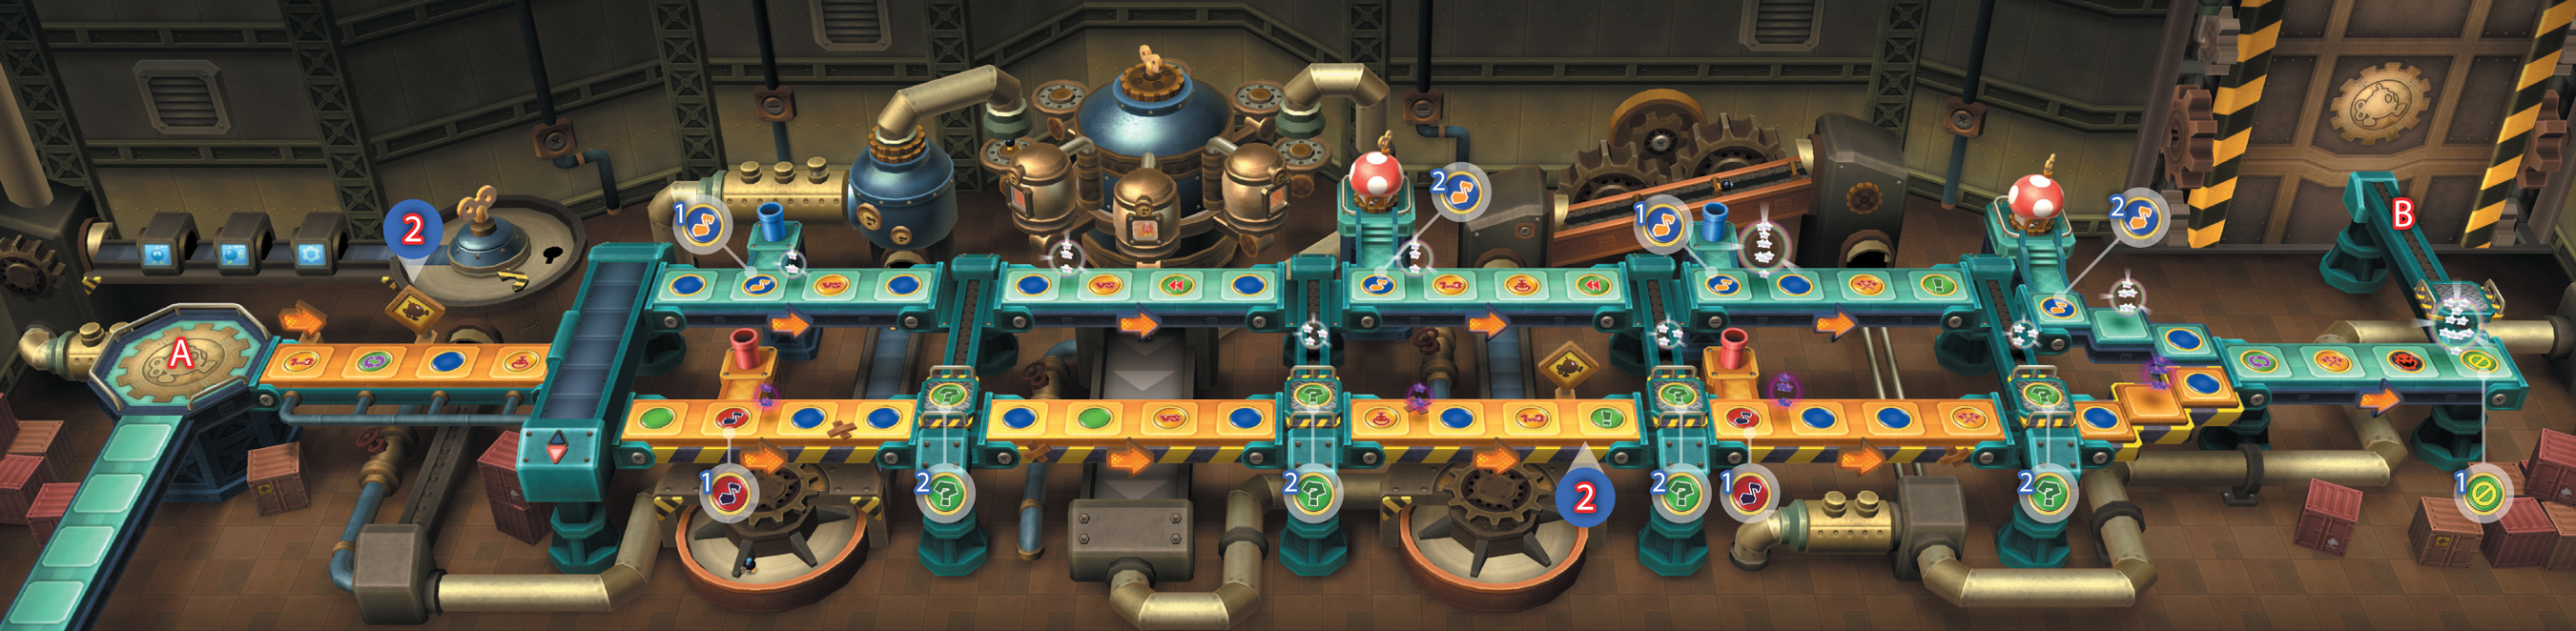
As you pass by the Bob-omb signpost near the start of this long stretch, a Bob-omb drops from above and lands on the hood of your vehicle.
Not good! A number appears above the Bob-omb, and this number decreases with each space that your vehicle travels.
The Bob-omb explodes when the number reaches zero, blasting away a whopping half of the current captain’s Mini Stars!
Do your best to roll low when you’ve got a Bob-omb stuck to your ride.
Mini Star Warp Pipe
|
|
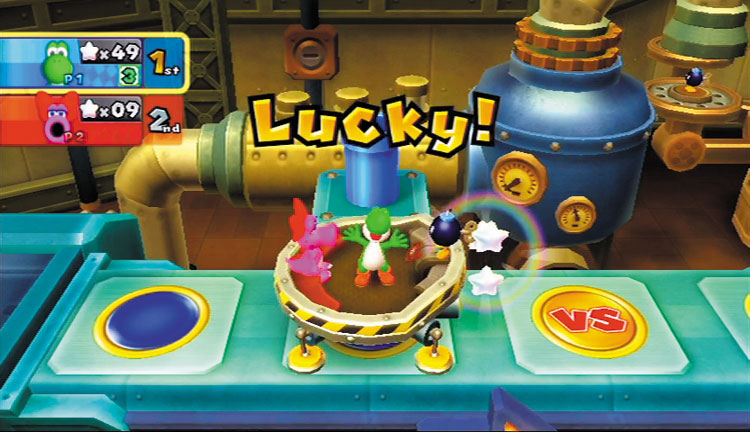
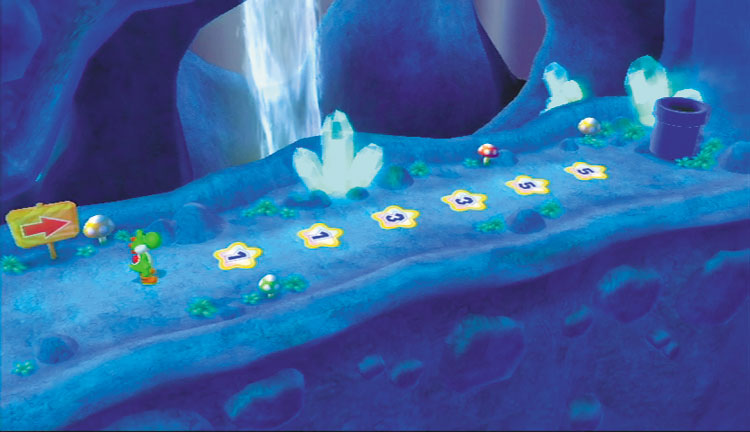
Here’s hoping you roll high!
Do these special spaces look familiar? You saw them at Toad Road!
Land on Lucky Spaces as you travel the second area’s background path for a chance to visit a secret underground area where you can collect bonus Mini Stars from a short trail.
Between these and the Toad houses that you find along the background path, it’s best to keep to this route!
There are also lots of Mini Stars floating around up here, along with Back Spaces that can help you collect those Mini Stars multiple times by repeatedly passing through them.
Mini Ztar Warp Pipe
|
|
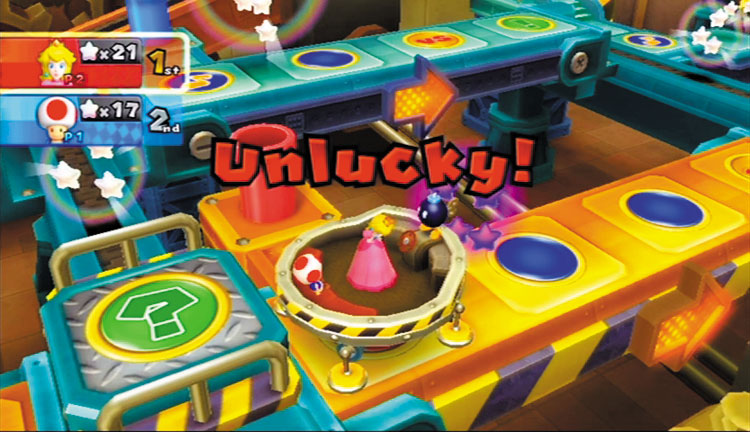
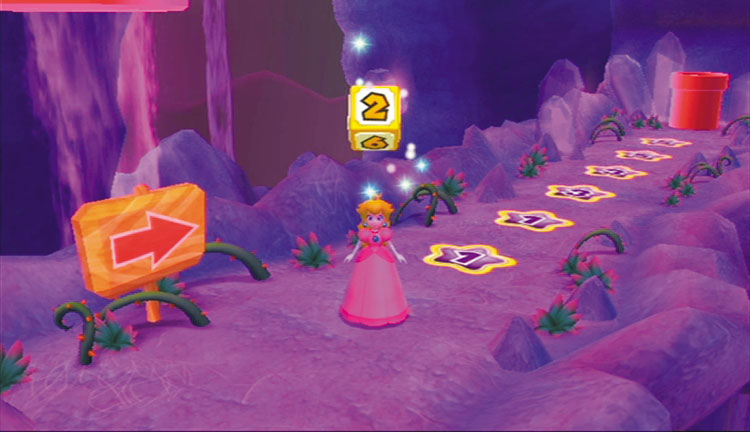
Drat! There go some Mini Stars!
On the other hand, the second area’s foreground path is lined with hazards, including hovering clusters of Mini Ztars and two Unlucky Spaces that can land you in an unfortunate underground area.
A stretch of Mini Ztar Spaces await you down here, just like the unlucky warp pipe back at Toad Road. Hold your breath and hope you roll low!
Sliding Platform
|
|
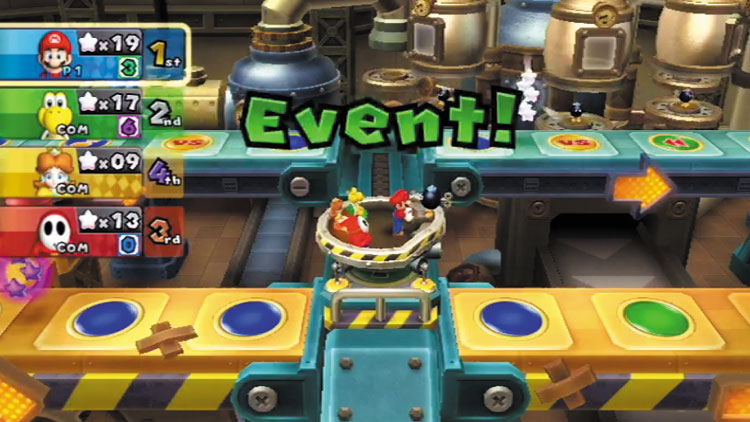
The Event Spaces found in Bob-omb Factory’s second area activate sliding platforms that ferry you between its two paths.
Of course, these spaces only work when you land on them, meaning your turn will be over after you reach the new trail; therefore, it’s best to avoid landing on Event Spaces when traveling along the foreground path, because this will set up your rivals to score big along the background path.
Instead, try landing on the Event Spaces when you’re traversing the background path to zip to the foreground and force the next captain to face numerous hazards.
Toad House
|
|
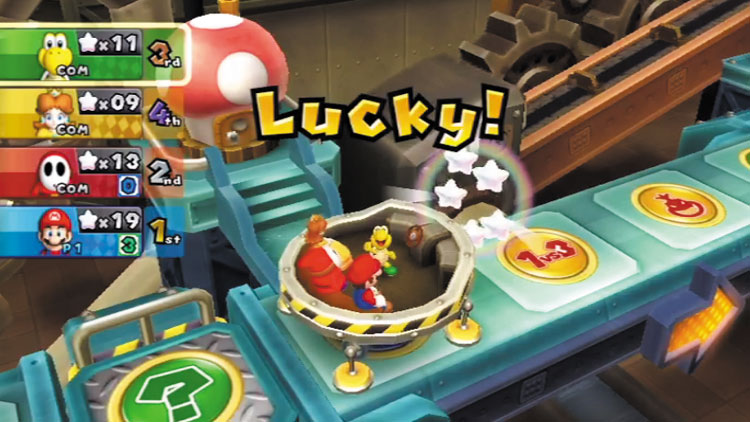
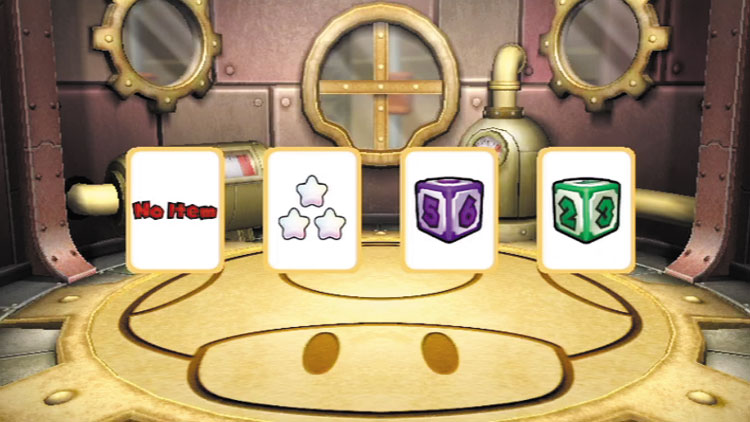
How do these poor Toads sleep with all this factory’s racket?
Mushroom-shaped huts can mean only one thing: Toads must live here! The second area’s background path features two Lucky Spaces that lead to humble Toad abodes, further adding to the path’s appeal.
Try landing on these special spaces for a chance to score some super-helpful Dice Blocks or Mini Stars from the resident Toads.
Platform to Captain Event
|
|
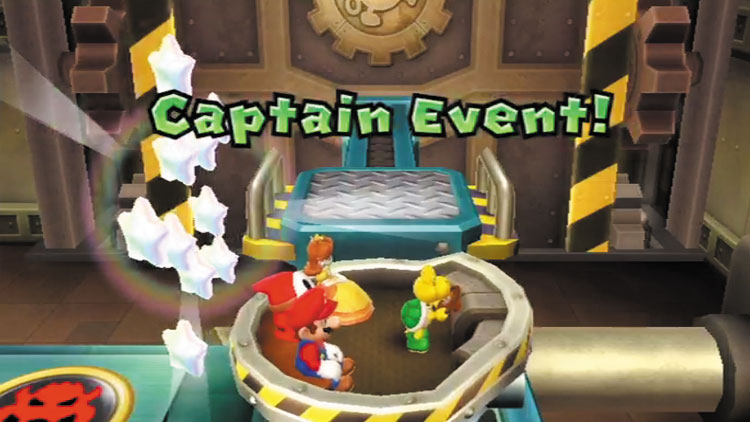
Try to be the captain when you reach the second area’s final space—the next area is home to a Captain Event, and captains always have the advantage during these exciting challenges!
See the next section for details on this special Captain Event.
Conveyor Belt Way (Captain Event Area)
|
|
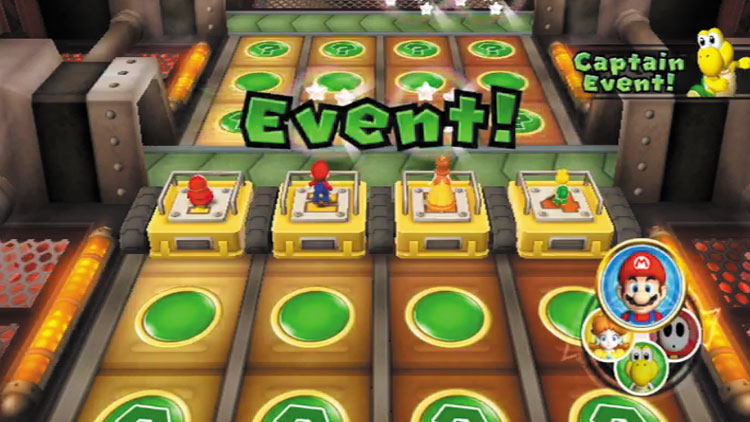
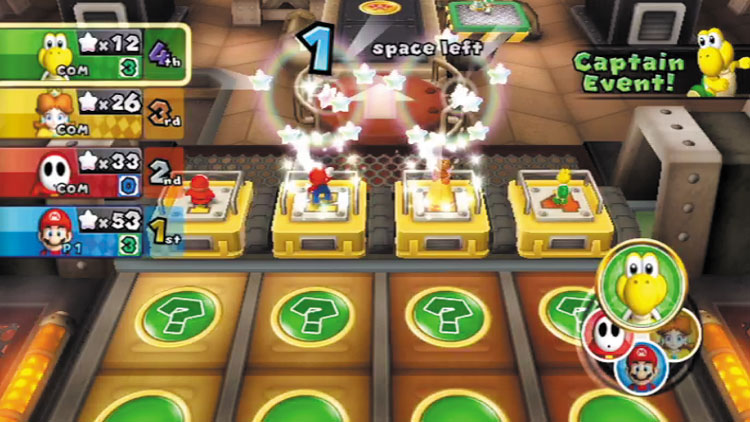
Shoot for the stars!
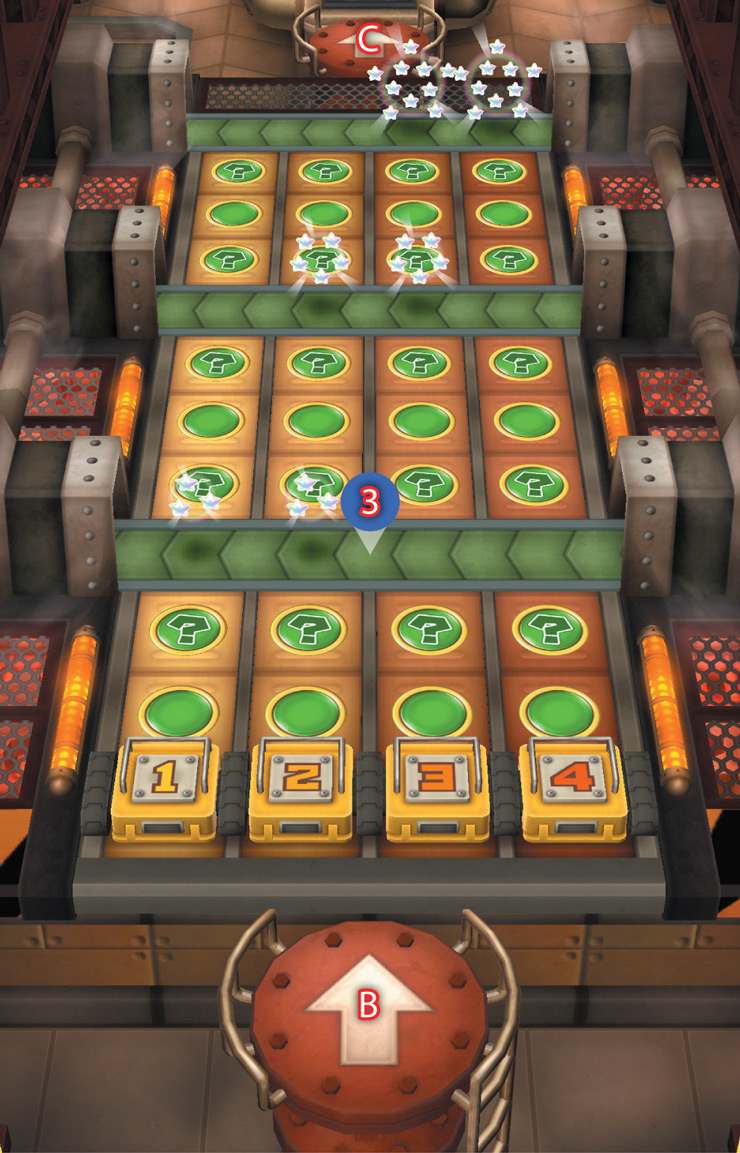
The factory’s third area is home to a special Captain Event. Here, all four players split up and take turns hitting a normal Dice Block.
The players then move forward along their separate paths. Landing on an Event Space causes the conveyor belts to activate, sliding all of the Mini Stars one space over to the left.
Try to score as many Mini Stars as you can from this hazard-free zone!
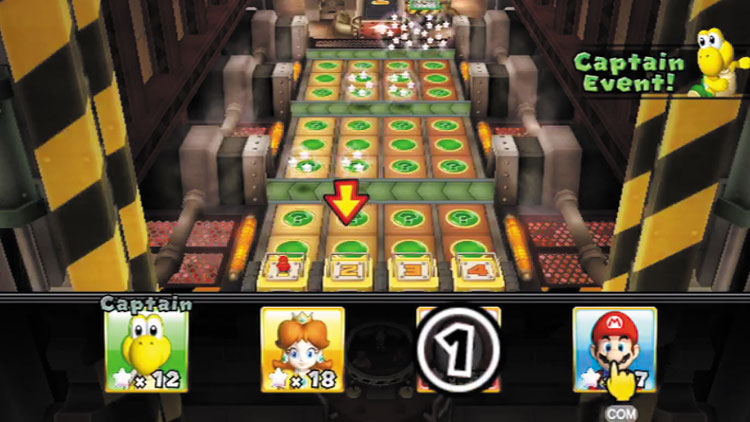
The captain for this event gets to choose which path each character will travel down. Consider the floating Mini Stars that lie ahead and choose the path you think will take you to the big bunches at the end.
Remember: All of the Mini Stars will move to the left if anyone lands on an Event Space here, so they aren’t likely to stay where you see them.
We favor paths 1 and 2, expecting that the Mini Stars will shift at least once during the trip, and possibly more.
Toad Checkpoint
|
|
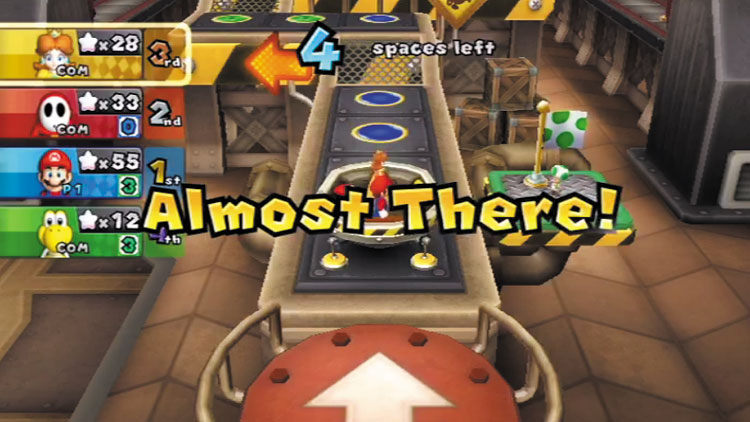
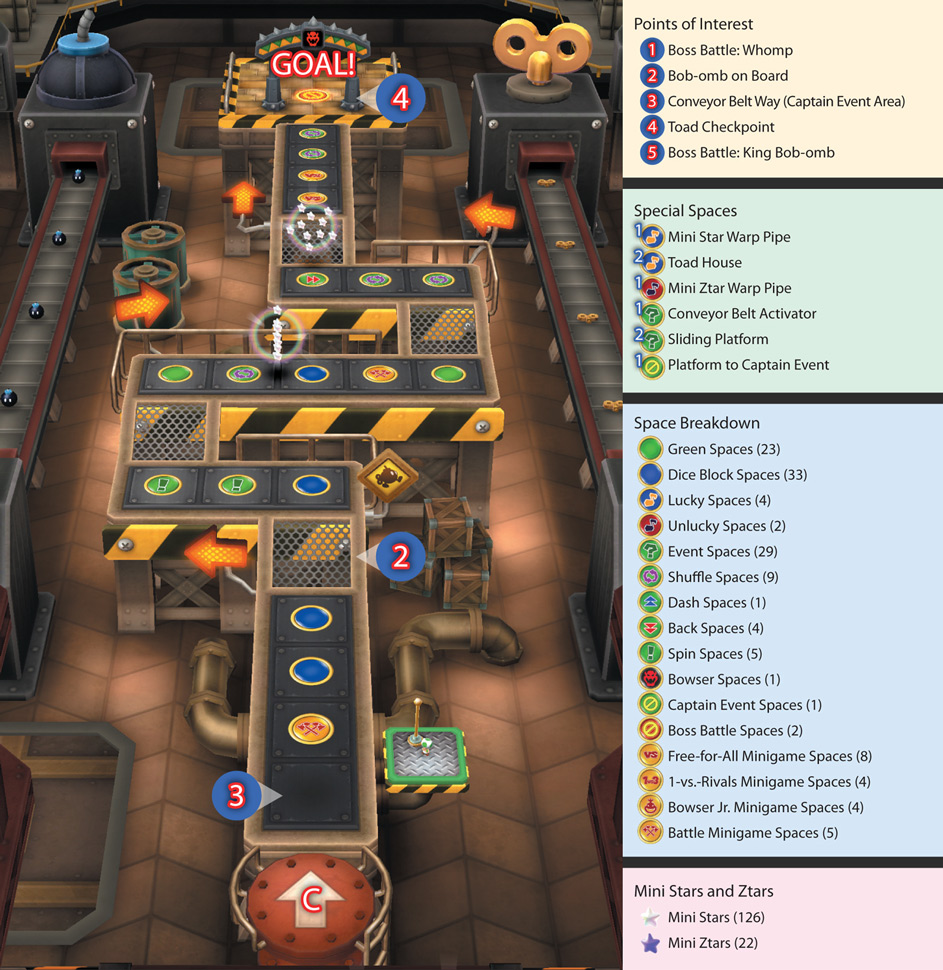
Your tour of Bob-omb Factory is nearly over once you reach this final area. We hope you’ve enjoyed the ride!
A helpful Toad calls out to you from a nearby platform and takes a peek at everyone’s Mini Stars.
This Toad has a soft spot for the underdog and hands the player with the fewest Mini Stars a precious Slow Dice Block. This is sure to be useful during the factory’s final treacherous stretch!