
Mario Party 9 Guide Walkthrough Game Boards
Boo's Horror Castle
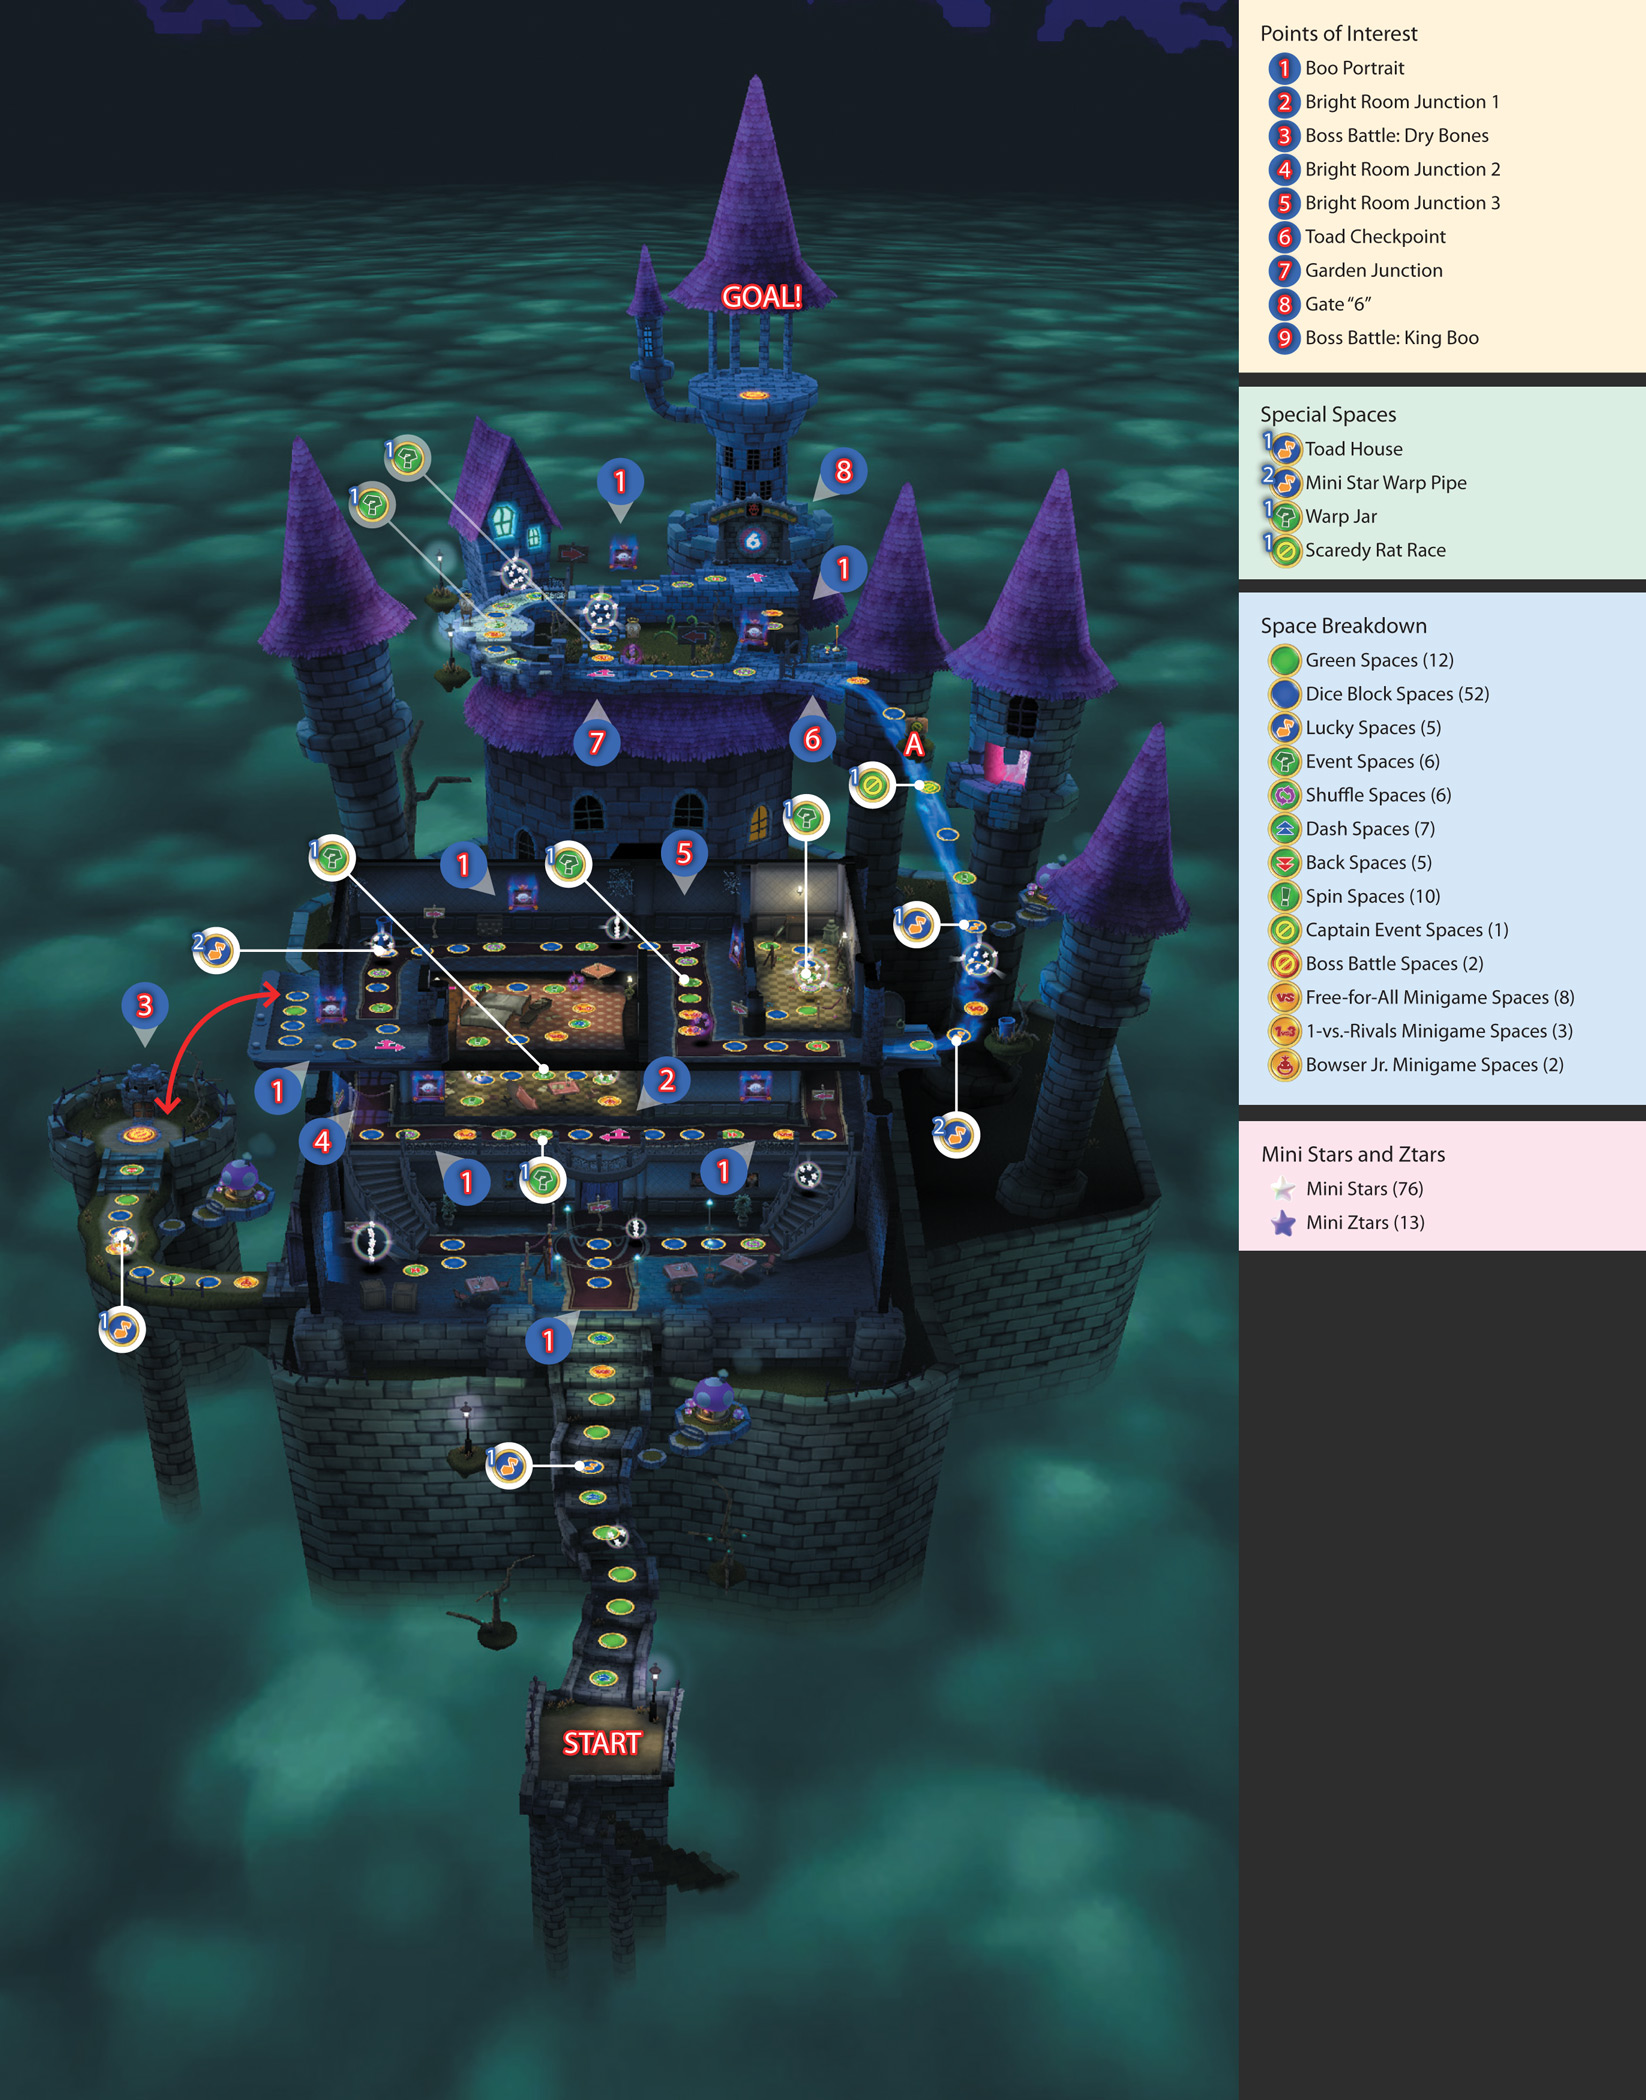
| Points of Interest | Special Spaces | ||

|
Boo Portrait |

|
Toad House |

|
Bright Room Junction 1 |

|
Mini Star Warp Pipe |

|
Boss Battle: Dry Bones |

|
Warp Jar |

|
Bright Room Junction 2 |

|
Scaredy Rat Race |

|
Bright Room Junction 3 | ||

|
Toad Checkpoint | ||

|
Garden Junction | ||

|
Gate “6” | ||

|
Boss Battle: King Boo | ||
| Space Breakdown | |||

|
Green Spaces (12)
|

|
Spin Spaces (10) |

|
Dice Block Spaces (52)
|

|
Captain Event Spaces (1) |

|
Lucky Spaces (5)
|

|
Boss Battle Spaces (2) |

|
Event Spaces (6)
|

|
Free-for-All Minigame Spaces (8) |

|
Shuffle Spaces (6)
|

|
1-vs.-Rivals Minigame Spaces (3) |

|
Dash Spaces (7)
|

|
Bowser Jr. Minigame Spaces (2) |

|
Back Spaces (5)
|
|
|
| Mini Stars and Ztars | |||

|
Mini Stars (76) |

|
Mini Ztars (13) |
Board Overview
Easily the most imposing board in Mario Party 9, Boo’s Horror Castle brims with mischief and mystery.
This isn’t exactly the kind of place you’d want to vacation at, but nothing will stop a true superstar from collecting all those lost Mini Stars!
Boo’s Horror Castle is a large board with lots of secret rooms and unusual towers to explore. As you brave this menacing manor’s creaky corridors, Boos will often pop out of oily portraits to scare the living daylights out of you.
If a Boo manages to catch you, it’ll snatch away half of your hard-earned Mini Stars! Fortunately, Boo’s Horror Castle sports a few well-lit rooms where Boos can’t venture.
Special warp jars are also located around the castle, and these can suck you up and spit you out in unexpected locations!
Due to its size and fickle nature, Boo’s Horror Castle isn’t the best board to play if you’re trying to score lots of Mini Stars—but you can’t beat that creepy atmosphere!
Boo’s Horror Castle Tour
Toad House
|
|
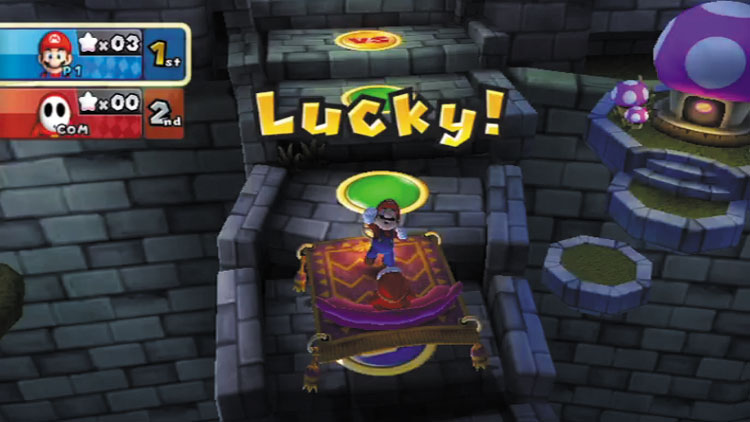
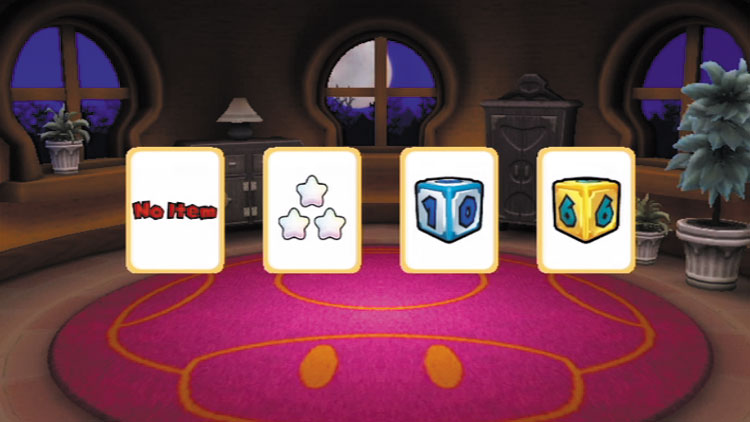
These Toads aren’t afraid of anything!
Boo’s Horror Castle certainly is a scary place, but there are a few brave souls about—namely, Toads! Landing on certain Lucky Spaces around the castle lets you pop in and visit with a sociable Toad inside his abode.
The Toad will show you four cards. Keep an eye on the one whose item you want the most and watch as the cards are shuffled around. Can you remember which one is which?
Boo Portrait
|
|
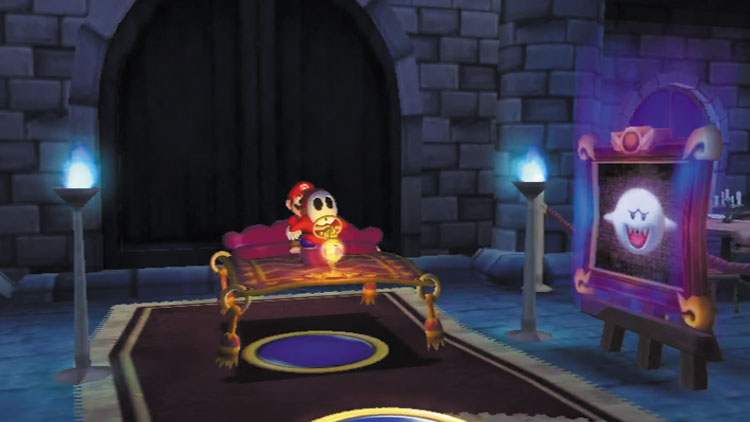
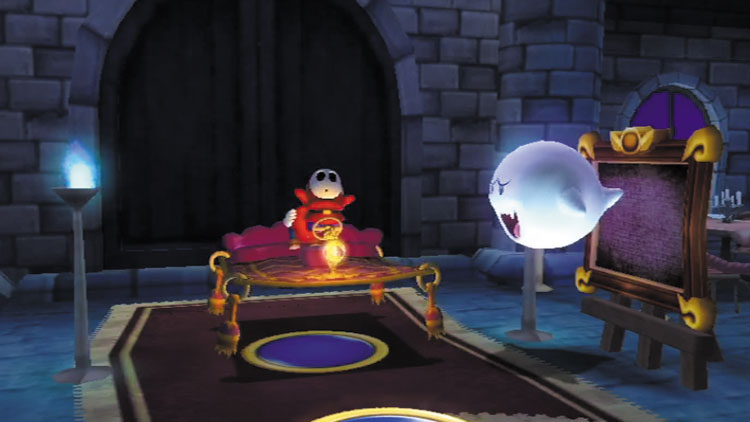
Boo-hoo! There go all those Mini Stars!
Ever get the feeling that an old painting might be watching you? Well, at Boo’s Horror Castle, they really are!
Passing by one of the many Boo portraits around the manor causes a creepy Boo to materialize behind you.
Boos move three spaces each turn, and they’ll steal away half of the current captain’s Mini Stars if they manage to catch up!
Use special Dice Blocks such as the Slow Dice Block, 1-10 Dice Block, and 4-5-6 Dice Block to help you keep ahead of these greedy ghosts.
Bright Room Junction 1
|
|
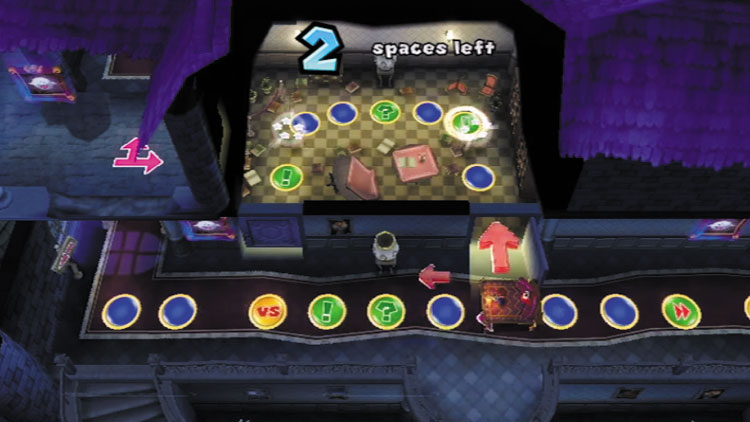
It’s a well-known fact that Boos don’t like the light. If you fear a Boo is about to catch you, try ducking into a well-lit room such as this one here.
This slight detour is also profitable, because there are several Mini Stars to grab inside!
Warp Jar
|
|
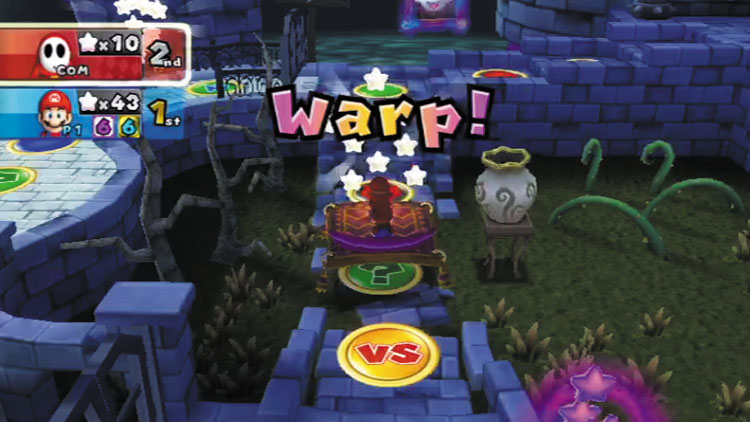
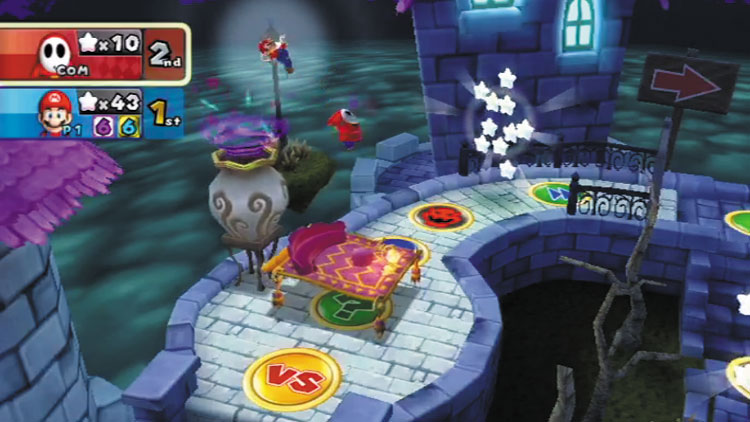
This castle is really warped!
Landing on the various Event Spaces around Boo’s Horror Castle causes your whole vehicle to be sucked into a nearby vase. Wild!
You then materialize out of another nearby vase, none the worse for wear. These unique warp jars can help you avoid pursuing Boos and cause you to cut around the castle in interesting ways.
Bright Room Junction 2
|
|
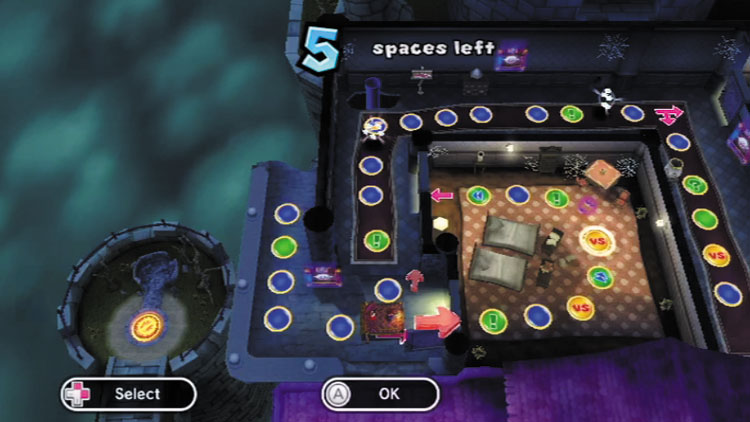
You’ve another chance to give pursuing Boos the slip by entering this second illuminated chamber. Careful, though: sinister Mini Ztars are floating around in there!
Mini Star Warp Pipe
|
|
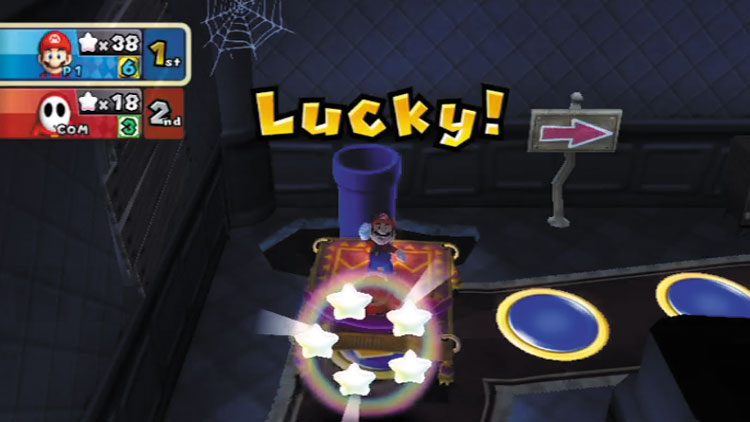
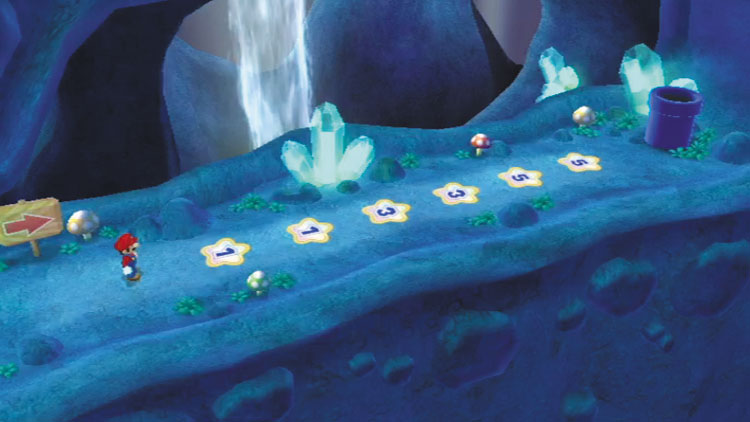
Nothing wrong with this old castle’s plumbing!
Once you reach the upper floors of Boo’s Horror Castle, you begin to see Lucky Spaces that lie beside blue warp pipes. Land on one of these special spaces to take a familiar trip to a secret cavern that’s filled with Mini Star Spaces!
Bright Room Junction 3
|
|
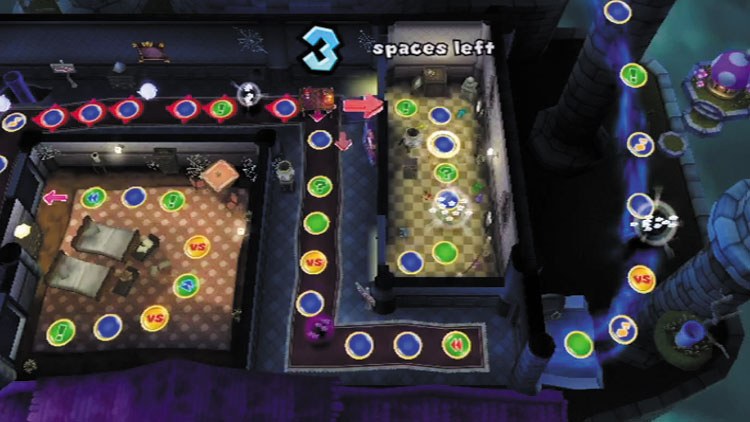
What’s this? Another bright room! And just look at all the Mini Stars in there! Take a trip through this small chamber if you like, but only if it won’t set your rivals up to collect those floating sparklies.
Scaredy Rat Race
|
|
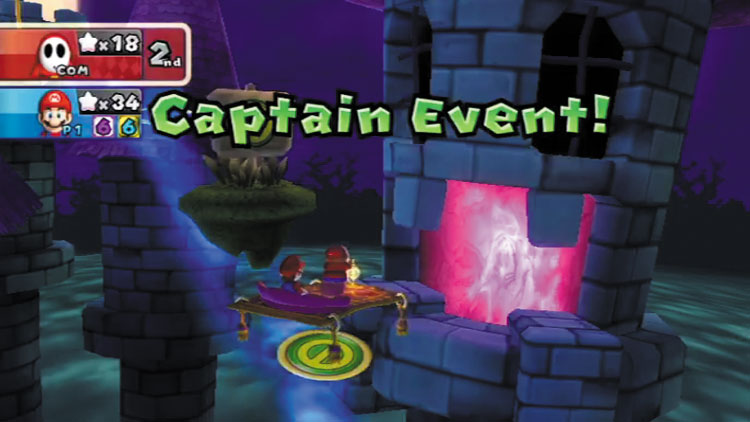
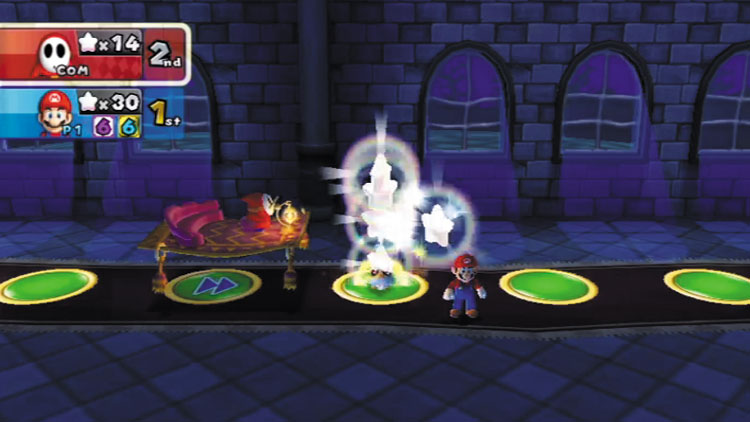
Take that, you dirty rat!
As you near the castle’s apex, a mysterious tower catches your eye. Drifting inside is a devious Scaredy Rat that suddenly takes off with some of each player’s Mini Stars!
The Scaredy Rat races down the long hall by rolling a 1-2-3 Dice Block, while each player gets to roll a normal Dice Block in pursuit.
The captain determines the turn order for the players, and the Scaredy Rat moves after each player’s roll. Whoever catches the Scaredy Rat gets to keep all of the Mini Stars that were stolen!
Toad Checkpoint
|
|
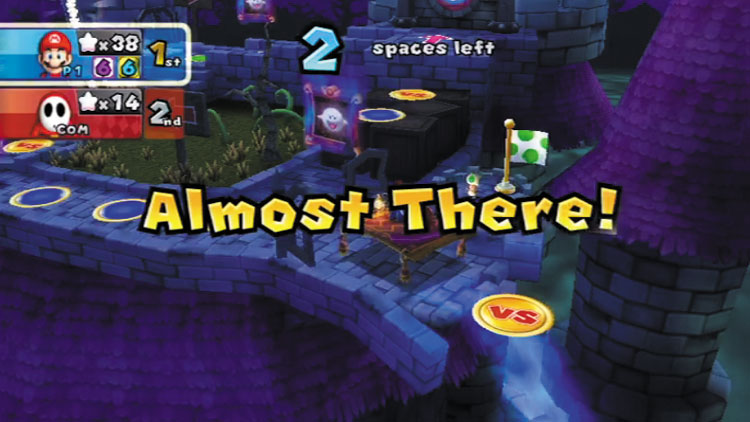
Upon reaching the garden found atop Boo’s Horror Castle, you’re suddenly called by a spectating Toad. The little guy hands a precious Slow Dice Block to the player with the fewest amount of Mini Stars, giving that player a chance to rebound from the brink of defeat!
However, Bowser also appears when you reach this quiet site and uses his vile powers to transform a bunch of upcoming spaces into hazardous Bowser Spaces. Looks like things are about to get pretty interesting up here!
Garden Junction
|
|
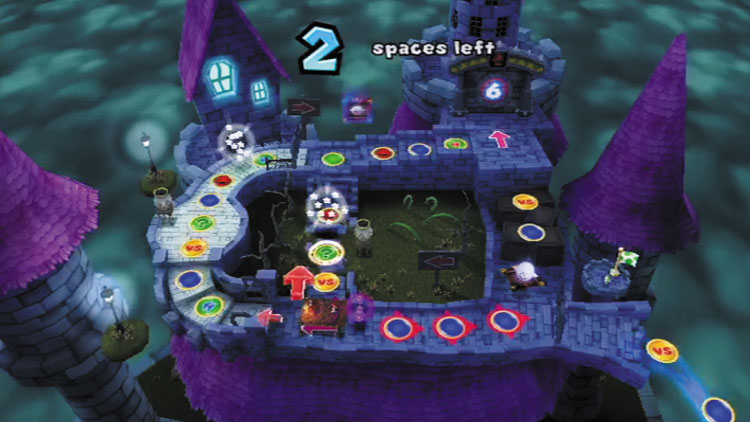
You’re close to the end, my friend, but which way should you go? Cutting upward quickly leads you toward the final showdown against the castle’s big boss, while continuing along to the left will have you taking the scenic route.
Both paths feature equal numbers of Mini Stars, so simply consider the turn order when making your decision and how many spaces you’ve left to move.
Gate “6”
|
|
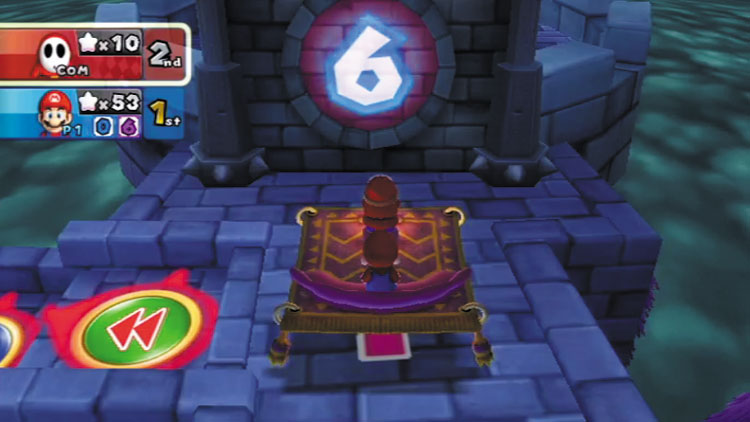
Oh no! The Bowser Gate has been sealed off, and only the roll of the Dice Block can get you past! You can’t advance to the final battle until one player manages to roll a six on a normal Dice Block.
Failing to roll a six forces you to loop around the garden again, but the next time you reach the gate, you’ll only need to roll a four or higher to get past.
Miss this again, and you’ll need to make another trek through the garden, but the gate will only require you to roll a two or higher from this point forward.