
Mario Party 9 Guide Walkthrough Game Boards
Blooper Beach
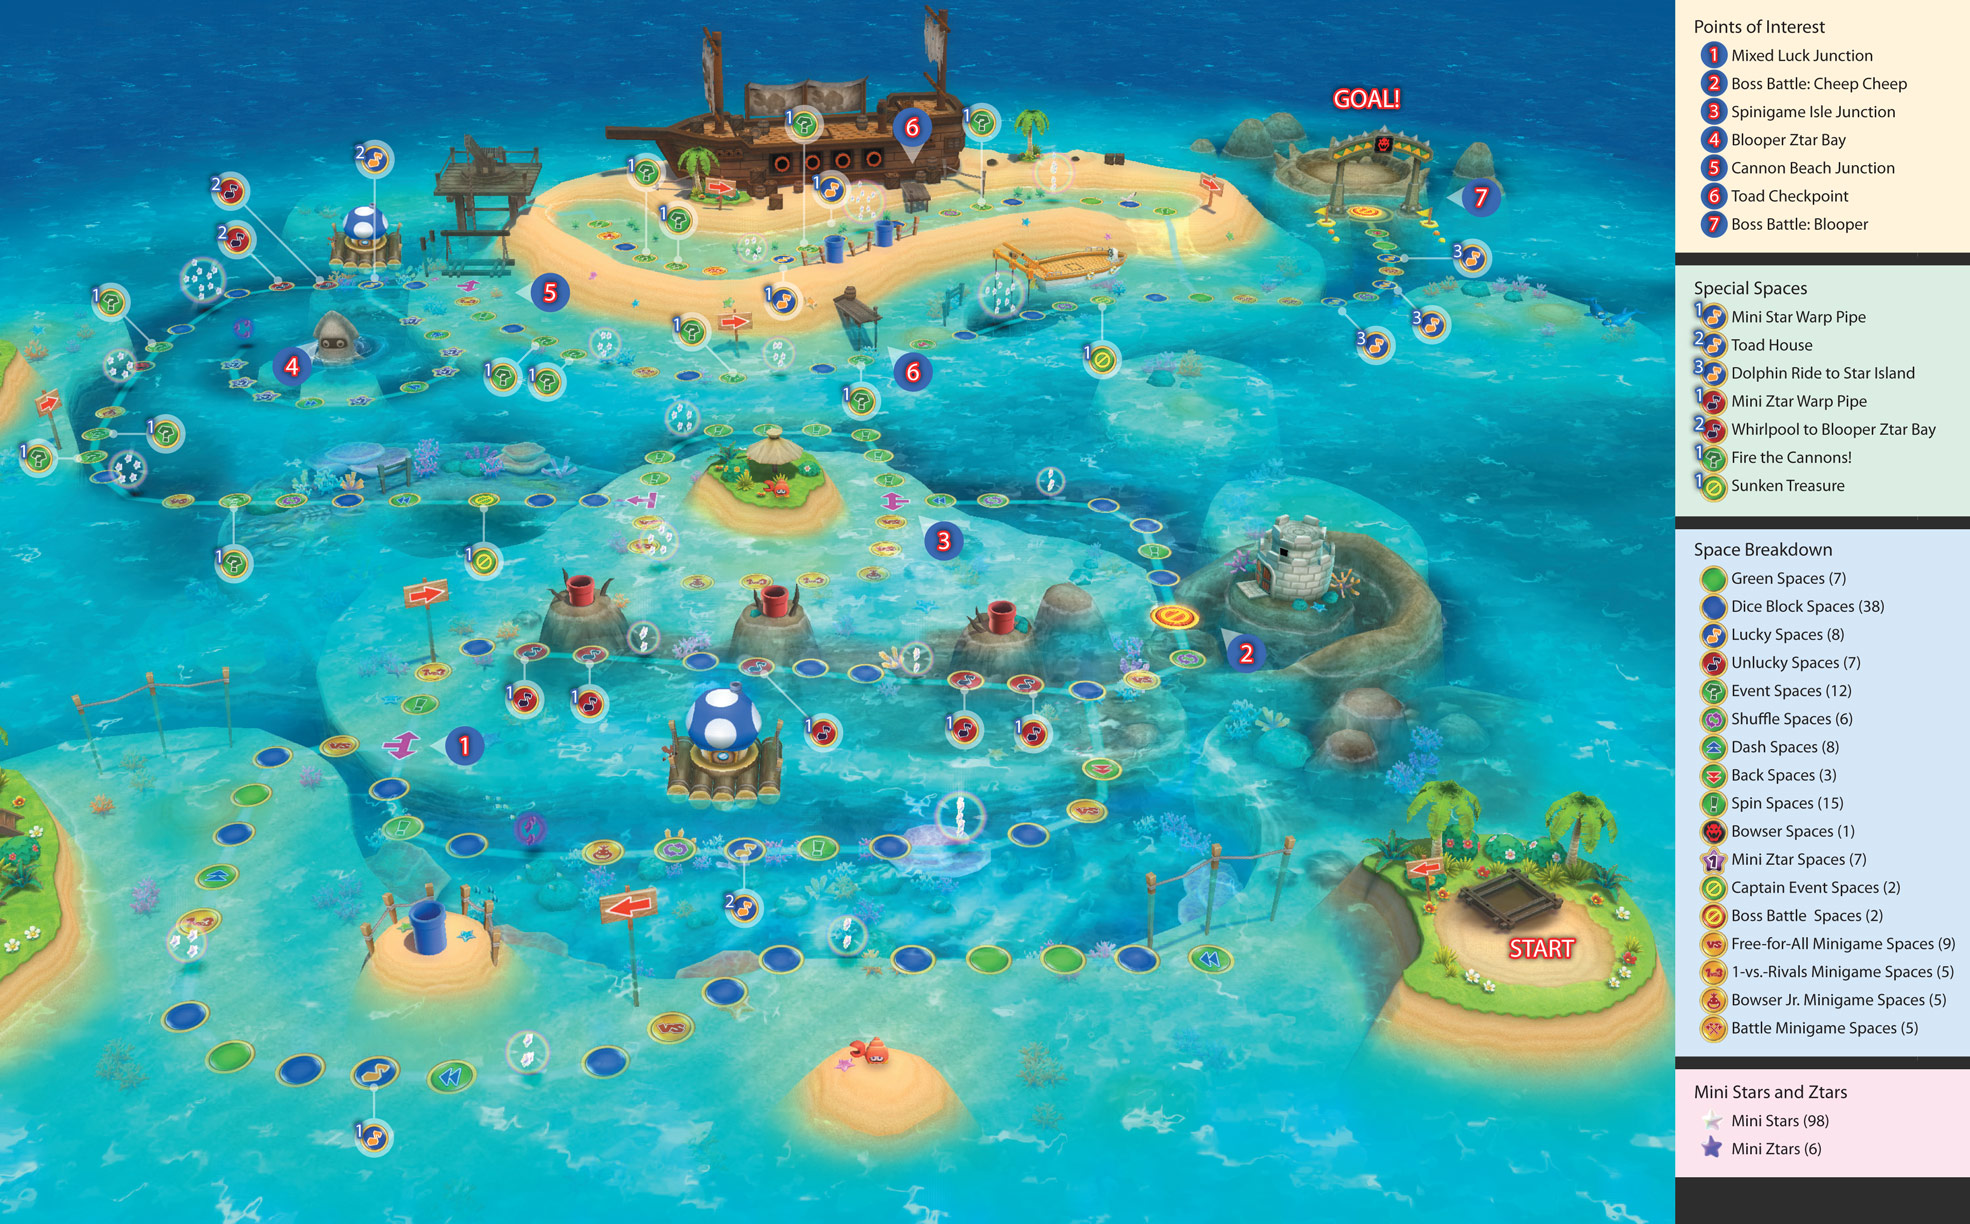
| Points of Interest | Special Spaces | ||

|
Mixed Luck Junction |

|
Mini Star Warp Pipe
|

|
Boss Battle: Cheep Cheep |

|
Toad House |

|
Spinigame Isle Junction |

|
Dolphin Ride to Star Island
|

|
Blooper Ztar Bay
|

|
Mini Ztar Warp Pipe |

|
Cannon Beach Junction |

|
Whirlpool to Blooper Ztar Bay |

|
Toad Checkpoint
|

|
Fire the Cannons!
|

|
Boss Battle: Blooper |

|
Sunken Treasure |
| Space Breakdown | |||

|
Green Spaces (7)
|

|
Bowser Spaces (1) |

|
Dice Block Spaces (38) |

|
Mini Ztar Spaces (7) |

|
Lucky Spaces (8) |

|
Captain Event Spaces (2) |

|
Unlucky Spaces (7) |

|
Boss Battle Spaces (2) |

|
Event Spaces (12) |

|
Free-for-All Minigame Spaces (9) |

|
Shuffle Spaces (6) |

|
1-vs.-Rivals Minigame Spaces (5) |

|
Dash Spaces (8) |

|
Bowser Jr. Minigame Spaces (5) |

|
Back Spaces (3) |

|
Battle Minigame Spaces (5) |

|
Spin Spaces (15) | ||
| Mini Stars and Ztars | |||

|
Mini Stars (98) |

|
Mini Ztars (6) |
Board Overview
Welcome to Blooper Beach—a sandy tropical paradise with all sorts of surprises in store! Enjoy the life aquatic as you take a wet and wild ride around this scenic summery locale.
Bask in the midday sun as you decide which watery way you wish to go. Blooper Beach is a large board with lots of junctions and special spaces, allowing for plenty of variety between different games.
Though the winding path is long, several Dash Spaces and a high volume of Dice Block Spaces help to speed things up.
This board boasts two Captain Event spaces instead of only one, and there’s a very special Lucky Space area near the end that will have you stuffing your pockets full of Mini Stars.
Cruise the briny blue on your way to the final showdown against none other than Blooper himself!
Blooper Beach Tour
Mini Star Warp Pipe
|
|
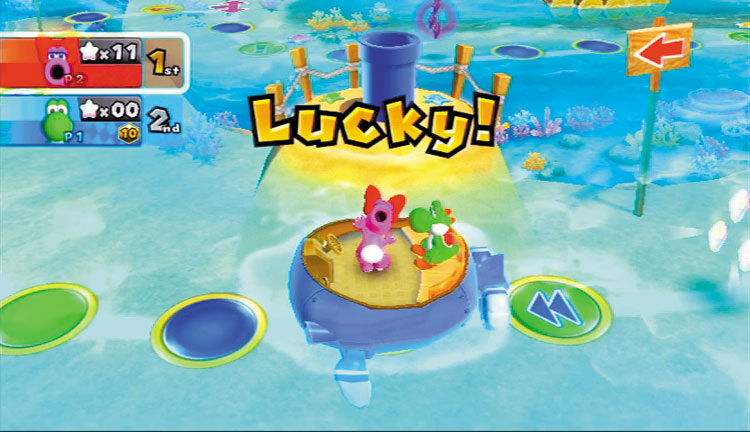
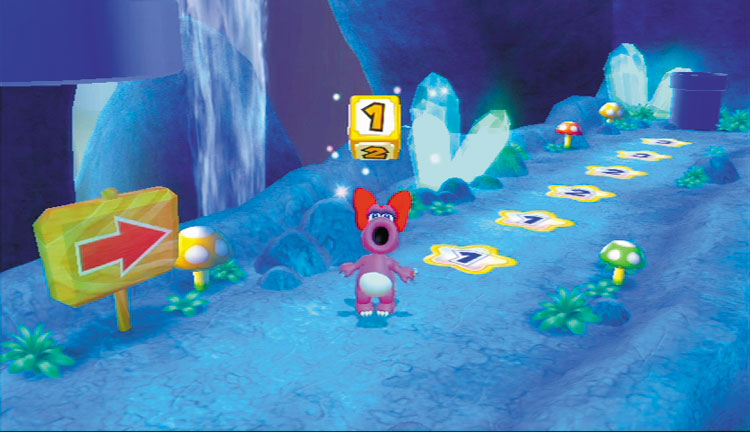
Mini Stars? Yes, please!
You’ve seen plenty of these powder-blue warp pipes before. Land on these Lucky Spaces to take a journey deep underwater, where a row of secret Mini Star Spaces await!
Mixed Luck Junction
|
|
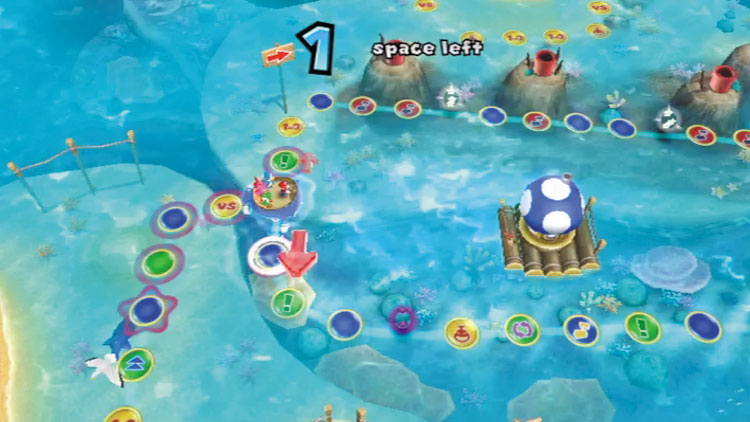
This first junction is a doozy. Going north gives you a chance to score some Mini Stars, but you must also beware the many Unlucky Spaces up there—you don’t want to land on them!
Heading south leads to a few Mini Ztars, but there’s also some Mini Stars and a Toad House. Consider how many moves you have left after passing the junction and plan your route accordingly.
Toad House
|
|
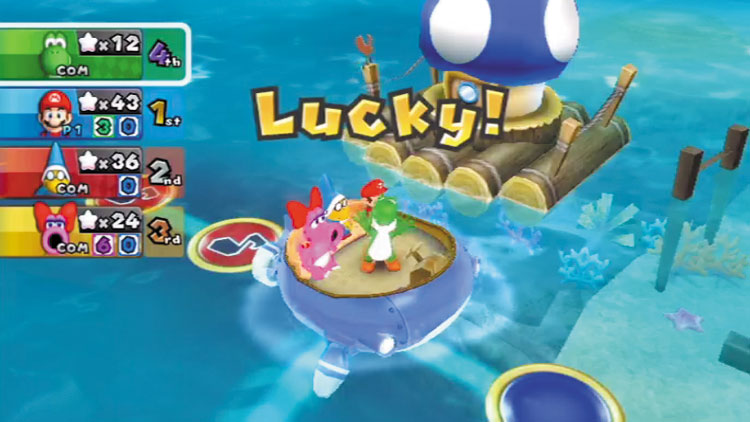
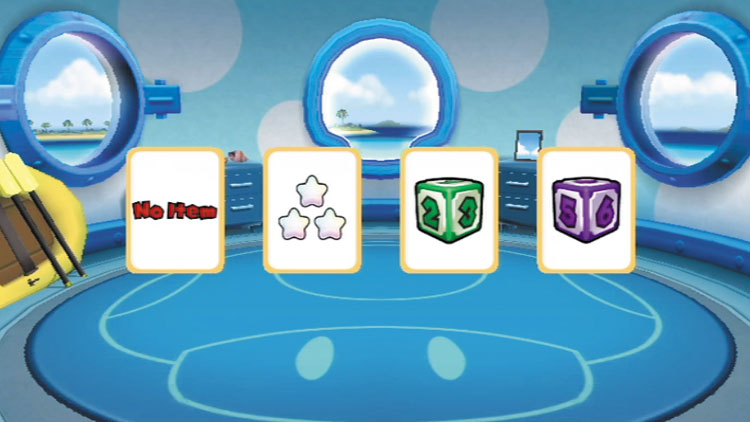
Pick a card, any card!
Going south at Mixed Luck Junction gives you a chance to land on a Lucky Space that sits right next to a Toad House. You know the drill: Watch those cards carefully while the Toad shuffles them up and flip over the ones you want most!
Mini Ztar Warp Pipe
|
|
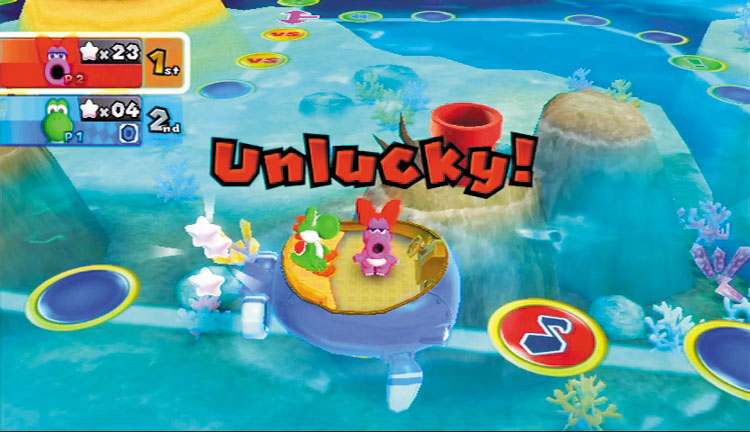
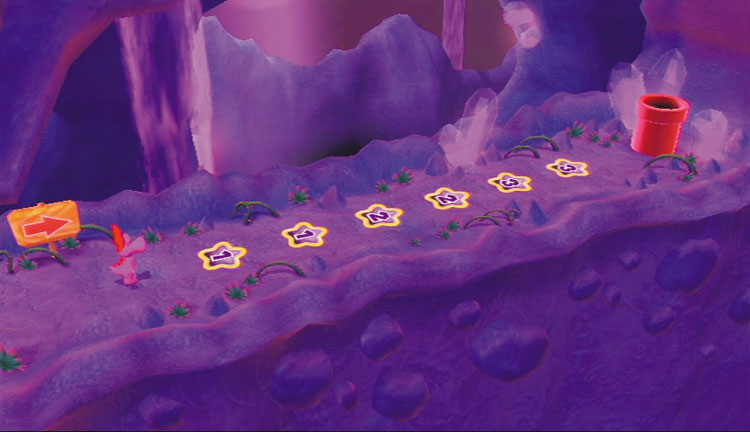
Uh-oh, I’m seeing Ztars!
On the other hand, heading north at Mixed Luck Junction can land you on one of several Unlucky Spaces. Each of these will drop you down a red warp pipe and land you inside a watery cavern filled with Mini Ztar Spaces! A low roll means damage control.
Spinigame Isle Junction
|
|
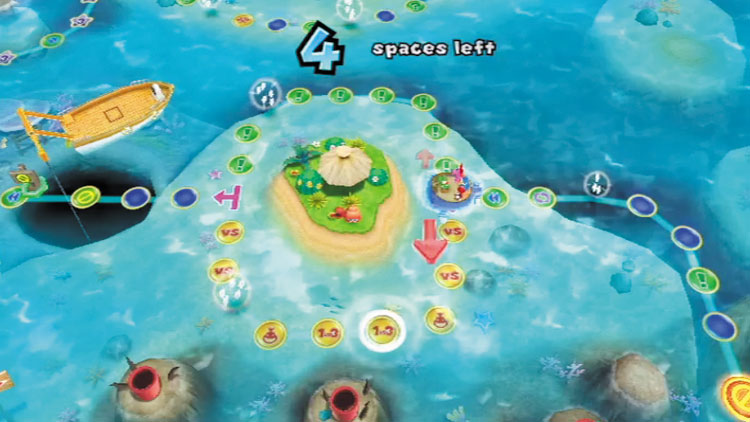
Another important choice awaits you at this second junction. Going north ensures you’ll land on one of the many Spin Spaces, the results of which are always unpredictable (but usually beneficial).
Venturing south sends you along a stretch of minigame spaces, presenting opportunities to win some Mini Stars.
If you’re a fan of the random, the north route is for you. Masters of minigames should head south without delay!
Sunken Treasure
|
|
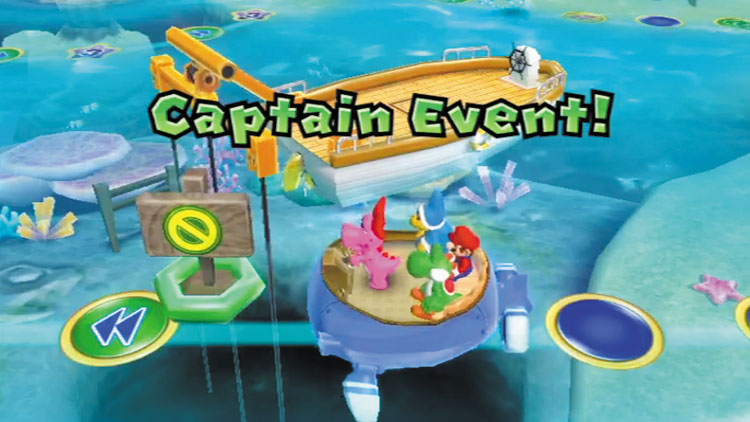
Going up!
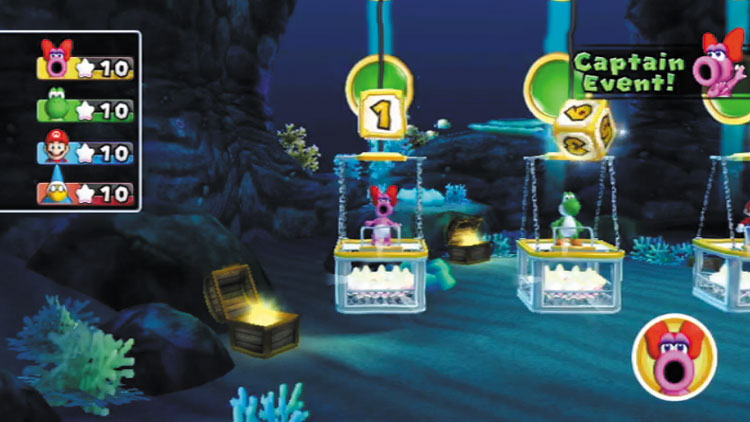
The action pauses when you reach this space—it’s time for a Captain Event! In this underwater adventure, all players hop aboard diving platforms and head beneath the blue in an effort to bring back Mini Stars to the surface.
Each player begins with a full load of Mini Stars and gets to roll a normal Dice Block, a 1-2-3 Dice Block, and a 4-5-6 Dice Block one time apiece as they struggle to surface with their loot.
The captain has the advantage of choosing the order in which the Dice Blocks are rolled!
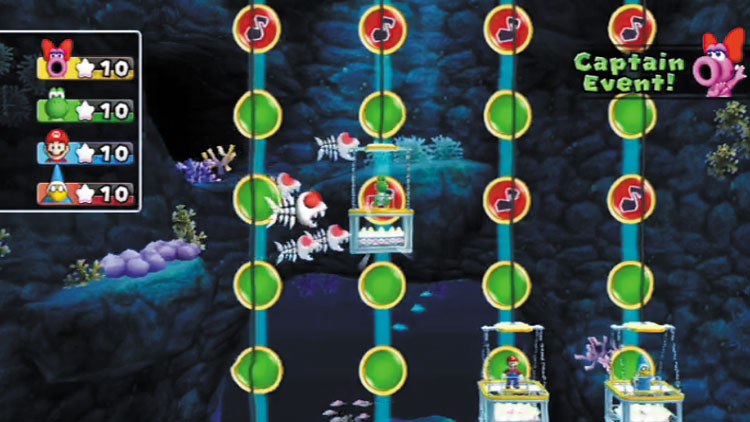
Simple enough, right? Not so fast! Landing on an Unlucky Space during your ascent causes a school of Fish Bones to steal five of your Mini Stars.
And that’s not all—you won’t get any Mini Stars if you fail to reach the surface with your three Dice Block rolls. You need serious luck to reach fresh air with all of your loot intact!
Fire the Cannons!
|
|
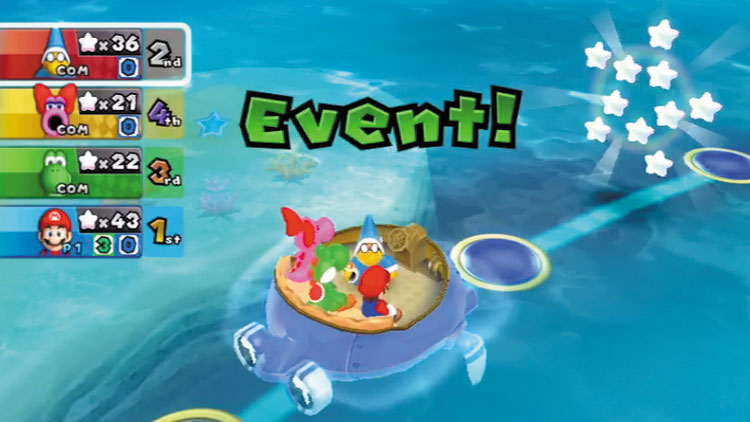
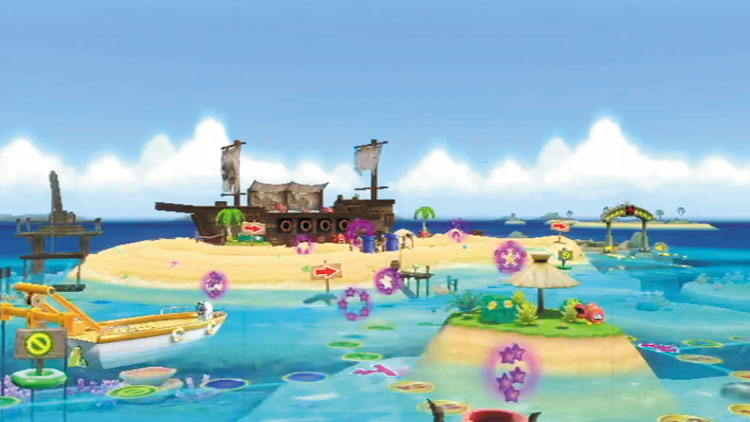
Yowzers! What happened to all the Mini Stars?!
Once you’re past the first Captain Event Space, you’ll start seeing loads of regular Event Spaces.
Landing on any of these Event Spaces causes the cannons of the north ship to fire and strike all of the Mini Stars around the board, changing them all into Mini Ztars!
This can really mess up everyone’s day, but not to worry: Landing on another Event Space will cause the cannons to unload again, transforming all those Mini Ztars back to Mini Stars once more.
Whirlpool to Blooper Ztar Bay
|
|
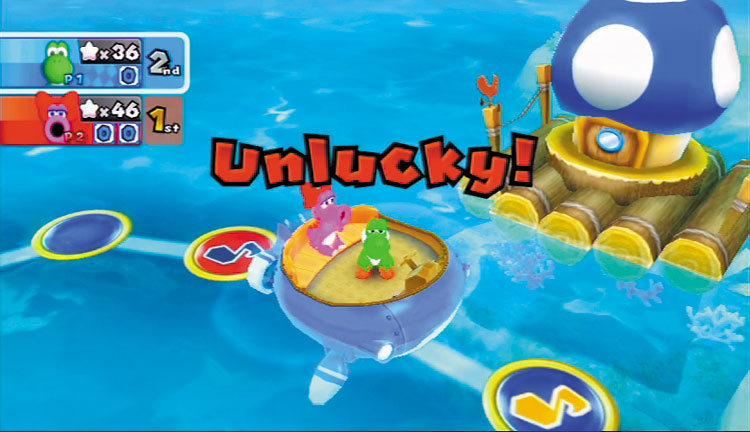
These two Unlucky Spaces lie just before the board’s final junction near Cannon Beach. Landing on either Unlucky Space diverts you to the nearby Blooper Ztar Bay—a nasty little place that you won’t find in the travel brochures! See the next section for details.
Blooper Ztar Bay
|
|
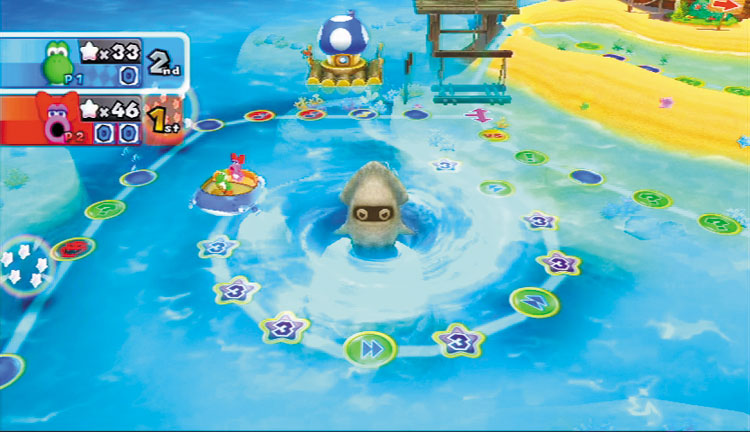
This small area isn’t much fun to visit, so do your best to avoid landing on the two Unlucky Spaces that lie before the Cannon Beach Junction.
Landing on either of those Unlucky Spaces sends you to this small area, where a string of Mini Ztar Spaces lurk, just hoping to steal away some of your precious Mini Stars.
If possible, use a special brand of Dice Block in an effort to land on a Dash Space here and escape this unlucky spot.
Cannon Beach Junction
|
|
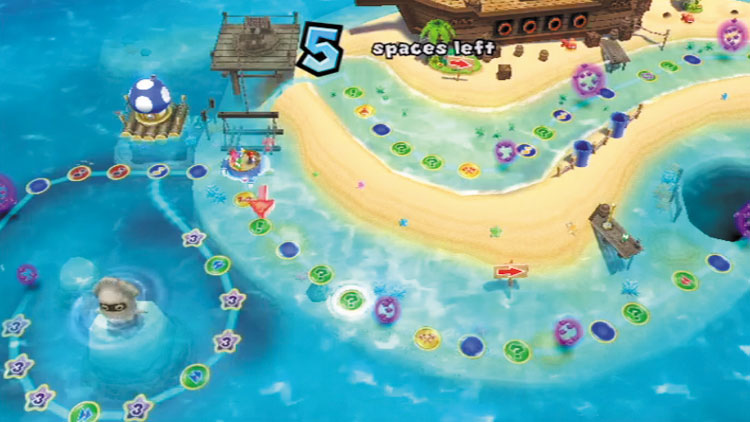
What’s this, another junction? Let’s see, you can travel along the north shore for a chance to hit some Lucky Spaces that lead to Mini Star warp pipes, or you can venture south to work your way toward another Sunken Treasure Captain Event. Decisions, decisions!
Toad Checkpoint
|
|
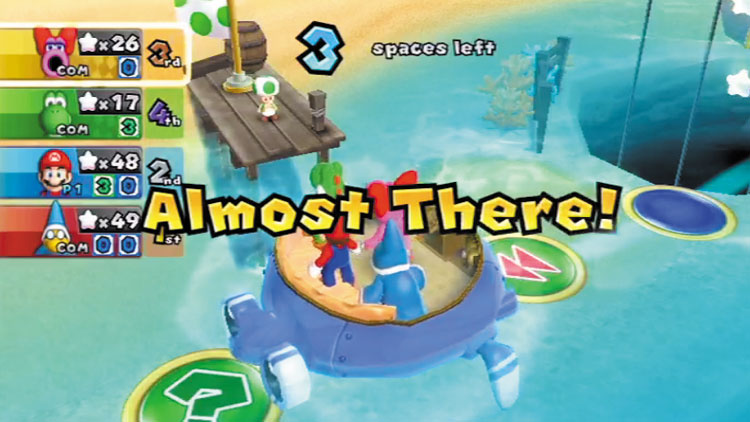
No matter which route you take at the Cannon Beach Junction, a friendly Toad will call out to you when you near his little pier. As always, the Toad will hand the player with the fewest Mini Stars a valuable Slow Dice Block that will help the underdog improve their standing down the homestretch.
Dolphin Ride to Star Island
|
|
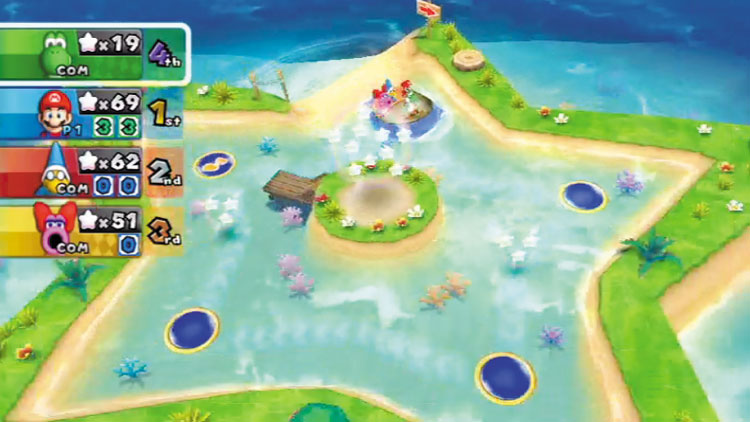
Hooray for Mini Stars!
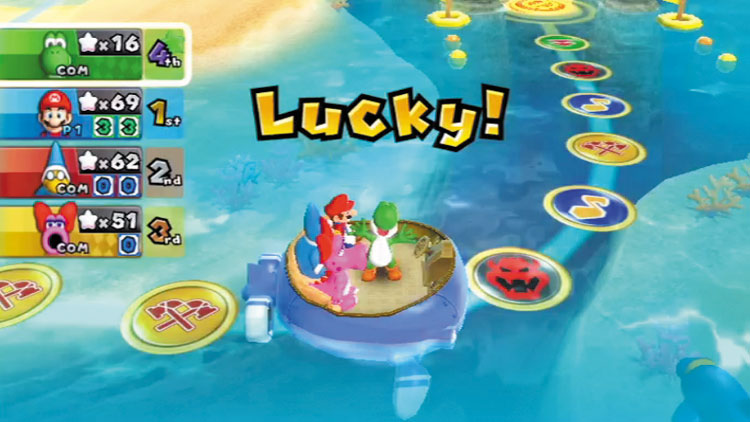
Let’s hope your luck lands you on one of the three Lucky Spaces along Blooper Beach’s final bend.
Landing on any of these Lucky Spaces causes friendly dolphins to lead you toward a secret isle that’s home to loads of sparkly Mini Stars.
You aren’t allowed to leave this tiny isle until you land on the Lucky Space that scores you the big bunch of Mini Stars at the isle’s center, and it’s easy to pocket absurd amounts of Mini Stars in the process.
The lone Dash Space and numerous Dice Block Spaces here can also help you land right where you want to. See how many laps you can complete around this isolated isle!