
PRAETOR SUIT
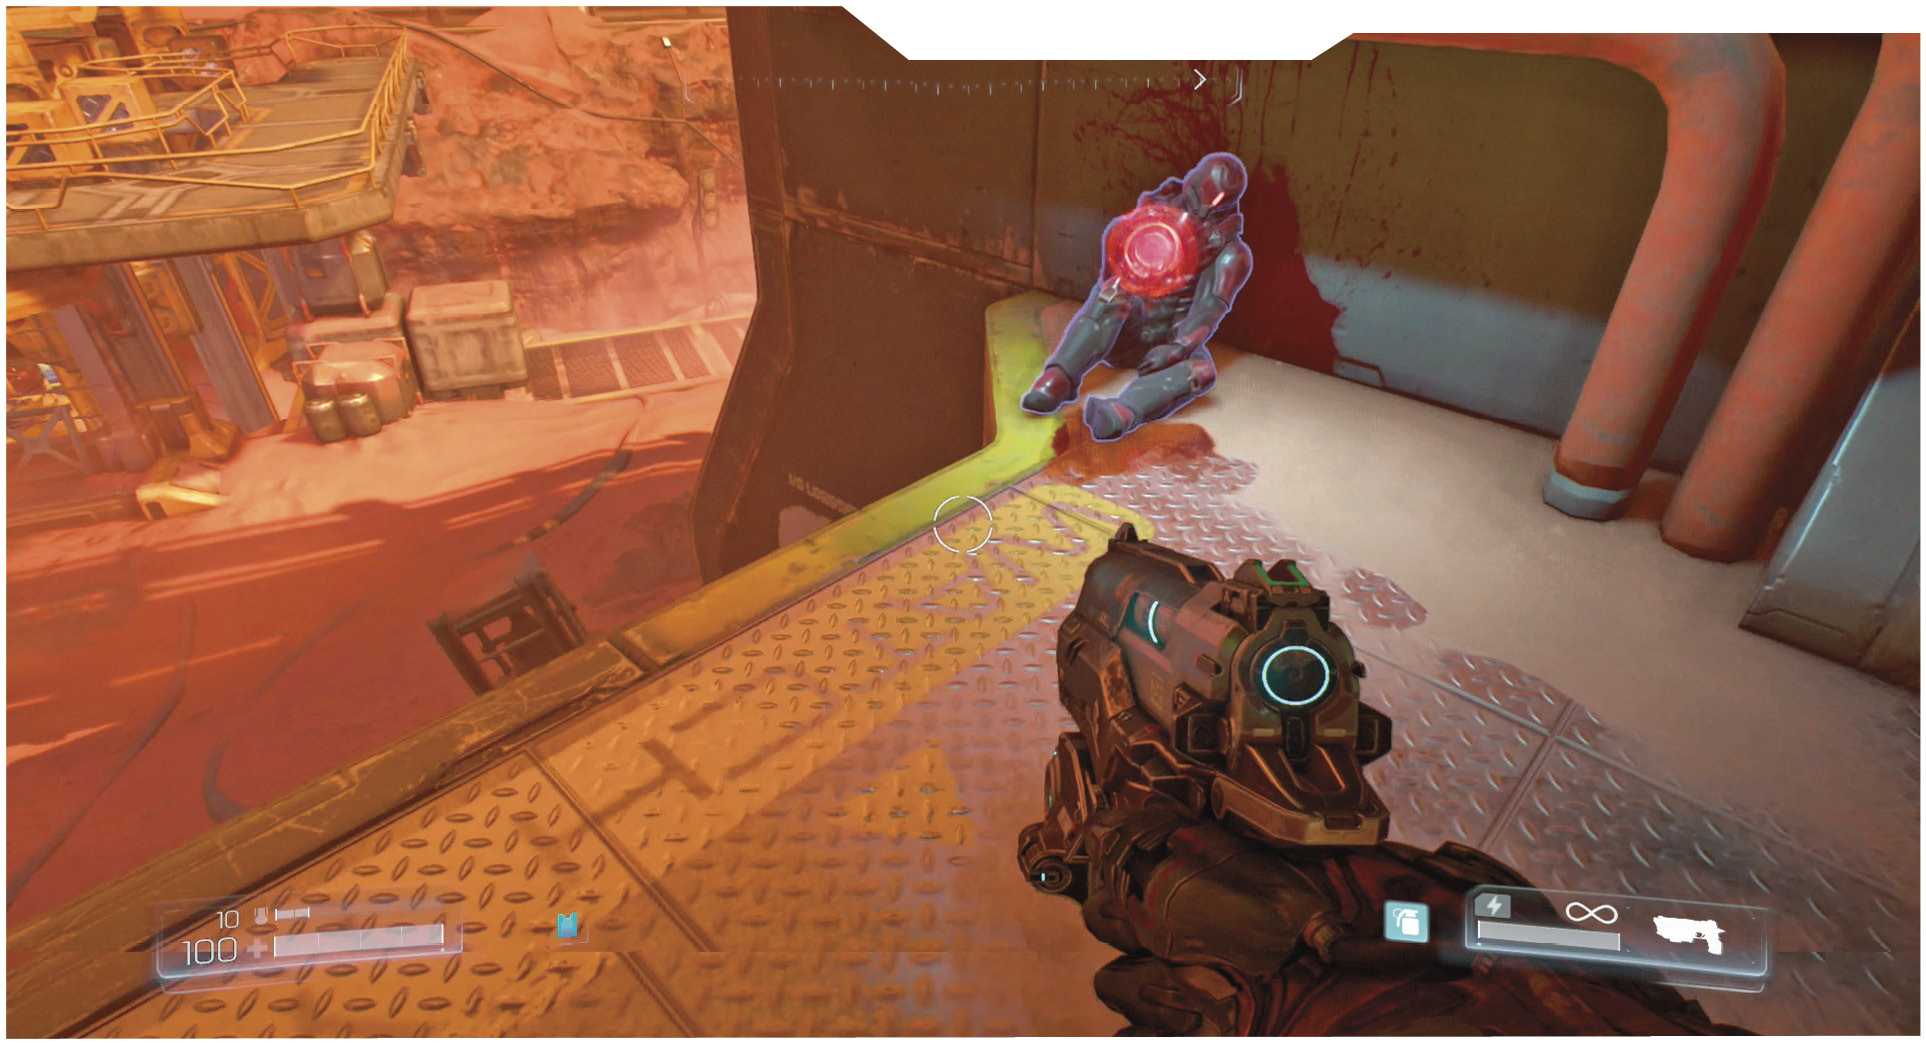
In all but the final mission of DOOM, corpses of Elite Guards lay around the environment. Look for these red-armored soldiers and interact with them to collect a Praetor Token from each one. These are used to upgrade your Praetor Suit in one of five categories.
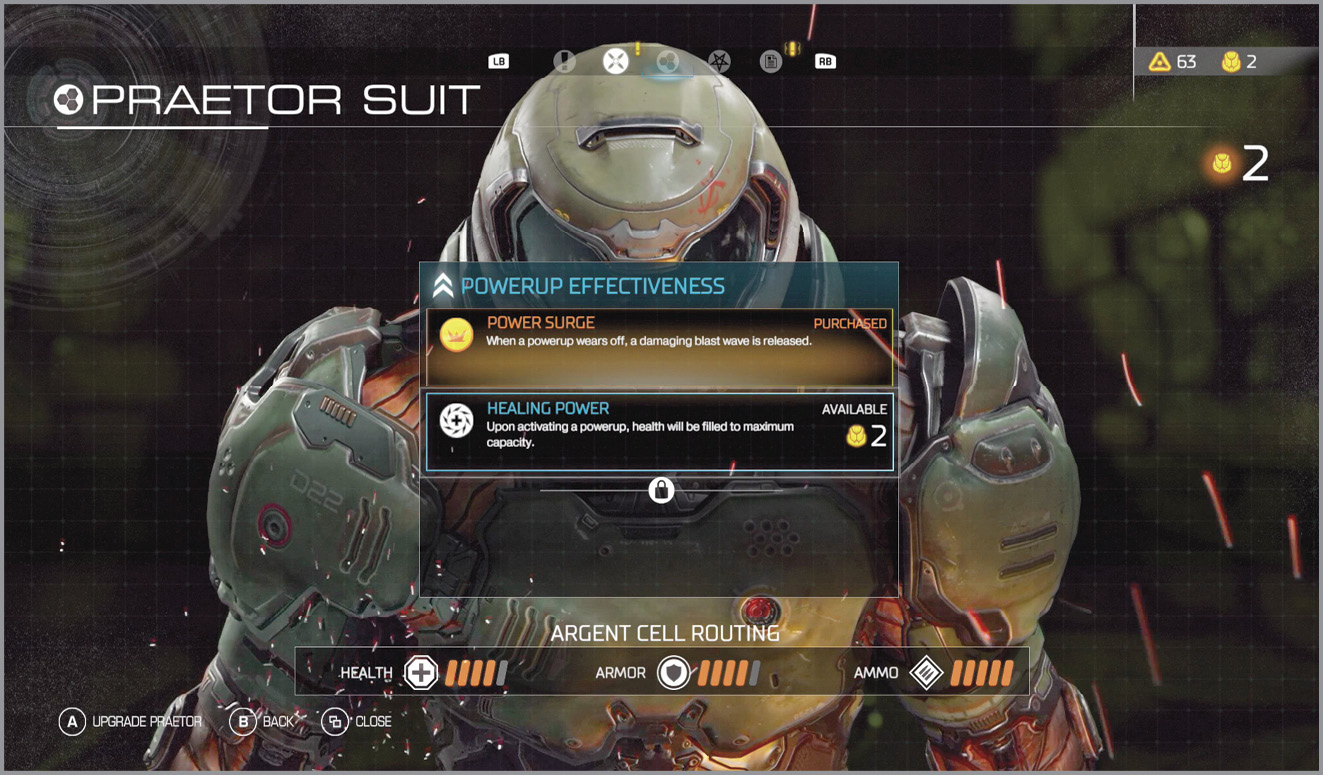
Accessing the Praetor Suit tab in your Dossier allows you to upgrade a variety of its capabilities. Here, you can spend the tokens and view requirements to unlock the remaining categories. Where you spend your points depends on your play style. In this chapter, we reveal how to unlock the upgrades, providing descriptions and cost for each. Note that these upgrades must be purchased in order.
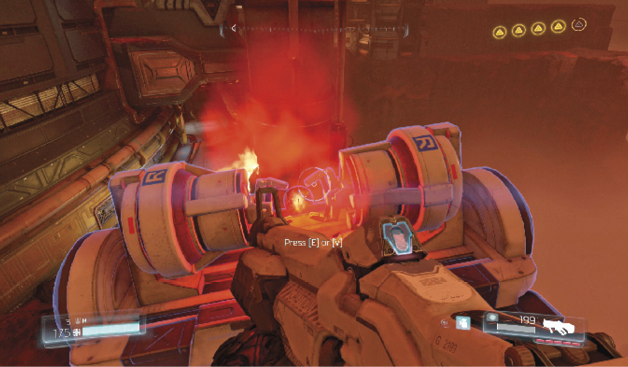
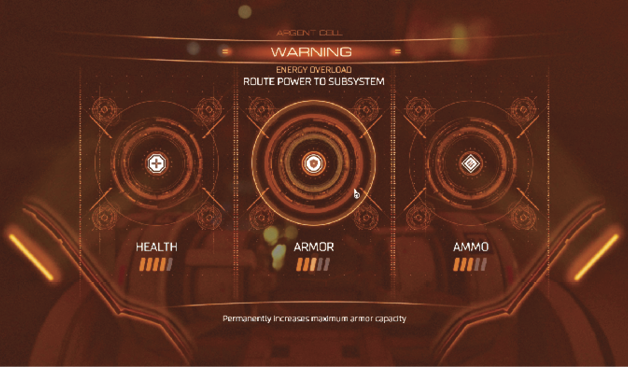
The Praetor Suit can also be improved by finding Argent Cells. These white containers open up to reveal the cell. The energy from this item is then rerouted to increase your maximum Health, Armor, or Ammo. Refer to our Campaign Walkthrough for locations of these valuable caches.
Upgrades
Environmental Resistance
Unlocked: Find the Praetor Suit.
 These upgrades improve resistance to environment and explosive damage. If you like those explosive barrels, but keep hurting yourself, then focus on this category first. Barrels O’ Fun is especially good, allowing you to hit the explosives point blank while only damaging nearby enemies.
| icon | Upgrade | Description | Cost (Tokens) |
|---|---|---|---|

|
Hazard Protection | Decrease explosive barrel and environment damage taken. | 1 |

|
Self Preservation | Decrease weapon self-damage. | 2 |

|
Barrels O’ Fun | Immune to explosive barrel damage. | 3 |
Area-Scanning Technology
Unlocked: Use an AutoMap Station to unlock these upgrades.
 These upgrades improve the capabilities of Navigation Systems. If finding the Exploration items is important to you, then Area-Scanning is the way to go. Max out this category and the items appear in the AutoMap automatically.
| icon | Upgrade | Description | Cost (Tokens) |
|---|---|---|---|

|
Item Awareness | The AutoMap reveals Exploration items in a wider radius around your position. | 1 |

|
Secret Sense | The compass will pulse when near secret areas. | 2 |

|
Full View | Exploration items appear in the AutoMap automatically. | 3 |
Equipment System
Unlocked: Pick up an Equipment item to unlock these upgrades.
 These upgrades improve equipment capacity and recharge time. Frag Grenades, Siphon Grenades, and Holograms are useful tools when battling demons. They can wipe out groups of enemies, steal much needed health, and distract your foes. These upgrades make your equipment even more relevant, giving extra charges and less time between.
| icon | Upgrade | Description | Cost (Tokens) |
|---|---|---|---|

|
Quick Charge | Decrease the recharge duration for equipment. | 2 |

|
Stock Up | Increase total number of equipment charges. | 3 |

|
Rapid Charge | Further decrease recharge duration of equipment. | 4 |
Powerup Effectiveness
Unlocked: Use a powerup.
 These upgrades improve the effects of powerups. A Berserk powerup in Resource Operations is your first opportunity to use these powerful pickups. As you progress through the campaign, they become more prevalent and necessary in the big battlefields. These upgrades make the items even more useful, which is required for some of the later fights
| icon | Upgrade | Description | Cost (Tokens) |
|---|---|---|---|

|
Power Surge | When a powerup wears off, a damaging blast wave is released. | 1 |

|
Healing Power | Upon activating a powerup, health will be filled to maximum capacity. | 2 |

|
Power Extender | Increases the length of time that a powerup will remain active. | 3 |
Dexterity
Unlocked: Acquire 4 Weapons.
 These upgrades affect the speed of certain actions. They are possibly the most valuable in the heat of battle. The ability to switch between weapons and their modifications is huge when facing a big mix of demons. Quick Hands allows for quicker escape as you climb to safety.
| ICON | Upgrade | Description | Cost (Tokens) |
|---|---|---|---|

|
Adept | Switch weapons faster. | 2 |

|
Quick Hands | Grab ledges faster. | 3 |

|
Hot Swap | Swap weapon mods faster. | 4 |