
Heatwave
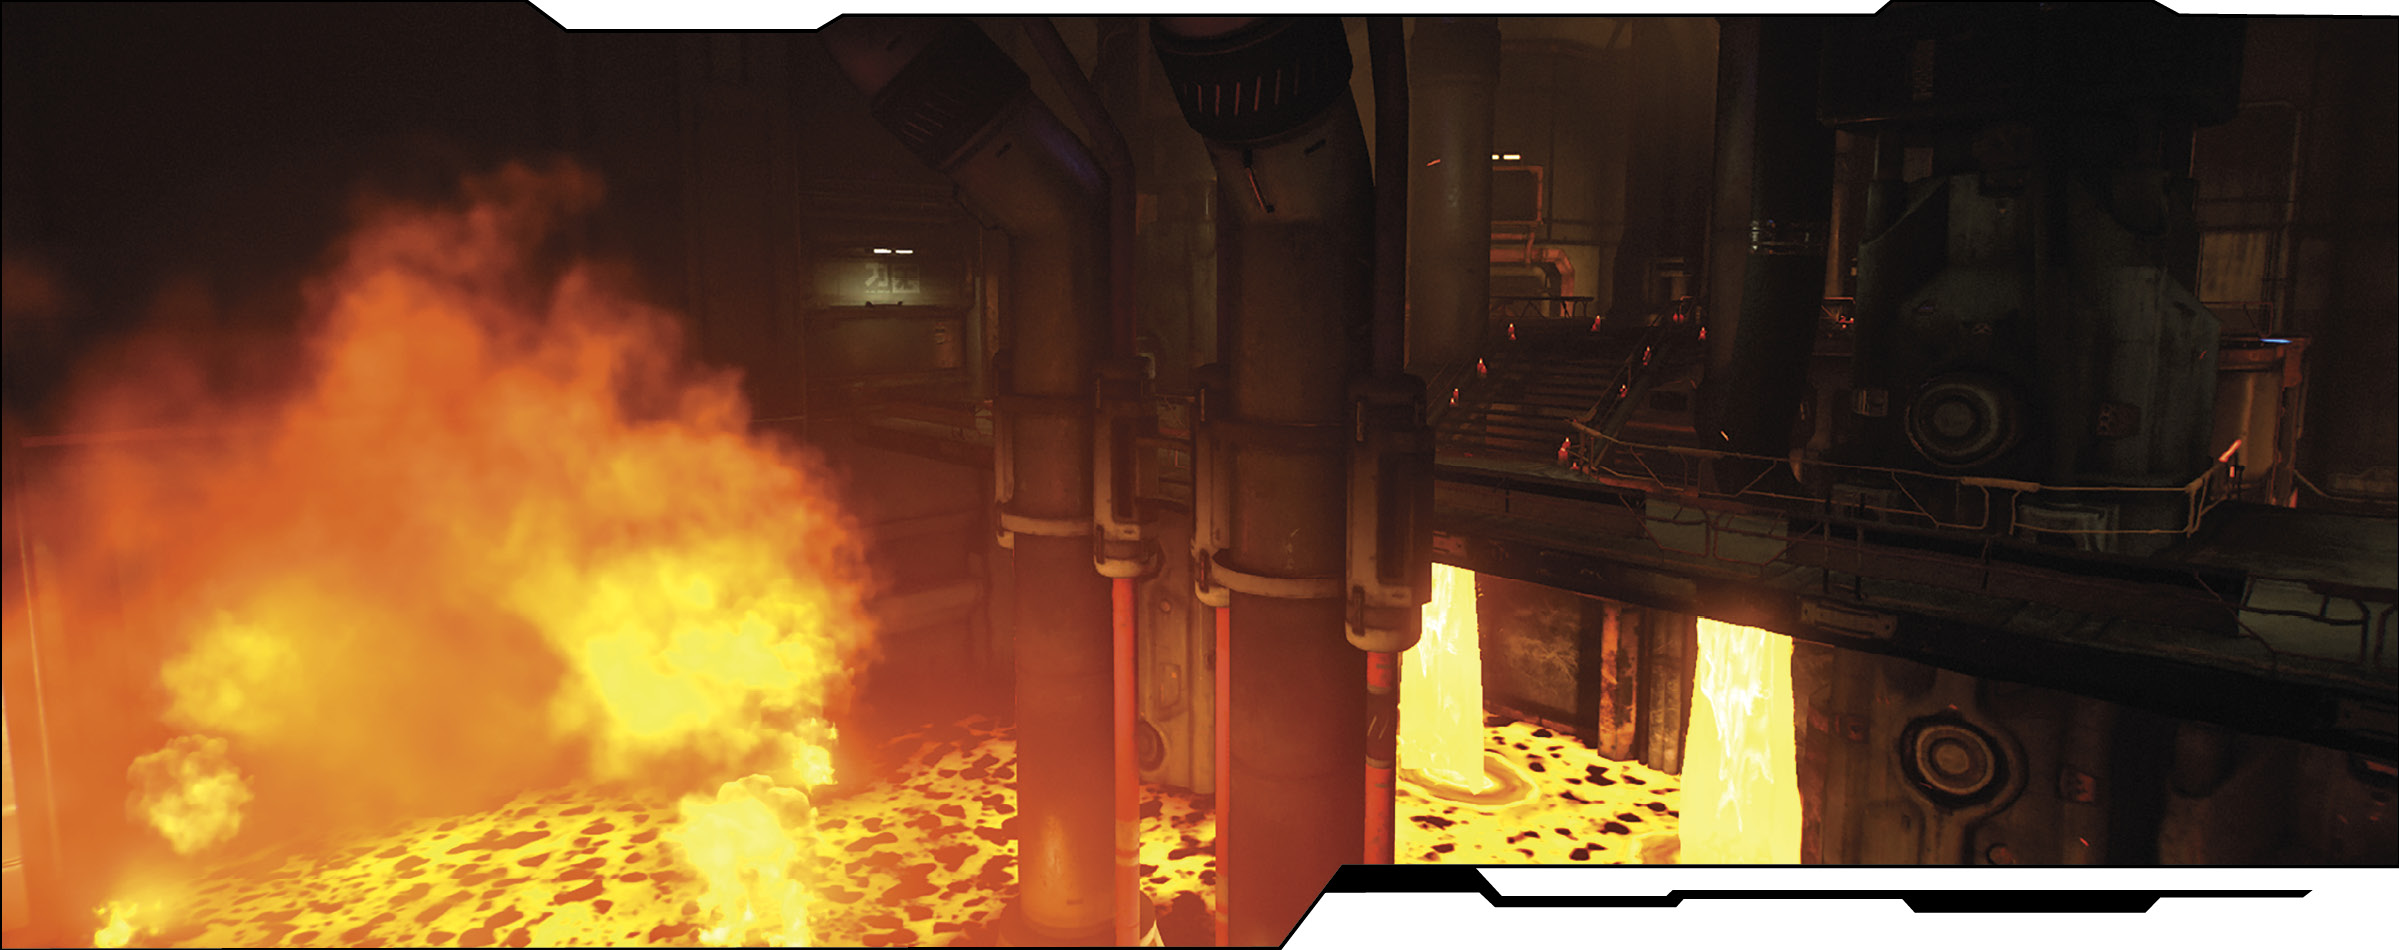
Return to the Foundry for an epic battle above pools of molten ore. Run, climb, and leap across narrow platforms and spacious gaps where one wrong move can be your last. Heatwave boasts a number of twisting, multi-level corridors and side areas that ring a larger central area filled with flowing—and cascading—molten death! Join the battle for supremacy in the center of the map or slip along the perimeter to catch your enemy by surprise.
Location Intel
Power Weapon: BFG
Powerup: Quad Damage, Invisibility
Suicide Risk: High
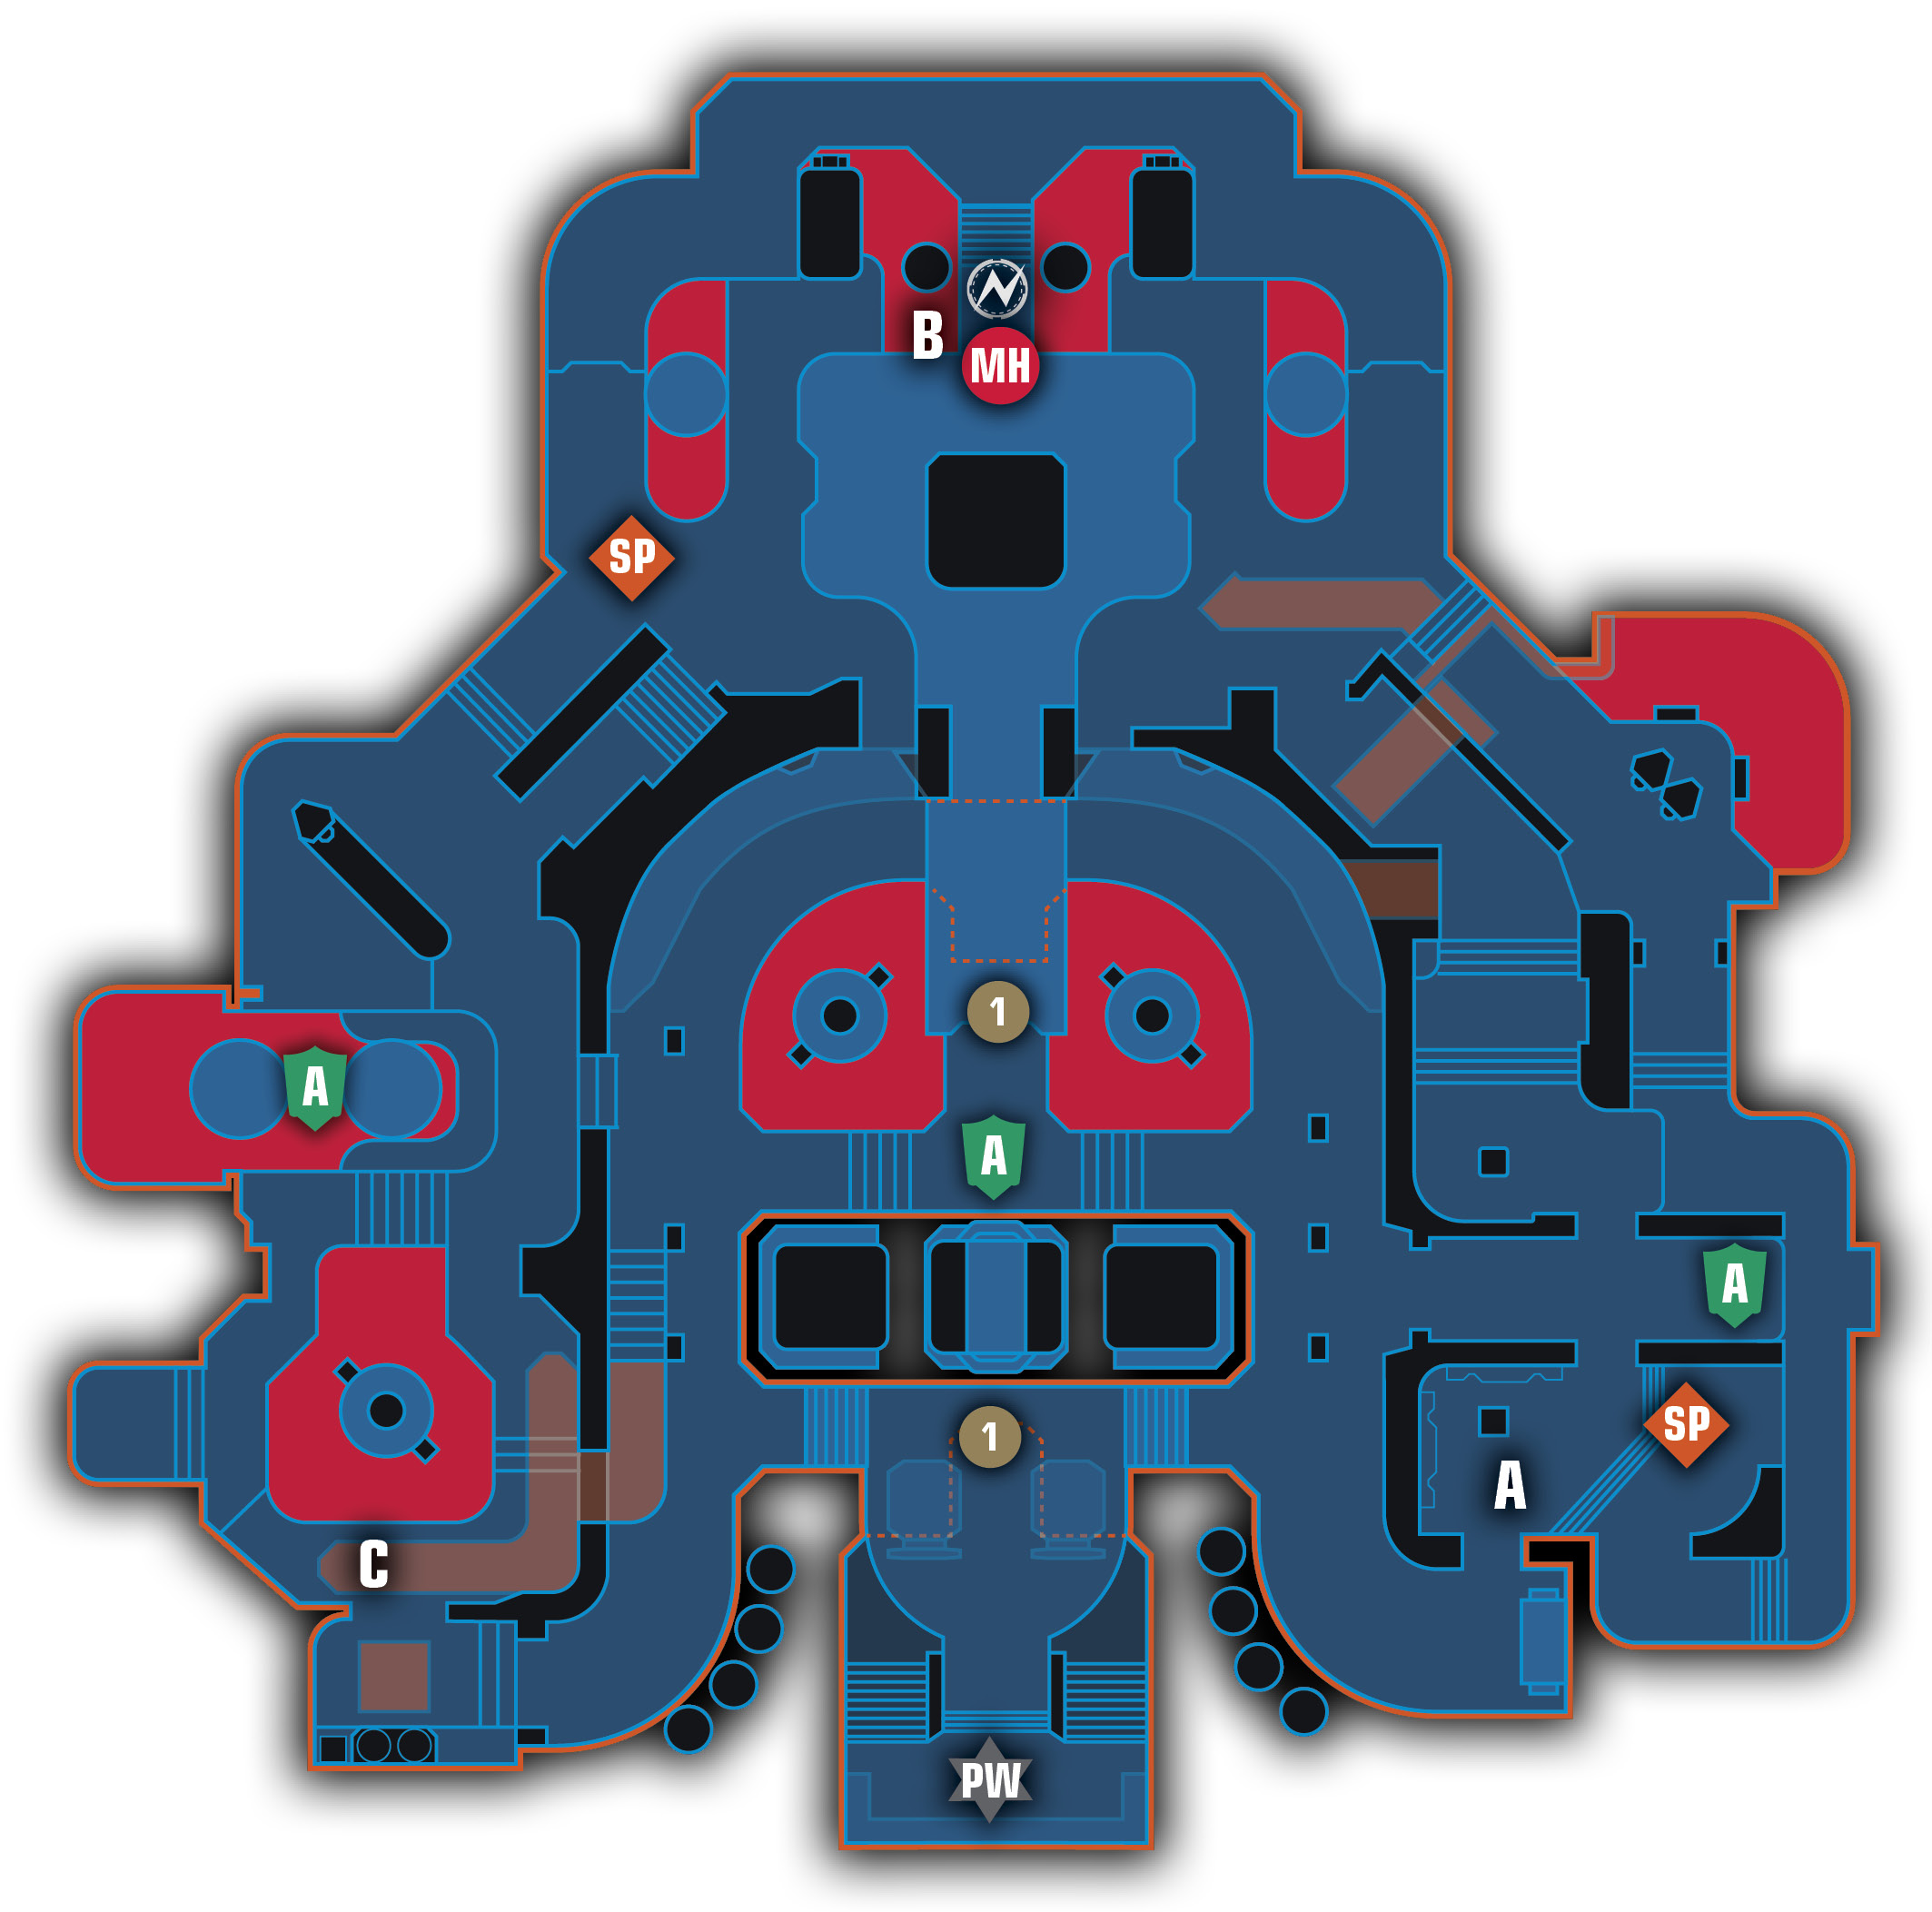
legend
 |
Armor |  |
Portals in |
 |
Domination Capture A |  |
Portals out |
 |
Domination Capture B |  |
Powerup |
 |
Domination Capture C |  |
Power Weapon |
 |
Mega Health |  |
Spawn Point |
Area Recon
Heatwave is larger than it first appears because so much of the battle takes place in the elongated central area where the BFG and powerups are spread out in a north-south line. Upon spawning into the map, check to see if you’re in a control room or near a falling cascade of molten material. The team spawning in the control room is closer to the south side of the map and can quickly get to the lower portal and use it to reach the upper central area. The team spawning outside the control room is already close to the central area, but can fall back to the maze of hallways and paths that lead along the eastern side of the map.
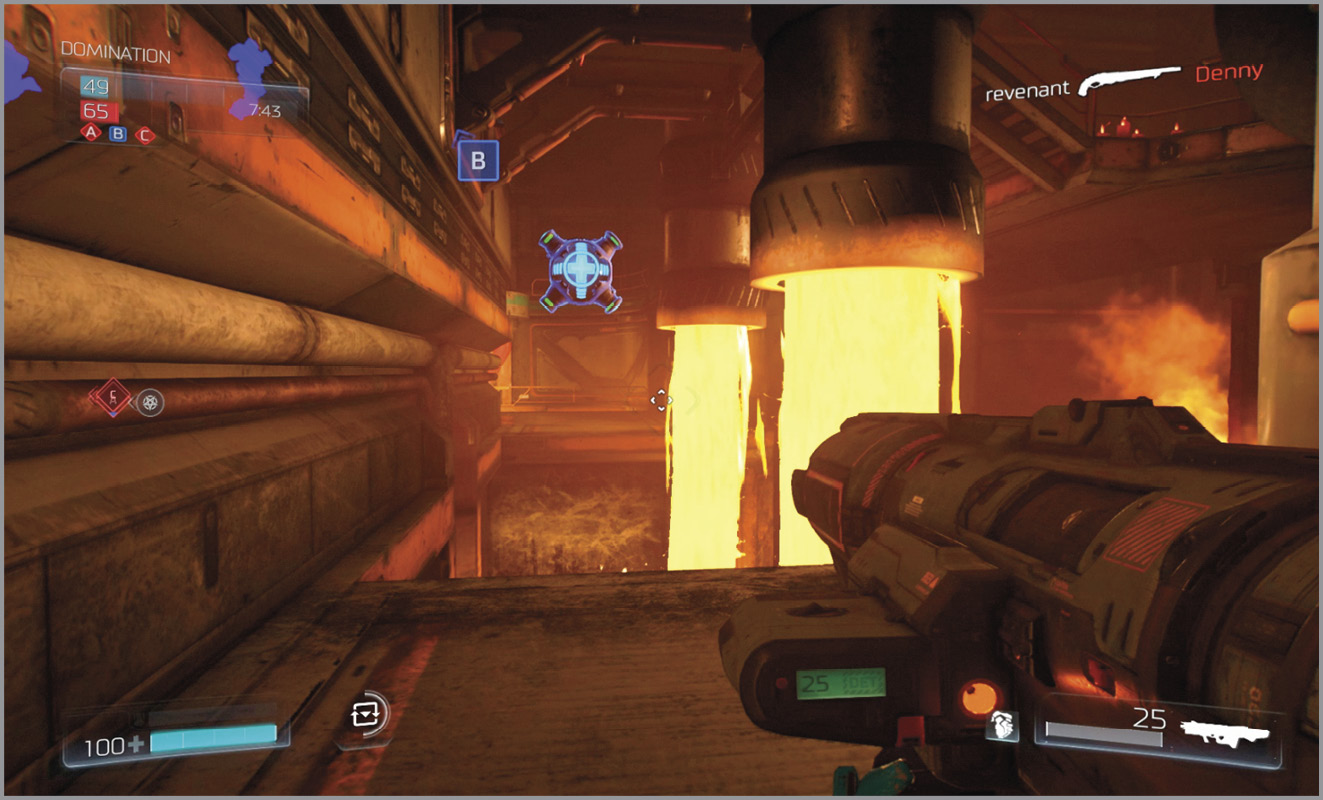
The central area of Heatwave has a lengthy north-south series of ledges and walkways positioned at multiple elevations. Use the two-way portal to move between the lower and upper levels quickly and don’t miss the large Armor pickup located in a sniper’s perch directly above the upper portal. The Quad Damage powerup is atop the stairs at the north end of the map and can be clearly seen from afar. Try to time your approach so that you can claim the Mega Health located directly beneath the powerup, too! Double jump across the gap beneath the walkway to get the Mega Health, then loop around and nab the Quad Damage.
Objective Based Modes
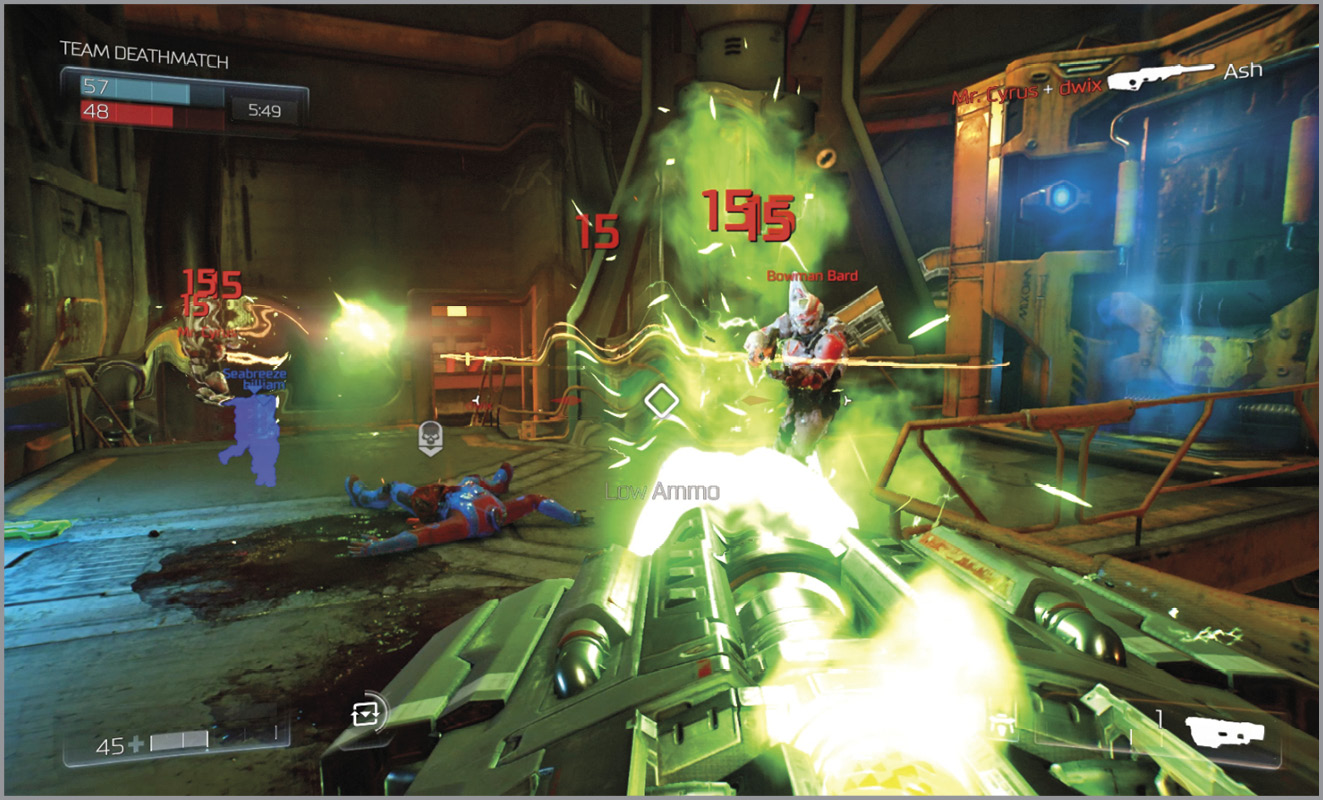
Much of the combat takes place around the center of the map, between the upper portal and where the Mega Health and powerup is located. If you’re heading that way from your team’s spawn point (regardless of which spawn that is), it’s wise to snake through the hallways that lead to the right of your spawn so that your team can accumulate some Armor before heading into battle. Though the larger Armor pickups won’t be ready just yet, there are plenty of smaller Armor pickups and Ammo Crates to gather on your way into battle. Consider having half of your team loop around to the north while the others head south so that you can catch the enemy in crossfire.
Be careful when making a run for the BFG as there may be an enemy located in the tower above the portals. Similarly, you may want to lob a Threat Detector near the BFG so that you can alert your team when someone is going for it. The Threat Detector’s alarm will sound no matter how far away from it you are. Another equipment option is to use the Personal Teleporter to tele-frag an enemy player who is in the tower above the portals. That’s a nice compact place where someone will try to camp out, making themselves extremely vulnerable to this special attack. Lastly, monitor your Health and Armor carefully and flee to the relative safety of the passages along the east and west sides of the map. There you’ll find plenty of pickups, as well as some medium size Armor.
Domination
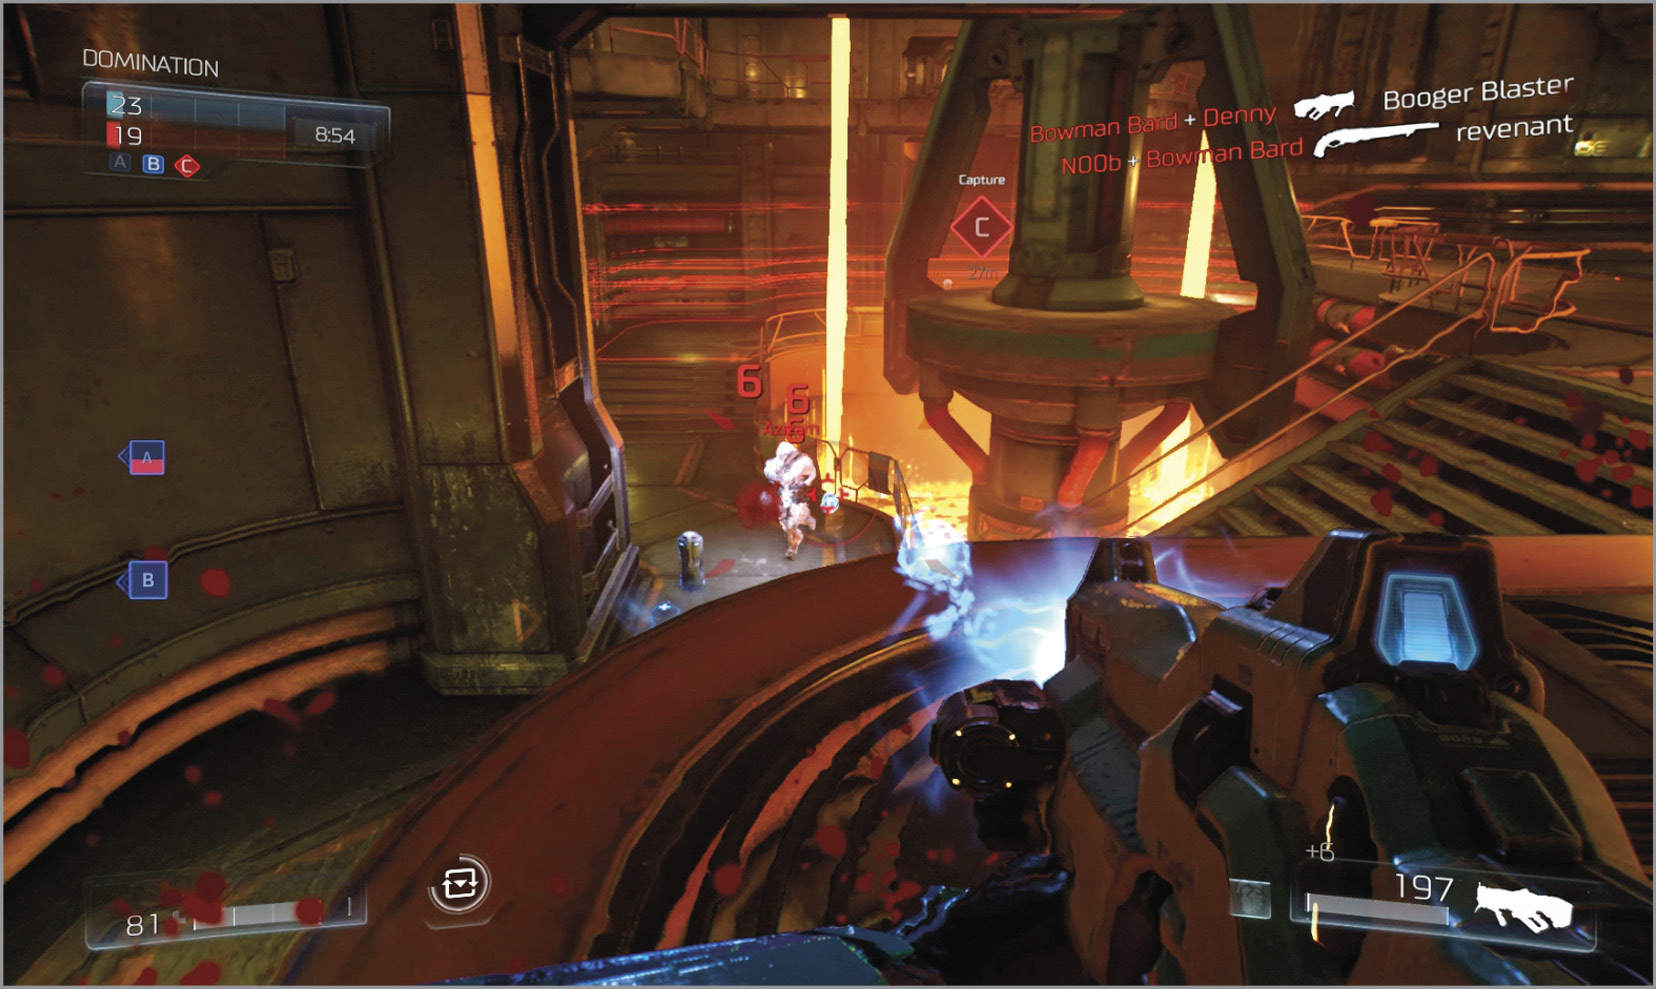
Zones A and C are, as usual, close to the spawn points and can be captured quite easily. What makes this map different is that Zone B is so far away from the other Zones that A and C tend to be left unguarded as players fight to take and defend Zone B located near the Quad Damage powerup. This not only makes it possible for one player to sneak in and capture Zone A or C with little defense, but it also means that the BFG is sometimes forgotten all the way to the south end of the map. Depending on the situation and where you respawn, consider grabbing the BFG and using the lower portal to quickly reach the upper one. Turn around and climb the tower to where the Armor pickup is and use the BFG to take out any and all enemies near Zone B. Just be sure to let your team know you’re going for this maneuver so they can be there to capture the Control Point right away.
Round Based Modes
One of the most important factors in winning a Clan Arena or Freeze Tag match is making sure you don’t Suicide. Players who try to repeatedly jump to make themselves a harder target sometimes leap over the railings to their death. Don’t make this mistake. Stay close to your team as they make their way toward the center of the map and look for opportunities to flank the enemy and/or shoot your frozen allies into the molten ore when playing Freeze Tag to allow them to respawn safely unfrozen.
Should a game of Freeze Tag go long enough for the BFG, Demon Rune, and Quad Damage powerups to become a factor, resist the urge to run off by yourself to claim one. Stick together and move as a team to secure the powerup. Better yet, watch the clock and, after the first 1:15 has passed, make your way to the south end of the map and secure the area where the BFG will spawn.