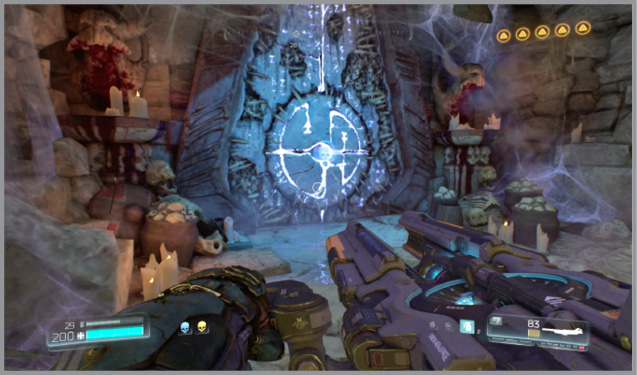
Doom Guide Campaign Walkthrough
Titan’s Realm
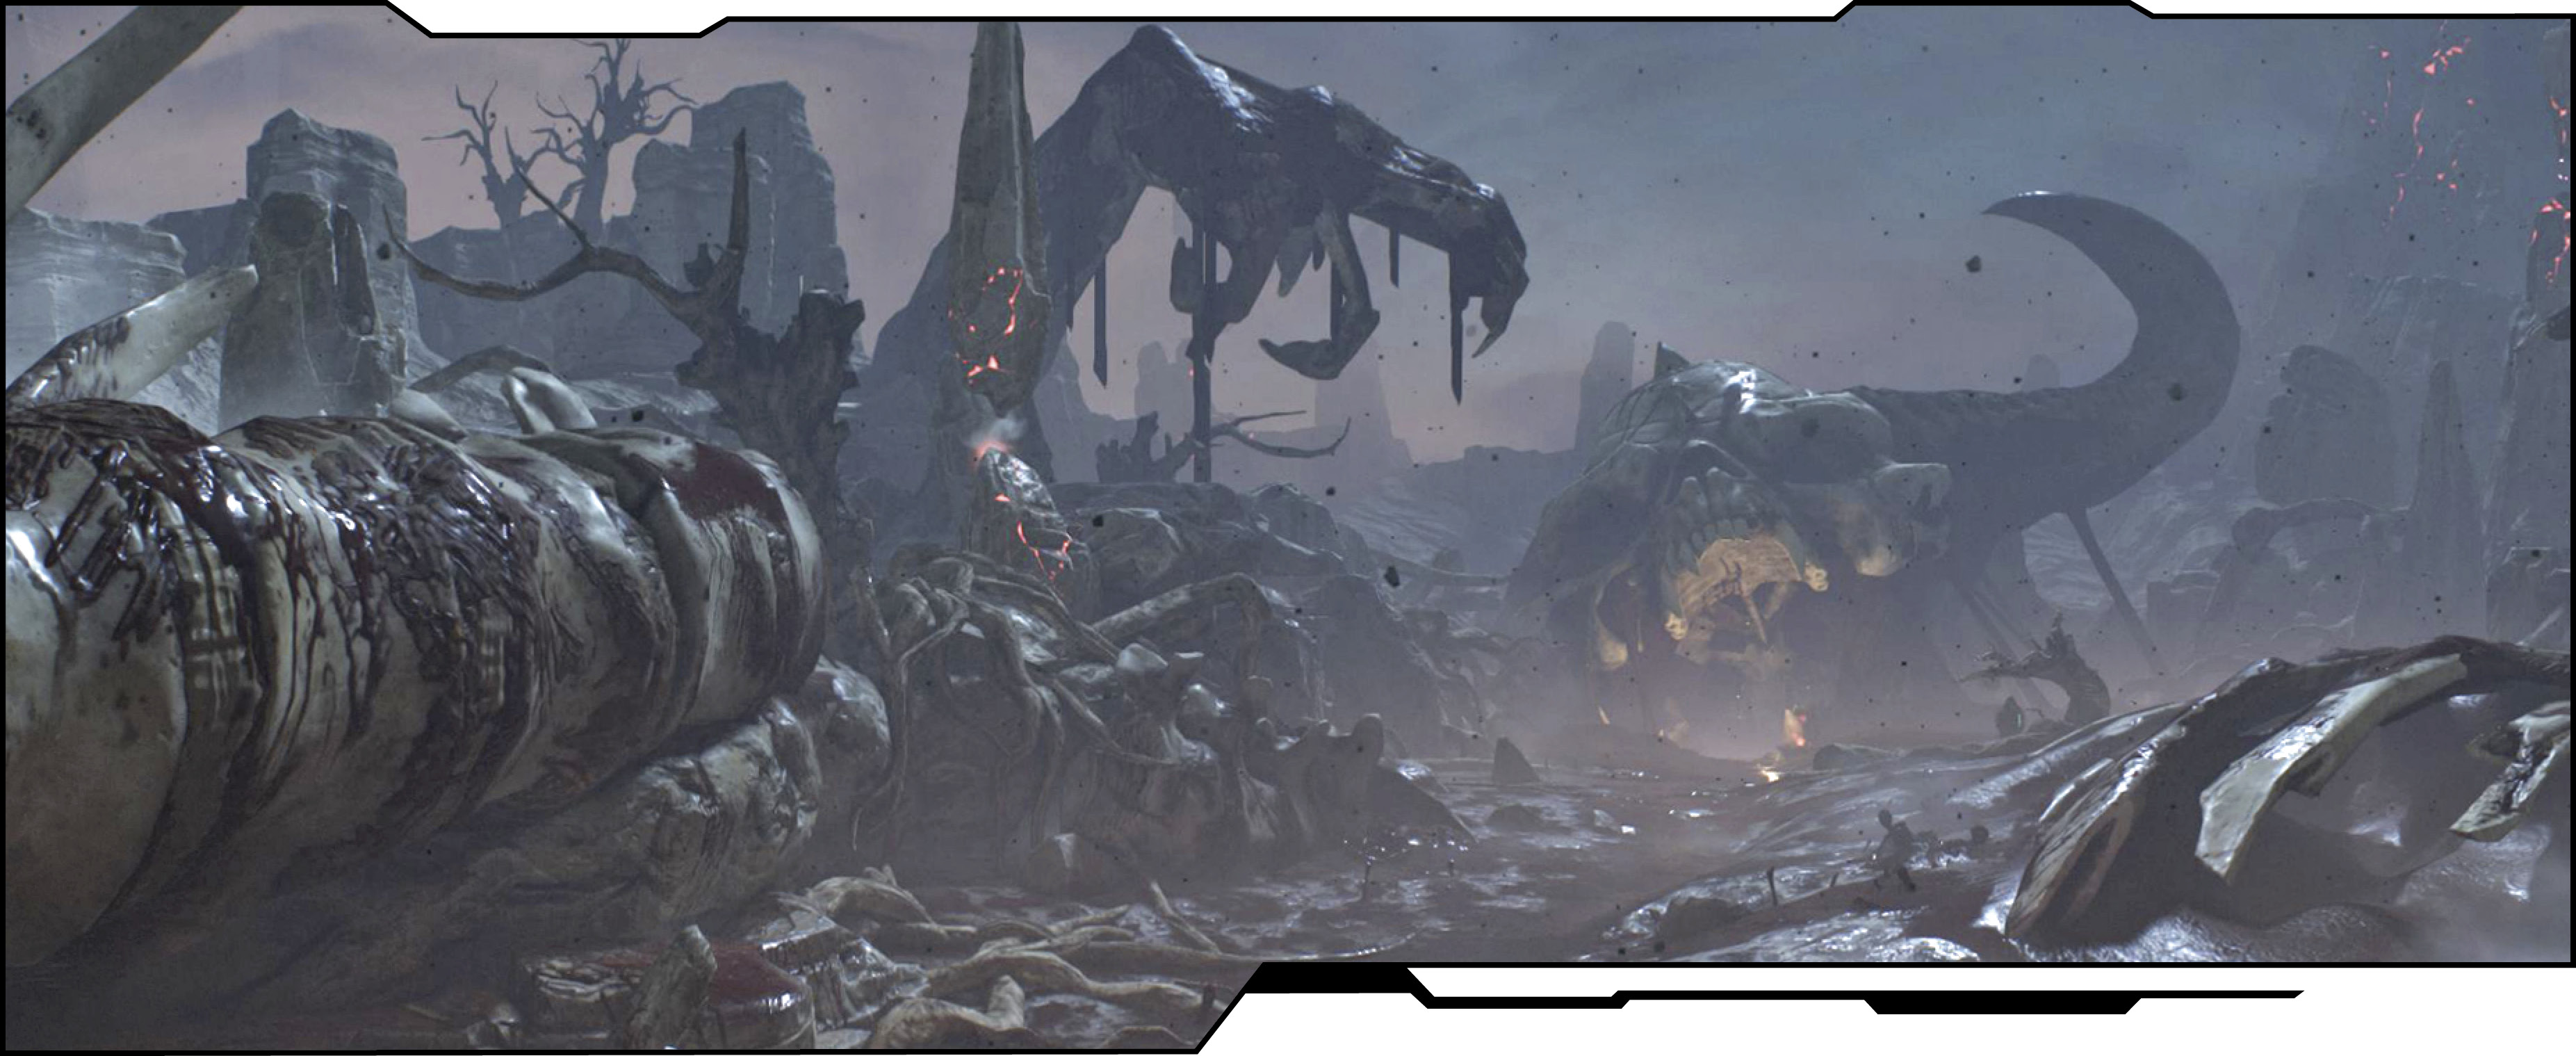
Main Objective Reclaim the Crucible
New Weapons/Equipment None
New Monsters Spectre
Challenges
| Challenge | Description |
|---|---|
| Trick Shot | Kill a Lost Soul with another Lost Soul. |
| Atop the Mountain | Perform a “Death from Above” Glory Kill on a Baron of Hell (attack from above). |
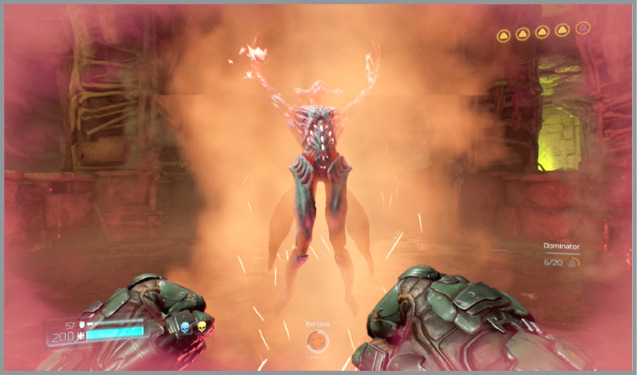
| Dominator | Kill 20 demons while using powerups. |
Collectibles
| Collectible | Unlocks |
|---|---|
| Keenguy | BFG-9000 Model |
| Silverguy | Cyberdemon Model |
Classic Map: DOOM - Phobos Anomaly
Pass Through the Titan’s Core
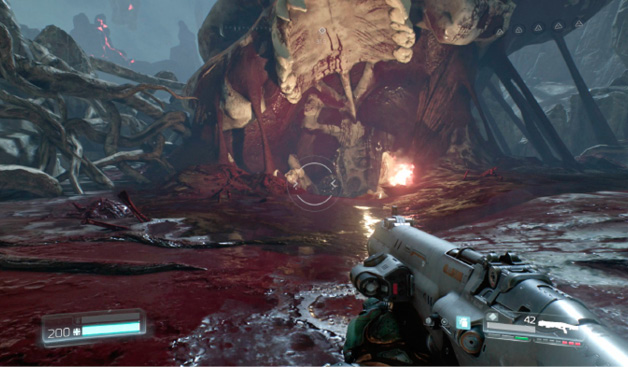
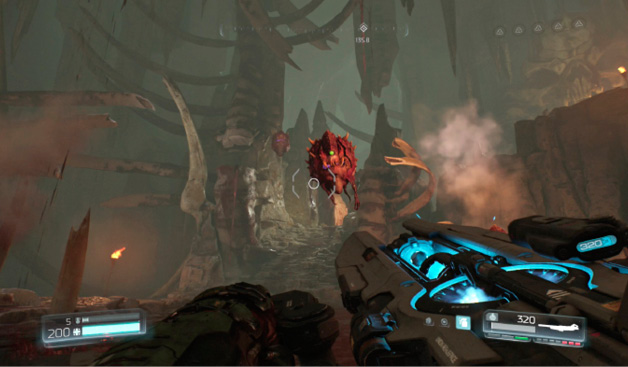
Investigating the Lazarus Labs, you have learned of another artifact, one that can remove the connection between Mars and Hell. The Crucible is the key to bringing peace to this planet. As you move toward the big skull ahead, an Artifact just to the right offers up more storyline. Drop through the “throat” to find your first resistance.
Cacodemons arrive first, so take care of them before ascending the staircase. Proceed up more steps to the right as you face more tough demons. Continue to fight as you enter Titan’s Realm. Four Lost Souls occupy the bridge area ahead, giving you an opportunity to quickly accomplish the first Challenge.
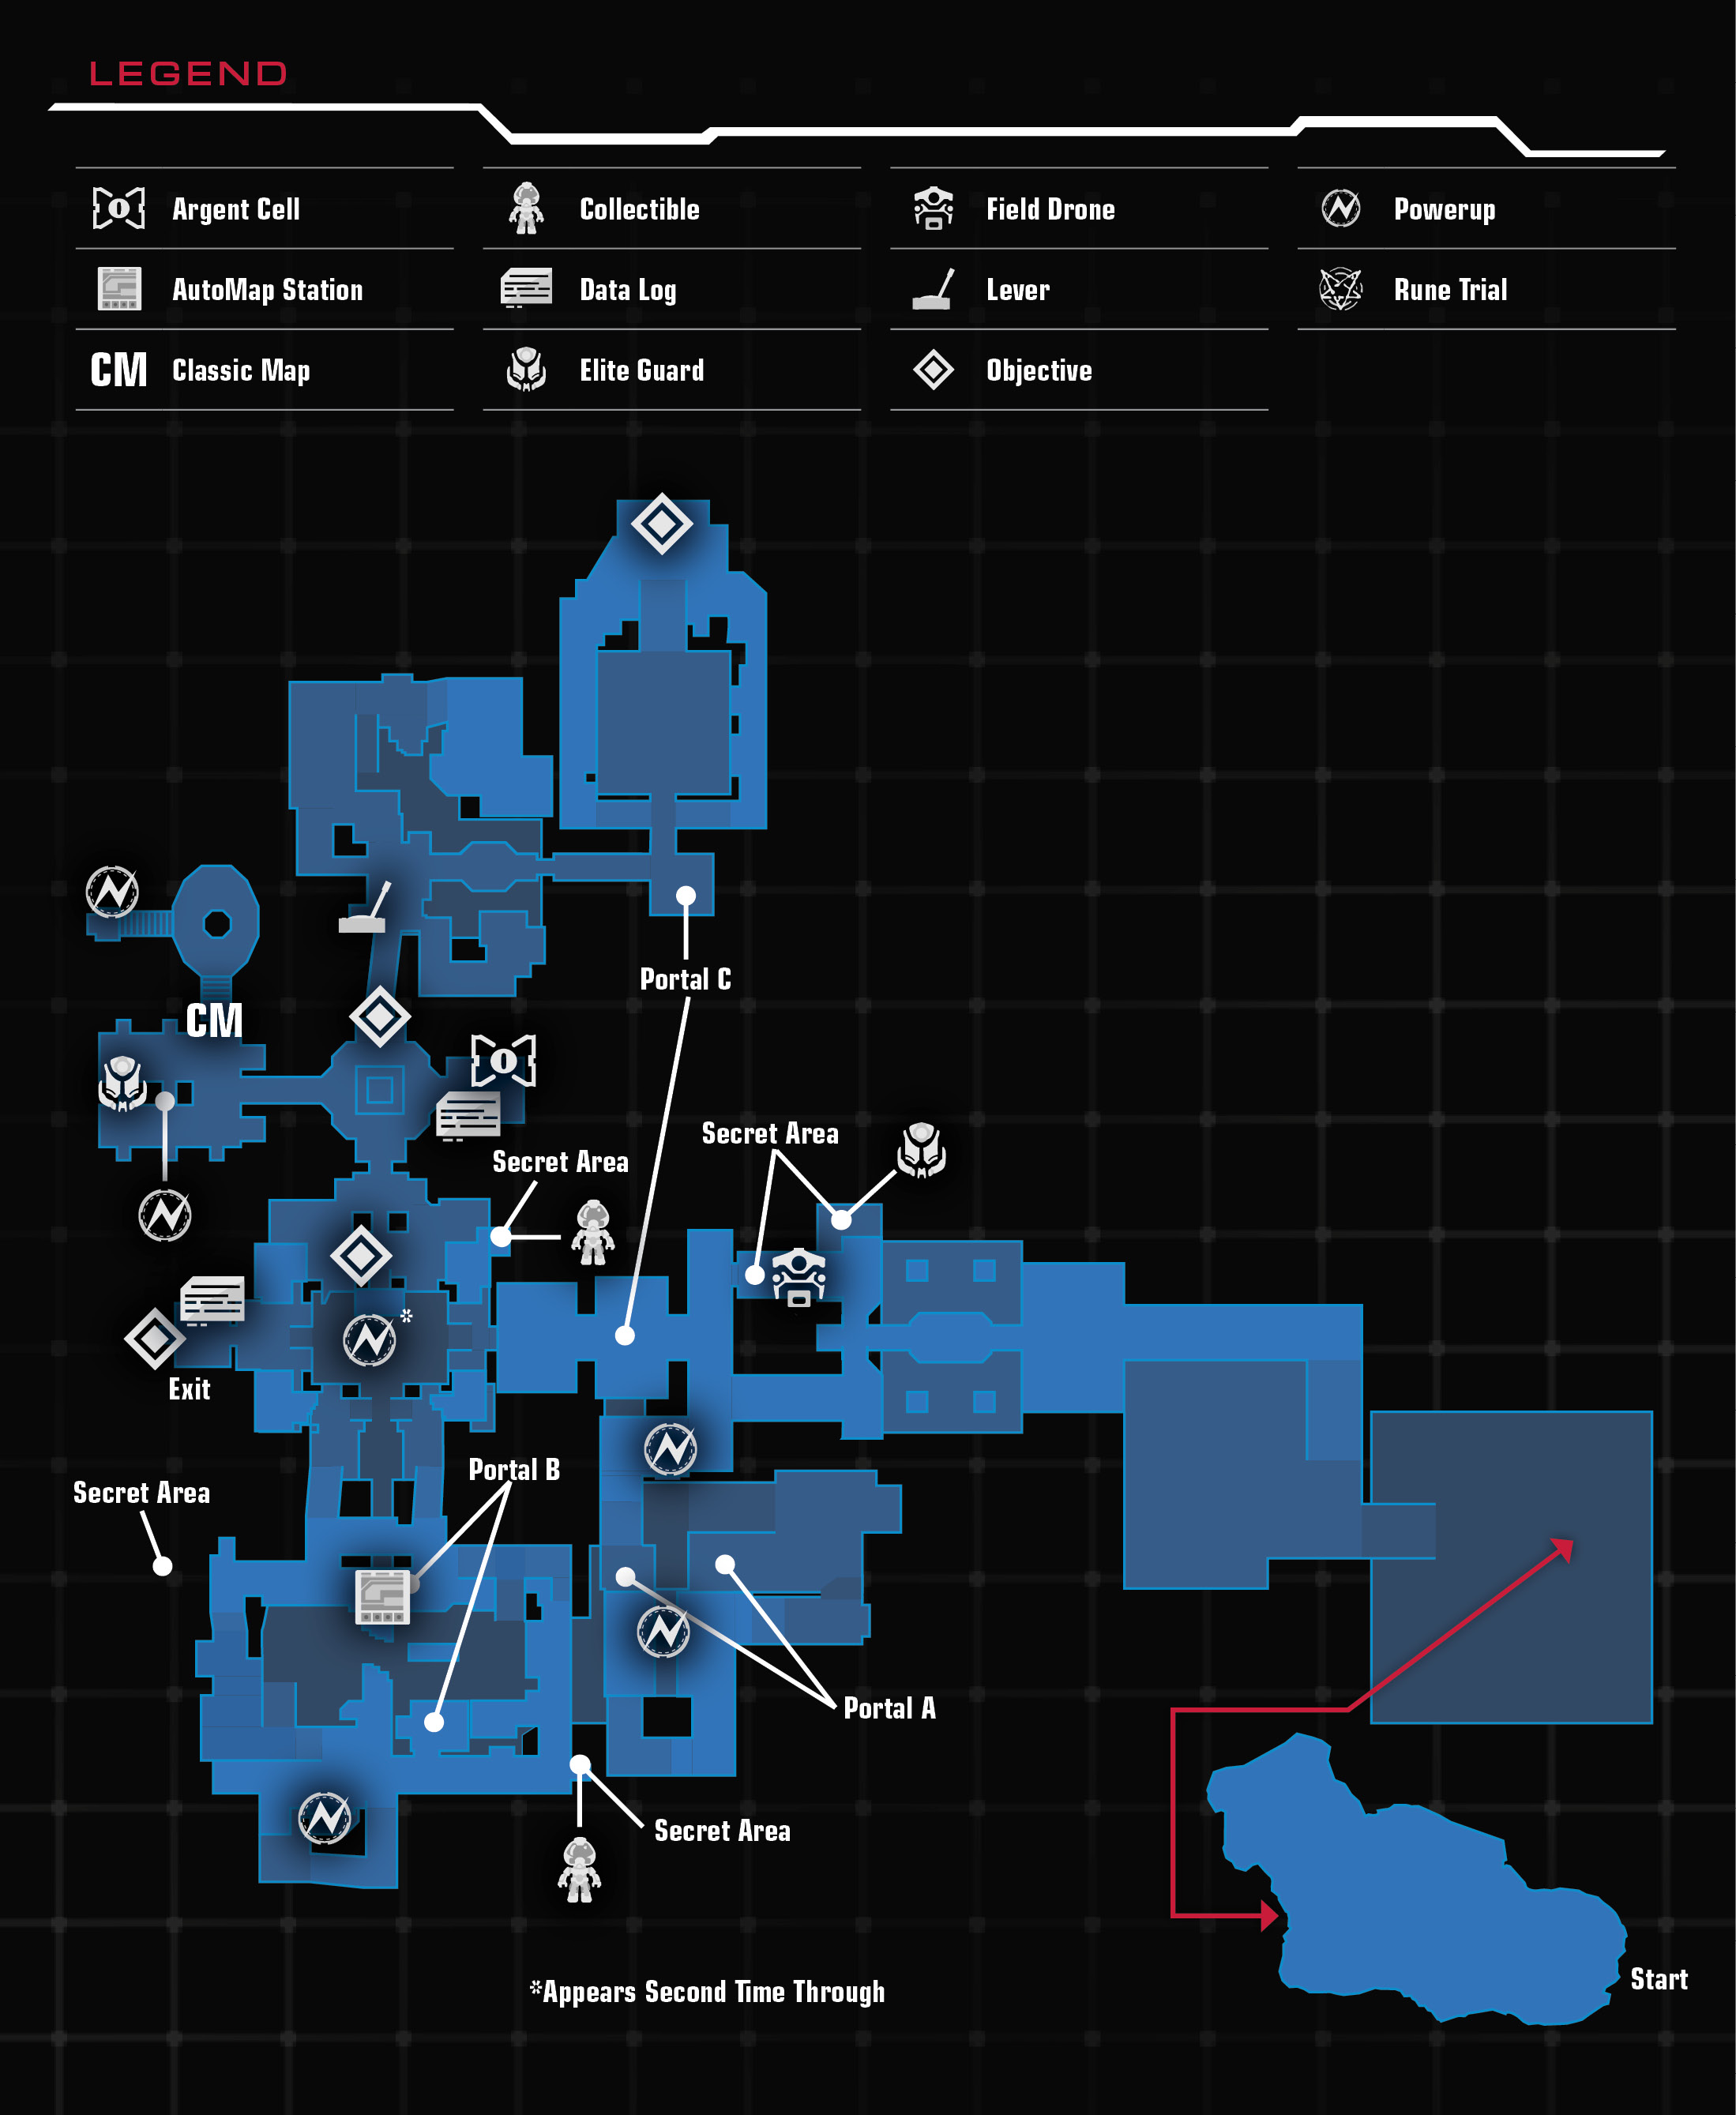
Clear out the area and then hop over to the square platform on the left or right. Look under the bridge to spot a Skull Switch. Quickly use it and run into the small room in the far-right corner to find an Elite Guard. Avoid standing on the slime—it causes damage! Return to the bridge and proceed into the tunnel ahead.
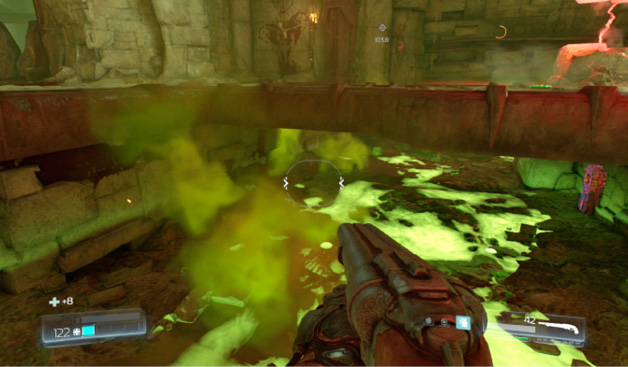
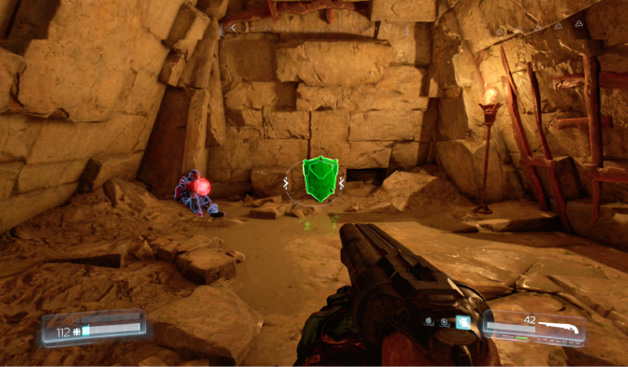
Stay alert as more demons occupy the halls ahead. Take them out as you move into the right hall. With the first wave out of the way, two doors open, revealing valuable resources. Eliminate the second group of monsters to open a third, which holds a Skull Switch.
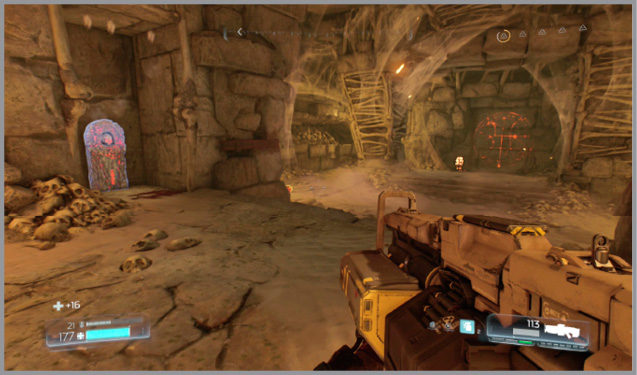
Activate the switch to open a gate in the other passage, releasing a Mancubus. Kill the brute to open another door inside the halls. Enter this new opening in the corner to reach the Field Drone.
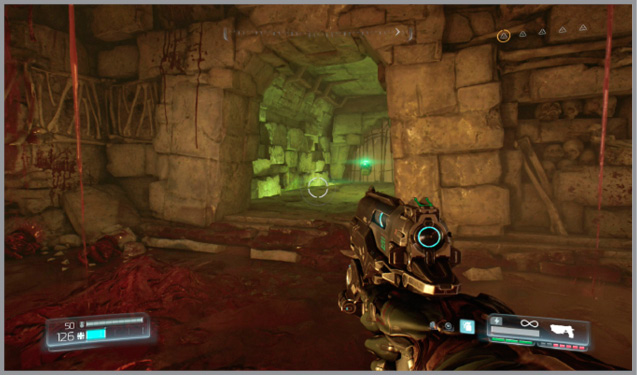
Enter the next room where a monster battle ensues. A staircase around the outside takes you to an upper level, allowing you to escape danger when necessary. A Haste powerup floats above a gap on the upper level. Quickly take out as many demons as possible when under the influence of the powerup to work on the second Mission Challenge. Once the room is void of enemies, collect any leftover resources and enter the portal to transport deeper inside Titan’s Realm.
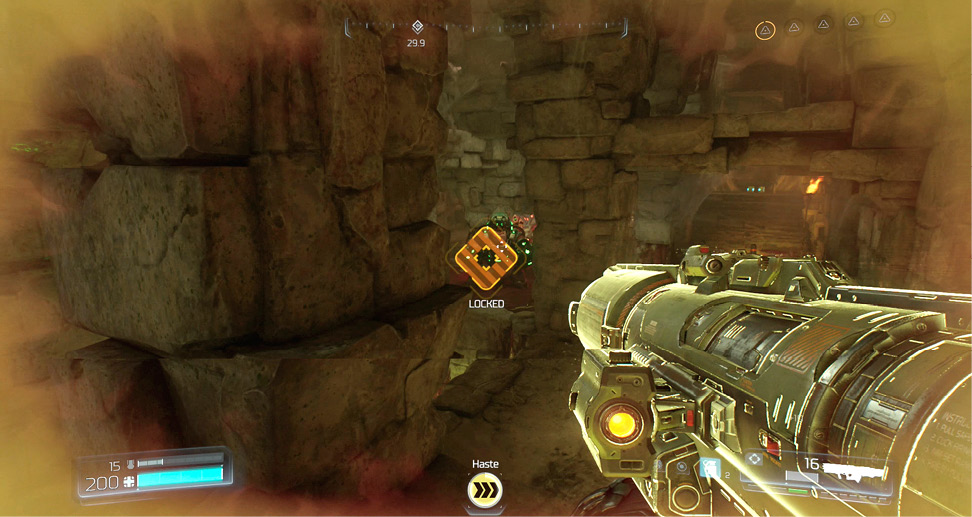
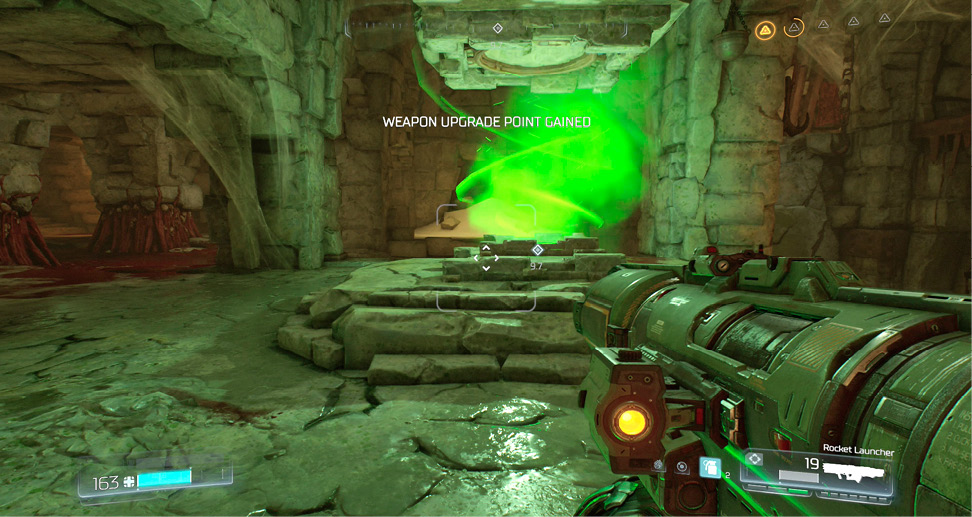
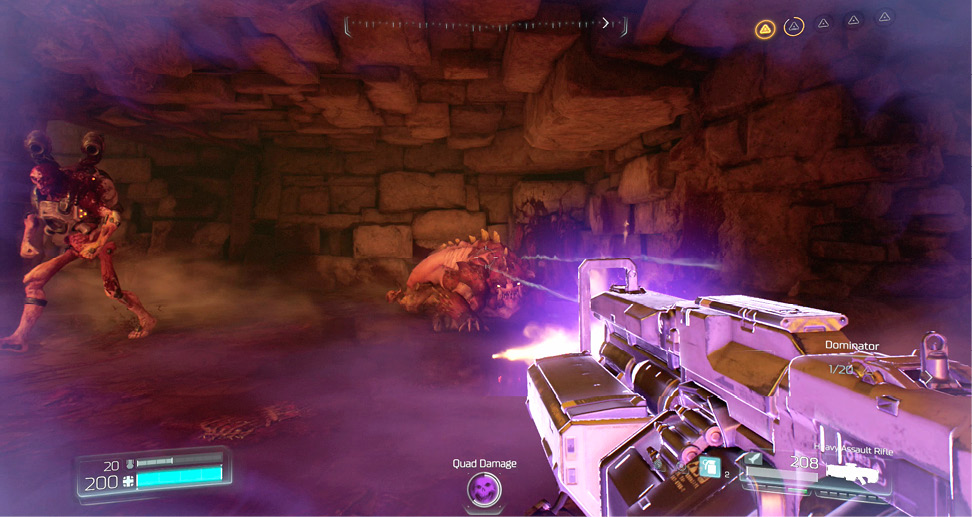
Run into the big room on the right and dispose of the demons inside. Don’t get trapped in the lower tunnels. Use the area’s two levels to avoid becoming surrounded. A Quad Damage rests on a pedestal on the first floor. Use it to assist in the extermination and build your kill count for the second challenge. Eventually, two Barons of Hell spawn into the arena. Weaken them up in the open area of the lower level and then use the jump pad to quickly reach the floor above. Perform a Glory Kill from above to get the third Challenge. Equip the Dazed and Confused Rune to acquire more time to complete the move.
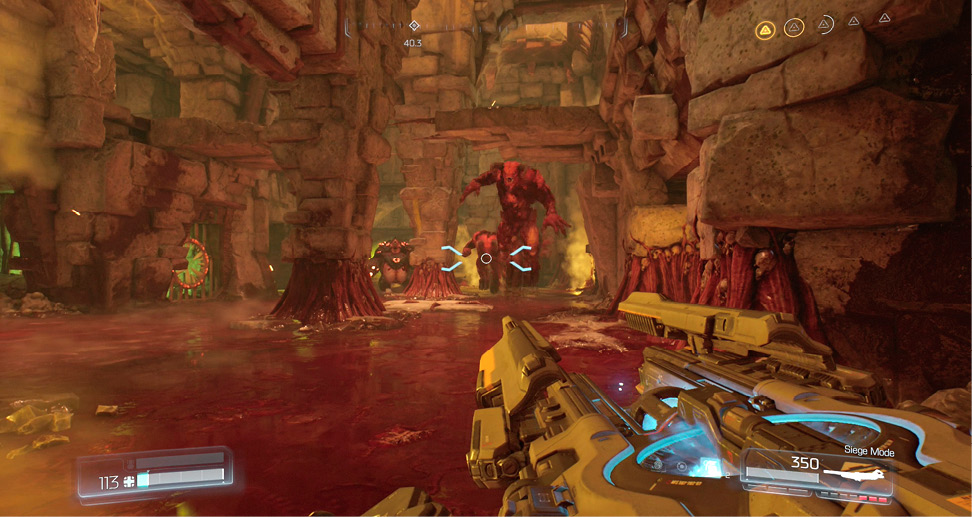
Enter the portal in the middle of the lower level to transport to a nearby passageway. Interact with the AutoMap Station on the left and then quickly exit the tunnel to the right before becoming an easy target of the Lost Souls. Fight off the numerous monsters that inhabit the room, using the pillars to break their line of sight. It’s not necessary to take them all out, but it does add to your Combat Rating.
Jump pads are located in the corners closest to where you entered. These give you quick access to the upper floor. As soon as you land on the upper platform, hop over to the pillars and turn toward the big armor. Double jump to that ledge to open the gate.
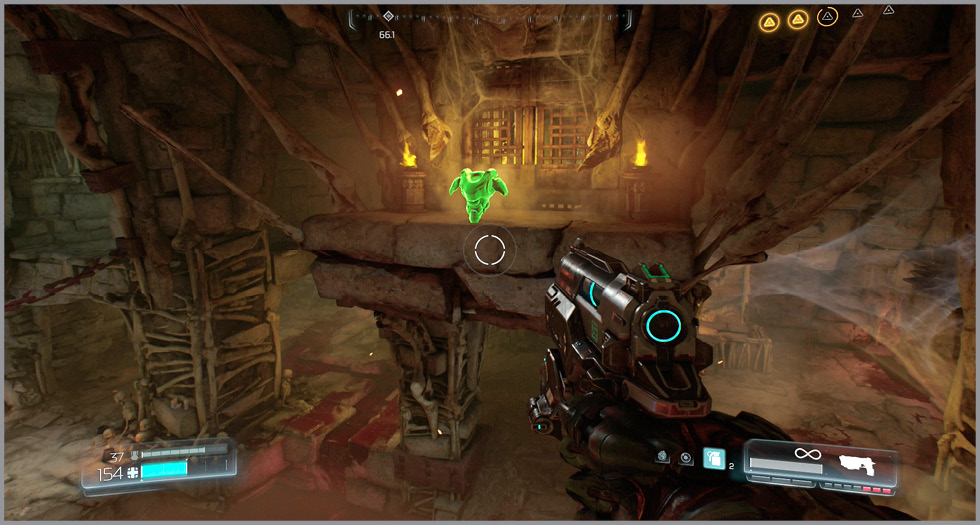
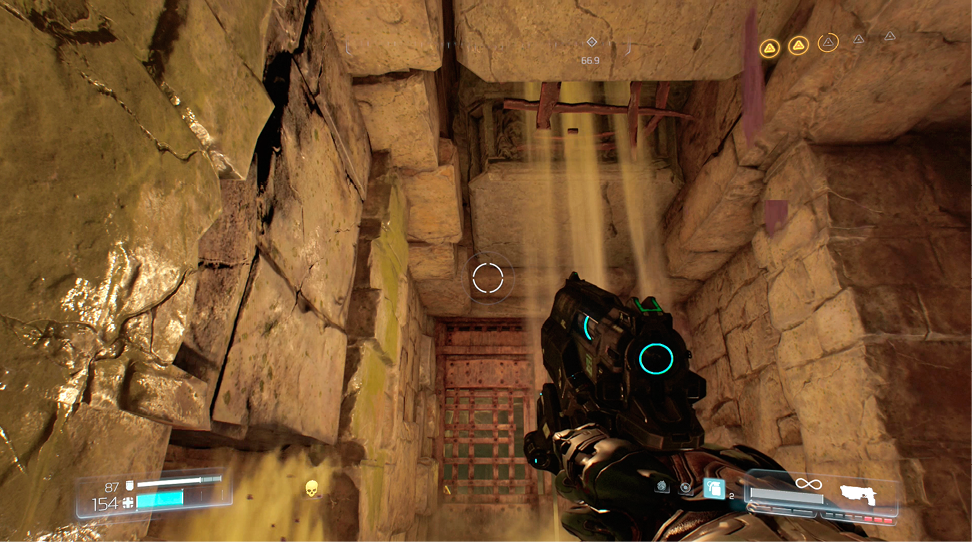
Grab the Yellow Skull that rests on a pedestal ahead. This causes the ceiling to lower, threatening to take you out. Step into the cubbyhole once available and wait for it to return to its original position.
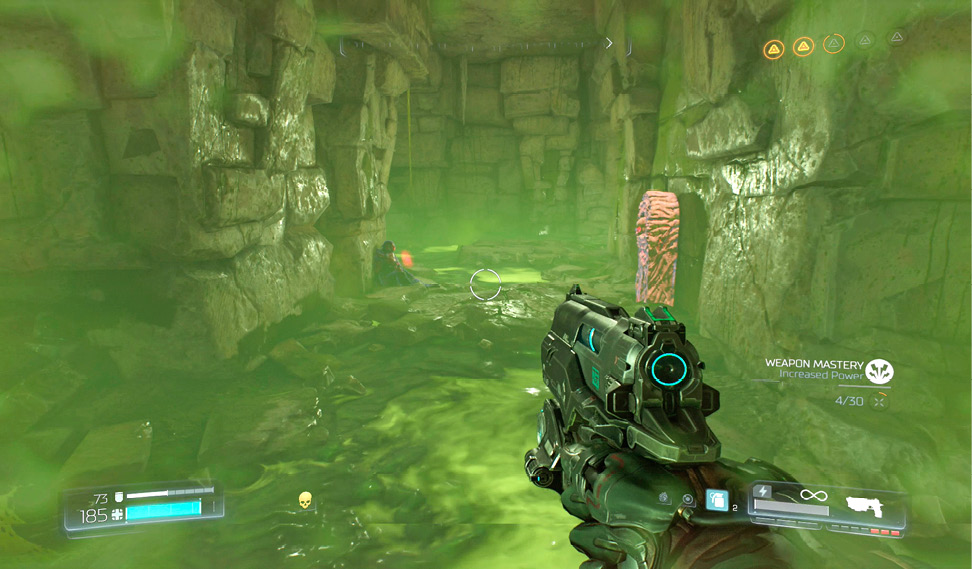
Go right, drop down, and continue down into the left room, where slime eats away at your health. Avoid standing on top of it to reduce the damage. Run to the far side and collect the Praetor Token from the Elite Guard before activating the nearby Skull Switch. Quickly collect the Invulnerability powerup hiding in the middle of the room. Kill the Unwilling and Mancubi as you return to the first room. Pinkies join the fight here, so stay on the move as you eliminate the bad guys.
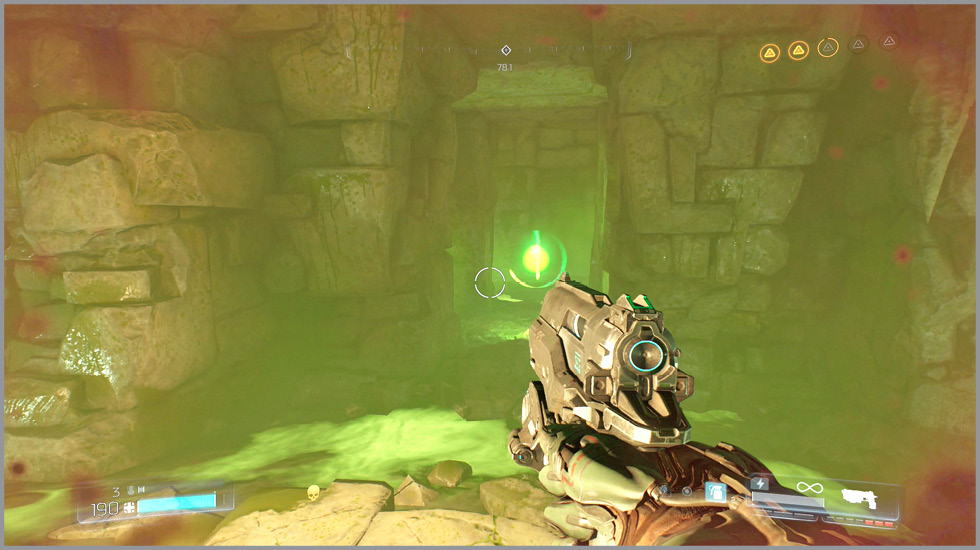
At this point, bars are removed in front of the yellow door and a small room to the right. Step inside to collect a Data Log and Argent Cell before placing the skull in the yellow door.
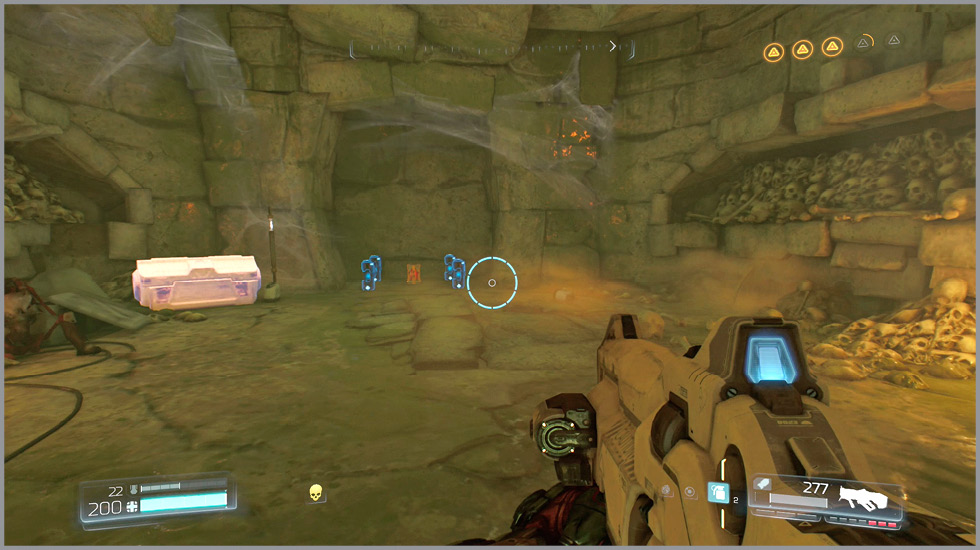
Once you’re ready to move on, descend into the next room where a horde of fiends awaits your arrival. Kill the monsters and then climb onto the ledge to the right. A weight slams to the ground in front of the exit before rising back into the ceiling. After it impacts the floor, jump onto it and ride it up to find a Skull Switch. Activate it and then exit the room.
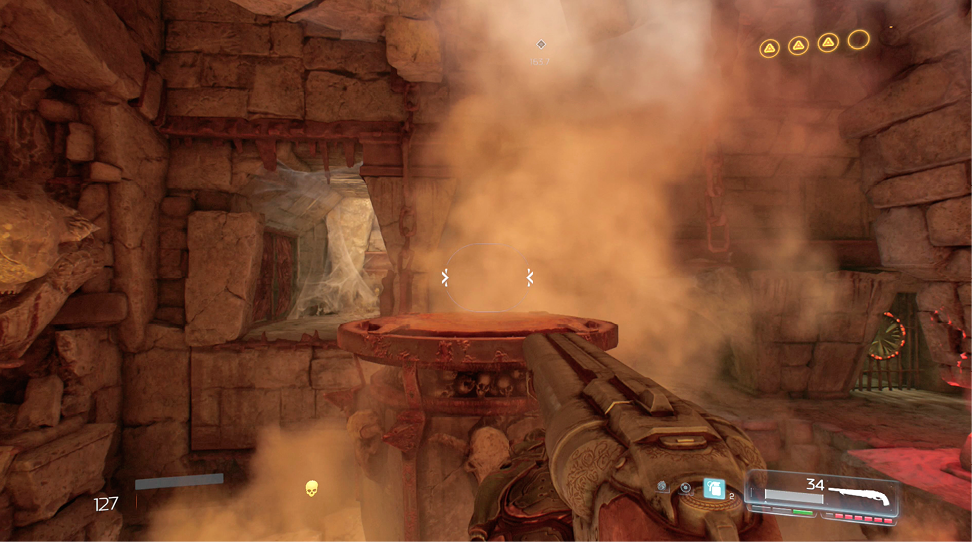
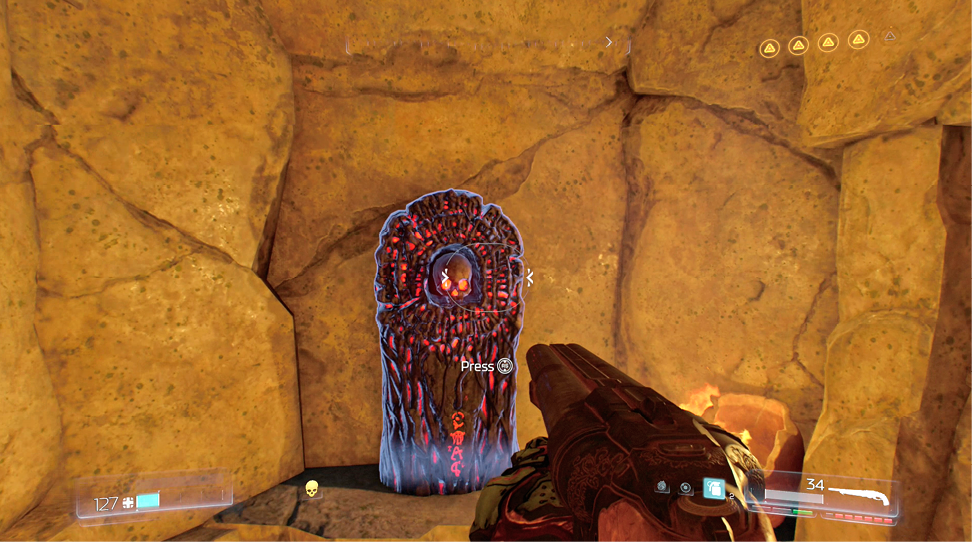
Collect the ammo as you follow the passageway into the next area. Grab the Blue Skull at the far end and then wait for a pair of Spectres to spawn at the entrance. These guys are very similar to Pinkies, but they are invisible and do not have armor. The demon can be spotted, but it has a transparent look to it, so it tends to blend into the environment. More monsters join the fight. Use the jump pads situated on each side of the room to escape trouble and kill every last fiend.
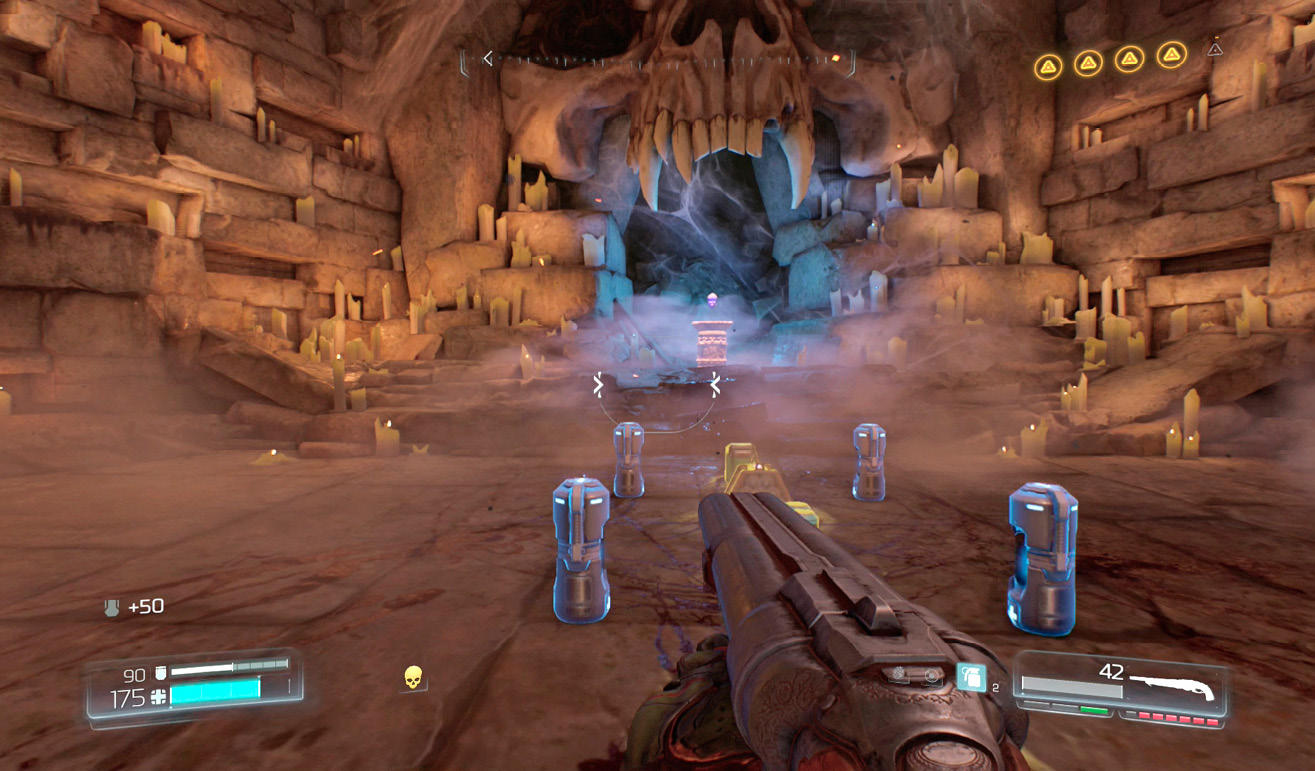
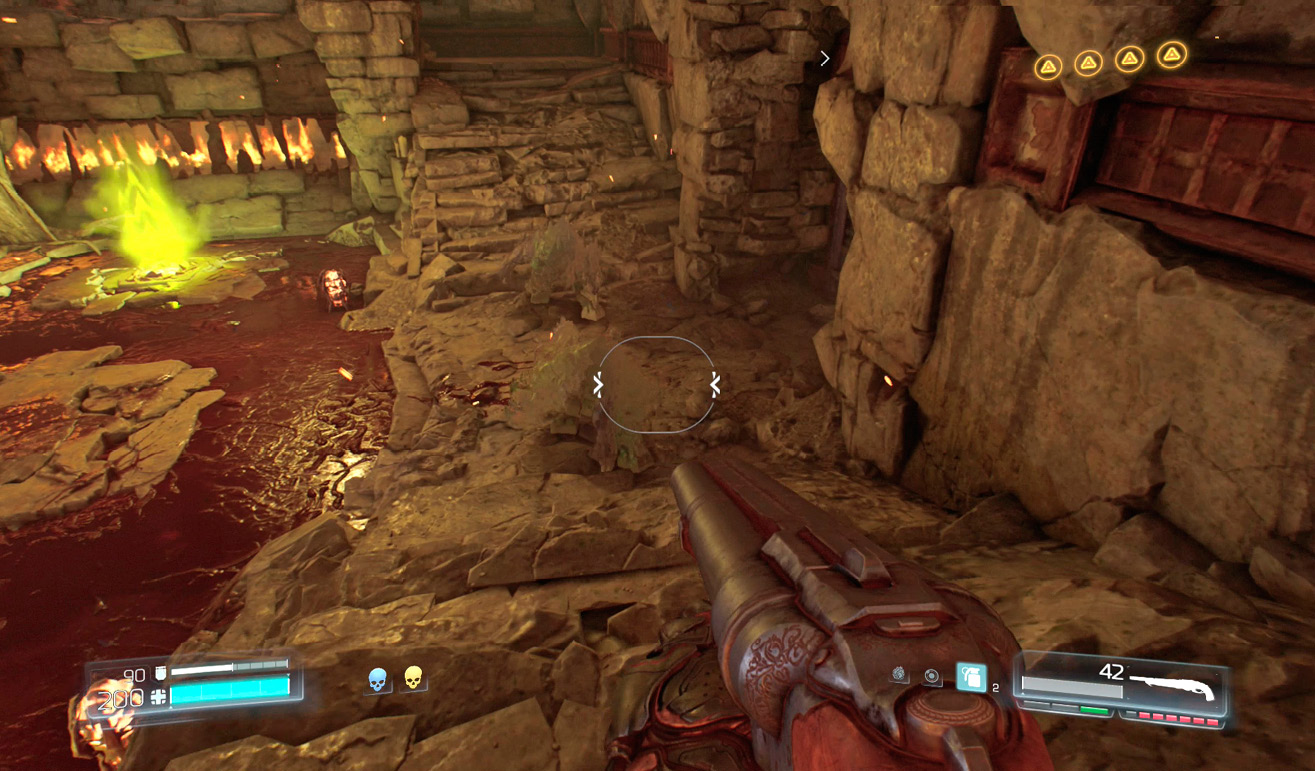
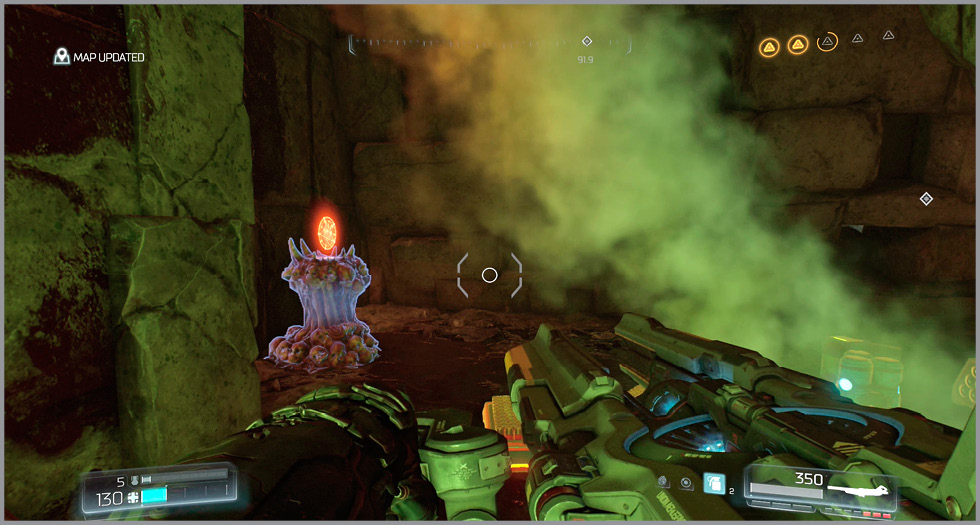
Return to the ammunition room and step into the portal. Follow the corridor around to the left, interact with the Artifact, and then follow the tunnel behind you to find a Mega Health. Return to the previous passage and exit out the left gate.
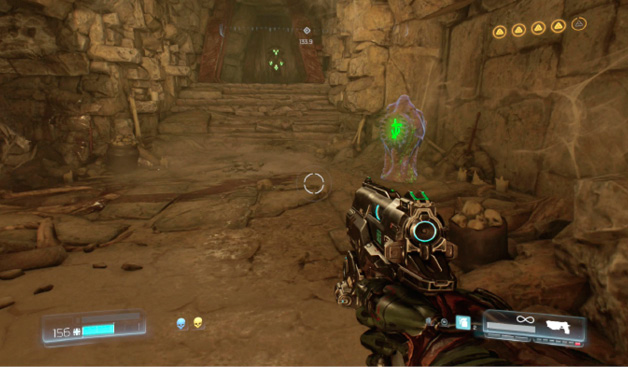
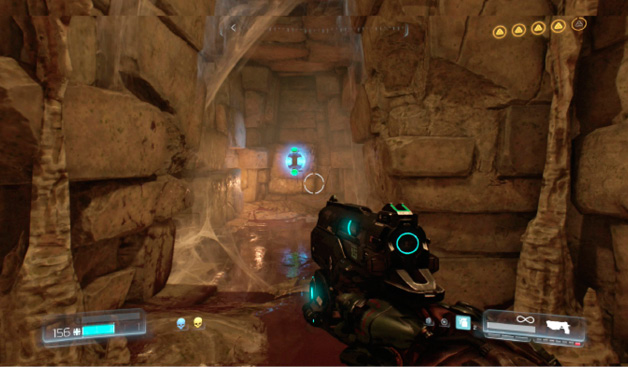
Monsters have returned to this familiar room, so take care of them. After disposing of some weaker foes, grab the Berserk powerup in the middle of the room and go to town on the bigger demons.
Place the Blue Skull in the blue door, collect the Data Log off the floor, and enter the portal to complete the mission.