Doom Guide Campaign Walkthrough
Lazarus Labs
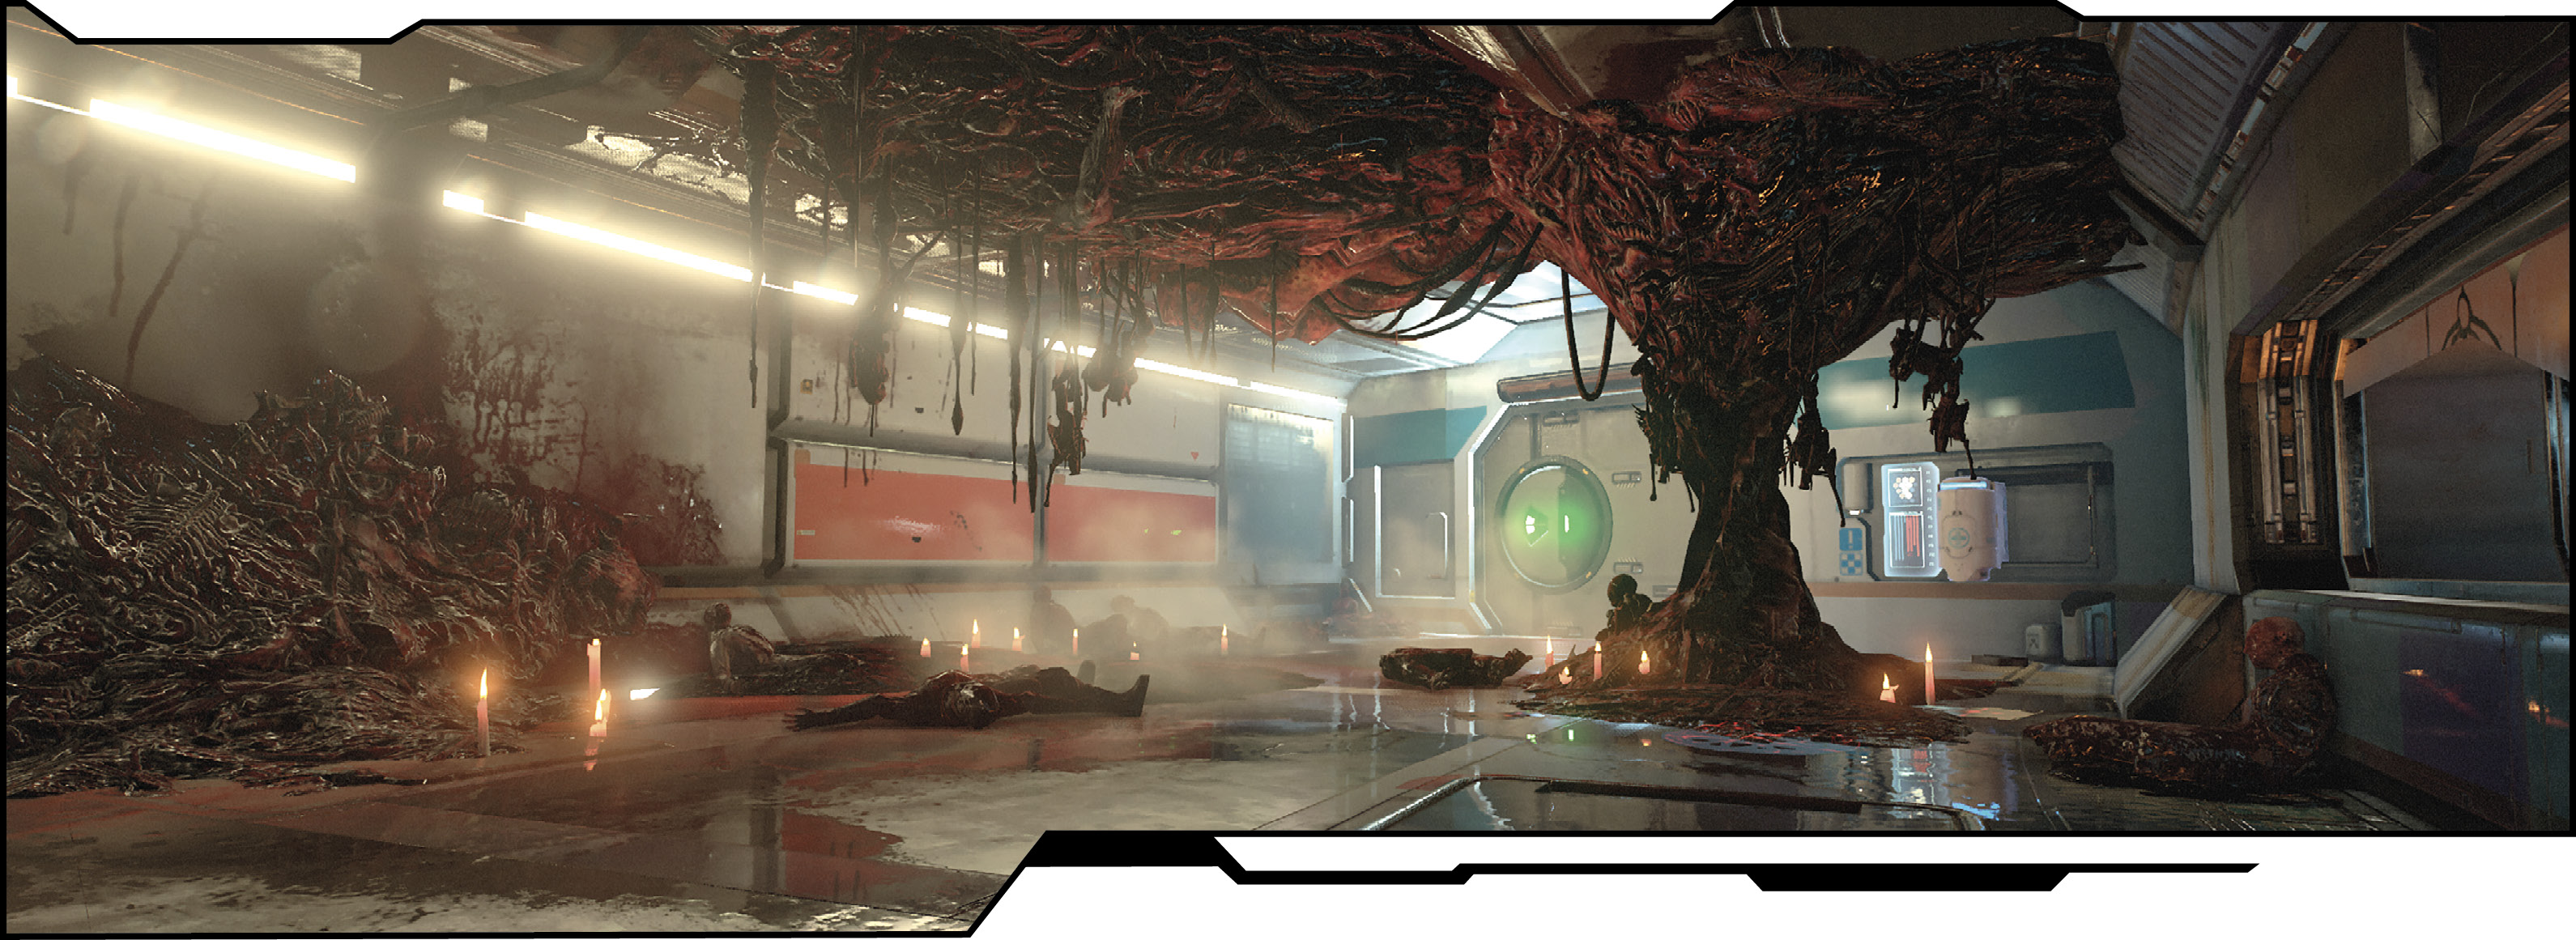
Main Objective Shut Down the Portal
New Weapons/Equipment Siphon Grenade
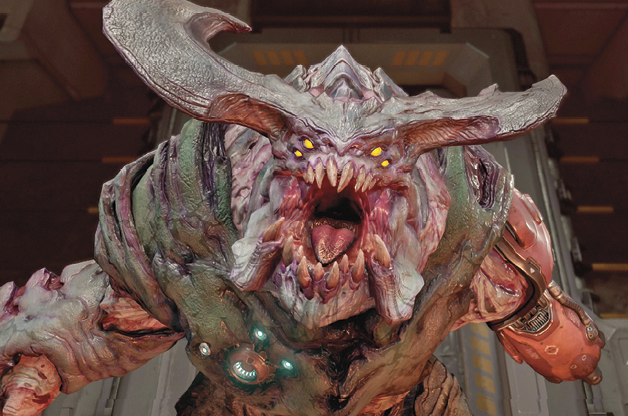
New Monsters Cyberdemon
Challenges
| Challenge | Description |
|---|---|
| Variety is the Spice of Death II | Perform 5 different Glory Kills on Possessed Soldiers. |
| Thread the Needle | Kill 8 demons with a single shot. |
| Time Well Spent | Play a game of Demon Destruction. |
Collectibles
| Collectible | Unlocks |
|---|---|
| Eliteguy | Olivia Pierce Model |
| Toxicguy | Samuel Hayden Model |
Rune Trials
| Trial Name | |
|---|---|
| Rich Get Richer | Armed with the Rocket Launcher and using only the resources found in the area, eliminate all targets before the timer expires. Targets will not drop resources when destroyed. |
| Saving Throw | Armed with the Gauss Cannon and using only the resources found in the area eliminate all targets before the timer expires. Health levels are critical and targets will not drop resources when destroyed. |
Classic Map: DOOM - Tower of Babel
Access the Helix Stone
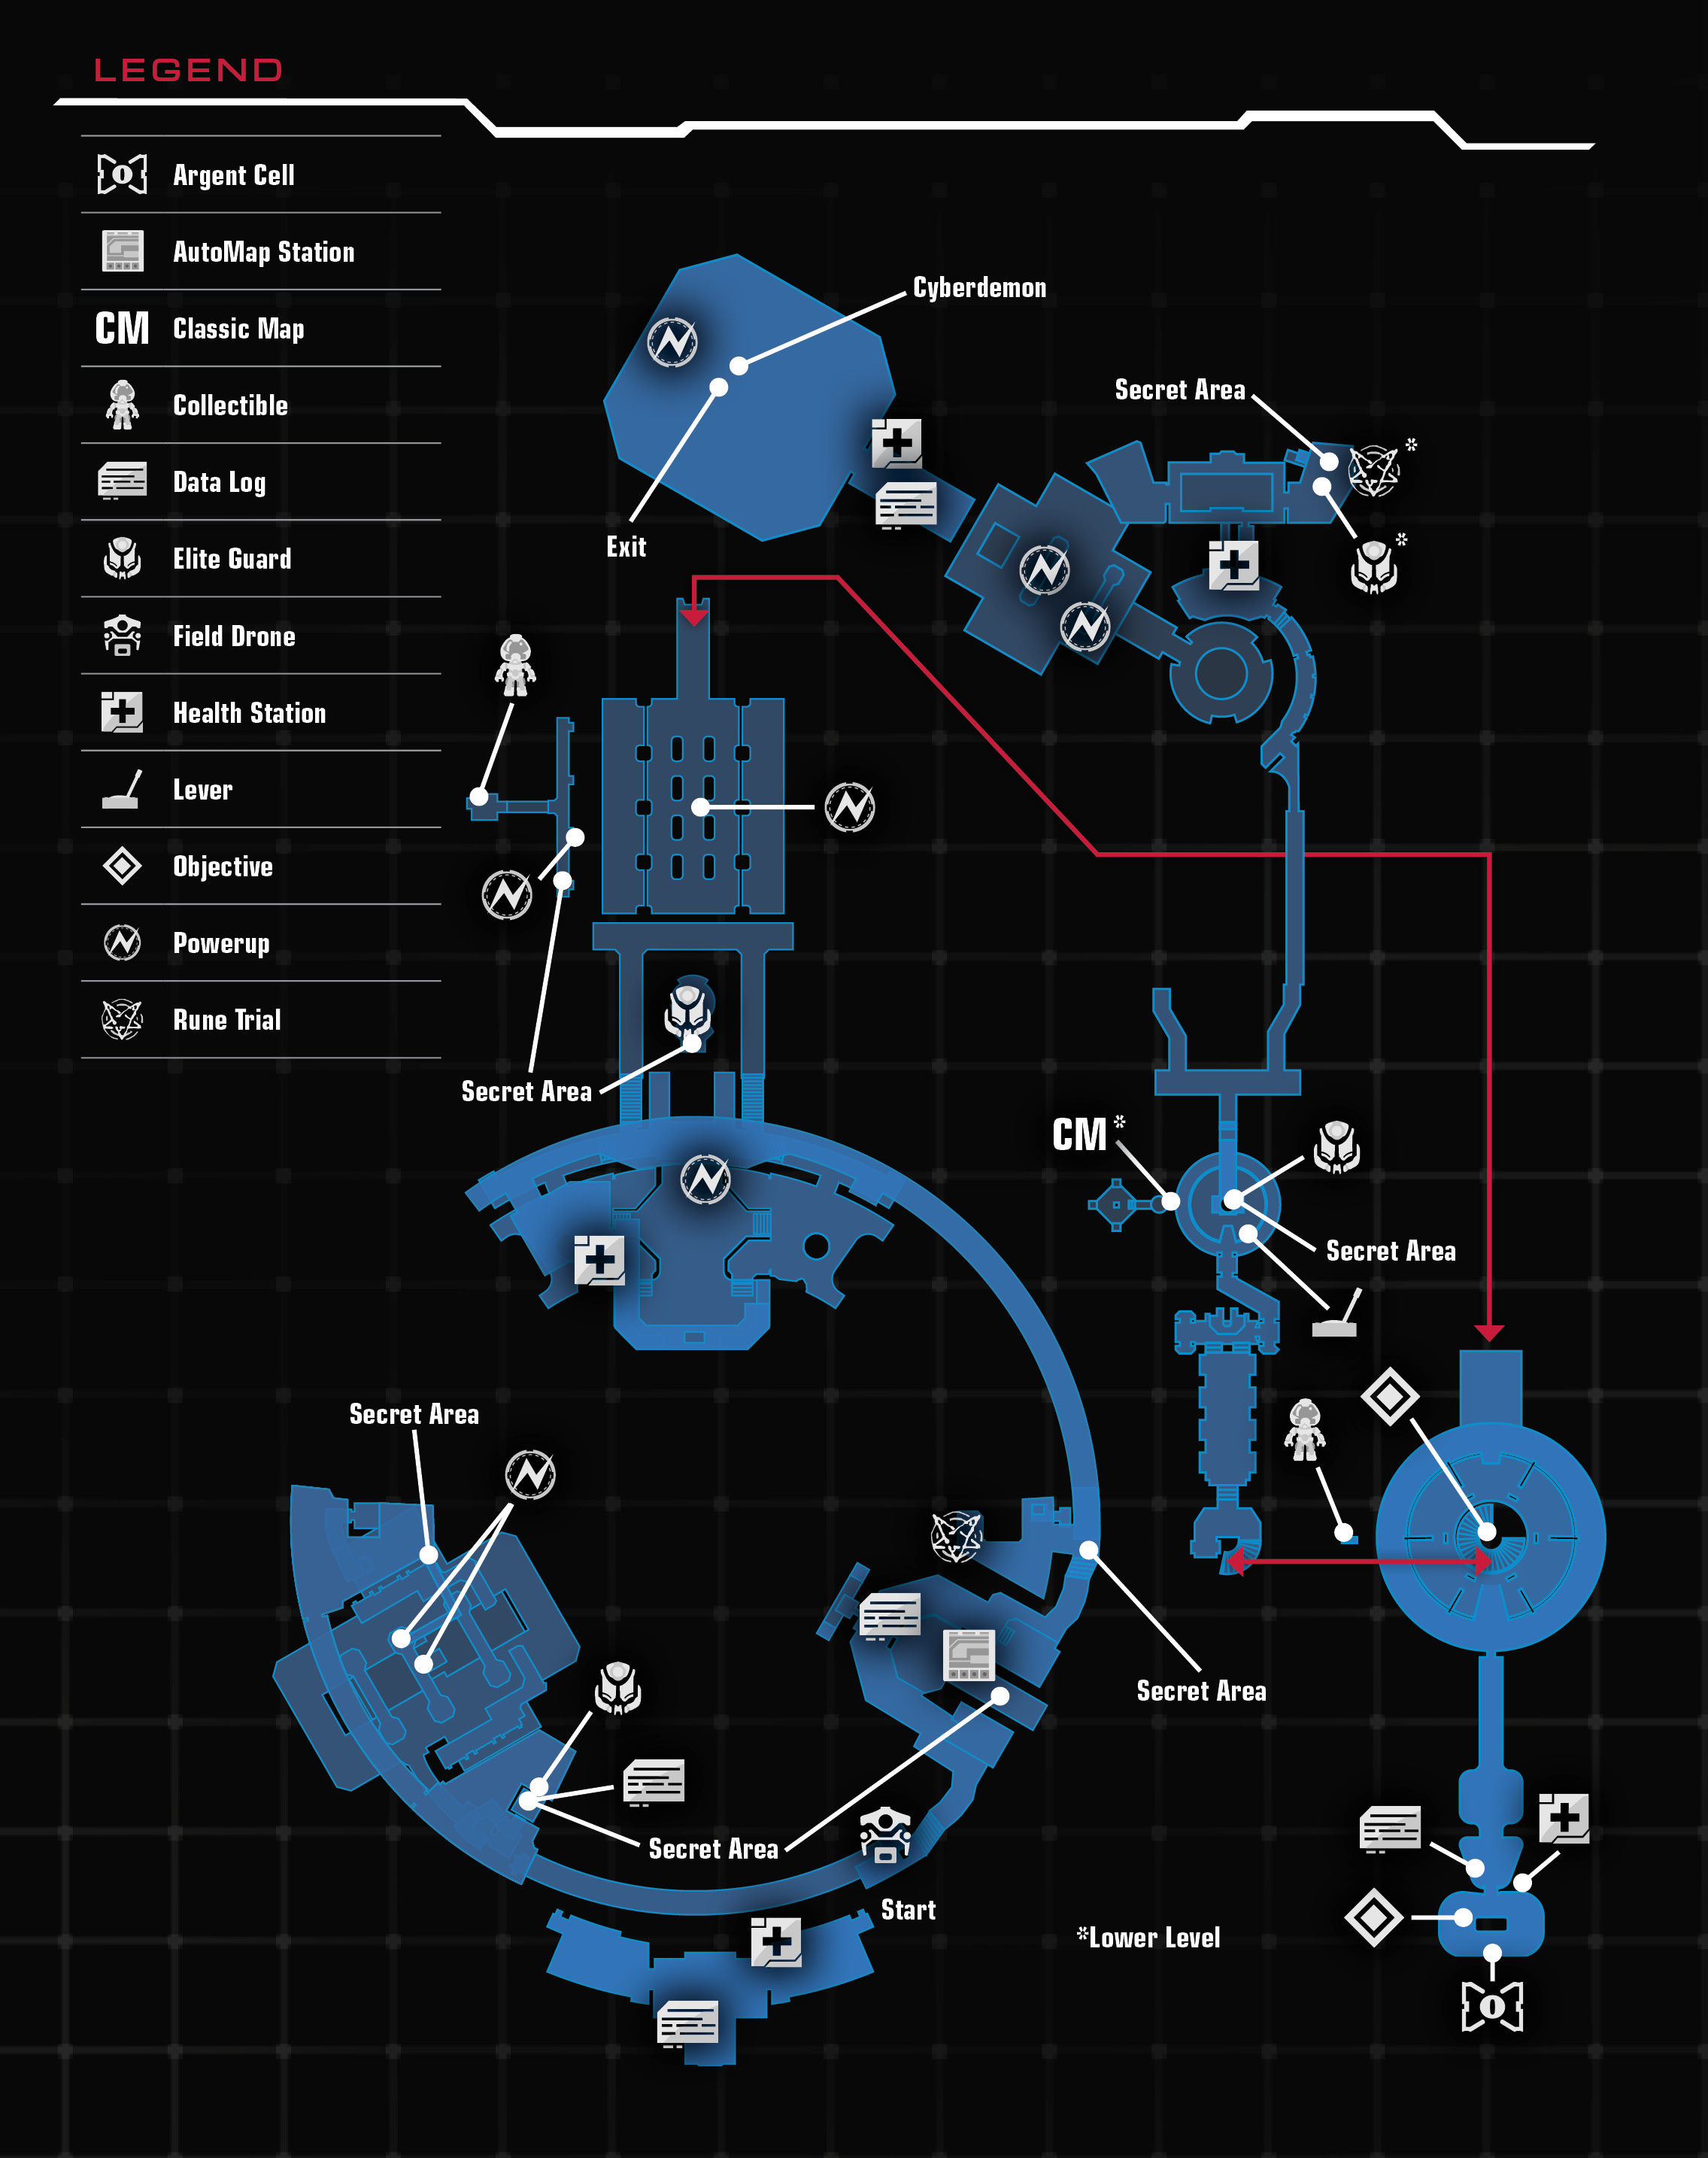
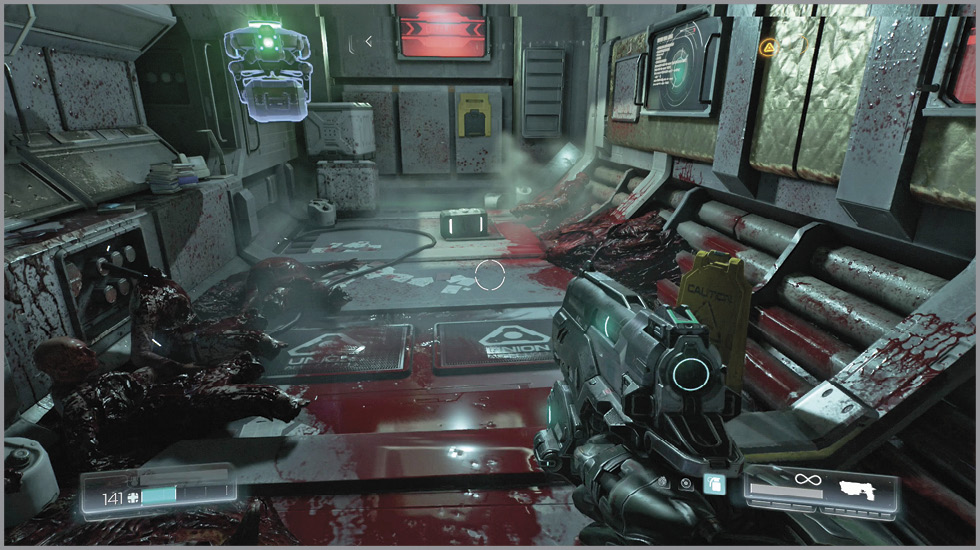
Welcome to Lazarus Labs, where Olivia released the demons and activated the Lazarus Wave. Your goal is to find the Helix Stone in her private offices. This facility is overrun with monsters, so always be on alert. Exit the elevator, use the Health Station ahead to heal any injuries, and exit via the left door.
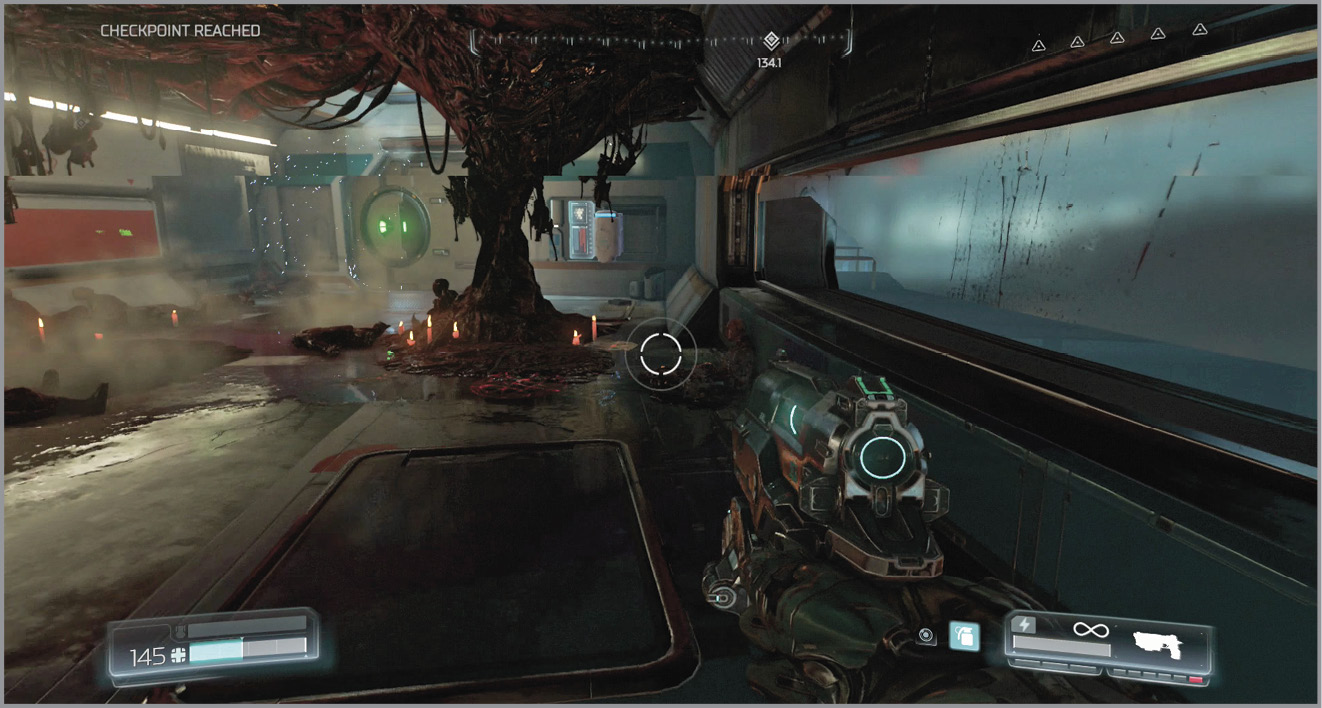
There’s a Data Log on the counter to the left. Grab it while an echo recording plays. In the next room, collect the Siphon Grenade on the floor. Drop into the left shaft to join the demons below.
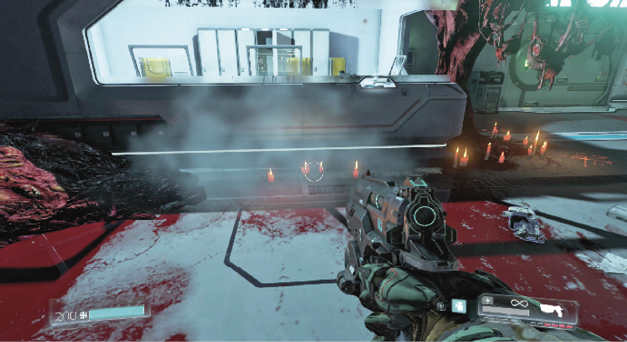
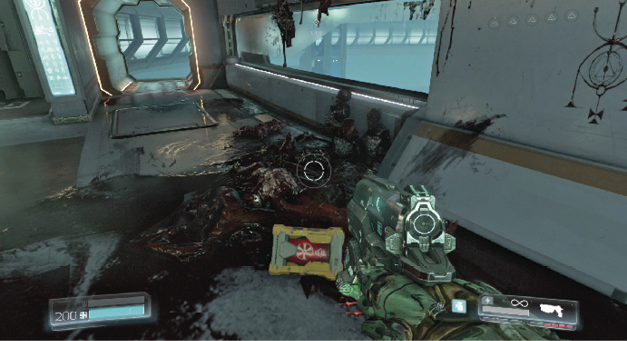
Siphon GrenadeYour third and final equipment item, the Siphon Grenade slightly damages enemies within its radius while healing the player. It’s great against groups of demons, especially if you’re low on health. |
Wipe out the monsters that come to investigate your arrival and then move down the corridor on the left. In the next room, grab supplies from the munitions crate and move around the white crates. Climb up the chute in the corner to find a Mega Health and drop into the next battle arena.
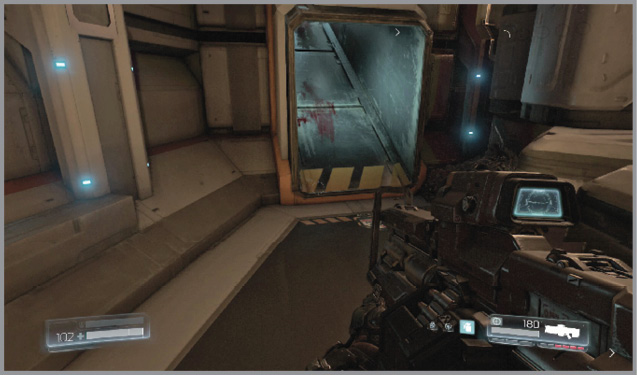
Eliminate the monsters in the room and then destroy the Gore Nest. Use the upper walkways and cargo containers to escape the next demon assault, staying on the move to avoid getting surrounded. The upper platforms are littered with small armors, so spend some time up there when damaged. More containers open up as the fight goes on, revealing some valuable items like the BFG ammo in the pit. There’s a Haste powerup atop the container in the middle of the room.
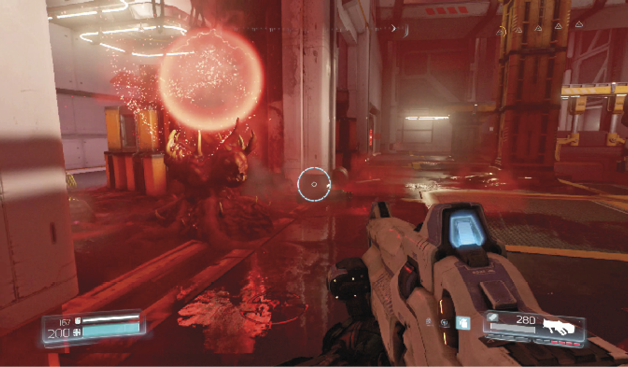
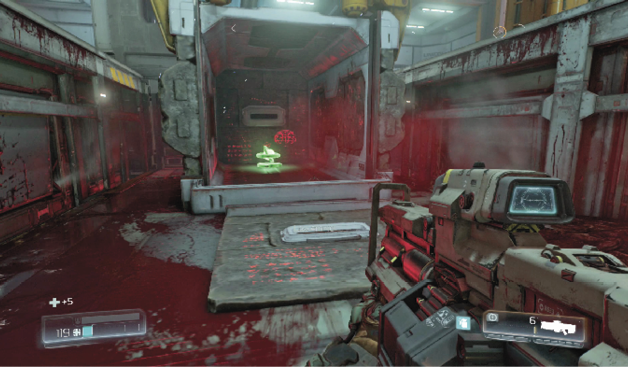
With the lockdown negated, exit via the unlocked door and climb the equipment at the other end to reach the Sector 5 door. Before exiting, turn around and hop into the maintenance access. Follow it to the end and pry off the vent cover to find a Data Log and Elite Guard inside an elevator.
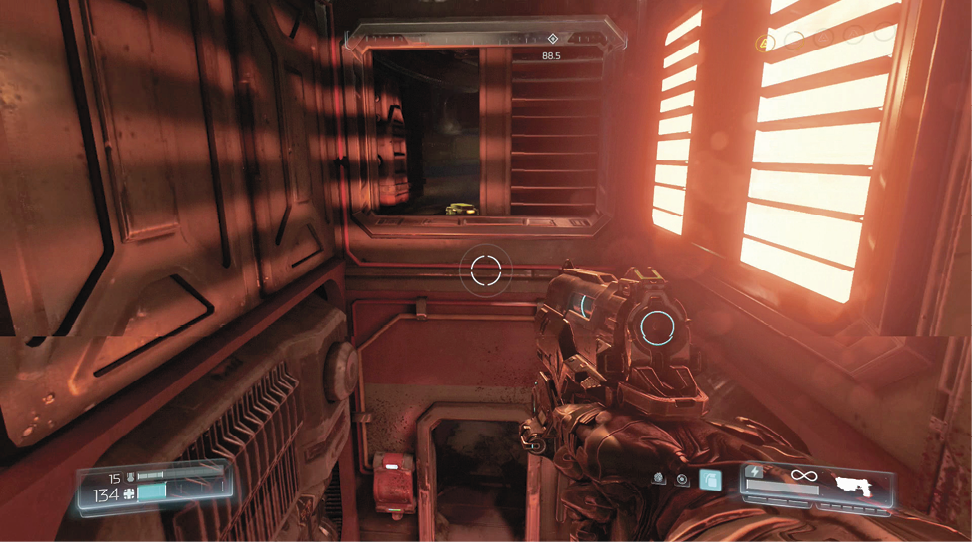
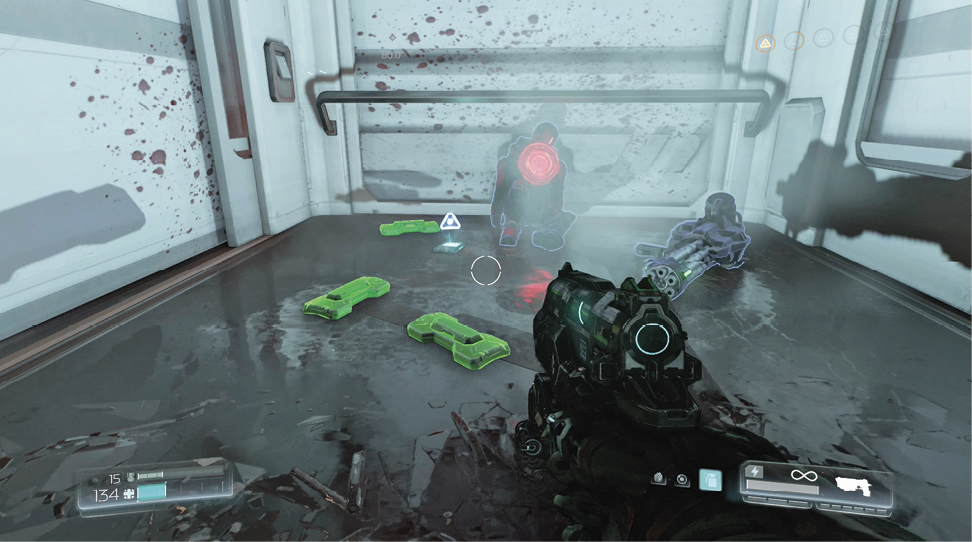
Return to the previous door and proceed inside. Take the walkway through a second maintenance door to find a Field Drone. Double jump into the hatch above and kill the two Possessed Soldiers ahead. In the next room, jump into the hole in the right wall, move around to the left, and drop into the room below. Interact with the AutoMap Station against the right wall before crawling into the vent on the far side of the room. Climb onto the ledge to the left or right and then jump to the middle. Punch out the vent cover to end up in a control room, just past where you jumped into the wall.
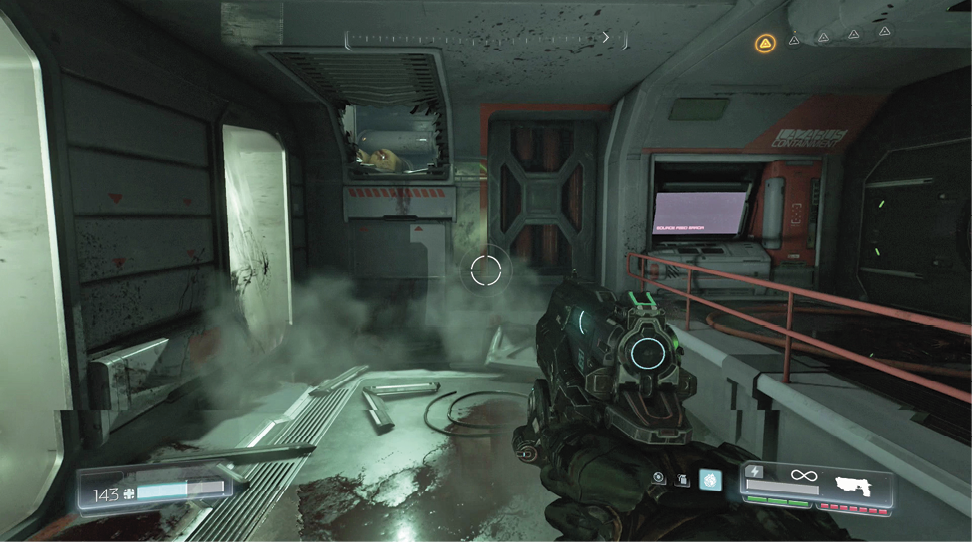
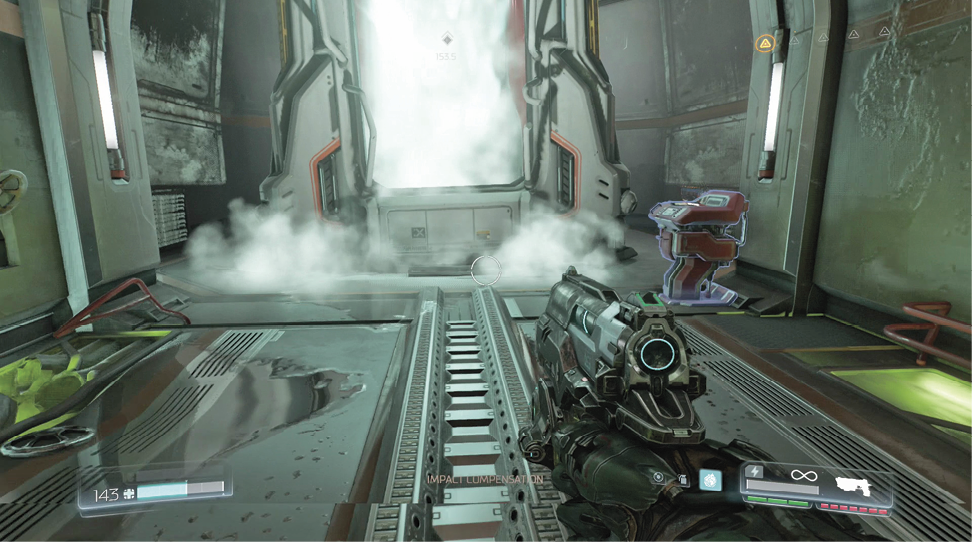
Grab the Data Log off the desk and then continue left. Fight your way through the door on the left and up the steps. Take out more demons in the following long corridor and then enter the Research Division on the left. A Health Station offers an opportunity to heal before moving on to another big fight. Follow the passageway to a hole in the floor and drop down to the lower floor.
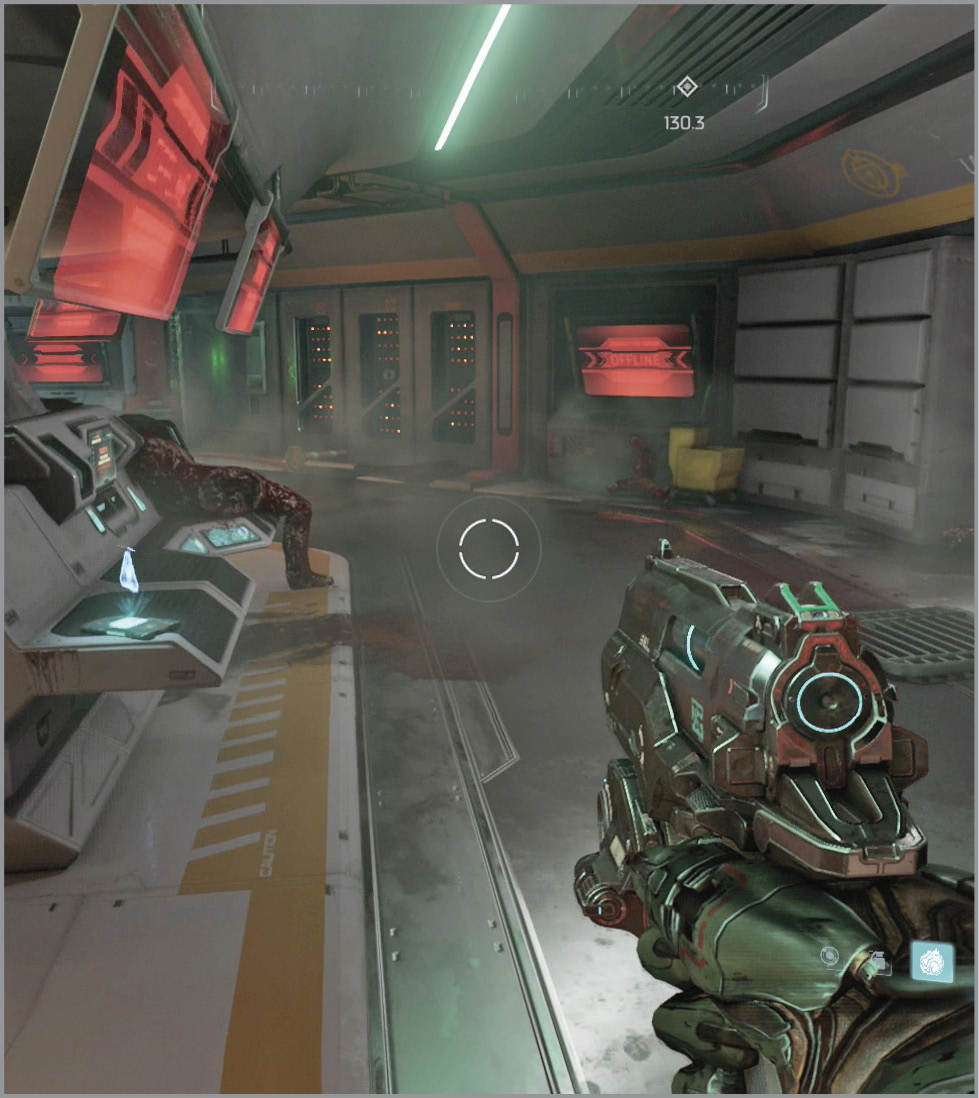
Rich Get RicherObjective: Armed with the Rocket Launcher and using only the resources found in the area, eliminate all targets before the timer expires. Targets will not drop resources when destroyed.
At the top of the steps, open the hatch in the floor to drop into a maintenance access. Move further inside and double jump up through the hole in the ceiling to find the Trial Stone. Equipped with a Rocket Launcher, take out 14 demons around the arena in 1:30. There are neither time bonuses nor any health pickups. There are a few ammo pickups in case you run out of rockets. You must stay on the move and always be aware of your surroundings. Take too many hits from the monsters and there is no way to recoup the losses. Quickly fire rockets at the enemies, finishing them off with Glory Kills when available. Splash damage also works to weaken the foes, so firing an explosive at their feet or a nearby wall is better than nothing. 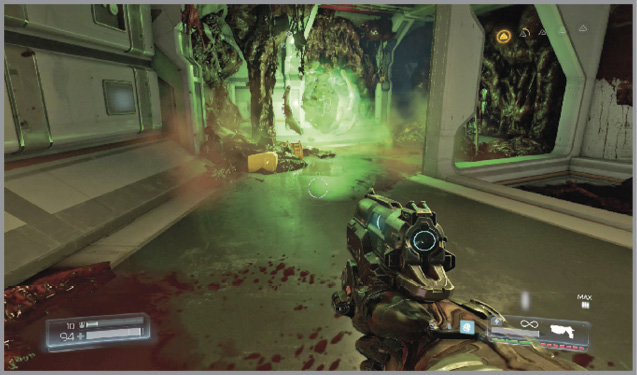 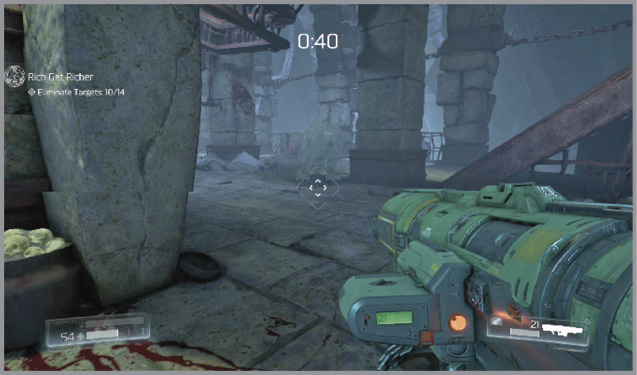 |
A large assembly of monsters attempts to keep you from progressing toward your objective. The arena is made up of six rooms, providing some cover if things get too hairy. Portals located in the far left and right corners send you back into the middle room if you end up getting pinned down. A Quad Damage powerup in the middle room offers a little help. Use your full arsenal to kill the demons and then move to the back of the room. Climb up to the big cargo door and use the console on the left wall to gain access. Step inside to find an Elite Guard. Exit through one of the two doors at the base of the back stairs.
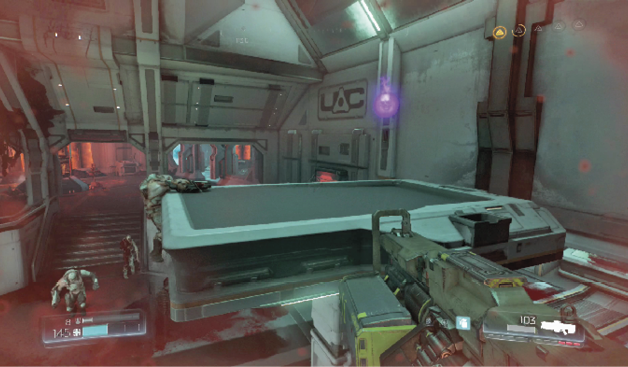
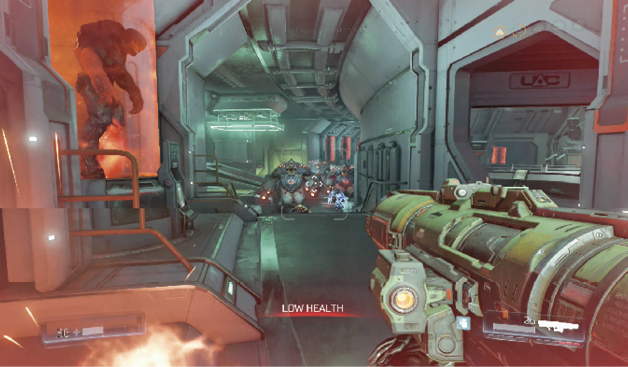
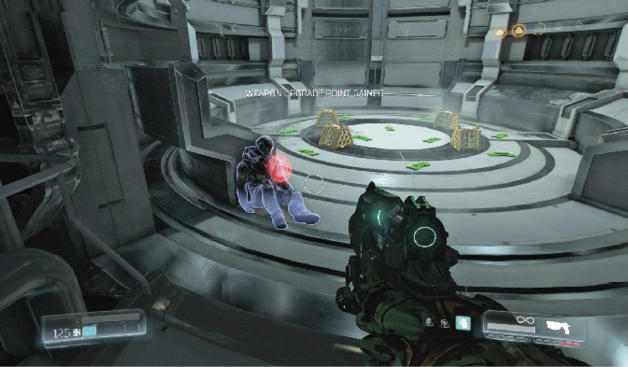
Follow the corridor until you find a munitions crate in the right corner and then pry open the door. Several demons occupy the next room, including Pinkies. Grab the Haste powerup in the middle of the room to assist in avoiding their charge attacks. More monsters spawn in as you defeat them, so stay on your toes. If you need a health boost, climb behind the second Artifact on the left to find a Mega Health.
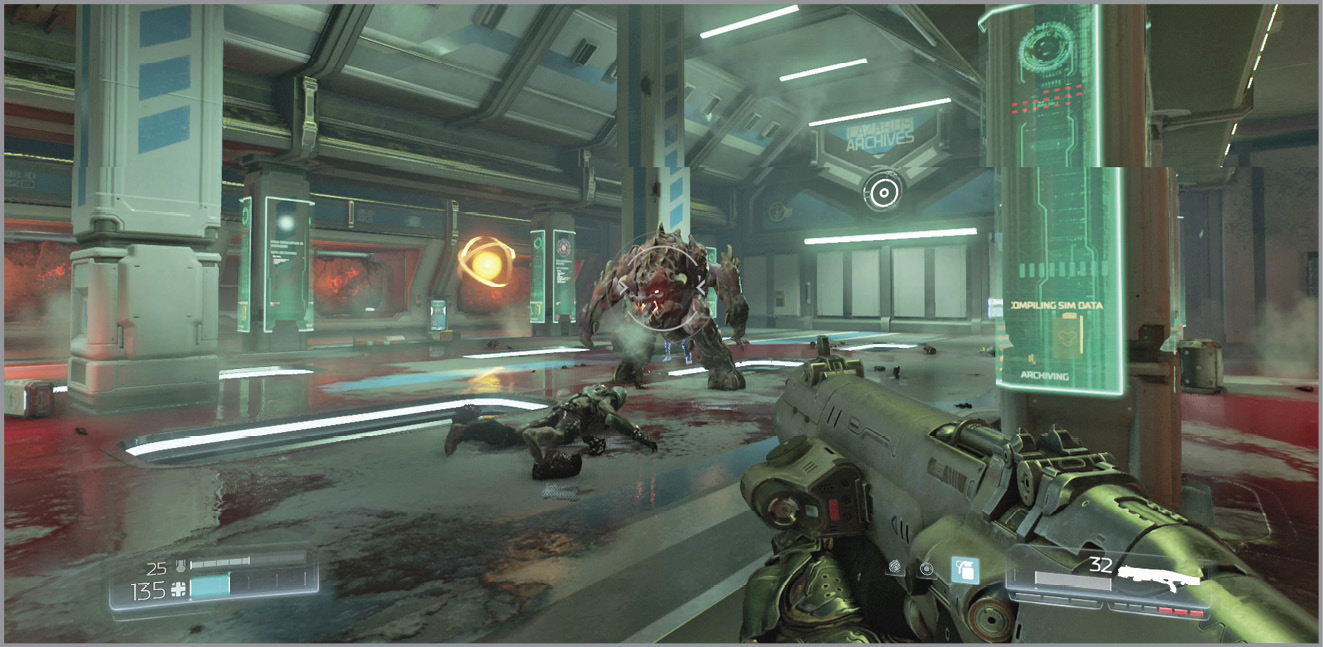
Return to the room and head left toward the exit. Activate the Lift Access to descend into the Lazarus Archives. Move through the lobby into the archives proper.
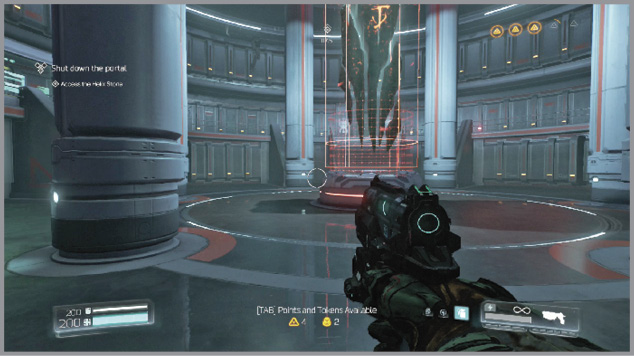
Exit via the other side and follow the corridor to a desk and an echo recording of Olivia. Swipe the Data Log from the desk and interact with the terminal to disable the security lock and reveal a hidden lab behind you. Move inside and collect the resources around the room, including BFG ammo and an Argent Cell.
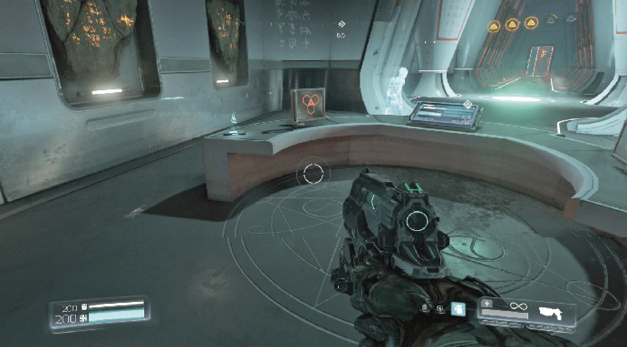
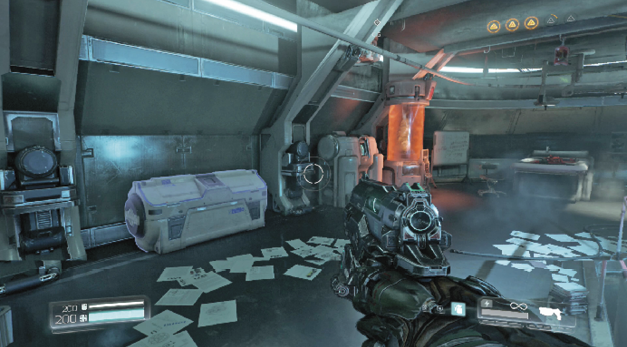
Interact with the Helix Containment Field console to disable the protection for the Helix Stone. Return to the archives and access the console in the middle of the room.
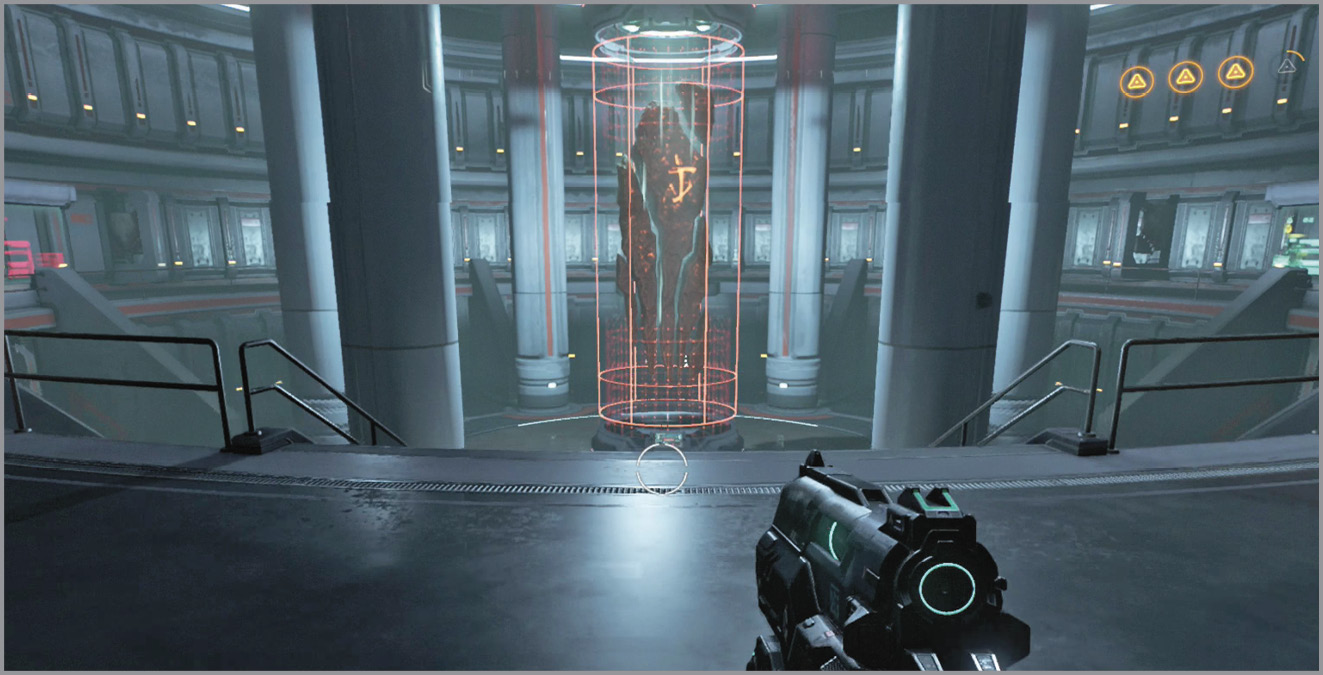
Reclaim the Crucible
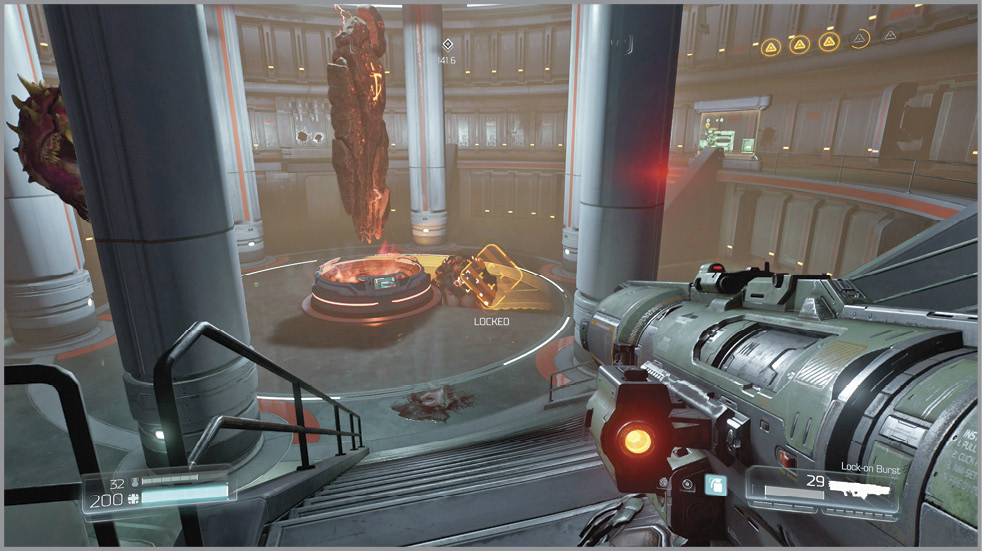
Demons spawn into the archives, so begin taking them down. Pillars around the outside of the room do offer a little protection. Move around the outside as you pick the monsters off. Once the room is clear, descend the spiral staircase that has emerged in the middle of the room.
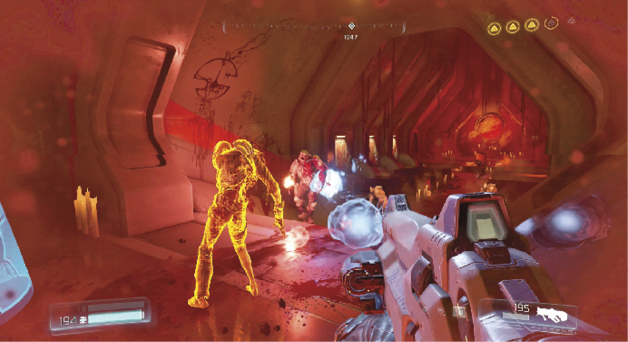
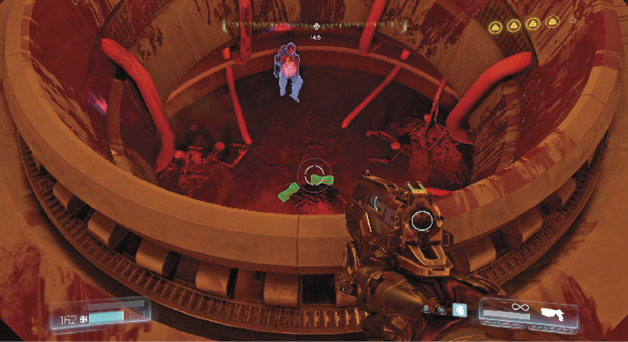
Fight off more demons as you continue through the dark depths of the Lazarus facility. Run through the door on the right and follow the passageway until you enter a circular room. Drop into the pit in the middle to find another Elite Guard.
Climb onto the balcony and use the Maintenance Hatch Disposal terminal on the far side of the room. As the device comes down on the hatch, jump on top and ride it into a maintenance access.
Move forward and drop down to the lower level. Exit through the door where more demons wait for your arrival. Kill the monsters and then head right. Follow the corridor past more enemies until you find another echo recording playback.
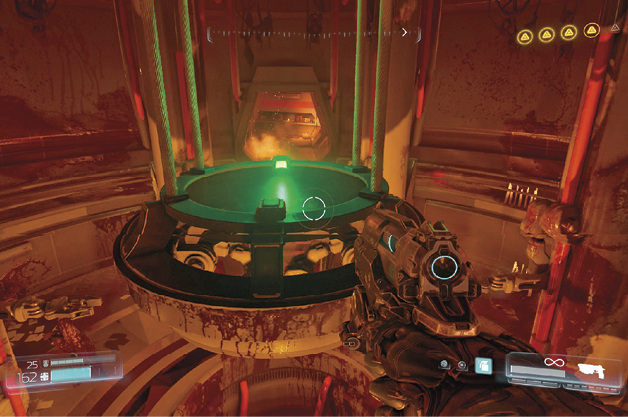
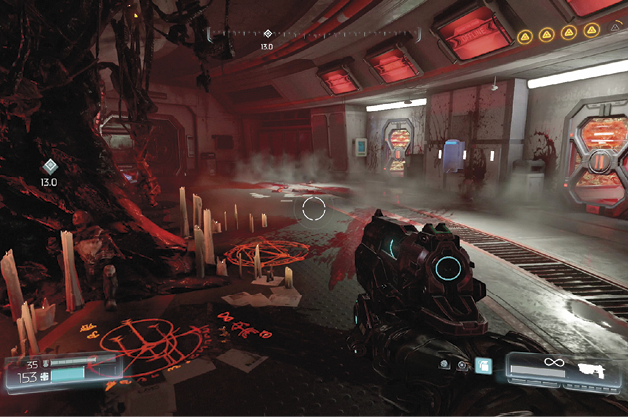
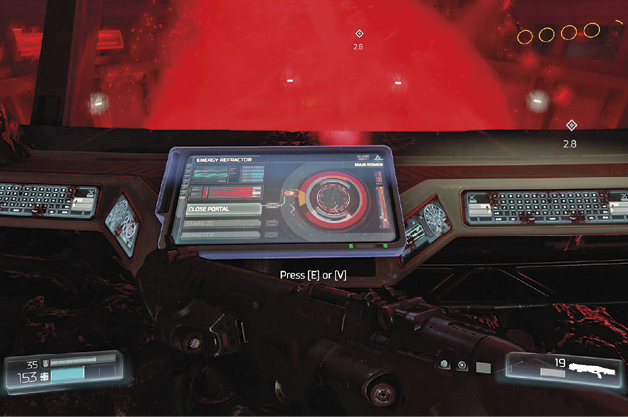
Step over to the computer and interact with the Energy Refractor. Heal at the Health Station behind you before exiting the nearby doors, fighting your way into the next area. Step into the right room and climb into the vent shaft. Drop down to the lower floor and continue into the adjacent room to find the final Elite Guard. Watch out as demons may continue to attack.
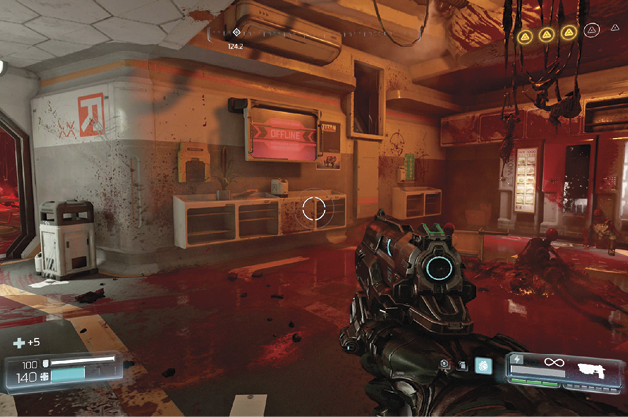
Saving ThrowObjective: Armed with the Gauss Cannon and using only the resources found in the area, eliminate all targets before the timer expires. Health levels are critical and targets will not drop resources when destroyed.
After dropping down the shaft and finding the Elite Guard, access the Trial Stone ahead to begin the final Rune Trial. Equipped with the powerful Gauss Cannon, kill the nine demons that spawn around the map before the 35-second timer reaches zero. Your health is critical and there’s no way to heal, so avoiding the enemy attacks is the key to success. Ammunition is scattered all around the area, so pick these up to keep your gun topped off. A variety of monsters show up in this challenge, including a Spectre. Each foe presents a danger, even the Imps, since one hit ends the trial. The Gauss Cannon requires precise accuracy to take these guys out. Stay on the move when not firing, but don’t spend much time setting up your shot. Avoid getting surrounded when moving through the middle of the map. 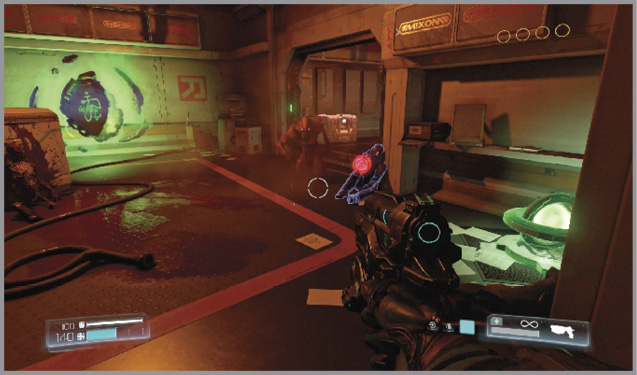 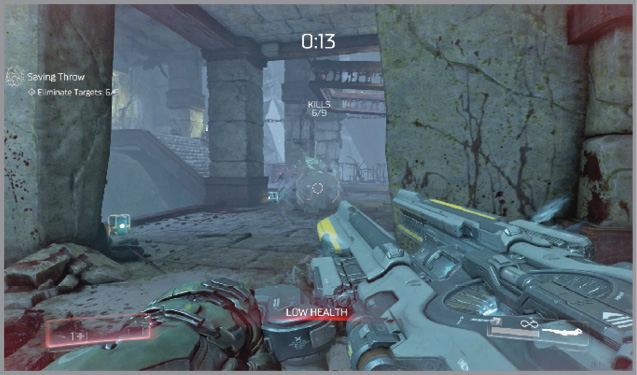 |
Once you’re ready to continue, push forward and slip into the narrow opening on the left. Drop into the circular room and proceed into the hall behind you. Walk into the portal to drop into the arena above.
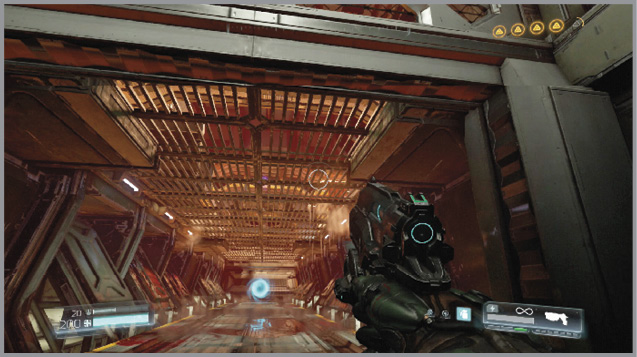
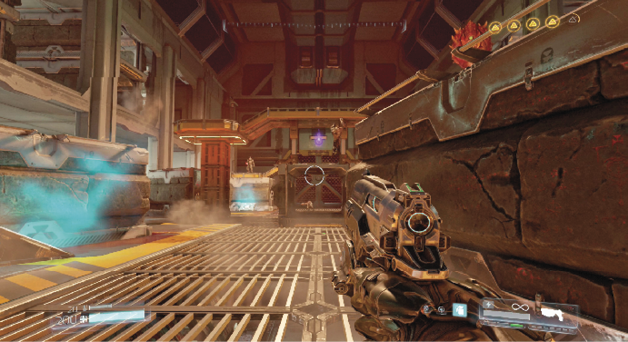
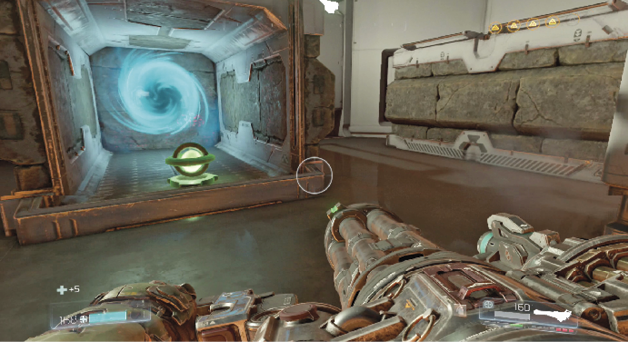
Another group of demons is ready for you here. Grab the Quad Damage that floats above the container in the middle of the room to help in the struggle, though it may be best saved for later. Search the containers for ammunition and keep moving as you fight the monsters. Jump pads and two portals found inside the containers give you the ability to escape trouble and quickly move around the arena. Use your Jump Boots to traverse the multiple levels, breaking lines of sight when under fire. There’s also a Haste powerup in one of the cargo crates. Don’t forget about your special weapons, the Chainsaw and BFG, when things get really rough. A Cyber Mancubus and Mancubus show up at the end of the fight, so don’t exhaust all of your best weaponry.
Collect any resources left over after the fight and then drop down to the circular room that’s now accessible. Once the exit opens up, collect the Data Log and resources before activating the switch on the far door. Meet the Cyberdemon, the flagship creation of the Lazarus Project.