Doom Guide Campaign Walkthrough
Argent D’Nur
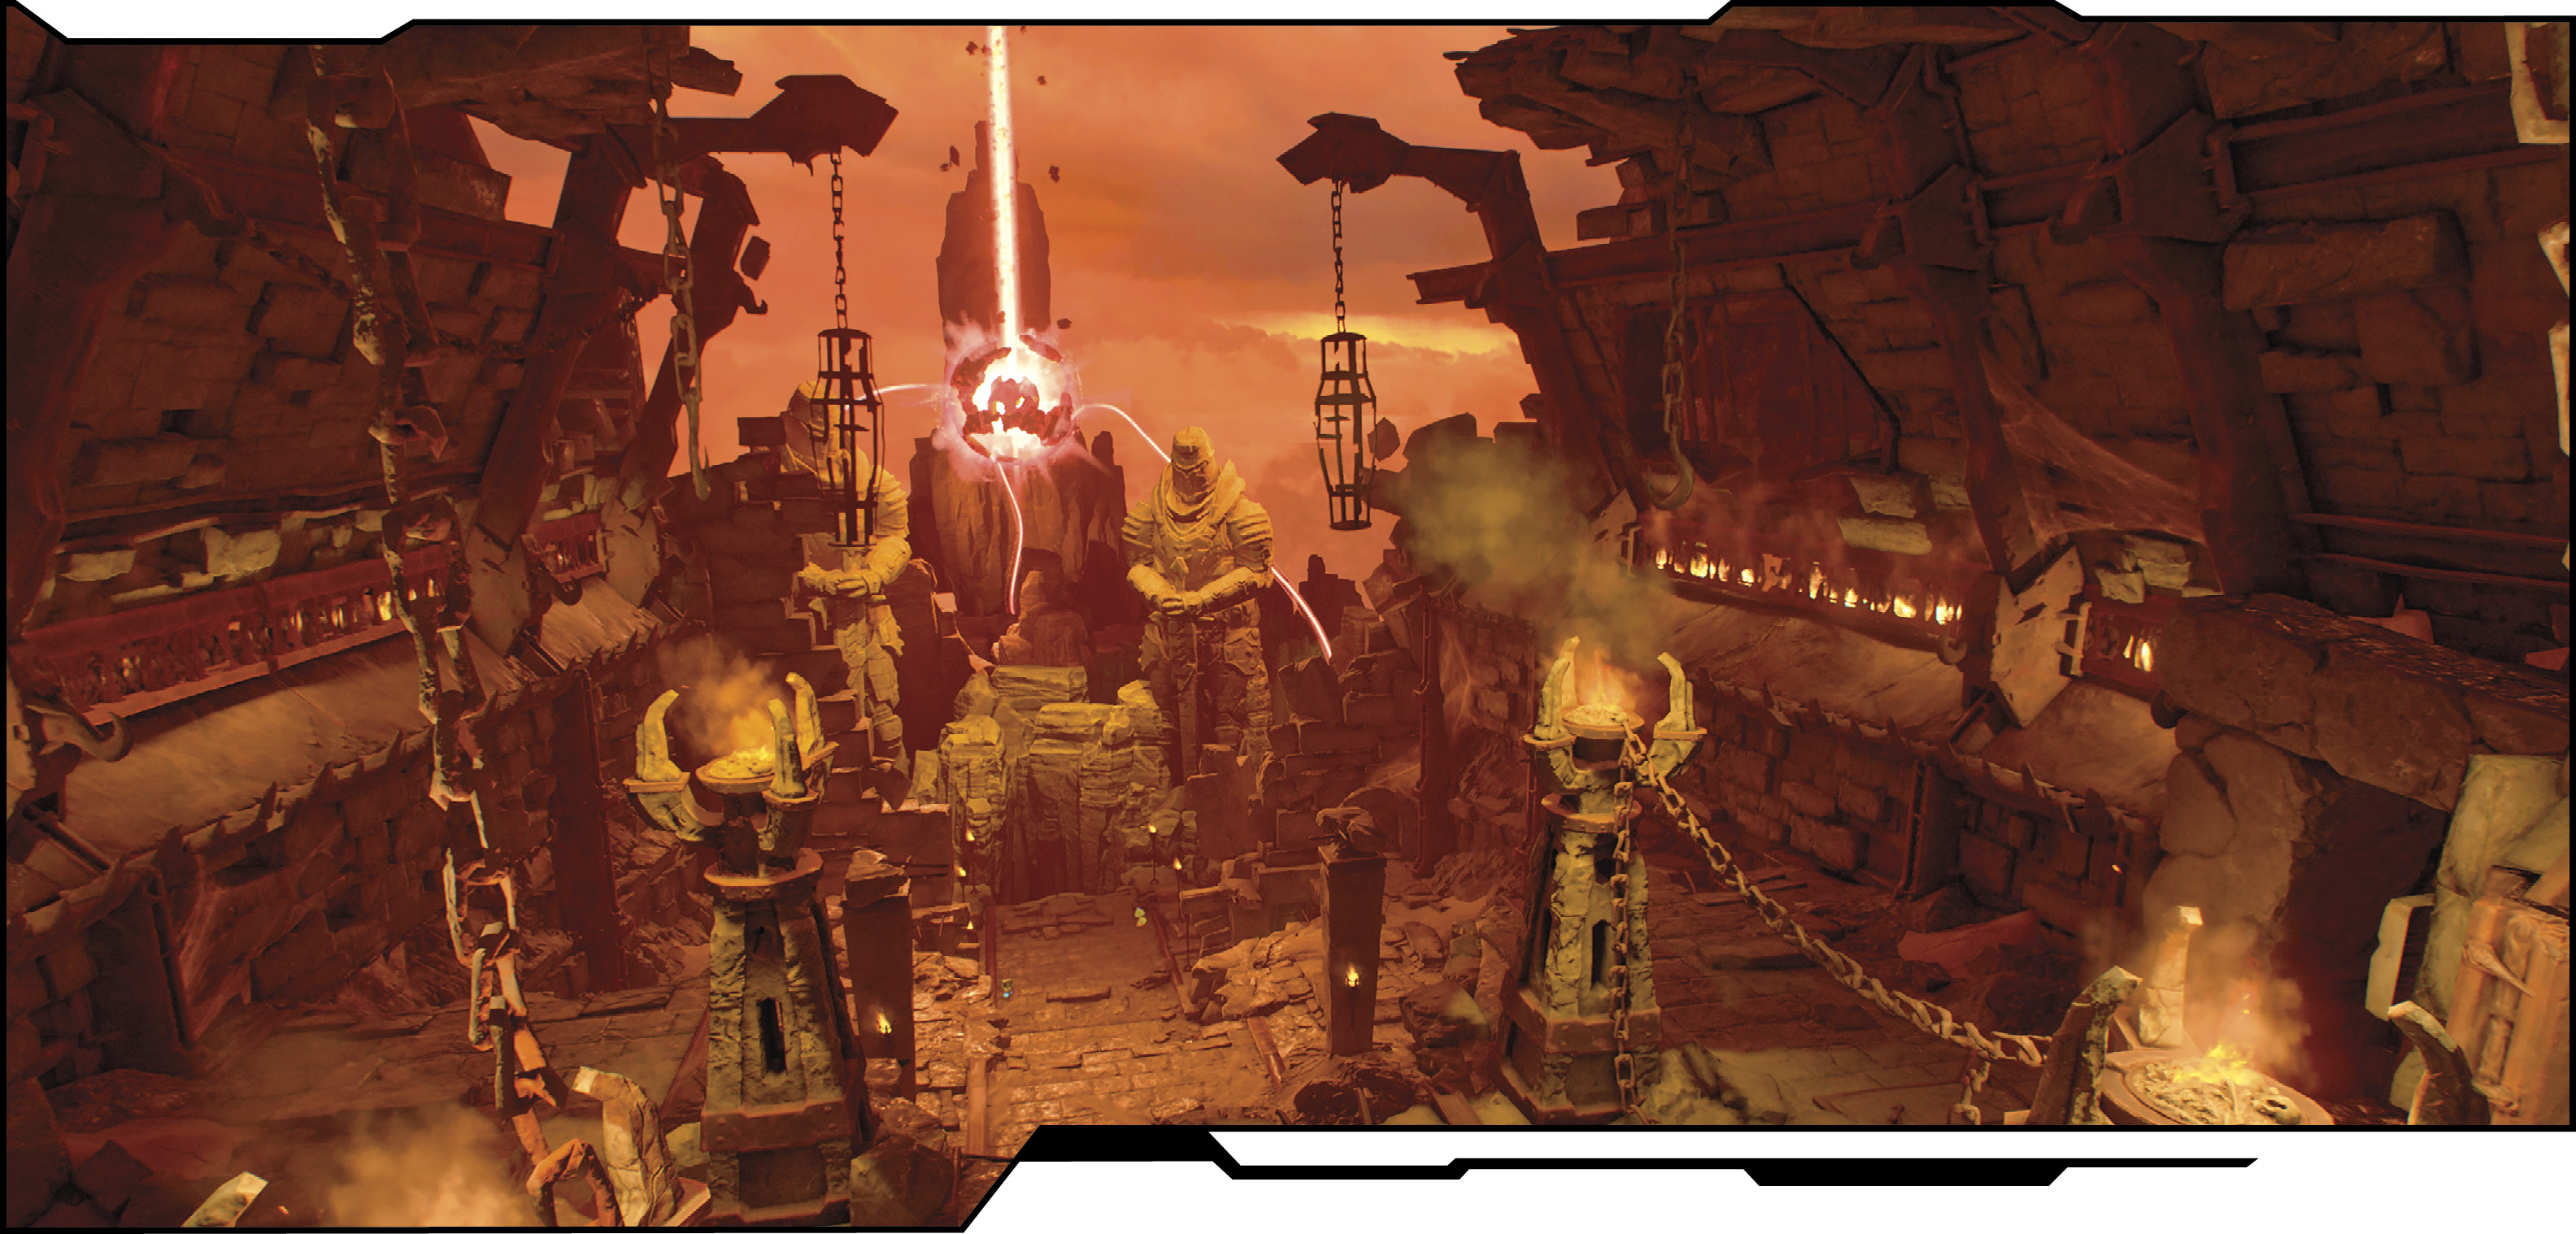
Main Objective Close the Well
New Weapons/Equipment None
New Monsters Spider Mastermind
Challenges
| Challenge | Description |
|---|---|
| Hold Still | Kill 2 Barons of Hell with one shot. |
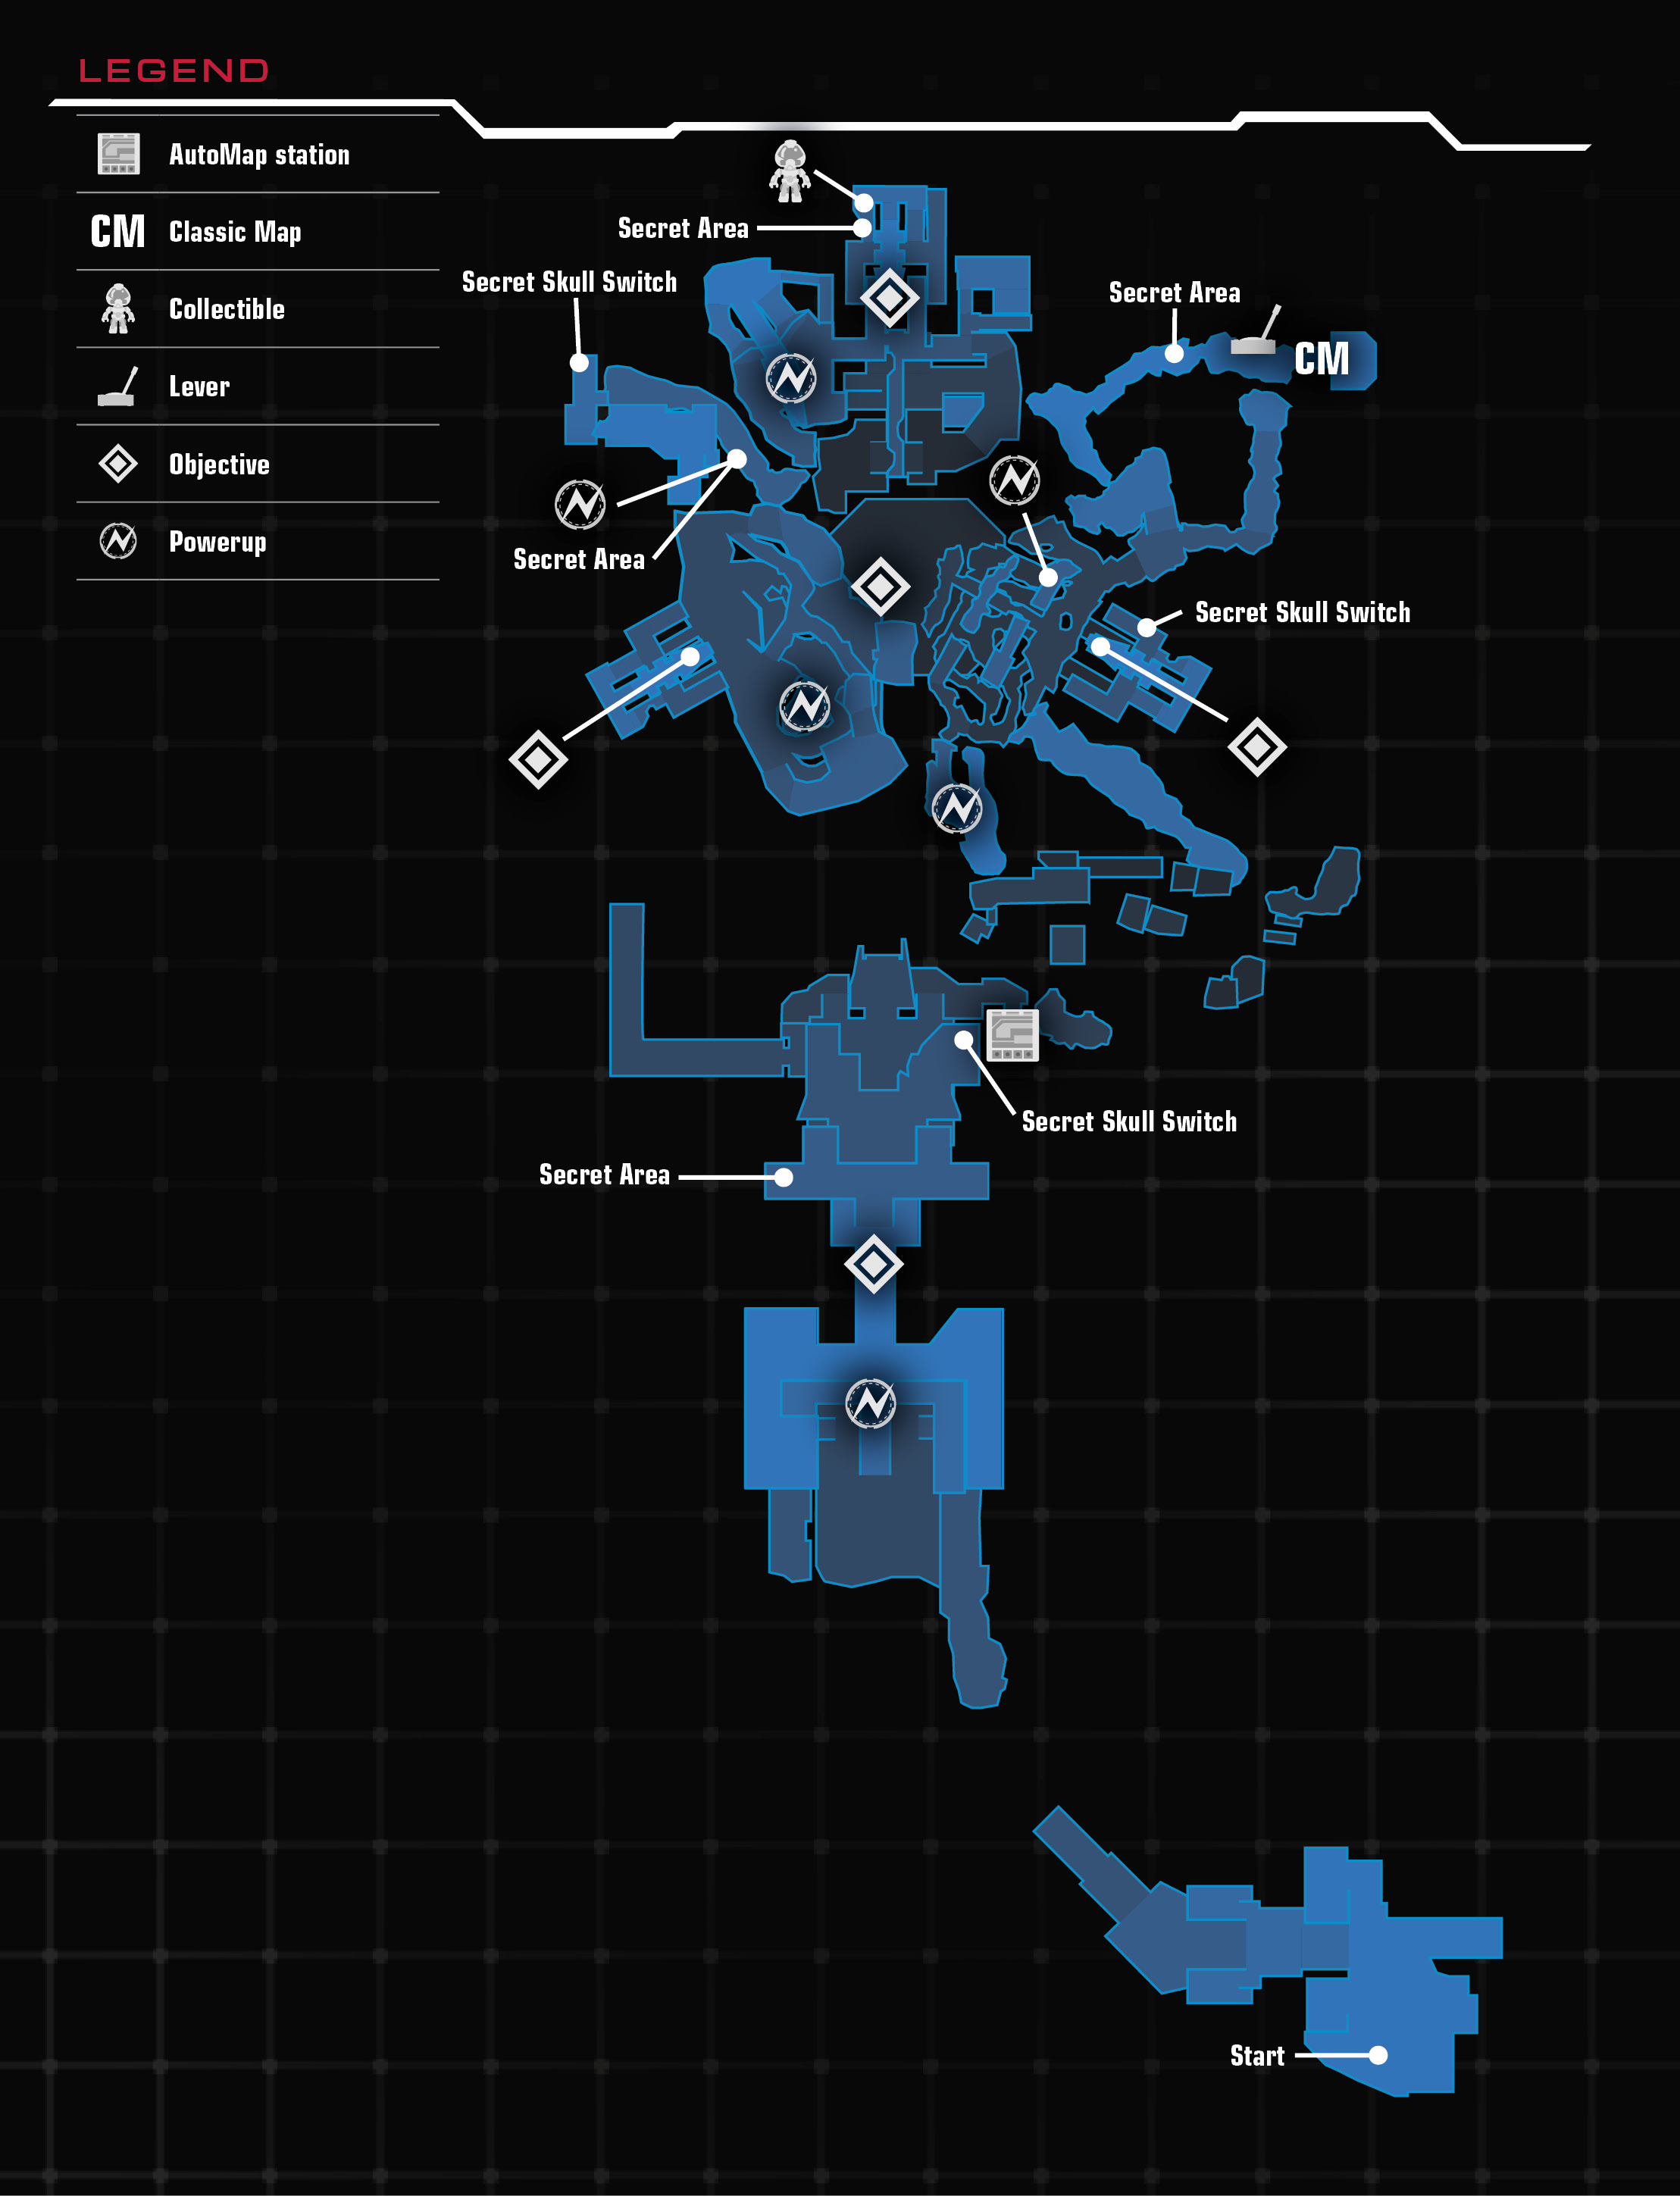
| Uncharted Territory | Find all 3 “Skull Switch” secrets. |
| Big [REDACTED] Gun | Kill 25 demons with the BFG. |
Collectibles
| Collectible | Unlocks |
|---|---|
| Cosmoguy | Chaingun Model |
| Goldguy | Spider Mastermind Model |
Classic Map: DOOM - Pandemonium
Access the Well Cathedral
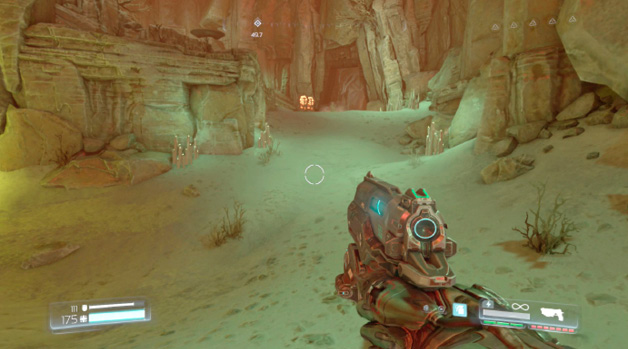
You are back in Hell in an attempt to finally sever the connection between the two worlds. Collect the resources and then head downhill to the left. Hop down to the area below when you reach the cliff edge.
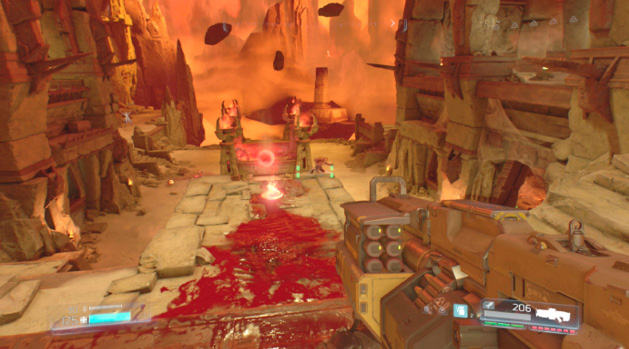
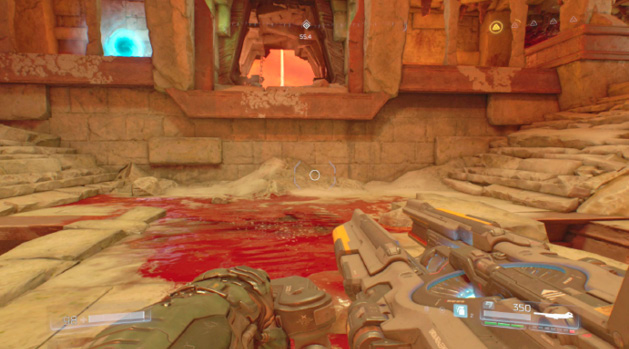
Moving further ahead brings out the welcoming party led by a Cacodemon. You can stand back and fire shots at them for a little while, but you must eventually dive into the action. A blue portal on the left side of the arena leads to an upper level on the far side, while the red portal in the middle takes you to an upper level on the right side. Use them to quickly move between the floors and escape danger. There’s a Berserk powerup in the middle of the battlefield. Use it after disposing of a few weaker enemies. Once the area is clear of monsters, pass through the doorway next to the blue portal.
Lay the Wraith’s Souls to Rest
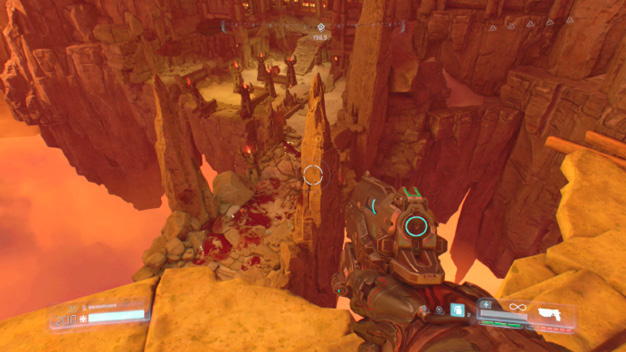
Three Wraith’s Souls must be laid to rest, but demons guard all three. These groups of monsters are extremely intimidating. You must deal with them before tackling the Wraiths.
Take out the Unwilling as you drop to the middle level. Run over to the Secret Skull Switch in the far-right corner and activate it. This reveals a stepping stone to the left, which allows you to return to the upper floor. Collect the BFG ammo and fuel from the cubbyhole on the right. A passageway accessed on the left side of the bottom level leads to more resources, though this also spawns a Cacodemon and Hell Knight, so be prepared.
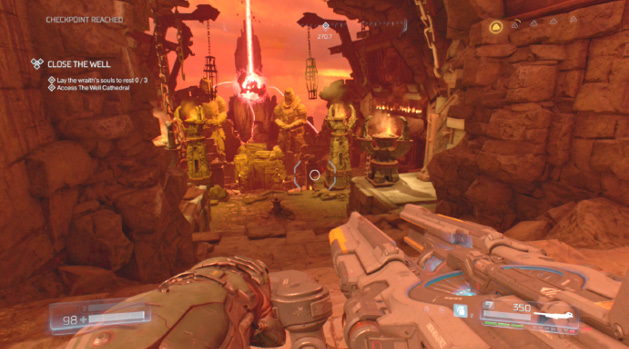
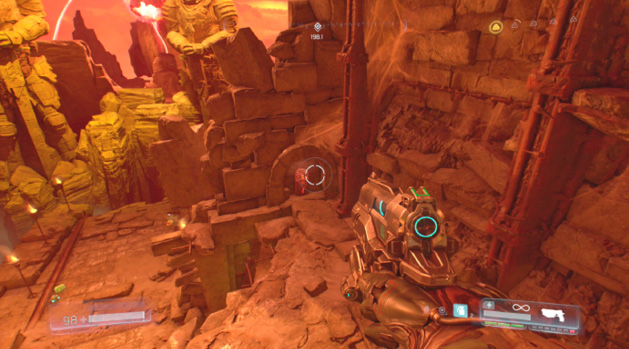
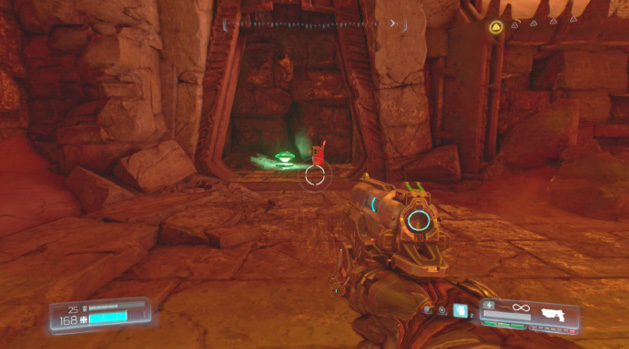
Exit the tunnel and follow the path out the far side. Before jumping across the ravine, take the route to the right to find the AutoMap Station. Then jump across and head right, taking out the Lost Souls before they attack. Zigzag your way down the ravine, killing the Cacodemons as you go. Climb the ledges on the right side and turn left toward your objective to find a rock formation blocking your way. Jump to the right of it and then double jump to the landing.
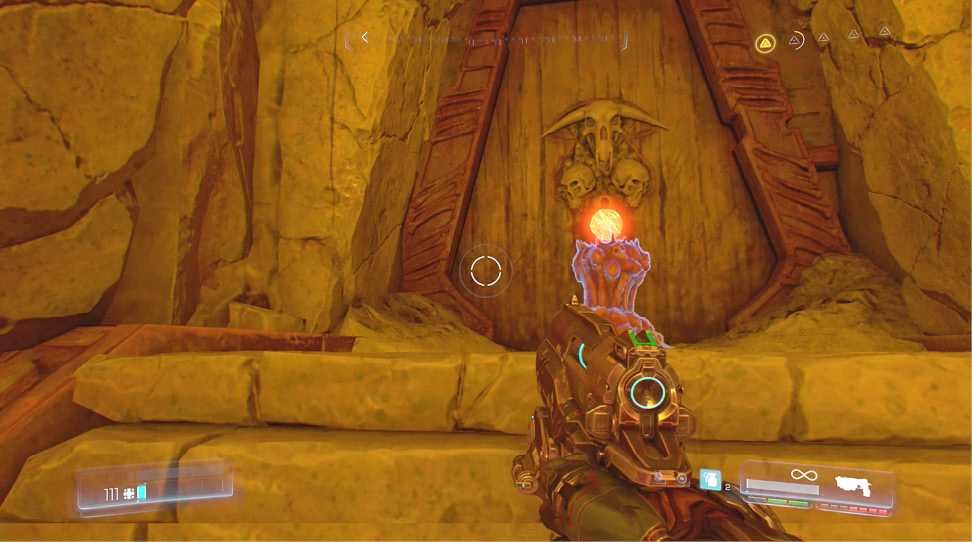
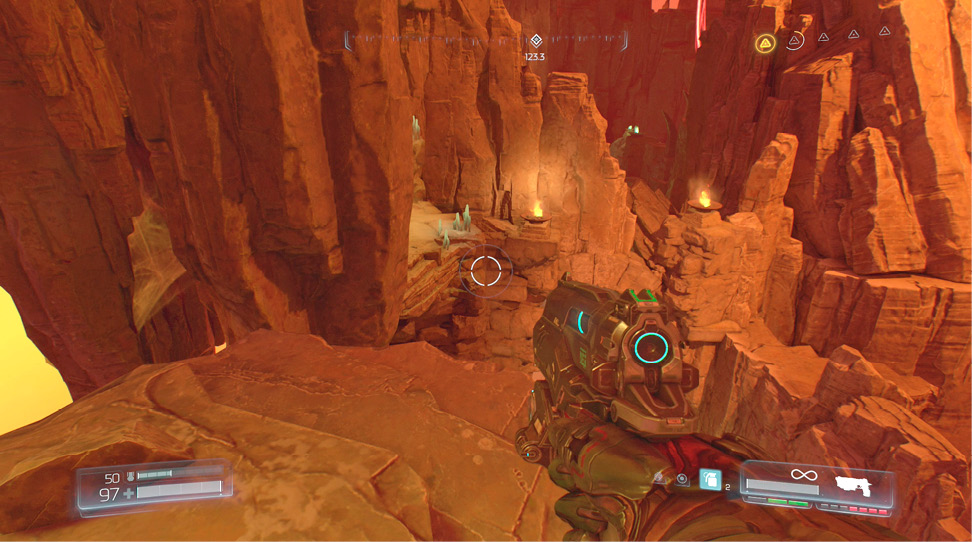
Wraith’s Soul #1
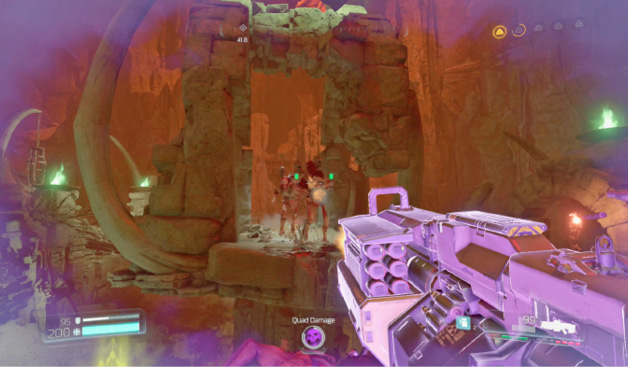
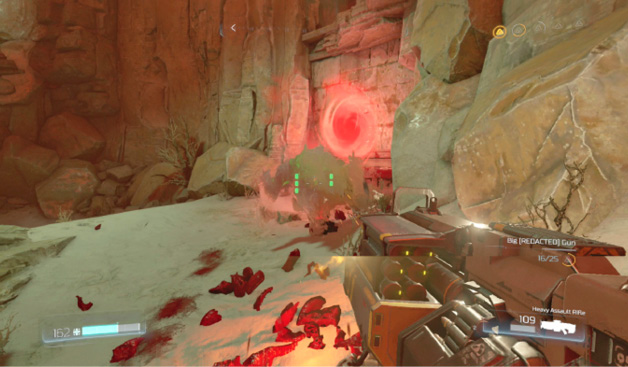
Stay on the trail and collect the Mega Health before reaching the first Wraith battle. The rock formations around the arena create plenty of platforms for you to hop across, using them to escape from danger or as vantage points. Short tunnels on the lower level offer a little cover when things get hairy. There’s a Quad Damage powerup on a platform in the middle of the area, but it is best saved for later when the fight gets overwhelming. Red portals on each end of the battlefield allow you to move from one side to the other in a hurry.
Take advantage of the high number of demons at these Wraith battles to work on the third Mission Challenge, pulling out your BFG when a big group presents itself. The fight can get hectic if you aren’t careful. Stay on the run, quickly move between the different levels, and use the rocks to break line of sight.
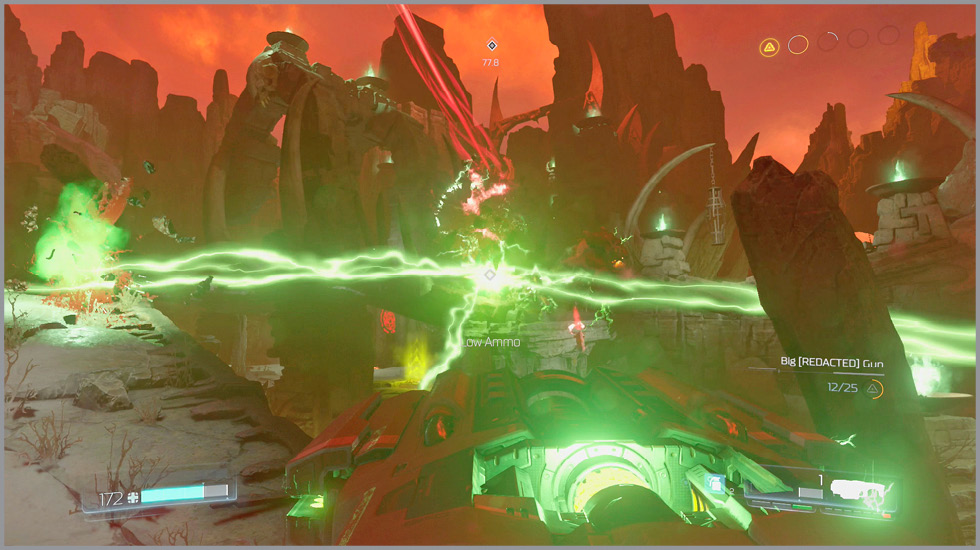
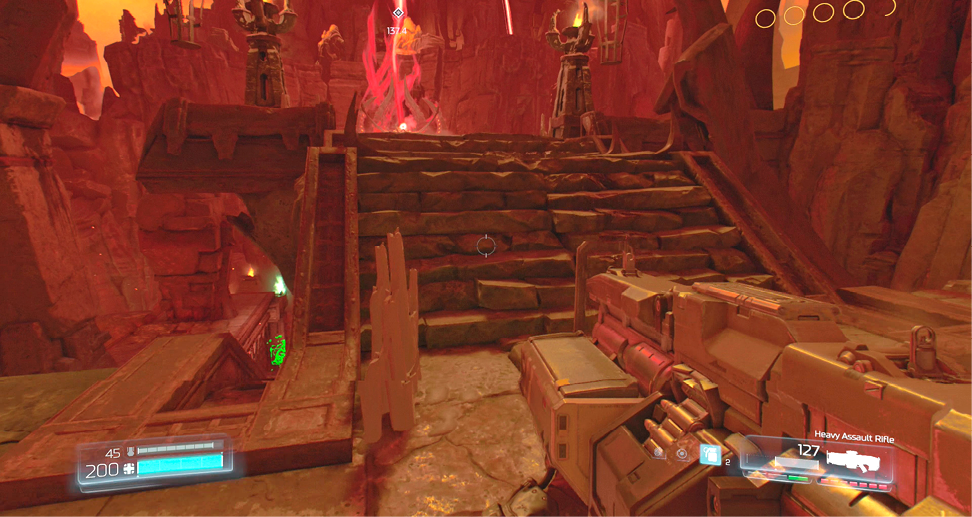
Once the monsters have been disposed of, two gates open up, allowing access to the first Wraith. Collect any remaining resources and then move through the left opening. Ascend the steps until you reach the Wraith. Interact with it to lay its soul to rest. Drop off the right side to the landing and activate the Secret Skull Switch.
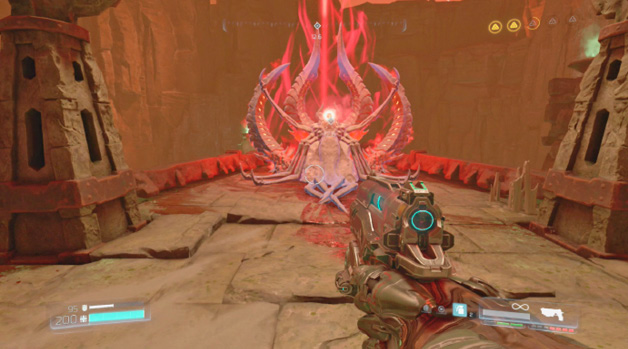
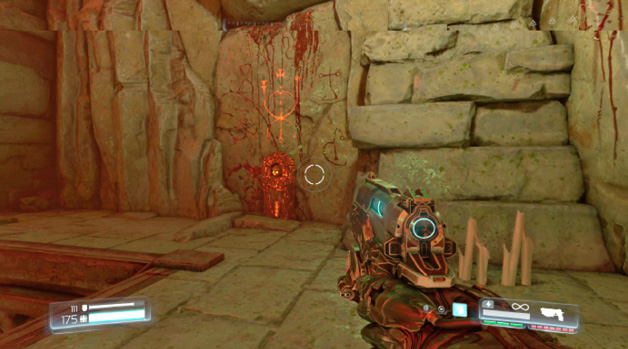
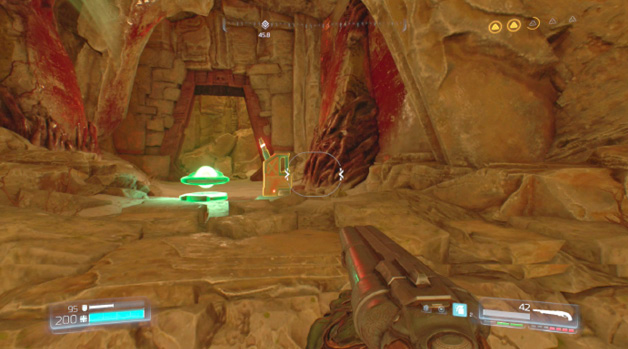
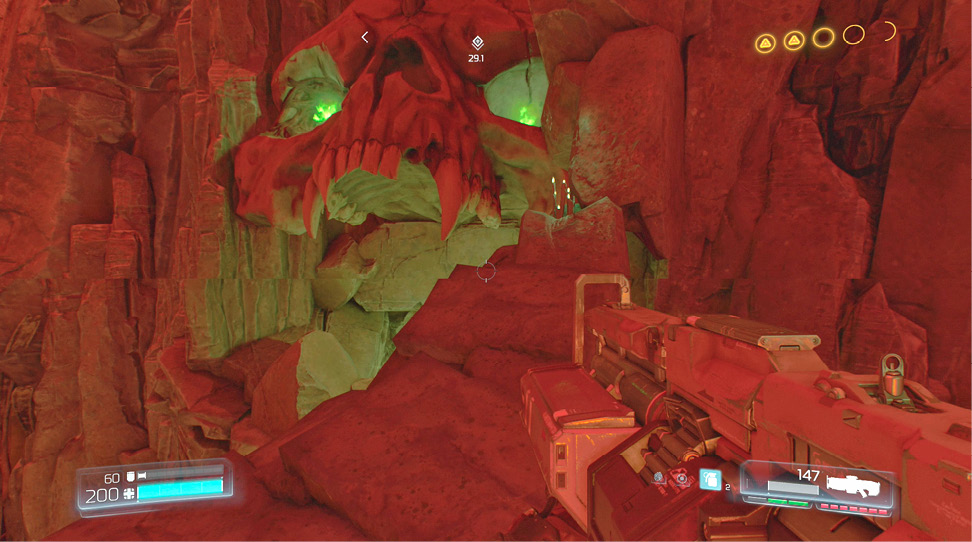
Return to the battlefield and go right toward the objective. Instead of jumping up to the skull, enter the new opening on the right to find the second secret area. Collect the resources as you navigate the passage to the other side.
Wraith’s Soul #2
Turn right and observe the second Wraith battlefield. You can spend some time picking demons off, but watch out for the Imps’ fireballs. This area is more structured than the previous with pillars and stone bridges providing a multi-level arena. A red portal on the ground level, below the gates, sends you to the main level at the far end of the space. There’s a Berserk powerup on a butte just above the red portal. Save this for when the Mancubi appear to make quick work of them.
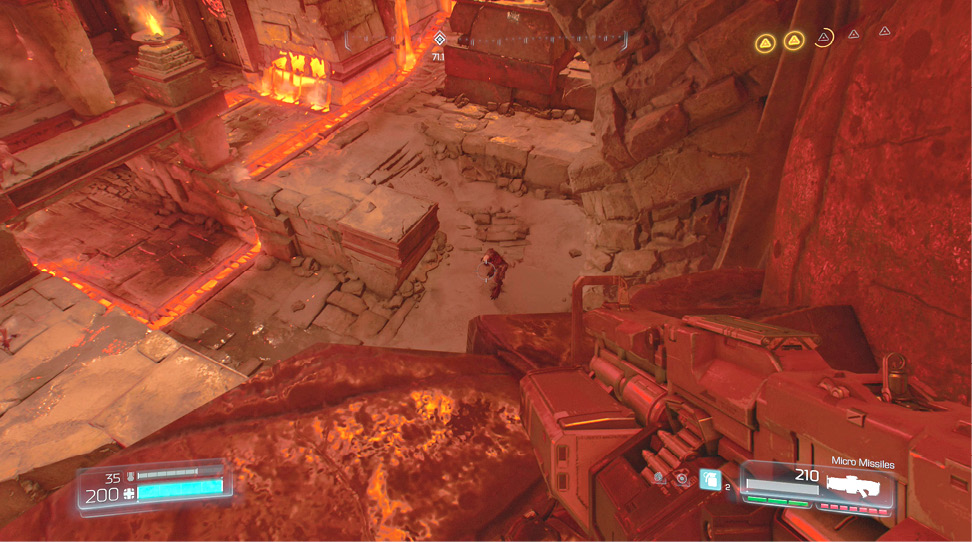
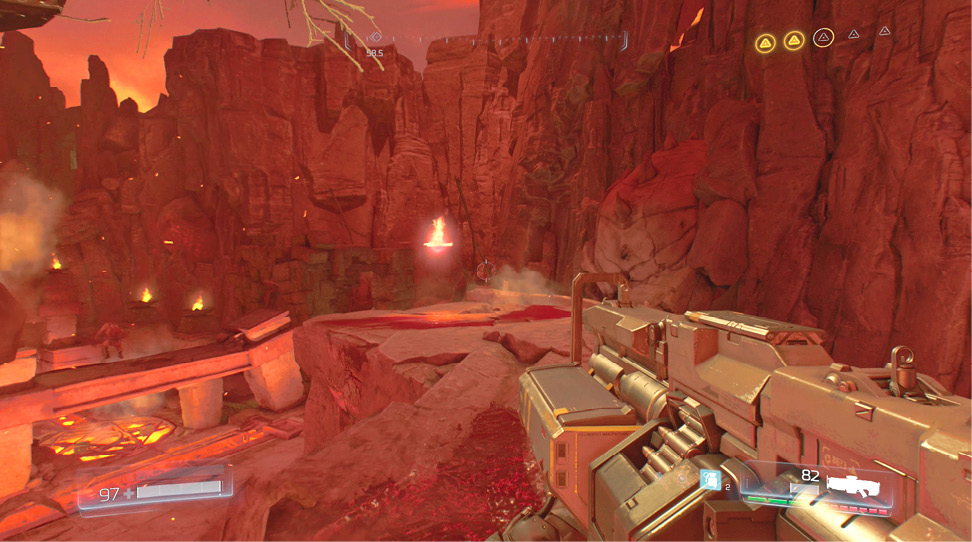
After eliminating the monsters, head up the stairs and lay the second Wraith’s soul to rest. On the far side of the battlefield, a skull gives you an exit. Drop into the hole to drop into a passageway.
Wraith’s Soul #3
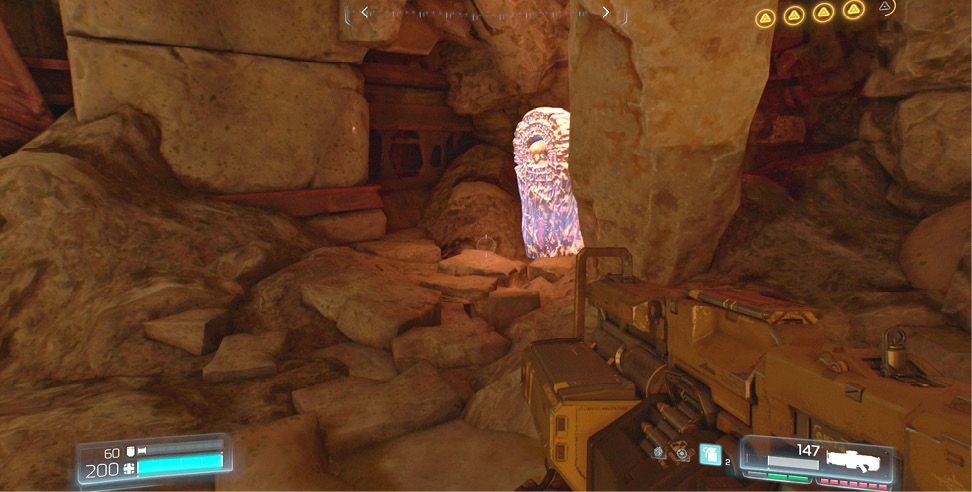
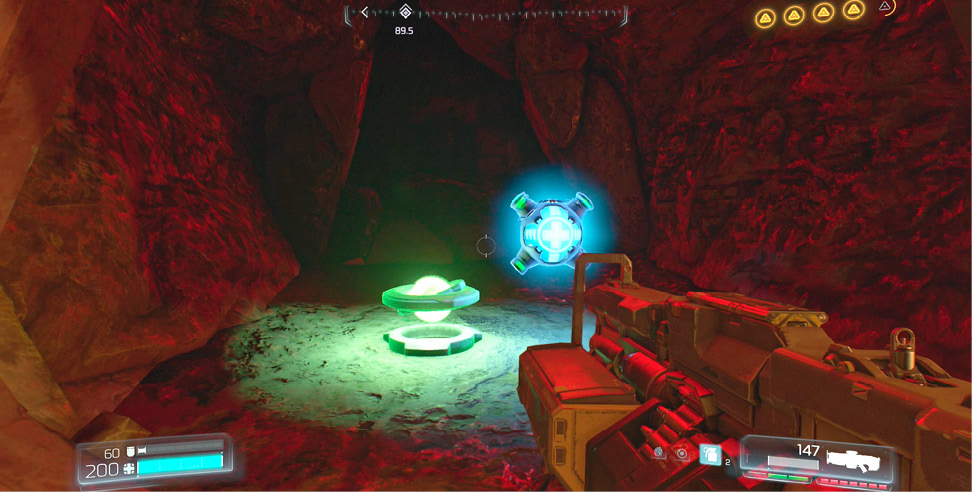
Follow the corridor up a short slope to find the final Secret Skull Switch in a small cubbyhole on the right. Go back down the passage toward your entry point and grab the resources inside a small room on the right. Continue along the path until you reach the third Wraith battle.
Spend some time picking off the Hell Knights from above before dropping into the battlefield. A red portal near the point where you entered transports you to the middle of the area, next to the platform that holds a Quad Damage powerup.
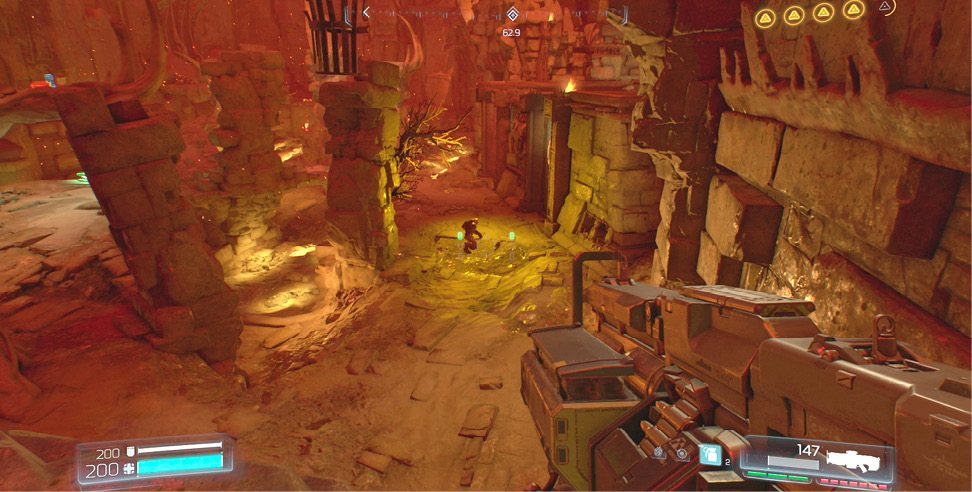
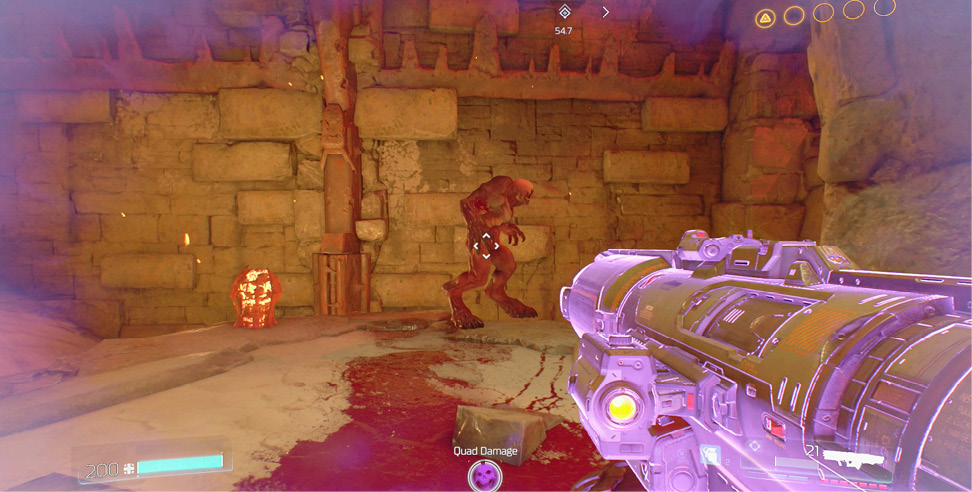
Be alert in the early stages of this fight as Imps launch fireballs, Hell Knights jump attack, and Pinkies charge at you. Things can get hectic, so be ready to flee to a higher location. Eventually, two Barons of Hell spawn into the area. Quickly switch to the BFG and take them out with one shot to earn the first Mission Challenge. It’s possible for this to fail. Try to get them when they’re close together. With the monsters taken care of, climb the steps to the final Wraith and lay its soul to rest.
Find the Exit Portal
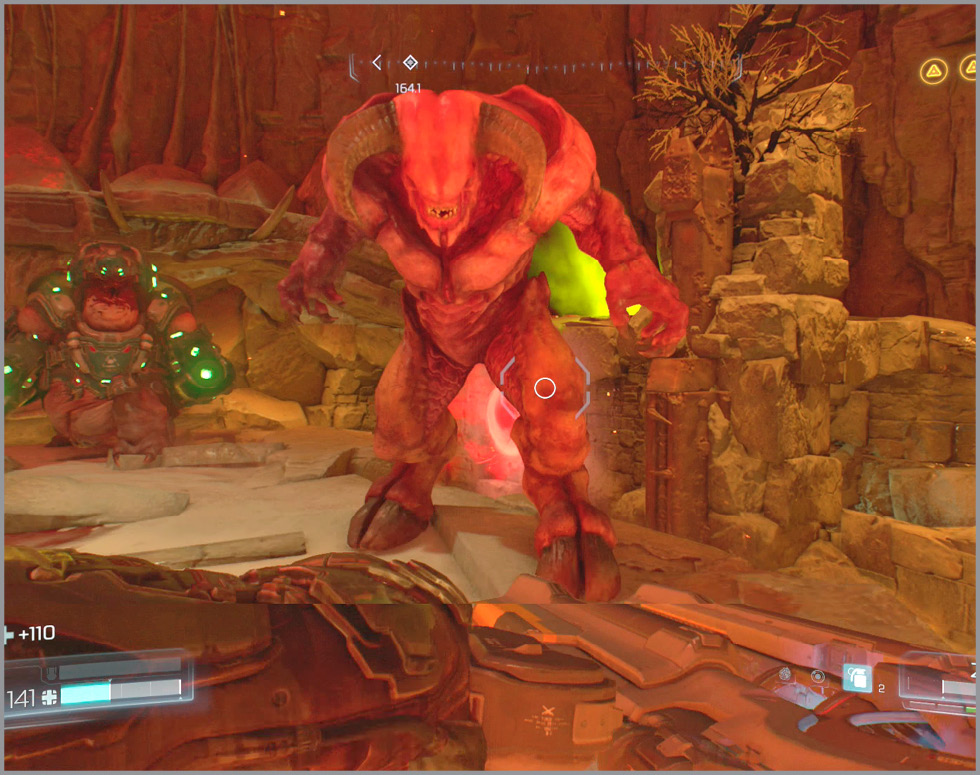
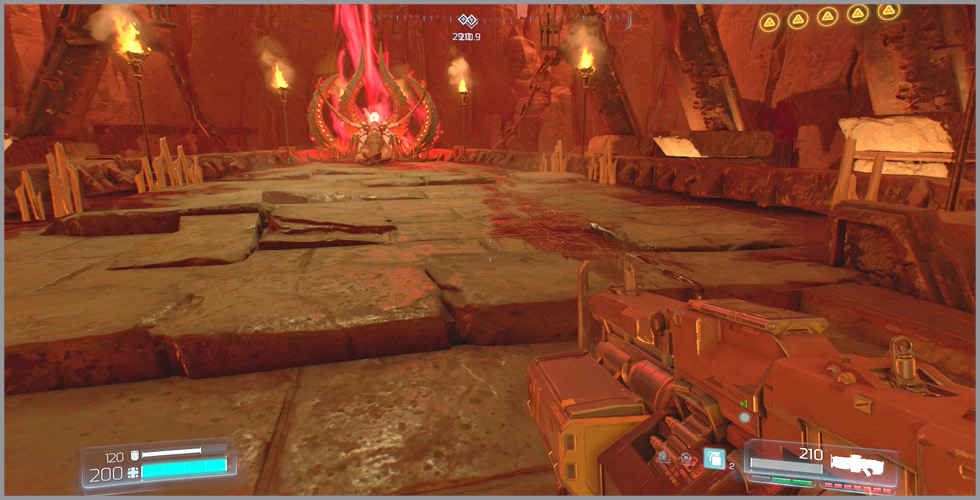
Collect any resources you can find around the area and then head for the objective marker. Drop down to find your final opponent, Spider Mastermind.