
Doom Guide Campaign Walkthrough
Foundry
Main Objective Stop the Meltdown
New Weapons/Equipment Rocket Launcher
New Monsters Hell Razer, Hell Knight
Challenges
| Challenge | Description |
|---|---|
| Three Possessed, One Barrel | Kill 3 of The Possessed with one Explosive Barrel. |
| Curb Stomp | Perform 3 “Death from Above” Glory Kills on Possessed Soldiers (attack from above). |
| Quite the Collector | Find 2 Collectibles. |
Collectibles
| Collectible | Unlocks |
|---|---|
| Vaultguy | Possessed Engineer Model |
| Prototypeguy | Plasma Rifle Model |
Classic Map: DOOM - Nuclear Plant
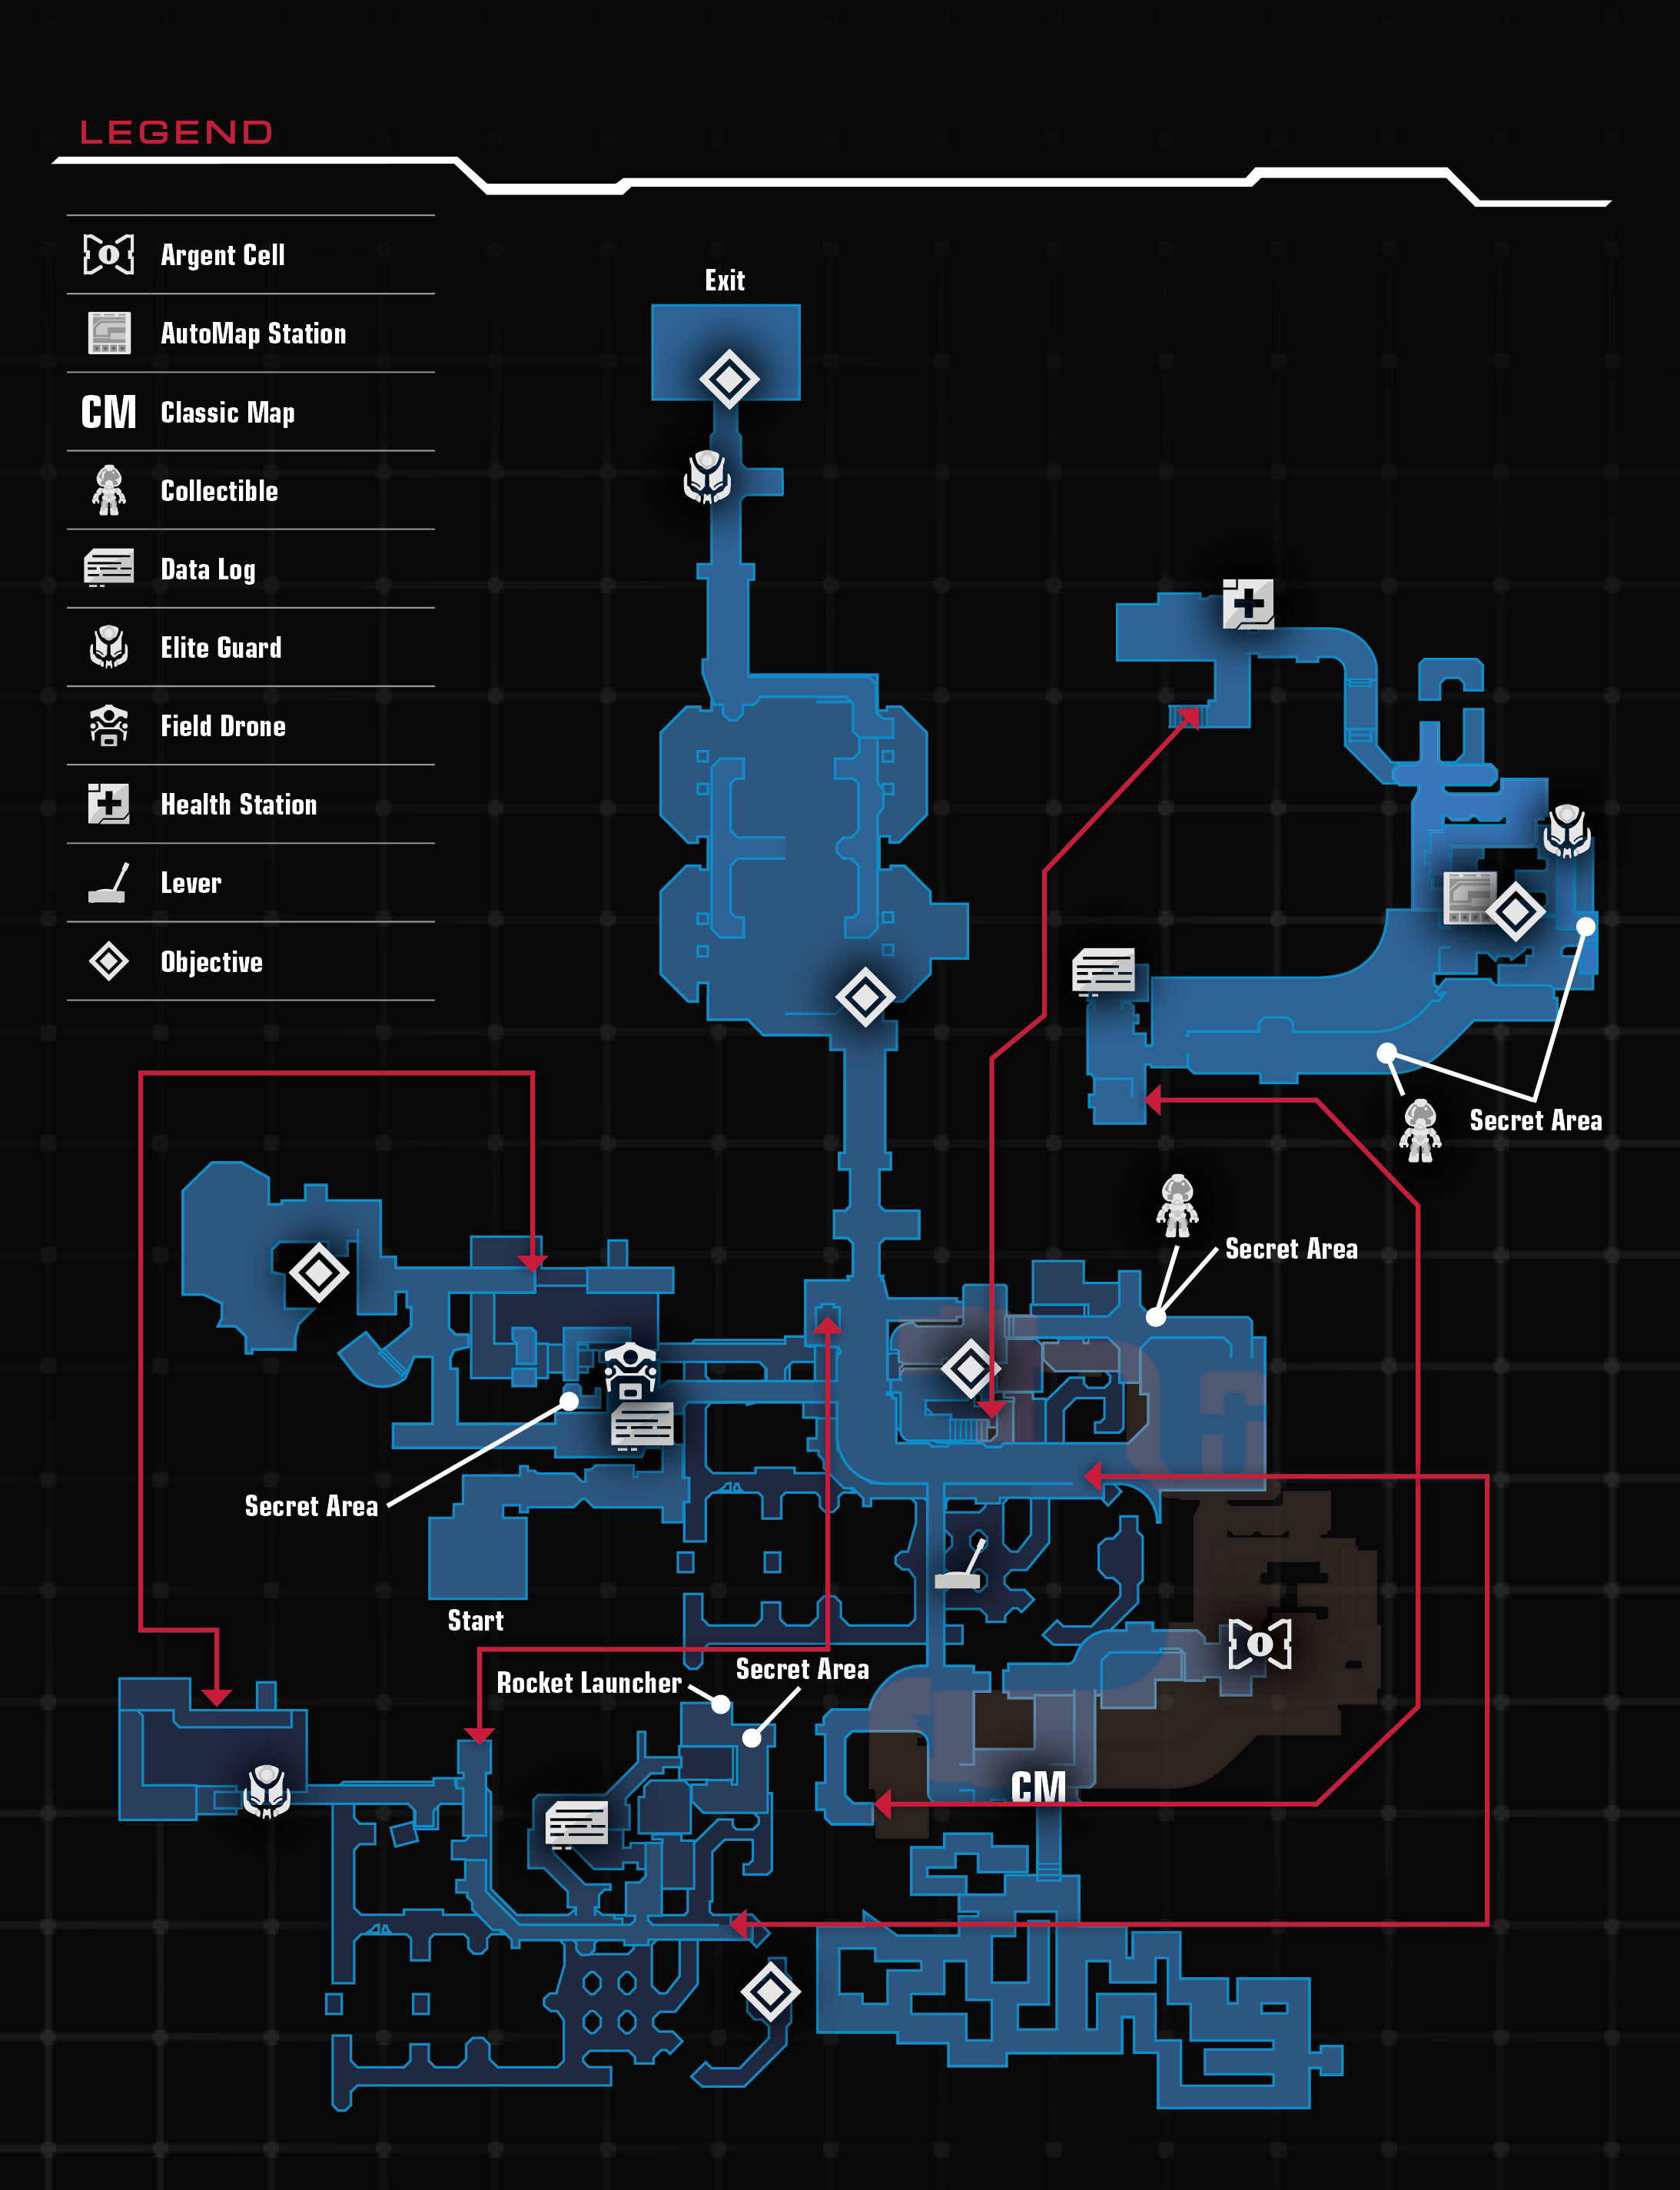
Destroy the Gore Nests
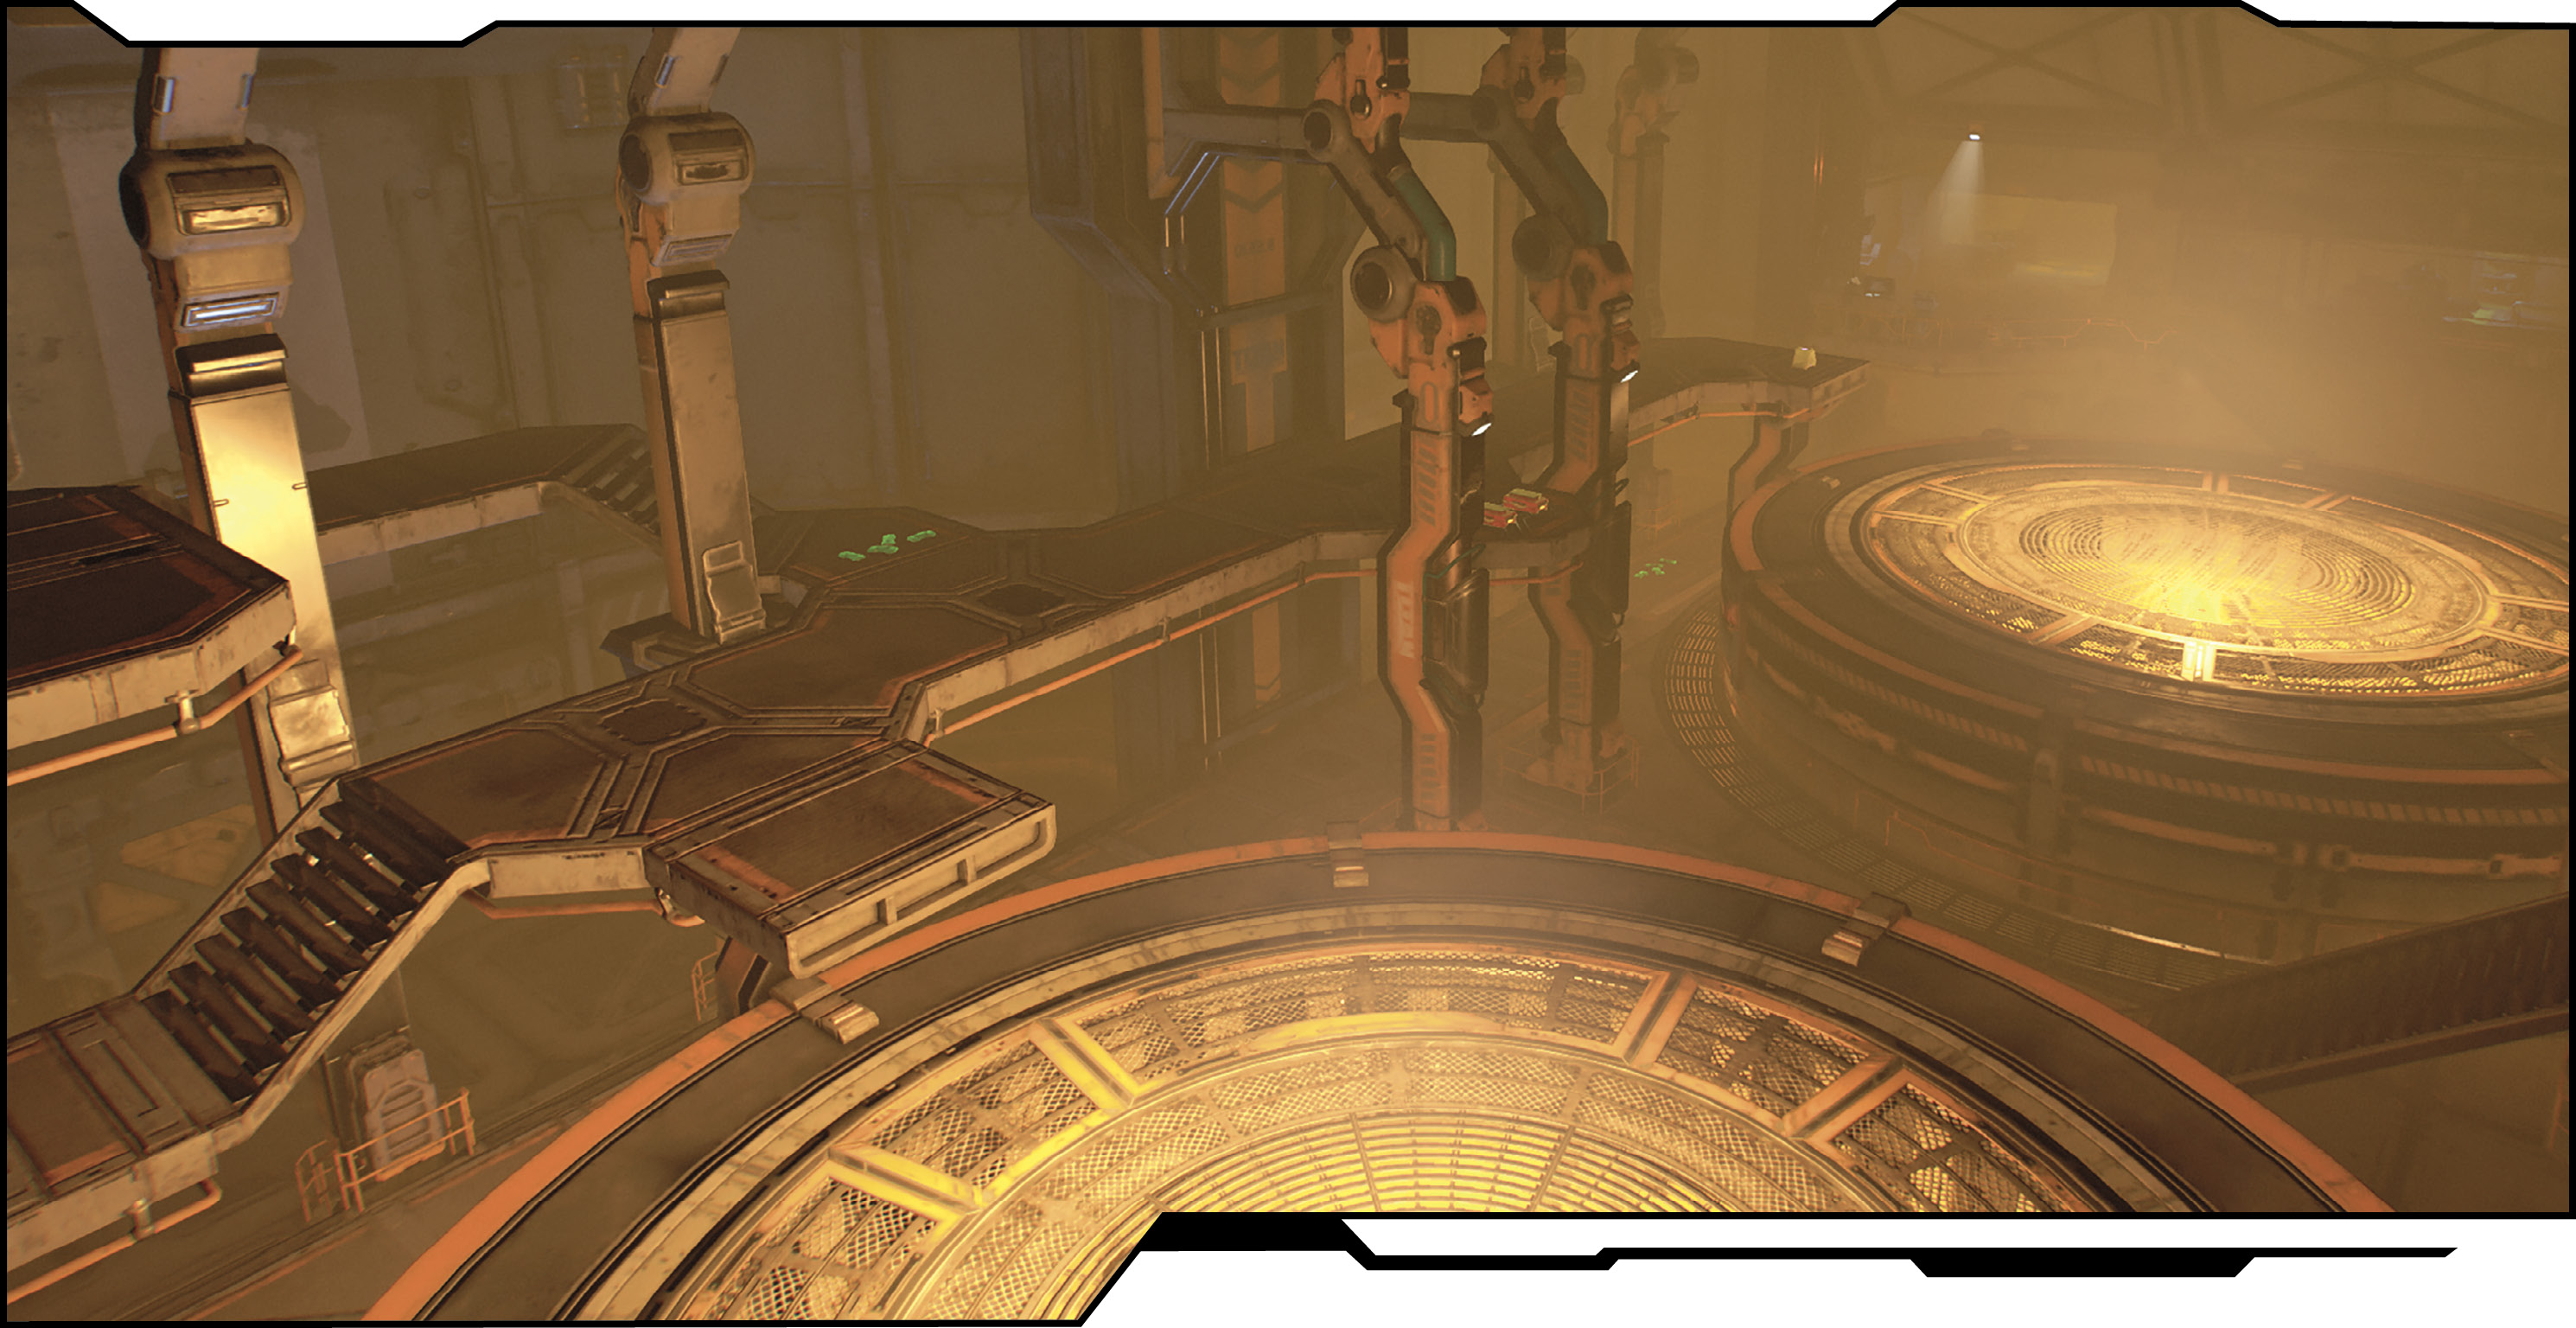
Follow the corridor until you reach the main room of the Foundry. Four Gore Nests need to be taken care of before you can proceed. Check our map to see all four locations. These do not need to be done in the order given here, just as long as you eliminate all four. Turn left, jump the gap, and enter the left door. Interact with the Field Drone in the corner to gain another weapon modification. Both the HAR and Plasma Rifle have great mods to select from, though the best option for you depends on your play style. Choose wisely.
Gore Nest #1
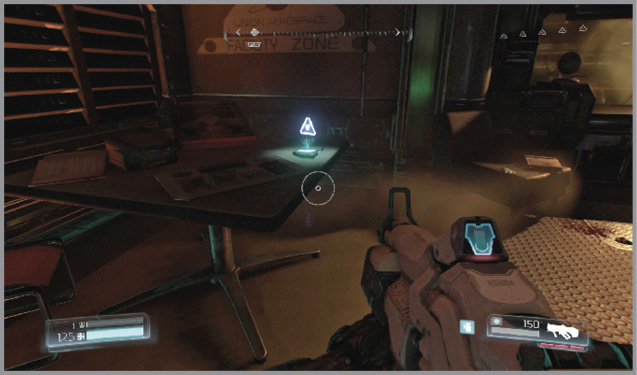
Pick up the Data Log on the desk in the opposite corner before exiting the opposite door. A Possessed Engineer charges your way, surrounded by a number of The Possessed. It’s possible to score the first challenge immediately by targeting the red barrel at the intersection ahead.
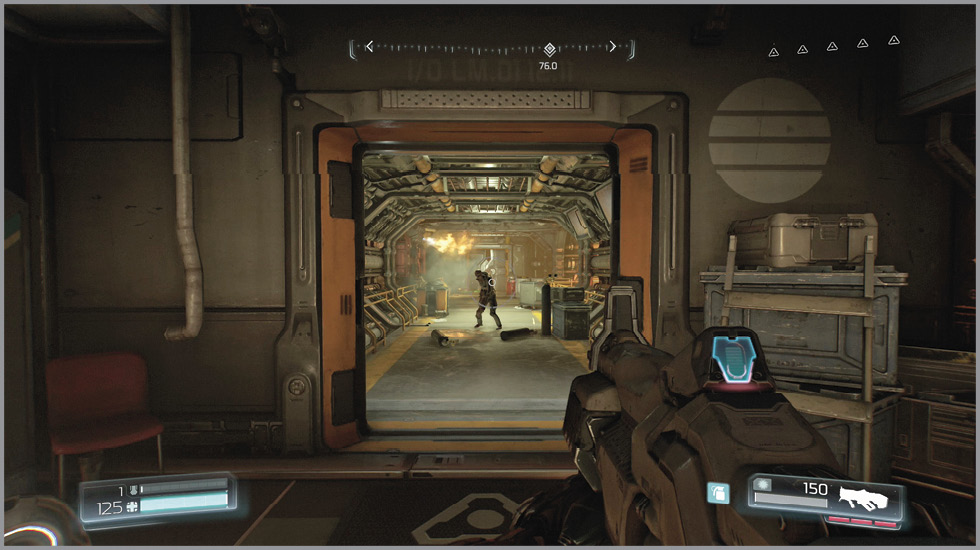
Follow the hall to the right and eliminate the demon threat inside the next room. Step up to the security desk on the left and interact with the console on the right wall to replay an echo recording. This shows a monster carrying away a corpse that is vital to your completion of the mission. Follow it into the area ahead.
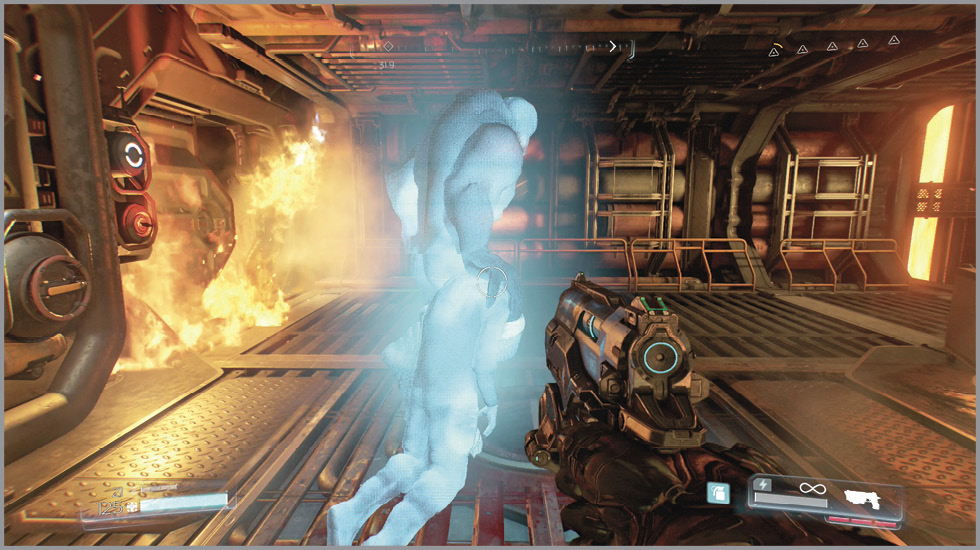
Hop down to the far walkway and enter the doorway on the right to find the first Elite Guard in the Foundry. Return to the previous room and use the platforms around the perimeter to climb to the upper level. Just spin around and spot the green light on the next ledge.
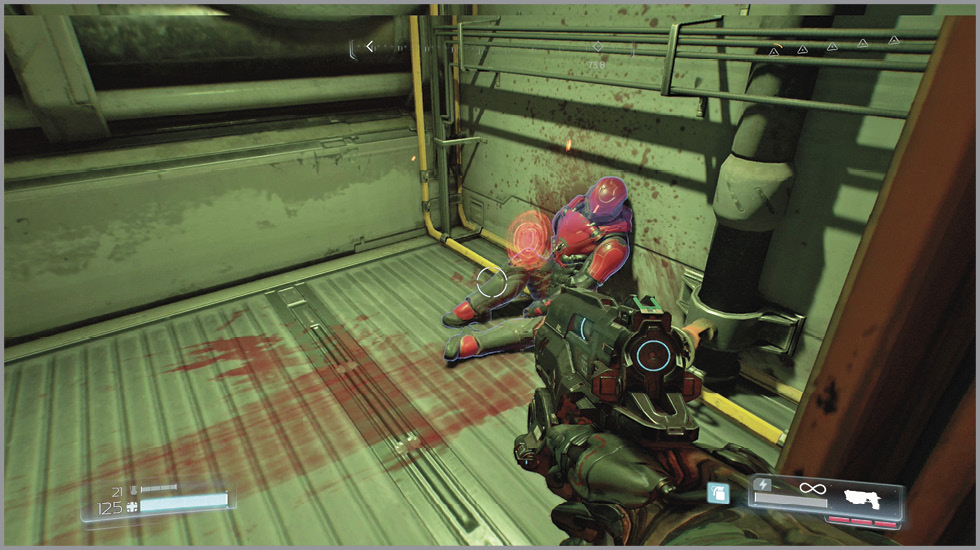
Climb into the venting on the right, just after reaching the upper floor, to find armor. Exit the shaft and make your way to the doorway opposite from where you dropped down. Interact with the Elite Guard corpse to acquire the Tech Arm. Return to the security desk and use the hand to gain access to the first Gore Nest.
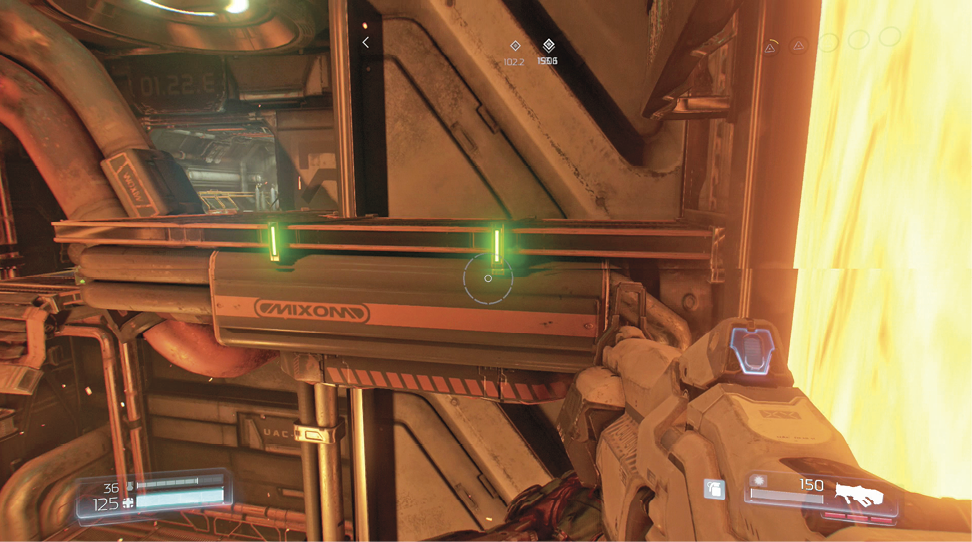
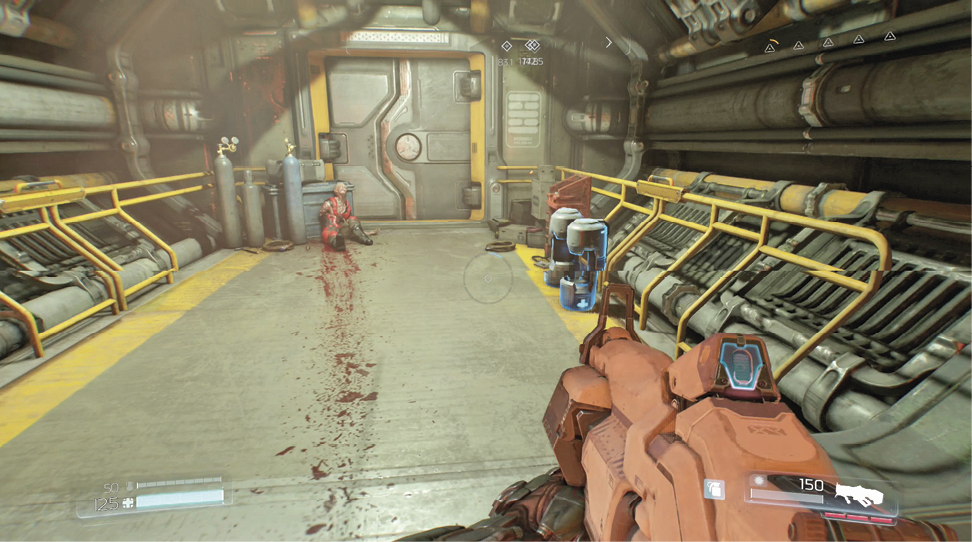
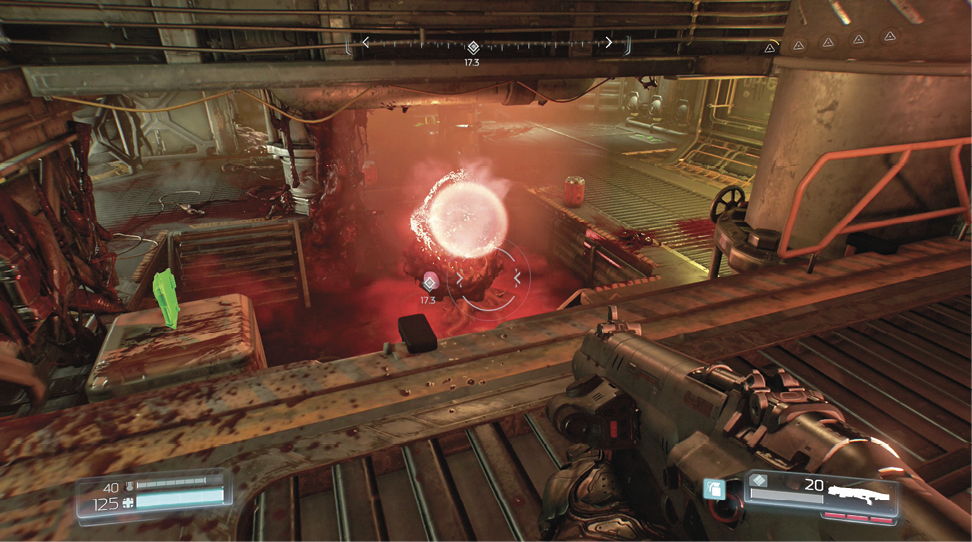
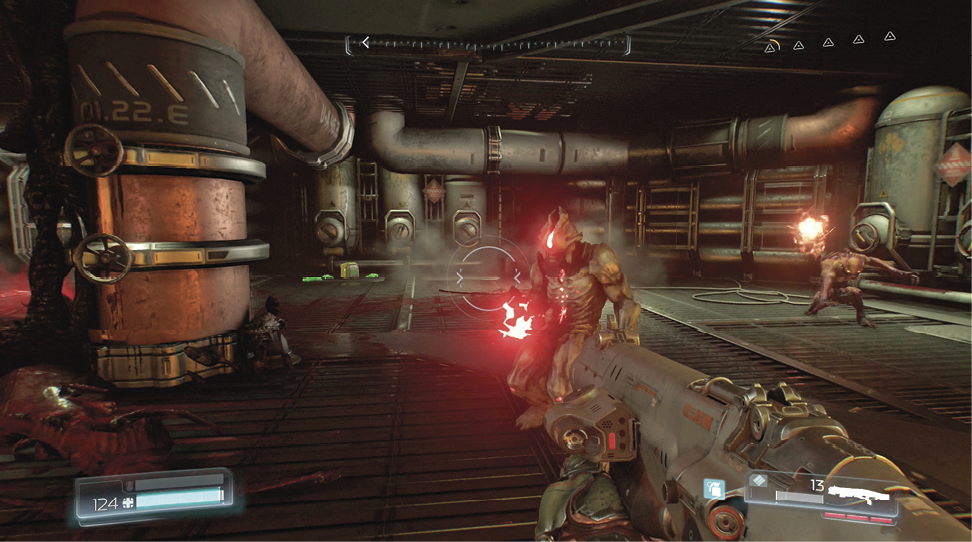
Enter the new opening, just around the corner from the security desk. Destroy the Gore Nest in the middle of the room and kill the demons that are attracted to your position. Watch out for a new monster known as a Hell Razer. These guys fire a “powerful beam of unrefined Hell energy” that can do serious damage if contact is made. When you see them aiming their weapon, there’s still time to avoid the attack. Quickly take them down or be ready to jump over the beam.
Gore Nest #2
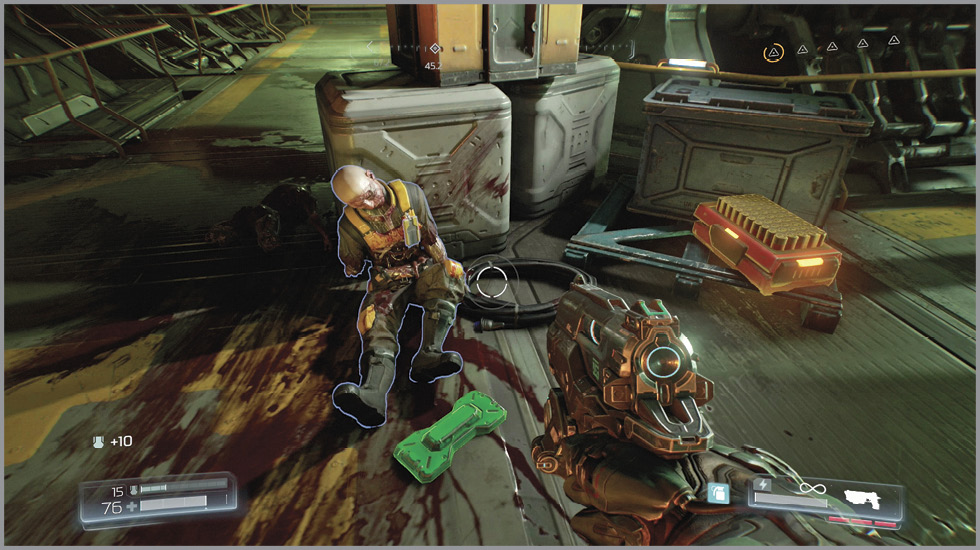
Return to the main room of the Foundry and take down the demons that attack on the walkway ahead. Turn right before the blue access door and follow the path around to the left until you reach another group of demons, including Possessed Security. Wipe them out and then collect the Yellow Keycard off the corpse, found next to a crate further around to the left. Watch out as more monsters find your location.
Return to the main room. Turn right and follow the bridge left to the far side of the Foundry. Turn left and fight your way to the far wall to find an Argent Cell next to an inaccessible door. Return to the bridge, climb the nearby steps, and enter the yellow access door. Continue up more stairs and collect the Data Log on the desk ahead. Enter the open door to find more demons and take them out.
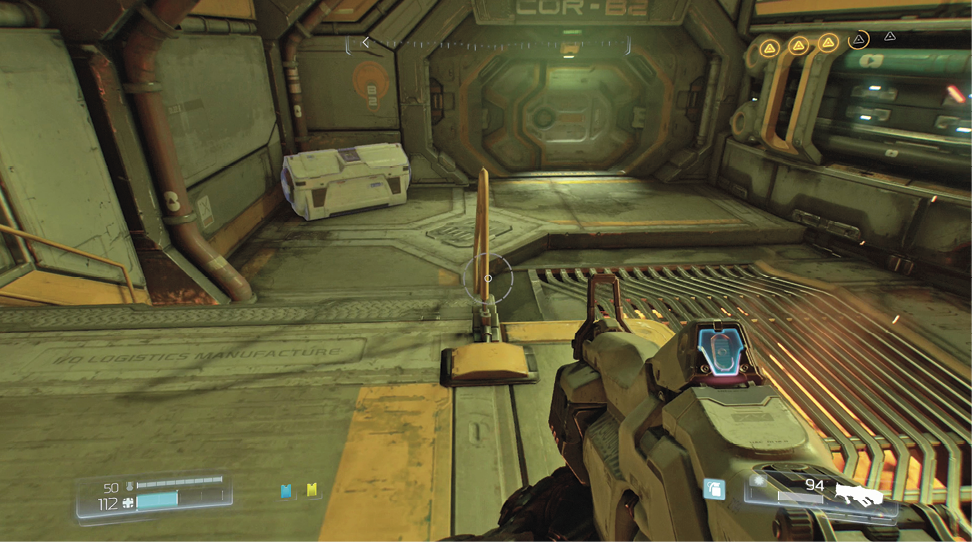
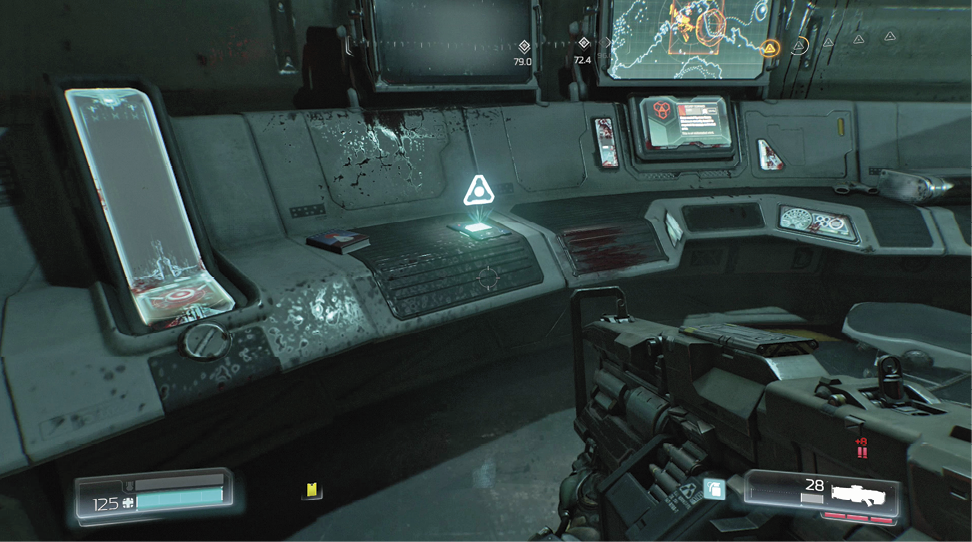
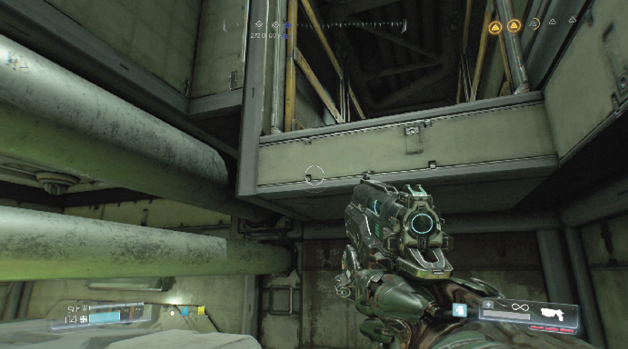
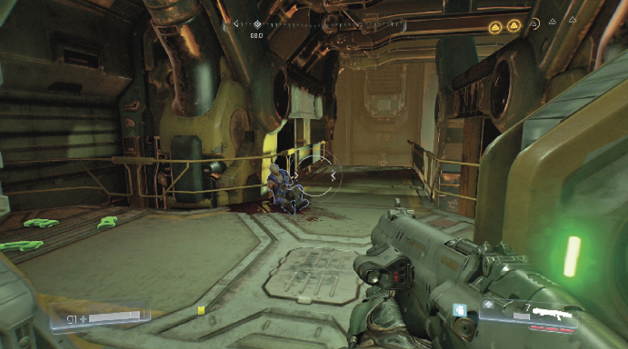
Follow the conveyor belt to another open door. Before entering, climb the stack of crates on the right and jump into the maintenance shaft to find another Elite Guard. Return to the door and move inside to find the second Gore Nest, surrounded by monsters. Eliminate the initial threat before destroying the nest. then kill another wave of demons that spawns in. Proceed upstairs to eliminate any remaining foes. On the top floor, remain on the walkway as you circle around to a dead end to find the AutoMap Station. Backtrack to the corner door and enter the next room to find the Blue Keycard on another human corpse.
Gore Nest #3
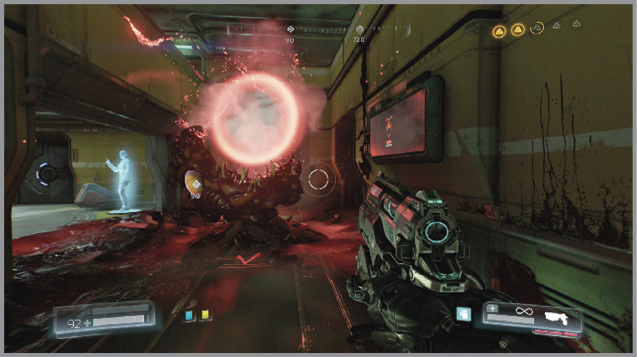
Stay on the walkway, hopping across a couple of gaps, then move through the blue access door. More demons attack as you proceed into the next room, where the third Gore Nest is found. Again, destroy the nest and eliminate the monsters that spawn around the room. Note that a Health Station hangs from the wall on the top floor, near your entrance.
Gore Nest #4
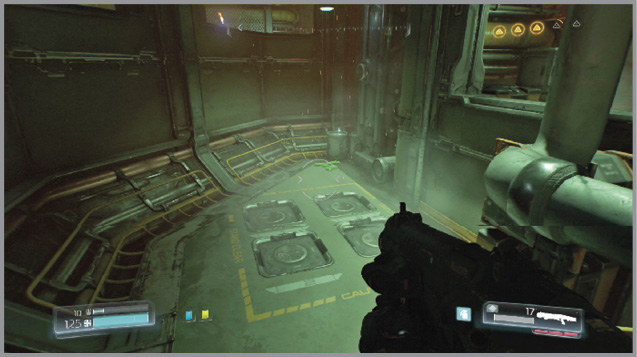
Return to the main room and spot another Gore Nest on the lower level, between the second and third nests. Looking down at the Gore Nest, look for an opening to the left on the second floor. Enter the room, drop down one level, and follow the left hall to find another Data Log. Eliminating more demons along the way, head back up the steps and look into the room on the left.
Jump into an opening on the left wall and immediately turn right. Drop into the room to the right and then look up to find an access to the upper floor. Jump up to grab the ledge and follow the corridor to find a Rocket Launcher sitting on a desk. Drop back into the previous room and take the other path until you find yourself near the Gore Nest. At this point, several monsters infest the area. Wipe them out before hopping down to the nest and destroying it. Kill the demons that spawn into the big room.
Rocket LauncherModifications: Remote Detonation, Lock-on Burst With a large blast radius and high damage, the Rocket Launcher is useful against all but the fastest enemies. |
Activate the Cooling Turbine
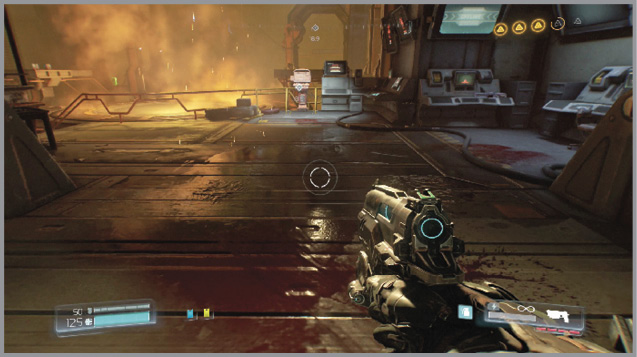
Return to the level where you started and proceed through the now accessible exit, near the two blue access doors. Follow the path straight until you reach the Cooling Turbine terminal. Use it to activate the equipment. At this point, more demons attack. Stay on the move as you take them down. It’s a big area with plenty of equipment to put between you and your foes.
Investigate the Signal
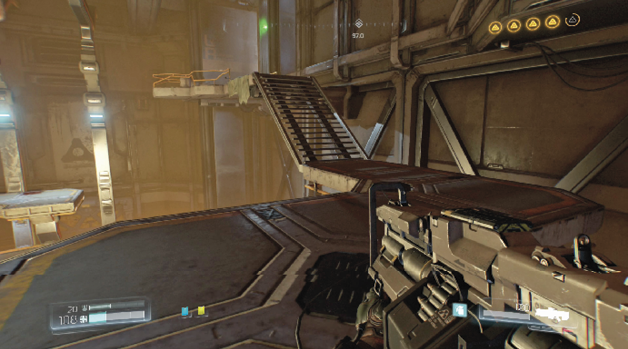
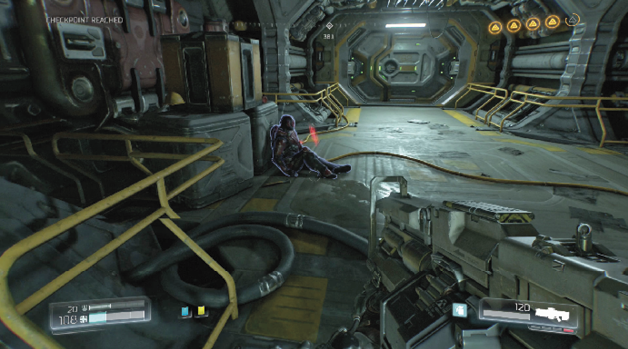
With the demonic threat taken care of, the exit opens on the far side of the room. Hop onto the right walkway, climb the steps to the upper level, and follow it to the door. Inside the next corridor, the third and final Elite Guard leans against a pile of crates.
Continue into the next room and use the console to open the shutters. Kill the Imps that spawn nearby, and move into the control room. Continue toward the objective and interact with the Airlock Control to exit the Foundry.