
Doom Guide Campaign Walkthrough
Boss Fight: Hell Guard
The Hell Guard is a heavily armored demon that carries two big melee weapons. An energy shield protects him for short periods while a multi-energy ball attack causes devastating damage if contact is made. Learn its telltales and how to avoid its assaults.
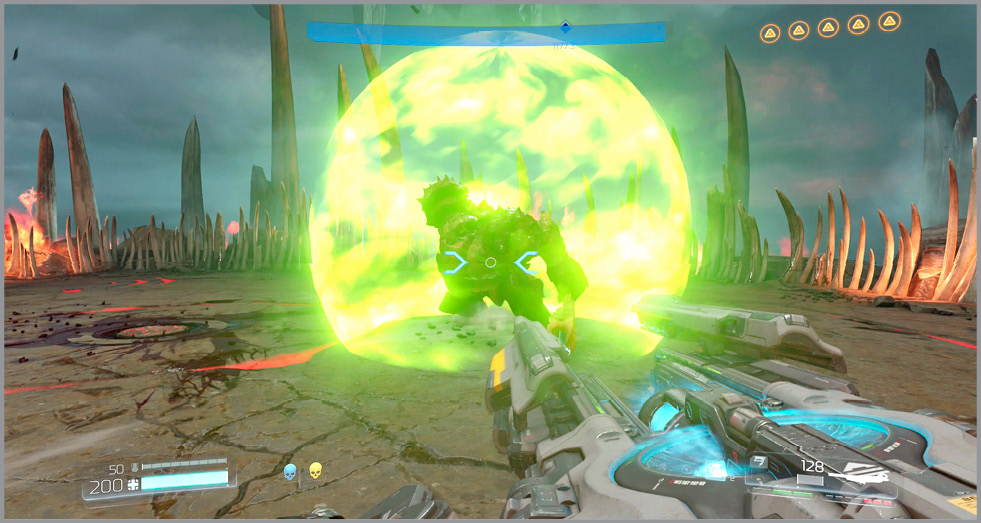
Shield - The demon has the ability to shield itself as it moves around the battlefield. If the yellow sphere surrounds the boss, don’t waste your ammo; not even the BFG can penetrate it. It uses this to get in close to its target. This is an opportunity to charge the Gauss Cannon, releasing a powerful shot once the shield is down.
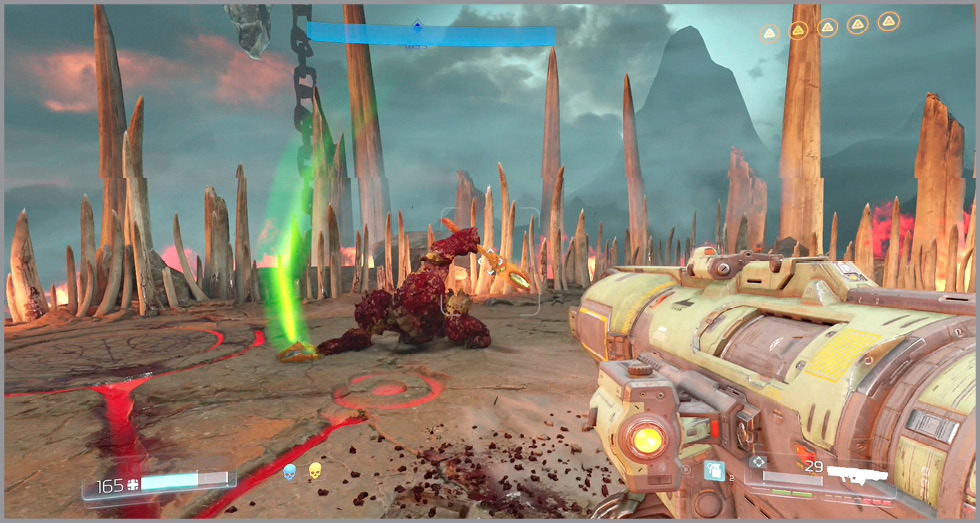
Weapon Attack - When in close, the Hell Guard slams or sweeps its club with devastating results. A Jump Slamis even more deadly as it gets momentum behind the move. Dodge away from the enemy when its club goes back.
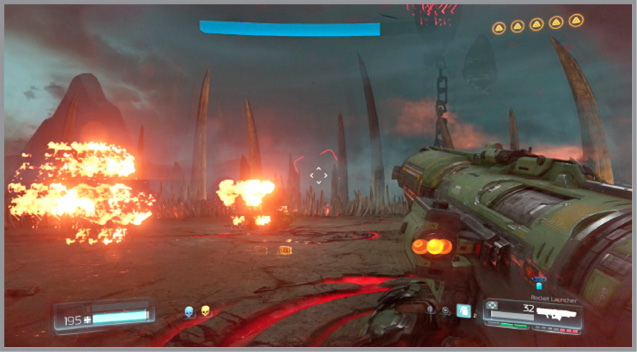
Fire Attack - When the fiend waves its left weapon in the air, it spawns fireballs during its Weapon Throw. Run away if you see this coming to avoid taking damage. If you’re already a safe distance away, fire a couple of rockets as it prepares the move.
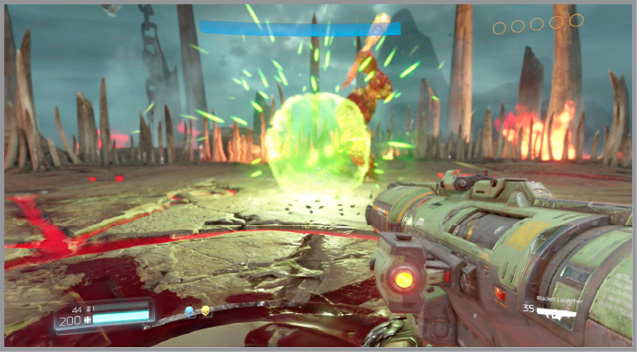
Energy Ball - Watch for the boss to transfer its energy from the shield into energy spheres, throwing them straight ahead. This attack moves at a high speed, so start moving around the boss as soon as you see it coming. Shoot the Energy Ball, not the Hell Guard, to stun the demon during this attack.
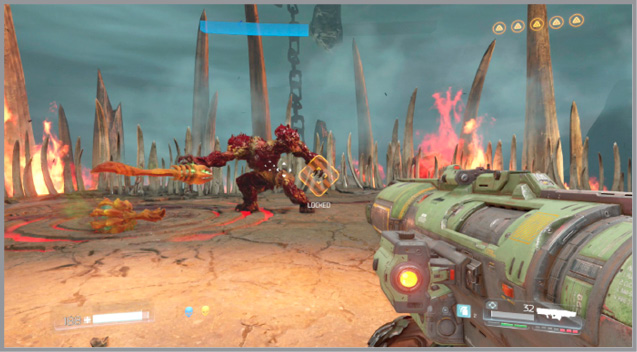
Weapon Throw - The Hell Guard gains the ability to throw its weapons. Watch for it to wind up and move to the side.
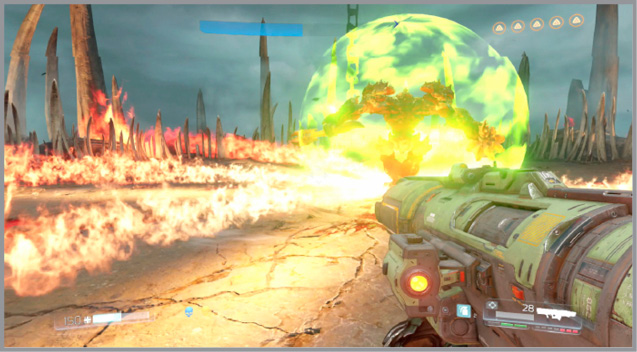
Flame Carousel - If it puts up a shield and begins spinning, a powerful fire attack is incoming, so prepare. Six streams of fire spew out from the boss and spins as it does. Run with the pattern, then hop over the flames to avoid taking damage. As it becomes dizzy and hunches over, hit it with your best weapons. Fail to do so and it performs the same maneuver in the opposite direction.
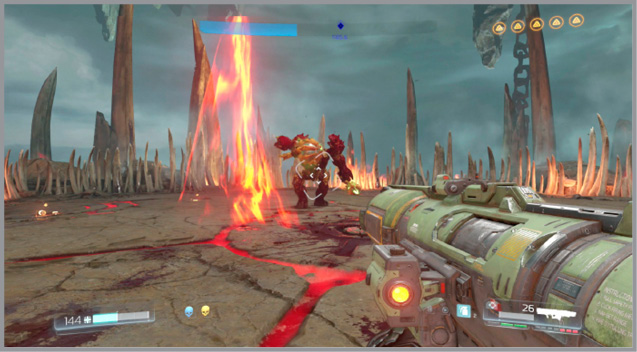
Flame Spikes - Watch for it to rear back with its club and slam the ground three times in succession. Each hit sends a flame at its target. The fire moves along the ground very quickly. When you see this move coming, try to get behind the boss for a great opportunity to attack.
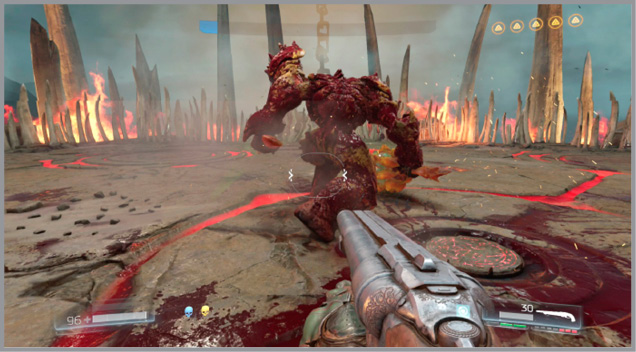
Cancel a Hell Guard’s melee attack by blasting it with a powerful shot. If the boss is stunned, resources are dropped. Move in and grab them when the opportunity arises; equip the Vacuum Rune for an easier time with this. Continue to hit the boss whenever its shield is down, while dodging its many attacks. Eventually it falls to the ground. Move in and perform a Glory Kill to finish it off.
Hell Guards
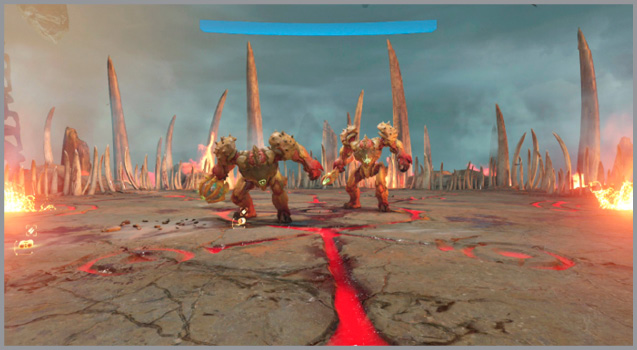
At this point two Hell Guards emerge from the ground. The duo moves around the battlefield very quickly, working in tandem to take their target down. The guard with the club is the melee, high pressure unit, while the staff fires from range and is more elusive.
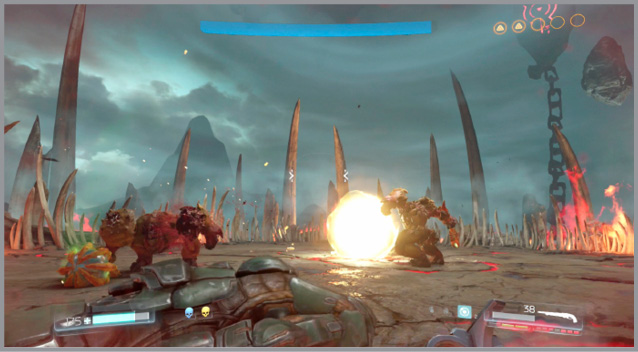
Energy Ball – This attack is just like the previous demon’s energy spheres, but with just one ball. Dodge to the side to avoid taking damage. Once again, shoot the Energy Ball, not the Hell Guard, to stun the demon during this attack.
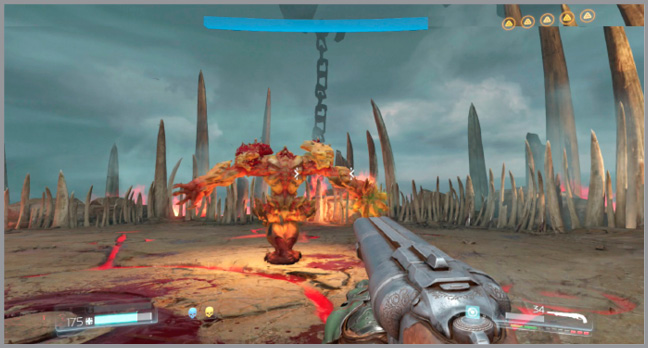
Cyclone Spin – The demon spins around like a top, beating its target down with each revolution. Run away if you see this move coming. Like the boss before them, cause enough damage before the spin completes and the creature becomes stunned. Take advantage and hit it hard.
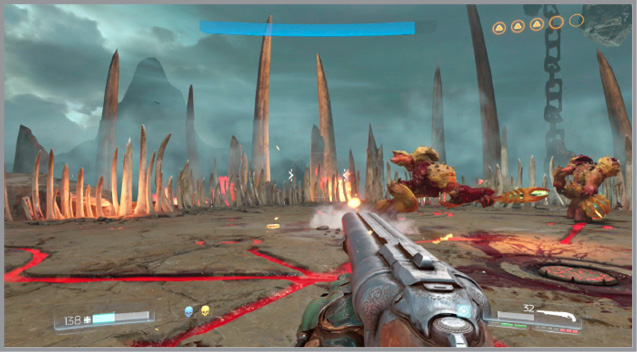
Charge Attack – Watch for the fiend to stick its weapon out in front and quickly move toward you. Step out of the way when you see its weapon out straight.
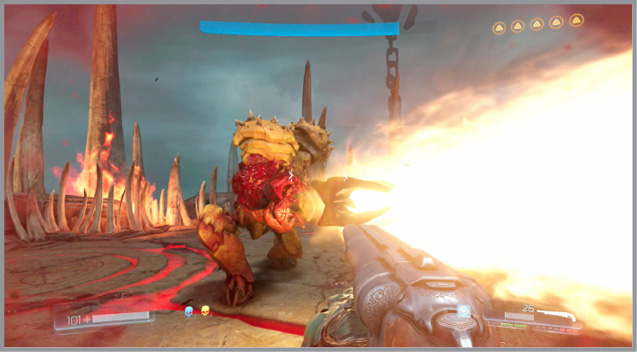
Flamethrower – They can shoot fire in a straight line across the battlefield. Cause enough damage before this attack starts to put the guard in a vulnerable state.
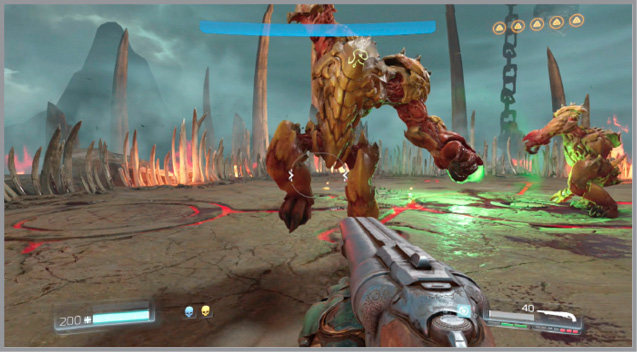
Jump Attack – This demon also has the ability to use its melee weapon in a devastating manner. Watch for it to jump in the air and then make sure you are nowhere near its landing zone.

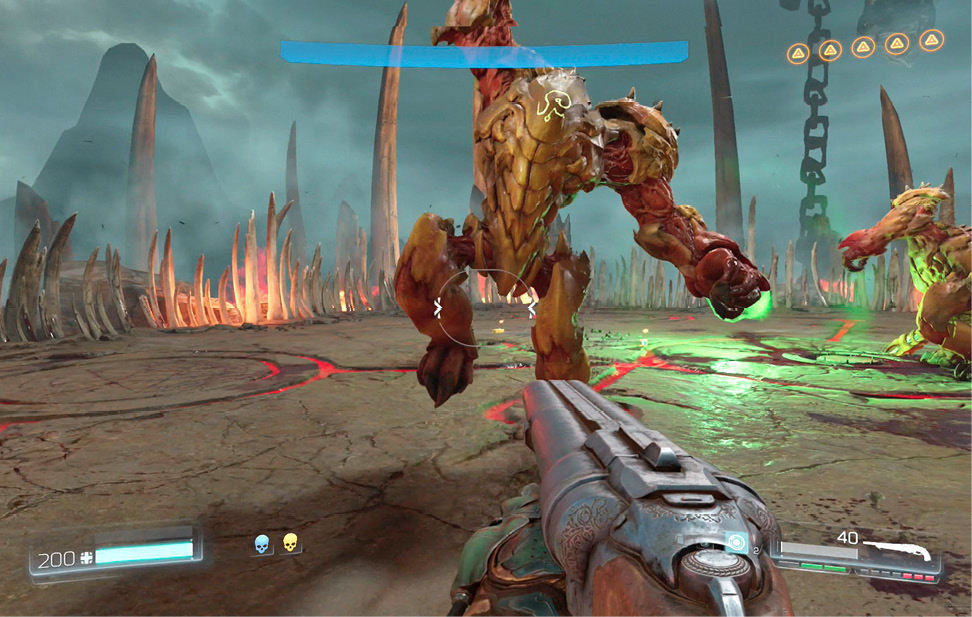
Tag Team Attack – The Hell Guards team up to unleash their ultimate move: a punishing version of the Jump Attack that covers the entire arena and does massive damage. One demon uses its staff to hold the other aloft, while the suspended demon spins rapidly to build up energy. Once the hammer wielding demon is sufficiently energized, the partner slams its twin into the ground to create a massive shockwave. While this attack is extremely dangerous, it does require some buildup time. If you sufficiently damage the staff-wielding twin before it can charge its partner, the pair will tumble to the ground and be stunned. Let loose with everything you’ve got while they’re immobilized!
If you have BFG ammo available, hit them with it and they may become stunned. Attempt to stay at a safe distance away from these guys as you fire your most powerful weapons at them. They move quickly as they switch up their attacks. They share an HP pool, so it doesn’t matter which one you concentrate your fire on. Continue to give them everything you’ve got until one falls. Hit it with a Glory Kill and repeat with the other. Reclaim the Crucible once the fight is over to complete the mission.