
Excavation
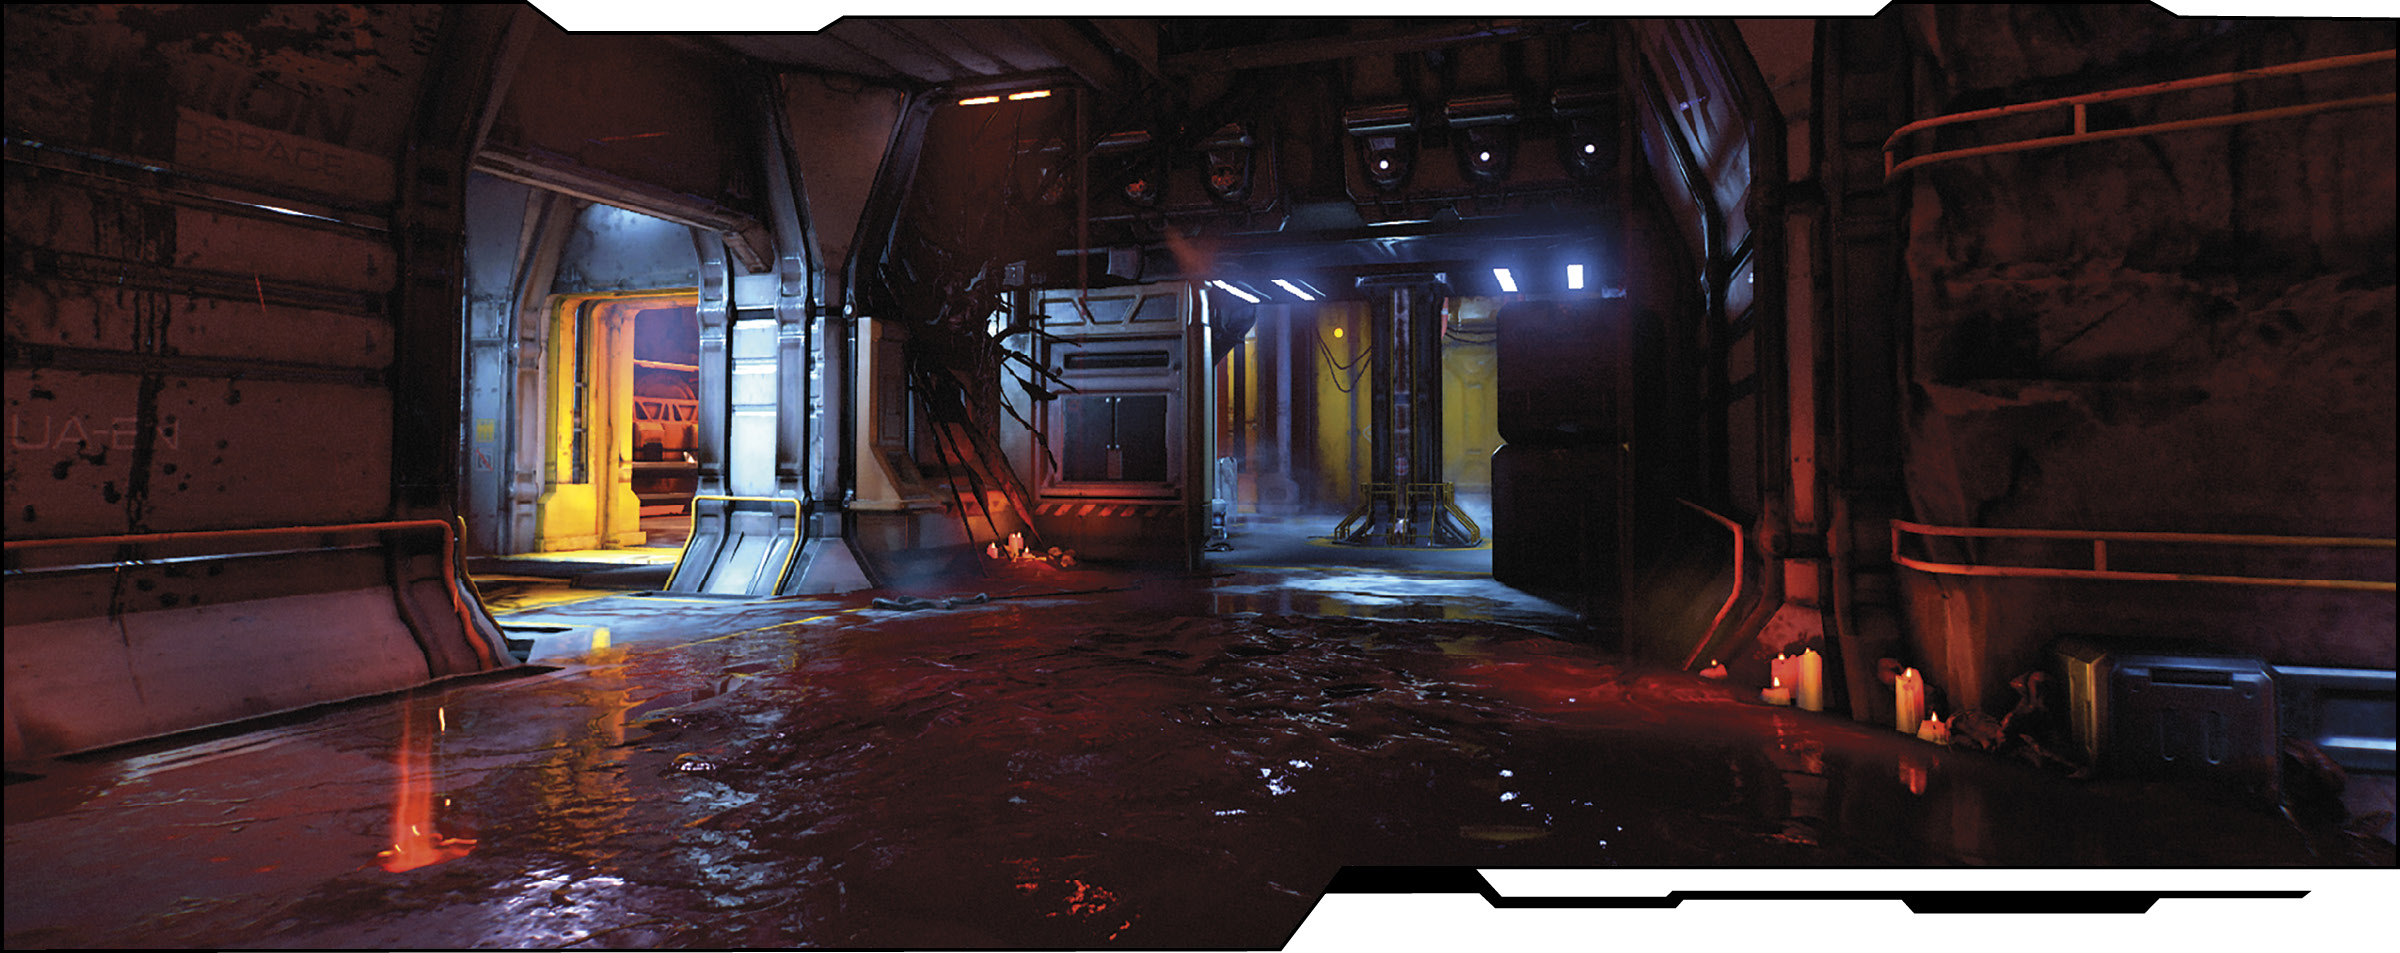
Excavation is a large wide-open map with several caves on the south side and industrial hallways on the north, but is mostly one giant construction site, complete with dormant machinery. This is a map with great sight-lines, elevated ledges and several hidden tunnels and passageways to make it possible to sneak around. There are also several explosive canisters that can be detonated with a well-aimed round or two!
Location Intel
Power Weapon: BFG
Powerup: Haste, Quad Damage
Suicide Risk: Low
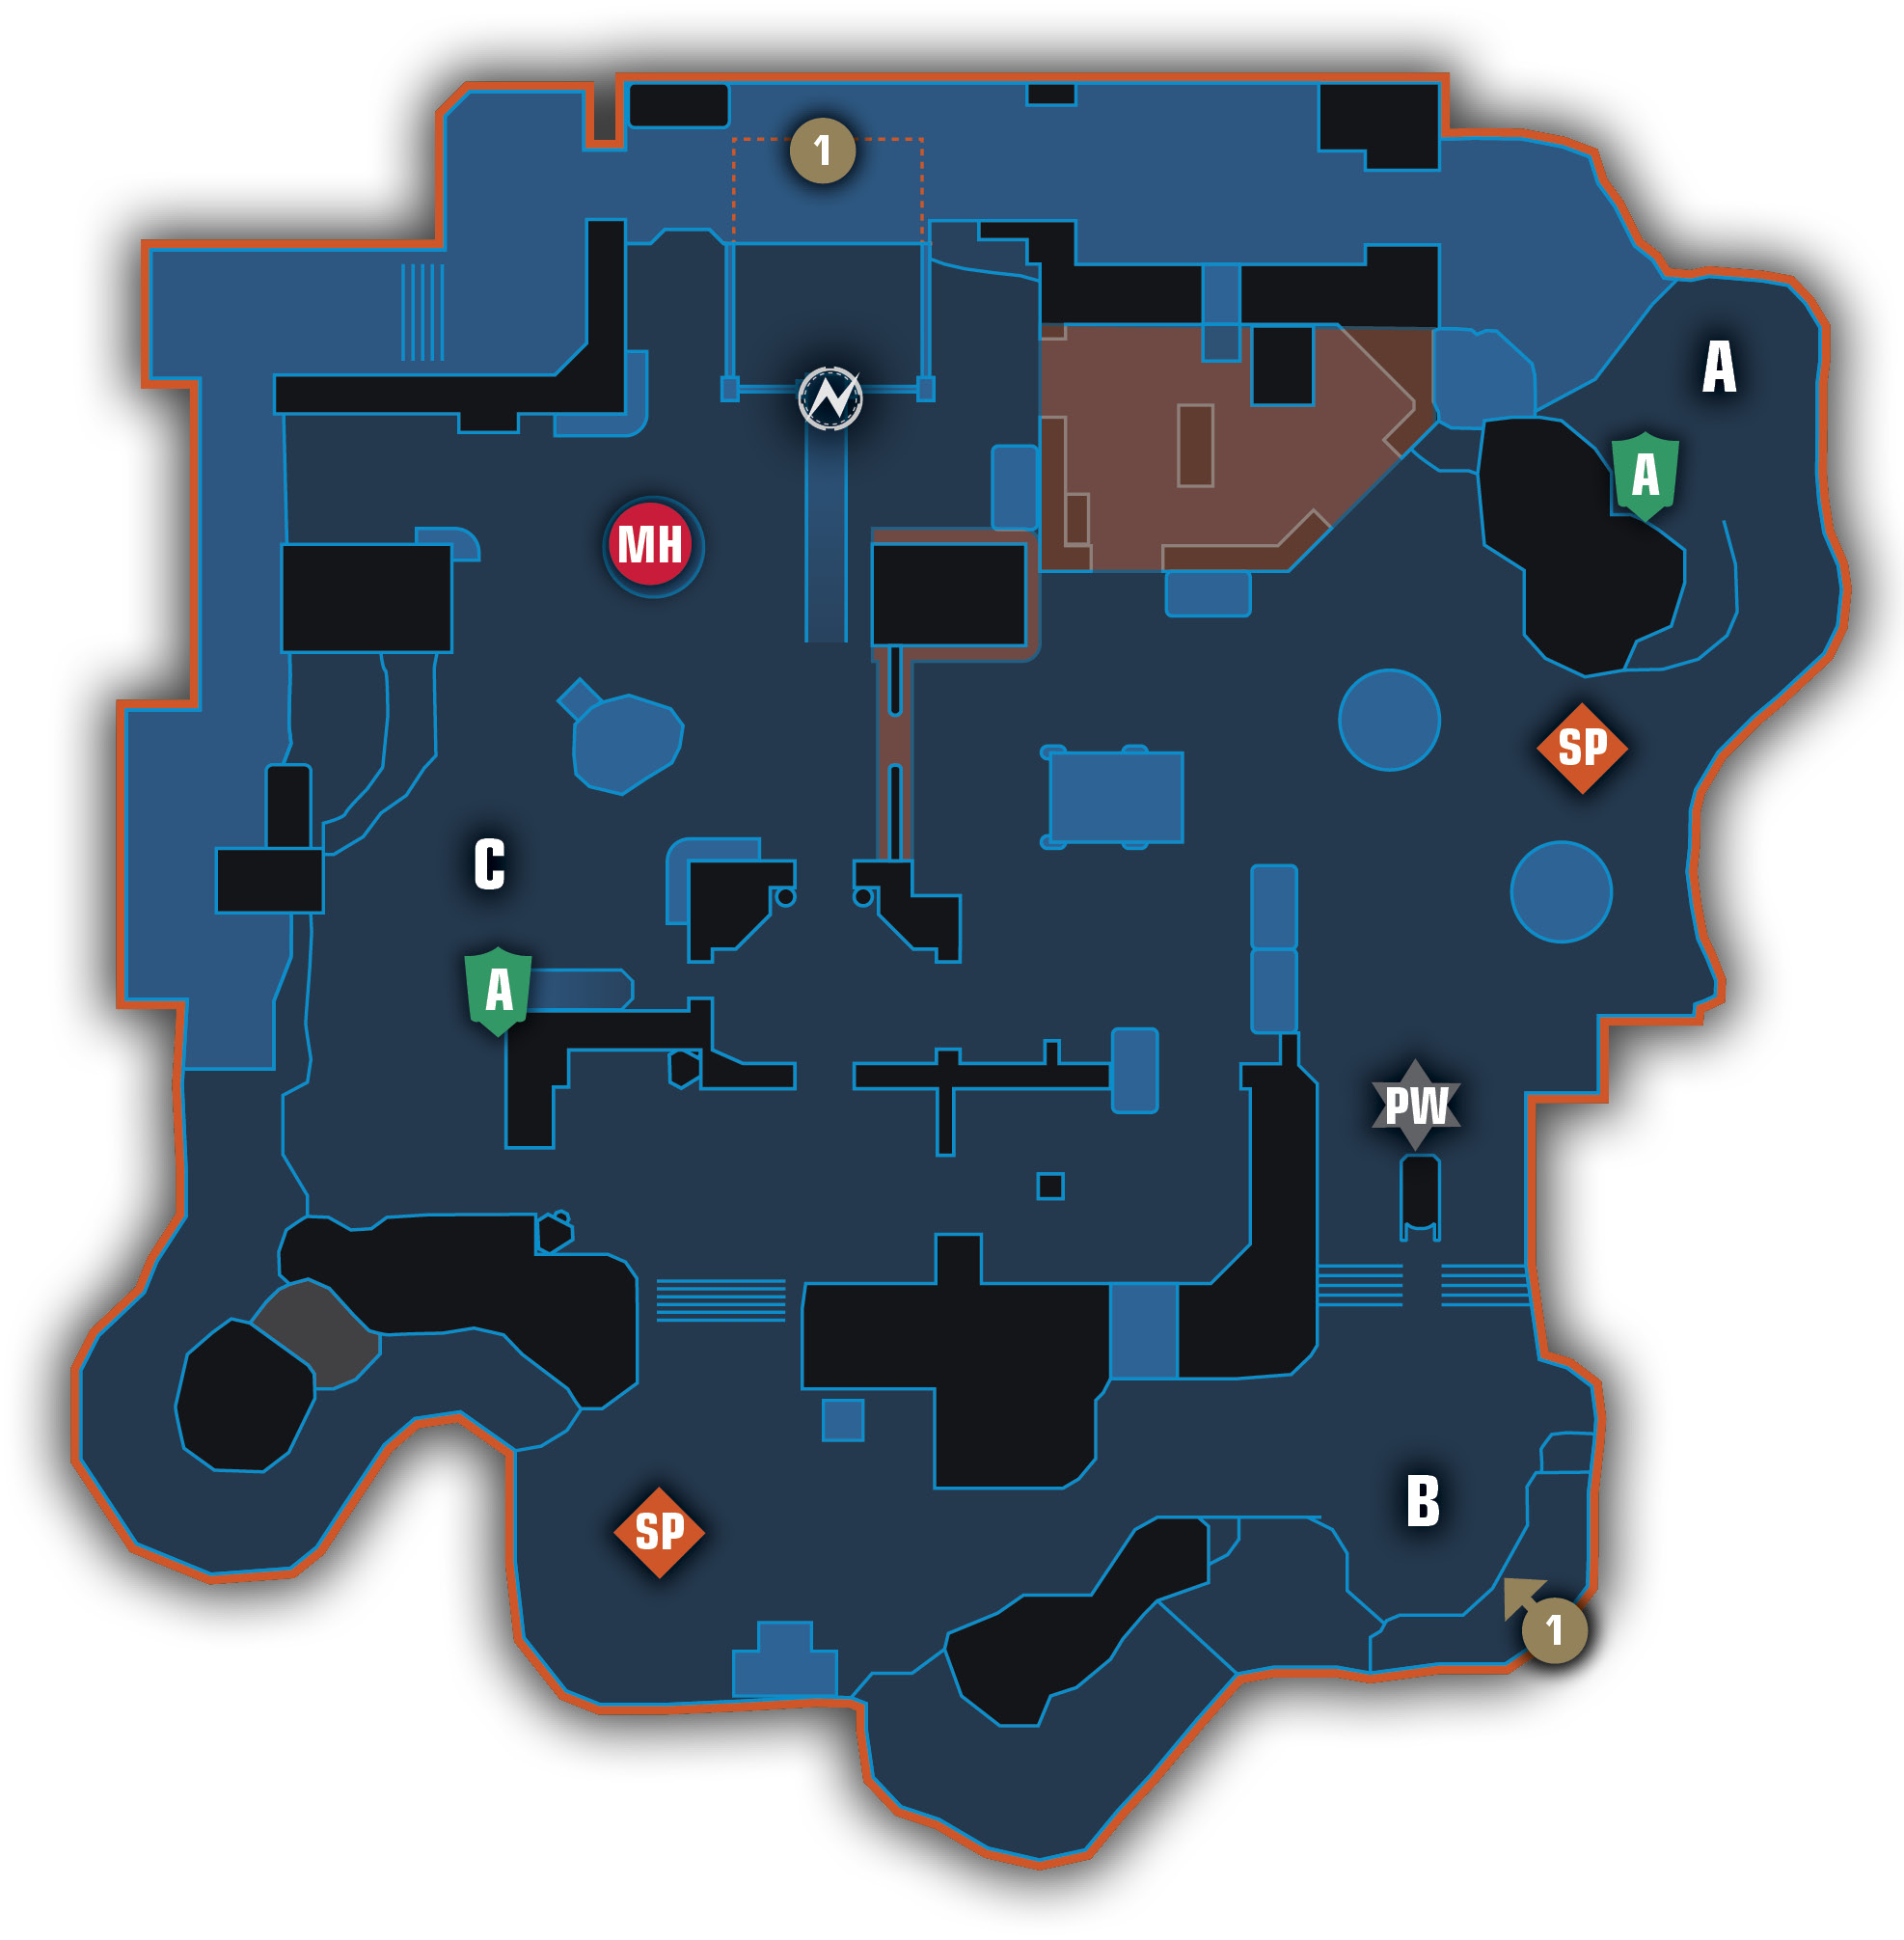
legend
 |
Armor |  |
Portals in |
 |
Domination Capture A |  |
Portals out |
 |
Domination Capture B |  |
Powerup |
 |
Domination Capture C |  |
Power Weapon |
 |
Mega Health |  |
Spawn Point |
Area Recon
As with Disposal, it’s easy to know which side of the map you are on as soon as you spawn: if you’re in the cave, you are on the south side and if you’re outside, then you’re in the northeast. Either way, you’re going to want to stick to the perimeter of the map and collect the smaller Armor pickups while the larger ones wait to spawn. All of the valuable pickups, including the Haste pickup and the BFG, are located outside, along with the two larger Armor pickups and the Mega Health. All of these items are visible from the main construction site.
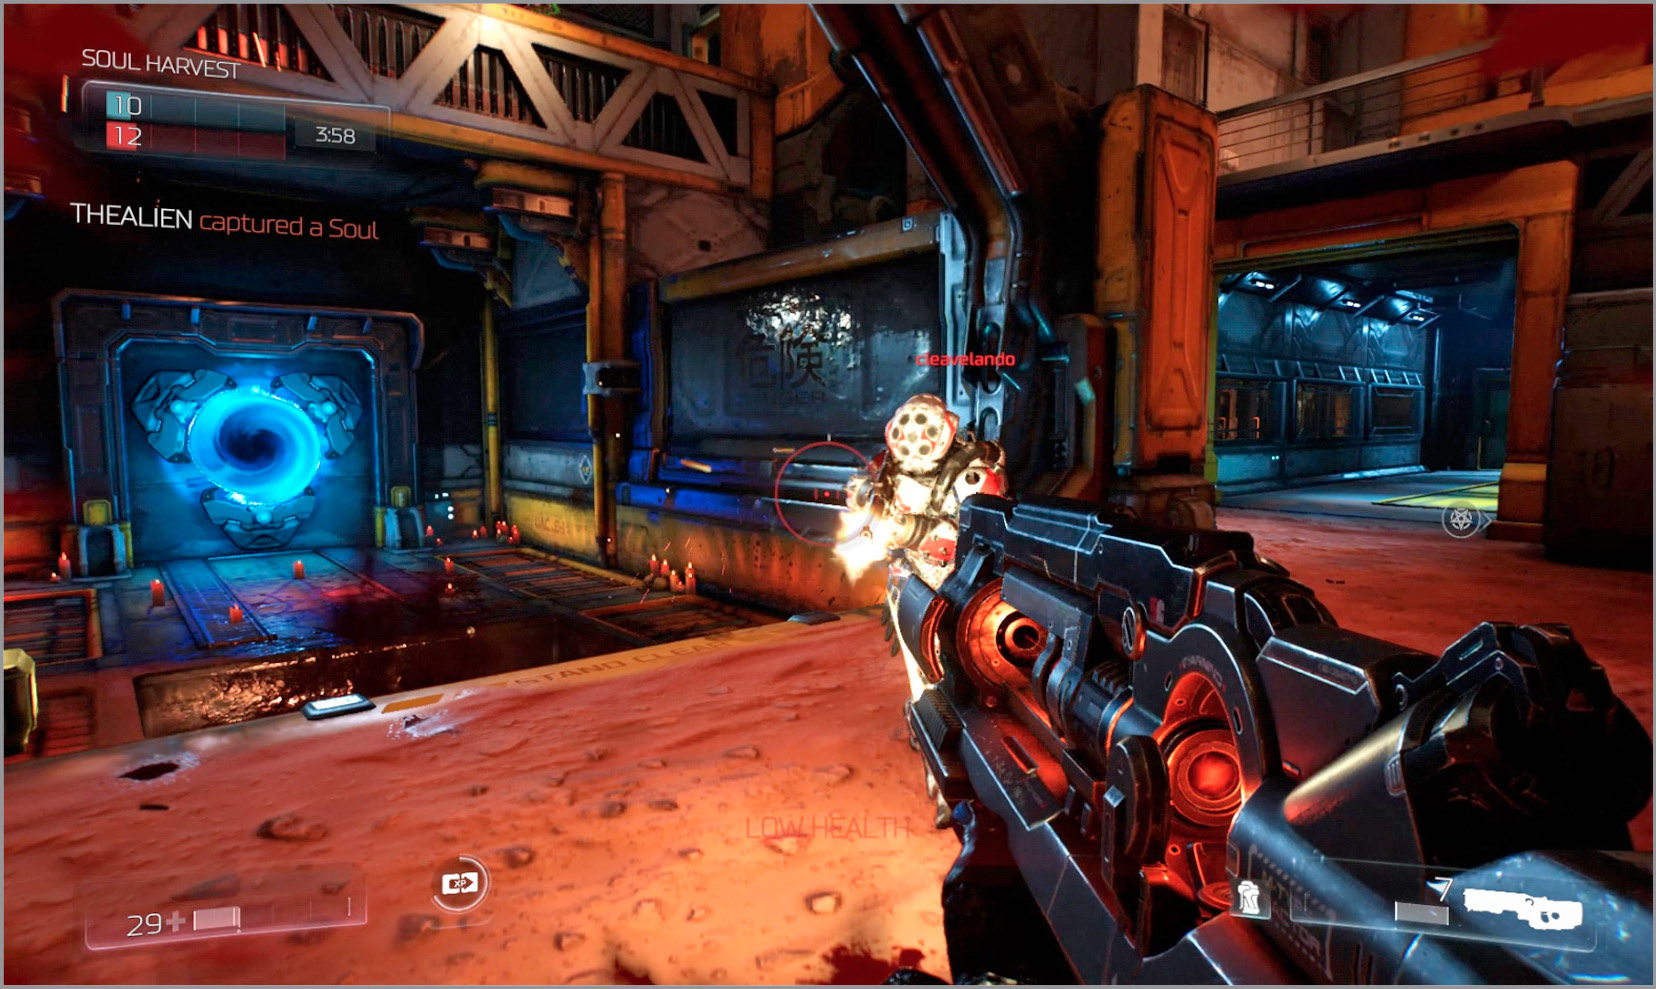
The most unique feature to Excavation is the presence of a large grinder in the north-central portion of this map. Stepping or falling into the grinder results in a Suicide, so be careful when approaching the large swirling portal behind it. That portal provides an instant transport to the southeast cave. Grab the Mega Health, run up the conveyor belt to grab the Haste pickup, then drop down and take the portal to the cave near the BFG.
Objective Based Modes
The initial clash at Excavation tends to occur in the middle east-west span across the construction site, in the area where the bridge is. This is a large area with plenty of pickups, and while the team on the east side has easier access to the BFG when it spawns, the team to the west has easier access to the Mega Health and Haste. And, of course, the portal leading to the BFG. Use the upper ledges and various obstacles for cover and try to stay clear of the open area in the center where you can be shot from multiple directions. Instead, coordinate with teammates to gang up on isolated opponents or stick to the periphery and lend a hand to your teammates.
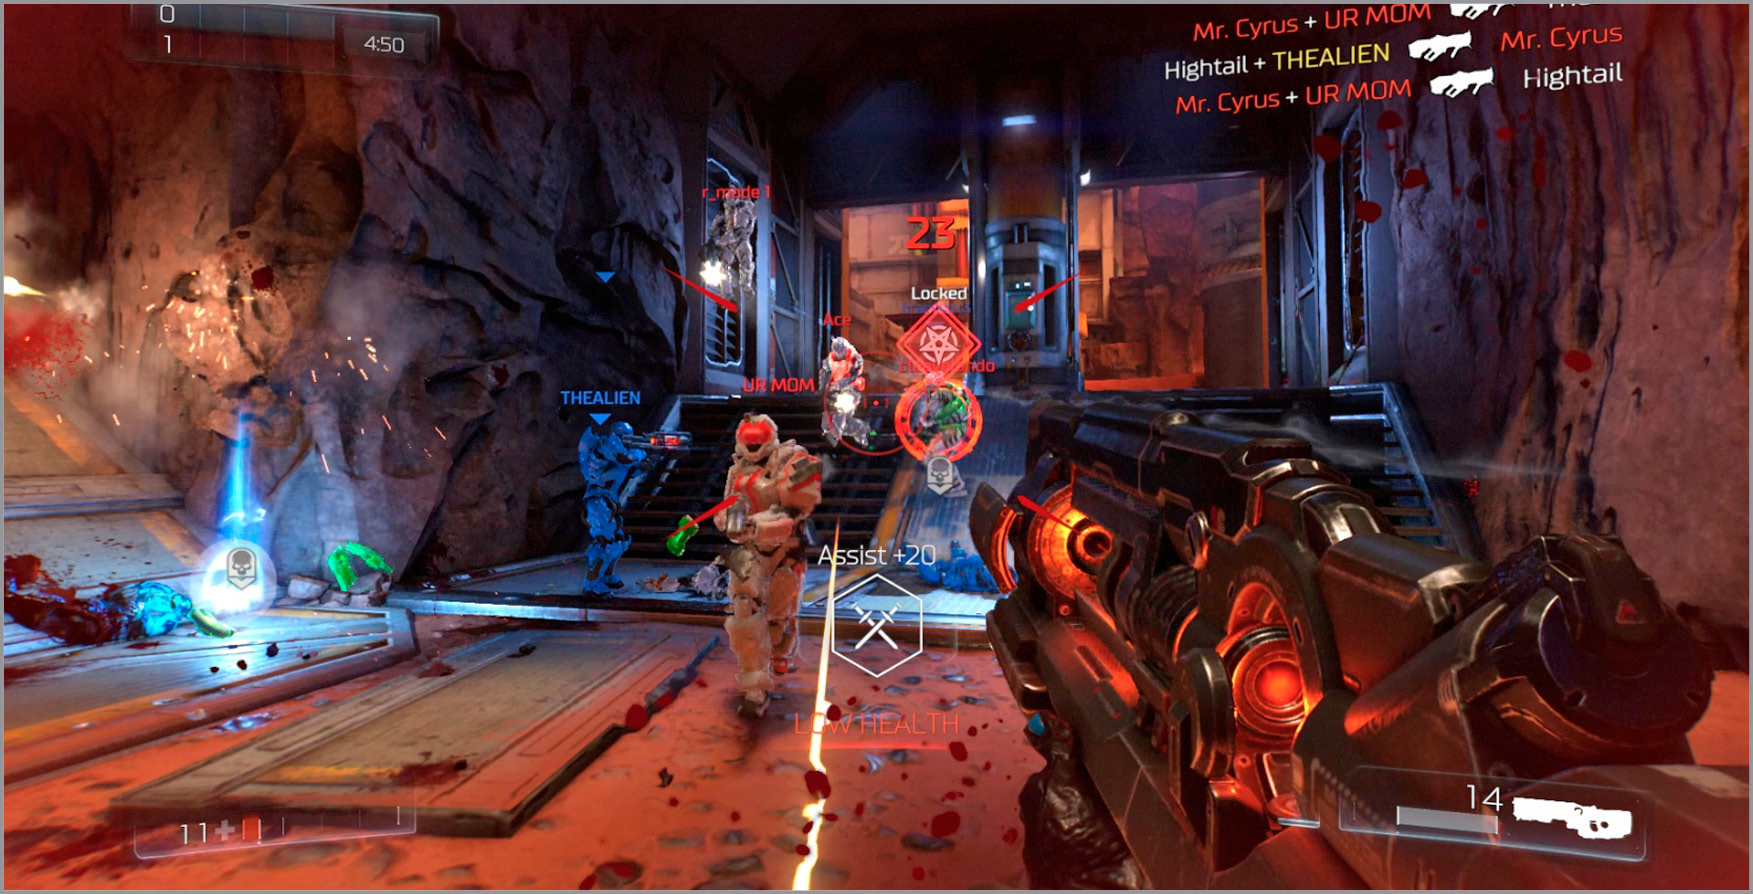
Both the cave to the south and the industrial corridors on the north have multiple levels and small passages that can be scaled for stealth purposes. Make use of these off-the-beaten-path routes every now and then to see if they can nab you a surprise kill or two, but don’t stay in one place for too long. Similarly, never hang out on the bridge or atop the conveyor belt as the field-of-view is quite wide and you will be seen.
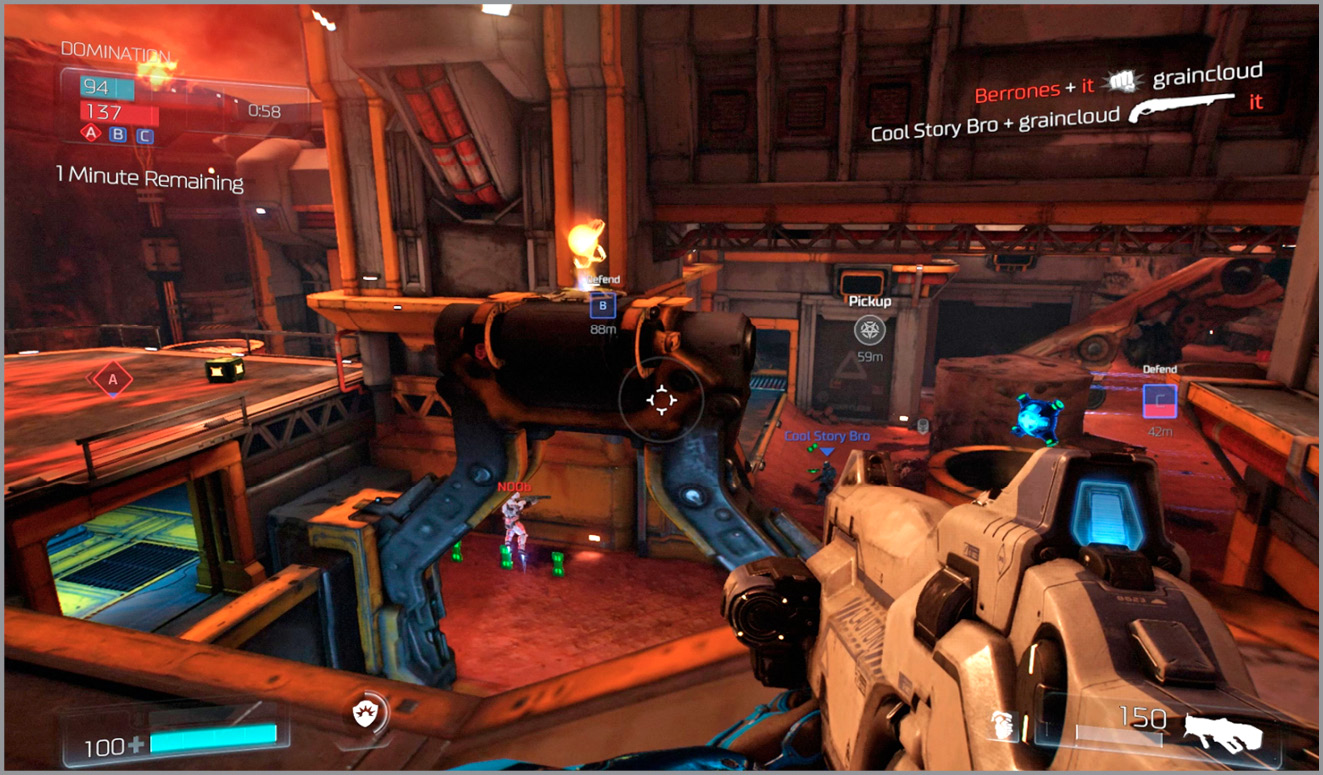
Domination
Quickly lay claim to the Zone nearest your spawn and then make your way to Zone B. Though it might seem that the team spawning near Zone A can get there faster, the other team can match their speed by using the portal. If you spawn near Zone C, try to coordinate so that two of your members capture Zone C while two double back through the caves to Zone B and the other two use the portal. This should surprise the opposition from two directions at once. On the other hand, if you are near Zone A at the start of the match, leave one person to capture it while the rest contest Zone B—with your eyes up at the rocky ledge in the corner of the cave to catch the enemies when they teleport in! Pay attention for powerup availability on this map and look to use the BFG to clear out contested zones. And while the Haste pickup may not be as critical in Domination, you’d better believe the Quad Damage pickup is. Look for it atop the conveyor belt!
Round Based Modes
The quickest way to confront the other team is in the southwest corner cave, near the BFG spawn point. If you spawn in the cave, just head along the path to the right and you’ll get there in moments. If you spawn outside, just head left and continue past the BFG spawn point. But that’s only if you want to clash in one quick skirmish. On a map with so much open real-estate it’s better to fall back as a team, look for an elevated position, and wait for the opponent to spread out looking for you. You need only pick one or two enemies off to gain a significant advantage in Clan Arena.
It won’t happen often, but look to knock frozen allies into the grinder while playing Freeze Tag to allow them to respawn safely unfrozen. This isn’t a particularly common place for skirmishes to take place, but it can certainly happen in longer-lasting matches as players go for the powerup or try to use the portal to reach the BFG.