
Disposal
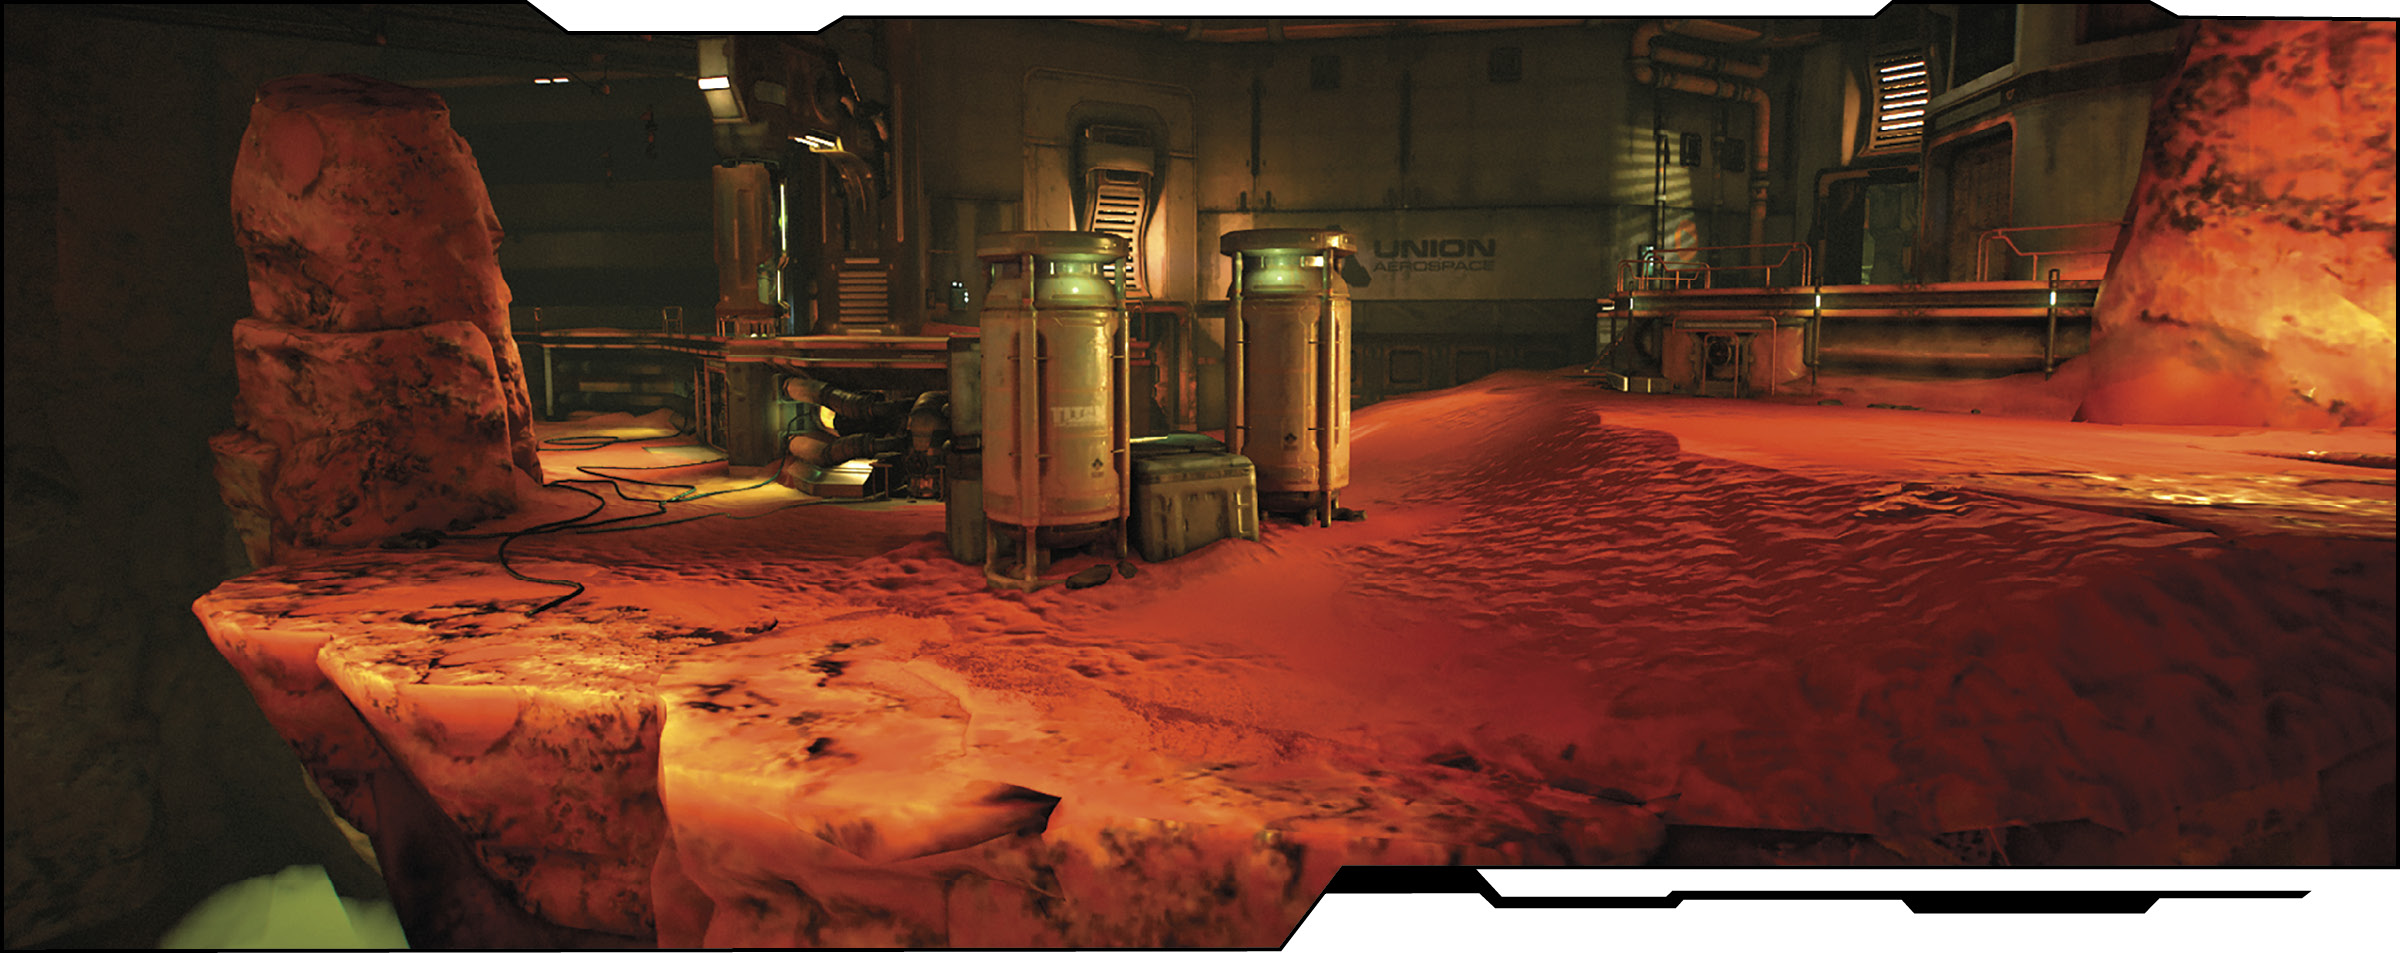
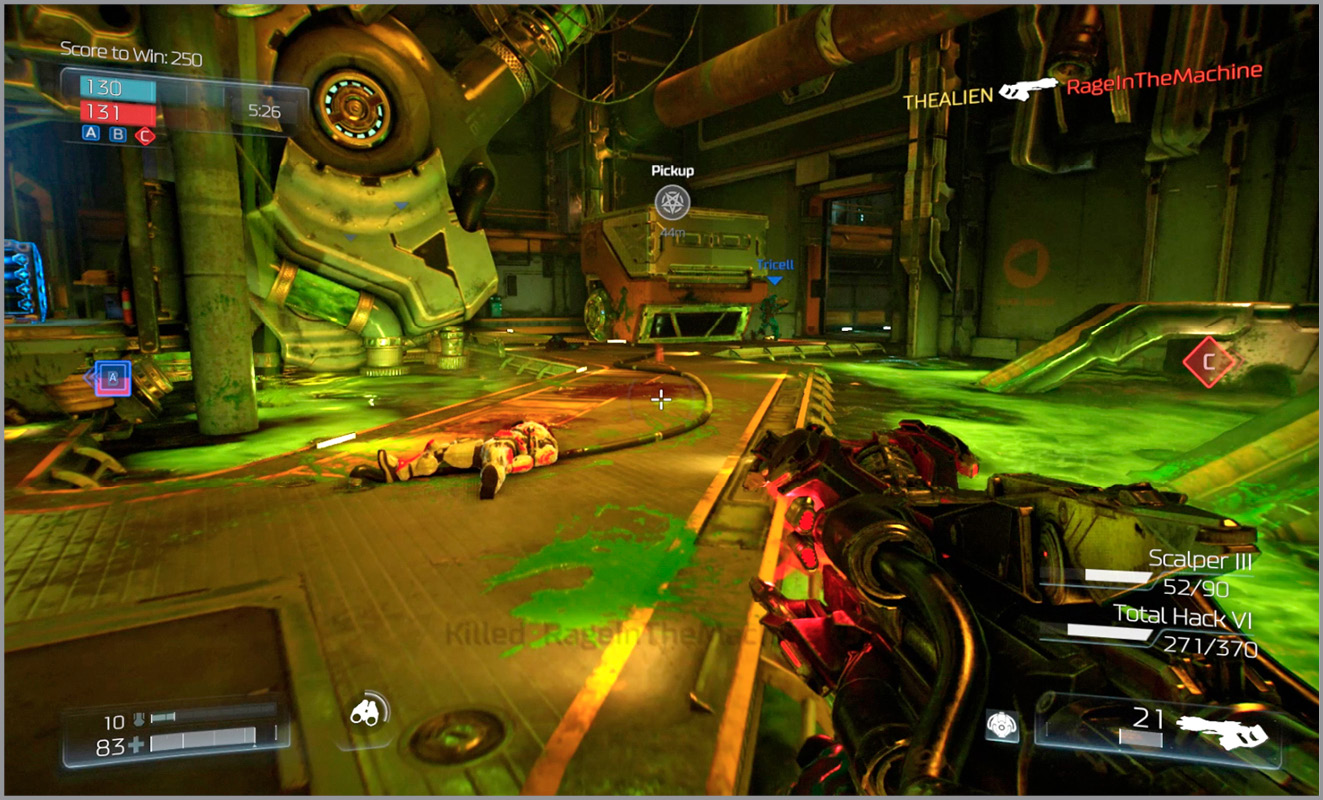
If you’ve ever wondered where the UAC’s toxic waste ends up, here it is! Disposal is a moderately large map with several hallways and corridors that lead through a facility perched on the edge of a cliff. The central area has a room with a pool of toxic waste in it, there’s a canyon you can fall into, and scattered throughout the map are small canisters that explode if shot, releasing poisonous gas into the area. Action predominantly takes place indoors, but you must watch where you step even there! There are several medium and large Armor powerups, an Invisibility powerup, and, best of all, the Chainsaw!
Location Intel
Power Weapon: Chainsaw
Powerups: Invisibility
Suicide Risk: Moderate
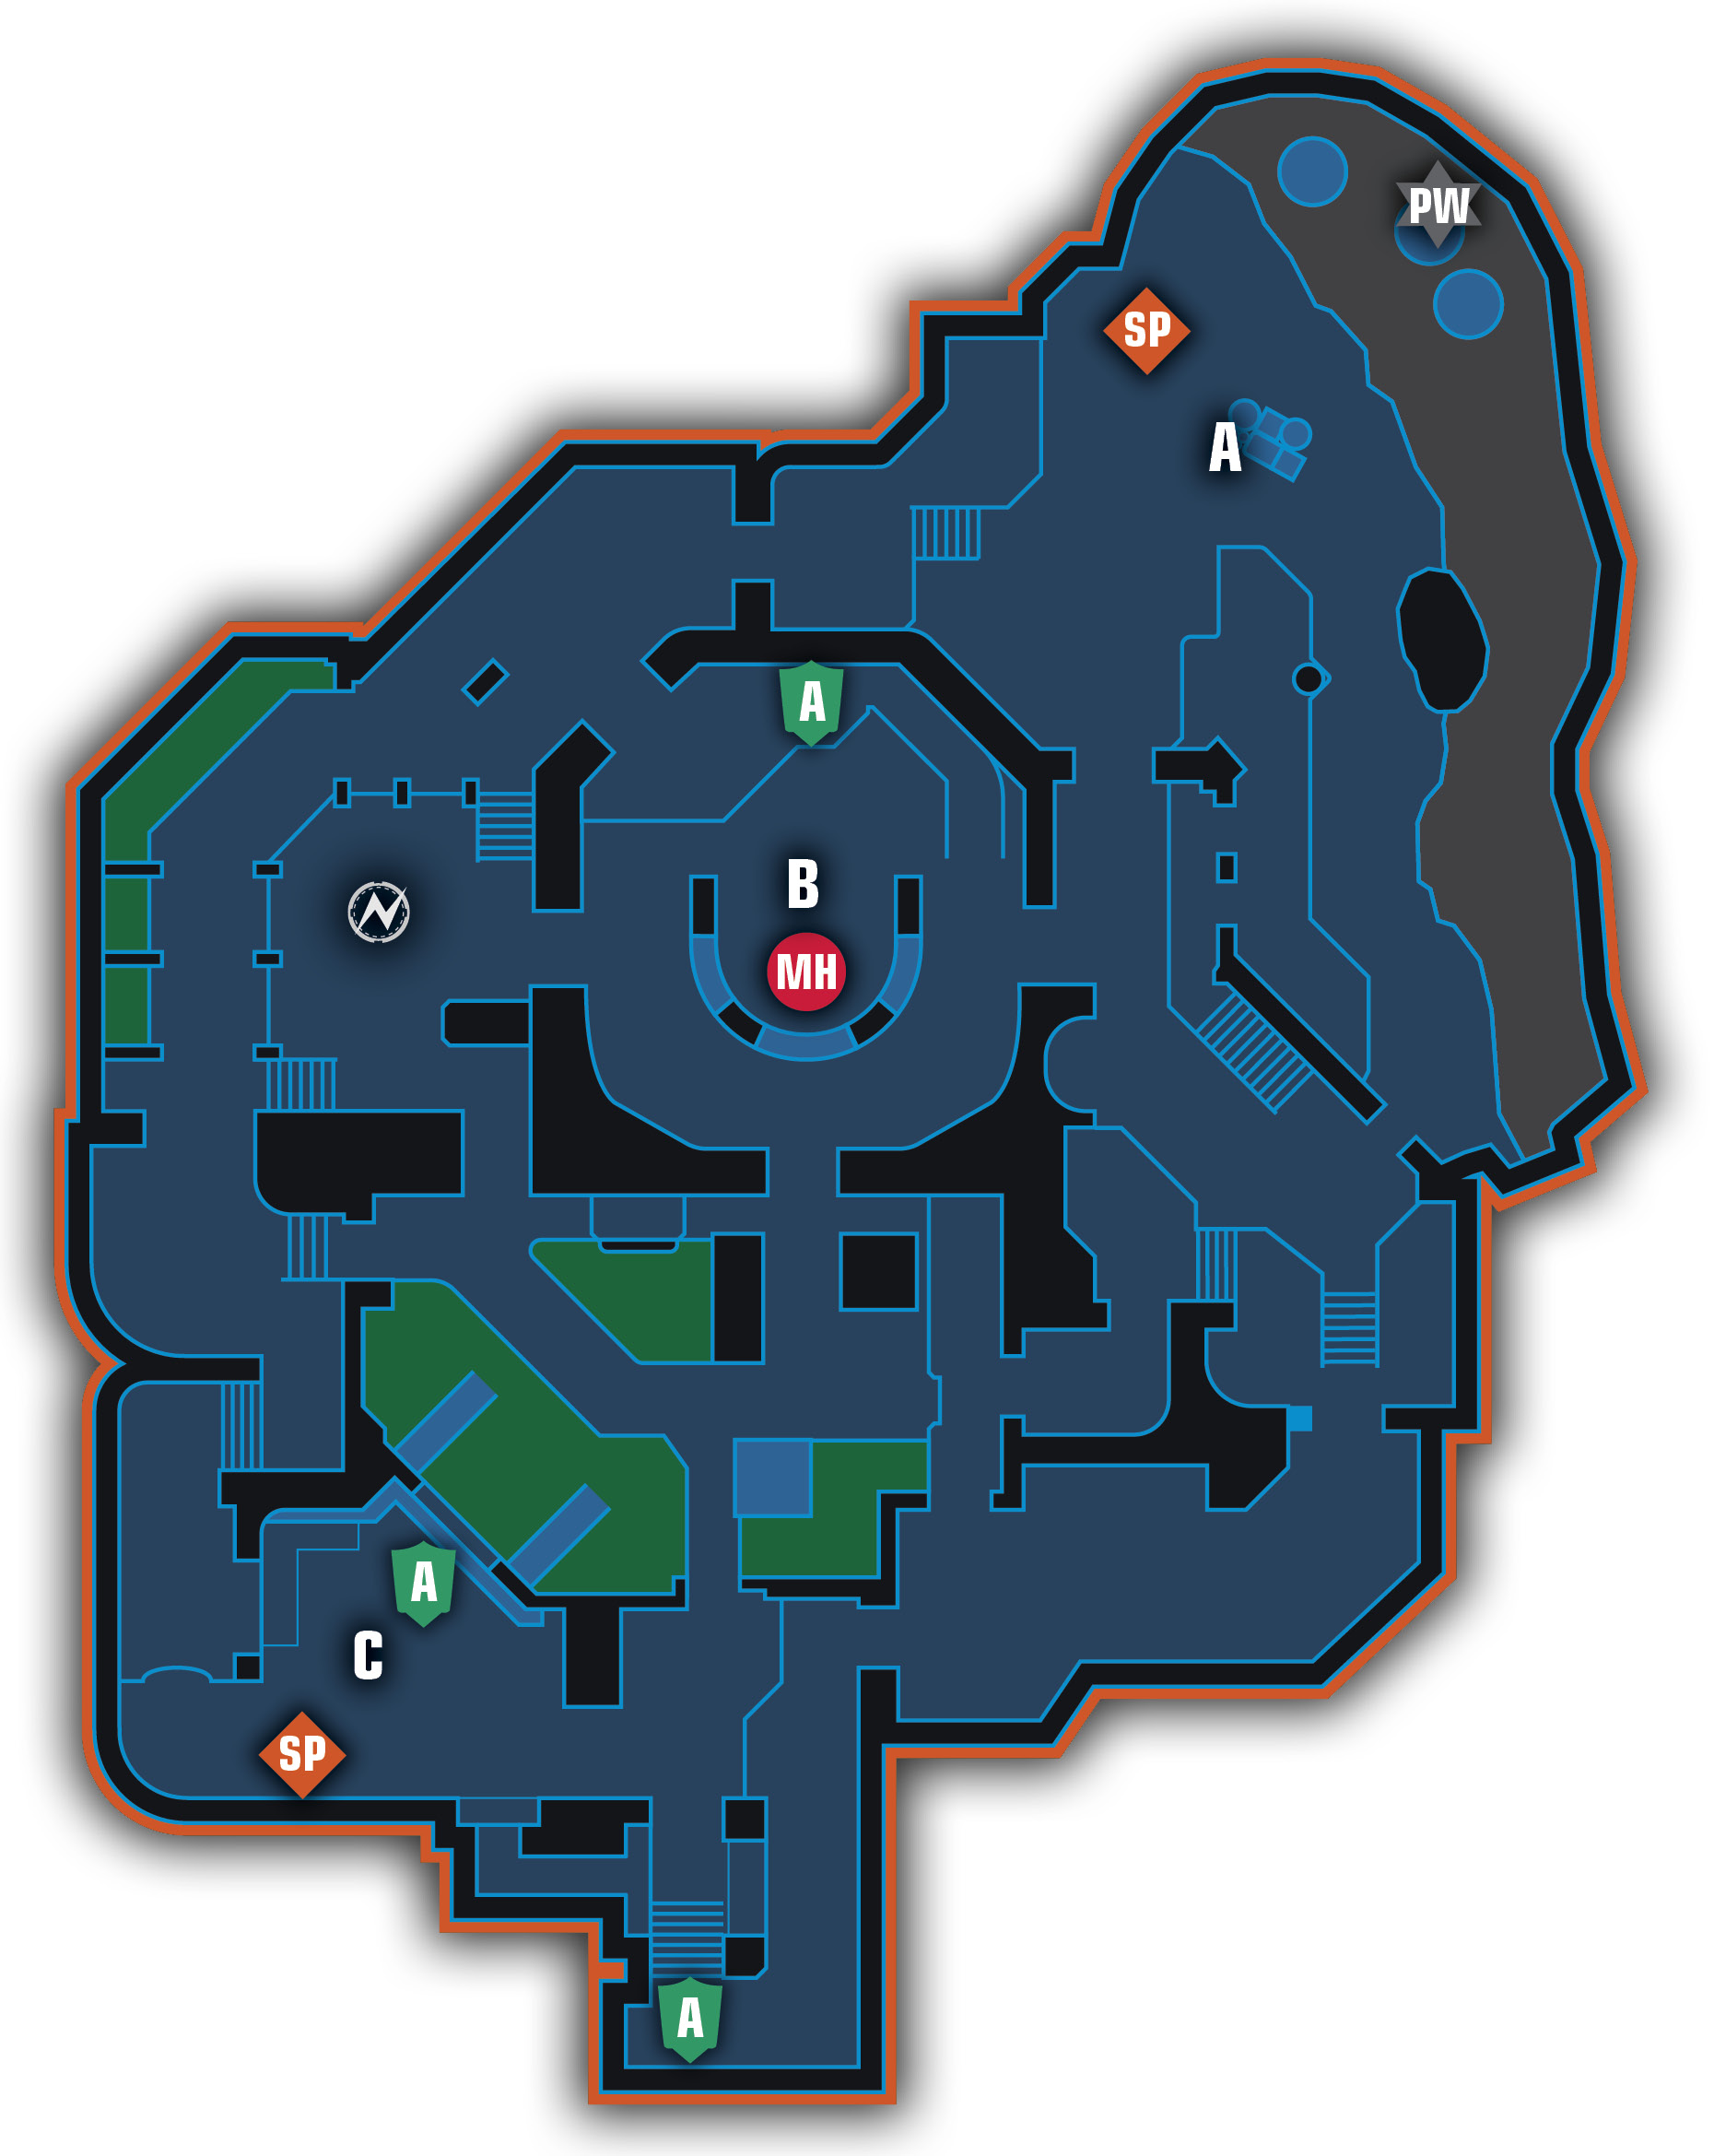
legend
 |
Armor |  |
Portals in |
 |
Domination Capture A |  |
Portals out |
 |
Domination Capture B |  |
Powerup |
 |
Domination Capture C |  |
Power Weapon |
 |
Mega Health |  |
Spawn Point |
Area Recon
This is one of the easier maps to understand where you are when you spawn because one of the spawn points is outdoors, on the sandy cliff, and the other is inside. Nevertheless, teams tend to meet quickly in the room with the semi-circular wall (and the Mega Health) or in the room with the green toxic sludge flowing beneath the walkway. Most of the areas with two levels have stairs or can be climbed. For all of its corridors and staircases one is never far from the action in Disposal. The grimy, dank interior has a habit of leading players into one another, whether in the room with the toxic soup or the sandy exterior, bullets will certainly be flying! Unlike some maps which appear even larger and more complex than they are, Disposal can, at first, feel a bit small. It’s not!
Consider following the upper perimeter wall in a clockwise direction to learn the map’s main path. This leads you through rooms overlooking the Invisibility and Mega Health (two hotly-contested rooms) and then outside to the cliff area where the central pillar contains a Chainsaw. Double jump carefully or pay the price! Back inside, familiarize yourself with the inner ring that connects the room with the toxic waste on the floor with the room where the Mega Health is and the Invisibility powerup. These three rooms form an inner circle connected by several walkways and stairways leading to the outer loop. Lastly, note that there’s a smaller exit leading outside in the southeast corner of the map that demons cannot fit through. To pursue enemies outside as the demon, you must use the larger doorway at the north end of the area.
Objective Based Modes
Those spawning on the inside of the facility should be careful to avoid the toxic sludge in the adjacent room as they head toward the center of the map. The enemy is likely to approach from the right-hand side of the room with the Mega Health in it, so either join your teammates in engaging them when they appear or head to the left and ascend to the area overlooking the rooms with the Invisibility and the Mega Health. On the other hand, the team that spawns outside can often bait the enemy into funneling through the doorway leading into the room where the Mega Health is. Take partial cover behind the semi-circular wall and concentrate heavy firepower through the doorway as they come into view.
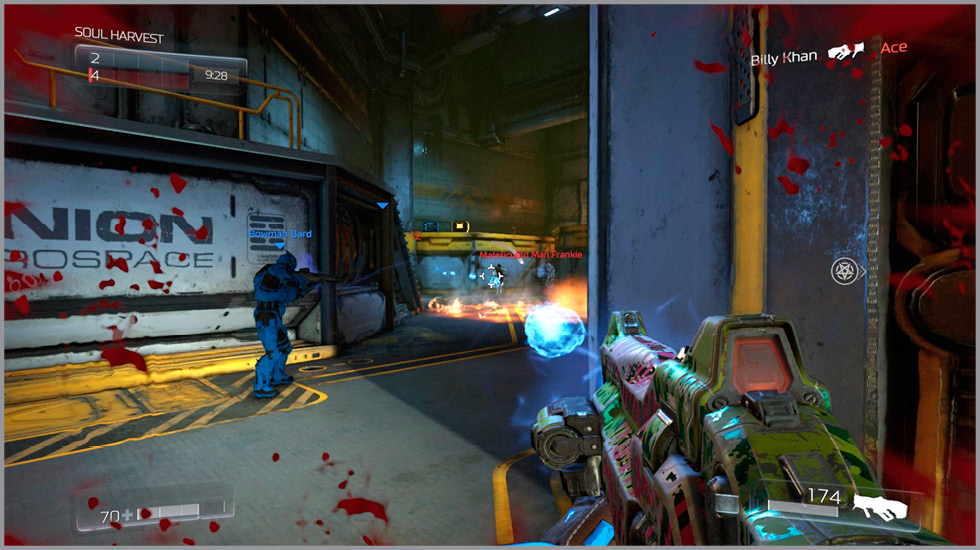
Try to maintain communication with your team and ask them to guide you to either the cliff, the toxic waste room or the room with the semi-circular wall. These are good landmarks that should be easy to navigate quickly to once you learn the map. Be sure to return to the inner spawn point periodically to collect the Armor that spawns there. This is a convenient item to grab on your way to the Invisibility and the Mega Health. Scan the area around the cliffs for enemies and never go for the Chainsaw without first shooting the green canister of toxic gas. Wait for the fumes to dissipate before making your move for the Chainsaw.
Domination
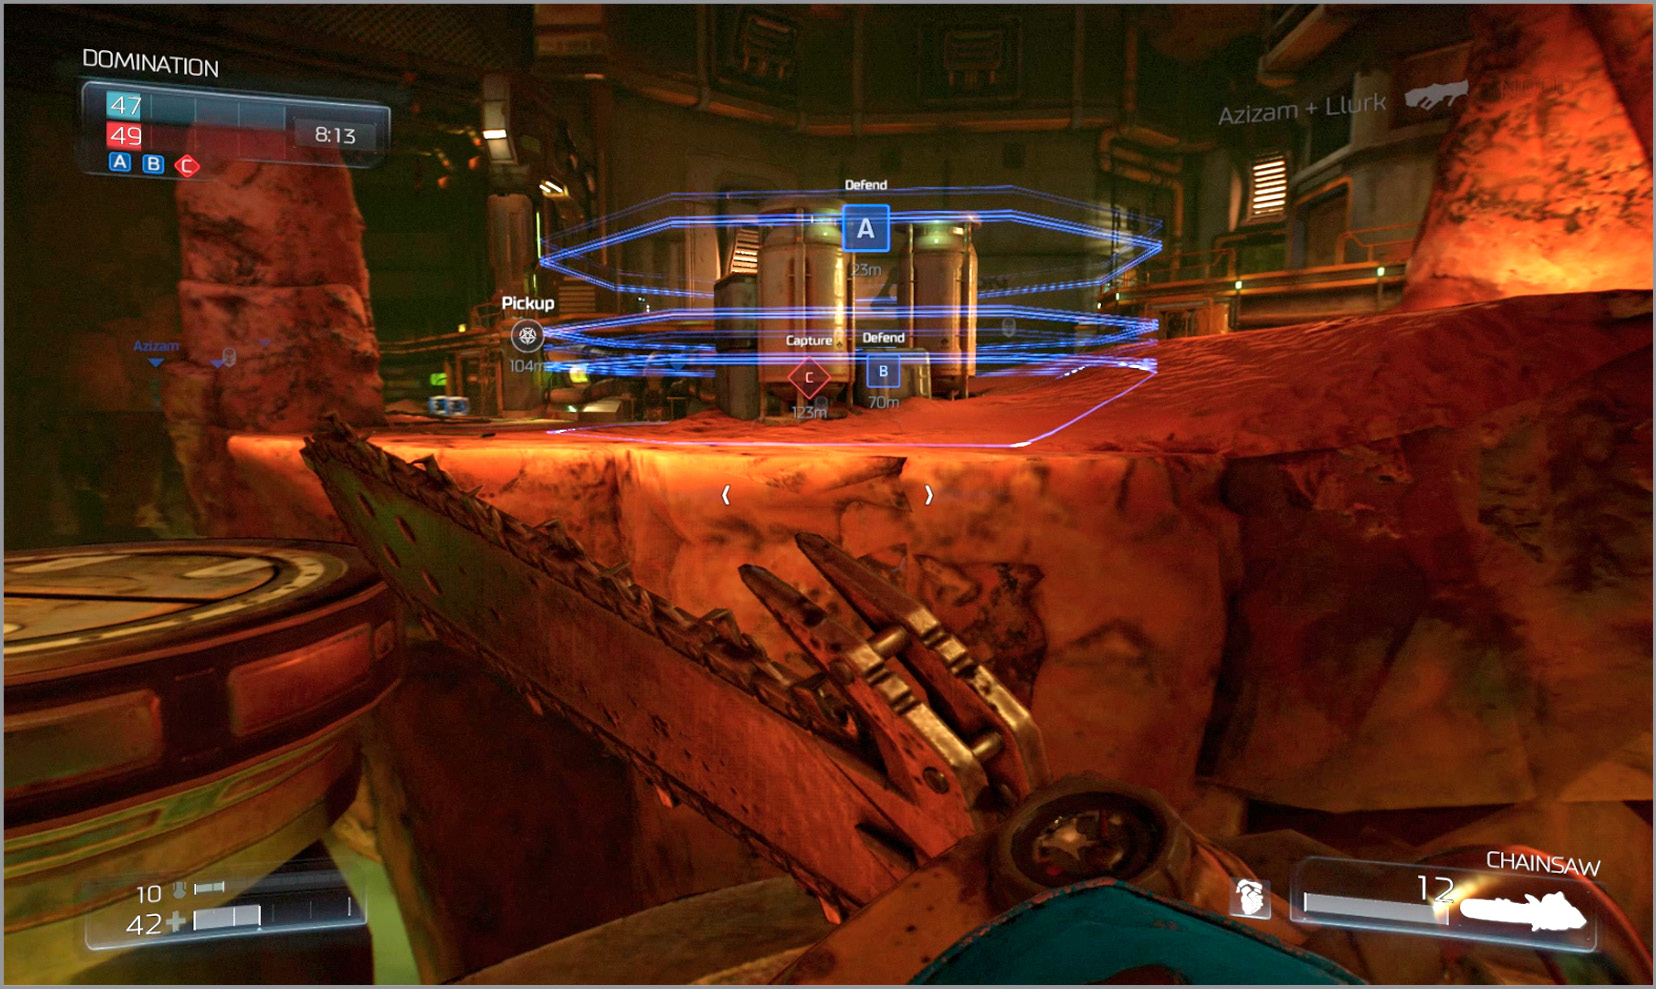
Zone C is near the interior spawn and Zone A encircles the pile of crates and supplies by the outside spawn point. Since both of these are quite far from one another, they can be captured easily with just a single person while the rest of your team fights to secure Zone B, located where the Mega Health spawns. Zone B, perhaps even more than usual, is very hard to hold given its location on the map and its lack of cover. Coordinate with your teammates to have two people go for the capture while at least one other patrols the walkway overlooking the Control Point and provides fire from above. Another useful tactic on Disposal, regardless of where you spawn, is to focus your efforts on taking Zone C as it tends to be easier to defend than the other zones. Use the platform above the Control Point along with the narrow ledge above the Armor pickup to pick off unsuspecting enemies as they enter the Control Point from the room with the toxic waste.
Round Based Modes
In games where the teams just rush one another, the major clashes tend to occur in the hallway connecting the room with the semi-circular wall and the hallway with the exposed toxic sludge. If you’re on the team that spawns inside the facility, double jump across the toxic pool and come across the control terminal from the left to catch the enemy in crossfire. On the other hand, if you spawn outside, climb onto the upper ledge directly behind the storage tanks, duck inside on the second level and double jump across the gap so you can reach the windows looking down above the semi-circular room. This puts you in prime position to pick off the enemies from above. Consider lobbing a Tesla Rocket or Frag Grenade down at them along with your Rocket Launcher’s rockets.
Playing Freeze Tag on this map does come with a slightly greater risk as frozen players can be shoved about (with gunfire) into the toxic pools. This makes them harder to thaw. If your ally is frozen near a cliff, then shoot them to knock them into the abyss. This allows them to respawn safely unfrozen.