
Infernal
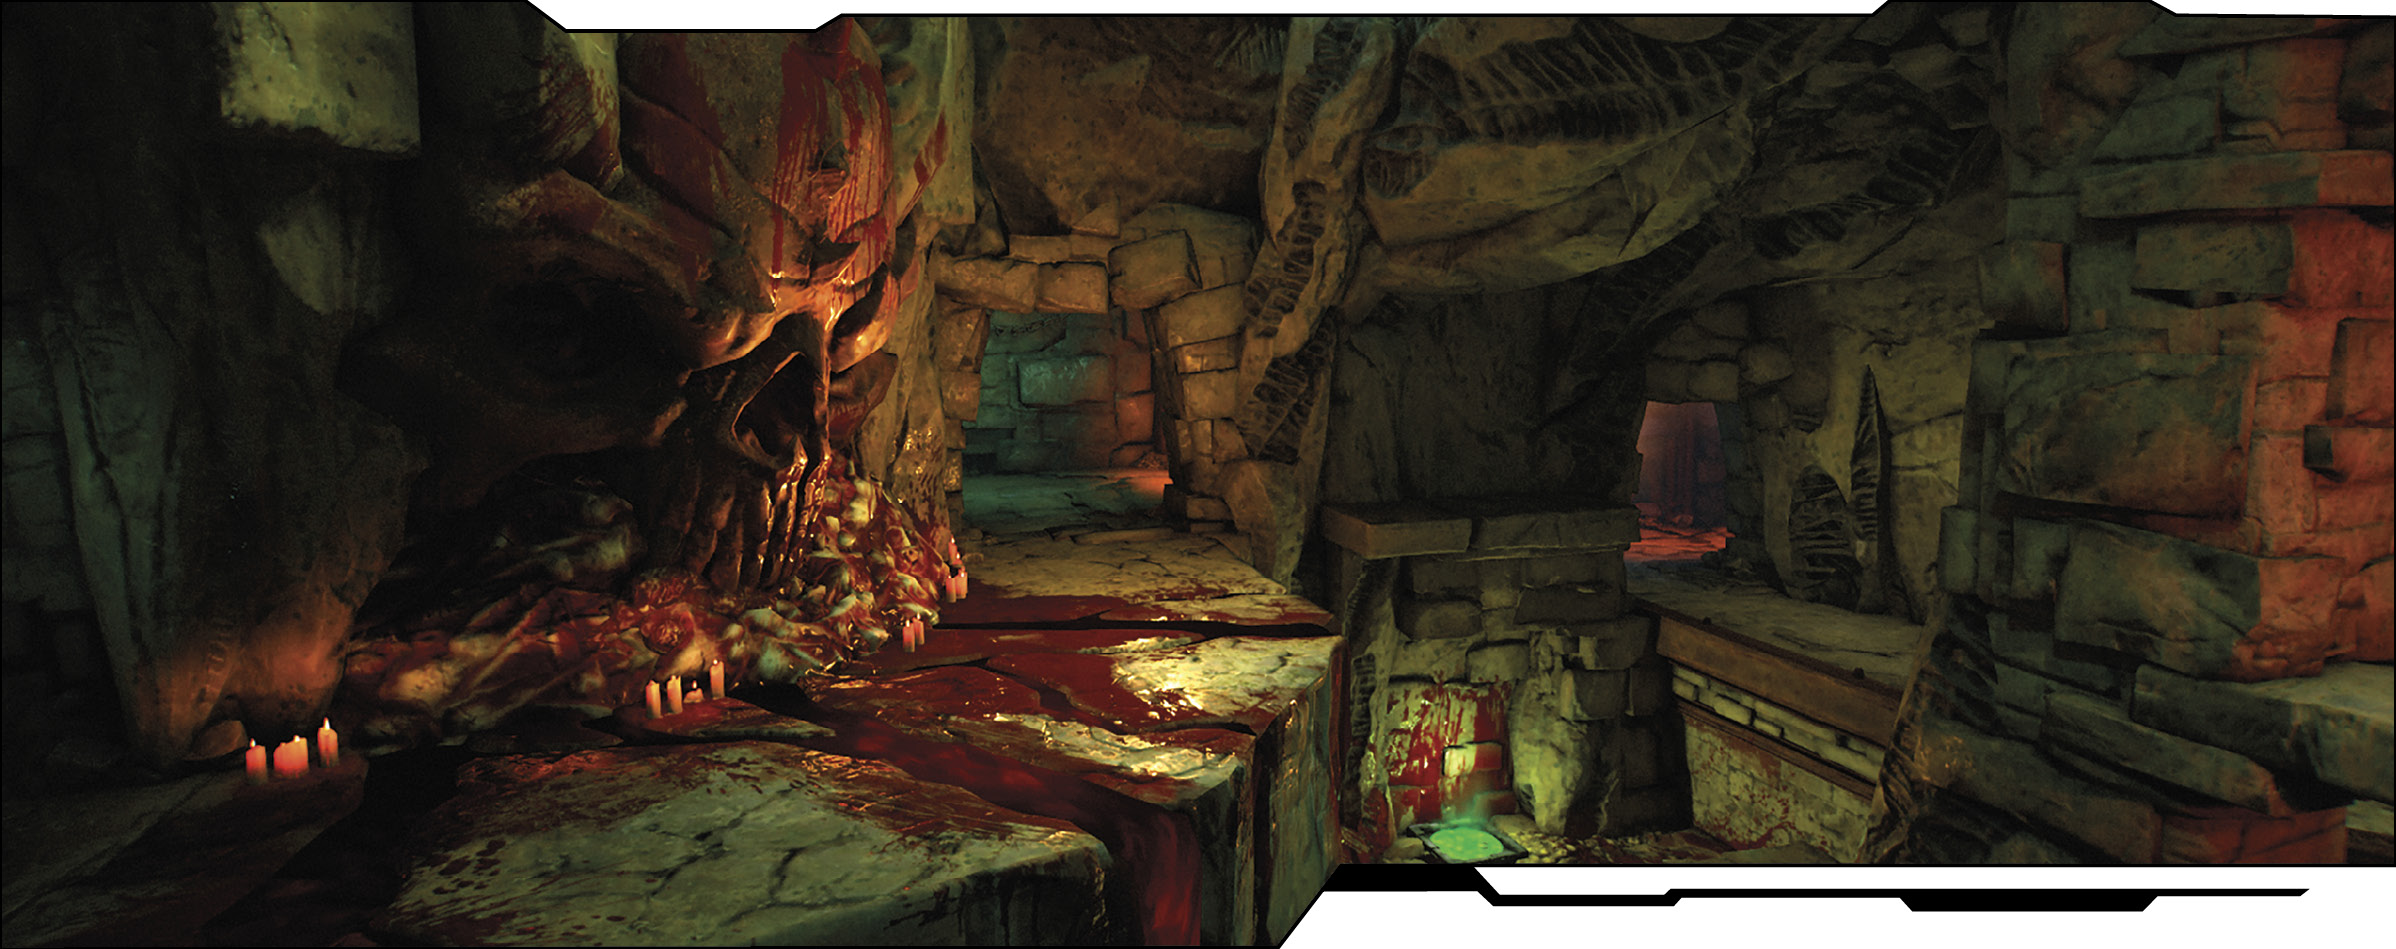
Welcome to the largest, most complex, and goriest of all the DOOM maps. Infernal is dripping in blood—literally—and contains three separate portals in addition to multiple levels of passageways, bridges, and tunnels. There are places to fall to your death and blood-drenched waterfalls to ride to lower levels. Take your time learning the map and always remember to use the buddy system when wandering!
Location Intel
Power Weapon: Chainsaw
Powerup: Quad Damage, Haste
Suicide Risk: High
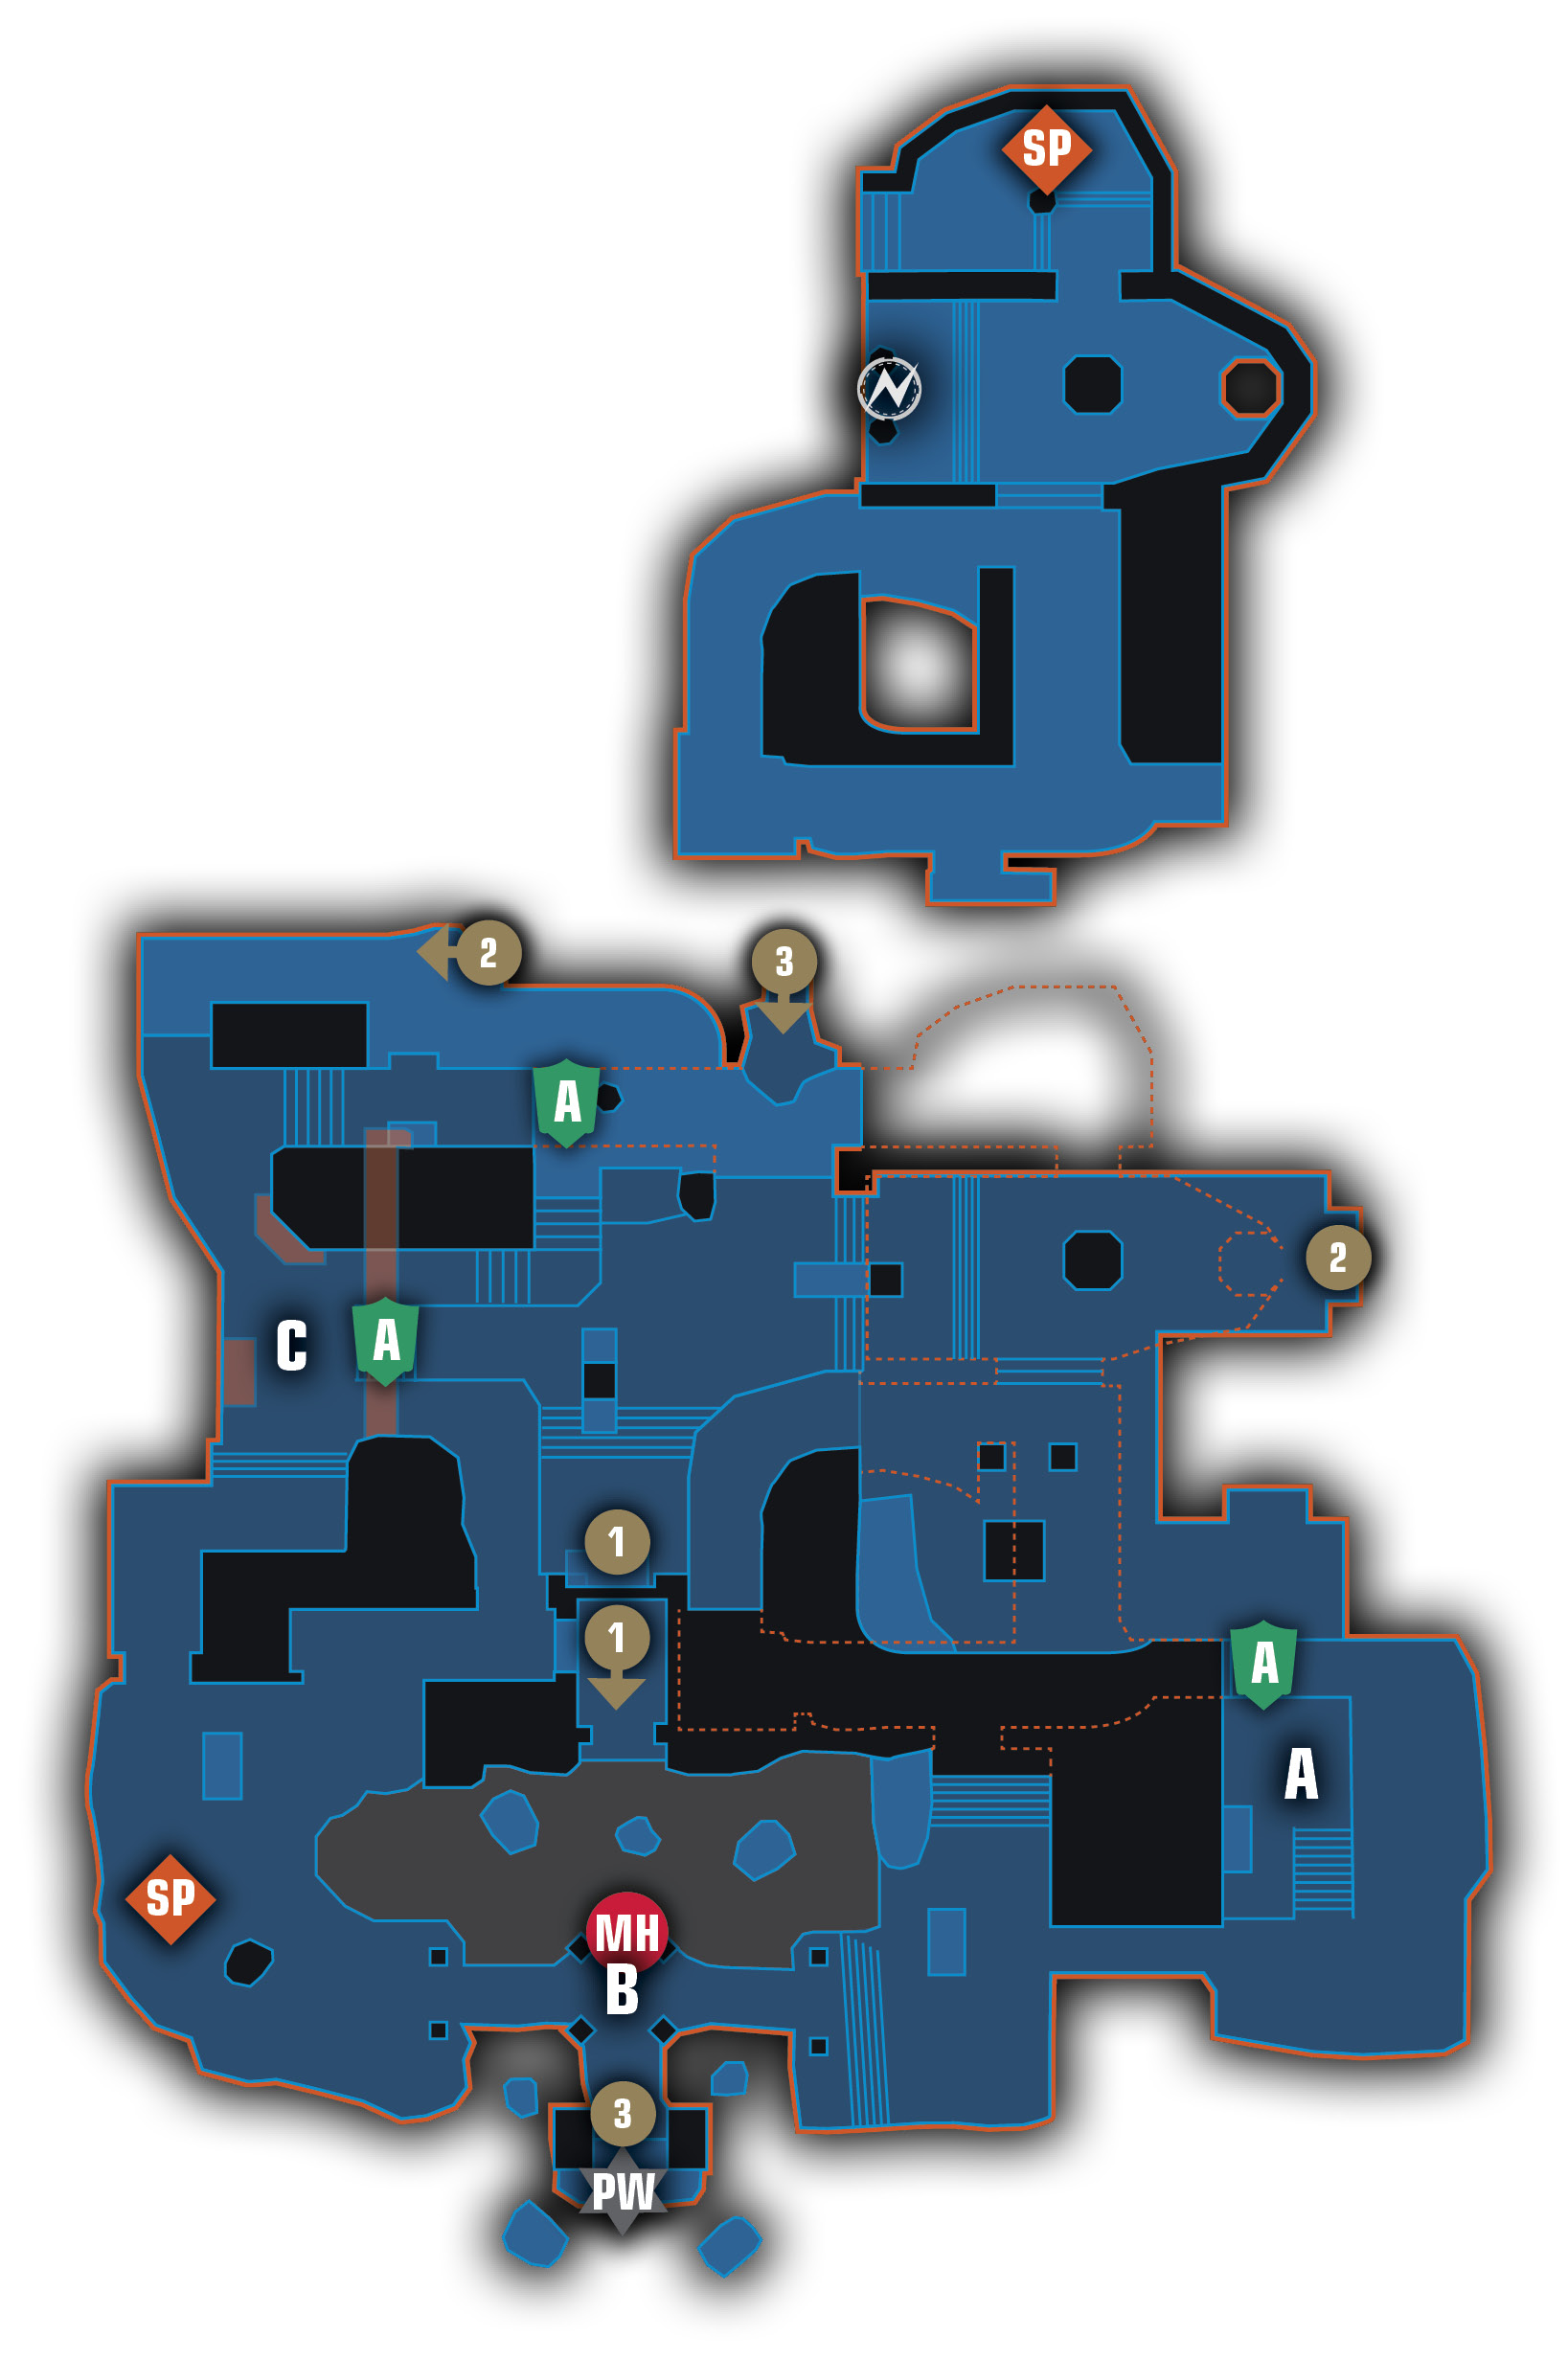
legend
 |
Armor |  |
Portals in |
 |
Domination Capture A |  |
Portals out |
 |
Domination Capture B |  |
Powerup |
 |
Domination Capture C |  |
Power Weapon |
 |
Mega Health |  |
Spawn Point |
Area Recon
One of the teams spawns near an altar in the southwest corner of the map, within sight of the massive skull temple and bridge. The other spawns in the northeast corner, in a cave on the uppermost level of the map. Much of the action takes place on the south side of the map, near the large skull temple. It’s not only where the Chainsaw and the Mega Health are located, but it’s also where one of the portals teleports players to. This is the most dangerous area on the map due to the high Suicide risk and the incredible sightlines. If you’re going to snipe, this is where you want to do it!
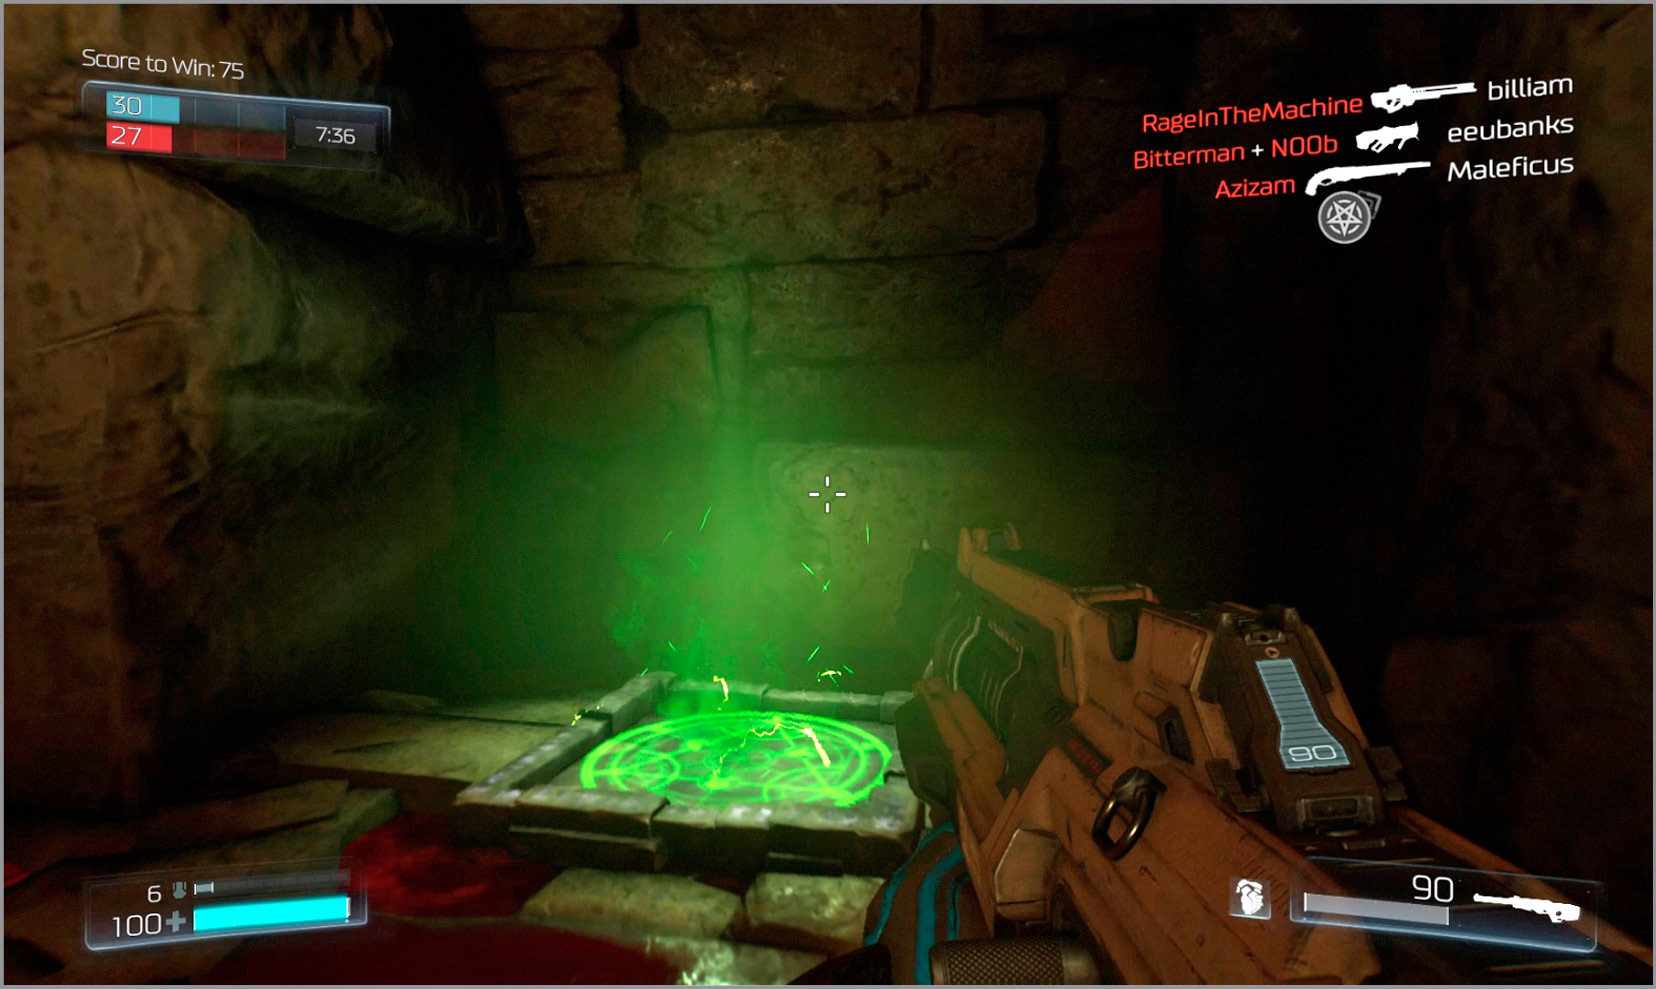
There are several larger Armor pickups throughout the map and a number of smaller Armor and Health pickups that line small holes in the floor and passages that you can safely navigate. Let the pickups be your guide! Stay on the lookout for small pools of green swirling energy as these are the portal entrances on this map. The portals here are not bi-directional, so check with the map to see where each portal leads. Speaking of portals, the easiest way to safely reach the Mega Health is by taking the portal in the middle of the map to the upper ledge above the Mega Health. You can reach it with a double jump from there. Likewise, let the Health pickups to the south of the Chainsaw lead you along the easiest path to the weapon. Leap from the stairs to the rock spire and then to the next closest one in order to reach the Chainsaw from behind it.
Objective Based Modes
Stick close to your teammates for as long as you can; it’s very easy to find yourself suddenly surrounded on this map. The team that spawns near the altar should forego the bridge area for the time being and instead make their way to the left, through the caves leading up the stairs in the direction of the other team’s spawn in hopes of catching them unaware. Sweep south across the center of the map to use the portal that sends you to the upper ledge near the bridge in time to collect the Mega Health and, perhaps, the Chainsaw if it’s already there.
Learn the whereabouts of the three portals and watch your back when entering them. Try to get in the habit of backing into the portals so you can see if someone is following you into it. There’s nothing worse than exiting a portal and having someone appear right behind you and Super Shotgun you in the back! Since so much of the action takes place in the center and southern portions of the map, you’ll likely be able to sneak away to get the powerup without much hassle. Grab it and drop through the hole due east of it to land near a portal that can deliver you to some nearby Armor. From there, head to the central portal to gain the upper perch overlooking the skull temple and bridge. You should have plenty of time to use your Quad Damage ability if you don’t get derailed.
Domination
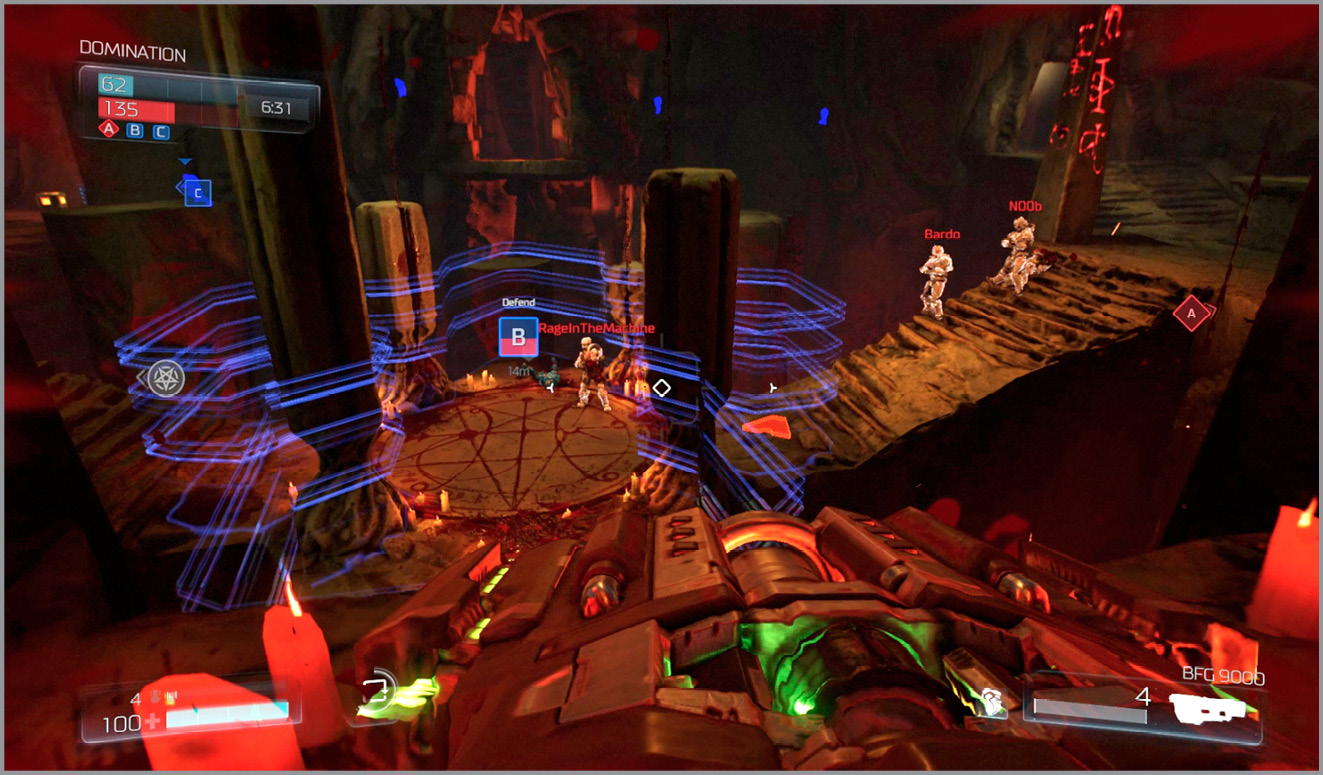
Zone C tends to get lost in the chaos during Domination matches on Infernal, so do your best to capture it early before the focus shifts to Zone B. Once you capture Zone C, especially if you spawn near the altar in the southwest corner, use the portal to reach the ledge overlooking Zone B and the Mega Health. Lob a Siphon Grenade or Frag Grenade down at the enemies there, then leap down and claim it. If your team spawns closer to Zone A, claim it quickly then try to station one or two players in the corner of the area and on the bridge above the Control Point. Zone A can be very hard to take if the other team mounts a coordinated defense and it takes only two players to defend it successfully. Zone B will likely trade hands throughout the match, so try to slip away and get the powerup or Chainsaw.
Round Based Modes
It’s easy to get split up from your team on a map of this size in Clan Arena and Freeze Tag and that’s a surefire way to lose. Find out where the bulk of your team is headed and either join them or move to a semi-concealed position along their flank where you can perhaps surprise the enemy. Since much of the early action in Clan Arena is going to take place near the bridge you may have time to reach the portal that leads to the overlook, but don’t be surprised if the other team is thinking the same thing. Instead, consider fanning out along the ledges and stairs in the area east of the bridge and letting the enemy come to you.
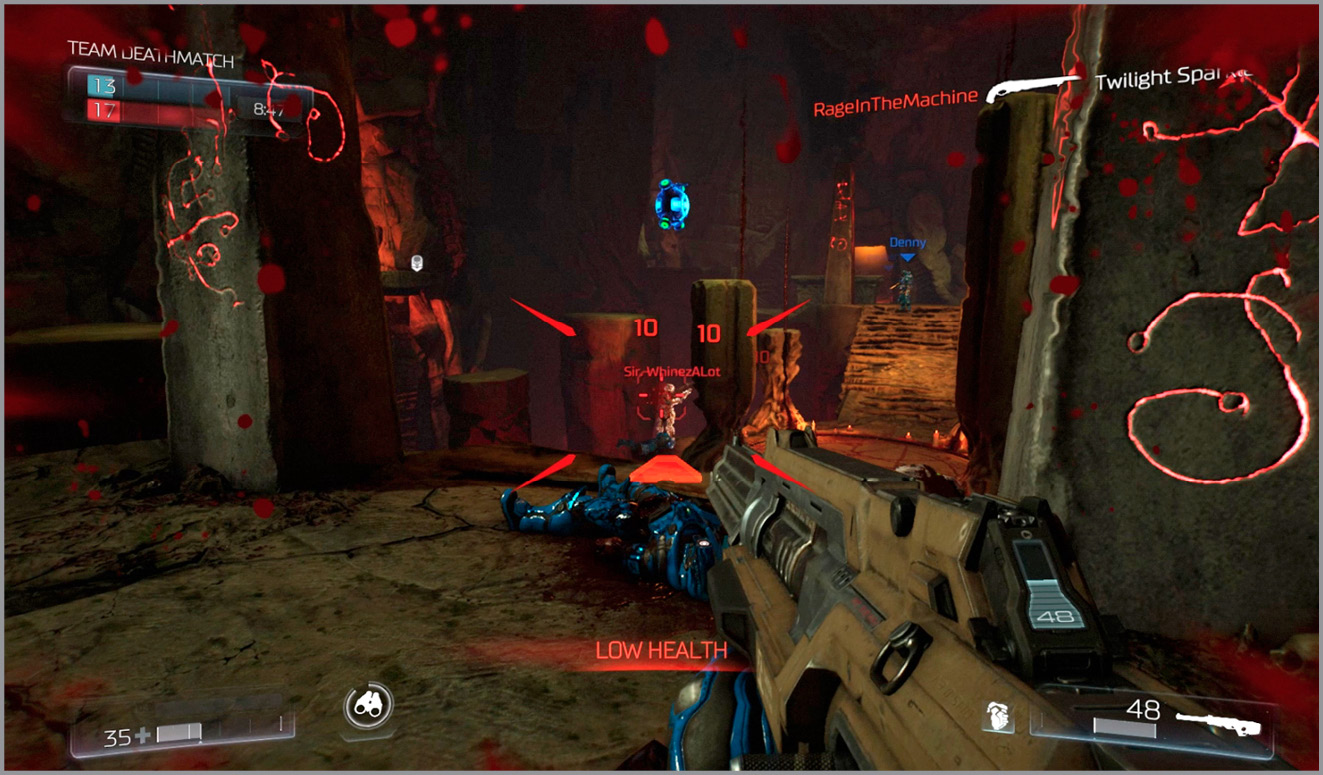
When playing Freeze Tag, it’s important to avoid the bridge area (or better still, bait your enemy into crossing toward you). You can be frozen and shoved off the side into the pit below in this precarious location. Try to move in teams of two or three when playing Freeze Tag, especially if you see that the other team is also splitting up after the first round. Don’t leave frozen enemies behind unattended—consider using a Threat Detector near a frozen foe to let you know if an enemy is trying to thaw them.