Doom Guide Multiplayer Combat Prep
Become the Demon
What really sets DOOM’s multiplayer modes apart from other games is the ability to actually become one of four demons and use some inhuman, ungodly powers to eviscerate your opponents. All players begin with the Revenant unlocked, but the three other demon forms are unlocked through play. Don’t worry: it won’t take long. Select your demon at the start of each match, and then 1:35 into the match, be ready to grab the lone Demon Rune that appears. You’re not indestructible as a demon, but you will become more powerful than your wildest dreams.
Revenant
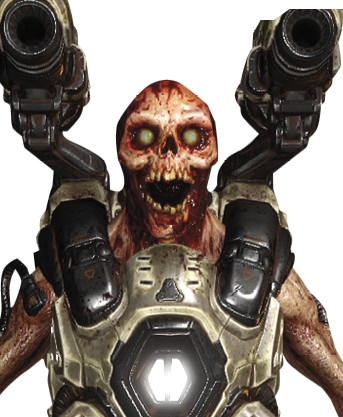
Jetpack into the air and eviscerate opponents with a barrage of missiles.
Unlocked at Level 1.
Health: 300 HP
Ammo Capacity: Infinite
Duration: 60 seconds
The Revenant is one of the most versatile demons, as its ability to continuously hover in the air for up to four seconds means that there are few places it can’t go in outdoor maps. Its twin missiles deliver overwhelming damage and are moderately accurate. However, thanks to their relatively slower flight speed, you may want to lead your enemies a bit when aiming at them. Anticipate their travel, and fire the rockets slightly in front of their position. It takes five seconds for the jetpack to completely replenish, so consider using it in small bursts.
When attacking an enemy Revenant, the first thing you need to do is target the power core that it wears. Doing so will disable the jetpack, which renders the Revenant grounded. The Revenant has a relatively slow firing rate. Pop in and out of cover with explosive firepower in between its rocket blasts.
Baron of Hell
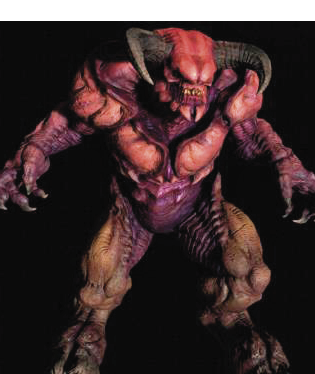
Smash and tear apart opponents with massive demonic claws.
Unlocked at Level 5.
Health: 750 HP
Ammo Capacity: Melee only
Duration: 60 seconds
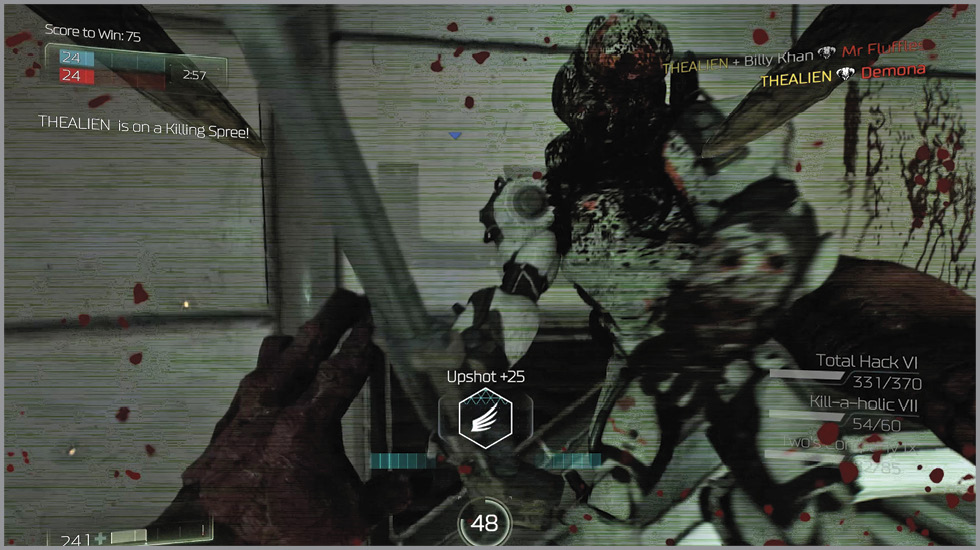
The Baron of Hell can run quite fast, but has very limited jumping ability. Avoid selecting the Baron on maps with lots of jumping to isolated pedestals and platforms (for example, Sacrilegious). The Baron of Hell is purely a melee fighter, with a main attack that consists of grabbing an enemy in its massive claws and ripping it limb from limb. The Baron’s secondary attack is a vicious Ground Pound that shatters the surface with demonic force and causes an incendiary effect that burns directly in front of the Baron’s position. Stay on the move at all times, and move erratically to avoid incoming fire as best as possible. Ground Pound any adversaries that are out of reach, and periodically spin around while melee attacking in case there are foes to your rear.
The Baron of Hell is perhaps the easiest of the demons to destroy, thanks to its very limited range of attack. Keep your distance and move to an elevated position where it would have difficulty reaching you. Unload on it with any projectile weapon that you have at your disposal. The 750 Health won’t be diminished quickly, but you won’t have to dodge any rockets while attacking it.
Mancubus
Bombard enemies from a distance with volleys of rockets.
Unlocked at Level 9.
Health: 800 HP
Ammo Capacity: Infinite
Duration: 60 seconds
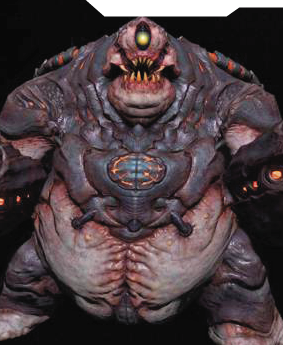
In many ways, the Mancubus is the complete opposite of the Revenant. This massive, slow demon can barely jump, let alone fly. And although it has twin Rocket Launchers on its arms, it can fire only one at a time, alternating from one arm to the other. Fortunately for the Mancubus, it has an overwhelming amount of health and is not defeated easily. Attack with its rockets wherever you see an enemy, but pay attention to the heat sensors in the middle of your screen—the more frequently you fire the rockets, the faster you run the risk of overheating. Use the Weapon Modifier button to “vent” the rockets. The Mancubus will place both rocket arms down on the ground and discharge the heat from the rockets across the floor. Consider this the Mancubus’ melee attack, as fire spreads across the nearby floor, burning anyone in the vicinity.
Taking down a Mancubus requires teamwork. Its 800 Health is too much for one player to handle on their own. Attack it with Rocket Launchers, Plasma Rifles, Frag Grenades, and Hellshots while staying out of range of its vent attack and (preferably) in and out of cover from its rockets. Attacks that deal damage over time, such as the Hellshot’s incendiary round and the Plasma Rifle’s Plasma Pools, are useful. Of course, a slow-moving target like the Mancubus is also very easy to snipe with the Vortex Rifle and Static Rifle.
Prowler
Lurk in the shadows above, leaping down on unsuspecting enemies.
Unlocked at Level 17.
Health: 275 HP
Ammo Capacity: Melee only
Duration: 60 seconds
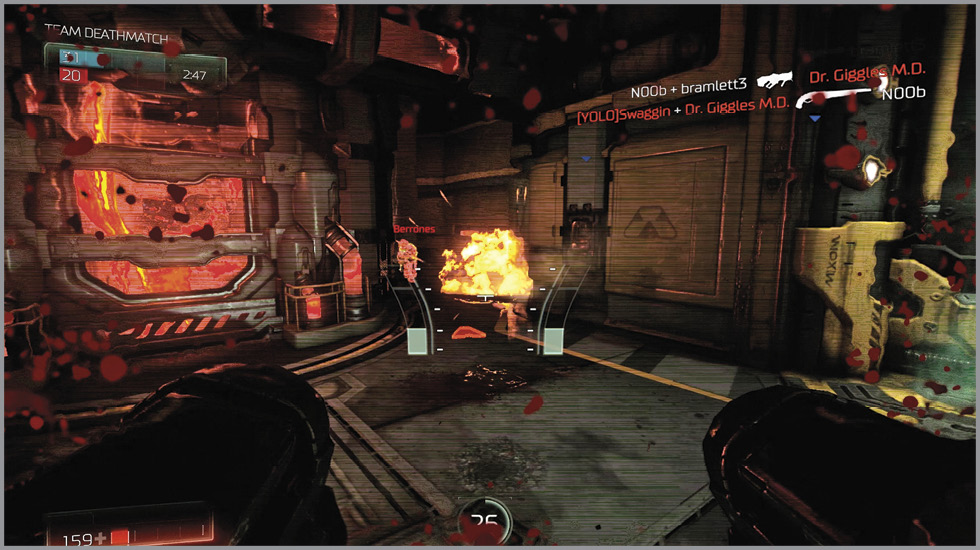
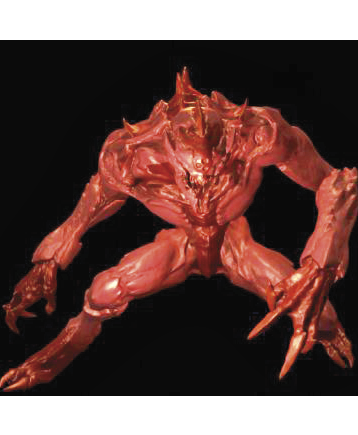
The Prowler is certainly the most difficult demon to master, but it’s definitely worth the effort. This extremely mobile demon can Pounce great distances and cling to all surfaces. A blue outline will appear that signals the suitability for a Pounce maneuver. Use this to leap to ceilings and lurk in the shadows. From there, wait for an enemy to appear, and then Pounce in its direction for an instant Glory Kill. The Prowler need not be hanging from a wall or ceiling to successfully launch a Pounce attack, as you can Pounce at an adversary while standing. The Prowler can also perform a deadly melee attack on foes that are too close to Pounce onto. The Prowler is effective in nearly all situations, particularly in maps with corridors where he can Pounce back and forth, destroying opponents as they foolishly enter the room.
There’s nowhere to hide when a Prowler is on the loose (they can see enemies through walls), so stick close to your teammates and hope that there truly is strength in numbers. The Prowler is shockingly fast when Pouncing, but it is the weakest of all of the demons and can be slain with a few coordinated attacks. Good luck!