Basics
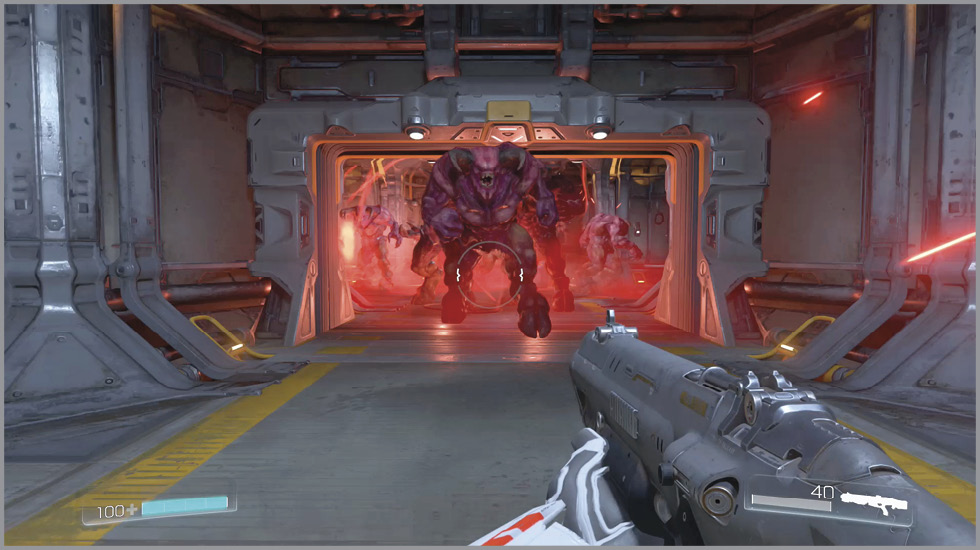
After selecting SnapMap from the Main Menu, you’ll be greeted by a screen that will allow you to sample maps from the SnapMap community or create your own SnapMaps.
Snap Academy
Snap Academy will instruct you on everything that you need to know to create great maps for the community. The lessons start out fairly simple, teaching you how to place objects and link up rooms. Later lessons will have you editing longer logic chains and help establish your knowledge of the SnapMap features.
Blueprint Mode
While in Blueprint Mode, you will have access to a staggering amount of room options, allowing you to create a unique experience no matter which game mode you choose.
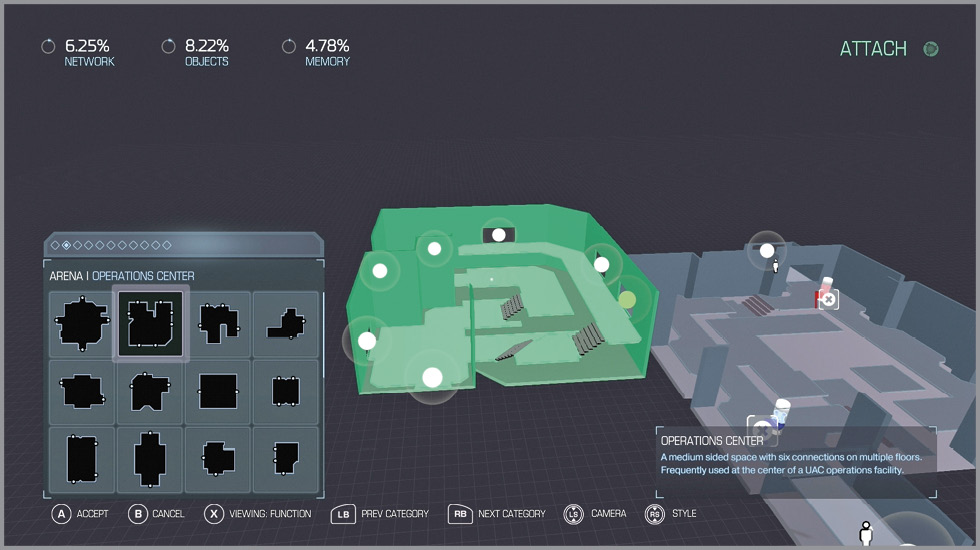
You can use smaller rooms to hide secrets, ammo caches, and even hordes of enemies. Bigger rooms like the Arenas are great for boss fights or a mid-point in multiplayer matches.
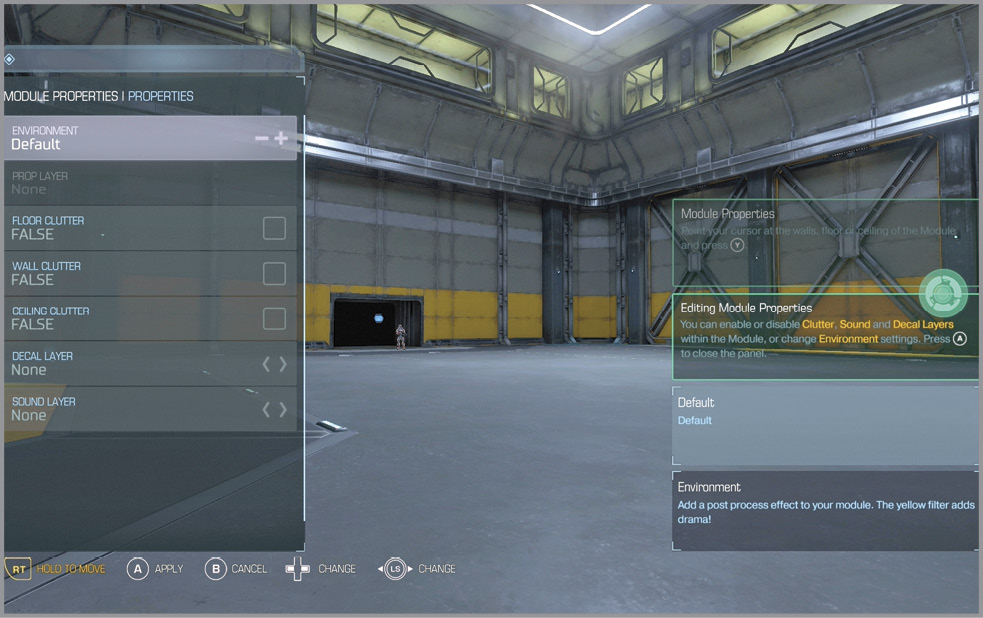
To change the appearance of a room, head into Object Mode, then look at a blank spot in the room and press Y/Triangle. You can then adjust the amount of clutter and even add post-processing filters like night vision, or fill the room with smoke.
Object Mode
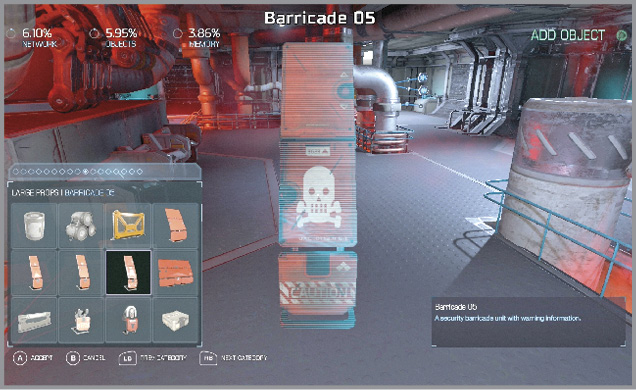
When you create a SnapMap, you’ll likely spend most of your time in Object Mode. Enter Object Mode by pressing D-PAD UP. Once in Object Mode, you can move freely through the rendered map that you placed in Blueprint Mode.
To place items or level cues, press A/X to open the Object menu. Once you have the menu open, use LB/L1 or RB/R1, and use the Left Stick to switch between the different object choices.
Once you have highlighted an object, press A/X to select the object. Then, press A/X again to place the object. When you are finished placing objects of that type, press B/O to exit the Object menu.
Using Logic
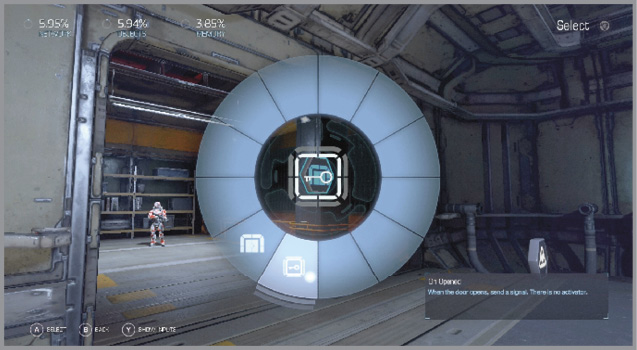
Logic chains are used to control how each object interacts with the player, AI, and other objects in the room. For example, a logic chain hooked up to an explosive barrel and a panel could be set to explode the barrel when the panel is activated.
To set up a logic chain, press A/X on the highlighted object while in Object Mode. After you’ve selected your first object, a circle will pop up on the screen, showing all available options for that object. Use the Left Stick to highlight the interaction that you would like, then press A/X to select the action.
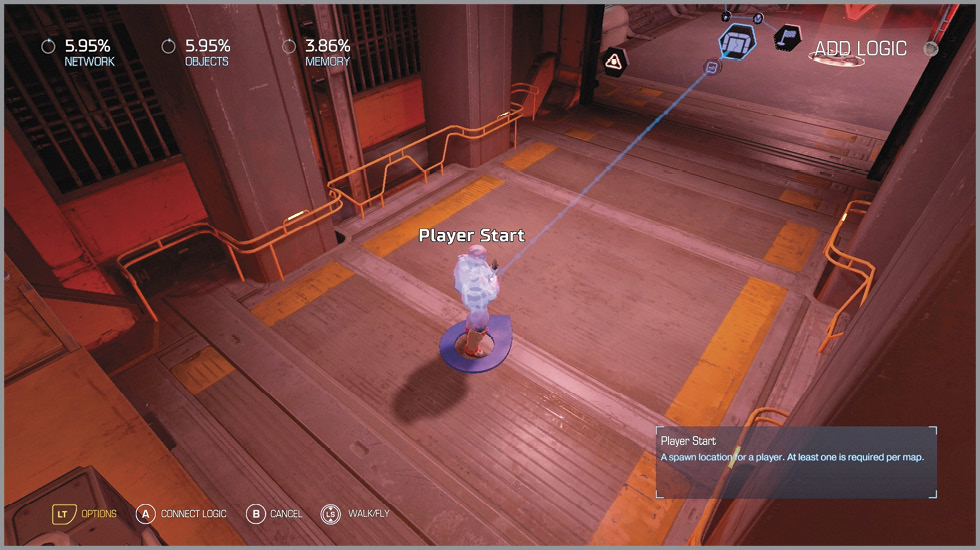
Move the camera to the next object, dragging the logic chain along with you, and then press A/X. Select the interaction for the second object in the wheel using the same method as the first.
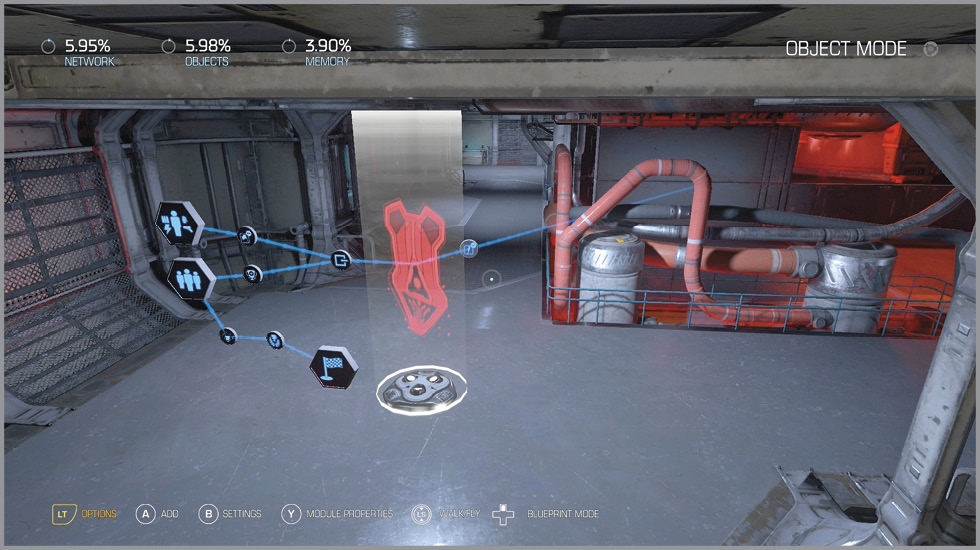
Logic chains can be extended infinitely and through walls. Multiple logic chains can be attached to a single object, allowing you to perform multiple actions from a single action when playing the SnapMap.
Fine-tuning
All objects and modules have certain properties that you can change. These properties vary depending on the type of object. For example, a demon can have its health and damage boosted to give you a “super version” of that demon. Highlight an object and press Y/Triangle to view or edit its properties.
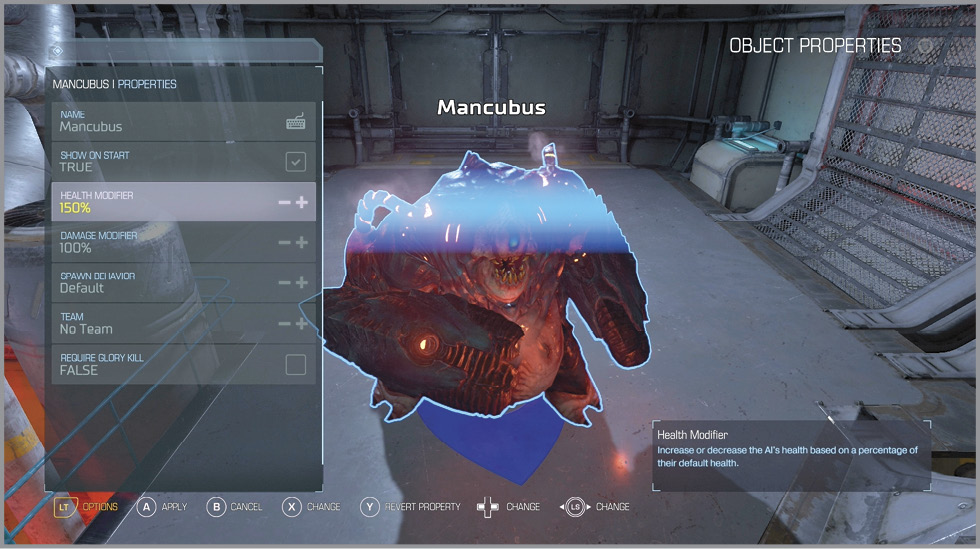
When customizing an object that you’d like to use more than once in a level, consider duplicating it instead of adjusting each object as you place it. To duplicate an object, hold LT/L2 and press A/X while you have the object that you would like to duplicate highlighted.
Testing Your SnapMap
Press Menu/Options, and a small dialog box will pop up. This box allows you to publish your SnapMap for community play, save your SnapMap for more editing later, and exit the editor. Most importantly, though, it allows you to play through your map before you edit it.
Playing through your map is a great way to test out all of the logic chains and other features that you have set up before you publish it for everyone to play.
To quickly revert any changes that you made, hold LT/L2. Then, use D-Pad Left to undo changes and D-Pad Right to redo anything that you’ve undone. This method makes testing small things in your map a breeze, allowing you to quickly switch between two options.