
Doom Guide Multiplayer Arsenal
Equipment
Each of your loadouts has a slot available for one of seven types of equipment. Unlike weaponry, which has an ammunition supply that must be replenished through pickups, equipment has a recharge timer. Equipment is available to use at the start of the match and takes 20 seconds to recharge between uses. Your choice in equipment is every bit as important as your weapon selection. When deciding what to bring, consider the game mode that you’re playing and the map where the battle is taking place. And above all, experiment!
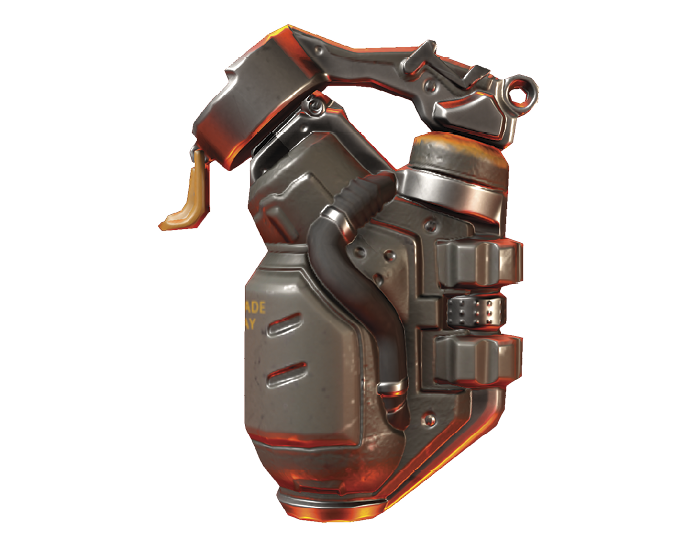
Frag Grenade
Unlocked at Level 1
An anti-personnel fragmentation grenade that detonates 1 second after impact against the floor.
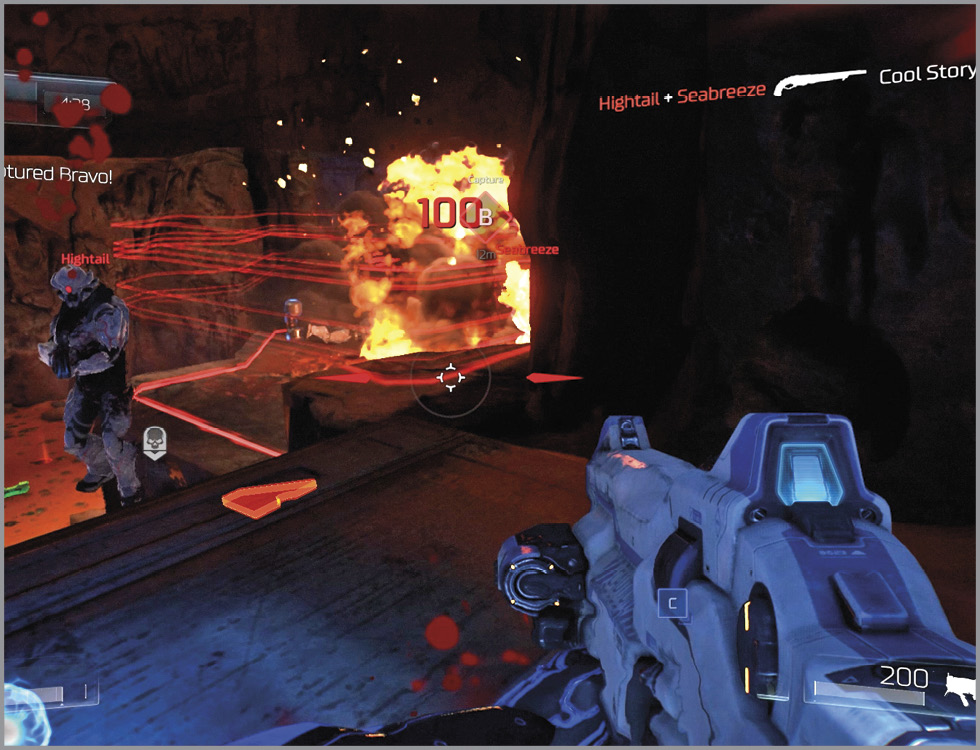
The Frag Grenade is your basic high-explosive device that can be thrown once every 20 seconds. It explodes violently shortly after hitting the floor and deals up to 100 DMG to those in the immediate vicinity. Hitting an enemy with the thrown Frag Grenade inflicts 10 DMG from contact. The key to using the Frag Grenade effectively is to toss it onto the floor near multiple opponents. The damage inflicted depends on your foes’ proximity to the explosion, so try to bounce it at their feet. The Frag Grenade is particularly useful in Domination and Warpath modes when multiple adversaries are attacking or defending a Control Point.
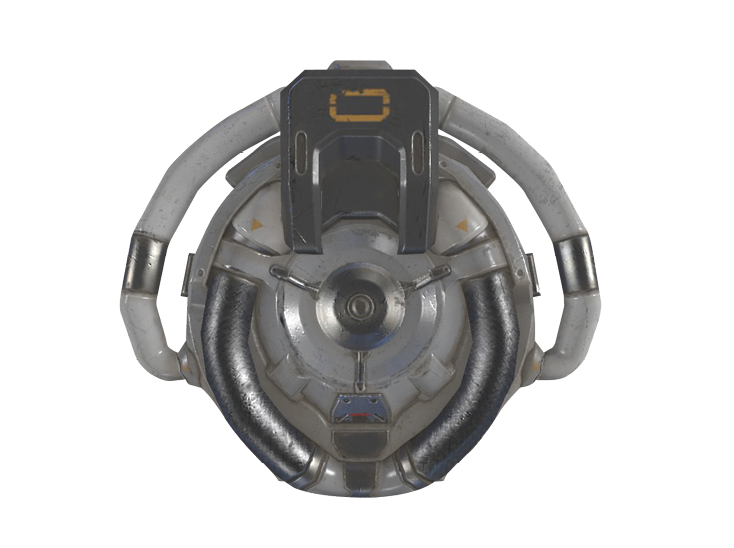
Shield Wall
Unlocked at Level 10
The Shield Wall allows allies to pass through but is impermeable to all projectiles and enemies.
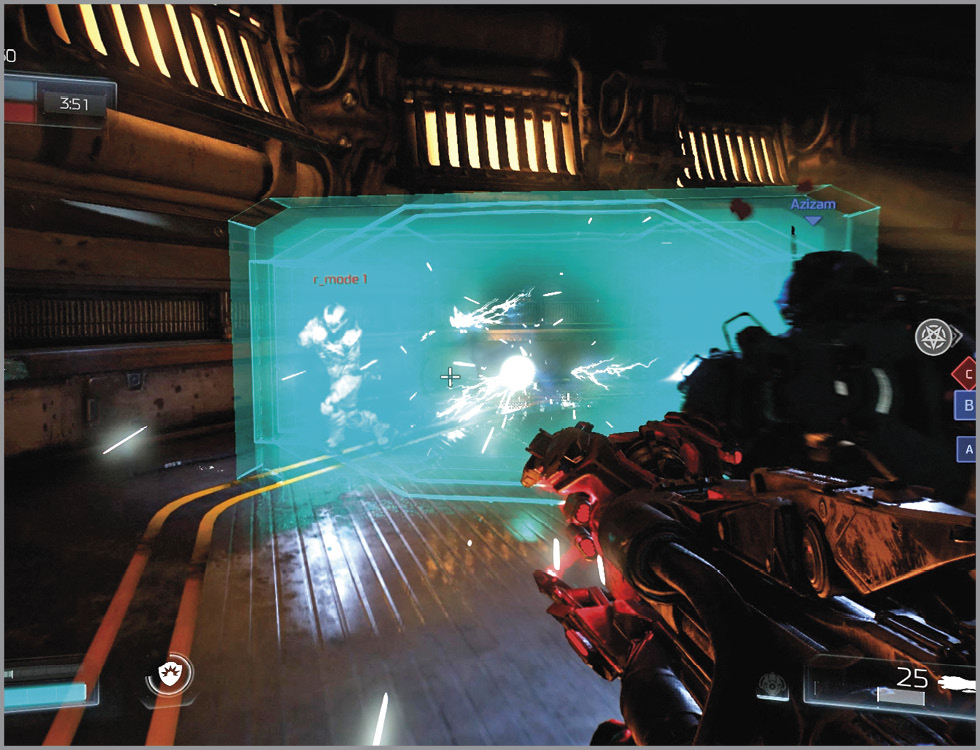
When deployed, the Shield Wall creates a large barrier that can protect you and your team from incoming attacks (blue for allies and red for enemies). Though you cannot fire through it, your team is able to advance through the wall to rush the opposition. The Shield Wall remains active for a maximum of 8 seconds, although the length of time is shortened with heavy damage. When encountering an enemy’s Shield Wall, attack it with a Rocket Launcher or other heavy weaponry to disable it before it fades away on its own. The Shield Wall is a great defensive piece of equipment that can save your life if you’re low on health. However, you can also use it to blockade opponents from reaching a Demon Rune or power weapon, or from getting to a Control Point in time to contest the area.
Tesla Rocket
Unlocked at Level 4
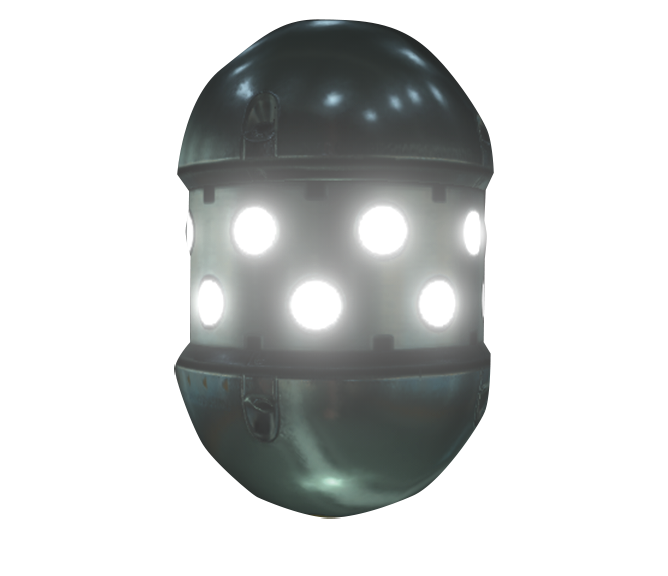
A variable-speed energy device that slows down to strike targets it passes with bolts of energy.
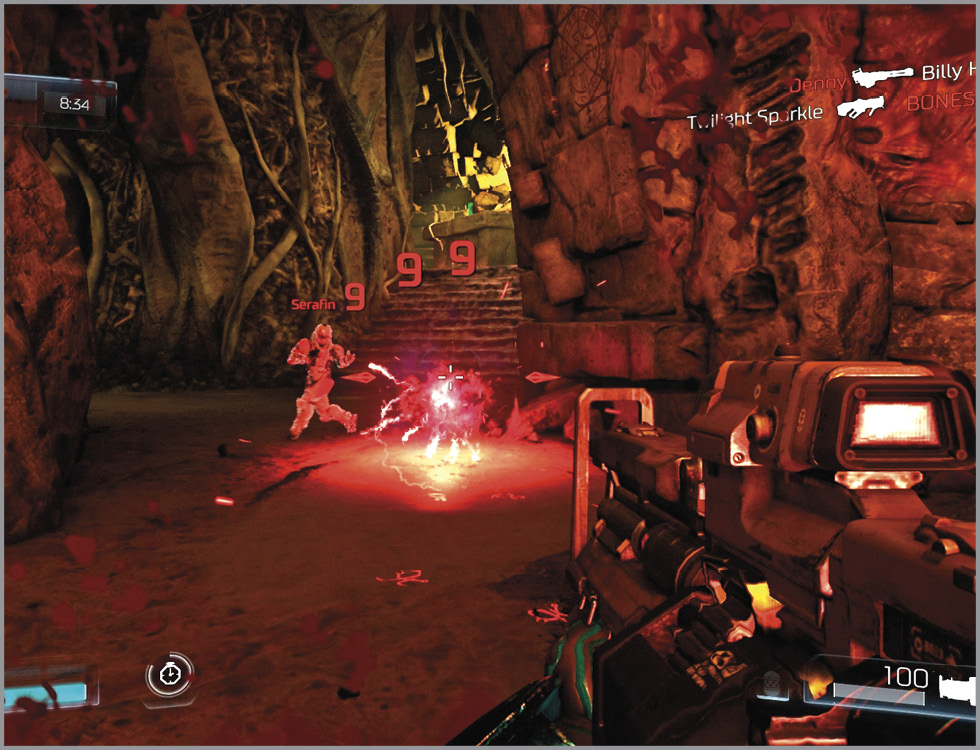
Toss this hovering rocket down a corridor, and watch it repeatedly zap nearby enemies for 9 DMG with each jolt as it passes by. The Tesla Rocket can inflict moderate to heavy damage in short time to numerous opponents. Though 9 DMG may not seem like much, the Tesla Rockets strike so rapidly that a single Tesla Rocket is capable of finishing off multiple weakened foes simultaneously. Consider using it with the Lightning Gun’s modified attack to spread electricity across the floor and finish off those enemies being hit by the Tesla Rocket. Similarly, a well-aimed Rocket Launcher can also work well with a Tesla Rocket. Beware that the Tesla Rocket can also inflict damage upon you if you happen to throw it toward the floor or against a nearby wall. Be sure that it has plenty of room to fly before deploying it!
Siphon Grenade
Unlocked at Level 8
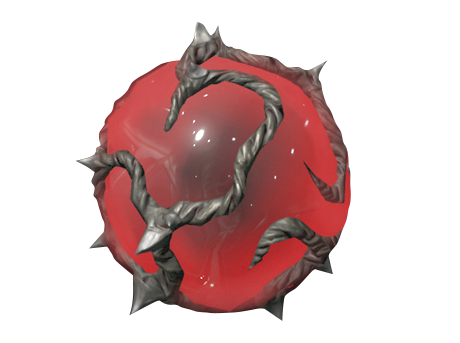
The siphon field created on impact leaches health from enemies and returns it to the thrower.
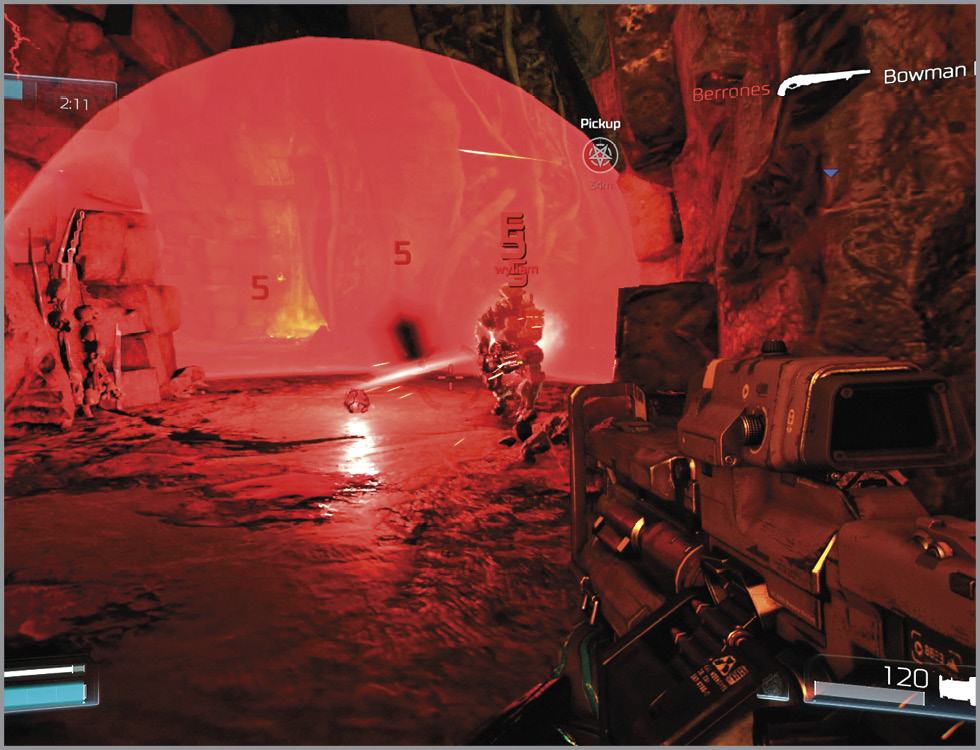
The Siphon Grenade erupts in a wide-reaching pink siphon field that quickly collapses, damaging all enemies in the field. Foes hit by the Siphon Grenade rapidly lose health in 5 DMG increments. The siphon field quickly shrinks, but adversaries who are nearest to where the Siphon Grenade is thrown may suffer as much as 50 DMG. This damage is returned to the user in the form of health, making the Siphon Grenade an effective way to drain health from multiple enemies and bestow healing powers, as well! The siphon field is only active for a little over a second, so be sure to throw it where it can do the most harm—and only when you are not at full health or (better still) engaged in a firefight with the enemy you are targeting. As with the Tesla Rocket, the Siphon Grenade complements splash damage weaponry such as the Rocket Launcher and the Combat Shotgun’s mortar shells. This grenade is very useful in Clan Area, since there’s no other way to regain health without pickups.
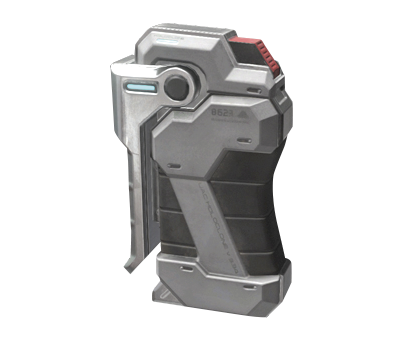
Hologram
Unlocked at Level 15
Creates a holographic copy of yourself. Once deployed, you can toggle the Hologram’s behavior between running and remaining stationary.
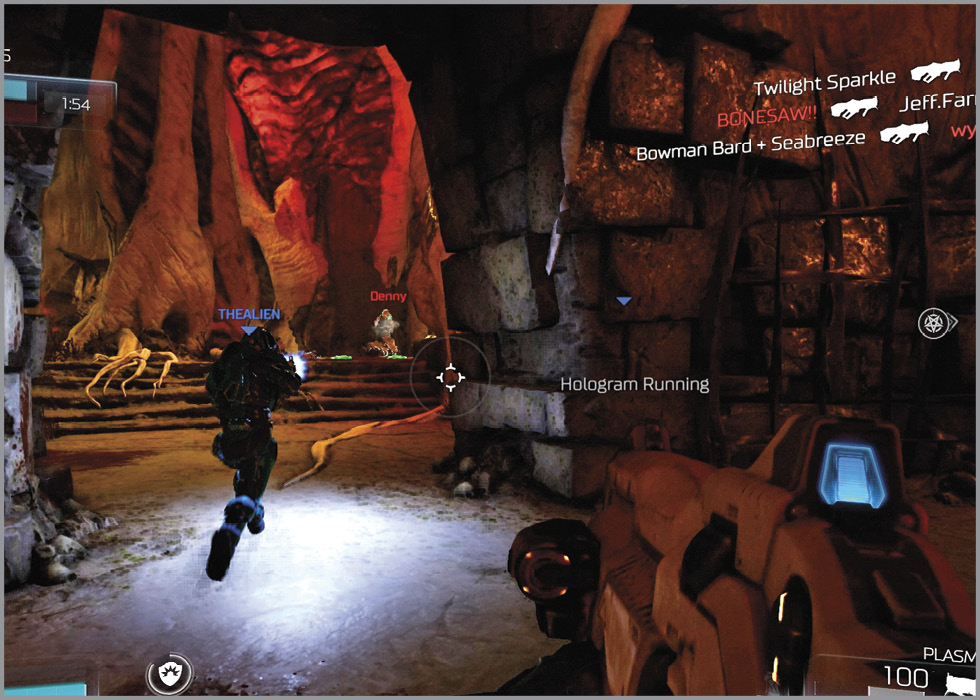
The Hologram is a distraction technique that lasts for 6 seconds with each use. Upon being deployed, the Hologram runs forward along a straight path, slowly firing a rifle in an effort to distract the enemy. Press the Equipment button a second time to make the Hologram stand still. You can continue toggling between these two behaviors for the length of the effect. The Hologram is best used in a chaotic firefight when there are multiple enemies and allies, as it’s more likely for the Hologram to truly deceive someone in such a situation. The Hologram is less effective in one-on-one skirmishes, as a skilled opponent will quickly realize that the Hologram is a decoy.
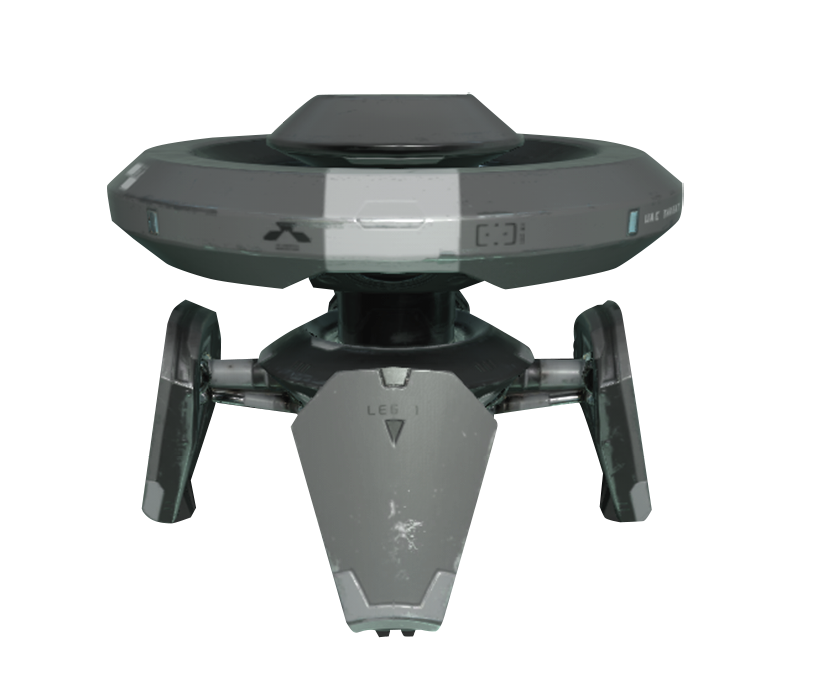
Threat Sensor
Unlocked at Level 13
A reflected energy device that tunnels through walls to highlight obscured enemies.
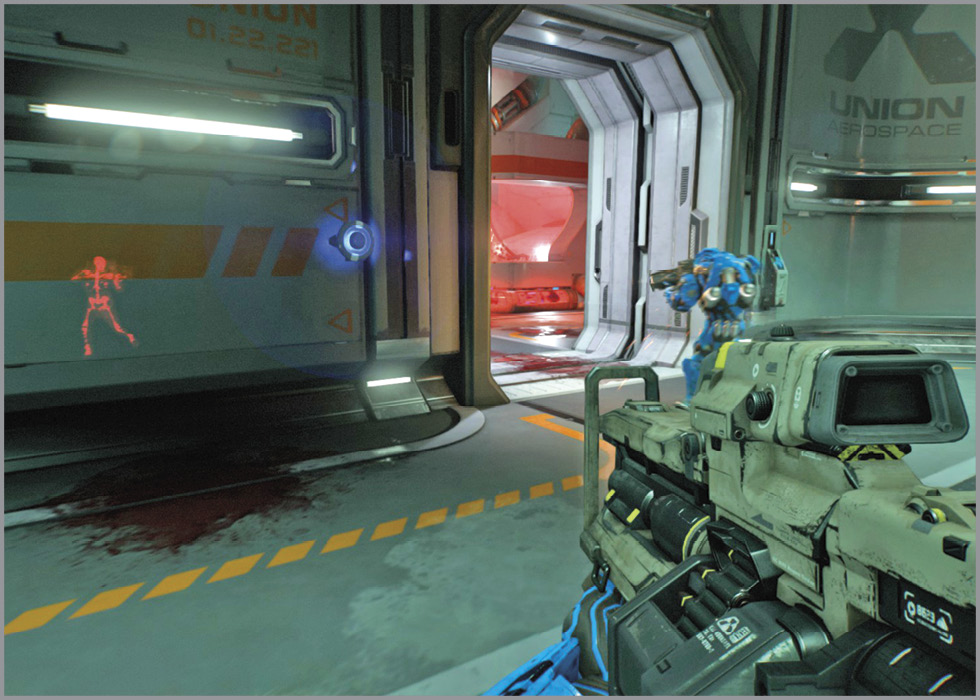
Toss the Threat Sensor on the ground and listen for its high-pitched alarm. The alarm will sound when an enemy is in the vicinity, at which time you should be able to spot the foe’s skeleton through walls and other obstacles, thanks to the energy device. The Threat Sensor remains active for a total of 40 seconds with each use, though you can deploy a second Threat Sensor after the customary 20-second recharge. The first Threat Sensor will disappear from the map as soon as the second one has been deployed. The Threat Sensor is best used when you have decided to “camp” an area like a Control Point or a power weapon spawn. The Threat Sensor is also useful for alerting you to adversaries while you’re thawing allies in Freeze Tag matches, or for times when you simply want a quick notification if an enemy is in the vicinity.
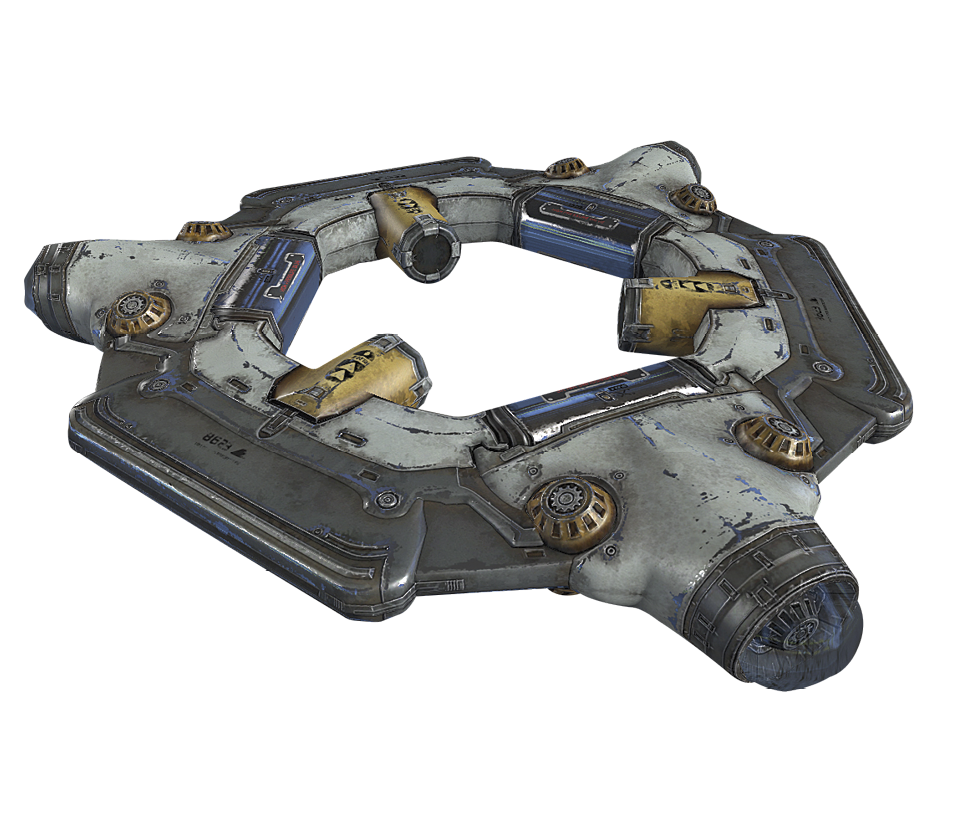
Personal Teleporter
Unlocked at Level 1
A thrown device that teleports the user to its location. After deployment, activate it again to teleport.
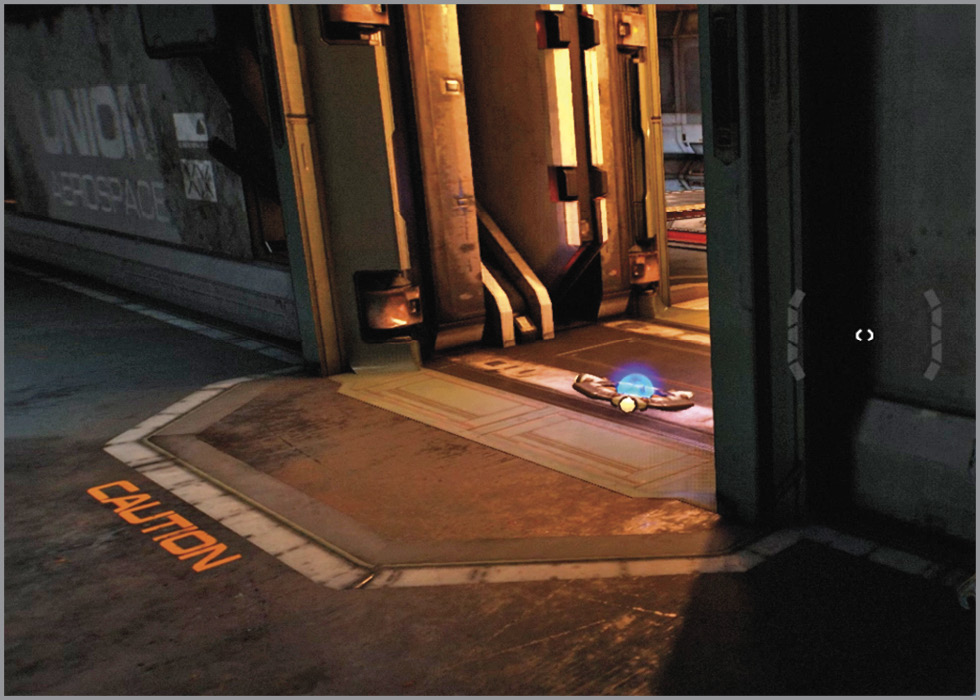
The Personal Teleporter is arguably the most powerful piece of equipment, but it’s also the most difficult to master. Throw the Personal Teleporter against any surface within the game space, where it will stick and blink for 8 seconds. Press the Equipment button a second time while it is active to instantly teleport to that device’s location. You can use this to quickly escape to a safe position, drop on foes from the ceiling, or even teleport to an enemy’s position for a “tele-frag” kill. When teleporting, you will instantly disappear and reappear where the device was located. Try placing the Personal Teleporter along a well-traveled path or behind a camped opponent so that you can teleport to his position. You’ll instantly tele-frag the enemy upon appearing where he was, as two objects cannot occupy the same space. The Personal Teleporter requires considerable practice to use effectively, but the effort it takes to master this device is worth it.