Doom Guide Campaign Walkthrough
The Necropolis
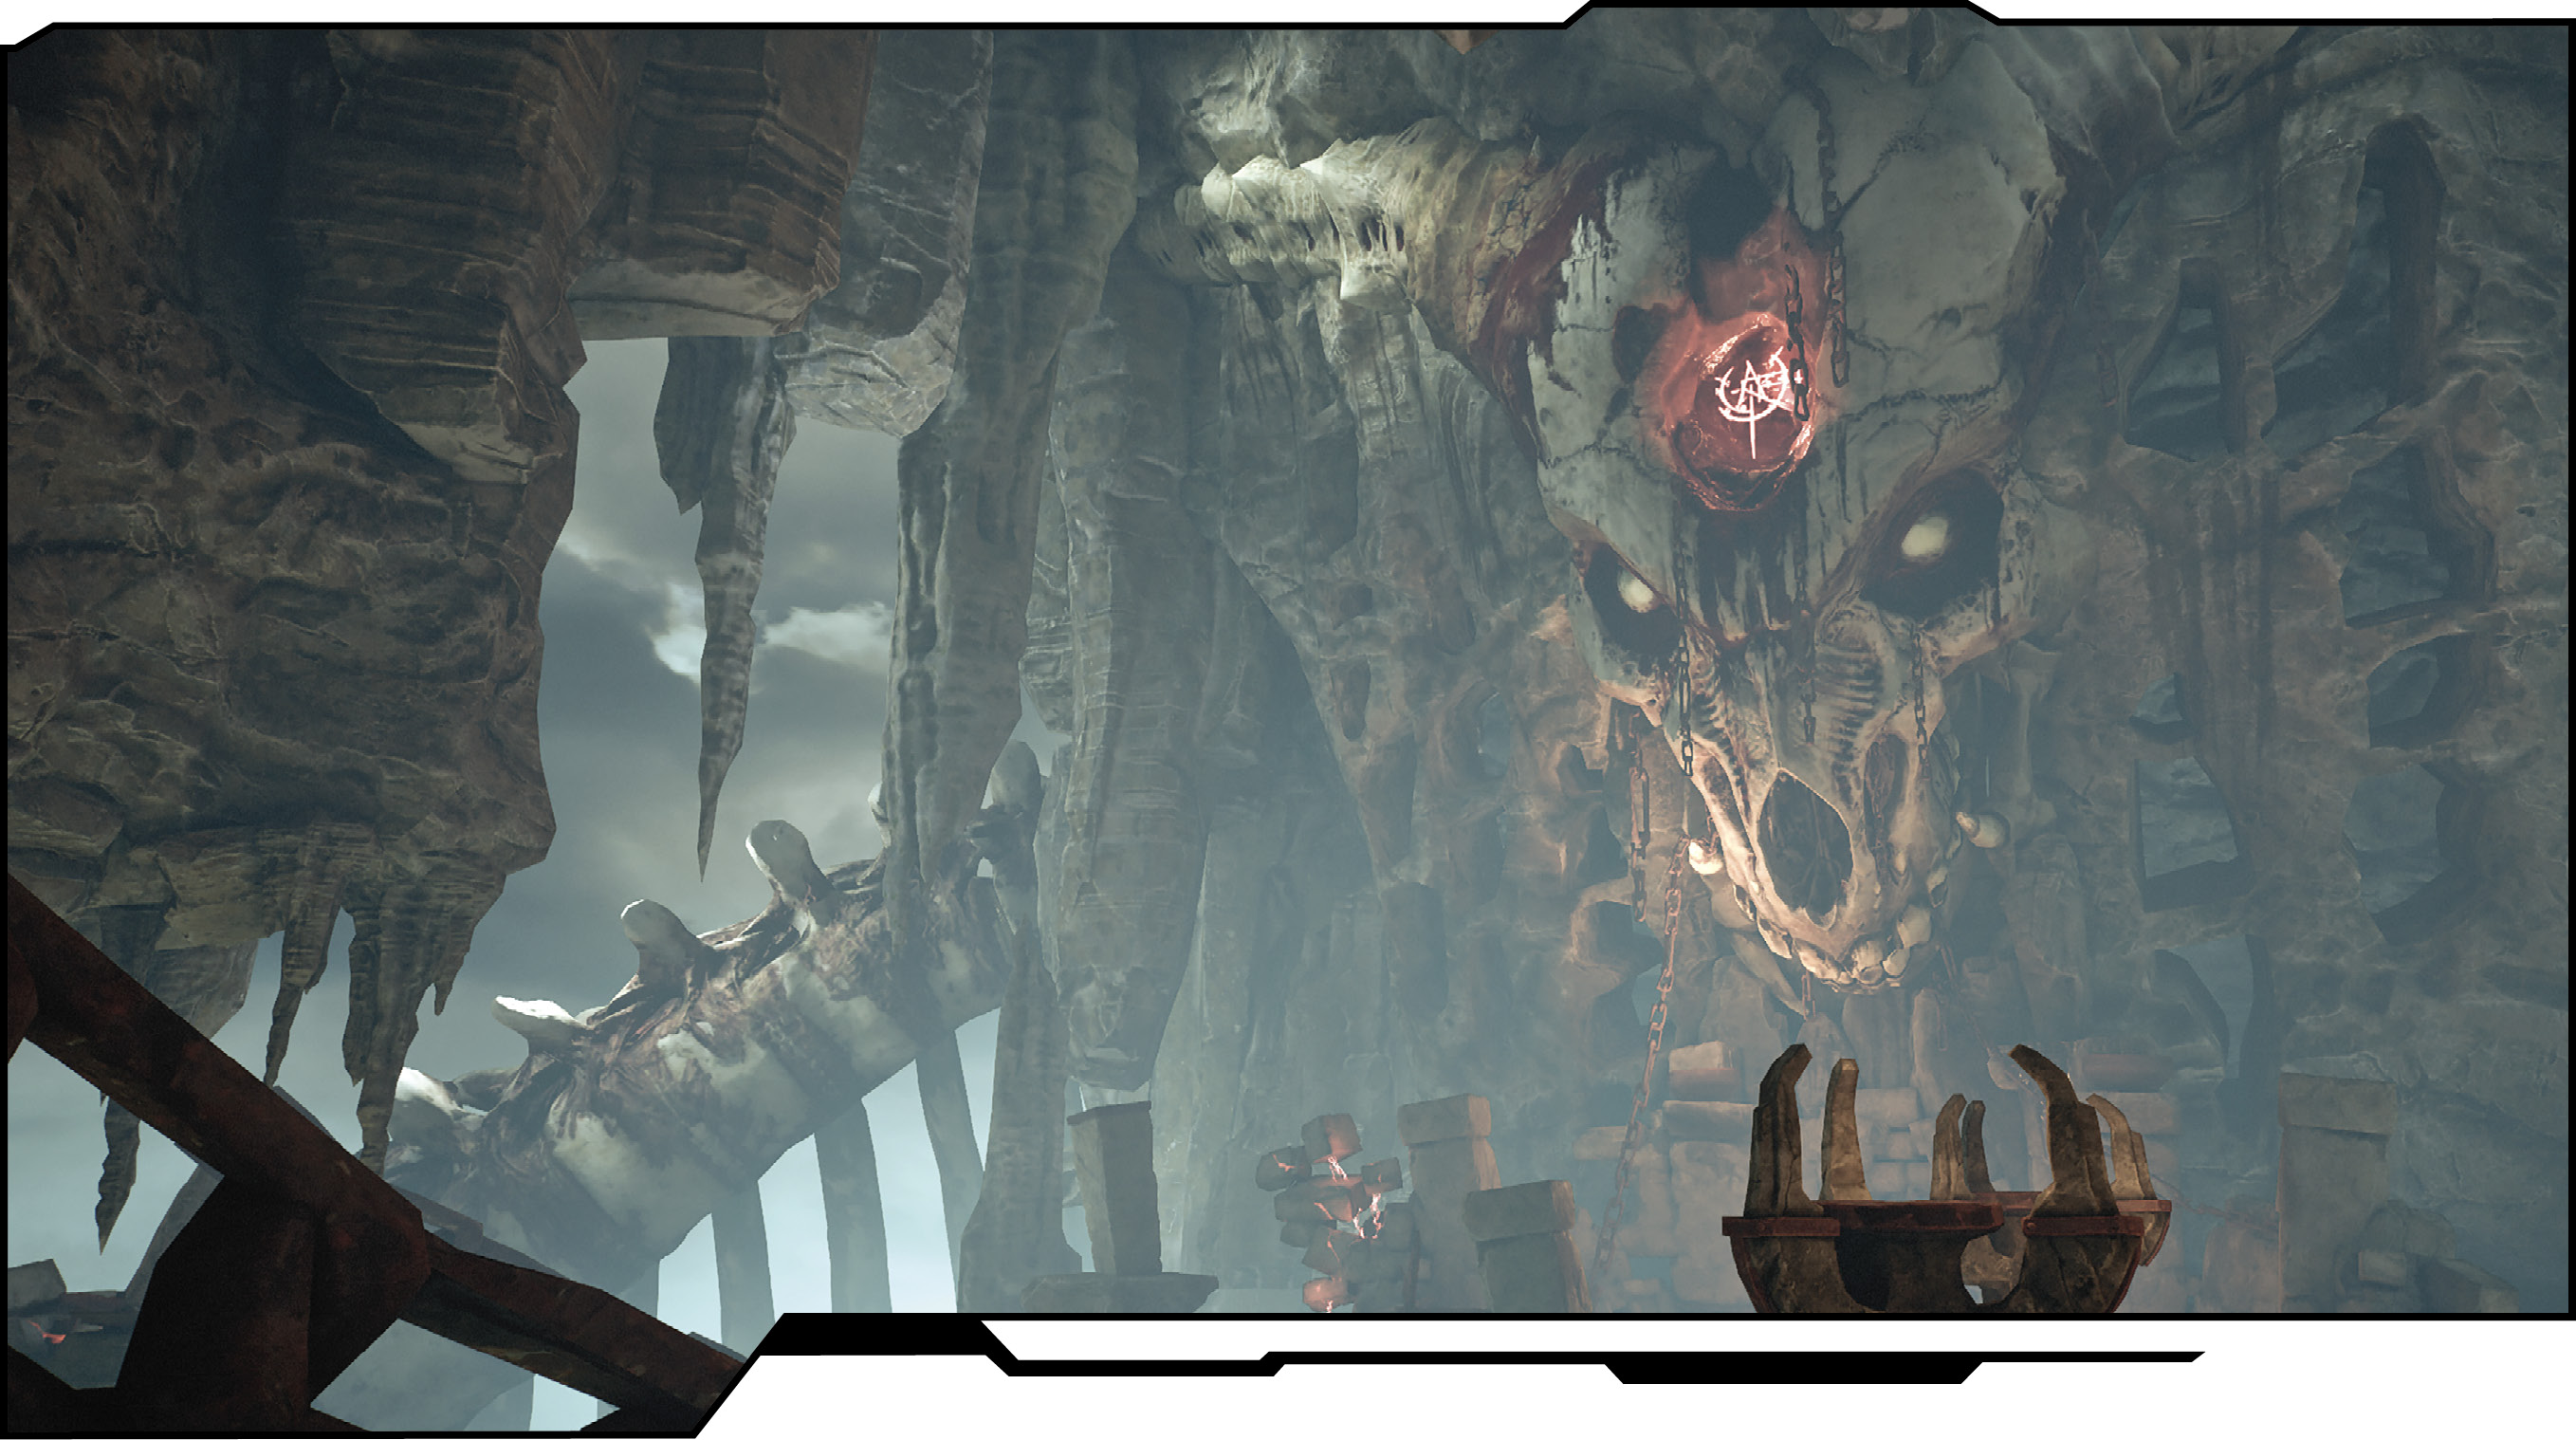
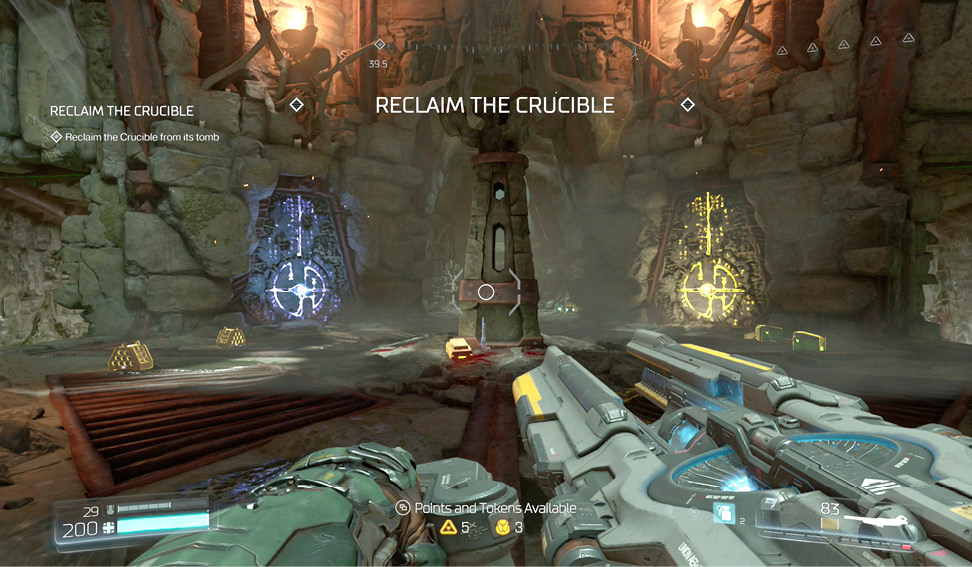
Main Objective Reclaim the Crucible
New Weapons/Equipment None
New Monsters Hell Guard
Challenges
| Challenge | Description |
|---|---|
| A Pin Pops a Balloon | Kill a Mancubus with the Pistol. |
| Two Mouths to Feed | Kill 2 Cacodemons with one shot. |
| Wait For It | Kill 10 demons with Explosive Barrels. |
Collectibles
| Collectible | Unlocks |
|---|---|
| Tealguy | Chainsaw Model |
| Hazmatguy | Gauss Cannon Model |
Classic Map: DOOM - House of Pain
Reclaim the Crucible From Its Tomb
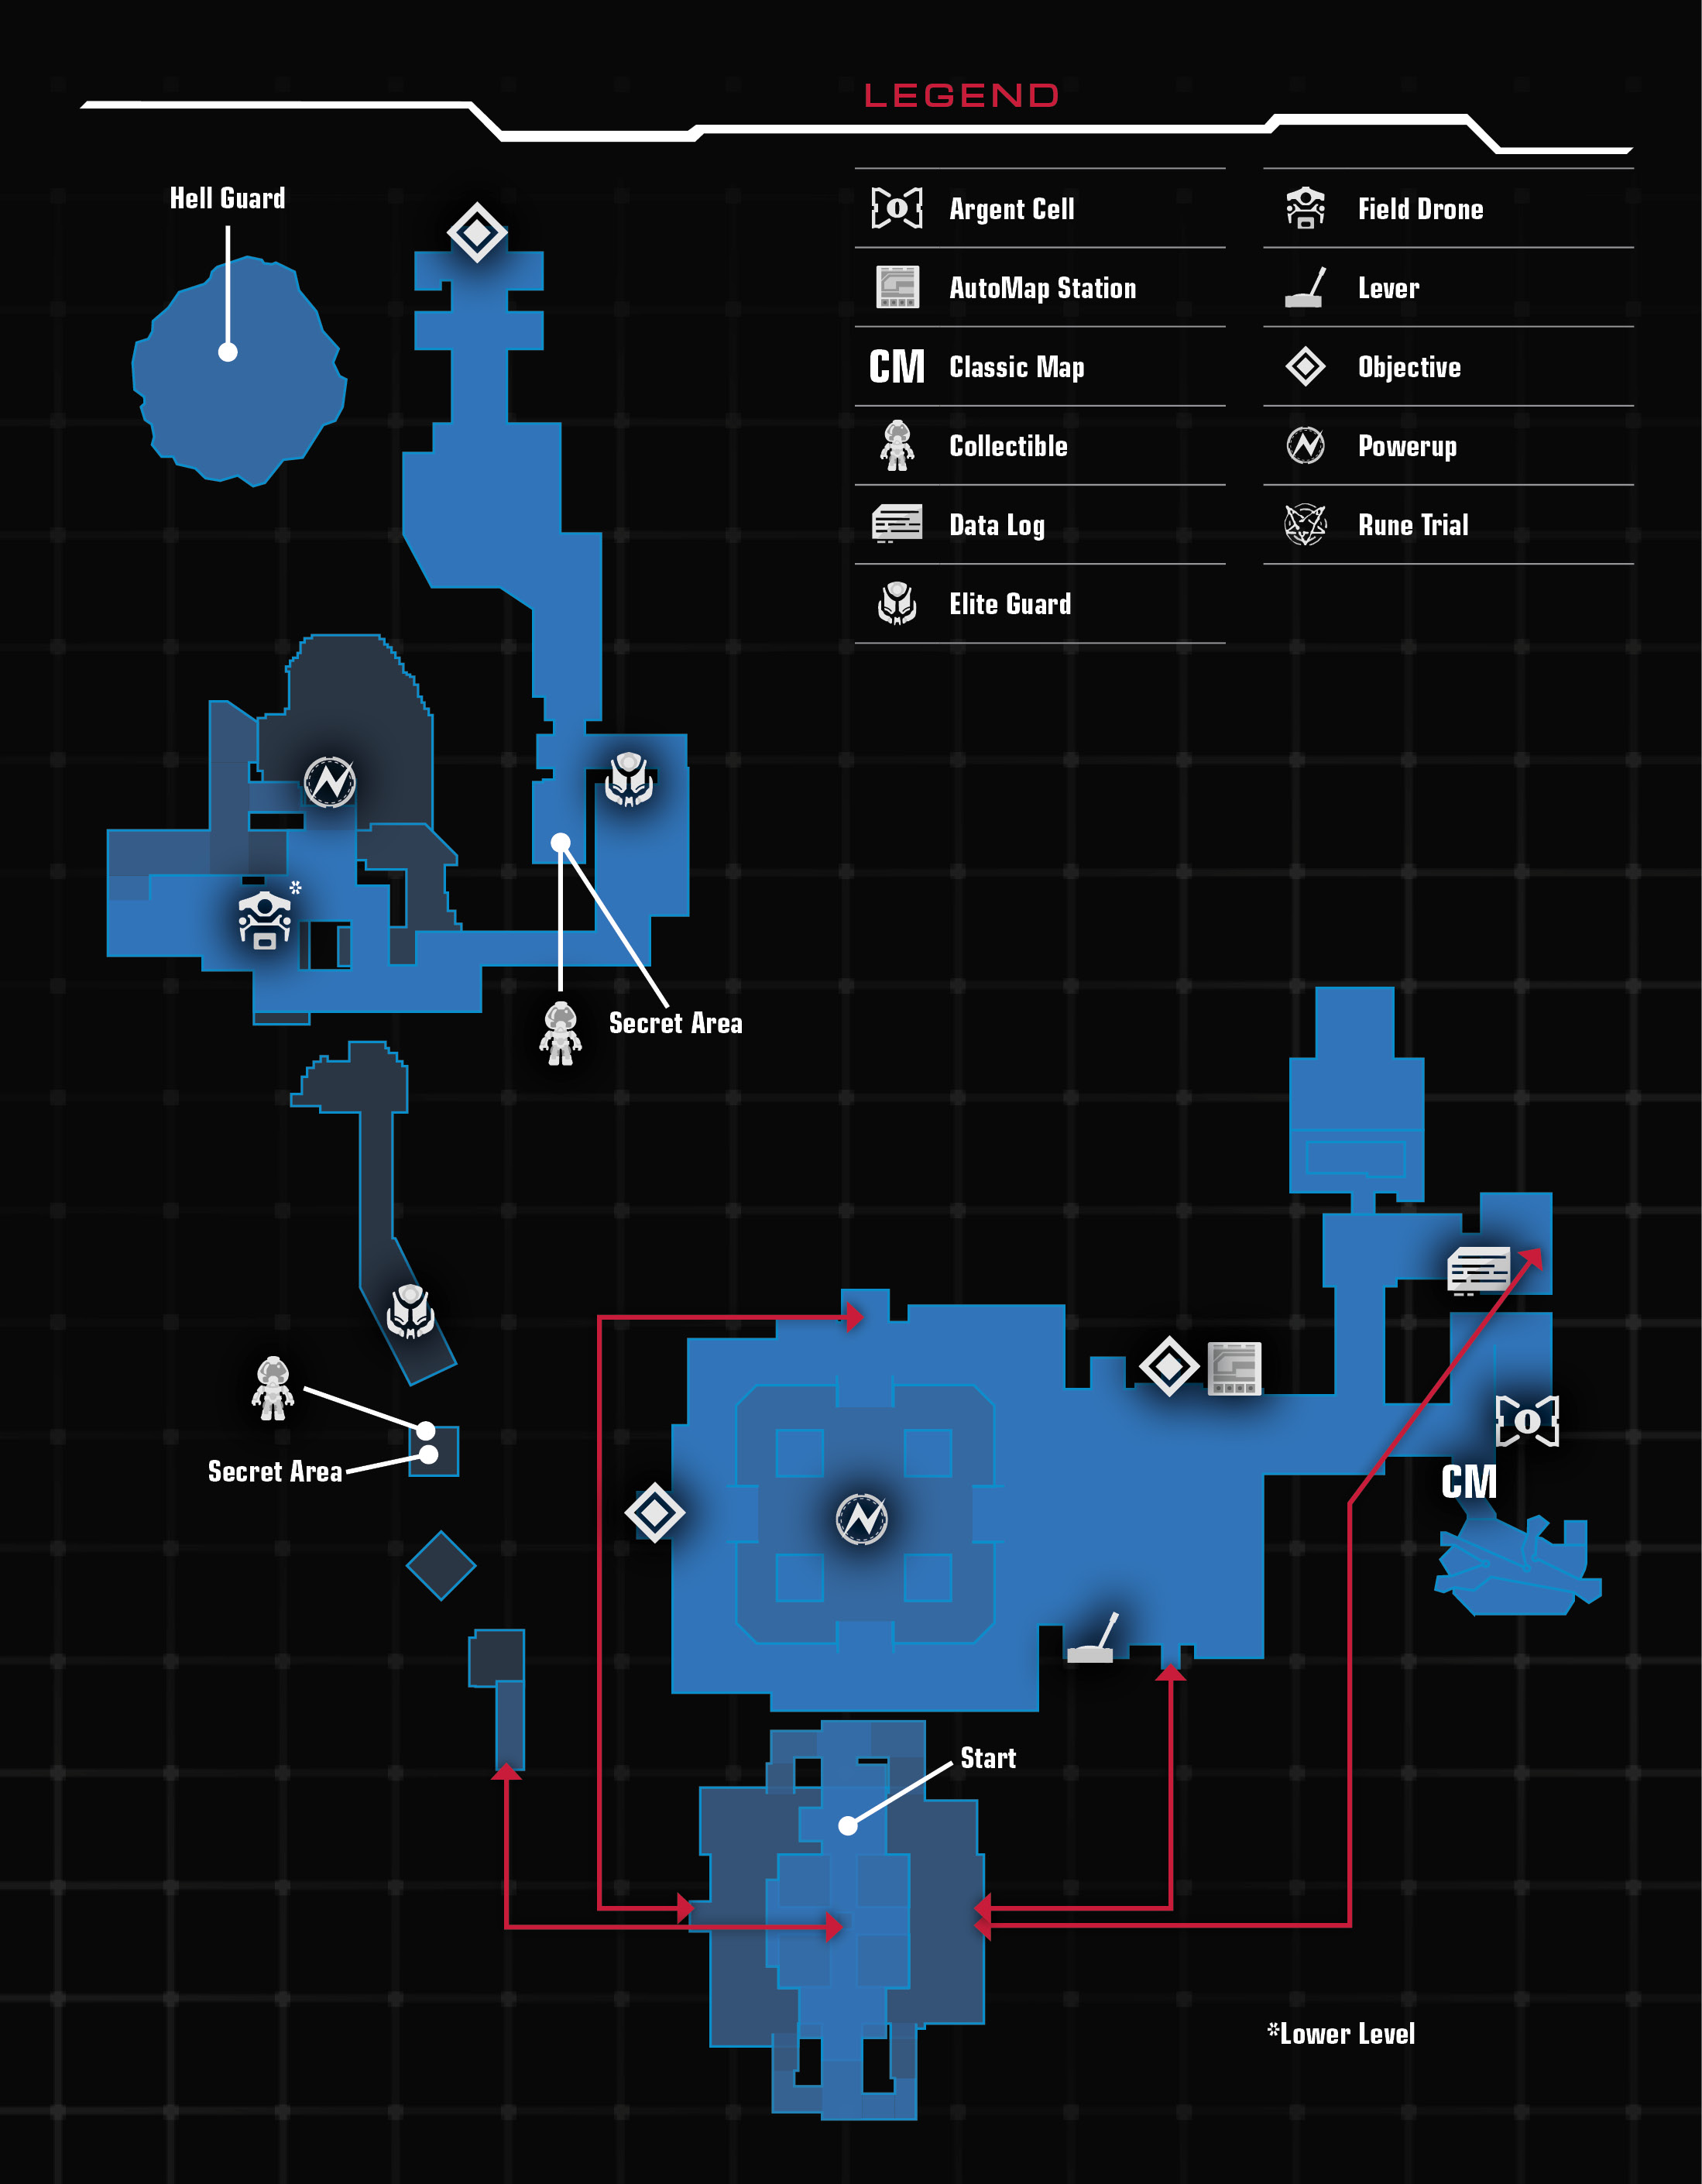
The portal sends you to The Necropolis where the Crucible lies. Blue and yellow access gates are visible in the next room. To reach the tomb, you must navigate the Necropolis and find the two skulls. Drop off to the left and step through the portal.
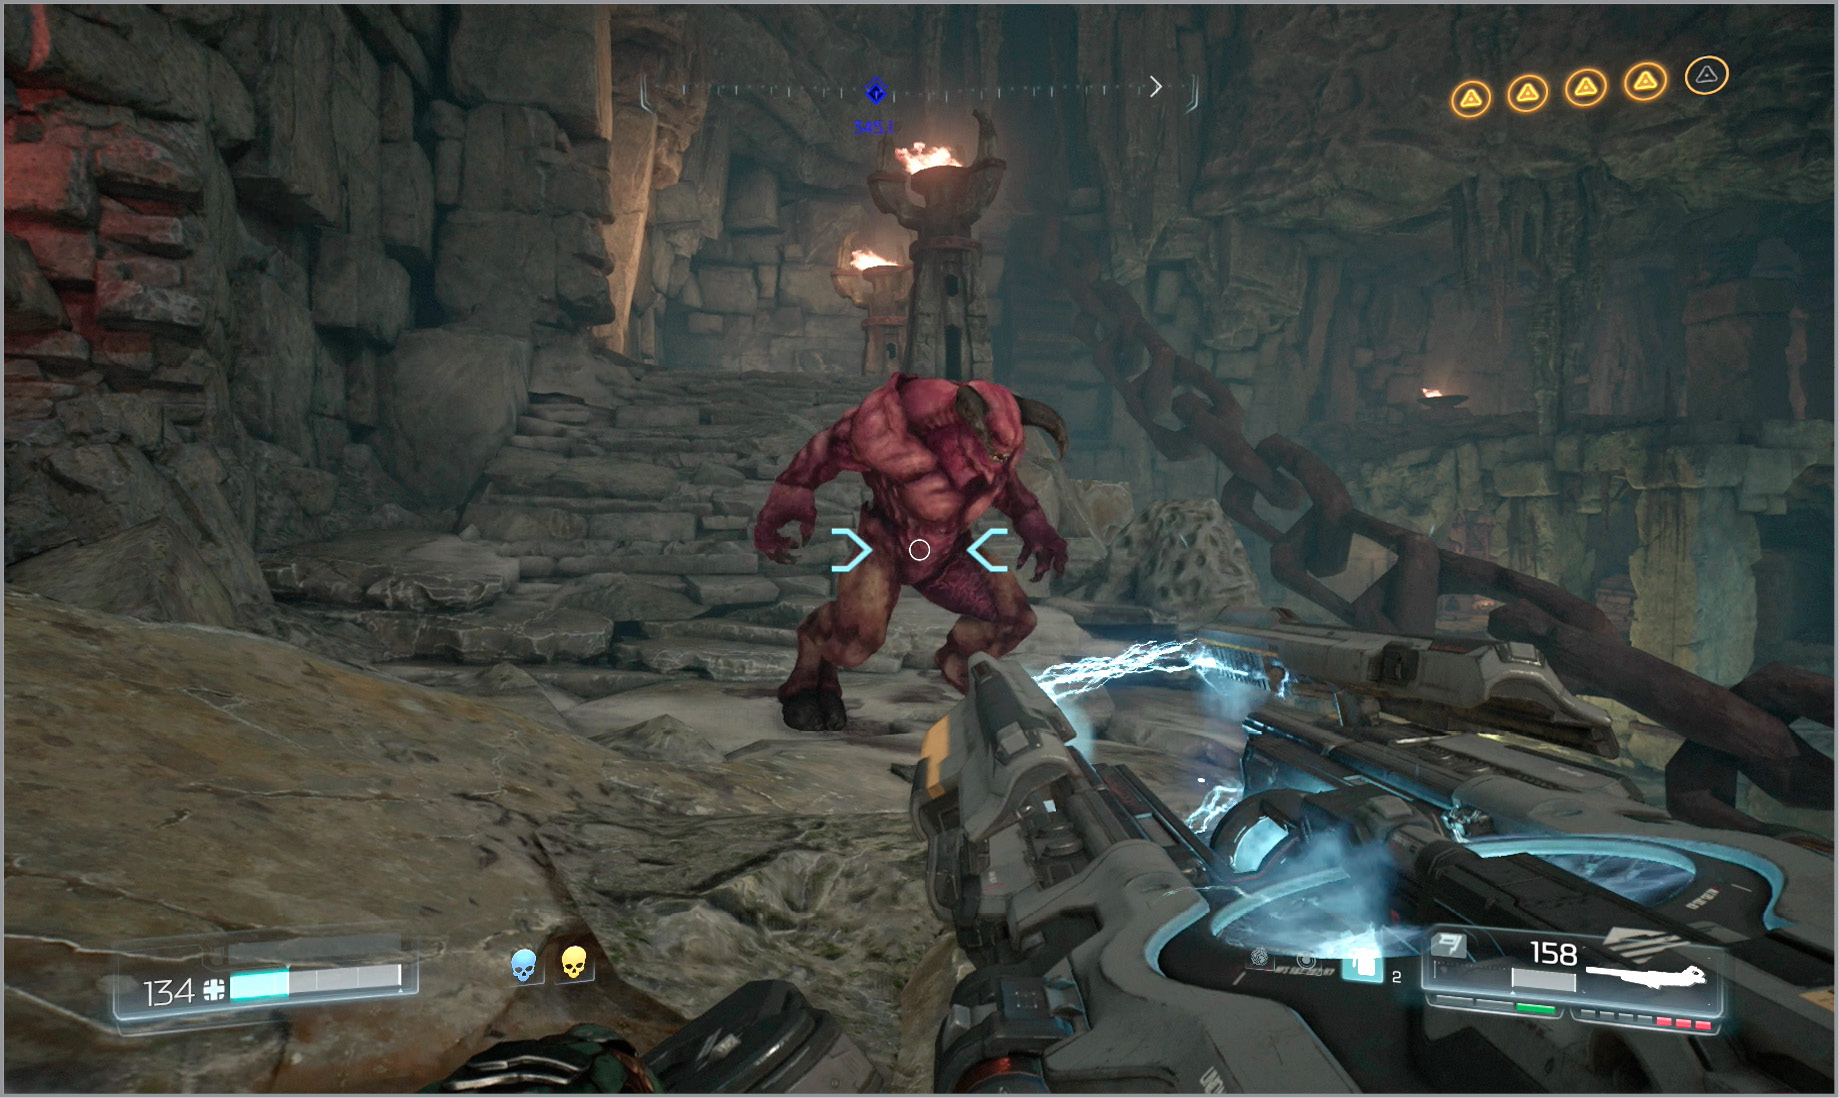
Collect the Data Log and head down the steps. Right off the bat you have an opportunity to work on the third Challenge. There’s an explosive barrel at the corner. Move back up the steps after the demons have spawned and allow a couple of Imps to get close to the explosive before hitting it with a shot from your Pistol. Turn left and climb more steps to find an Artifact and Argent Cell.
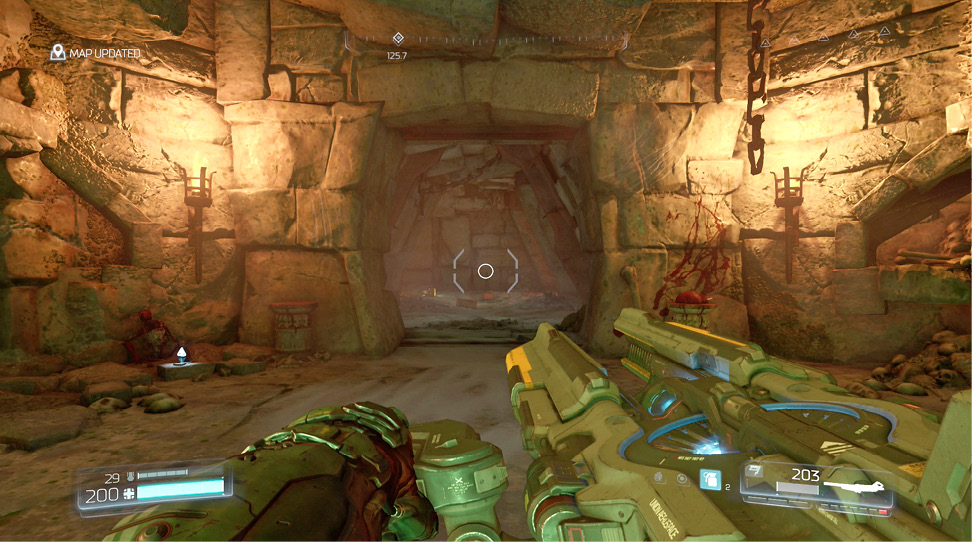
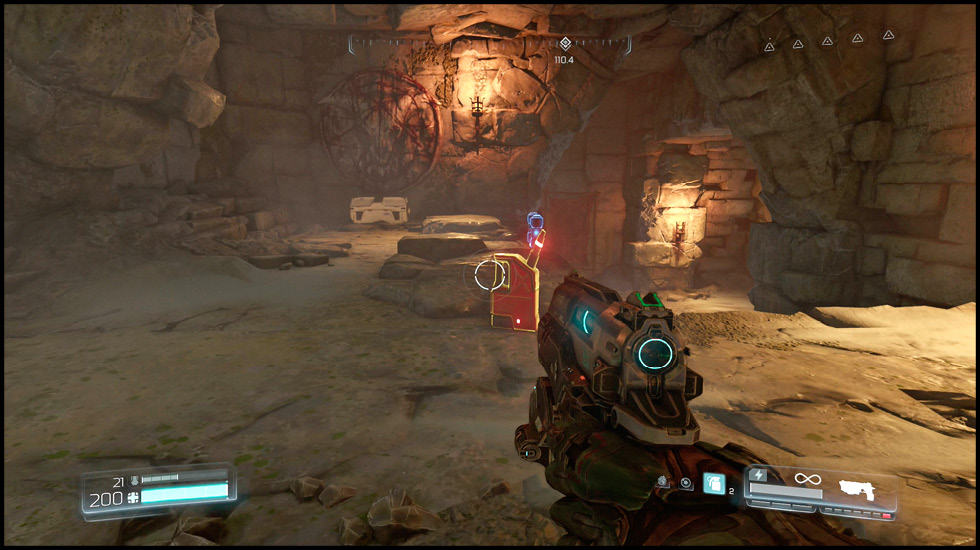
Eliminate the demons that spawn into the room, including a Mancubus and a few Lost Souls. Once they have been defeated, climb back up the stairs and approach the doorway. Step out of the way as a Spectre charges through the Unwilling and out the door. Kill the demons and then activate the Skull Switch at the back of the second room. Eliminate the two Hell Knights and Mancubus as you make your way out the exit at the bottom of the staircase.
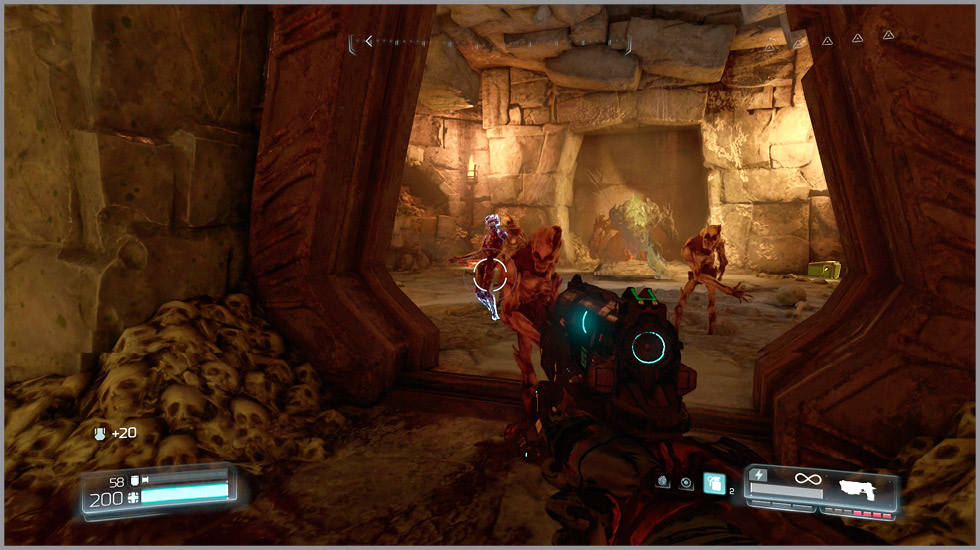
In the next room, several Unwilling make great targets for the explosive barrels positioned around the pillars and outer walls. Press the Skull Switch and wait for Cacodemons and others to appear around the room. Fire the BFG at one of the flying demons to complete the second Mission Challenge and then finish off the remaining foes.
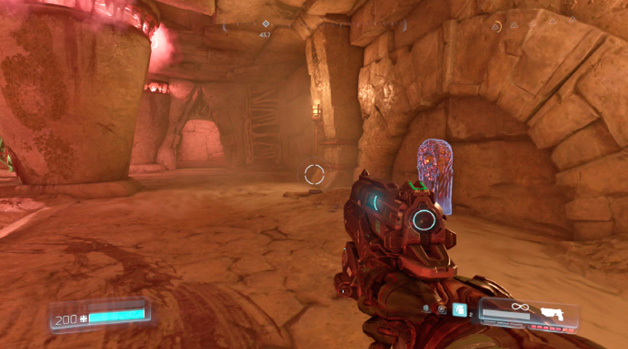
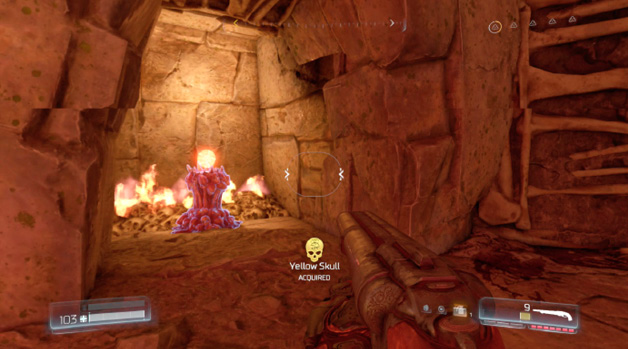
Snatch the Yellow Skull off the pedestal, kill the two Spectres, and then activate the AutoMap Station in a cubbyhole just right of the pedestal. More demons pop in, so take care of them before entering the now-accessible portal.
This returns you to the starting location. Climb up to the yellow door and place the Yellow Skull. Turn the crank found inside to drop the bars in front of the nearby portal. Step inside and transport to a new locale.
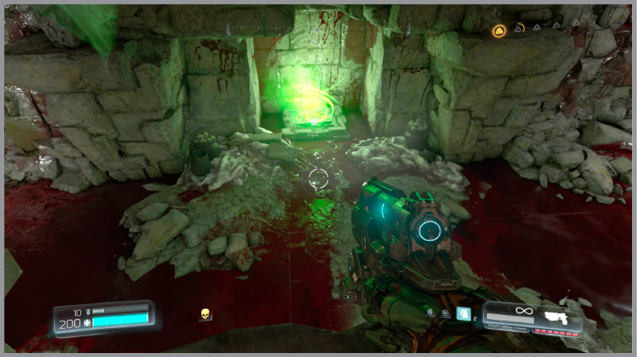
Mancubi appear on the platforms ahead, as other demons join in around the outside of the area. A variety of monsters continues to spawn in as you take them down. The pillars provide a little protection, but don’t spend too much time in one location. When more Mancubi show up, grab the Quad Damage powerup that’s unlocked in the center to improve your odds of survival. Stay on the move as you wipe out the opposition.
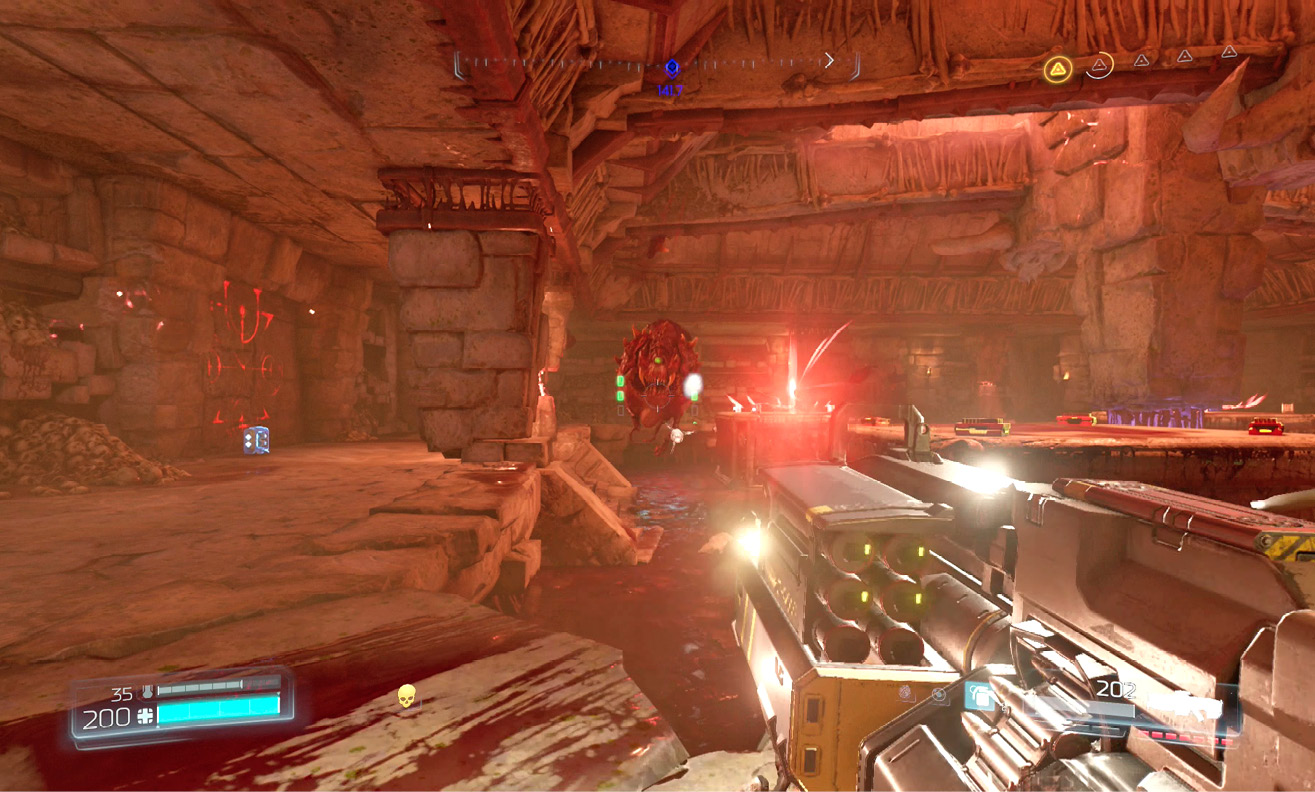
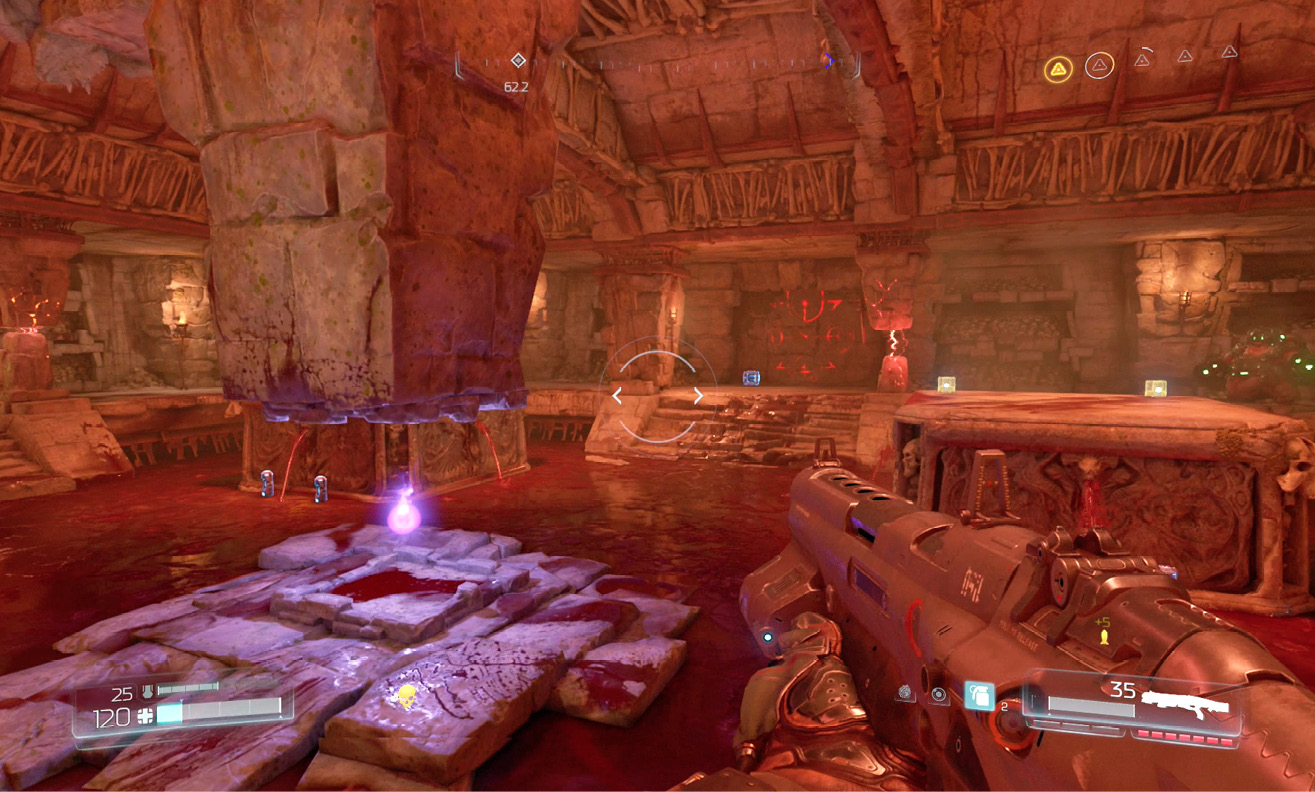
Grab the Blue Skull off the pedestal, re-enter the portal, and once again climb onto the central platform. Place the skull in the blue door to reveal another crank and turn it. Demons appear around the room. Take them out as more powerful monsters continue to spawn.
Once the two Barons of Hell have been disposed of, barriers drop and reveal a hole in the middle of the floor. Drop inside and interact with the Artifact. Just ahead, jump down to even lower depths. Destroy the Cacodemons in your path before hopping across the platforms.
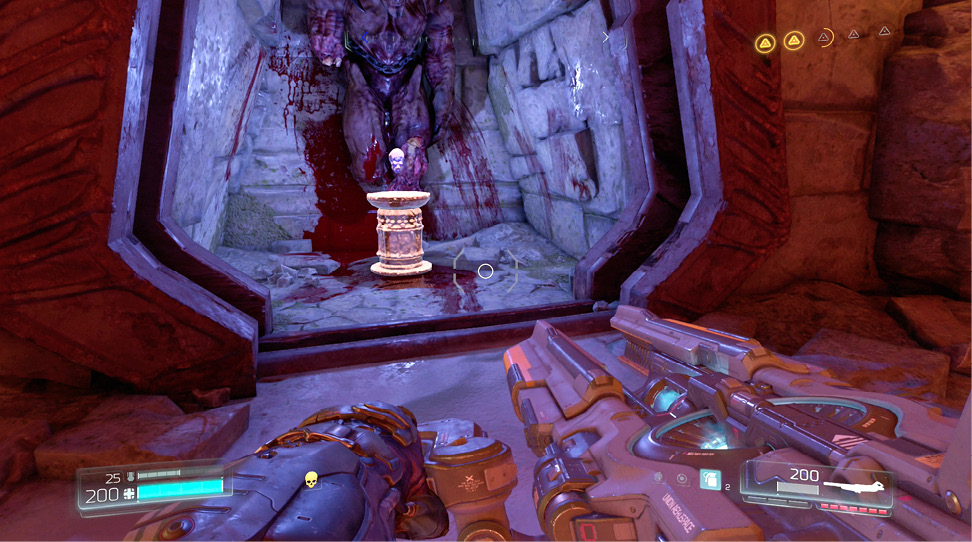
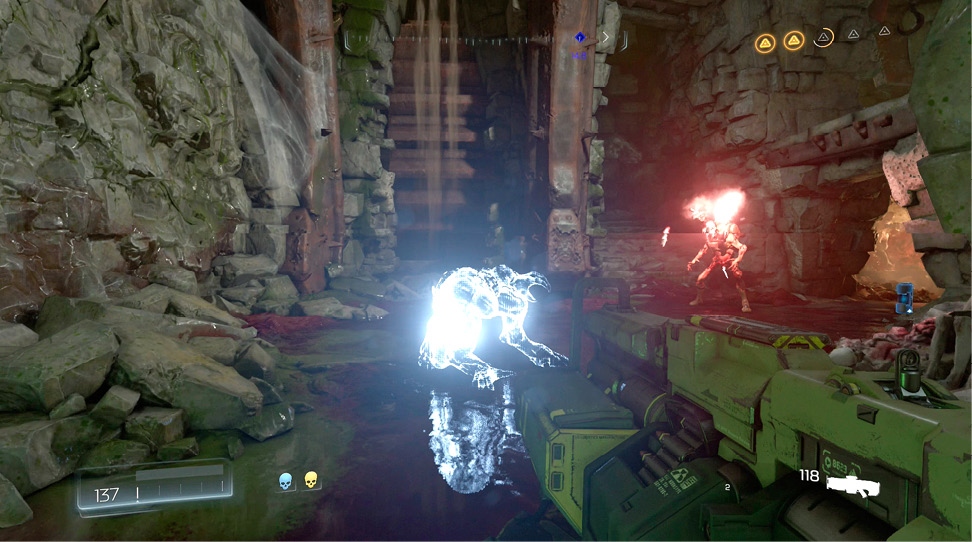
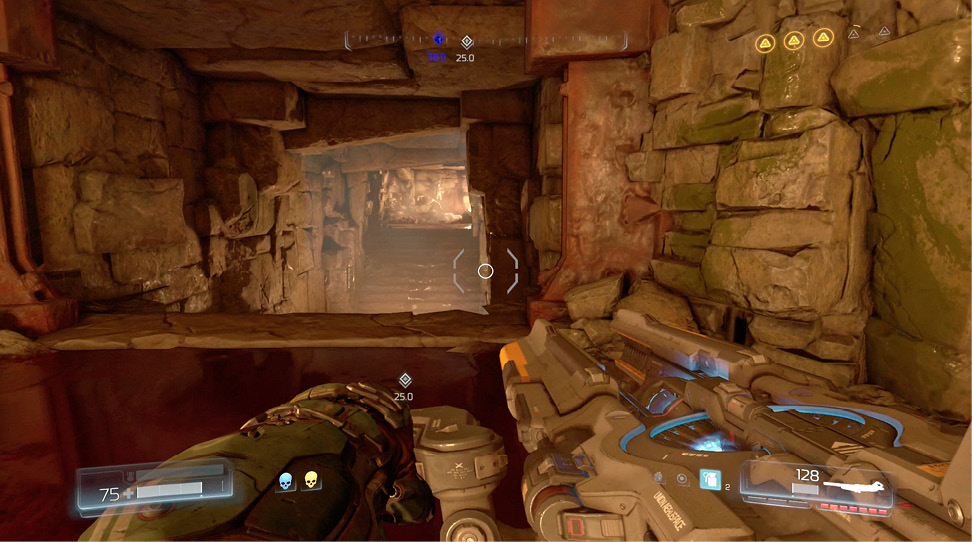
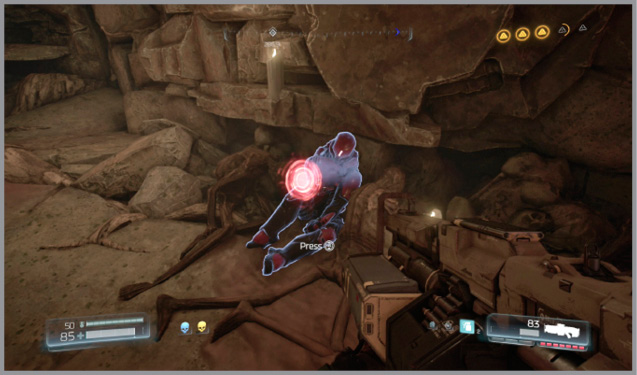
Jump into the cave, killing a Mancubus along the way. Collect a Praetor Token from the Elite Guard. Continue through the passageway, jump over to the steps on the left, and interact with the Field Drone up ahead.
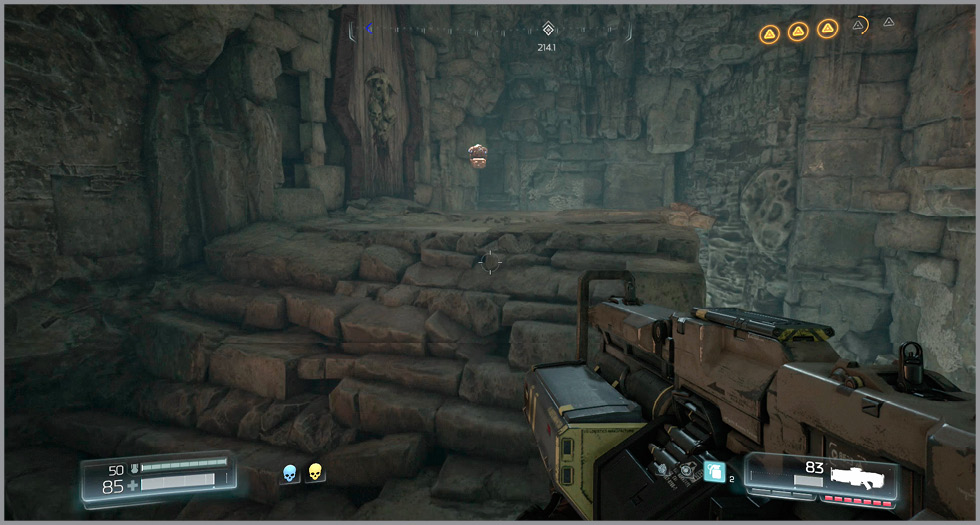
Hop up to another set of stairs and follow the pathway around to the left to find a group of demons fighting amongst each other. You can let them weaken each other up or just jump into the battle. There’s a Haste powerup on the ledge high above, and BFG ammo further up the steps, so take advantage of the firepower on a group of monsters.
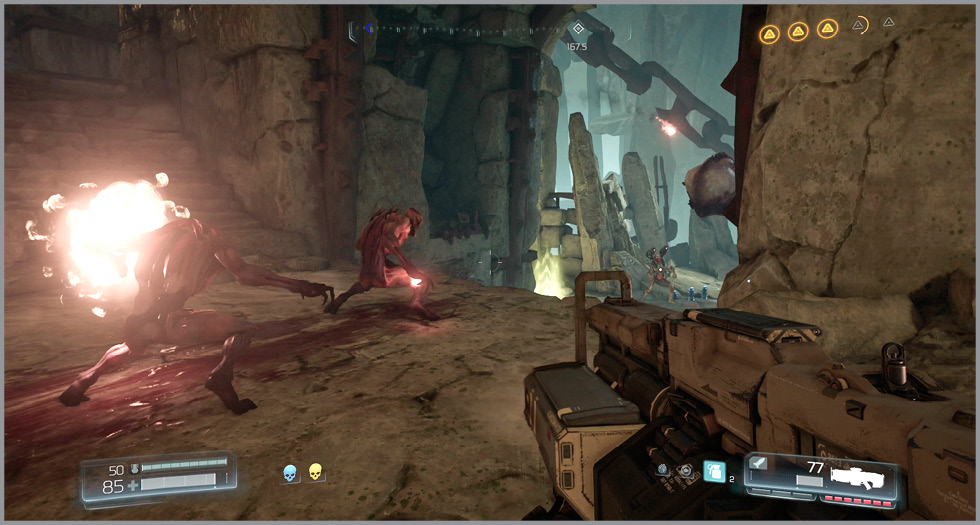
Continue up the staircase and through the structure until a Baron of Hell jumps out from around the corner. Kill two Barons of Hell, two Mancubi, and three Spectres to lower the gate, allowing you to exit. Before you leave, though, search the Elite Guard against the wall for another Praetor Token. Descend the steps and stop at the landing as Cacodemons enter from the right.
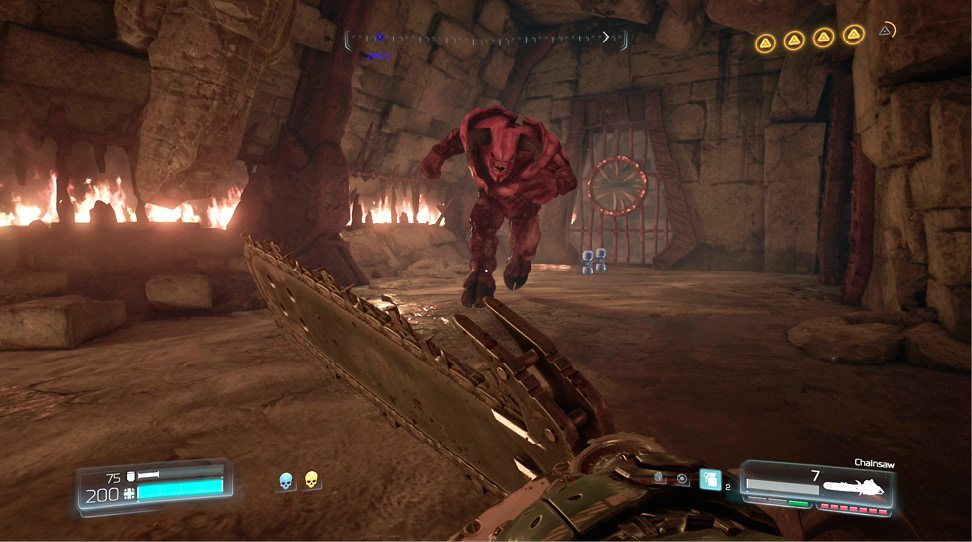
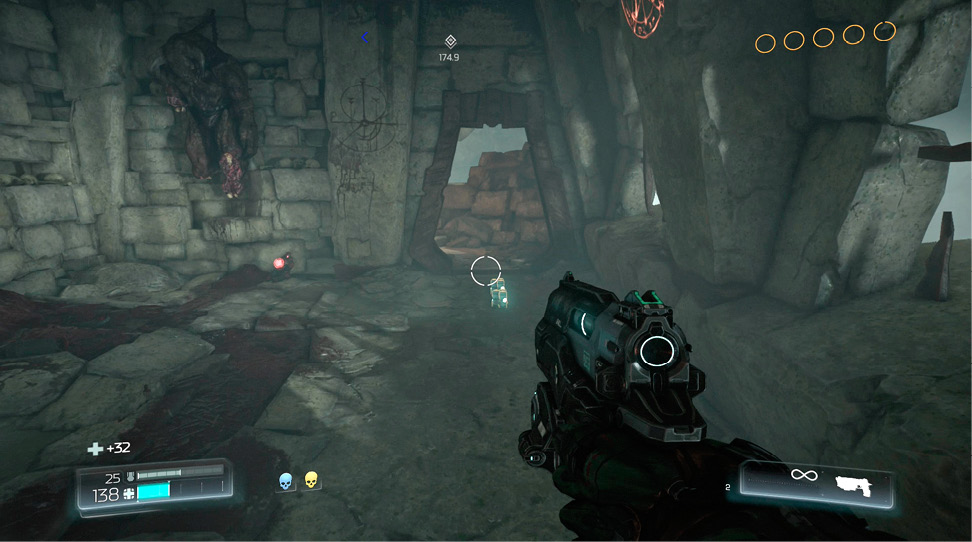
Defeat all of the monsters that spawn into the area and then move through the new opening below the Icon of Sin. Grab all of the resources that you can and then interact with the glyph ahead to transport to your next boss fight.