Doom Guide Campaign Walkthrough
Argent Facility (Destroyed)
Main Objective Go to the Lazarus Facility
New Weapons/Equipment None
New Monsters Pinky
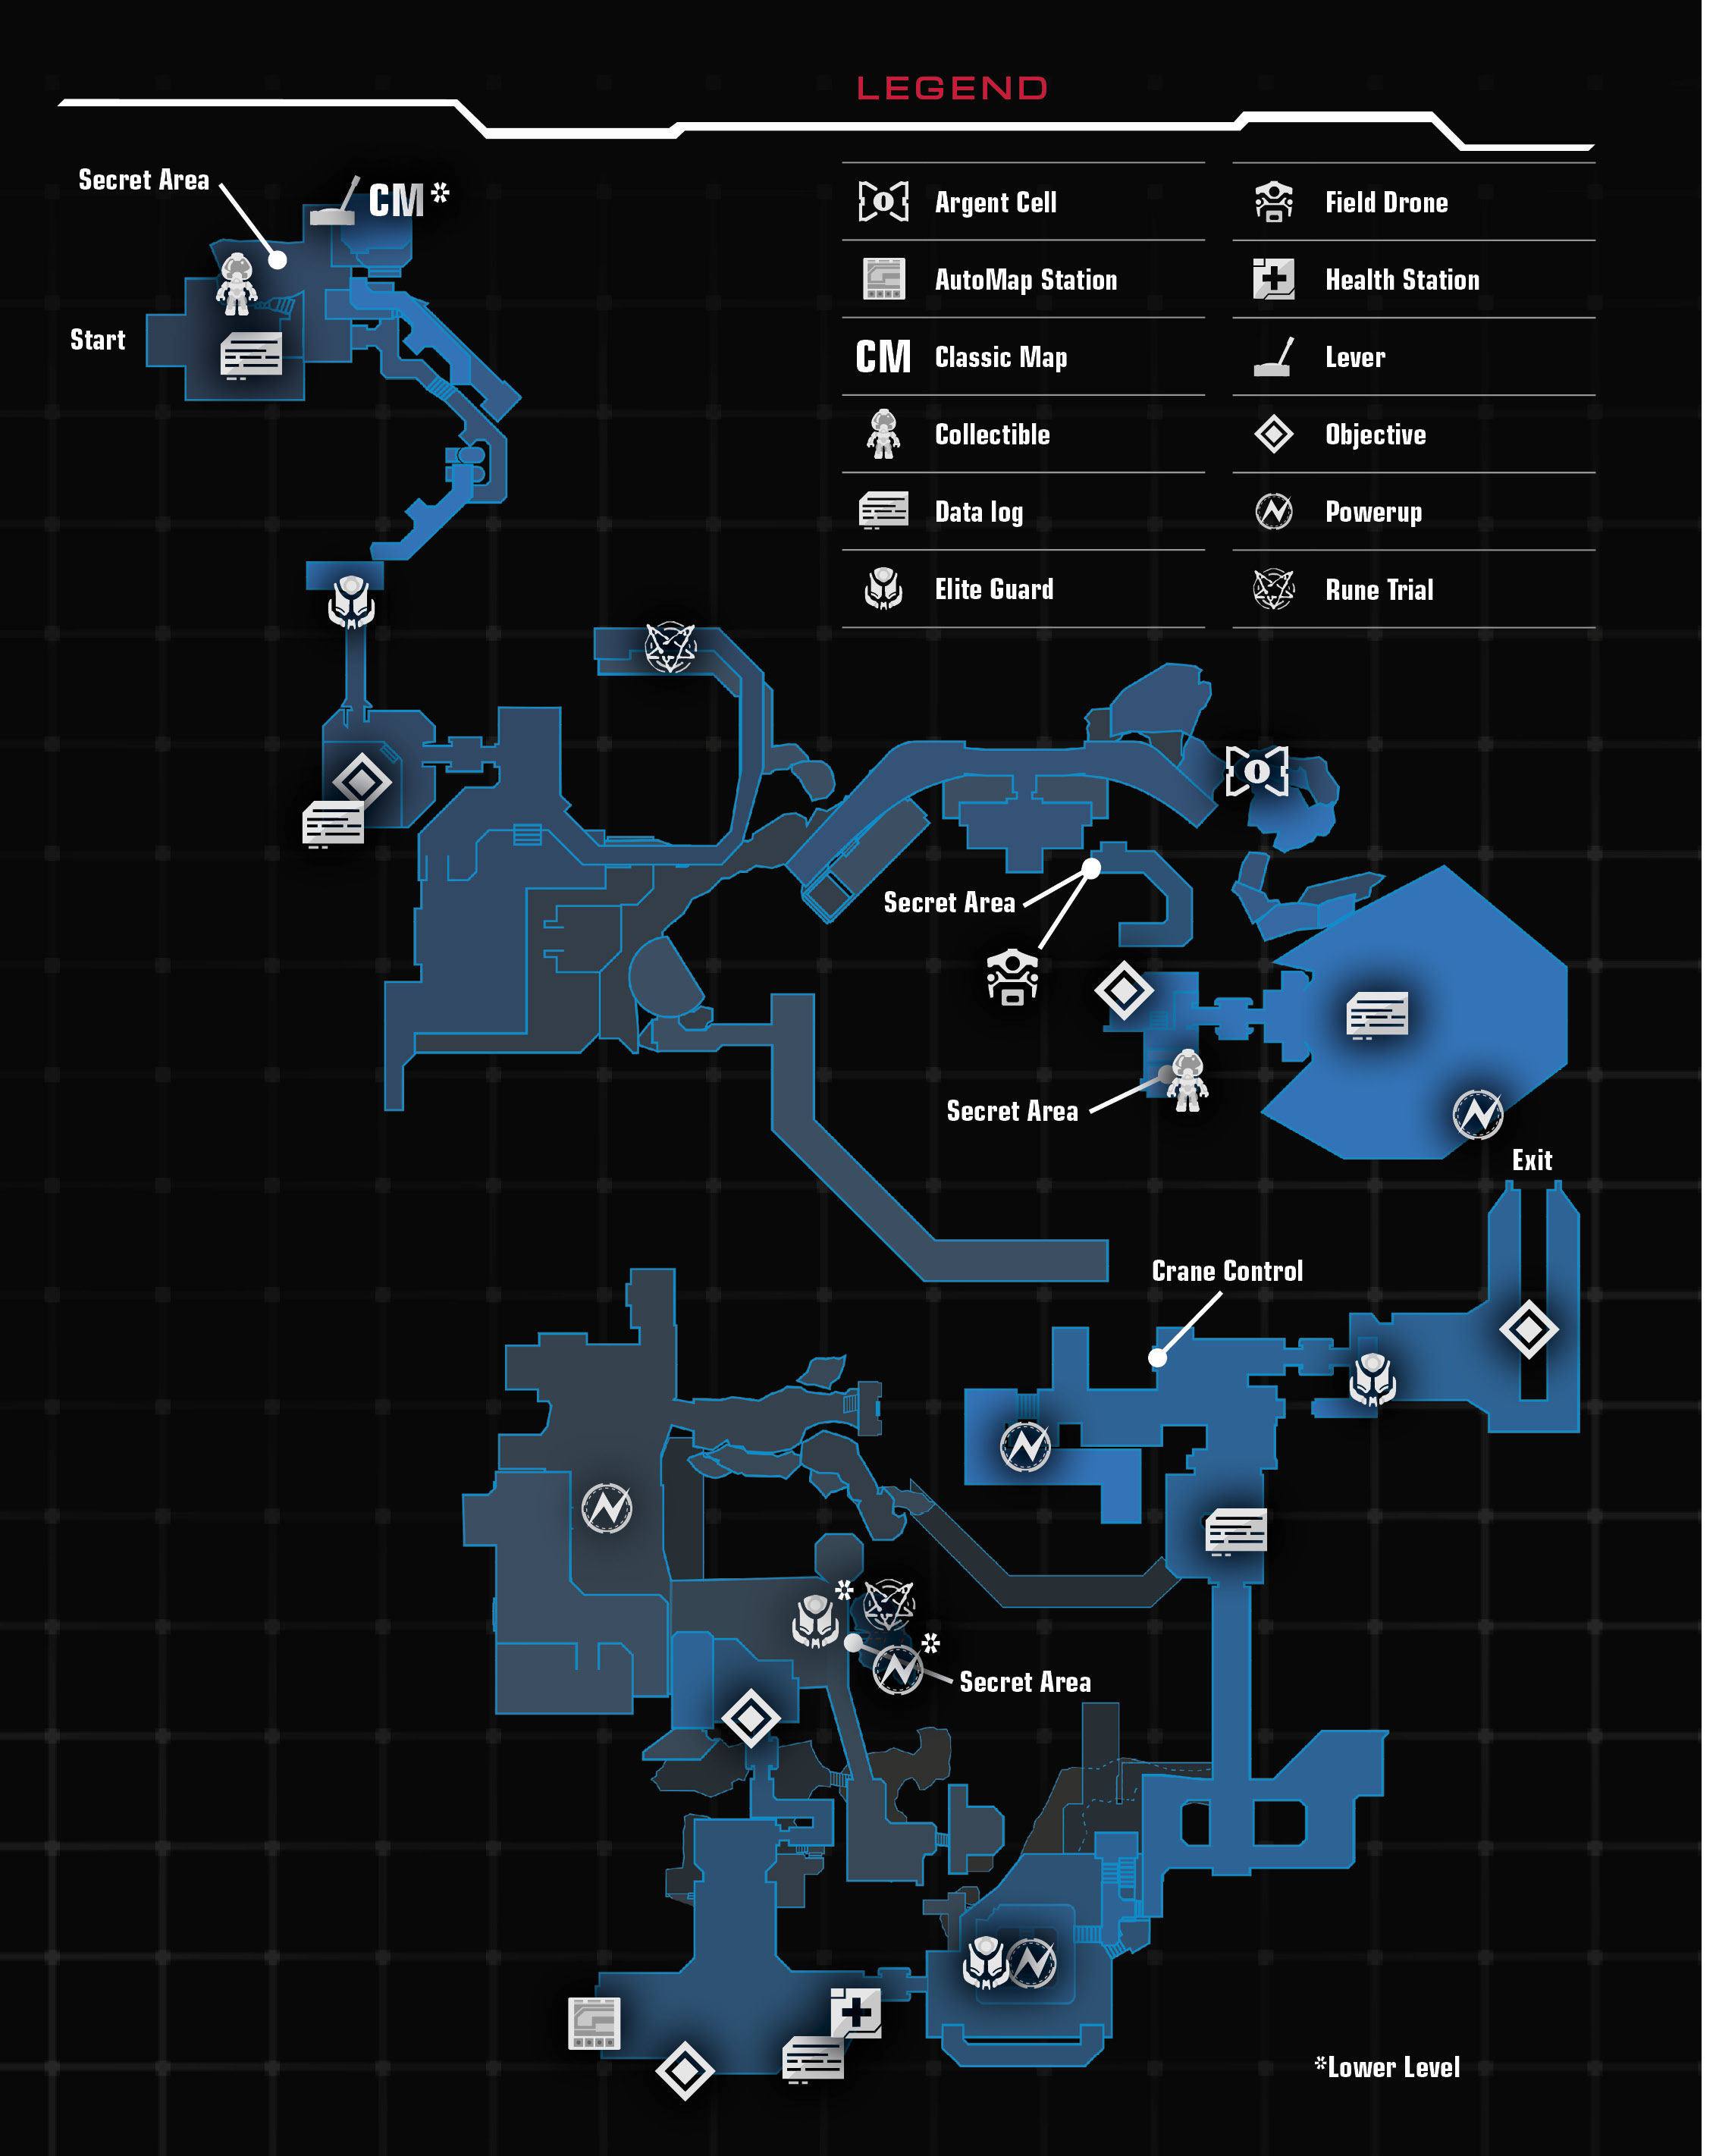
Challenges
| Challenge | Description |
|---|---|
| Skeet Shoot | Kill a Revenant while it is in mid-air. |
| Close Encounters | Kill 5 demons with the Chainsaw. |
| Knowledge is Power | Acquire 3 Data Logs. |
Collectibles
| Collectible | Unlocks |
|---|---|
| Rageguy | Cacodemon Model |
| Patriotguy | Baron of Hell Model |
Rune Trials
| Trial Name | Objective |
|---|---|
| Rune Trial: In-Flight Mobility | Collect all 15 Hell Relics and reach the Altar before the timer expires. |
| Rune Trial: Armored Offensive | Use the Combat Shotgun to eliminate all targets before the timer expires. Health levels are critical. Use armor to survive. |
Classic Map: DOOM II - Underhalls
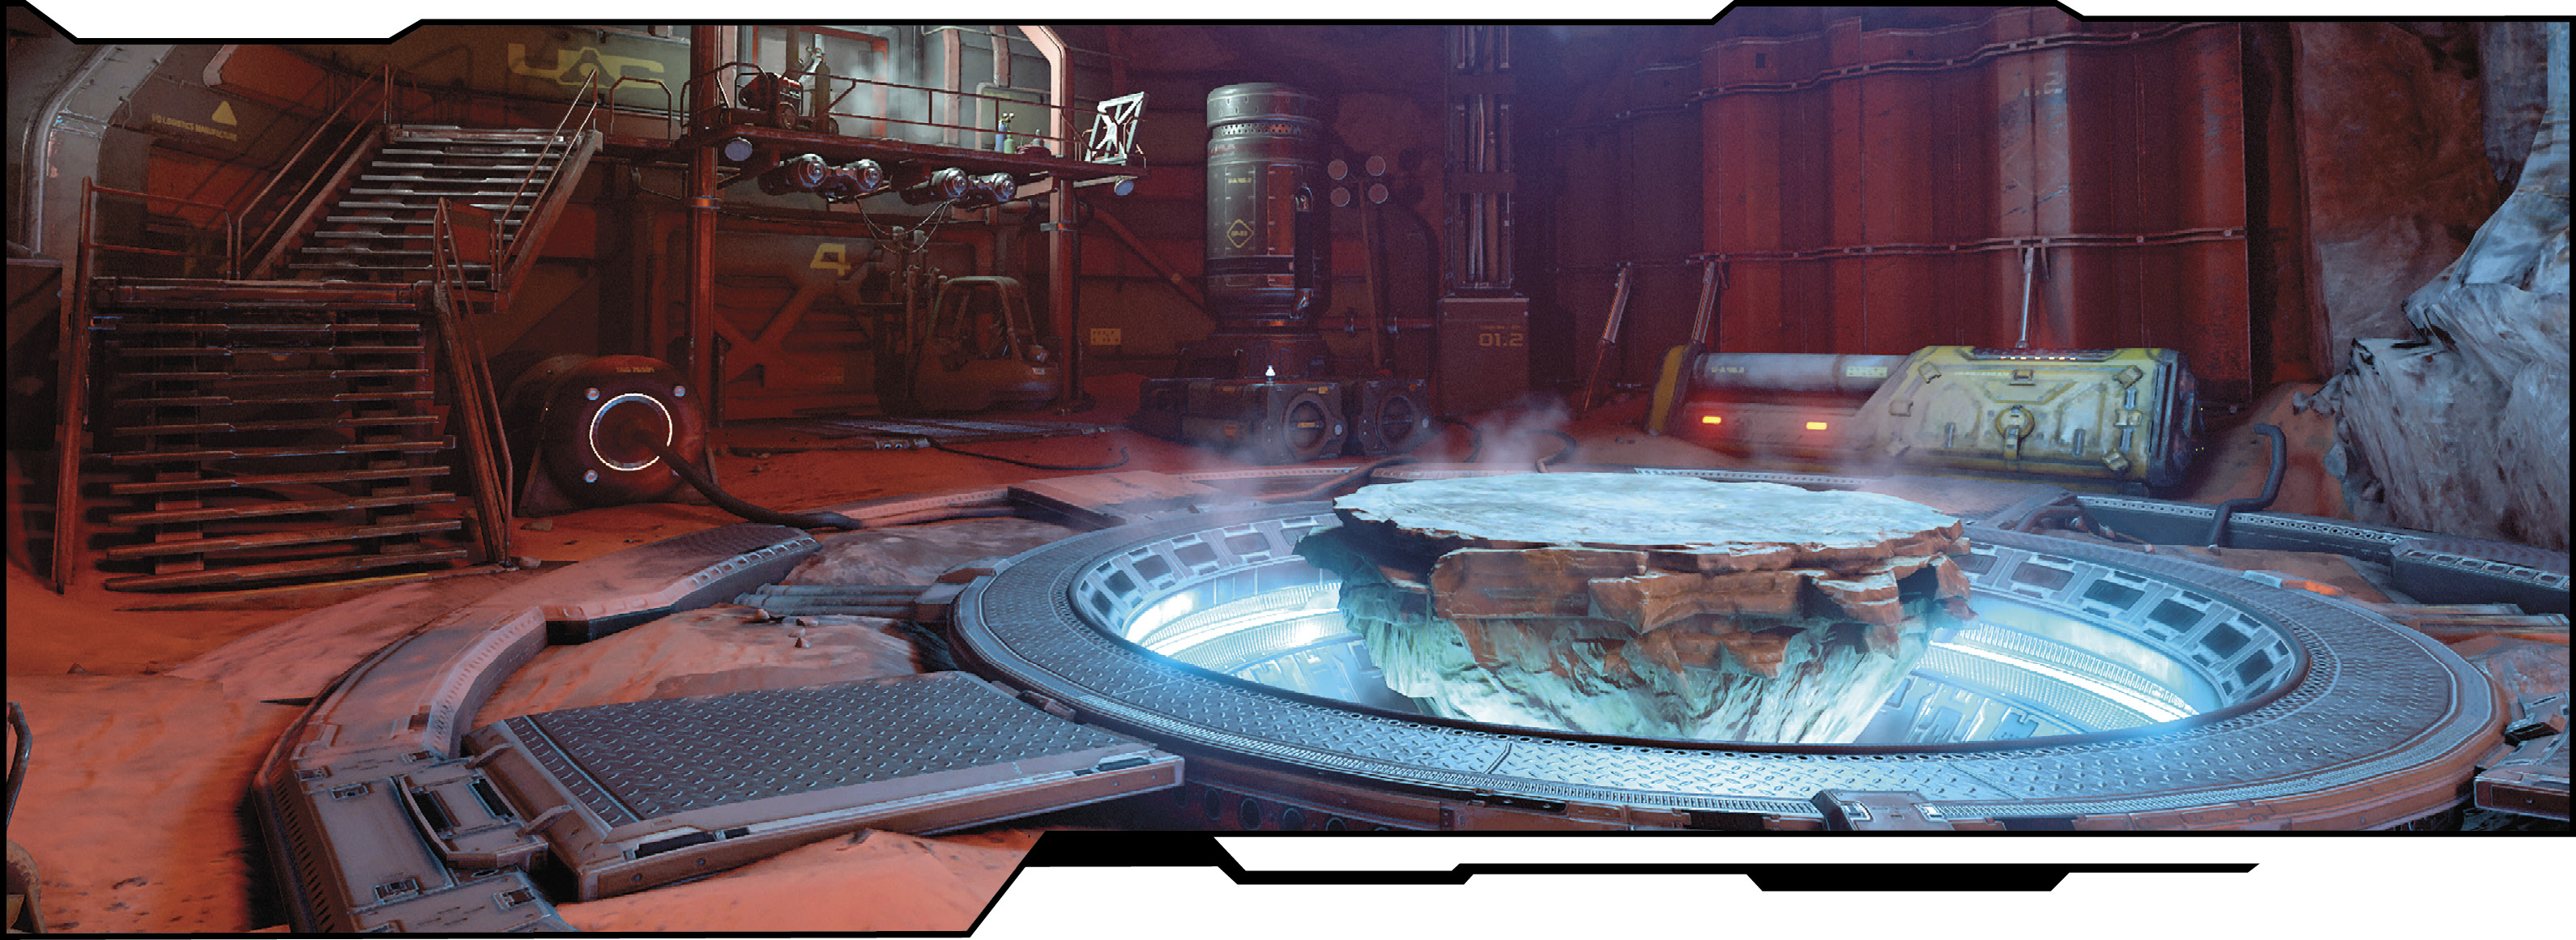
You return to Mars to the Argent Facility from the fourth mission, but the area appears different, as the demons have destroyed the place. This map is very similar to that mission, but the destruction has changed things up. Plus, your new Jump Boots open up new locations. Collect the Data Log off the crate, head upstairs, and exit the lab.
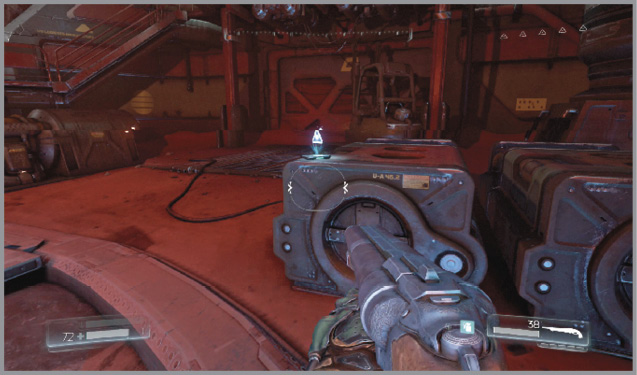
Follow the pathway to the right until a Cacodemon pops up ahead. Quickly take it down before continuing to the dead end. Climb up to the right and then jump to the conduit. Follow it toward the building and jump right to the upper platform.
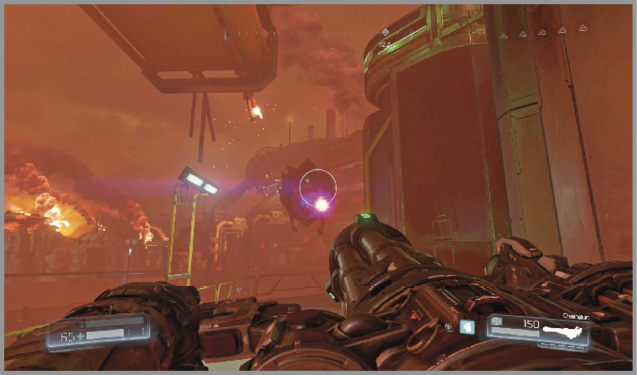
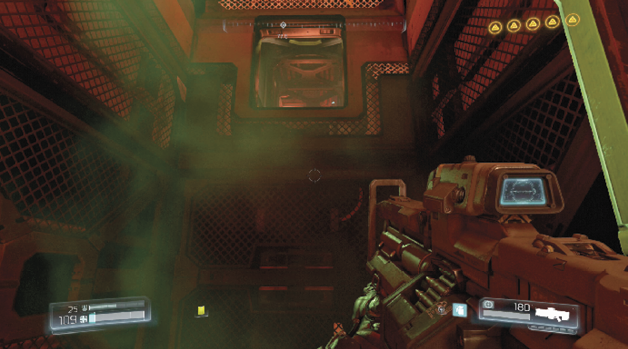
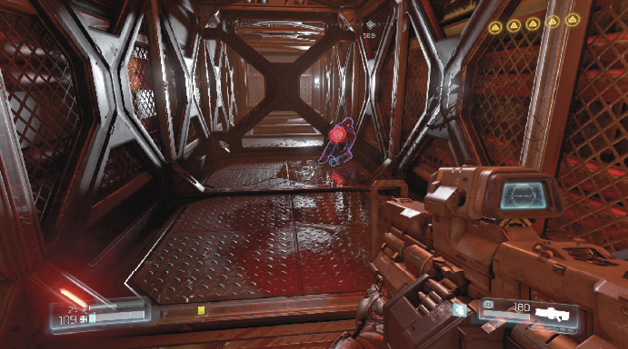
Continue over to the walkway and follow it around to the left. With a running start, perform a long double jump to clear the gap and then drop down at the other end. Continue down to the left and enter the tunnel, where the first Elite Guard rests just behind you. With the Praetor Token collected, exit out the other side.
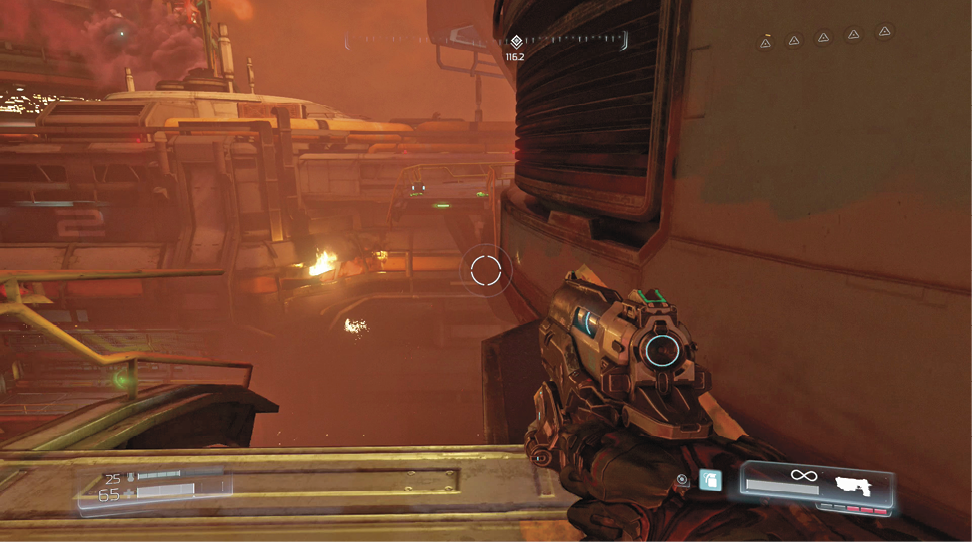
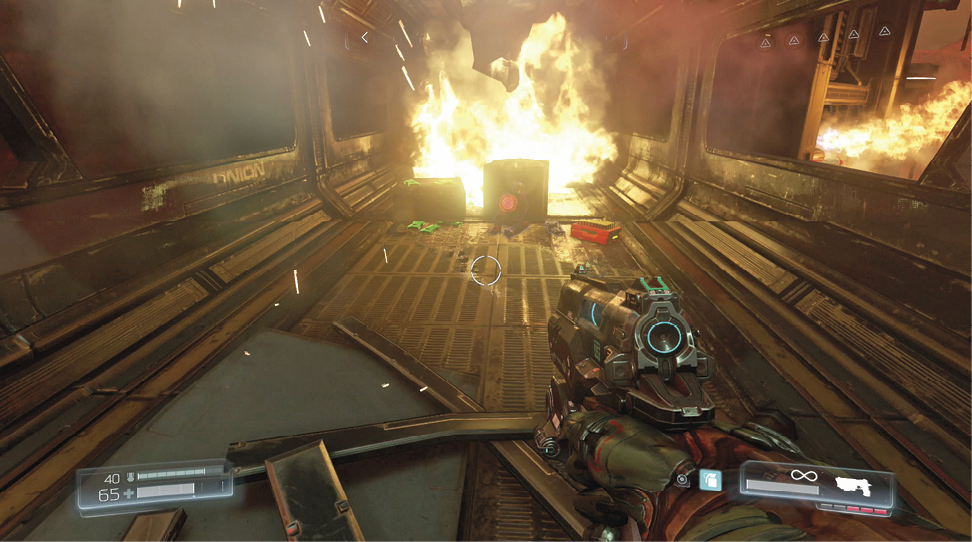
Go to the Security Station
Inside the control room, collect a Data Log in the far corner and then interact with the middle computer to learn of an artifact that could help in your search for answers. Olivia’s Lazarus facility can be accessed from the Advanced Research Complex, so that’s your next destination. A tram can be used to get there, but you need a clearance card to activate it. Proceed into the next room and activate the Airlock Control to return to the outdoors.
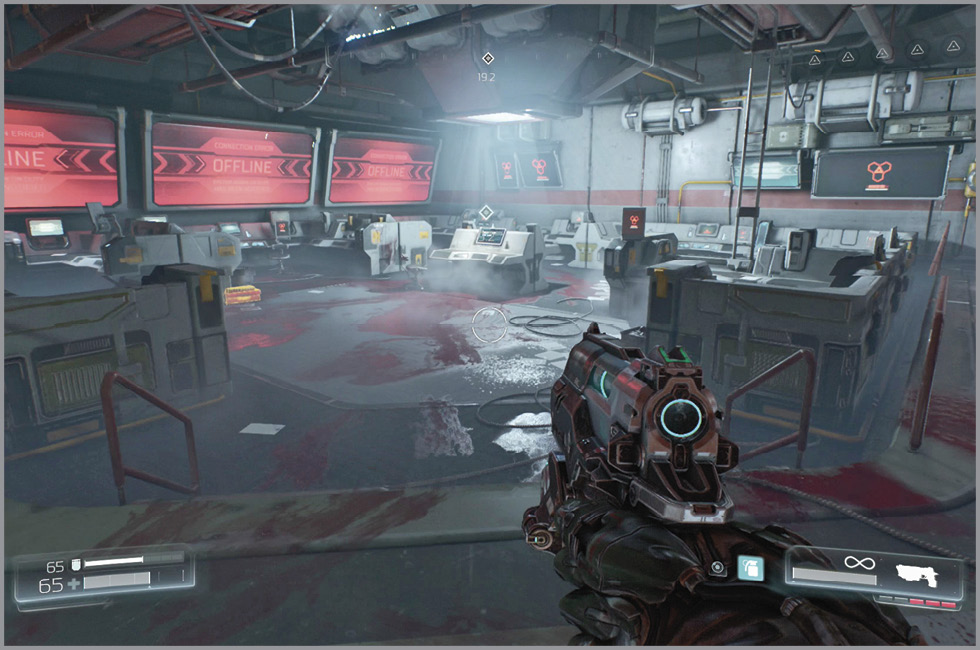
Be careful that a Revenant doesn’t pin you down inside the airlock as you fight the big group of demons ahead. Move outside and clear them out. This is a great opportunity to score the first Challenge by knocking one of the Revenants out of the air. Once it’s safe to move on, step up to the railing and look over the destruction ahead. You may recognize the location. You are currently above the garage where you disabled an Argent Filter. Most of the buildings accessed in the fourth mission are closed up now. The path to the left is still accessible, though, and it offers many helpful assets, as well as more demons to add to your Combat Rating.
Hop over the railing to face another big group of monsters. A Berserk powerup floats above a crate in the middle of the arena, so grab it to tilt the odds in your favor. Clear them out and continue around to the left, toward the Security Station. There’s no security lockdown in effect, so it’s not necessary to defeat every last monster before proceeding, but every kill does count toward your Combat Rating.
In-Flight MobilityObjective: Collect all 15 Hell Relics and reach the Altar before the timer expires.
Climb up the crates toward the Security Station and turn left to spot the Trial Stone. Jump over and interact with it to begin the next challenge. Your objective is to collect 15 Hell Relics that are lined up along the two narrow ledges ahead and reach the Altar before the timer hits zero. This is the same map used in the Savagery Rune Trial in the previous mission, so you may be familiar with the jumps required to reach your destination. This time your movement is not limited and there are no Imps to take out. Zigzag between the two sides as you collect the relics. You must be quick to reach the Altar with all 15, so stay on the move. 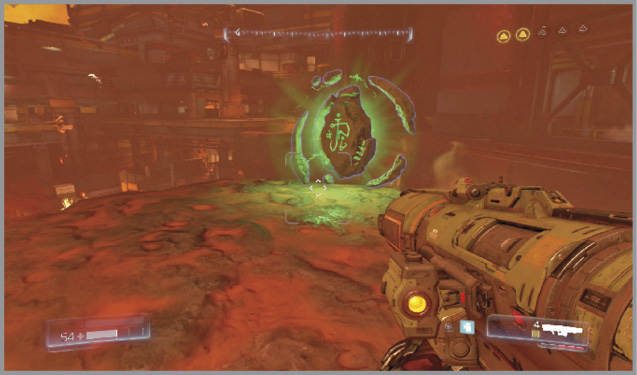 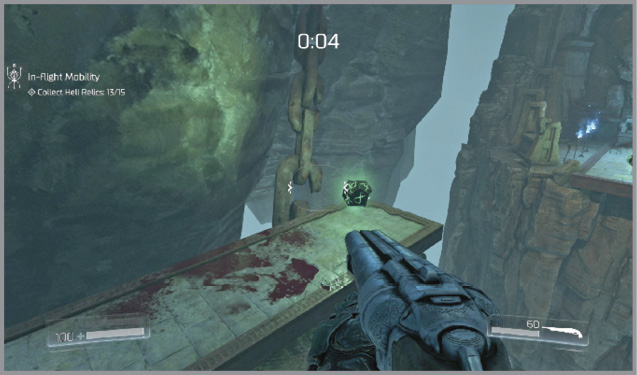 |
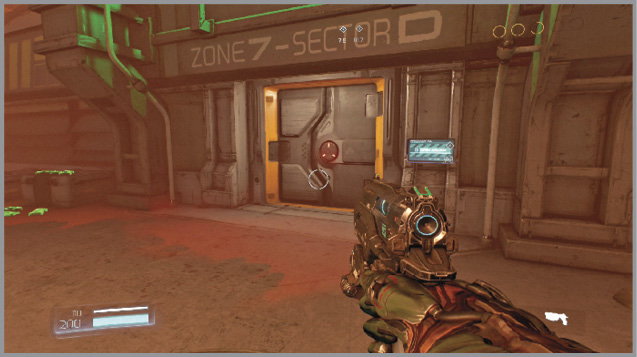
You can explore the surrounding area, which is full of pickups and monsters to defeat, but your next objective is up the stack of crates—leading toward the security station. Activate the Airlock Control, step inside, and use another console to gain access to the facility. Follow the hallway around and lift the unpowered door.
Immediately, a new monster called Pinky charges from the left. Pull out your assault rifle and try to get behind this demon to attack its un-armored back. A second joins the fight, making it a little tougher to dodge their assault. Keep track of them as you take them down. More demons find your location, so stay on the move as you battle them.
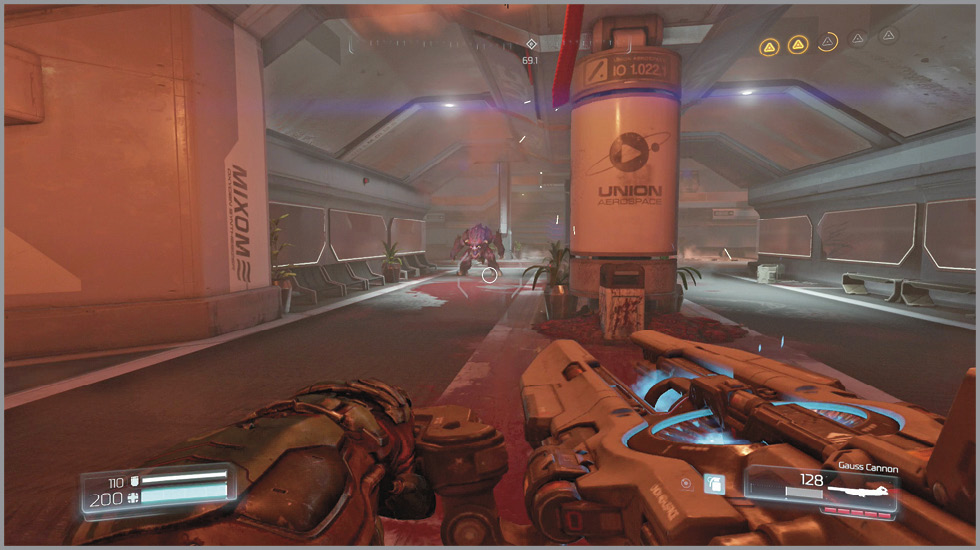
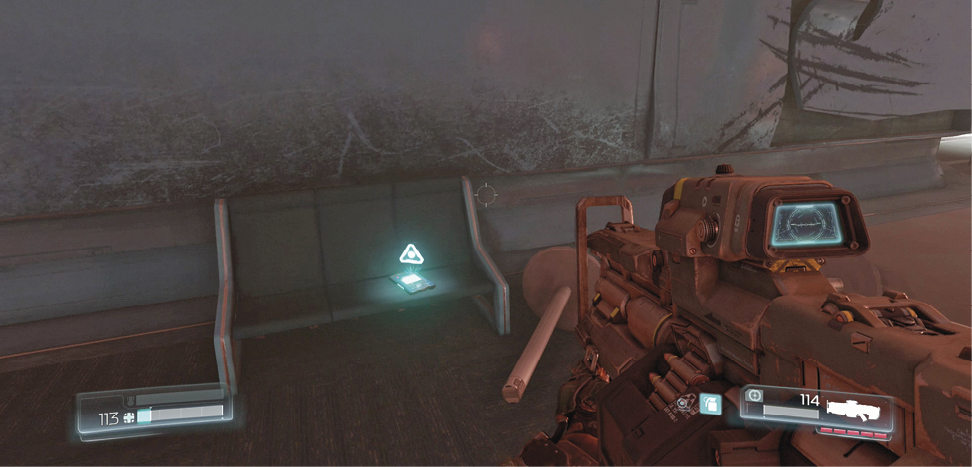
Once the lobby has been cleared of monsters, collect the Data Log off the bench to the left, top off at the Health Station, and use the AutoMap Station against the far wall. You are now ready to access the console next to the Security Station. This plays an echo recording depicting a Pinky carrying away a UAC member with a yellow access card that you need.
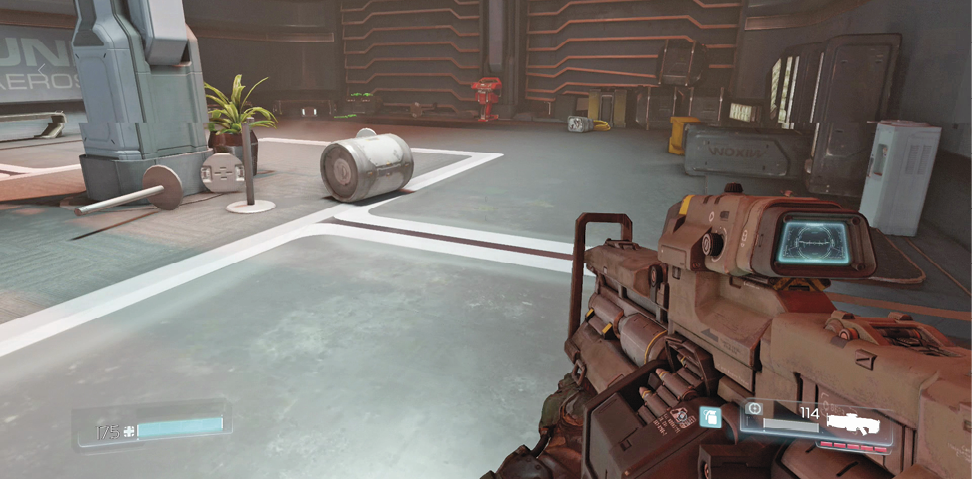
Retrieve the Yellow Access Key
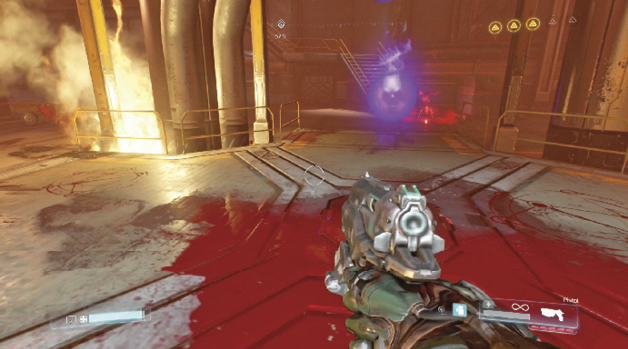
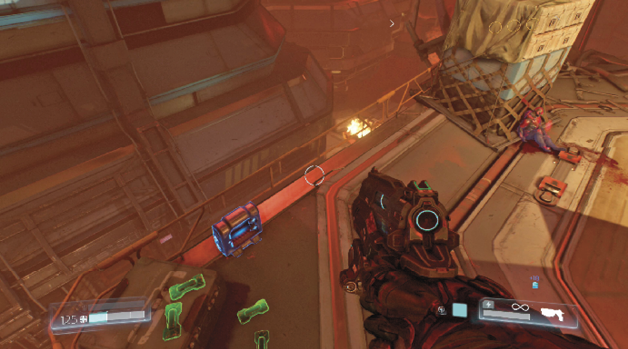
Follow it out the exterior access, using the Airlock Control to reach the outdoors. Two Pinkies are joined by a number of demons in an attempt to keep you from the access key. Collect the Quad Damage powerup and go to town on them. There’s a munitions crate in the far corner if needed. Once you’re ready to proceed, use the jump pad to reach a platform above where an Elite Guard rests against some cargo.
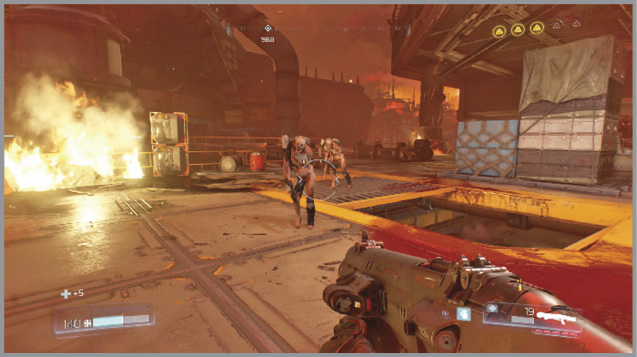
Climb the steps as an echo recording shows that you’re on the right track. Continue to fight off the enemy as you proceed through the next area, cross the bridge, and enter the building at the other end—being ready for the Mancubus and Pinkies that emerge from inside.
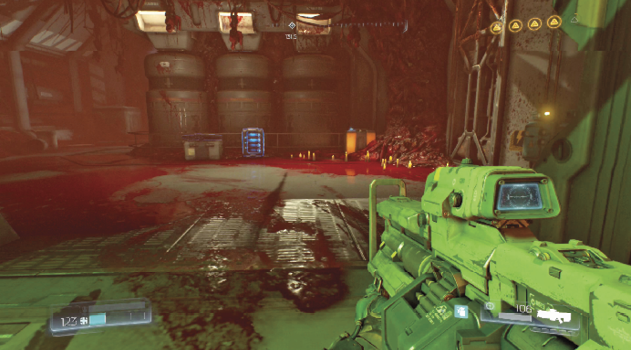
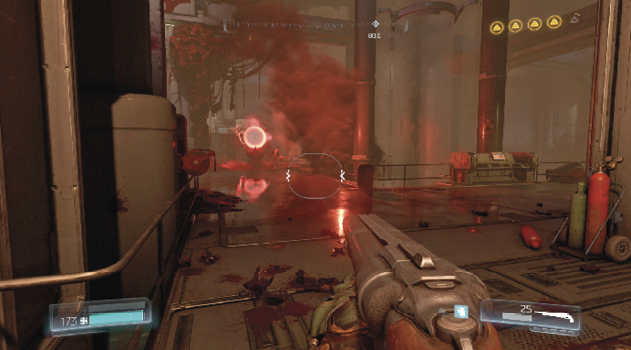
Collect the Data Log just inside and then follow the corridor to the left. There’s a Field Drone above the crates on the left, but it moves into the next room to a more out-of-the-way location. Before going after it, you must clear out the demons and destroy the Gore Nest to the left. Finish off the new wave of monsters, which includes the tough Baron of Hell, before proceeding. A Mega Health offers some help as it floats above a stack of boxes on the upper level.
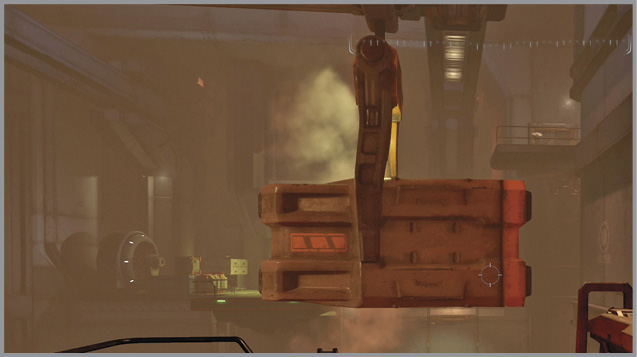
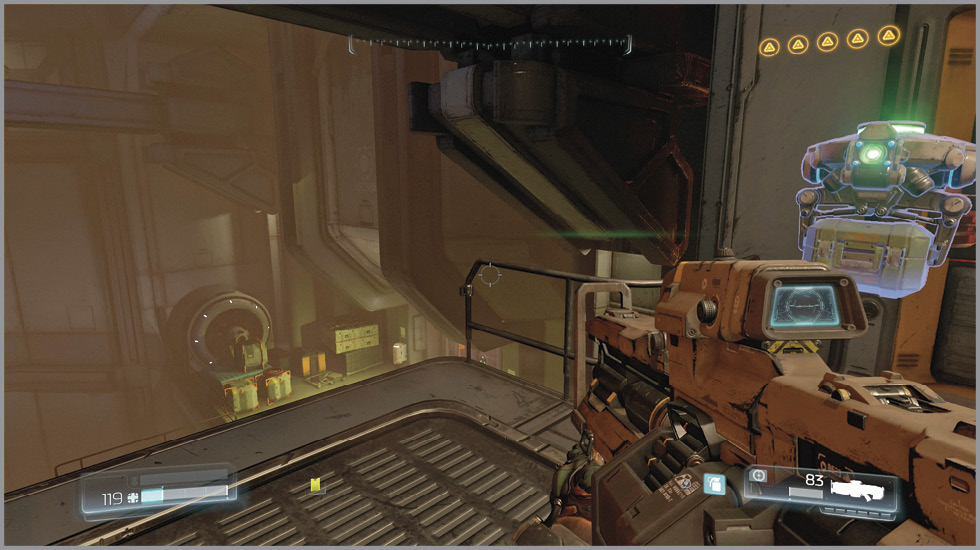
Once it’s safe, return to the entrance and look into the facility. Approach the terminal just before the bridge and activate the Crane Control. This moves a cargo container from the left to a location just ahead. Double jump over to it and continue up to a walkway on the right. Follow it around to find the Field Drone. Drop down and exit through the door on the right.
Armored OffensiveObjective:Use the Combat Shotgun to eliminate all targets before the timer expires. Health levels are critical. Use armor to survive.
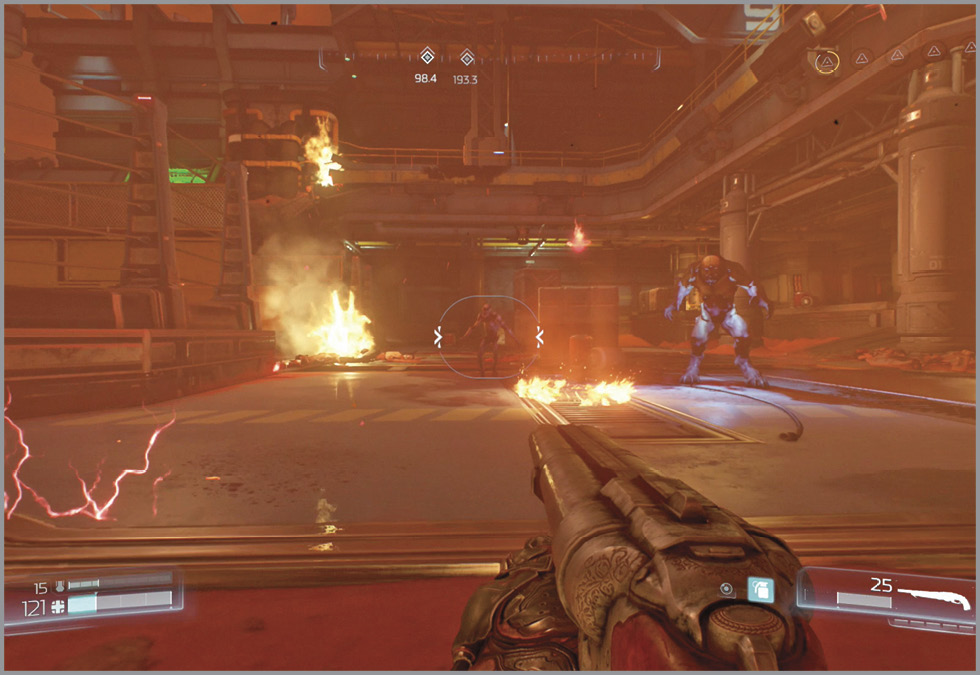
After exiting the facility, follow the path left and hop down to the right to reach another walkway. Follow this one right until you find the second Trial Stone. The goal here is to use the Shotgun to eliminate all eight demons before the timer reaches zero. You have 1:10 to get it done and there are no time bonuses. You start out against two Unwilling. As you proceed through the trial, two Imps, a Hell Knight, a Pinky, and two Possessed Soldiers spawn in. Your health is critical with no way to increase it, but there are piles of small armors throughout the map. Stay on the move, but you should spend almost the entire time firing shells at an enemy. 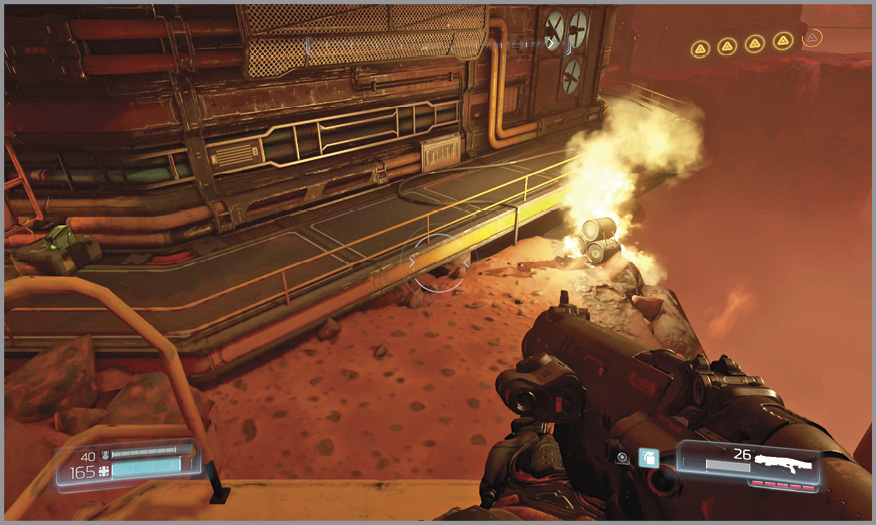 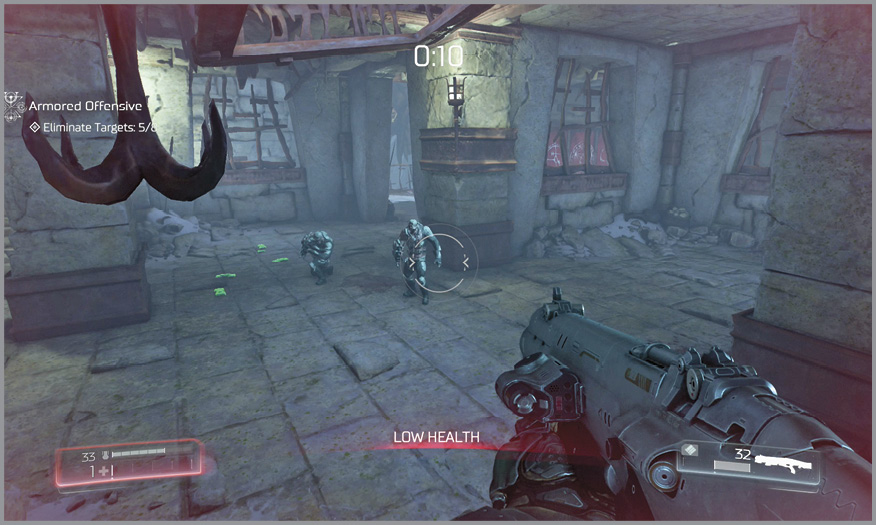 |
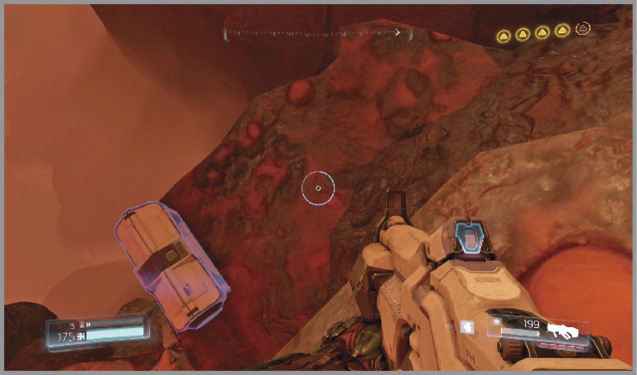
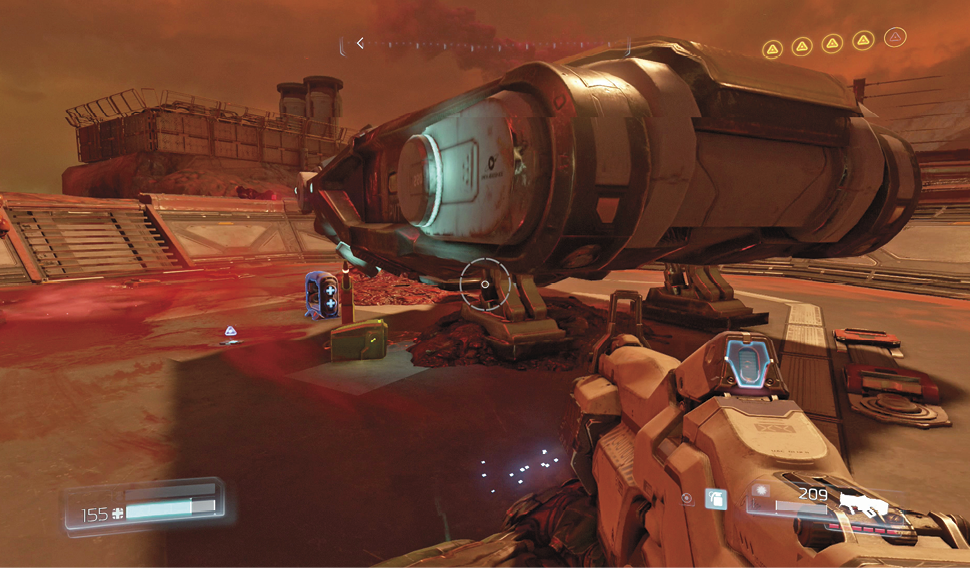
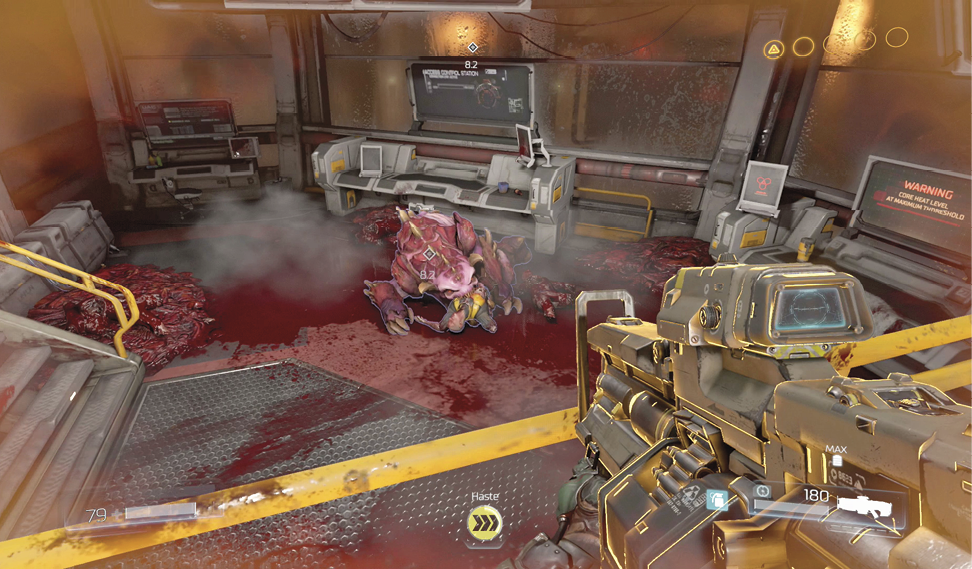
Once outside, move down the right path. A munitions crate is guarded by several weak demons on the left. Hit the engineer to take out the group. Continue across the rock ledges ahead and climb up to a landing pad. Turn around, double jump over to a butte, and drop off the far side to find an Argent Cell. Return to the previous area, eliminate the group of monsters, and destroy the Gore Nest. Finish off the new wave of enemies, taking advantage of the Haste powerup, located in the corner. This allows you to quickly break line of sight as you run around the ship.
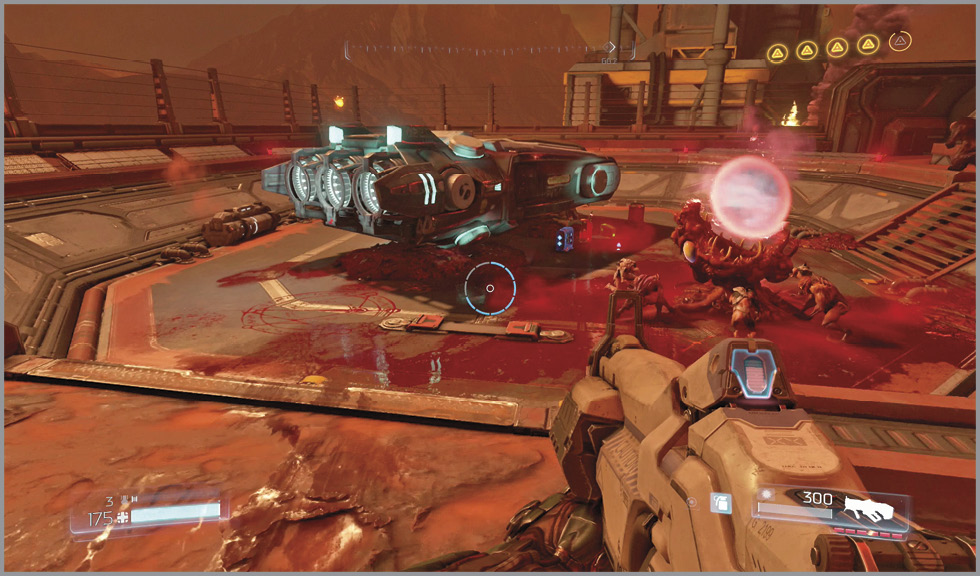
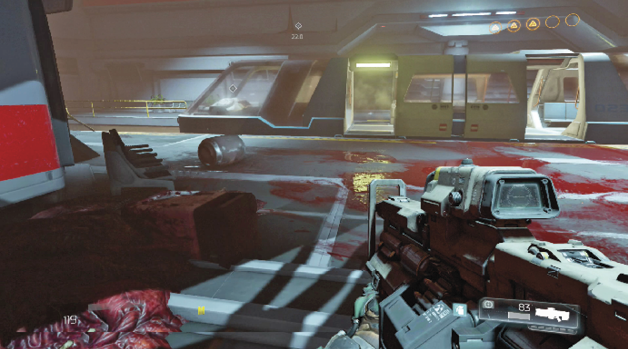
Once it’s safe to do so, collect the last Data Log on the ground next to the vehicle. Enter the facility and nab the Yellow Keycard from the corpse that is still in the clutches of the dead Pinky.
Go to the Advanced Research Complex
Enter the yellow gate and drop down the shaft. Turn around and double jump into the venting above. Follow the path around to the left to find the final Elite Guard. Hop back down and re-enter the room where you destroyed the Gore Nest and found the Field Drone.
Head right and move through the yellow door, then pry open the next one to find the Tram Access. Take out the group of demons, step inside the tram, and interact with the Tram Control.