
Doom Guide Campaign Walkthrough
The UAC
Main Objective Find the Resource Ops Entrance
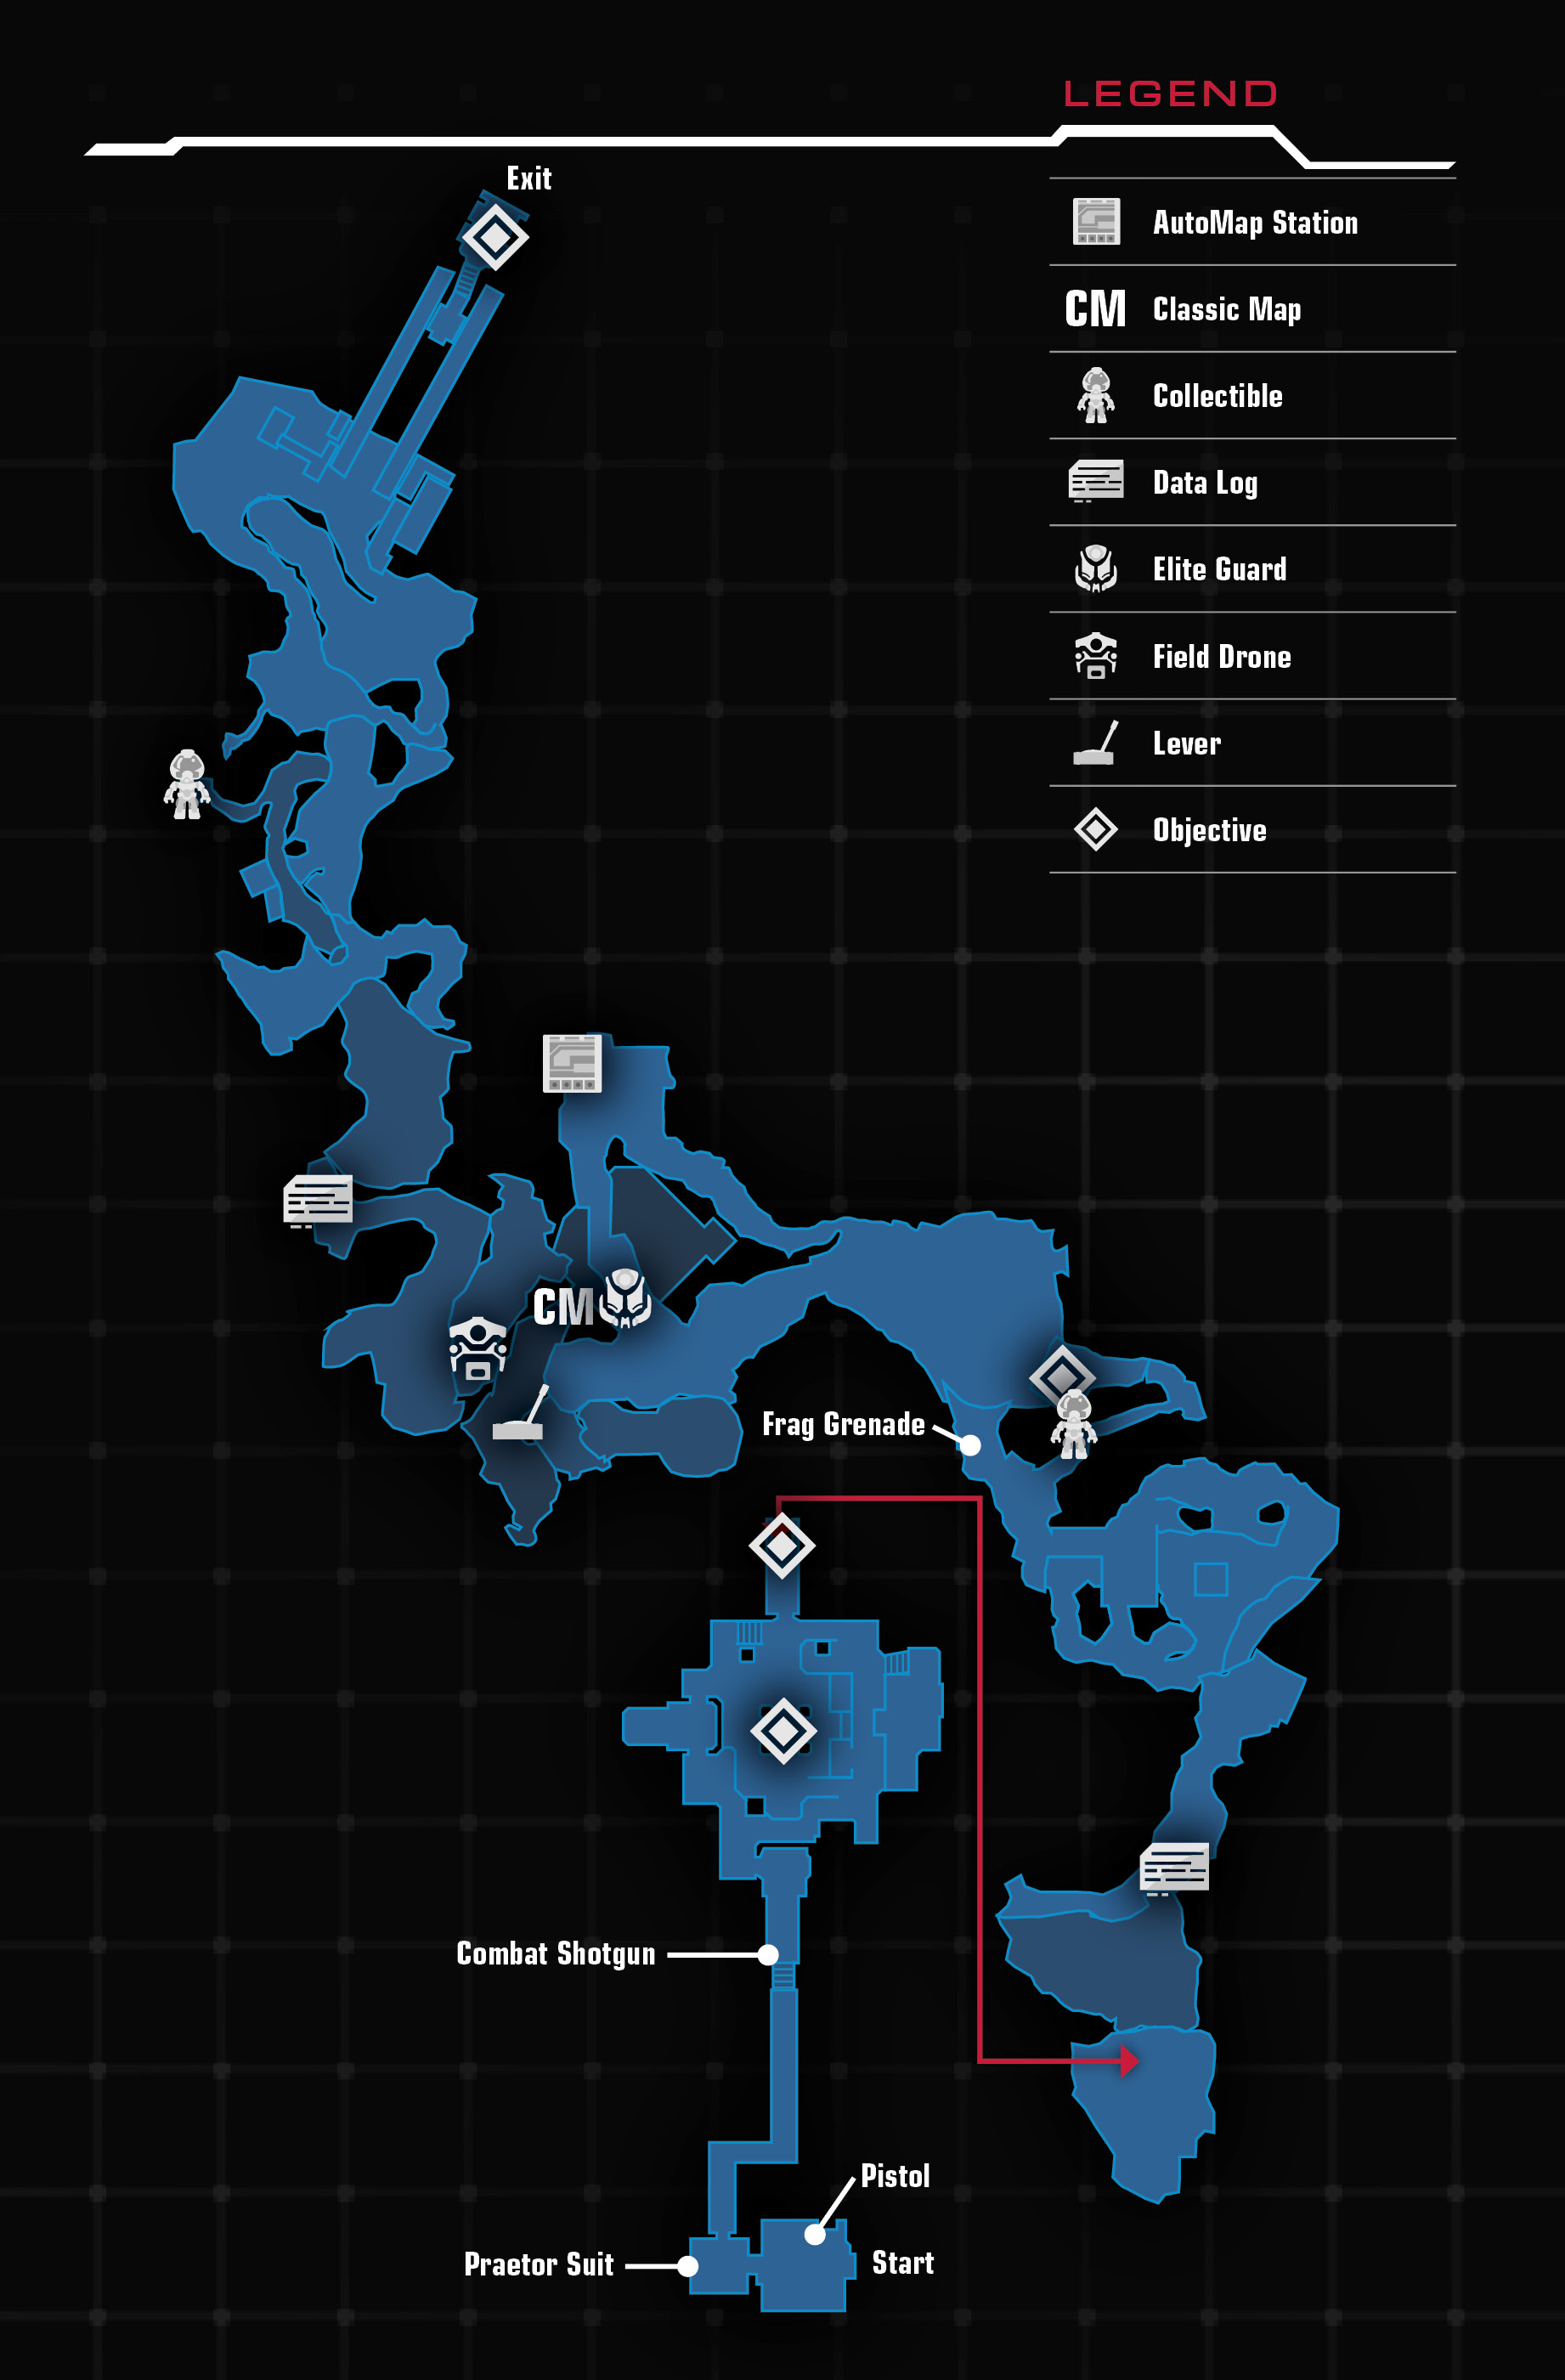
New Weapons/Equipment Pistol, Combat Shotgun, Frag Grenade
New Monsters The Possessed, Imp, Possessed Soldier
Collectibles
Classic Map: Doom II - Entryway
Find the Site 03 Exit
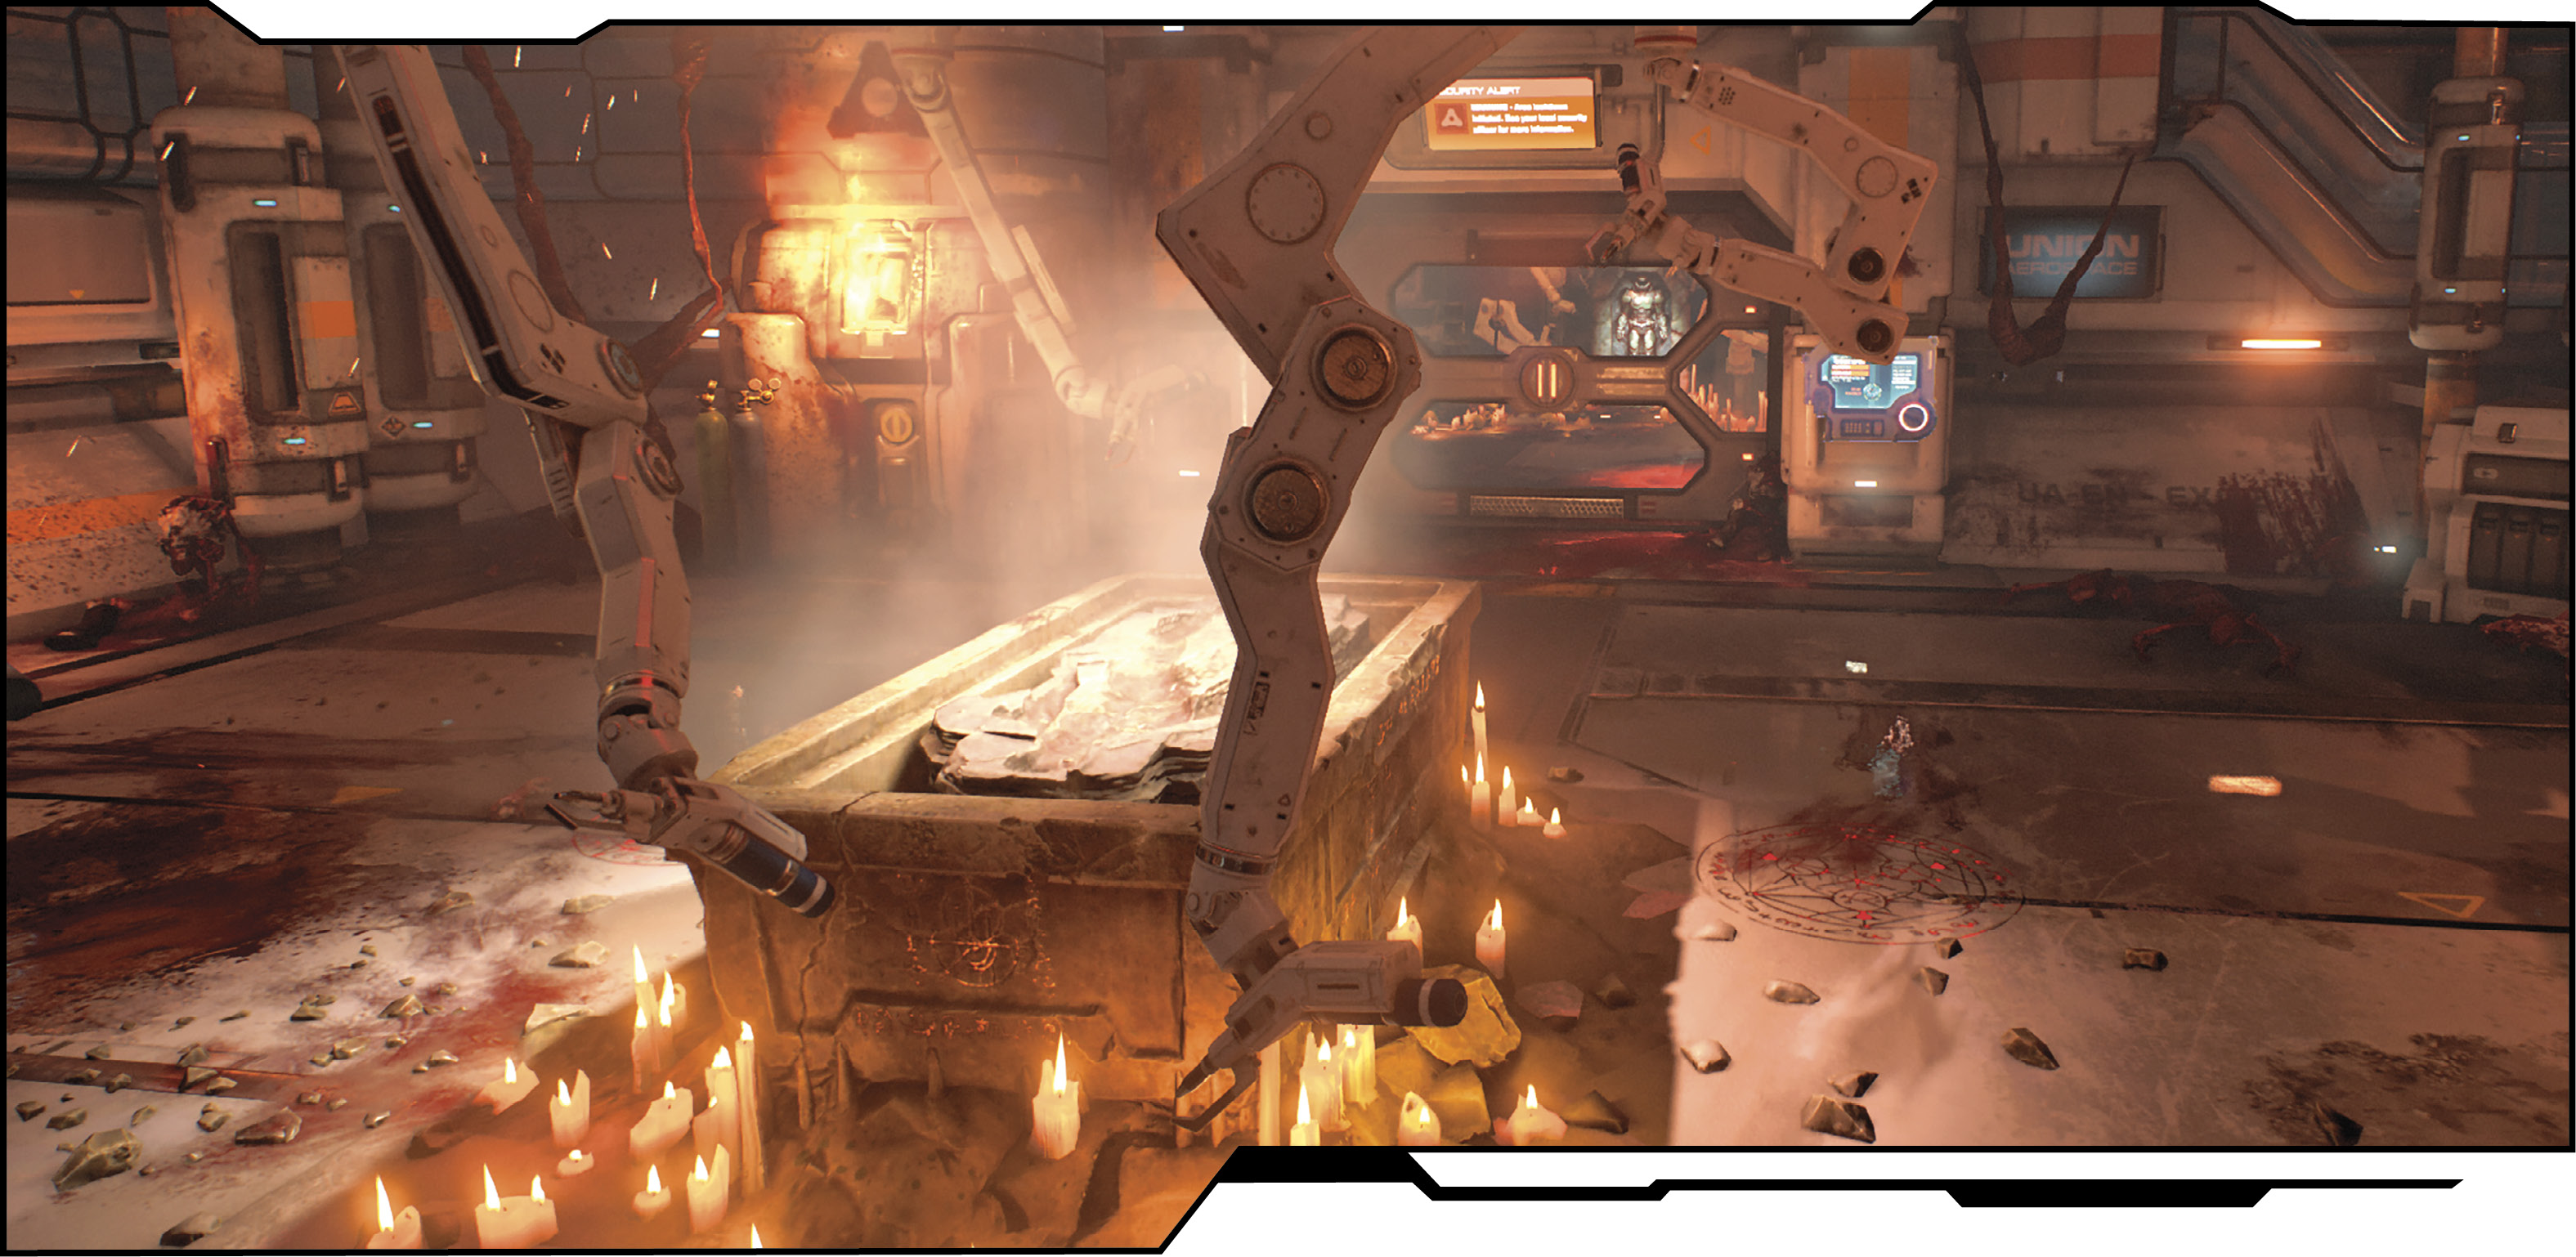
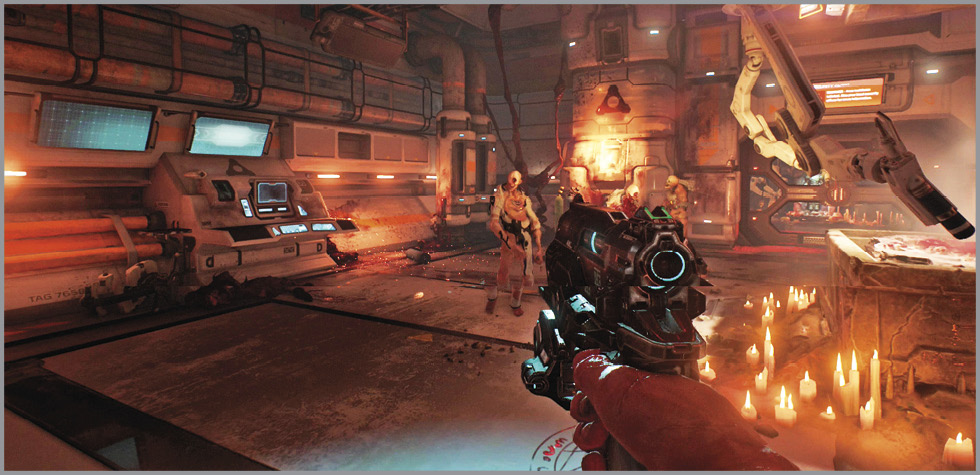
A demonic invasion has hit the UAC facility on Mars, destroying everything and everyone. You play as the Doom Marine who finds himself chained up in a crypt—coming to, just in time, as three demons converge on your location.
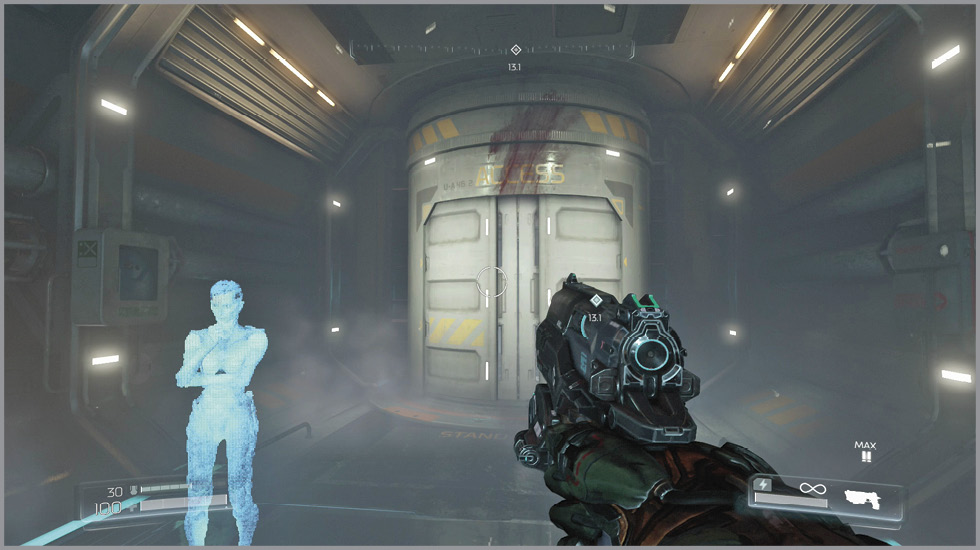
After eliminating The Possessed, use the console next to the exit to begin a playback of an echo recording, then proceed through the door and approach the armor ahead. Interact with the Praetor Suit to slip inside and receive a message from Dr. Samuel Hayden, the UAC Mars Director. Get used to his voice as he guides you through Mars and Hell.
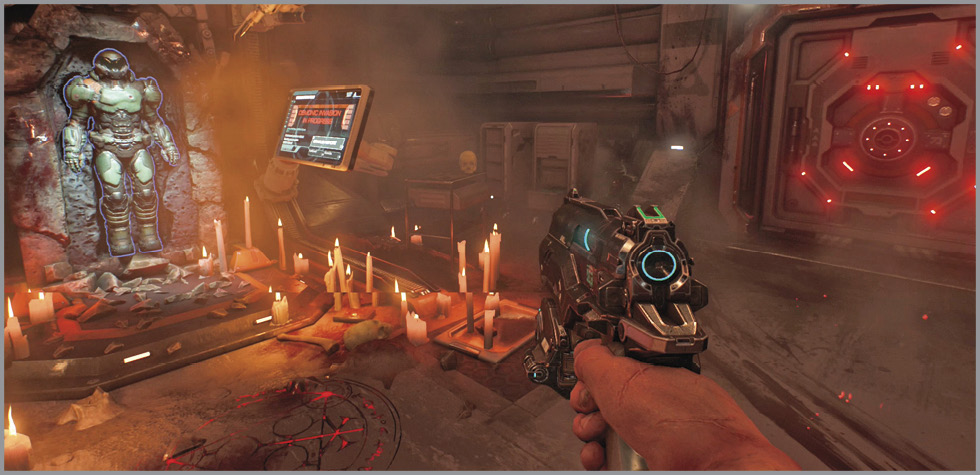
PistolModifications: Charged Energy Shot The Pistol is a sidearm with limitless ammo that is most effective against weaker targets. Use it whenever high damage is unnecessary, saving the more powerful guns for tougher foes. |
Continue through the open door until you reach another group of monsters. Take down the first with a Glory Kill and then eliminate the rest. At the top of the steps, grab the Combat Shotgun from the corpse and open the door.
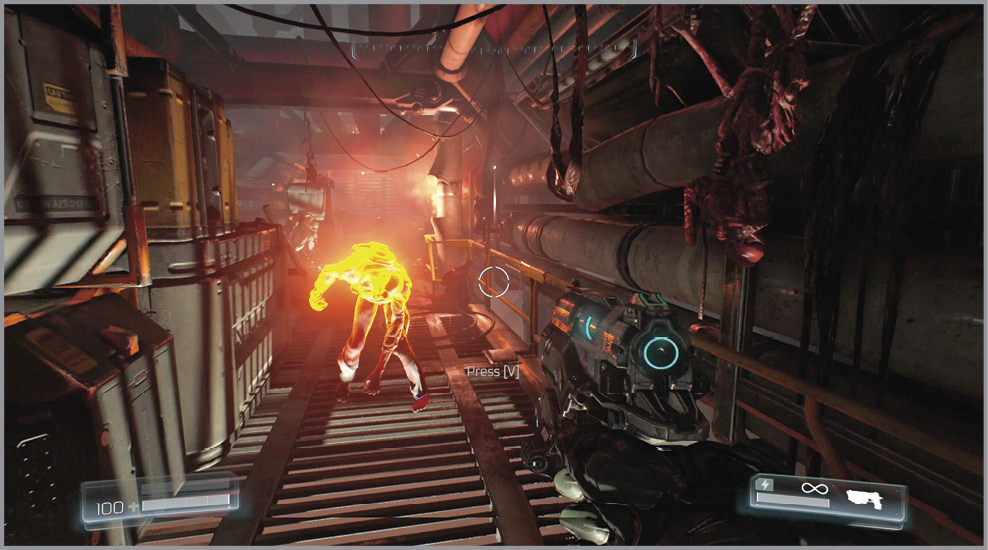
Combat ShotgunModifications:Charged Burst, Explosive Shot Effective at medium and close range, the Shotgun is a versatile weapon for most encounters. |
Destroy the Gore Nest
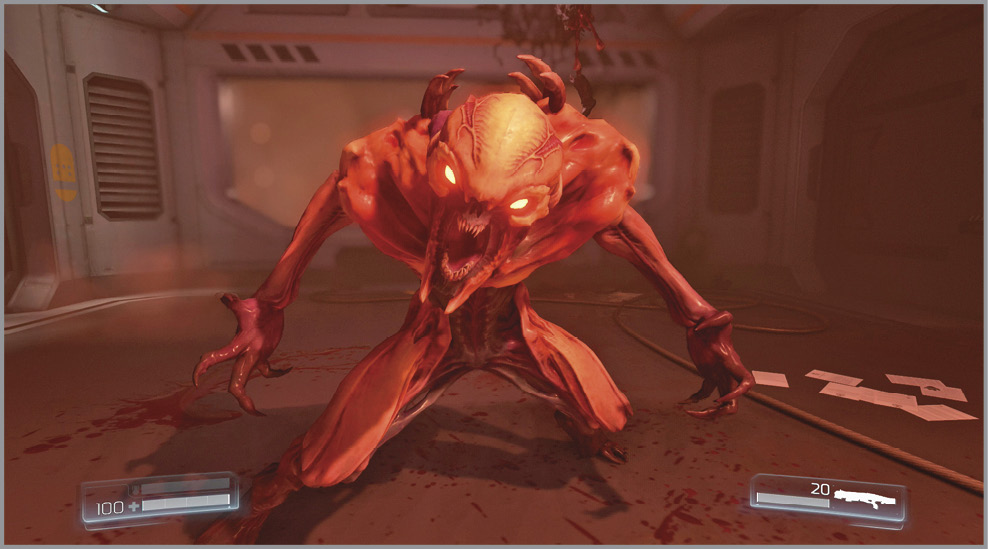
An Imp drops from the ceiling. These guys pose a bigger threat than The Possessed as they toss projectiles your way. Step to the side to avoid taking damage and take it down. Continue into the next room to find more Imps. Kill them before stepping up to the Gore Nest. Interact with it to destroy it, but be ready for a big fight. This action attracts a large group of Imps. Stay on the move as you take them all out. Keep an eye out for health, armor, and ammo in the area. Once the coast is clear, the door at the far end opens to reveal the exit.
Find the Resource Ops Entrance
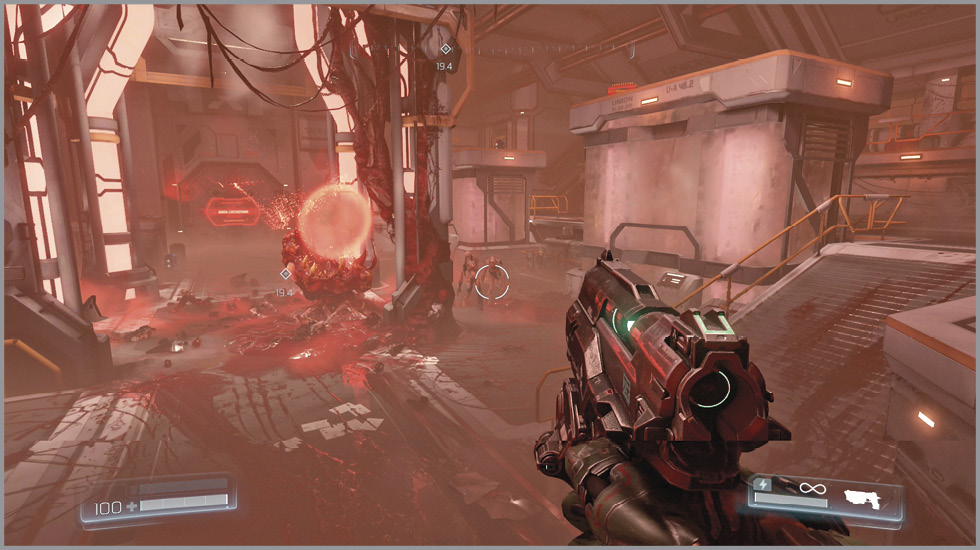
Your primary goal in this mission is to find the Resource Ops entrance so that the satellite can be realigned. Exit Site 03 via the elevator ahead. This ends the introduction to the campaign and sends you out to the surface of Mars.
Drop off the cliff, then proceed through the narrow path and grab the Data Log on the ground ahead. These Data Logs can be found throughout the missions of DOOM and give you a better idea of what’s happening at the UAC facility. Access your Codex in the Dossier to read them.
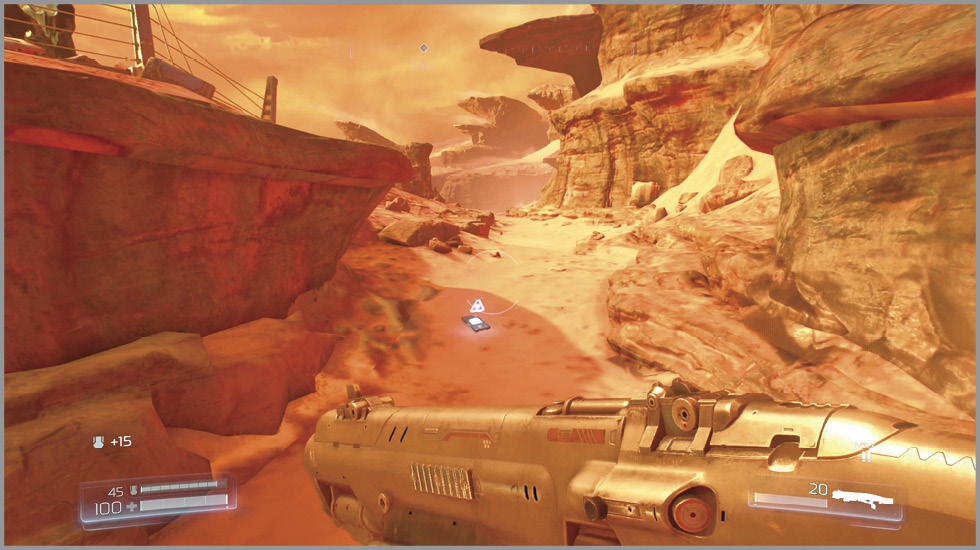
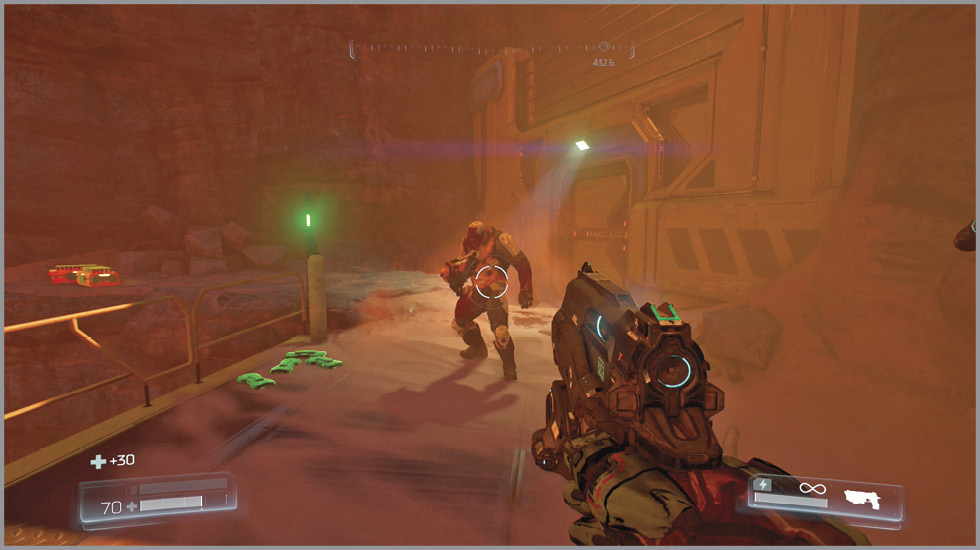
Just ahead, Possessed Soldiers join weaker foes—The Possessed and Imps. The Shotgun makes quick work of these guys, but stay on the move as the Imps lob projectiles your way. Look out for red barrels that explode when shot. Use them to eliminate nearby foes, but avoid getting caught in the blast. Climb onto the upper walkway and follow it to a gate, which unlocks once the demon threat has been eliminated.
Find Blue Access Key
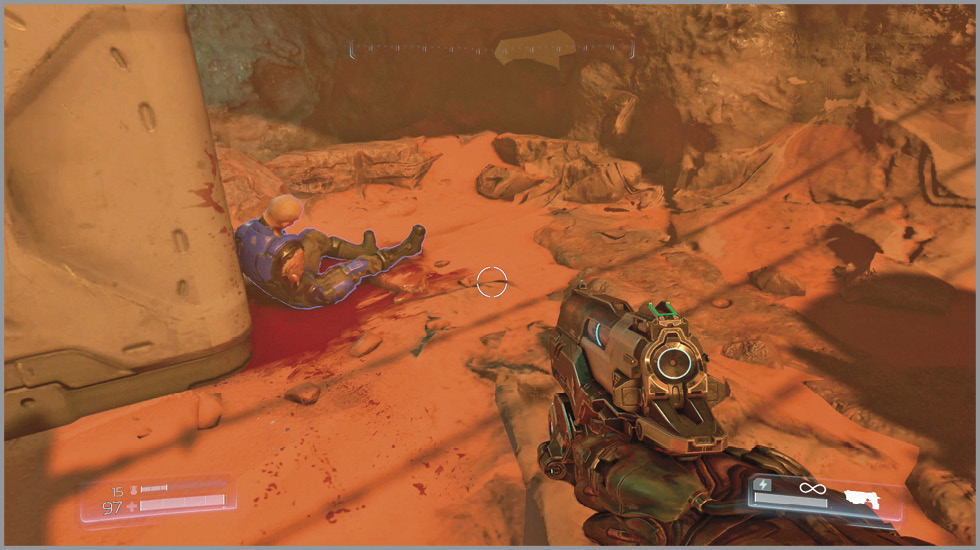
Turn right and follow the narrow passage as it ends at a big crate. Find the blue keycard on a corpse just on the other side. Now you can return to the gate and proceed toward Resource Operations.
Find the Resource Ops Entrance
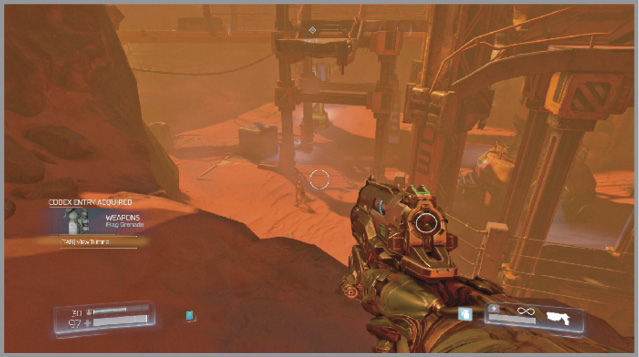
There’s a Frag Grenade with some armor and shotgun shells just inside the next area. Test your new equipment on the small group of The Possessed below before hopping down. More demons join you as you move through the next area, so mow them down as they do so.
Frag GrenadeFrag Grenades are the first piece of equipment you acquire. Pressing the Use Equipment button triggers the explosive. Lob them into groups of enemies to get the most out of this weapon. There are only three equipment items in the game. Once you have more to choose from, press the Next Equipment and Previous Equipment buttons to switch between them. |
Instead of moving down the hill, take the right path into a cavern. Clear out the monsters inside and then access the terminal in the far corner. An AutoMap Station can be found in every mission, so be on the lookout. It fills in the entire map, giving you a better idea of where you’re going. Finding this station unlocks Area-Scanning Technology in Praetor Suit Upgrades.
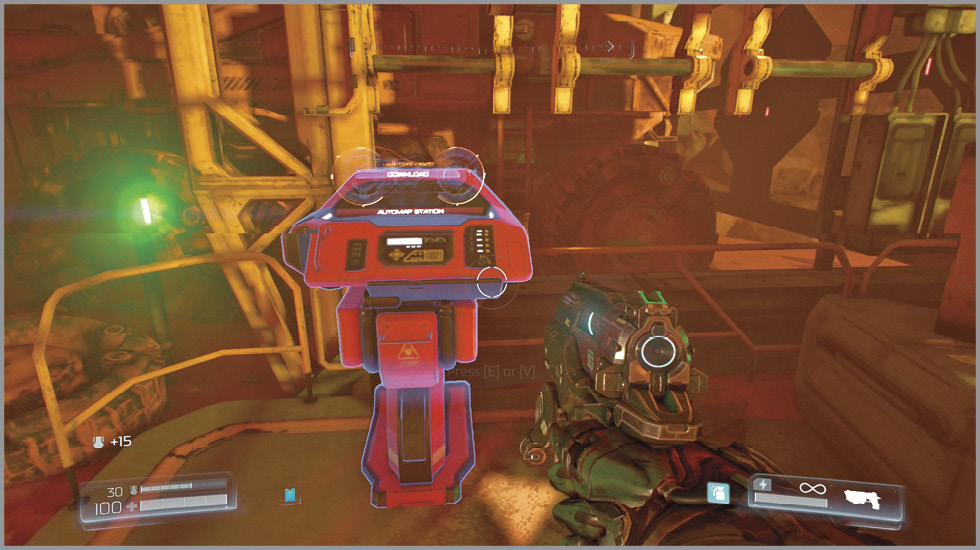
Turn left and move to the far ledge. Watch out as demons may attack from below. Feel free to spend some time picking them off from the higher vantage point. Interact with the Elite Guard who leans against the wall.
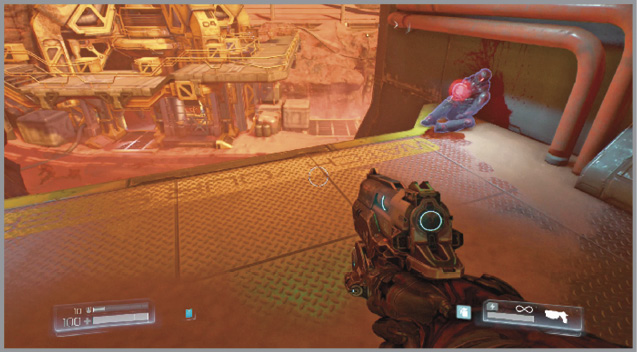
Drop down, finish off any remaining demons, and continue to the right. A Field Drone is visible ahead, moving further to the right. Jump across the gap and follow the bot. Interact with it to earn a Weapon Modification. Each time you find one of these drones, you must select a modification for one of your weapons. It can then be upgraded with Weapon Upgrade Points. At the moment you can only select the Combat Shotgun, but later you must make the decision of which gun to improve.
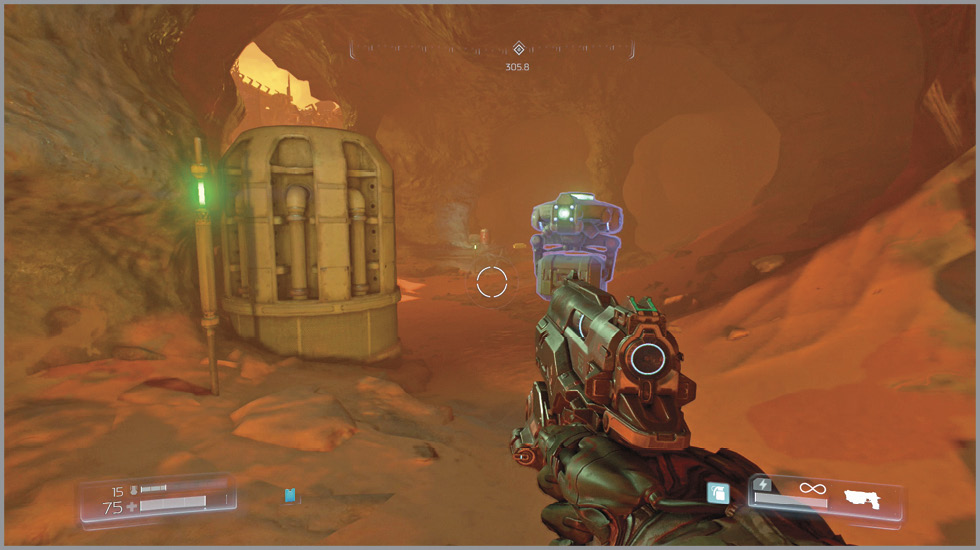
Before proceeding forward, turn around, drop to the lower level, and search a dock to find another Data Log, as well as other helpful assets. Return to the Field Drone and proceed toward the objective.
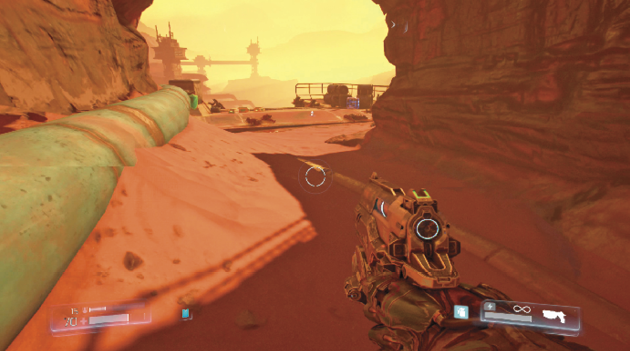
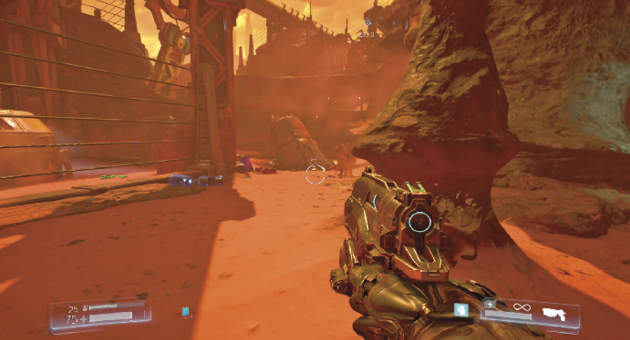
At first you only meet The Possessed, but as you move further ahead, tougher demons join the fight. Avoid getting surrounded. Start picking them off immediately and steadily clear the monsters out as you continue into a narrow valley. Watch out for the Imps as they quickly move up and down the ledges. From here, you can climb up the right ledges and cut through the tunnel or jump over to the left side and follow a narrow path along the cliff side.
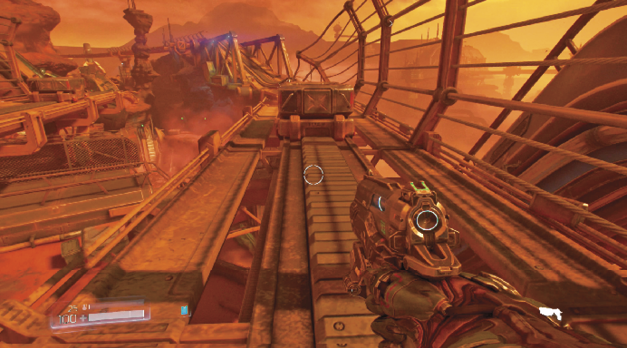
Fight your way through the demons, collecting the items along the way. Once the threat has been eliminated in the next open area, climb the machinery on the right side and continue up to the left. Before entering, turn around and search the carts on the tracks ahead to find hidden armor, health, and ammo. Once you’re ready, follow the objective into the building and up the stairs. Interact with the console ahead to exit the facility and complete the first mission.